To photograph civil airliners well, work with a telephoto in the 100 to 400mm range, keep the sun behind your shoulder, and shoot at roughly 1/1000 of a second at f/6.3 to f/8 with continuous autofocus, standing side-on or slightly ahead of the aircraft so the livery, the titles and the registration all read cleanly. Everything else in this guide is refinement on that one sentence.
Airliners are the most available subject in aviation photography and the most underrated. A fast jet display comes round twice a year. A Boeing 777 comes round every twenty minutes, in daylight, on a predictable track, wearing paint that somebody spent a fortune designing. That abundance is exactly why so many airliner photographs are dull. When the subject arrives on a plate, the temptation is to point, shoot and go home with four hundred near-identical frames of a white tube against a white sky.
This guide is about the opposite habit: treating a scheduled arrival as a photographic problem with a right answer. Where the light is. Which way the aircraft will turn. What the background will do. Whether the paint on this particular airframe deserves a side-on record shot or a moody backlit silhouette. Get those decisions right and airliner work will teach you more about light and timing than any airshow.
What this guide covers
- Why airliners are a different subject
- The gear you actually need
- Camera settings for airliners
- Angles: where to stand and why it matters
- Light: reading the sun at an airport
- Liveries: making the paint work for you
- The four shots: approach, touchdown, rollout, departure
- Where to shoot: choosing a position
- Bad weather, heat haze and the shots most people miss
- Night, dusk and long exposures
- Common mistakes and how to fix them
- Editing airliner photographs
- Access, etiquette and staying out of trouble
- Selling and licensing airliner work
- Frequently asked questions
Why airliners are a different subject
Everything you learned photographing fast jets needs adjusting. A Typhoon at an airshow is unpredictable, violent and close. An A320 on final approach is none of those things. It is slower, it is bigger, it is on rails, and it will do exactly what the previous eleven aircraft did. The photographic challenges move somewhere else entirely.
The aircraft is slow but the closing speed is not
A typical airliner crosses the threshold at somewhere around 130 to 150 knots depending on type, weight and wind. That sounds sedate next to a jet running in at 450 knots. But if you are standing under the approach path at a place like Myrtle Avenue at Heathrow, the aircraft goes from a distant speck to filling your frame to overhead in about fifteen seconds, and the angular rate at the end of that is savage. People miss the shot because they set up for a slow subject and then discover that the last three seconds require the same panning discipline as anything else. If you have read our guide to photographing fast jets, the tracking technique transfers directly. Only the shutter speed changes.
The background is usually the problem, not the aircraft
Fast jets perform over open airfields against sky. Airliners operate in an environment stuffed with clutter: terminal buildings, jet bridges, catering trucks, hangars, approach lighting, fences, hedges, the roof of a Premier Inn. A technically perfect frame of a 787 with a baggage tractor growing out of its nose gear is a wasted frame. Your position choice is doing most of the compositional work before you press the shutter, and that is a completely different discipline from standing on an airshow crowdline where the background is guaranteed.
Repetition is a gift, so use it
The single greatest advantage of airliner photography is that you get a rehearsal. If the first arrival is framed badly, you know exactly where to stand for the second one. If your shutter speed left the fan blades frozen and lifeless, you have four minutes to fix it. Nobody gets that at an airshow. Photographers who use the rehearsal properly improve fast. Photographers who fire away on burst mode and hope do not.
The gear you actually need
Airliner photography is refreshingly cheap to enter. You do not need the 600mm f/4 that airshow photographers covet, because you are usually far closer to the subject than you are at a display.
Lenses and focal lengths
The honest answer is that a 70 to 300mm or 100 to 400mm zoom covers the overwhelming majority of civil work. Zoom range matters more than maximum aperture, because you will be recomposing constantly as the aircraft closes, and because airports are usually shot in daylight where f/6.3 is no hardship.
| Situation | Typical focal length | Notes |
|---|---|---|
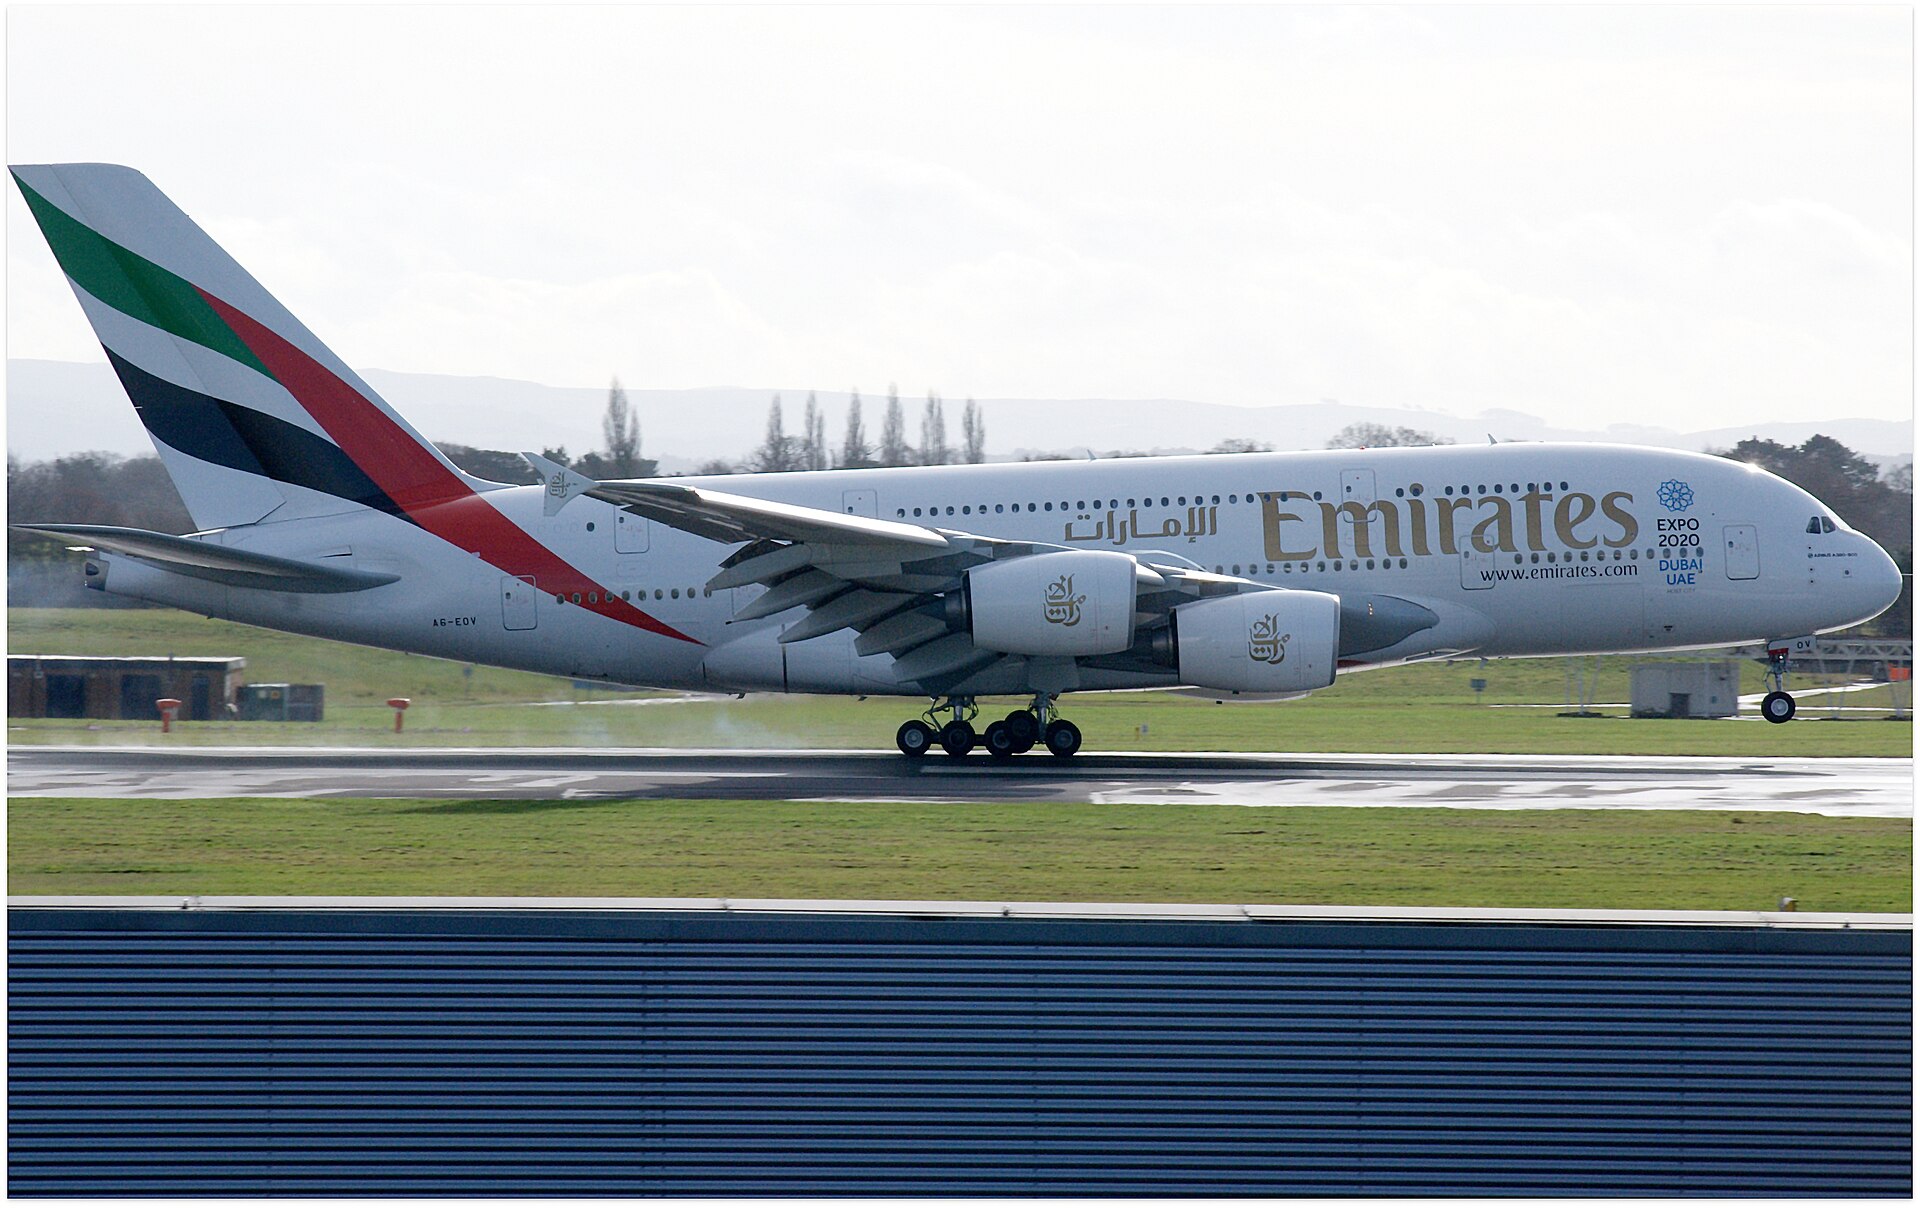
| Under the approach path, aircraft at 200 to 400 feet | 70 to 200mm | You will be surprised how quickly you run out of wide end on a 777 or A380 |
| Beside the runway at midpoint, side-on landing | 200 to 400mm | The classic side-on record shot lives here |
| Across the airfield from a viewing park | 400 to 600mm | Heat haze becomes the limiting factor, not the lens |
| Taxiway close-ups, nose gear, engines, crew | 100 to 300mm | Detail work that most people never bother with |
| Aircraft in context, terminal and sky | 24 to 70mm | The shots that actually sell as editorial images |
Do not neglect that last row. Almost every spotter carries a long lens and nothing else, so the market is drowning in tight side-on shots and starved of wide contextual images of aviation as an industry. A second body with a standard zoom is not dead weight.
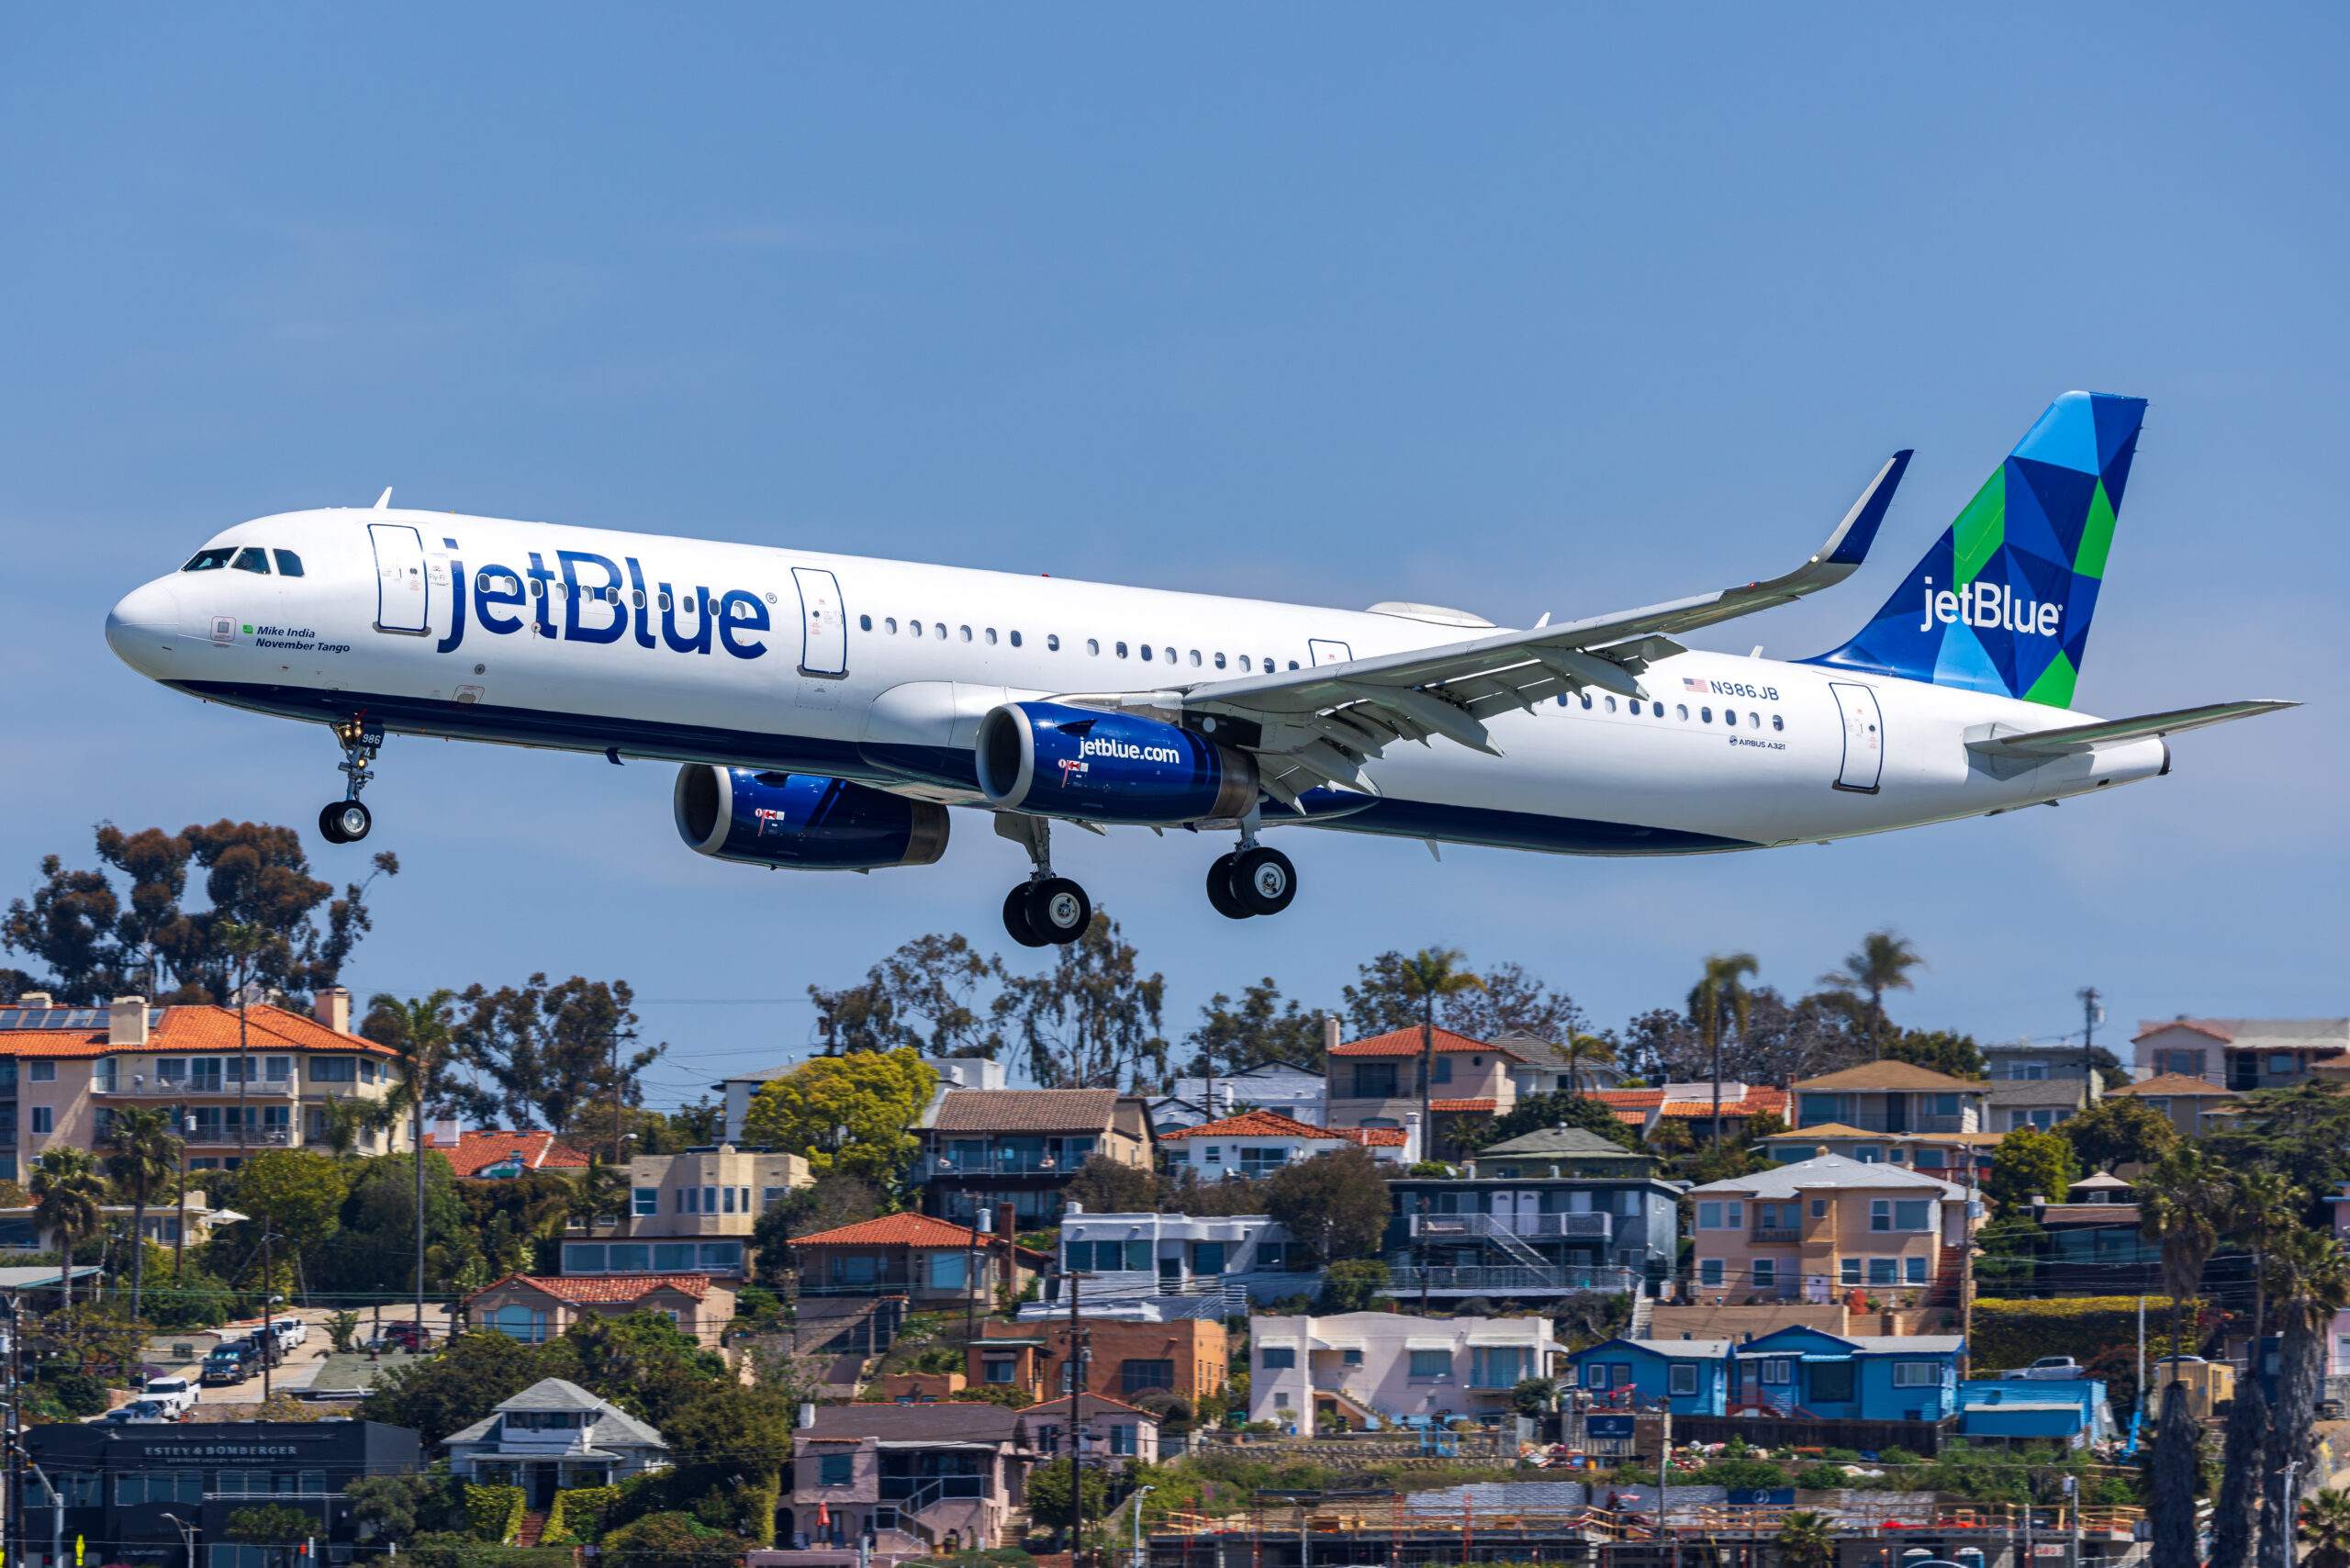
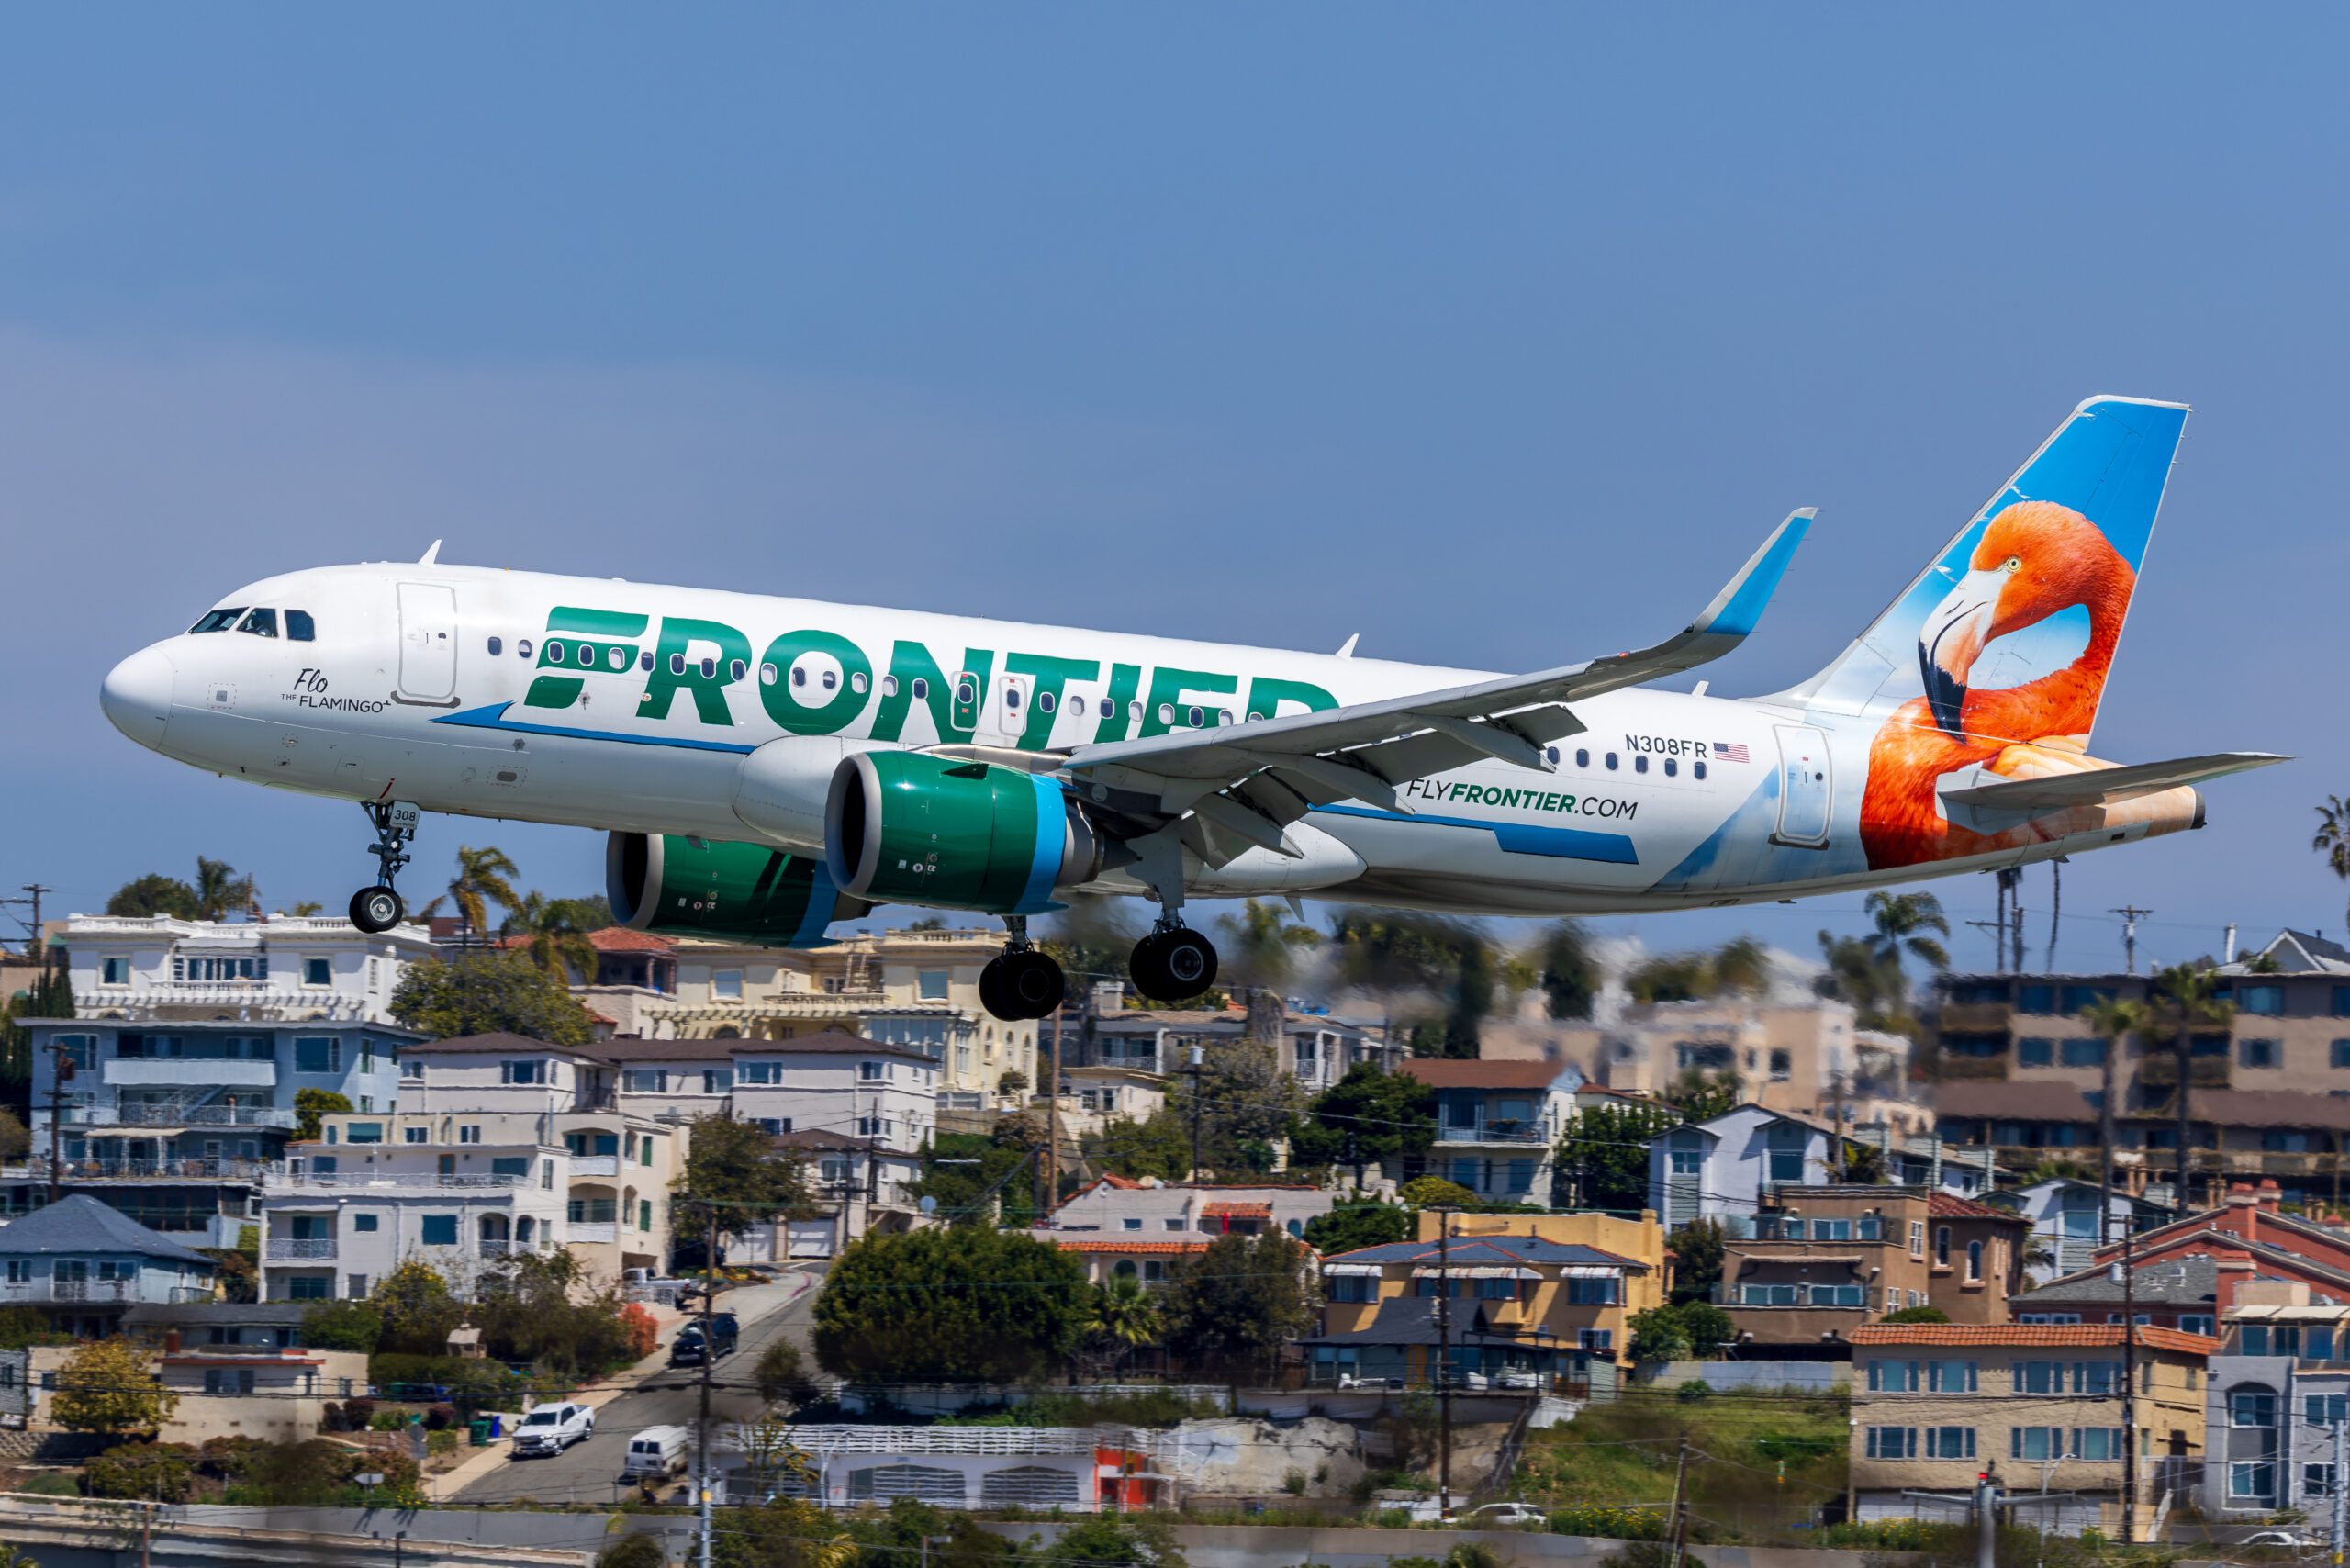
Some airports hand you a shot no technique will produce anywhere else. Our guide to photographing airliners at San Diego covers one where the visual approach is 3.5 degrees against a standard 3, so the aircraft arrives lower, closer and more nose-down than your instinct expects.
The table assumes the vantage points sit a fair way back from the runway. Where they do not, every row shifts down. Our guide to plane spotting at Palm Springs works through an airport where the widest frame of an airliner was taken at 123mm and the aircraft still filled it.
Bodies
Autofocus tracking matters more than resolution or frame rate. An airliner against sky is one of the easiest targets an autofocus system will ever face: high contrast, large, moving predictably. Even a decade-old DSLR will hold it. The moment the aircraft descends below the horizon and the background becomes trees, buildings and runway markings, cheaper systems start hunting. If you are choosing a body, this is the thing to test. Our comparison of mirrorless and DSLR for aviation goes into the tracking question in detail, and airliner work is where subject-detection autofocus earns its money, because most modern systems will lock an aircraft shape against clutter far more reliably than a phase-detect point ever did.
Frame rate is less important than people think. Ten frames per second is ample. The decisive moment on a landing is the puff of tyre smoke at touchdown, and the way to catch that is to watch the main gear and time it, not to spray twenty frames and hope one lands.
Support
Handhold. Almost always handhold. A monopod is useful if you are standing at a viewing mound for six hours with a 600mm, and we cover the trade-offs in the guide to monopods versus handholding, but for a 100 to 400mm on a landing aircraft a monopod usually costs you more in agility than it gives you in stability. Tripods are for night work and nothing else.
The things nobody lists
- A lens hood. Not for flare, though it helps. For the moment your lens is pointing into a stiff crosswind carrying grit off a taxiway.
- A cloth. Airports are filthy. Jet exhaust deposits a fine film on front elements that shows up as veiling haze in every backlit frame.
- A radio or flight-tracking app. Knowing what is inbound and when transforms the day. Knowing that the aircraft in six minutes is the one in the retro livery is the entire difference between a good day and a wasted one.
- Something to sit on. Unglamorous and correct.
Camera settings for airliners
Here is the working starting point. Adjust from it rather than reinventing it every time.
| Subject | Shutter | Aperture | ISO | Drive and AF |
|---|---|---|---|---|
| Jet airliner, approach or departure, good light | 1/1000s | f/6.3 to f/8 | Auto, capped 3200 | Continuous AF, medium burst |
| Jet airliner, taxiing | 1/500s | f/7.1 | Auto | Continuous AF |
| Turboprop (ATR, Dash 8, Q400) | 1/160 to 1/250s | f/8 to f/11 | Base ISO | Continuous AF, panning |
| Any aircraft, dull overcast | 1/800s | f/5.6 | Auto, capped 6400 | Continuous AF |
| Dusk departure, lights on | 1/320 to 1/640s | Wide open | 3200 to 12800 | Continuous AF, single point |
| Night, static aircraft on stand | 2 to 15s | f/8 | 100 to 400 | Tripod, manual focus |
Shutter speed: the turboprop trap
The most common mistake in civil photography is shooting an ATR 72 or a Dash 8 at 1/1000 of a second because that is what worked on the previous 737. You get a technically sharp aircraft with four dead sticks nailed to the front of it, and it looks like a model on a shelf. Propellers must blur. The physics are the same as they are for warbirds, and the full explanation lives in our guide to propeller blur and the right shutter speed, but the short version for turboprops is 1/160 to 1/250 of a second, which will give you a pleasing arc without turning the fuselage to mush. Some photographers go to 1/125 for a full disc. That is a keeper rate of maybe one in eight, so decide whether you want the picture or the percentage.
Jets: what about the fan?
A high-bypass turbofan spins fast enough that at 1/1000 of a second the fan face is a smooth blur anyway, so you do not need to slow down for jets. The one exception is when you want to see the spinner spiral, that white curl painted on the nose of the fan hub. It reads as a full circle at fast shutter speeds and as a spiral at slower ones. Nobody but an aviation photographer will notice. Aviation photographers will notice immediately.
Aperture: stop down a little
An airliner is long. On a three-quarter view, the nose and the tail are not the same distance from you, and wide open at 400mm the tail can drift out of focus. f/7.1 or f/8 costs you almost nothing in ISO on a normal day and buys enough depth to hold the whole airframe. This is the single easiest improvement most people can make to their civil work.
Metering: the white aircraft problem
Airliners are mostly white, and matrix metering looks at a bright sky and a white aircraft and decides to darken everything. You end up with a grey aircraft and blocked-up shadows in the wheel wells. The reliable fix is to expose for the aircraft, not the sky, using either spot metering on the fuselage or a permanent positive exposure compensation of around +2/3 stop on bright days. The trade-off is a slightly blown sky, which is almost always the right trade: you can recover a sky in raw far more easily than you can rescue a muddy grey fuselage. There is a fuller treatment of this in our guide to metering for bright skies.
Autofocus configuration
Continuous autofocus, always. Beyond that:
- Against clean sky: a wide or zone area is fine and reduces the workload of keeping a point on the aircraft.
- Against a cluttered background such as a terminal, treeline or the runway itself: shrink to a small zone or single point and put it on the cockpit or the wing root. Wide-area AF will grab the fence.
- Back-button focus really helps here, because it lets you hold focus on an aircraft that is briefly obscured by an approach light or a mast without the camera racking off to the background.
- Subject detection, if your camera has aircraft recognition, is a real advantage in civil work and worth leaving on. It will usually find the nose or cockpit and hold it through clutter.
Angles: where to stand and why it matters
The three-quarter view is the workhorse
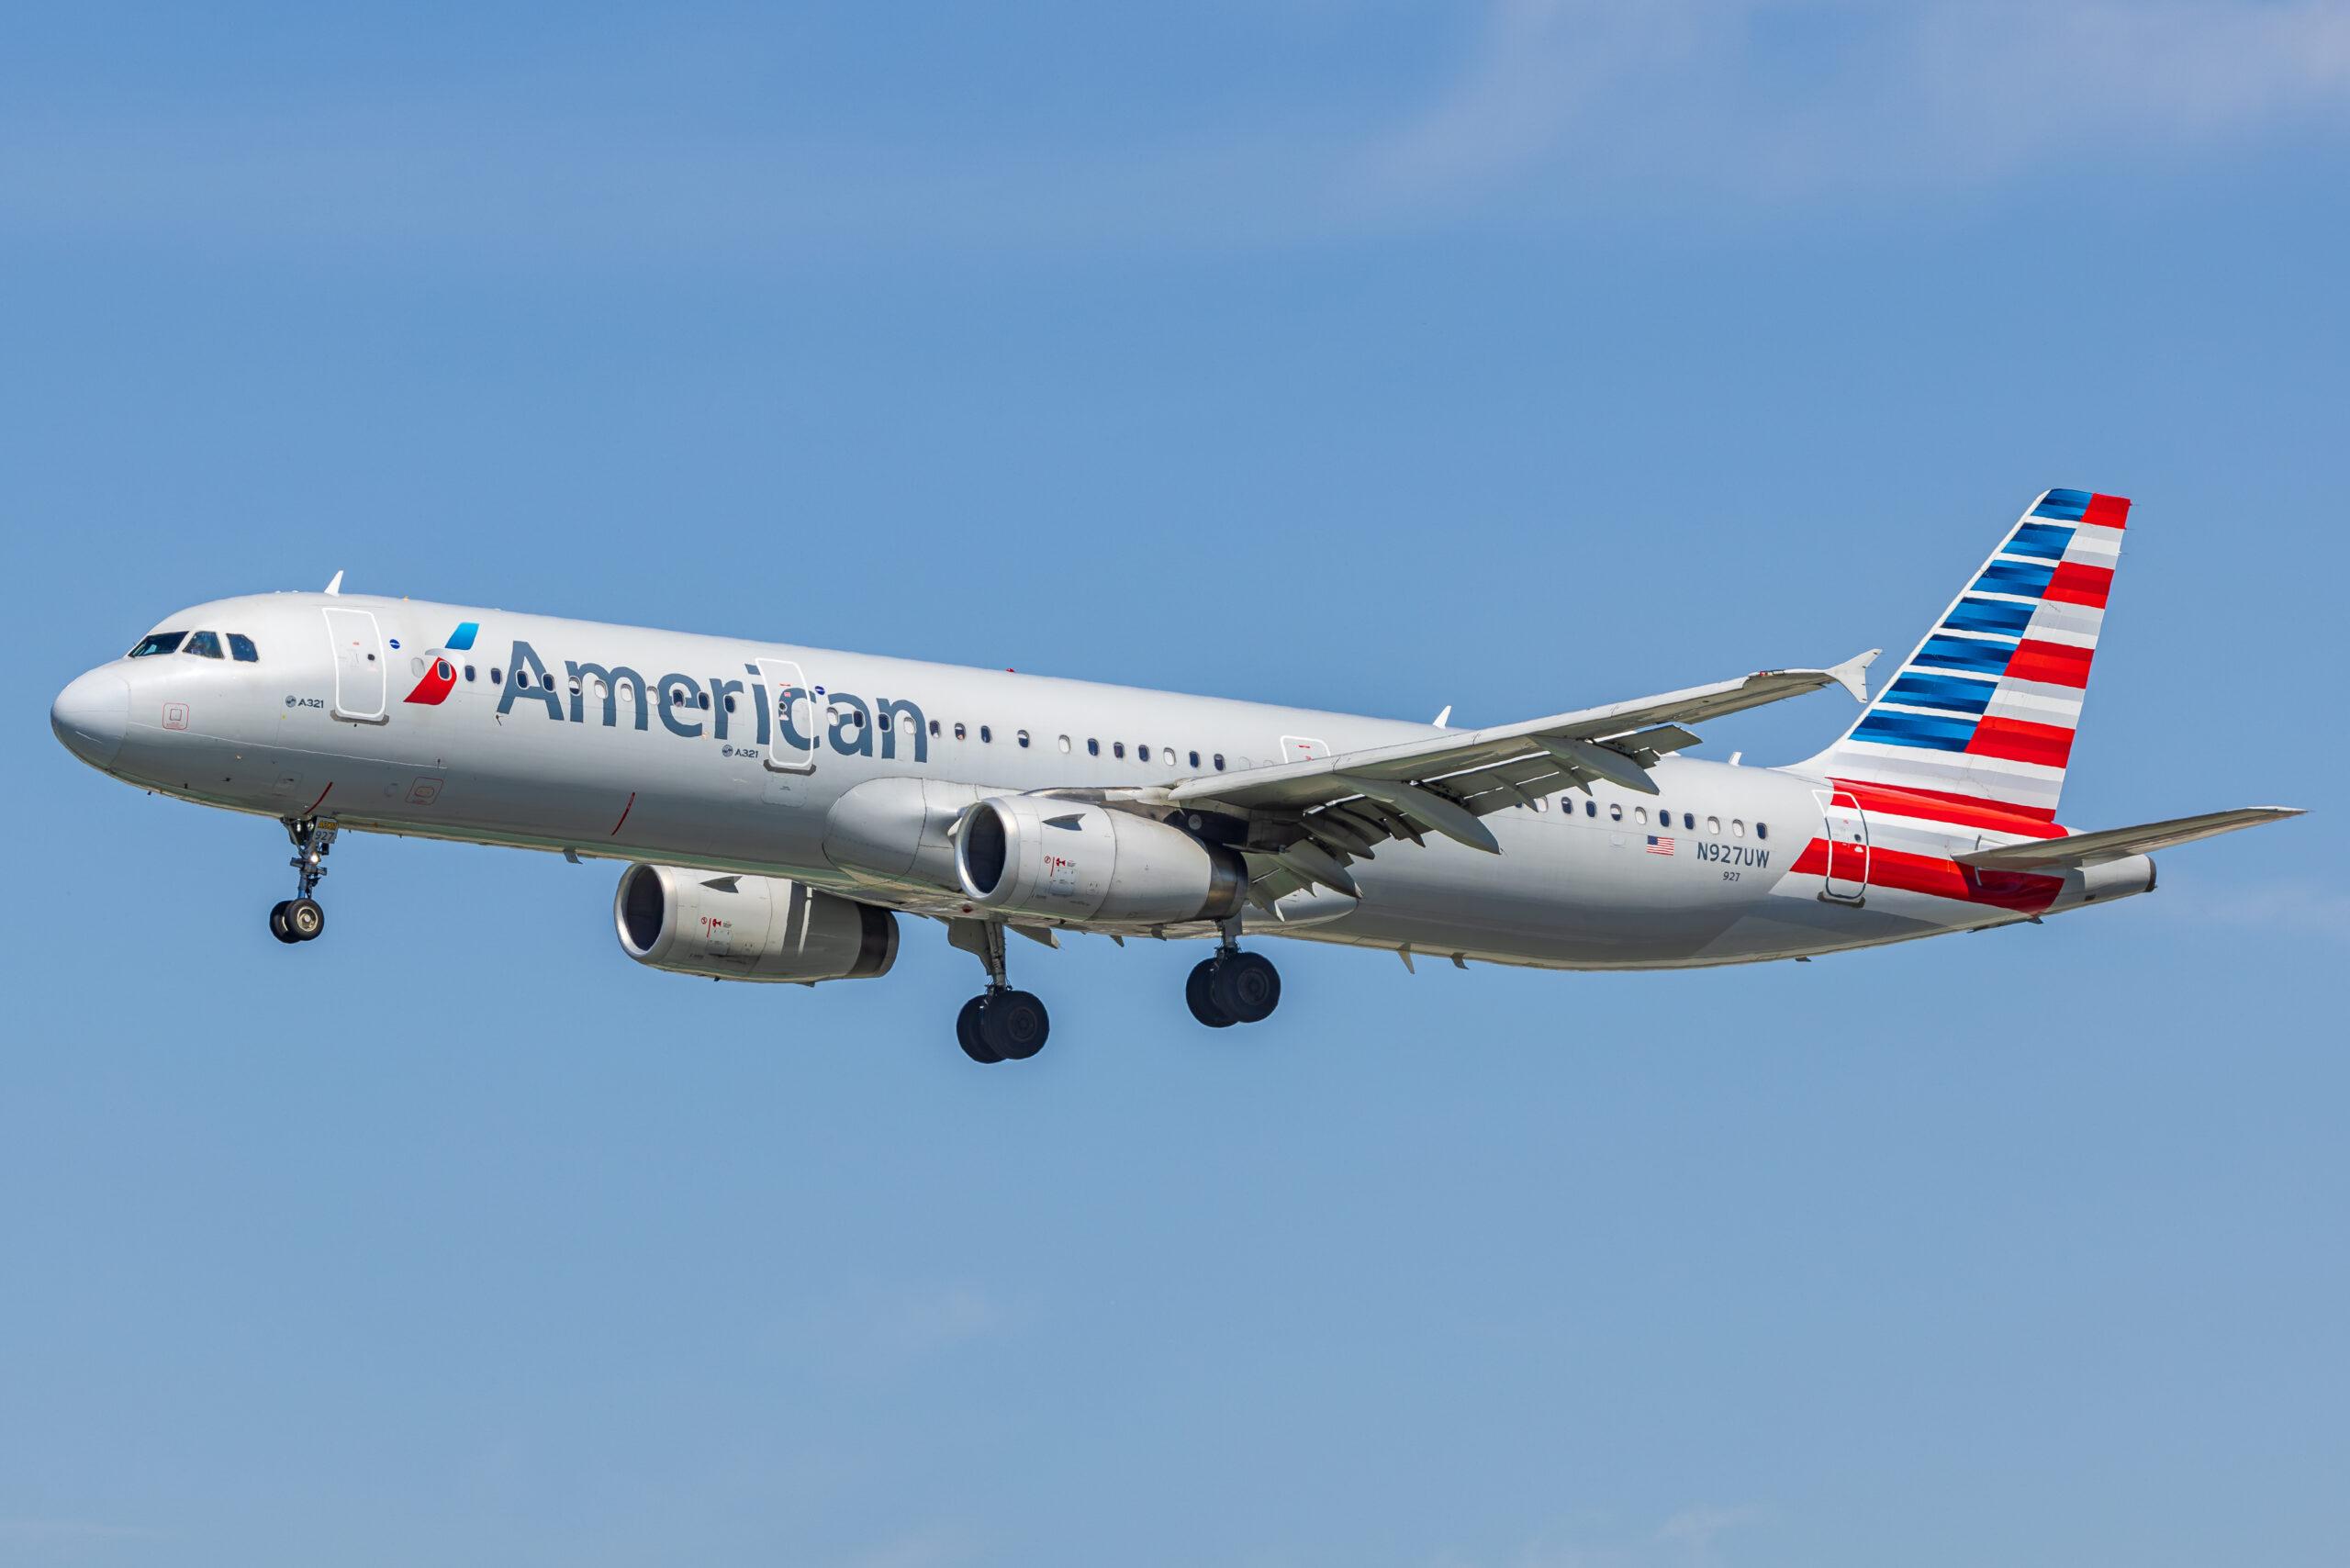
Position yourself so the aircraft is coming slightly towards you rather than passing perfectly abeam. That three-quarter angle does several things at once: it shows the nose profile, it keeps the full fuselage side visible for the livery, it separates the engines so they do not overlap, and it gives the aircraft a sense of moving into the frame rather than out of it. Perfectly side-on flat shots have their place, largely as a reference record, but they are visually inert.
Get low, or get high, but do not stand at the average
Most people photograph airliners from standing height on flat ground, which puts the camera roughly at wing level for a taxiing aircraft and produces the same picture every single person at that fence has taken. Two escapes:
- Go lower. Crouching or kneeling for a departure makes the aircraft loom, gives you more clean sky under the fuselage, and hides ground clutter behind the airframe. On a rotation shot, dropping two feet can be the difference between a hangar roof cutting the tail and a clean sky behind it.
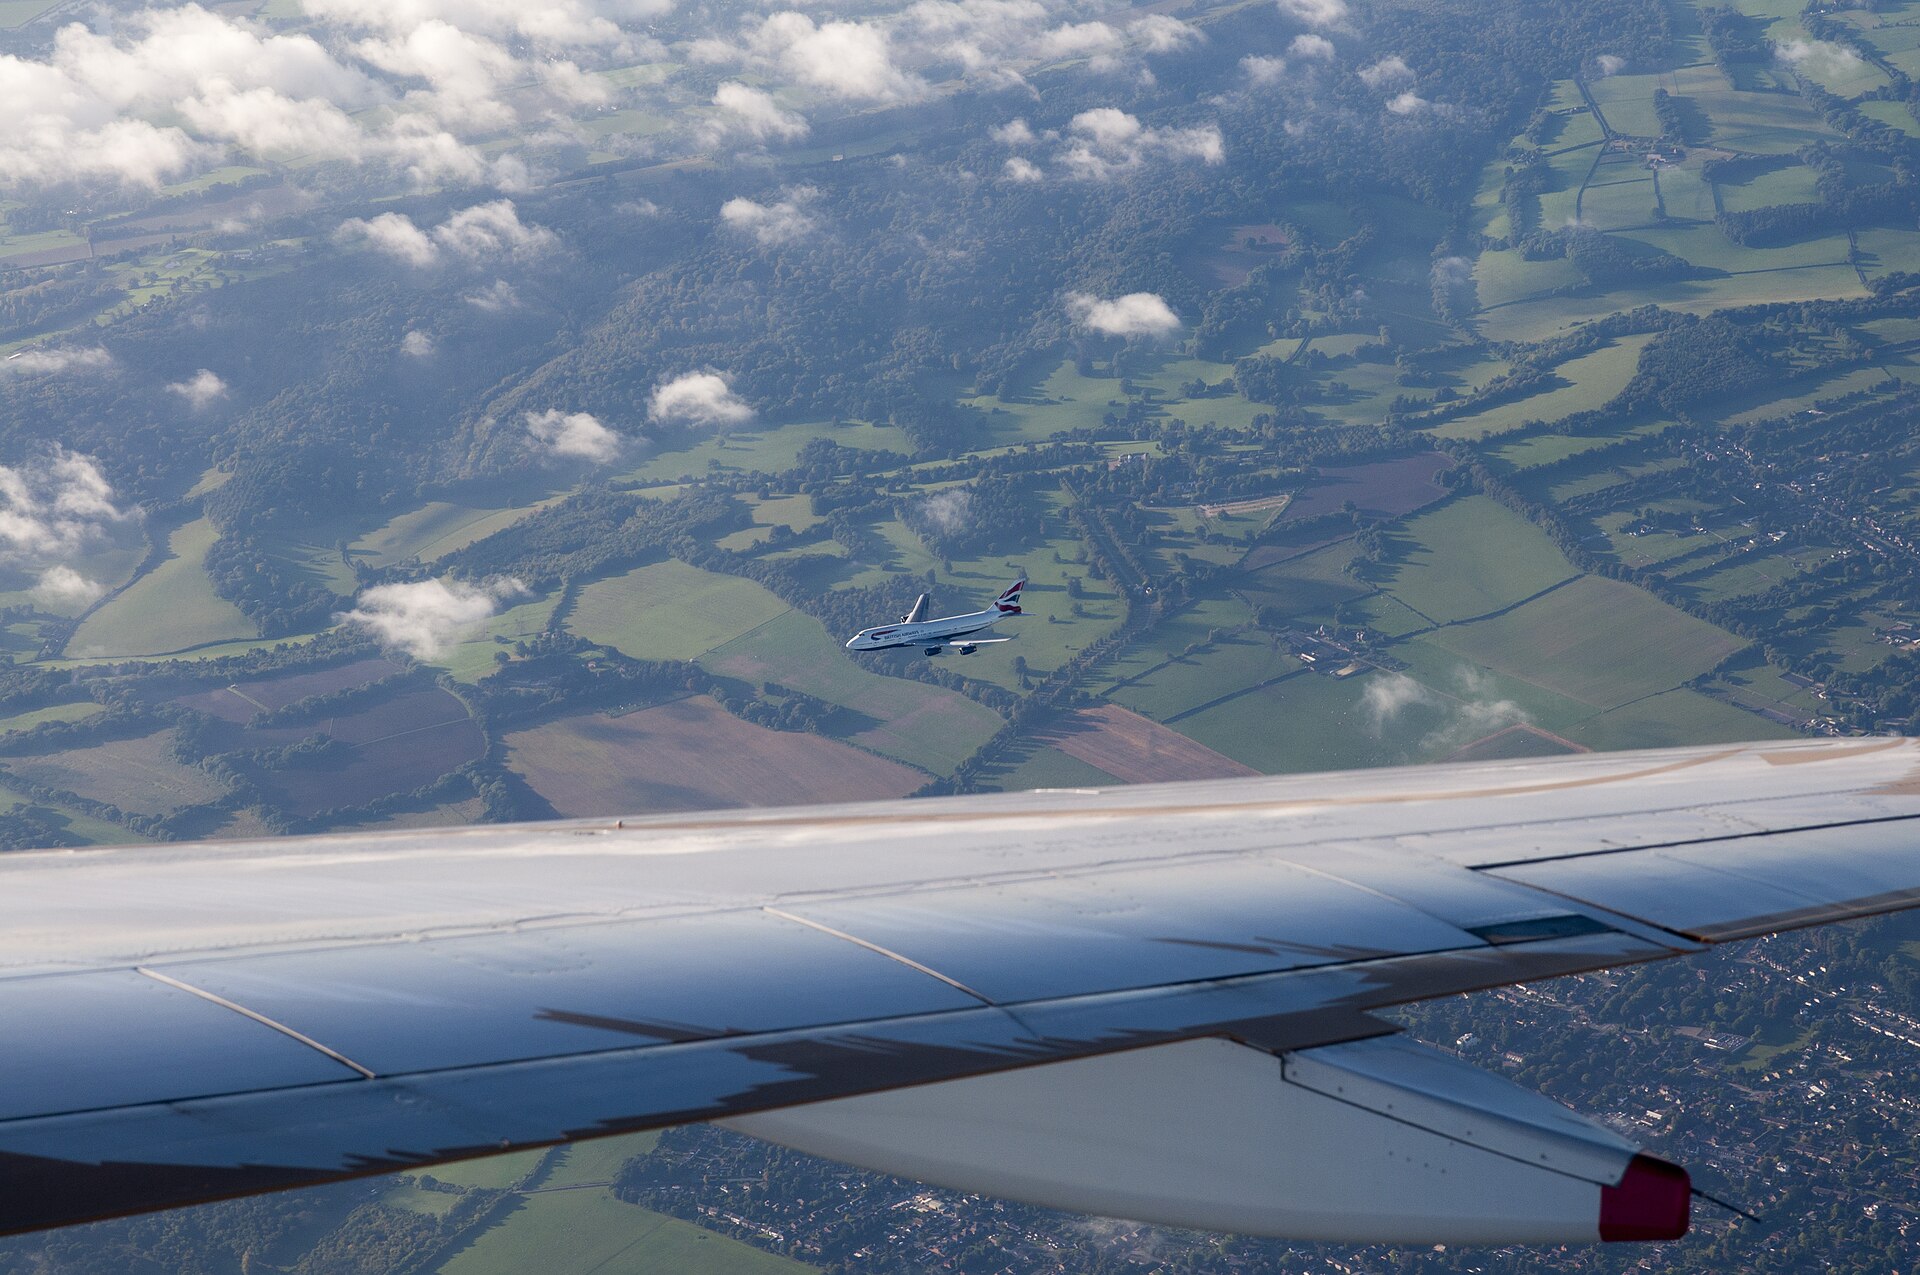
- Go higher. A viewing mound, a car park roof, a public terrace. Height lets you shoot down onto the wing planform and see the top of the aircraft, which almost nobody has in their portfolio.
The underside shot
Standing directly under the approach centreline gives you the belly, the gear hanging, and the flaps fully deployed. It is a dramatic angle and a completely different image to the side-on. The catch is that you are shooting almost straight up into the sky, so the aircraft is usually backlit and its underside is in shadow. Two solutions: shoot in overcast when there is no directional light to fight, or expose hard for the shadowed belly and accept a white sky. Do not try to split the difference.
Composition, briefly
Leave space in front of the aircraft, not behind it. An airliner filling the frame with its nose against the right-hand edge feels wrong, because the eye wants somewhere for it to go. Give it a third of the frame ahead and the picture breathes. The same principles from our guide to composition for aviation photography apply, with the added civil-specific rule that a cut-off wingtip is much more obvious on an airliner than on a fighter, because the wing is a straight line running to a defined point.
Light: reading the sun at an airport
Runway direction decides your day
This is the single most important piece of planning in civil photography and the one beginners skip. Airports use whichever runway points most nearly into wind. That means the direction of traffic changes with the weather, and it decides whether the aircraft are lit or silhouetted from where you are standing.
Work it out in advance. Find the runway heading, find where the sun will be at the time you plan to shoot, and stand so the sun is behind you and falling on the side of the aircraft that faces you. If the wind has swung and traffic is now landing the other way, you may need to drive to the opposite end of the field. Serious civil photographers check the wind before they check the schedule.
The morning and evening rule
At most northern-hemisphere airports, an east-facing position is a morning position and a west-facing position is an evening position. That sounds obvious written down, and it is still the reason half the pictures on spotting websites are of grey aircraft against grey skies with the sun behind them.
Low sun is your friend and your enemy
The last hour before sunset gives you warm light raking across the fuselage, long shadows on the ground and colour in the sky. It also gives you a sun low enough to be in the frame on a departure, which will flare your lens and blow your metering apart. The technique for handling this is the same as anywhere else in aviation and is covered in our guide to golden hour at the airfield. The specific civil trick is that low sun makes a white aircraft glow, and a white aircraft glowing against a dark storm cloud is one of the most reliable dramatic images in the whole genre. Watch for that combination and be ready for it.
Overcast is not a wasted day
Flat grey light is the enemy of dramatic pictures and the friend of accurate record shots. Colours read true, there are no blown highlights on a white fuselage, and there is no shadow side. If you want a clean reference image of a livery, a dull day is really better than a bright one. Expose for the aircraft, accept the white sky, and consider cropping the sky out almost entirely so the frame becomes aircraft and airfield.
Liveries: making the paint work for you
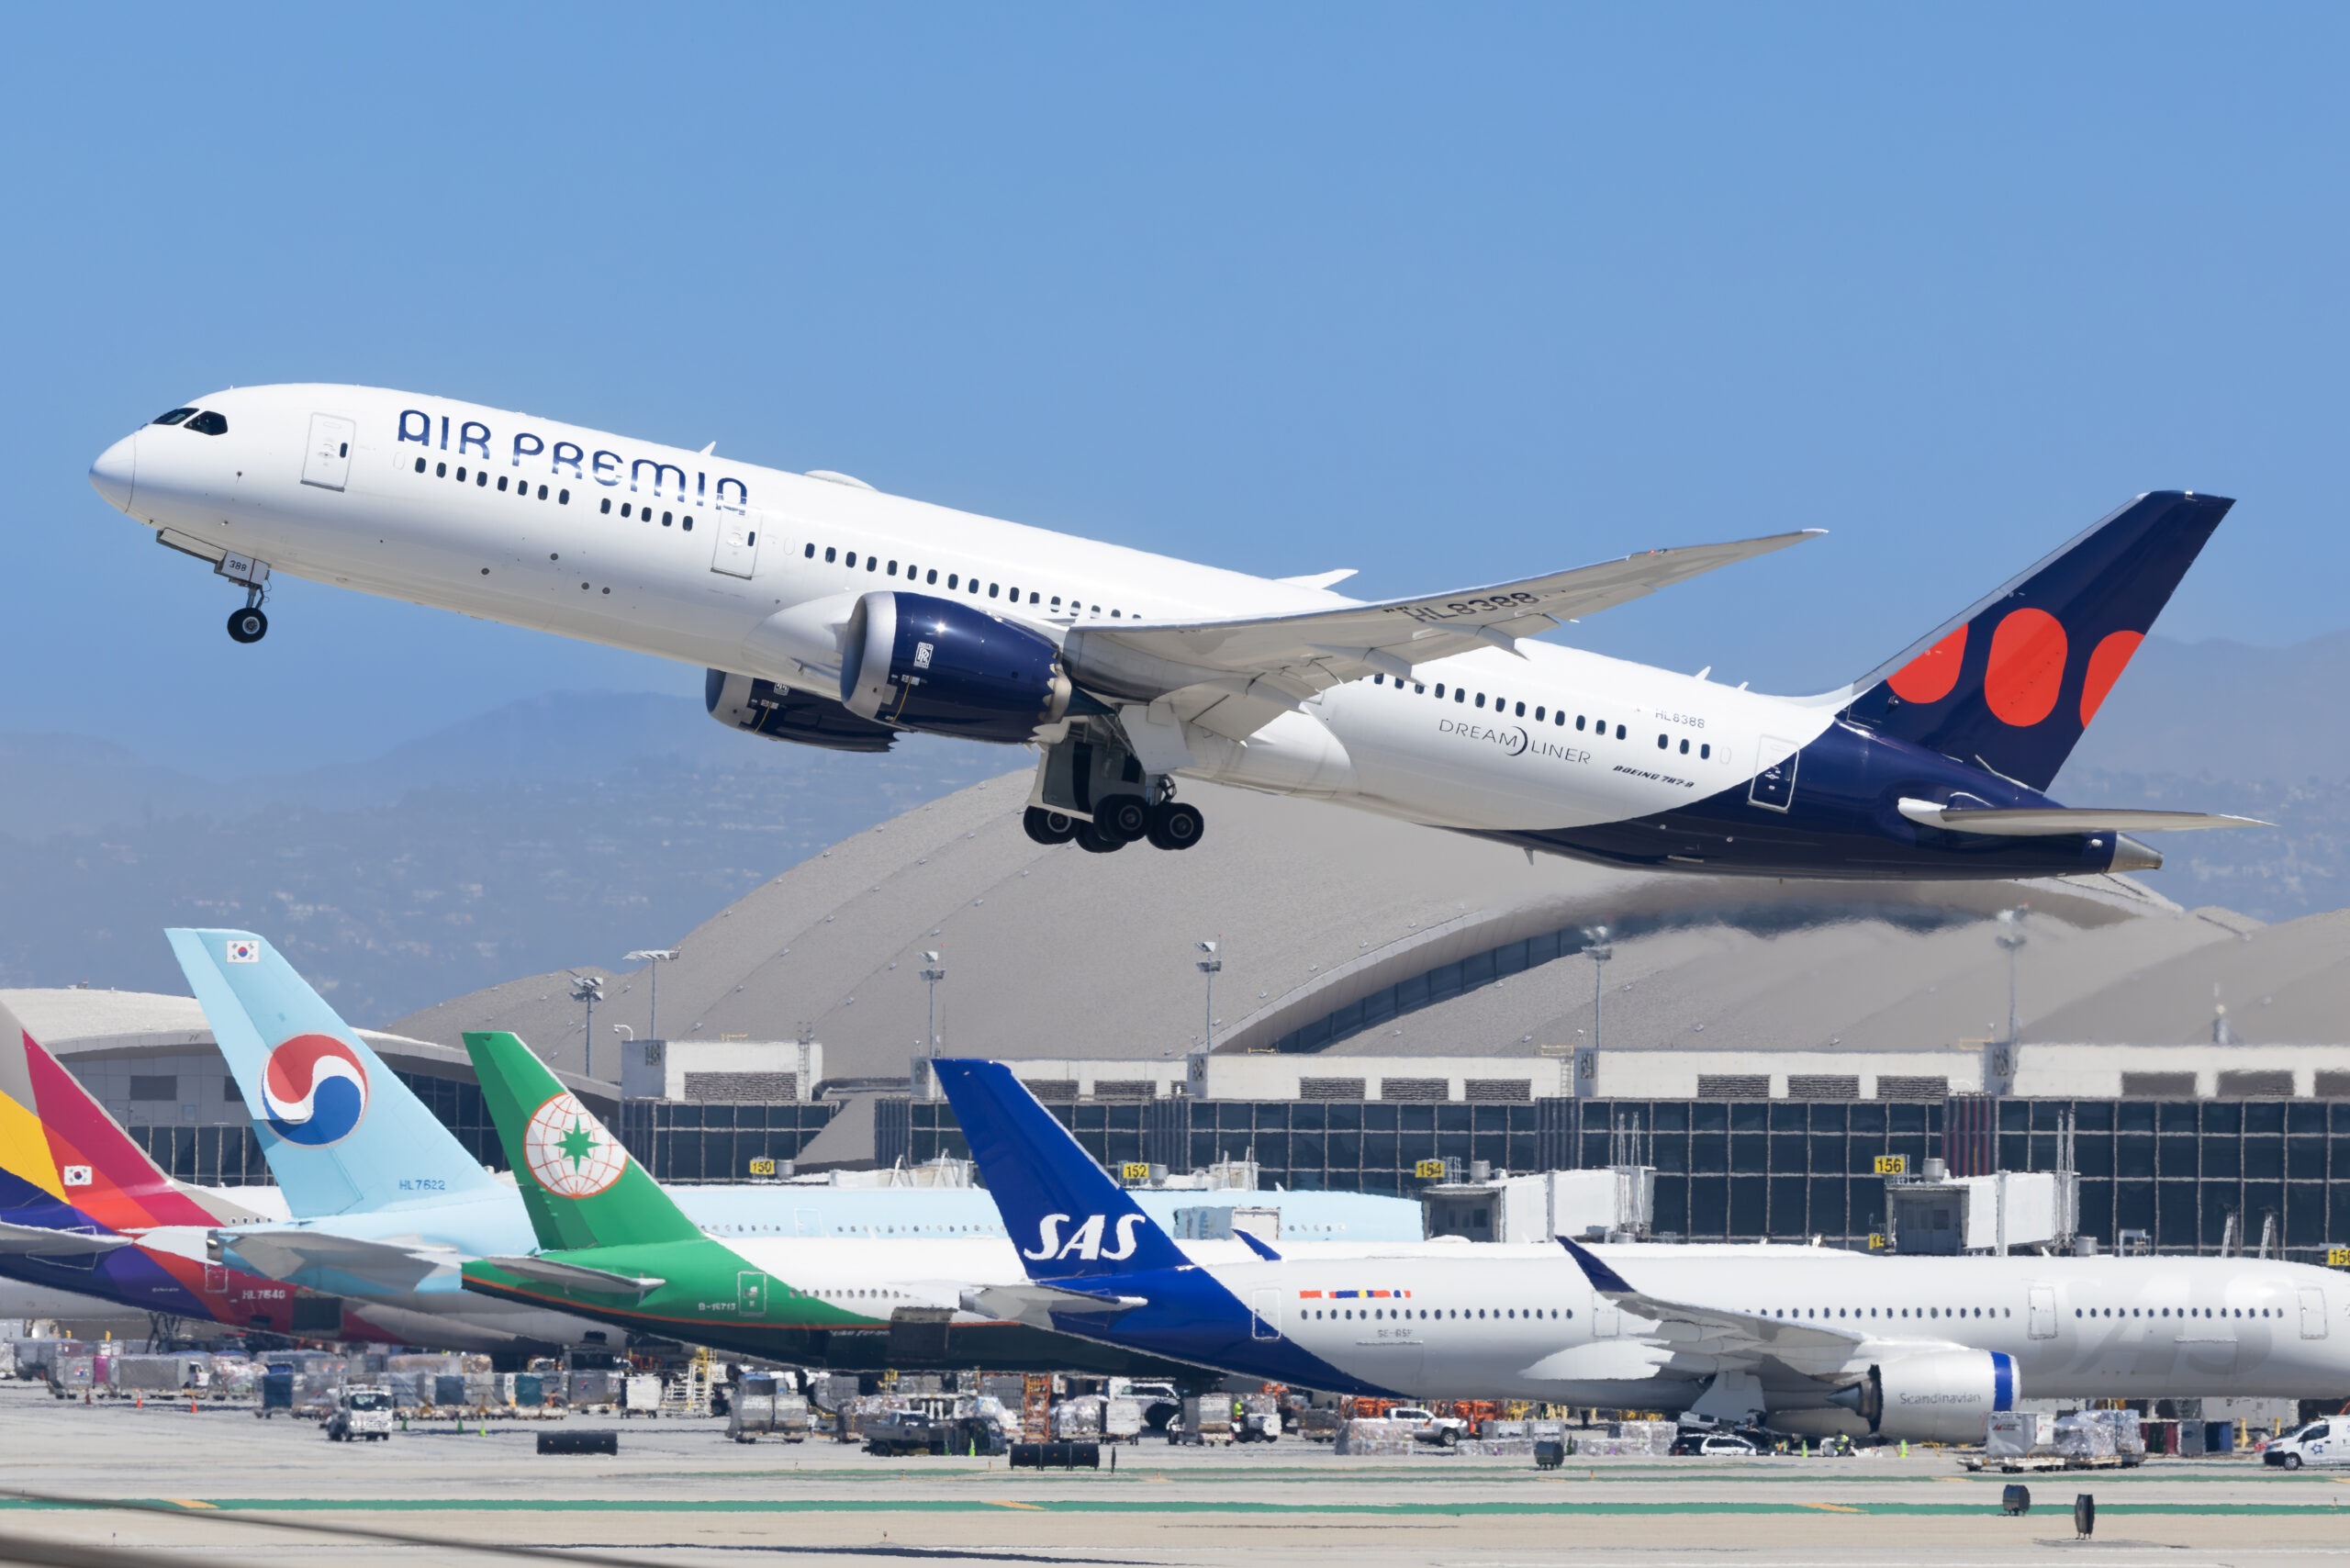
Livery is what makes civil photography collectable. A Spitfire is a Spitfire. A 737 in Ryanair blue and yellow, a 737 in a retro Aer Lingus scheme and a 737 in a one-off promotional wrap are three completely different photographs of the same aeroplane.
Photograph the paint so it reads
- Light the correct side. Many liveries are asymmetric or carry the interesting artwork on one side only. If the aircraft parks or lands with its lit side away from you, the picture is gone. Nothing to be done except learn the field.
- Keep the tail clean. The tail carries the airline identity. A tail cut by a lamp post or lost against a similar-coloured hangar throws away the point of the picture.
- Get the registration in. For any image with archival or commercial value, the registration must be legible. That is the difference between a photograph of an airliner and a photograph of a specific airframe with a history.
- Watch for a heat-shimmer wash. On a hot day, a livery photographed across a runway will lose its edges to heat haze and no amount of sharpening will bring the titles back. Our Scottsdale guide has a frame where the fence behind a taxiing King Air is visibly rippling, and that was October, in a place that averages 92 days a year above 100F.
Special schemes and why they matter
Retro schemes, anniversary liveries, sports team wraps, film promotions and the occasional all-over special are the images that get requested. Airlines paint a handful of frames and then fly them for a few years, and after that the scheme is gone forever. If you know a specially painted airframe is inbound, that flight is worth more of your attention than the other forty movements combined. Flight-tracking tools will tell you the registration of an inbound aircraft, and spotter databases will tell you what that registration is wearing.
Cargo, business and the unloved
Everyone photographs the shiny widebodies. Far fewer people bother with the freighters that work at night, the ageing regional turboprops on thin routes, or the business jets tucked away on a remote apron. Those are exactly the aircraft that vanish and become interesting a decade later. The photographer who bothered with the tatty old 737 freighter in 2015 has something nobody else has now.
The four shots: approach, touchdown, rollout, departure
Every arrival gives you four distinct photographs and most people only take one. Deciding in advance which of the four you are going for is what separates a planned frame from a lucky one.
1. The approach
Gear down, flaps out, aircraft configured, nose slightly up. This is the classic and it is classic for a reason: an airliner on final looks like an airliner is supposed to look. Shoot it from a three-quarter position, expose for the fuselage, and take the frame while the aircraft is still far enough out that the angular rate is manageable. If you wait until it is overhead you will get the belly instead, which is a different picture, not a better one.
2. The touchdown
The puff of blue smoke as the mains bite. This is a timing shot, not a burst shot. Watch the main gear through the viewfinder and fire as the wheels meet the tarmac. If you start your burst too early you will fill the buffer and the camera will stall exactly when it matters. Shoot this from level with the runway if you possibly can, because the smoke reads far better against a low background than against tarmac seen from above.
3. The rollout and reverse thrust
Thrust reversers deployed, spoilers up, the aircraft pitched forward on its nose gear. It is a busy, dynamic configuration that most people ignore because it happens facing away from them. Turn round. A departing-frame view of an aircraft in full reverse with the spoilers standing proud of the wing is a better picture than the eleventh approach shot of the day.
4. The departure and rotation
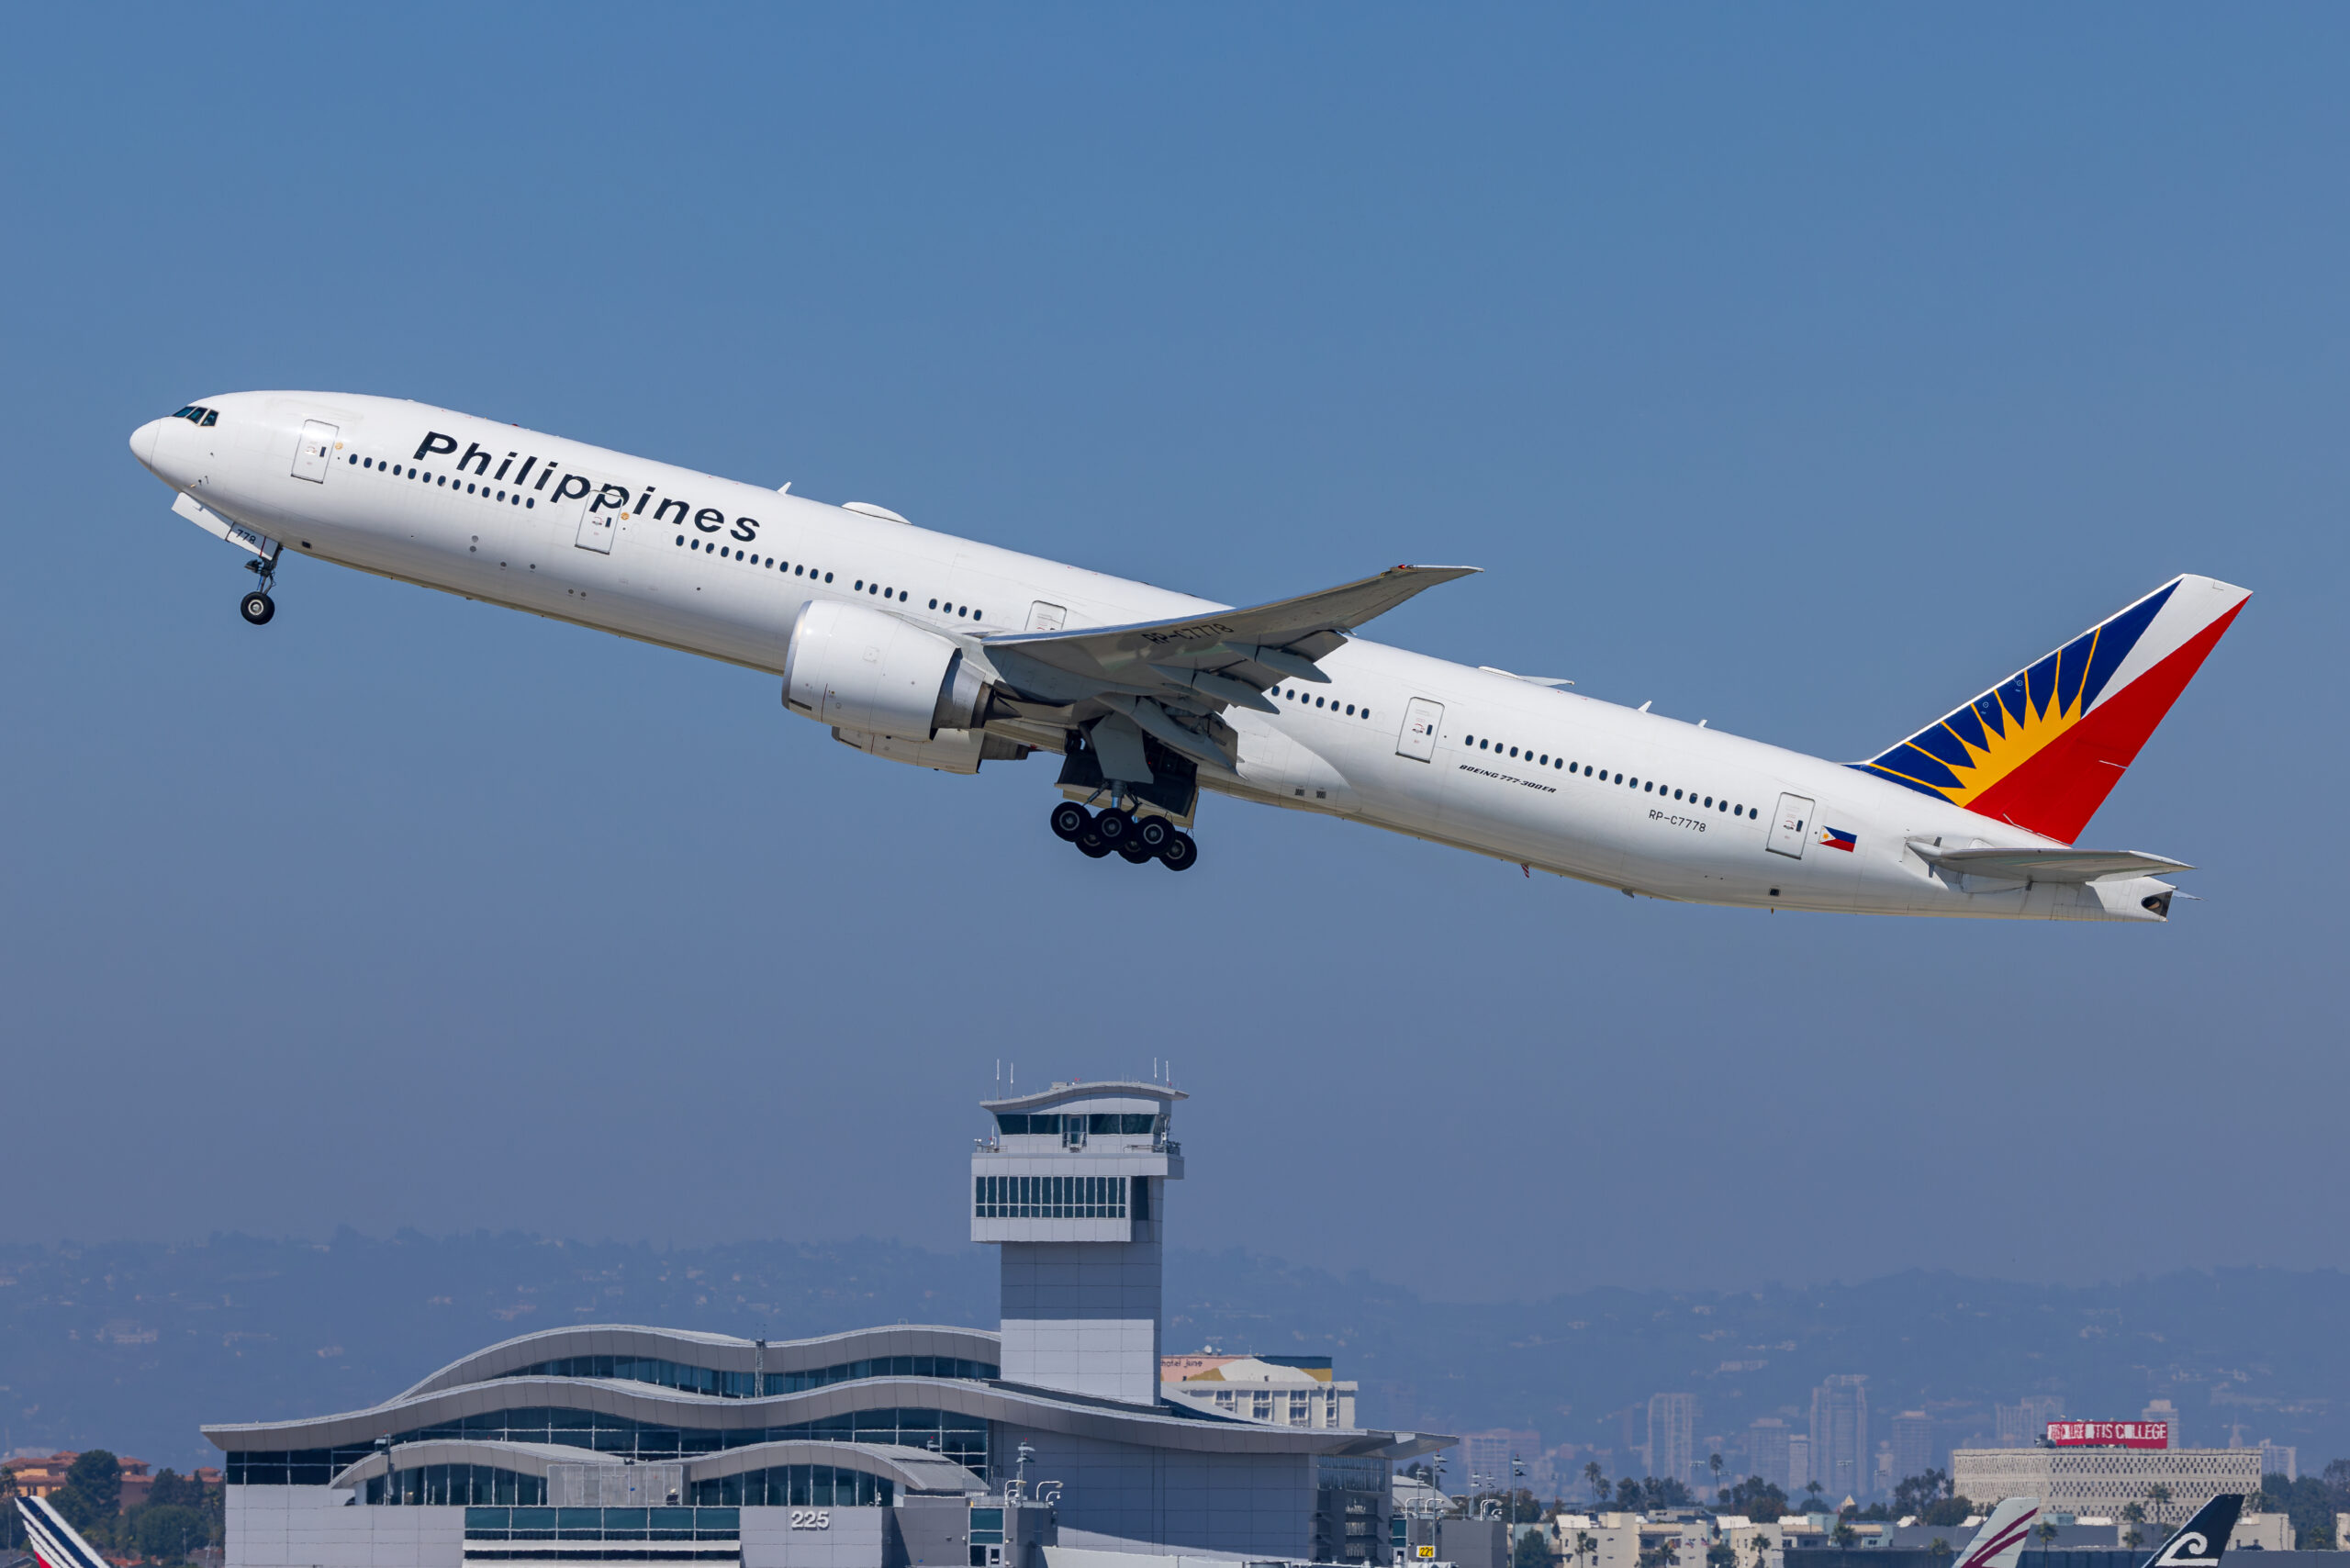
The nose comes up, the gear stays down for a moment, the aircraft hangs there. Get low. The rotation point moves depending on aircraft weight and type, and a heavy long-haul departure will rotate much further down the runway than a half-empty regional jet, so watch a few before you commit to a position. Heat shimmer off the runway will be at its worst here on a hot day, and that shimmer is sometimes worth including deliberately: a heavy departing through its own heat distortion is a real photograph, not a spoiled one.
Where to shoot: choosing a position
You do not need airside access. Almost every great civil photograph you have seen was taken from a public road, a hedge, a car park or an official viewing area.
What makes a good position
- The sun is behind you for the direction the airport is currently operating.
- The background is clean, or at least consistent, so you are not fighting a different mess in every frame.
- The aircraft is close enough that heat haze is not eating the detail. Closer is almost always better than longer.
- You are legally and safely there, not on private land, not blocking a road, not in a residential driveway.
- It works for the traffic you want. A position that is perfect for arrivals may be useless for departures.
Official viewing areas
Manchester Airport operates a Runway Visitor Park on Sunbank Lane on the north side of the airfield, sited between the runways and next to the taxiway, and it is one of the very few purpose-built facilities of its kind in the UK. Entry is free and you pay only for parking. Aircraft taxi past close enough that a 200mm lens is often more than enough, and there are preserved airframes on site including a Concorde. It is the easiest place in Britain to spend a first day photographing airliners and come home with something.
The equivalent phenomenon elsewhere is the informal spot that has become a fixture. Myrtle Avenue, a residential street under the approach to Heathrow’s southern runway, is probably the best-known aircraft photography location on the planet: it sits under the approach and gives you aircraft a few hundred feet overhead, gear down, on short finals. There are no facilities of any kind, which is worth knowing before you commit to a six-hour session. It is a five-minute walk from public transport at Hatton Cross.
Bear in mind that both those positions only work when the airport is operating in the direction that brings traffic to them. Wind direction is the boss.
Finding a spot at an unfamiliar airport
The method is the same everywhere:
- Look at a satellite view and find the runway threshold and its magnetic heading.
- Find the public roads and footpaths that run near the extended centreline or alongside the runway.
- Check where the sun will be at your intended time.
- Look for elevation. Bridges, embankments, car park roofs, hills.
- Check locally whether photography from that position is tolerated. Some places are relaxed, some are not, and it varies enormously by country.
Our broader guide to plane spotting at major airports goes into the practical side of a spotting day in more depth, including what to take and how to log what you see.
| Position | Best shot | Typical lens | Main risk |
|---|---|---|---|
| Under the approach, 1 to 2 miles out | Classic configured approach | 200 to 400mm | Aircraft too small if you sit too far out |
| Directly under the threshold | Belly, gear, flaps | 70 to 200mm | Backlighting, shadowed underside |
| Beside the runway midpoint | Touchdown, rollout, rotation | 300 to 500mm | Fences, heat haze |
| Elevated viewing mound or terrace | Planform, taxiway, apron context | 100 to 400mm | Glass, crowds, haze across the field |
| Perimeter road near the holding point | Detail, nose art, crew, gear | 200 to 400mm | Being moved on if the spot is not established |
Shooting through the fence
Sooner or later you will face a chain-link fence between you and the aircraft. It is not the end of the day. Put the front element right against the wire, open the aperture up, use the longest focal length you have and the fence will melt into invisible blur. The full technique, including what to do when the fence has barbed wire or a small mesh, is in our guide to photographing through airfield fences.
Bad weather, heat haze and the shots most people miss
Heat haze is the great destroyer
On a warm day, the air above a runway and above the tarmac between you and the runway becomes a churning mass of different densities. Light passing through it wobbles. The result is an image that looks out of focus but is not: the detail simply was not there to record. No sharpening will fix it, because there is no edge to sharpen.
Your defences, in order of effectiveness:
- Get closer. Less air between you and the aircraft means less shimmer. This is the only real fix.
- Shoot earlier or later. The runway surface is coolest first thing.
- Shoot aircraft in the air rather than on the ground. An aircraft at 300 feet on approach is above most of the worst of the boundary layer.
- Shoot across grass rather than across tarmac. Grass does not radiate heat the way asphalt does.
- Give up and take a wide shot. Heat haze at 24mm is invisible. At 600mm it is fatal.
Rain, spray and low cloud
Wet weather is where the pictures are, and where nobody is standing. A heavy landing on a soaked runway throws up a wall of spray from the main gear that turns a routine arrival into a photograph. Aircraft coming out of low cloud on approach, half-visible, are dramatic in a way a blue-sky arrival never is. In humid conditions with a hard pull-up you sometimes get vapour streaming off the wing roots and flap track fairings.
You need weather sealing or a rain cover, a cloth to keep the front element clear, and the discipline to raise your ISO without agonising about it. A noisy sharp frame of a 777 emerging from a squall beats a clean frame of nothing.
Snow, frost and winter
De-icing operations are a superb and almost entirely unphotographed subject. Aircraft covered in orange or green glycol, spray drifting in the floodlights, ground crew in high-vis working in the dark: it is industrial photography of a high order, and it happens at exactly the hour when most photographers have gone home.
Night, dusk and long exposures
The blue hour is the best twenty minutes of the day
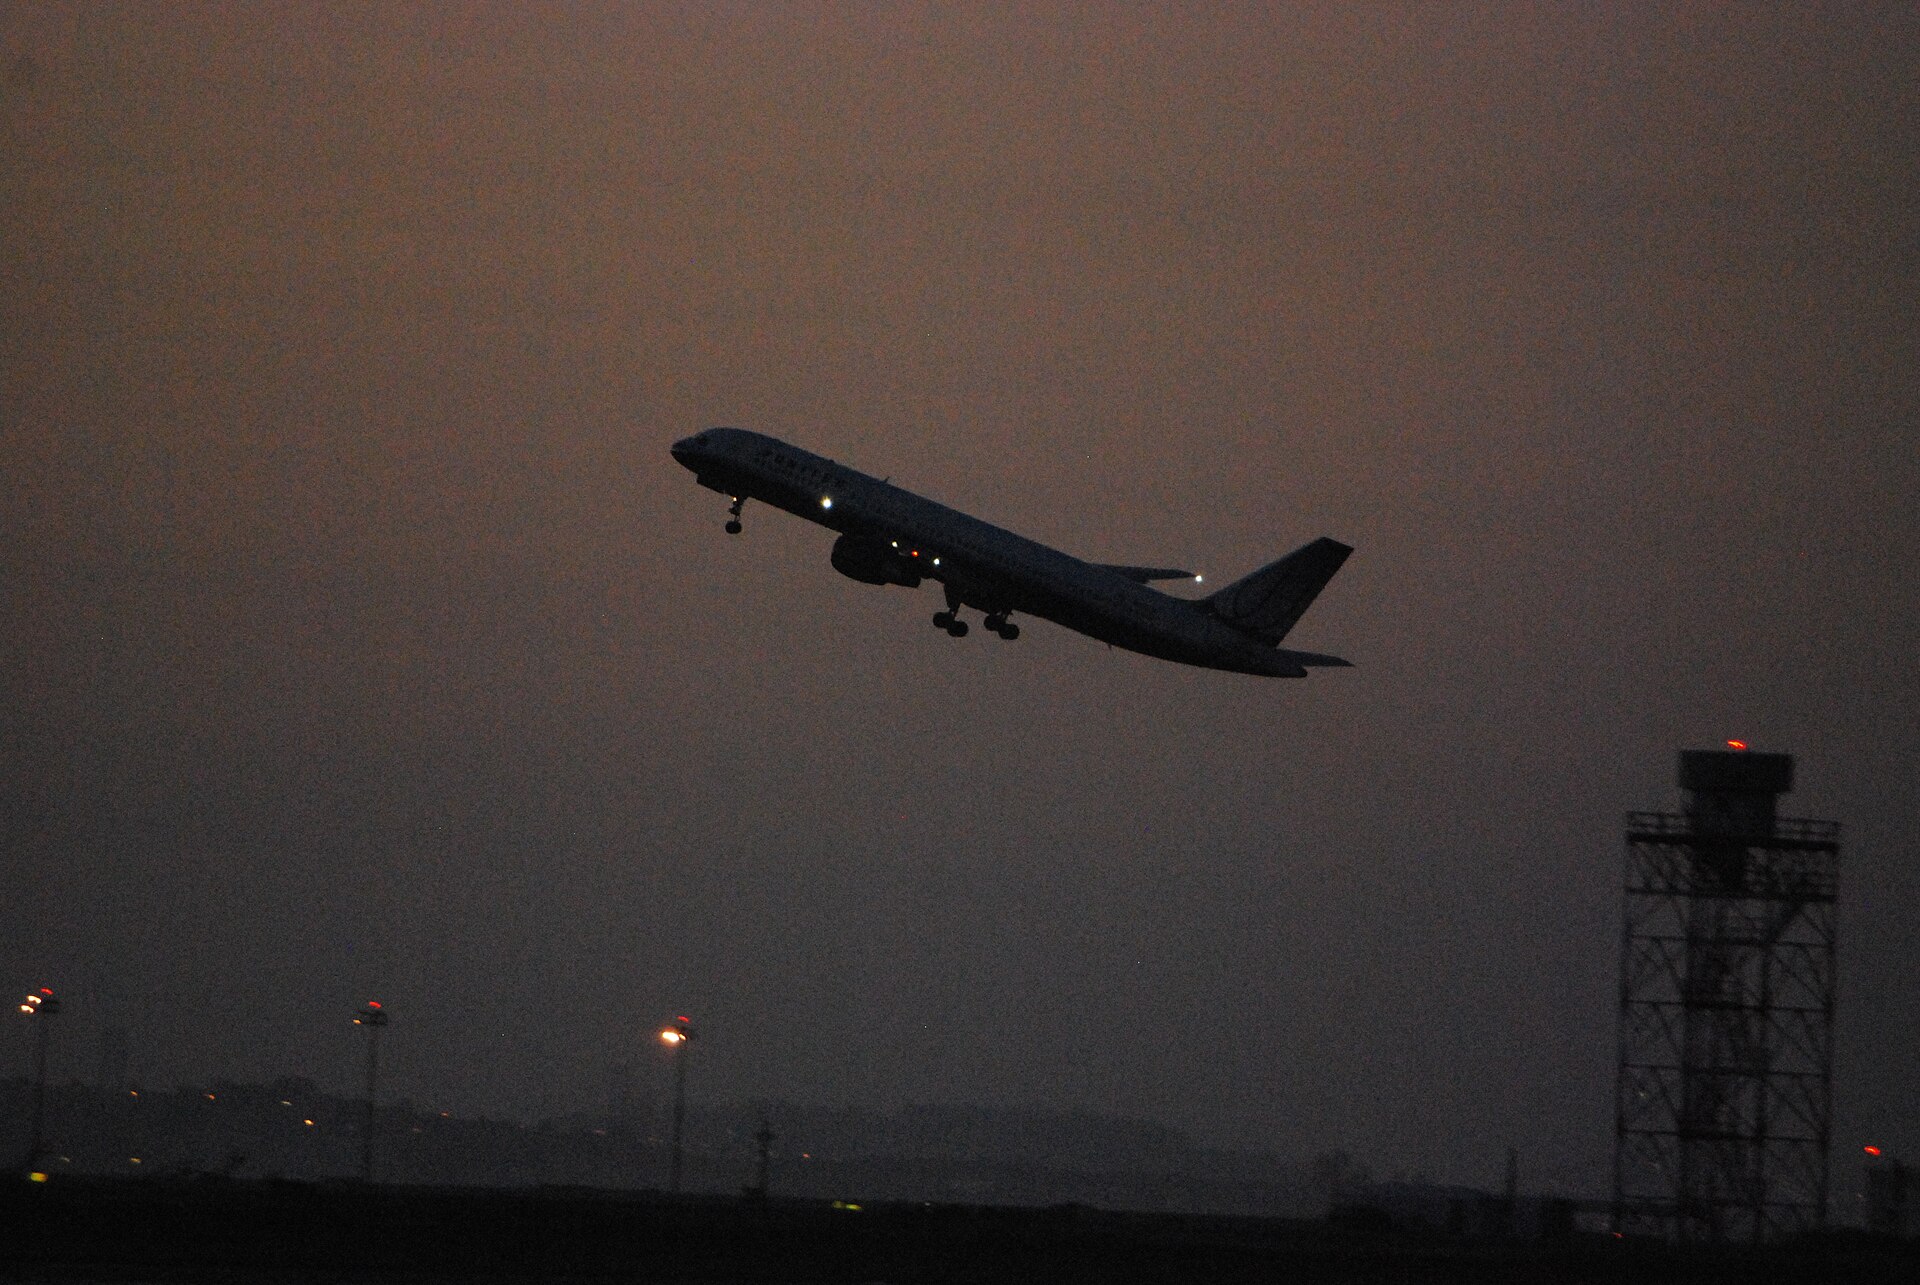
For roughly twenty minutes after sunset, the sky retains a deep blue that balances almost exactly against artificial lighting. Aircraft on stand under apron floodlights, taxiing with their beacons flashing, or rotating with landing lights blazing, all sit beautifully against that blue. Once the sky goes properly black, the picture usually collapses into a black rectangle with some lights in it. Be set up before the sun goes down, and accept that you have a short window.
Settings for moving aircraft after dark
Open the lens wide, drop the shutter to the slowest speed at which you can still hold the aircraft, and let the ISO do what it needs. On a taxiing aircraft, 1/125 of a second is achievable. On a rotating jet it is not; you will be at 1/500 and ISO 12800 and that is fine. Modern raw files with modern noise reduction tolerate far more than most people expect, and the techniques in our guide to noise reduction and sharpening apply directly.
Long exposures of static aircraft
Tripod, ISO 100, f/8, and whatever shutter speed the meter asks for, usually somewhere between two and fifteen seconds. Aircraft on stand are perfectly still, so you can expose for as long as you like. The apron lights will render as starbursts if you stop down. Ground vehicles moving through the frame become light trails, which is a bonus and not a fault. Use the self-timer or a remote release, and turn off any stabilisation.
Light trails and the departure streak
A very long exposure of a departing aircraft turns it into a streak of navigation and landing lights climbing out of the frame. It is a cliche and it is a cliche because it works. Twenty to thirty seconds at f/11 from a position looking down the runway will give you the whole take-off run and the climbout as a single ribbon of light.
Common mistakes and how to fix them
Everything is soft and I do not know why
In civil photography, softness is almost never a lens problem. In order of likelihood:
- Heat haze. Check whether the aircraft was on or near the ground and whether it was warm. If the tarmac in the background is also mushy, it is haze, not you.
- Focus landed on the background. Look at whether the fence, or the terminal, or the treeline is sharp. If it is, your AF area was too large.
- Shutter too slow for the angular rate. An aircraft that is far away needs less shutter speed than the same aircraft overhead. The frames that fail are almost always the close ones.
- Over-cropping. A 40 per cent crop of a slightly soft frame is a very soft frame.
My white aircraft came out grey
Metering. Add exposure compensation and expose for the fuselage. See the section on metering above.
My turboprop looks like a toy
Shutter speed too fast, propellers frozen. Drop to 1/200 and pan.
There is a lamp post growing out of the tail
Position. Move six feet left. It really is that simple, and almost nobody does it.
My photos all look the same
Because you are standing in the same place taking the same shot of every movement. Force yourself: one hour on approaches, one hour on rotations, one hour on details, one hour with a wide lens on the terminal and the sky. You will come home with a body of work instead of a contact sheet.
The horizon is not level
Panning shots drift. It is an easy fix in post and an easier fix in camera by turning on the electronic level. A tilted horizon behind a level aircraft is one of the most common giveaways of a rushed frame.
Editing airliner photographs
Civil photography has a specific editing brief that differs from warbird or fast-jet work: the colours must be true, because the colours are the subject.
White balance is not optional
An airline’s brand colours are a legal and commercial asset, and a picture editor will notice immediately if the Ryanair yellow has gone green or the British Airways blue has gone purple. Shoot raw, and set white balance deliberately rather than leaving it on auto across a session where the light is changing. If you have a grey card, one frame of it at the start of the session saves you an hour later.
The white fuselage needs restraint
The temptation with a white aircraft is to push the whites and the highlights until it gleams. Do that and you lose all the panel lines, the shadow under the wing root and the modelling that makes the aircraft look three-dimensional. Bring the highlights down, lift the shadows a little, and keep some tone in the white. An aircraft rendered as a flat white shape has been over-processed, not well-exposed.
Sky recovery
Because you exposed for the aircraft, the sky is probably a stop or so hot. A graduated adjustment across the top of the frame, or a simple highlight pull, will usually bring it back. If the sky is truly blown to pure white, do not try to fake blue into it. A clean white sky is honest. A poorly masked blue gradient looks exactly like what it is.
Sharpening and noise
Sharpen for the aircraft, not the frame. Masking sliders exist so that you can apply sharpening to the edges of the airframe without also sharpening the noise in an empty sky. The full workflow, including the order in which to run noise reduction and sharpening, is set out in our practical Lightroom workflow for aviation photos.
Cleaning up
Sensor dust shows up in a plain sky like a rash. Check every frame at 100 per cent along the top of the image. Remove the dust, remove any birds you did not intend, and leave the aircraft alone. Cloning a fence post out of a background is fair. Removing a scuff from an airframe is not, if the picture is going anywhere near an editorial or archival use.
Access, etiquette and staying out of trouble
Photographing aircraft from public land is lawful in the UK, and airport staff and police are broadly used to spotters. That does not mean you can behave however you like, and the single fastest way to close a good spot for everybody is to be a nuisance at it.
- Do not photograph into people’s houses. At residential locations you are a guest of the neighbourhood. Point the lens at the sky.
- Do not block driveways, gateways or narrow roads. Park properly or park elsewhere and walk.
- Do not climb fences, cross boundaries or use drones near an airport. Flying a drone in the vicinity of an aerodrome without permission is a criminal offence, not a grey area.
- Carry identification and be polite if approached. A calm explanation ends almost every encounter with police or security in under a minute.
- Take your litter home. The spots that get closed are the spots that get trashed.
- Be aware that abroad is different. Photography near airports is restricted or actively prohibited in a number of countries. Check before you travel, not after you are detained.
Selling and licensing airliner work
There is a genuine market for civil aviation images, and it is not the one most people assume. Nobody needs another sharp side-on of a current-fleet A320 in standard colours: there are thousands of those and they are free. What has value is specificity and scarcity.
- Aircraft that no longer exist in that configuration, that scheme, or at all.
- Airlines that have collapsed. Every failed carrier becomes an archive request eventually.
- Special liveries photographed cleanly and identifiably, with the registration legible.
- Aviation as an industry: ground crew, de-icing, cargo, maintenance, the human and industrial side that spotters ignore.
- Editorial context: the aircraft at the centre of a news story, photographed the week it mattered.
Whatever you shoot, the metadata is what makes it findable. Type, variant, registration, operator, airport, date. An unlabelled file is an invisible file, and our guide to keywording aviation photos for stock covers how to structure that properly. If you want to see how a working archive presents this kind of material, the Piemags galleries and the archive collections are organised on exactly those lines, and the licensing terms set out how the images are made available for commercial and editorial use.
Almost everything in this guide is shaped by an aeroplane none of us will photograph in service. Our history of the Boeing 707 covers the layout it settled, which is still the layout you are pointing a lens at today.
Frequently asked questions
What camera settings should I use for airliner photography?
For jet airliners in reasonable daylight, start at 1/1000 of a second, f/6.3 to f/8, with auto ISO and continuous autofocus. For turboprops such as an ATR or a Dash 8, drop the shutter to between 1/160 and 1/250 of a second so that the propellers blur into an arc. Add around two thirds of a stop of positive exposure compensation so that the white fuselage does not render grey.
What lens do I need to photograph airliners?
A 70 to 300mm or 100 to 400mm zoom covers almost all civil work, because airport positions usually put you far closer to the aircraft than an airshow crowdline does. A 600mm prime is rarely necessary and, across a hot runway, heat haze will destroy the extra detail anyway. Zoom flexibility matters more than maximum aperture for this subject.
Why are my airliner photos soft or blurry?
Usually heat haze rather than a technical fault, especially if the aircraft was on or near the ground on a warm day. Check whether the background is also mushy: if it is, the air was the problem, not your focus. The other common causes are an autofocus area that was too wide and latched onto the fence or terminal behind the aircraft, and a shutter speed that was fine at distance but too slow once the aircraft was overhead.
What is the best time of day to photograph airliners?
The two hours after sunrise and the two hours before sunset give warm, directional light and the least heat haze. The twenty minutes after sunset, when the sky still holds deep blue and the airport lights are on, produce the most atmospheric images of the day. Which end of the airport you use depends entirely on the runway direction in use, which is set by the wind.
Where can I photograph airliners in the UK?
Manchester Airport runs an official Runway Visitor Park on Sunbank Lane with free entry and paid parking, and it is the easiest place in Britain to start. Heathrow’s best-known location is Myrtle Avenue, a residential street under the approach to the southern runway, which offers very close views of arriving aircraft but has no facilities whatsoever. Both only work when the airport is operating in the direction that brings traffic towards them.
Is plane spotting legal in the UK?
Photographing aircraft from public land in the UK is lawful, and airport police and staff are used to spotters. You may still be approached and asked what you are doing, and a polite explanation almost always resolves it. Do not trespass, do not fly drones near an aerodrome, and be aware that photography near airports is restricted or prohibited in some other countries.
How do I photograph airliners at night?
For aircraft on stand, use a tripod at ISO 100 and f/8 with an exposure of a few seconds, and turn stabilisation off. For moving aircraft, open the aperture wide, keep the shutter as slow as you can hold, and raise the ISO without hesitation: a noisy sharp frame beats a clean blurred one. The best results come in the blue hour just after sunset, when the sky still balances against the artificial lighting.
Which airliner photographs are actually worth money?
Scarcity, not sharpness. Aircraft in schemes that no longer exist, airlines that have since collapsed, special and retro liveries with the registration legible, and the industrial side of aviation such as cargo, de-icing and ground crew all have real archival value. A standard side-on of a current-fleet aircraft in standard colours does not, because there are already thousands of them.
Do I need to blur the propellers on a turboprop?
Yes, if you want the aircraft to look as though it is flying. A frozen propeller makes an ATR or a Dash 8 look like a static model. Around 1/250 of a second gives a safe arc with a high keeper rate, and 1/125 gives a full disc at the cost of many more failed frames.
What is the best lens for airliner photography?
A 100-400 or 150-600 class zoom covers most spotting positions, giving you reach for aircraft on approach and the flexibility to pull back for a close taxiing jet. At tighter fences a 70-200 is often enough, while very distant runways can justify a longer prime or a converter.
How do you avoid heat shimmer when photographing airliners?
Shoot approach and departure rather than aircraft sitting on hot concrete, get as close to the subject as access allows, and favour mornings, evenings and cooler or breezier days. Shimmer is worst looking across long stretches of hot tarmac in the middle of the afternoon.
Is it legal to photograph aircraft at airports?
In the UK and most of Europe, photographing aircraft from public land outside the airport perimeter is legal, and many airports have recognised viewing areas. Inside terminals, rules vary by operator, and you should never photograph security screening areas. Behaviour matters as much as legality, so be visible, be polite and expect occasional questions.
For the biggest subject of all, see our history of the Airbus A380 and the notes on photographing it.
For the location itself, our guide to plane spotting at Heathrow covers where to stand, which runway is doing what and the light month by month.
Airliners on approach make a rewarding subject in poor conditions too. See our guide to photographing aircraft in wet weather.
