Bad weather is not a reason to put the camera away. Rain, spray, low cloud and storm light give aviation photographs a mood and drama that a clean blue sky never will, and the days most people stay home are often the days you come back with something different. The trick is to protect yourself and your gear, expose for flat or contrasty light rather than fighting it, and treat the weather as the subject rather than an obstacle. This guide to bad weather aviation photography covers how to read the conditions, keep shooting safely in the wet, and turn grey, rainy and stormy days into your best frames.
Aviation photographers are spoiled by good light far less often than they would like. Airshows go ahead in drizzle, spotting happens under grey overcast, and the most atmospheric military flying often takes place below a low, broken cloudbase. Learning to work in that is one of the biggest steps you can take, because it roughly doubles the number of days you can shoot and it puts you in front of conditions that most people never photograph well. It does mean taking your kit into an environment it was not really built for, so the guide starts with the weather and the light, then deals plainly with protecting your equipment.
What this guide covers
- Reading the weather before you go
- Shooting in flat, overcast light
- Dramatic skies and storm light
- Rain: keeping shooting when it pours
- Spray, wet runways and reheat
- Low cloud, mist and murk
- Protecting your gear
- Condensation: the cold-to-warm trap
- Salt, coast and seafront shows
- Editing flat, wet-weather files
- Fieldcraft: staying dry
- Weather and gear quick reference
- Frequently asked questions
Reading the weather before you go
Good wet-weather photography starts the night before, with the forecast. You are looking for more than “rain” or “no rain”: you want to know the cloudbase, the wind direction, where the breaks in the cloud will be, and when a front is due through, because the most photogenic moments usually come at the edges of the weather rather than in the middle of it. A clearing front, a shaft of sun under a black sky, or the first light after a downpour will beat both flat overcast and flat blue. Aviation weather sources such as the Met Office and aviation TAF and METAR reports give you cloudbase and visibility directly, which is more useful than a generic phone app.
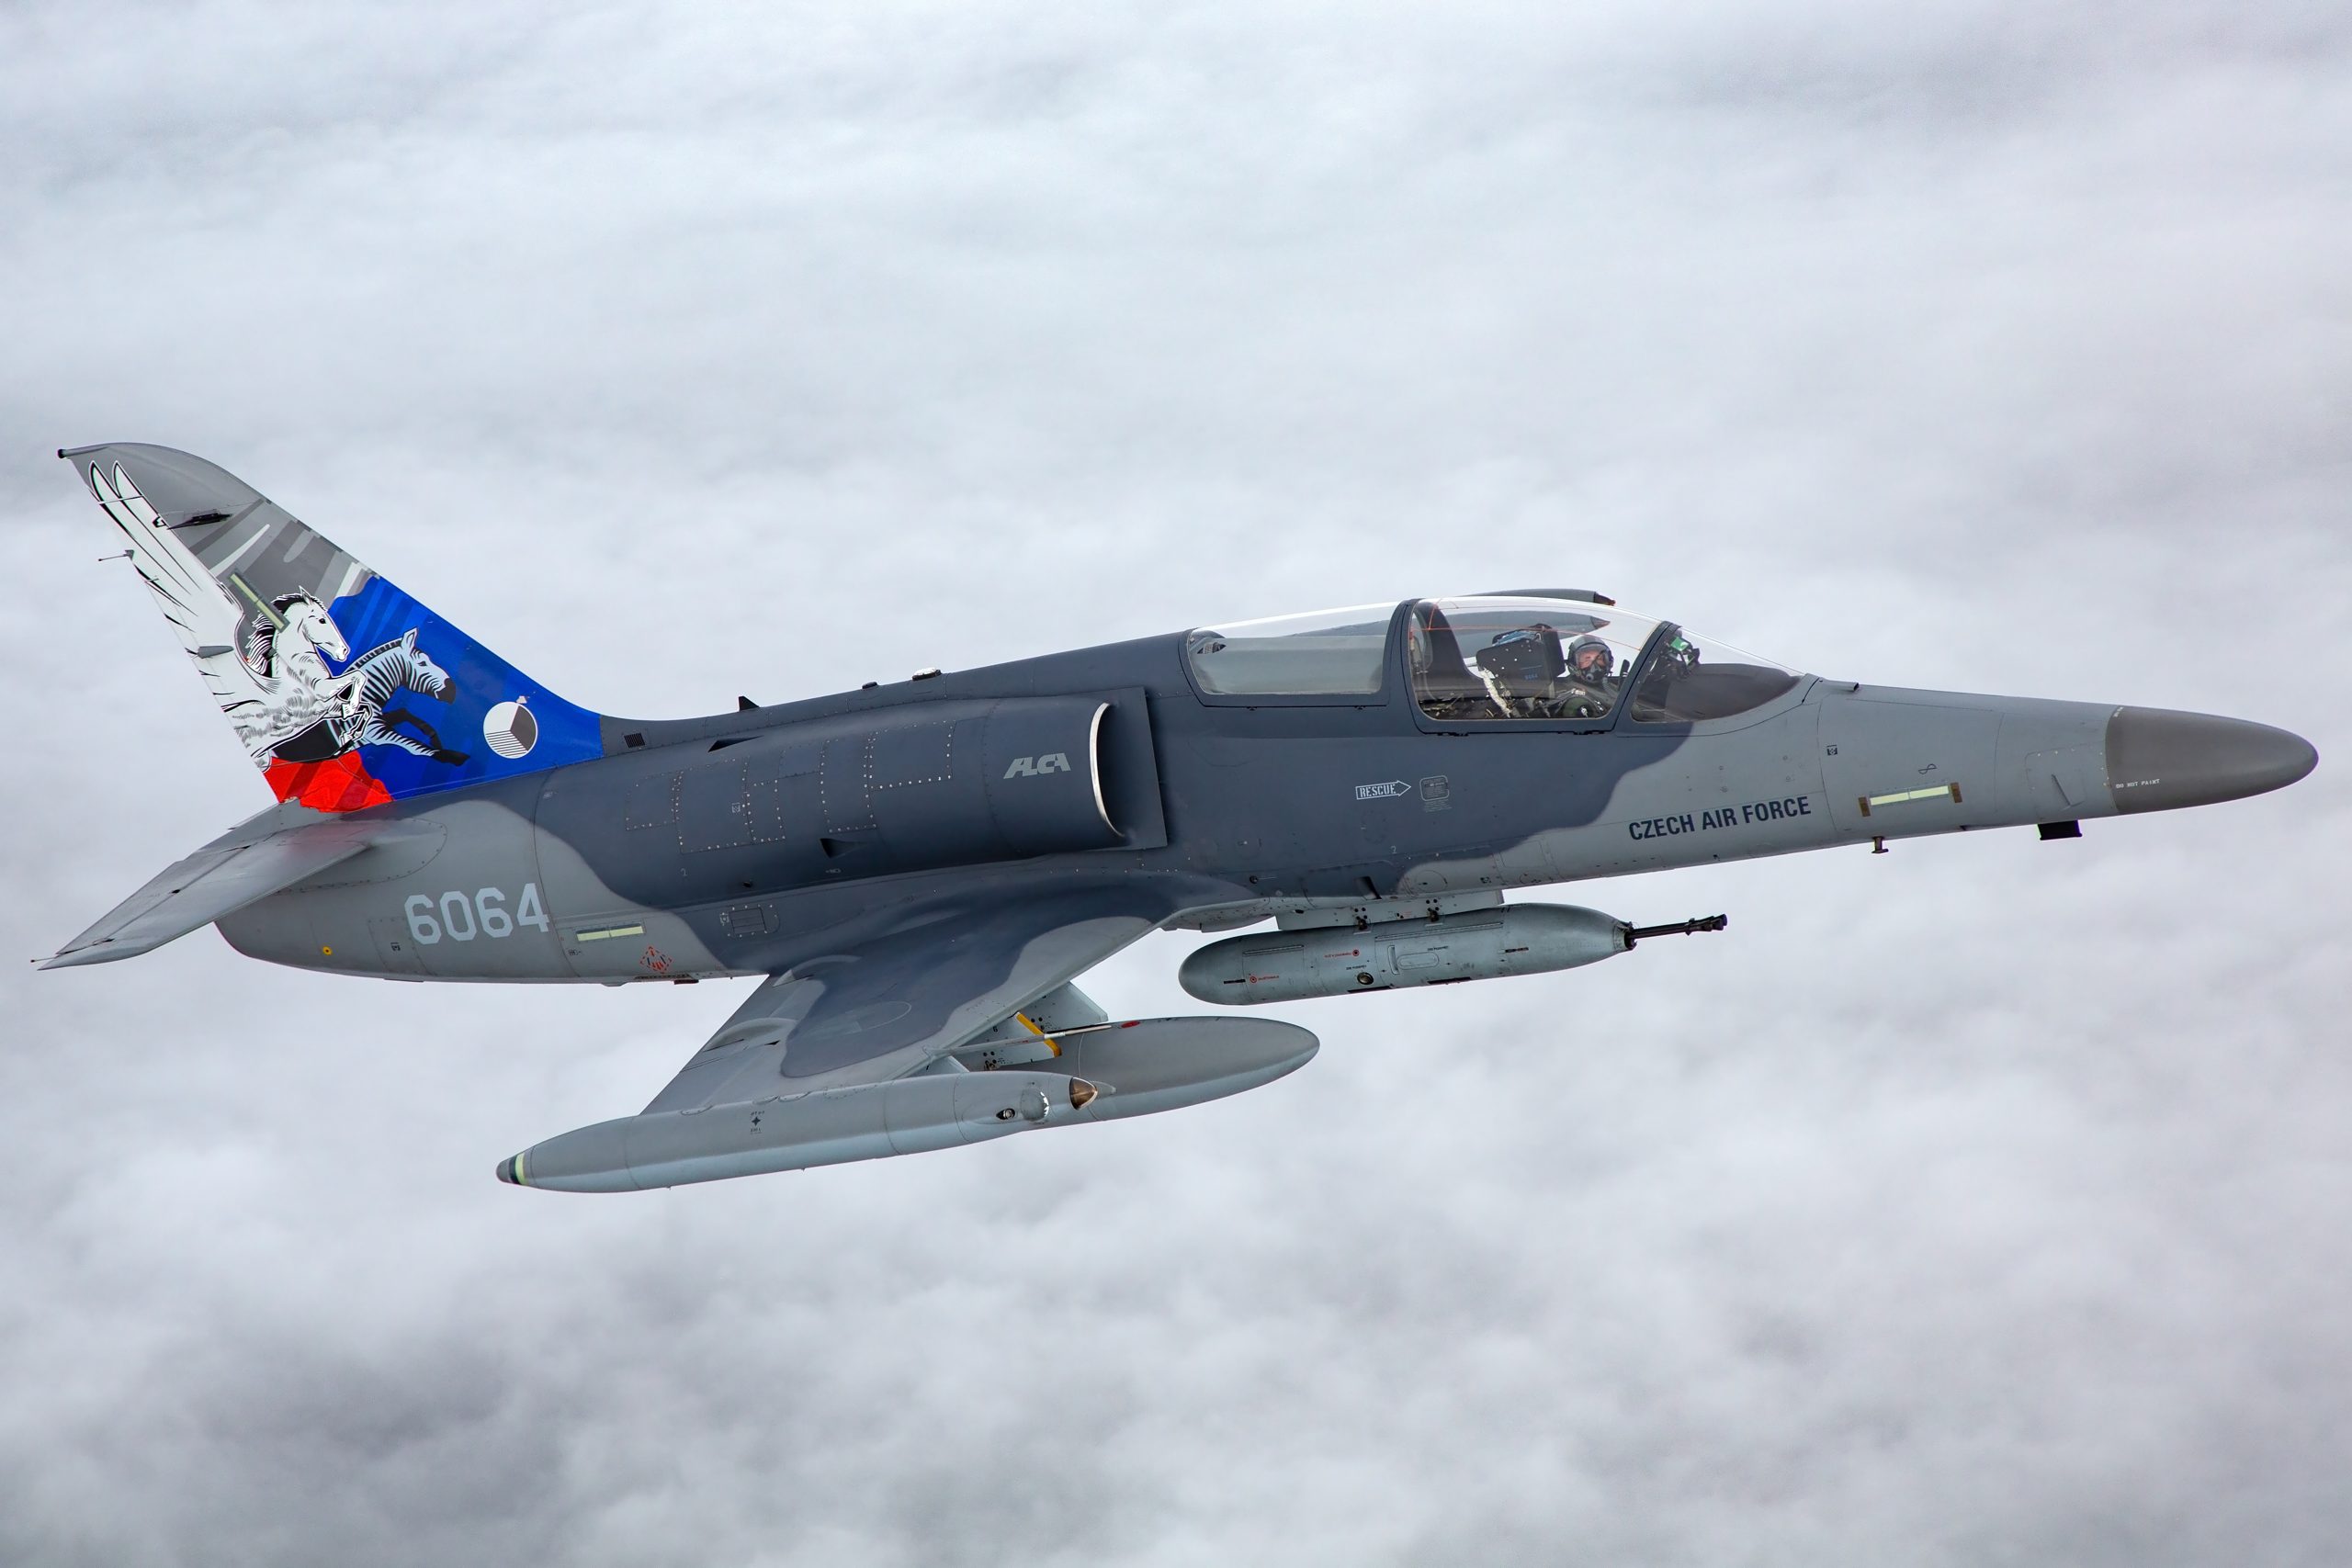
Wind direction matters twice over in the wet. It sets the runway in use, and therefore which way aircraft will take off and land and where the light will fall, and it tells you whether rain will be blowing onto your lens or safely behind you. Where you can, position so the weather is coming from behind or to the side, keeping the wind and rain off the front element. Think about the sun’s position too, even under cloud: a bright patch of overcast behaves like a soft light source, and a rainbow will always appear in the part of the sky opposite the sun, so if you can keep the sun behind you during a passing shower you give yourself a chance at an aircraft framed against a bow. A rain-radar app is one of the most useful tools you can carry on a showery day. Watching the cells move across the map lets you time your shooting around the gaps, take cover before a squall arrives, and be back out with a wiped lens the moment it passes, which is exactly when the freshest light and the cleanest air arrive. Showery days with sun between the cells are often far more productive than either steady rain or flat blue, because they keep serving up new combinations of light and sky. Reading all of this before you arrive means you are in the right place when the weather does something interesting, rather than scrambling.
Shooting in flat, overcast light
A solid overcast is the condition photographers complain about most and understand least. A full cloud layer turns the whole sky into an enormous softbox, spreading soft, even, shadowless light across the aircraft. That is really useful. It kills the harsh contrast and black shadows of midday sun, it shows detail evenly across the top and bottom of an airframe, and it flatters natural metal, complex camouflage and the subtle curves of a fuselage. The problem is not the light on the aircraft; it is the sky behind it, which is usually a bright, textureless grey.
Two things fix most overcast frames. First, expose for the aircraft and let the sky look after itself, using a touch of positive exposure compensation to stop the camera underexposing the subject as it tries to average out that big bright sky. Second, compose to use less sky. Fill the frame with the aircraft, shoot tighter, catch it banking so the planform reads against the ground rather than the blank grey, or wait for a topside pass. When the sky is a featureless white, it is dead space, so give it as little of the frame as you can. Overcast is also the ideal light for detail and for propeller and rotor blur, because the lower light levels let you drop to the slow shutter speeds that blur a disc without overexposing, a point covered in our guide to low-light aviation photography. Watch your white balance on grey days, too. Overcast light is cool and can leave files looking blue and lifeless, so nudging the white balance warmer, either in the field or in raw afterwards, often brings a dull frame back to life. Treated right, a grey day is not a compromise, it is simply a different and very forgiving kind of light.
Dramatic skies and storm light
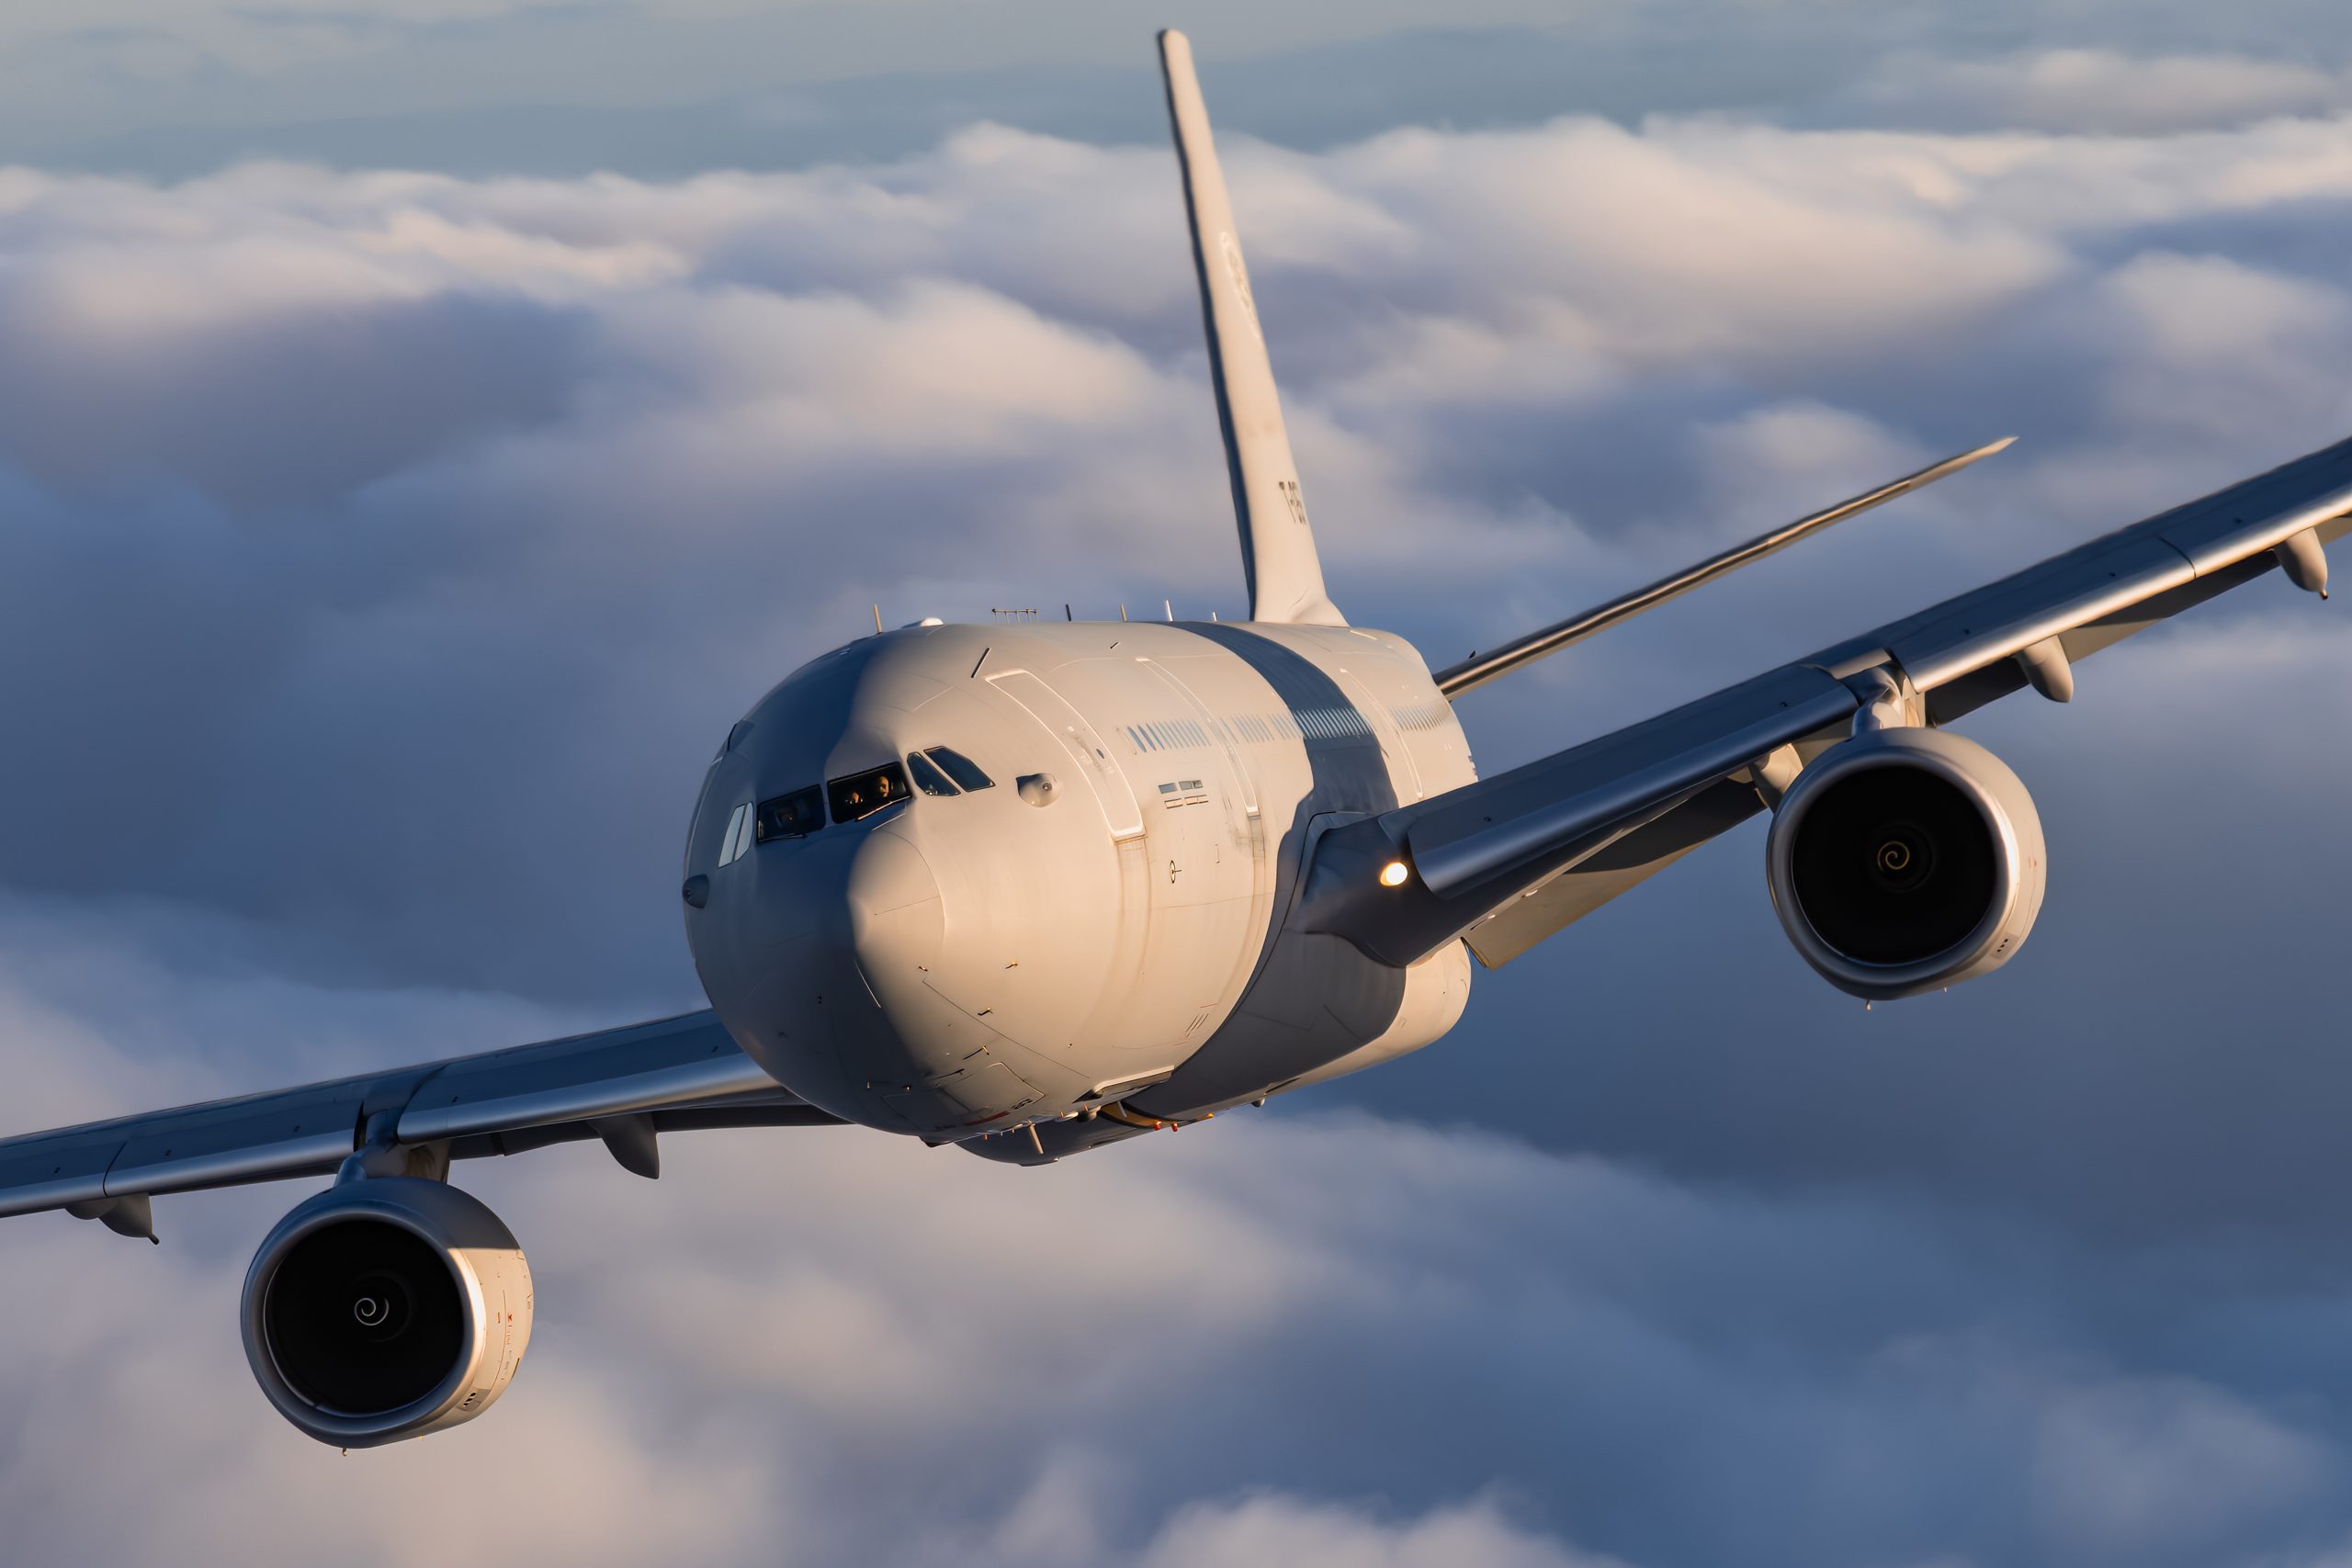
The best wet-weather light is not the rain itself but the theatre around it. A dark, bruised storm sky behind a sunlit aircraft is one of the most dramatic backdrops in the genre, and it happens when a shaft of sun breaks under or beside a heavy cloud and lights the subject while the sky behind stays black. When you see that setup building, be ready, because it lasts seconds. Expose for the sunlit aircraft and the dark sky will fall to a deep, saturated backdrop that makes the aircraft leap out of the frame.
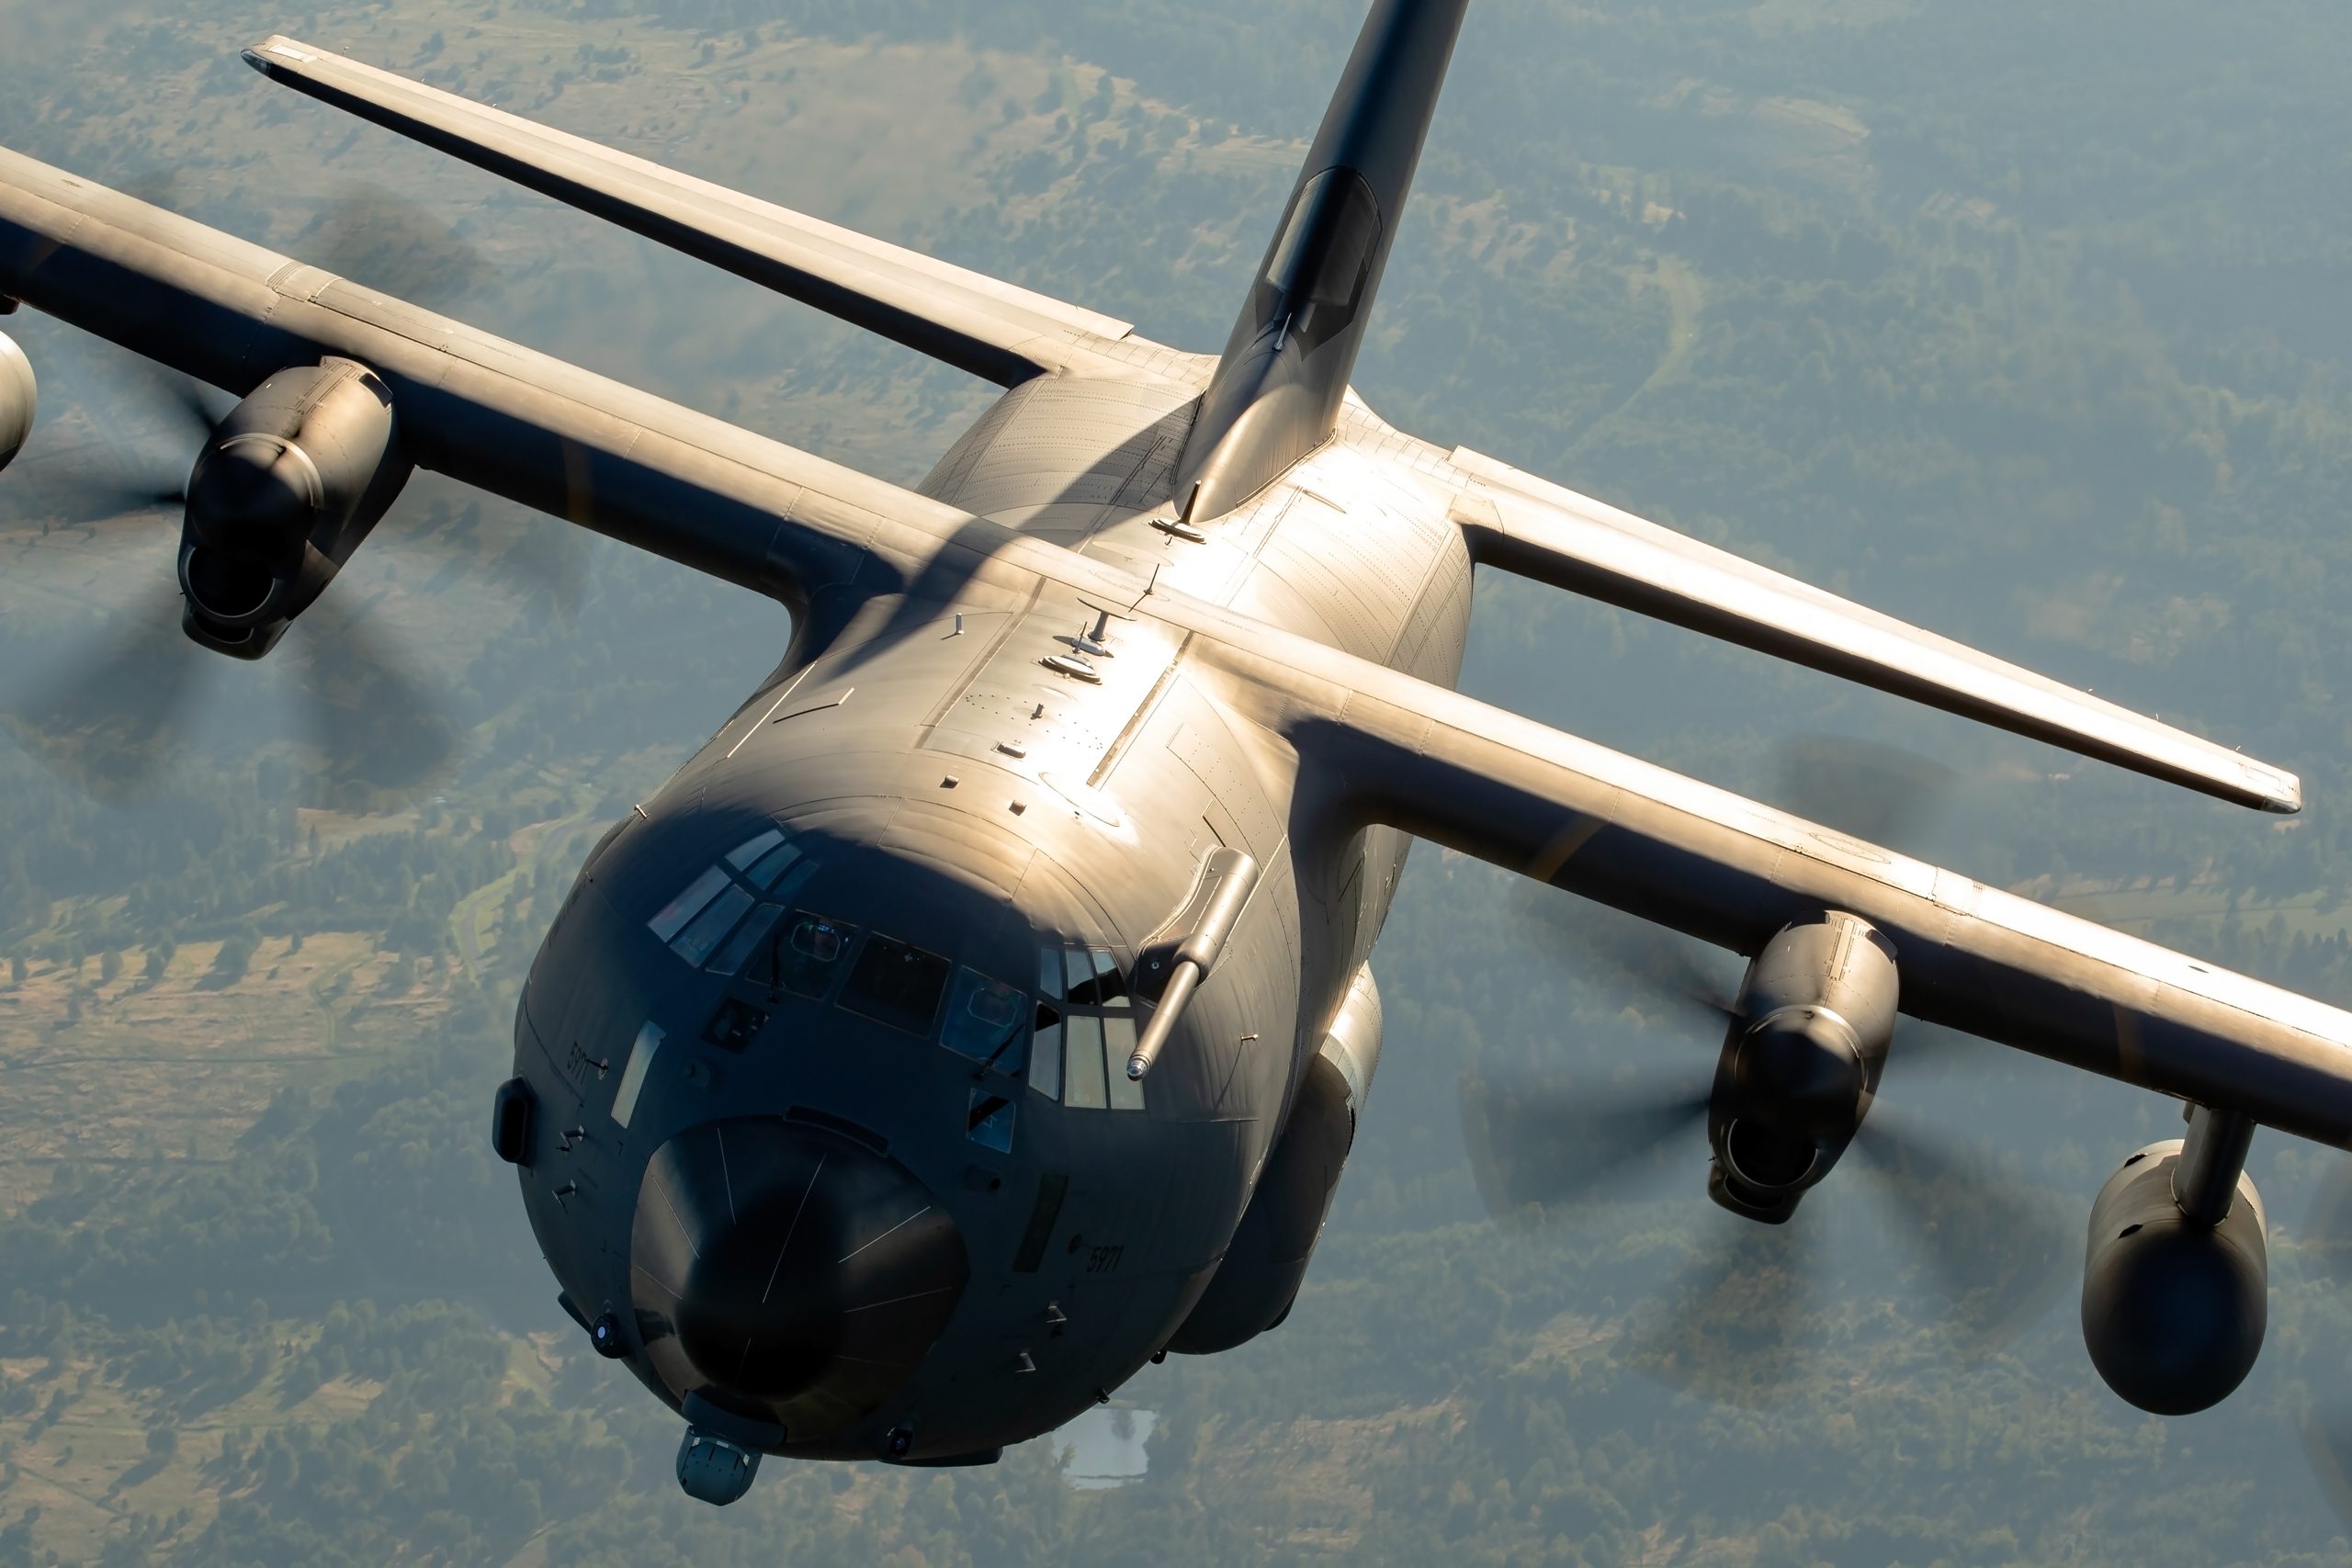
Storm light rewards a few deliberate choices. Underexpose slightly from what the meter suggests, because you want the drama of a dark sky, not a correctly averaged grey one, and it is easy to recover a touch of shadow later while a blown highlight on a black cloud looks wrong. Watch for the aircraft catching a spotlight of sun against the darkest part of the sky, and shoot a burst, because the light shifts constantly, and the frame you dismiss as too dark on the back of the camera is often the one that comes alive once you lift the sunlit aircraft a fraction and let the sky stay heavy. Big transport aircraft, tankers and bombers suit these moody skies particularly well, their size and slow, deliberate flying giving you time to work the composition as the light changes. The same conditions that produce storm light also produce vapour off hard-turning jets, since the humid, unstable air condenses readily, and our guide to photographing aircraft vapour covers how to catch it. Keep half an eye on your own safety here too: if there is lightning about, a long metal lens on a monopod in an open field is not where you want to be.
Rain: keeping shooting when it pours
Actual falling rain is the hardest condition to shoot in and the one that separates people who own weather-resistant gear from people who know how to use it. Rain on the front element is the immediate enemy: a single drop on the glass turns a sharp frame into a soft, flared mess, and it is almost invisible in the viewfinder until you review the shot. The habit that saves you is simple. Keep the lens pointed down or covered whenever you are not actually shooting, raise it, shoot your burst, and lower it again, wiping the front with a microfibre cloth or chamois between passes.
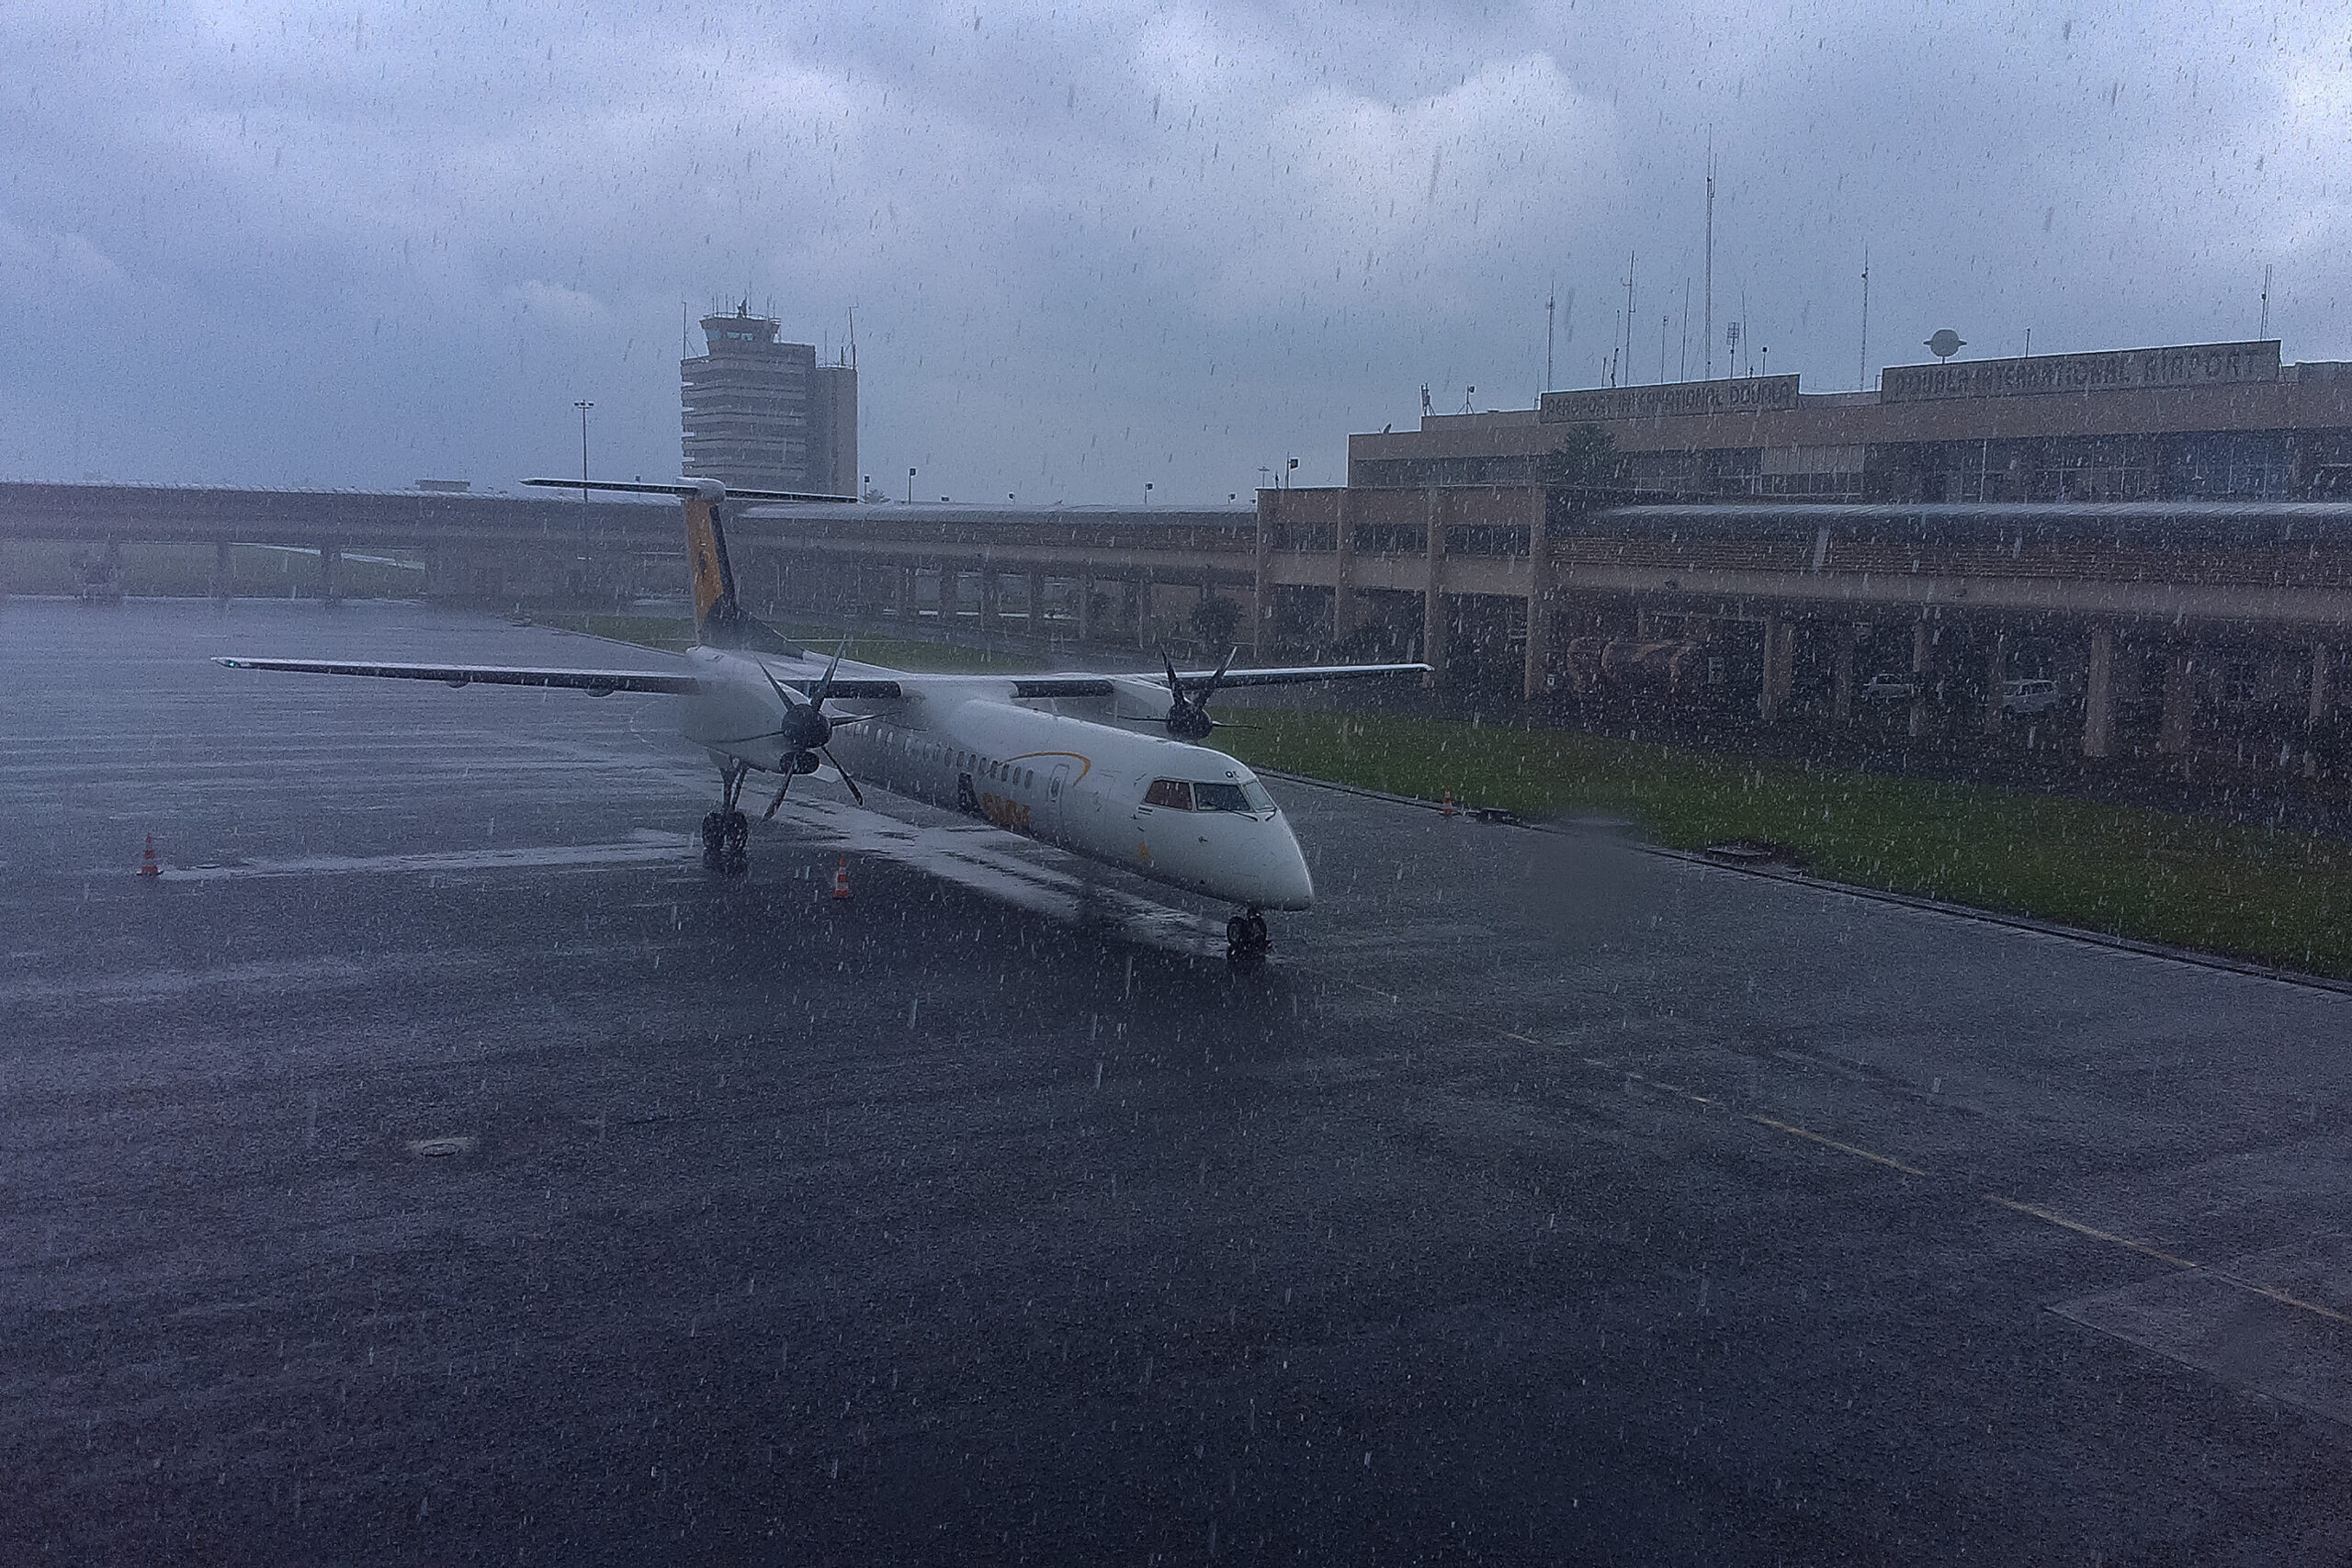
A clear or UV filter on the front earns its place in the rain, not for image quality but because a flat piece of glass is far quicker and safer to wipe or rinse than a curved, coated front element, and it takes the hits. Many modern lenses have fluorine coatings that shed water well, so a filter is a matter of preference in normal use, but in a downpour or in salt spray it is really useful as a sacrificial, wipeable surface. Keep shutter speed up so the odd rain streak reads as a fine line rather than a smear, and remember that rain is easier to see against a dark background than a bright one, so a shower will photograph far better against dark trees or a black sky than against pale cloud. Airliners on approach are a rewarding wet-weather subject because they are large, predictable and slow enough to work carefully, as covered in our guide to photographing civil airliners. Autofocus works harder in the rain, because low contrast, spray and a dark, wet scene give it less to lock onto, so use continuous autofocus, keep the active point on the aircraft rather than the busy background, and do not be afraid to raise the ISO to hold a fast shutter speed under a dark sky. A slightly noisier frame that is sharp beats a clean one that is soft. Above all, protect the camera, and never change a lens in the rain if you can possibly avoid it, a point we return to below.
Spray, wet runways and reheat
A wet runway is a gift. When a fast jet rolls for take-off through standing water, the blast lifts the water into great sheets and curtains of spray that hang behind the aircraft, and a jet in reheat, the British term for afterburner, punching through that spray on a grey day is a spectacular, dramatic image. The spray is standing water thrown up by the jet blast rather than anything the engine itself produces, but in cold, damp air you will often see condensation and exhaust vapour become more visible at the same time, which only adds to the effect.
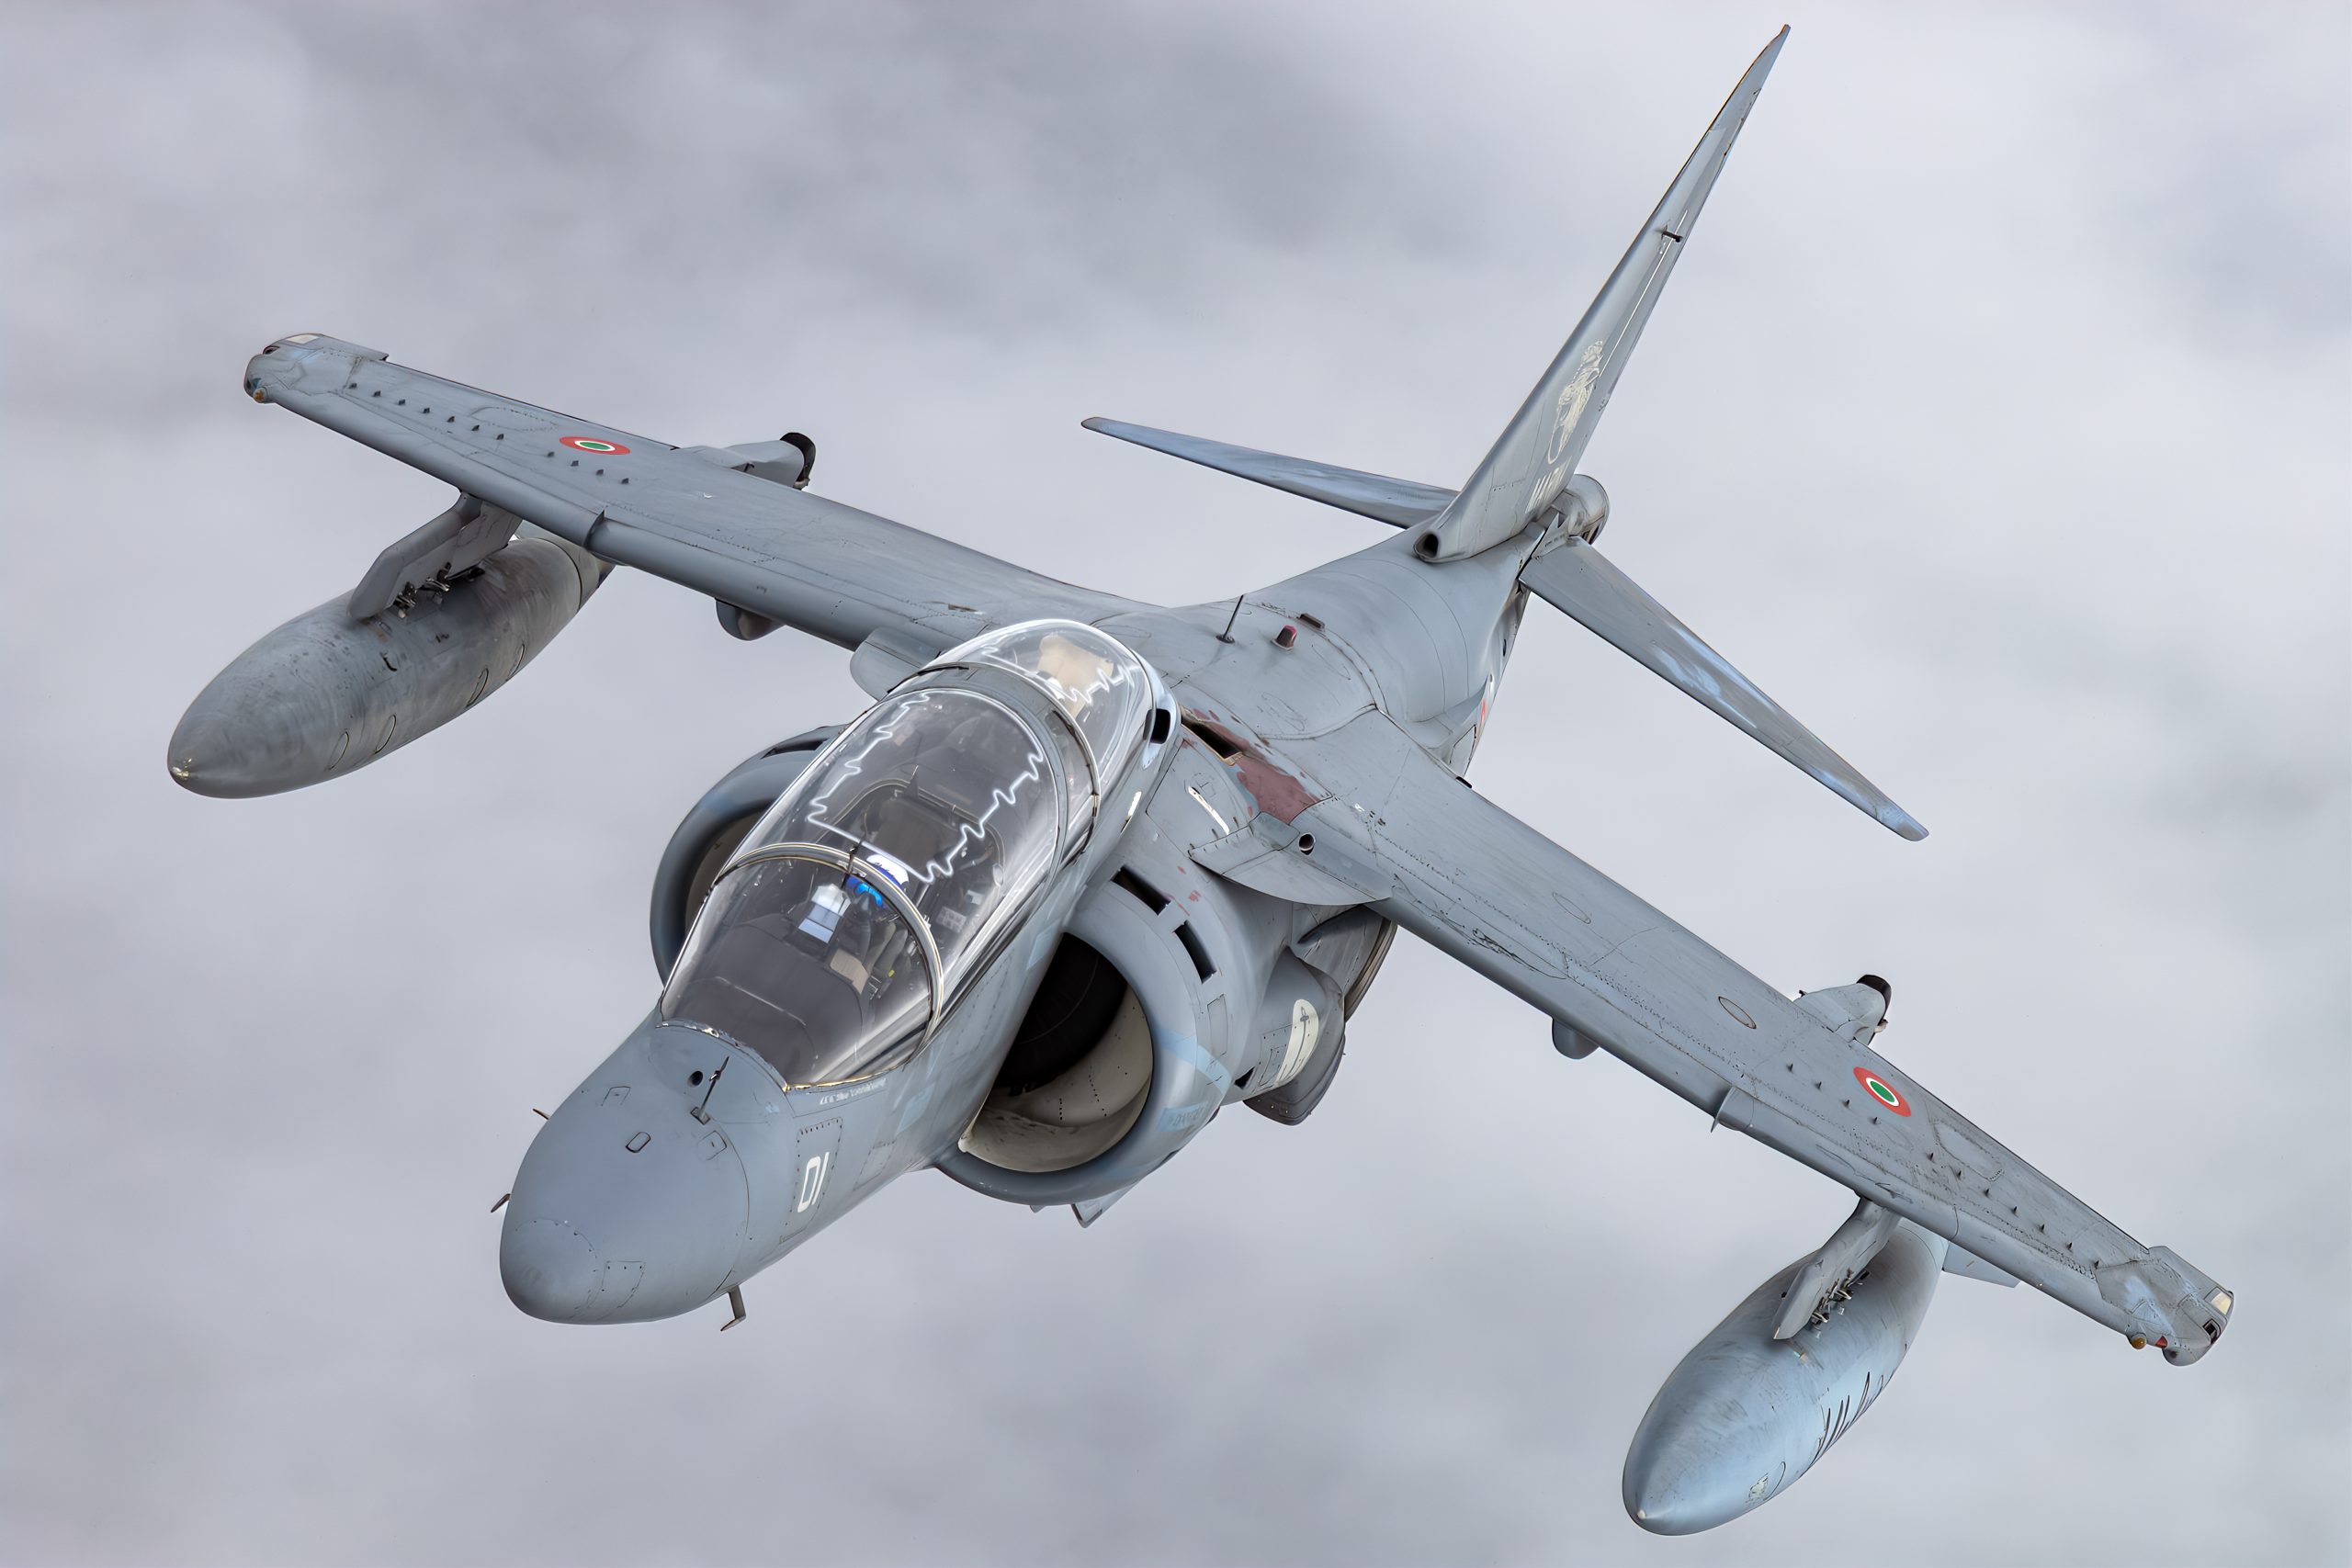
To shoot it, get as square to the runway as the crowd line allows and pre-focus on the point where the aircraft will rotate, because the spray builds through the take-off roll and peaks as the nose comes up. A shutter speed around 1/1000 second freezes the aircraft while keeping the texture in the spray, and a slightly darker exposure holds detail in the bright water against a grey sky. Wet tarmac is worth photographing in its own right, too. A rain-soaked apron or taxiway turns into a mirror, so a low angle that catches the reflection of an aircraft, its lights, or the sky doubles the image and turns a dull ramp into something graphic. After dark, wet tarmac and aircraft navigation and apron lights combine into rich, colourful reflections that reward a tripod and a long exposure.
Low cloud, mist and murk
A low, broken cloudbase changes how and what you shoot. Fast jets are often held lower and flown flatter under a low base, which can actually help you, bringing them closer to your lens and keeping them against terrain rather than empty sky. Aircraft appearing out of and disappearing into ragged cloud, or flying just beneath a heavy grey ceiling, make atmospheric, moody images that say far more about the conditions than a clean pass would.
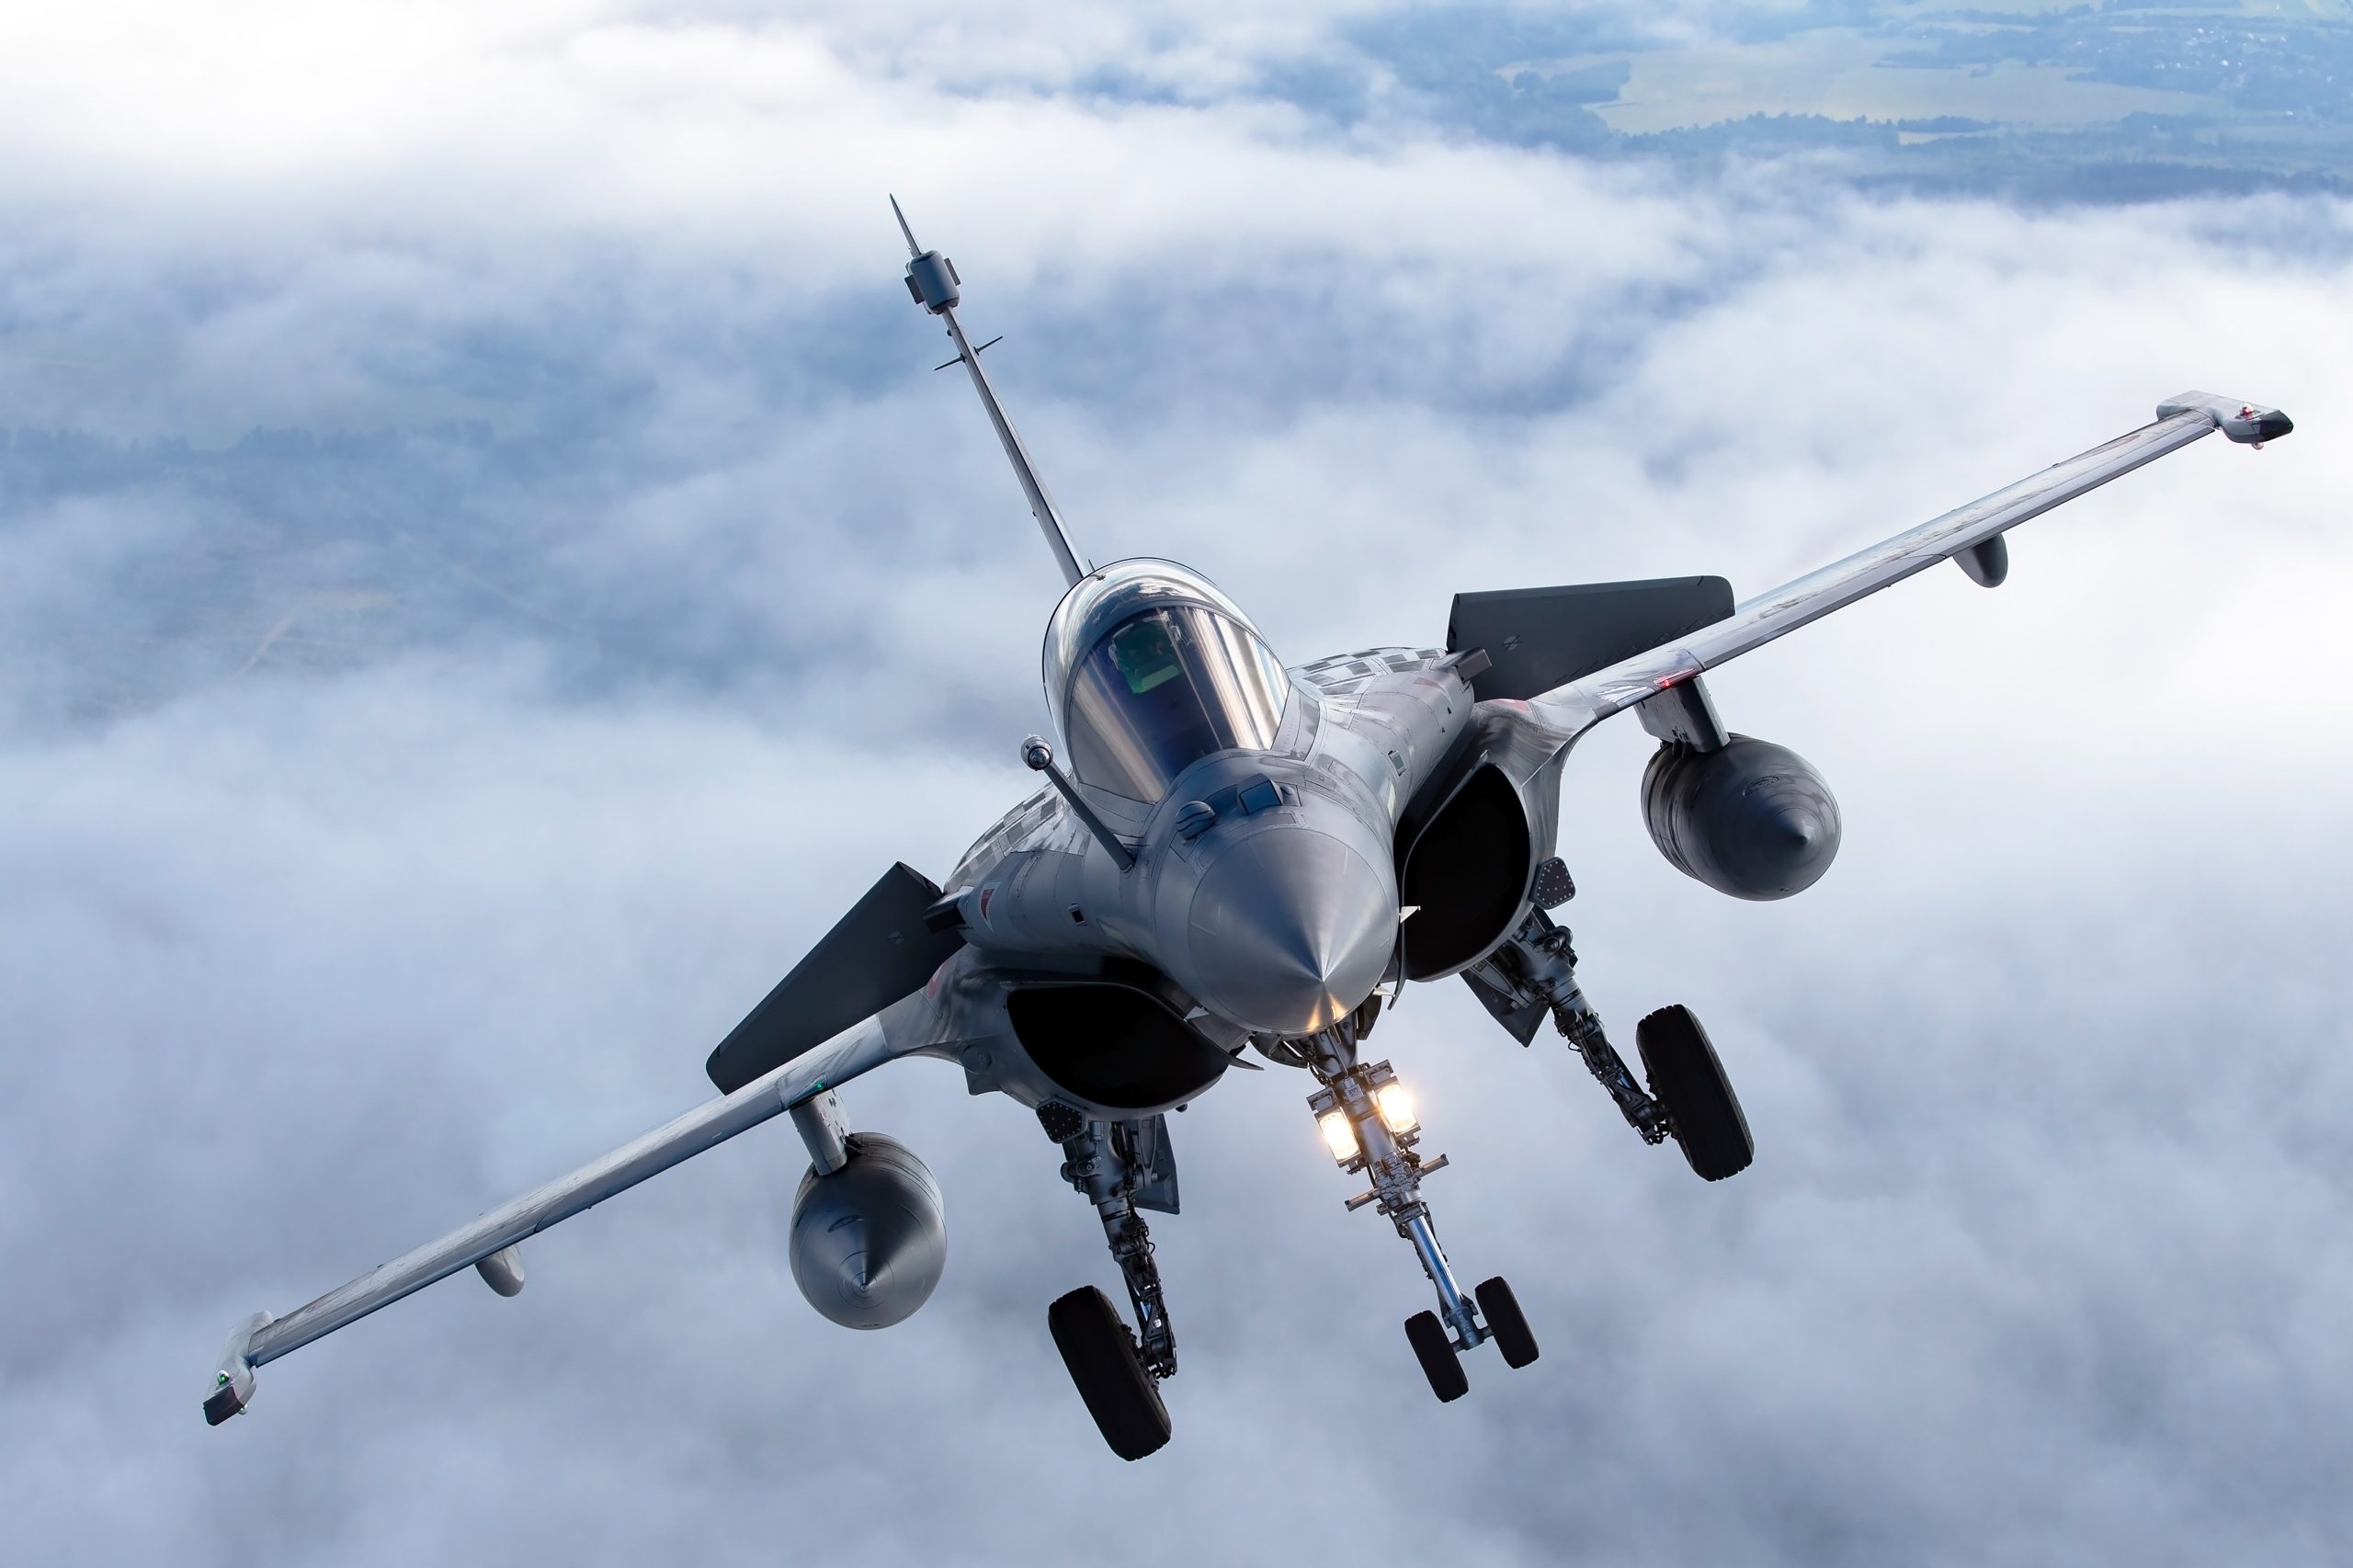
Mist and murk cut contrast and hide detail, so work with them rather than against them. Get closer, physically or with focal length, to put as little haze-filled air between you and the aircraft as possible, because every metre of misty air softens the subject. Expose a little brighter than the meter wants, since mist reads as a bright veil that fools the camera into underexposing, and accept that distant aircraft will be soft and low in contrast, which you can lift later. Use the murk for mood: a helicopter working along a grey coastline, or a transport sliding under a flat ceiling, becomes a picture about weather and place rather than a technical record. This is the opposite problem to heat haze, which shimmers and distorts on hot days, and our guide to dealing with heat haze covers that warm-weather cousin.
Protecting your gear
Here is the honest truth about weather sealing that the marketing does not spell out. With a couple of exceptions, the mainstream mirrorless makers do not give their interchangeable-lens cameras any official ingress-protection rating. Canon, Nikon and Sony describe their professional bodies as “dust- and moisture-resistant” or “drip-resistant,” and they are careful to say this is not the same as waterproof. Canon states plainly that its sealing “cannot completely prevent dust or water droplets from entering,” and Sony’s own manuals warn that the camera “is not waterproof or splash-proof.” Water damage is generally not covered by warranty. Sealing buys you resistance to spray and light rain, not immunity, and it is there to let you keep working briefly in the wet, not to let you ignore the weather.
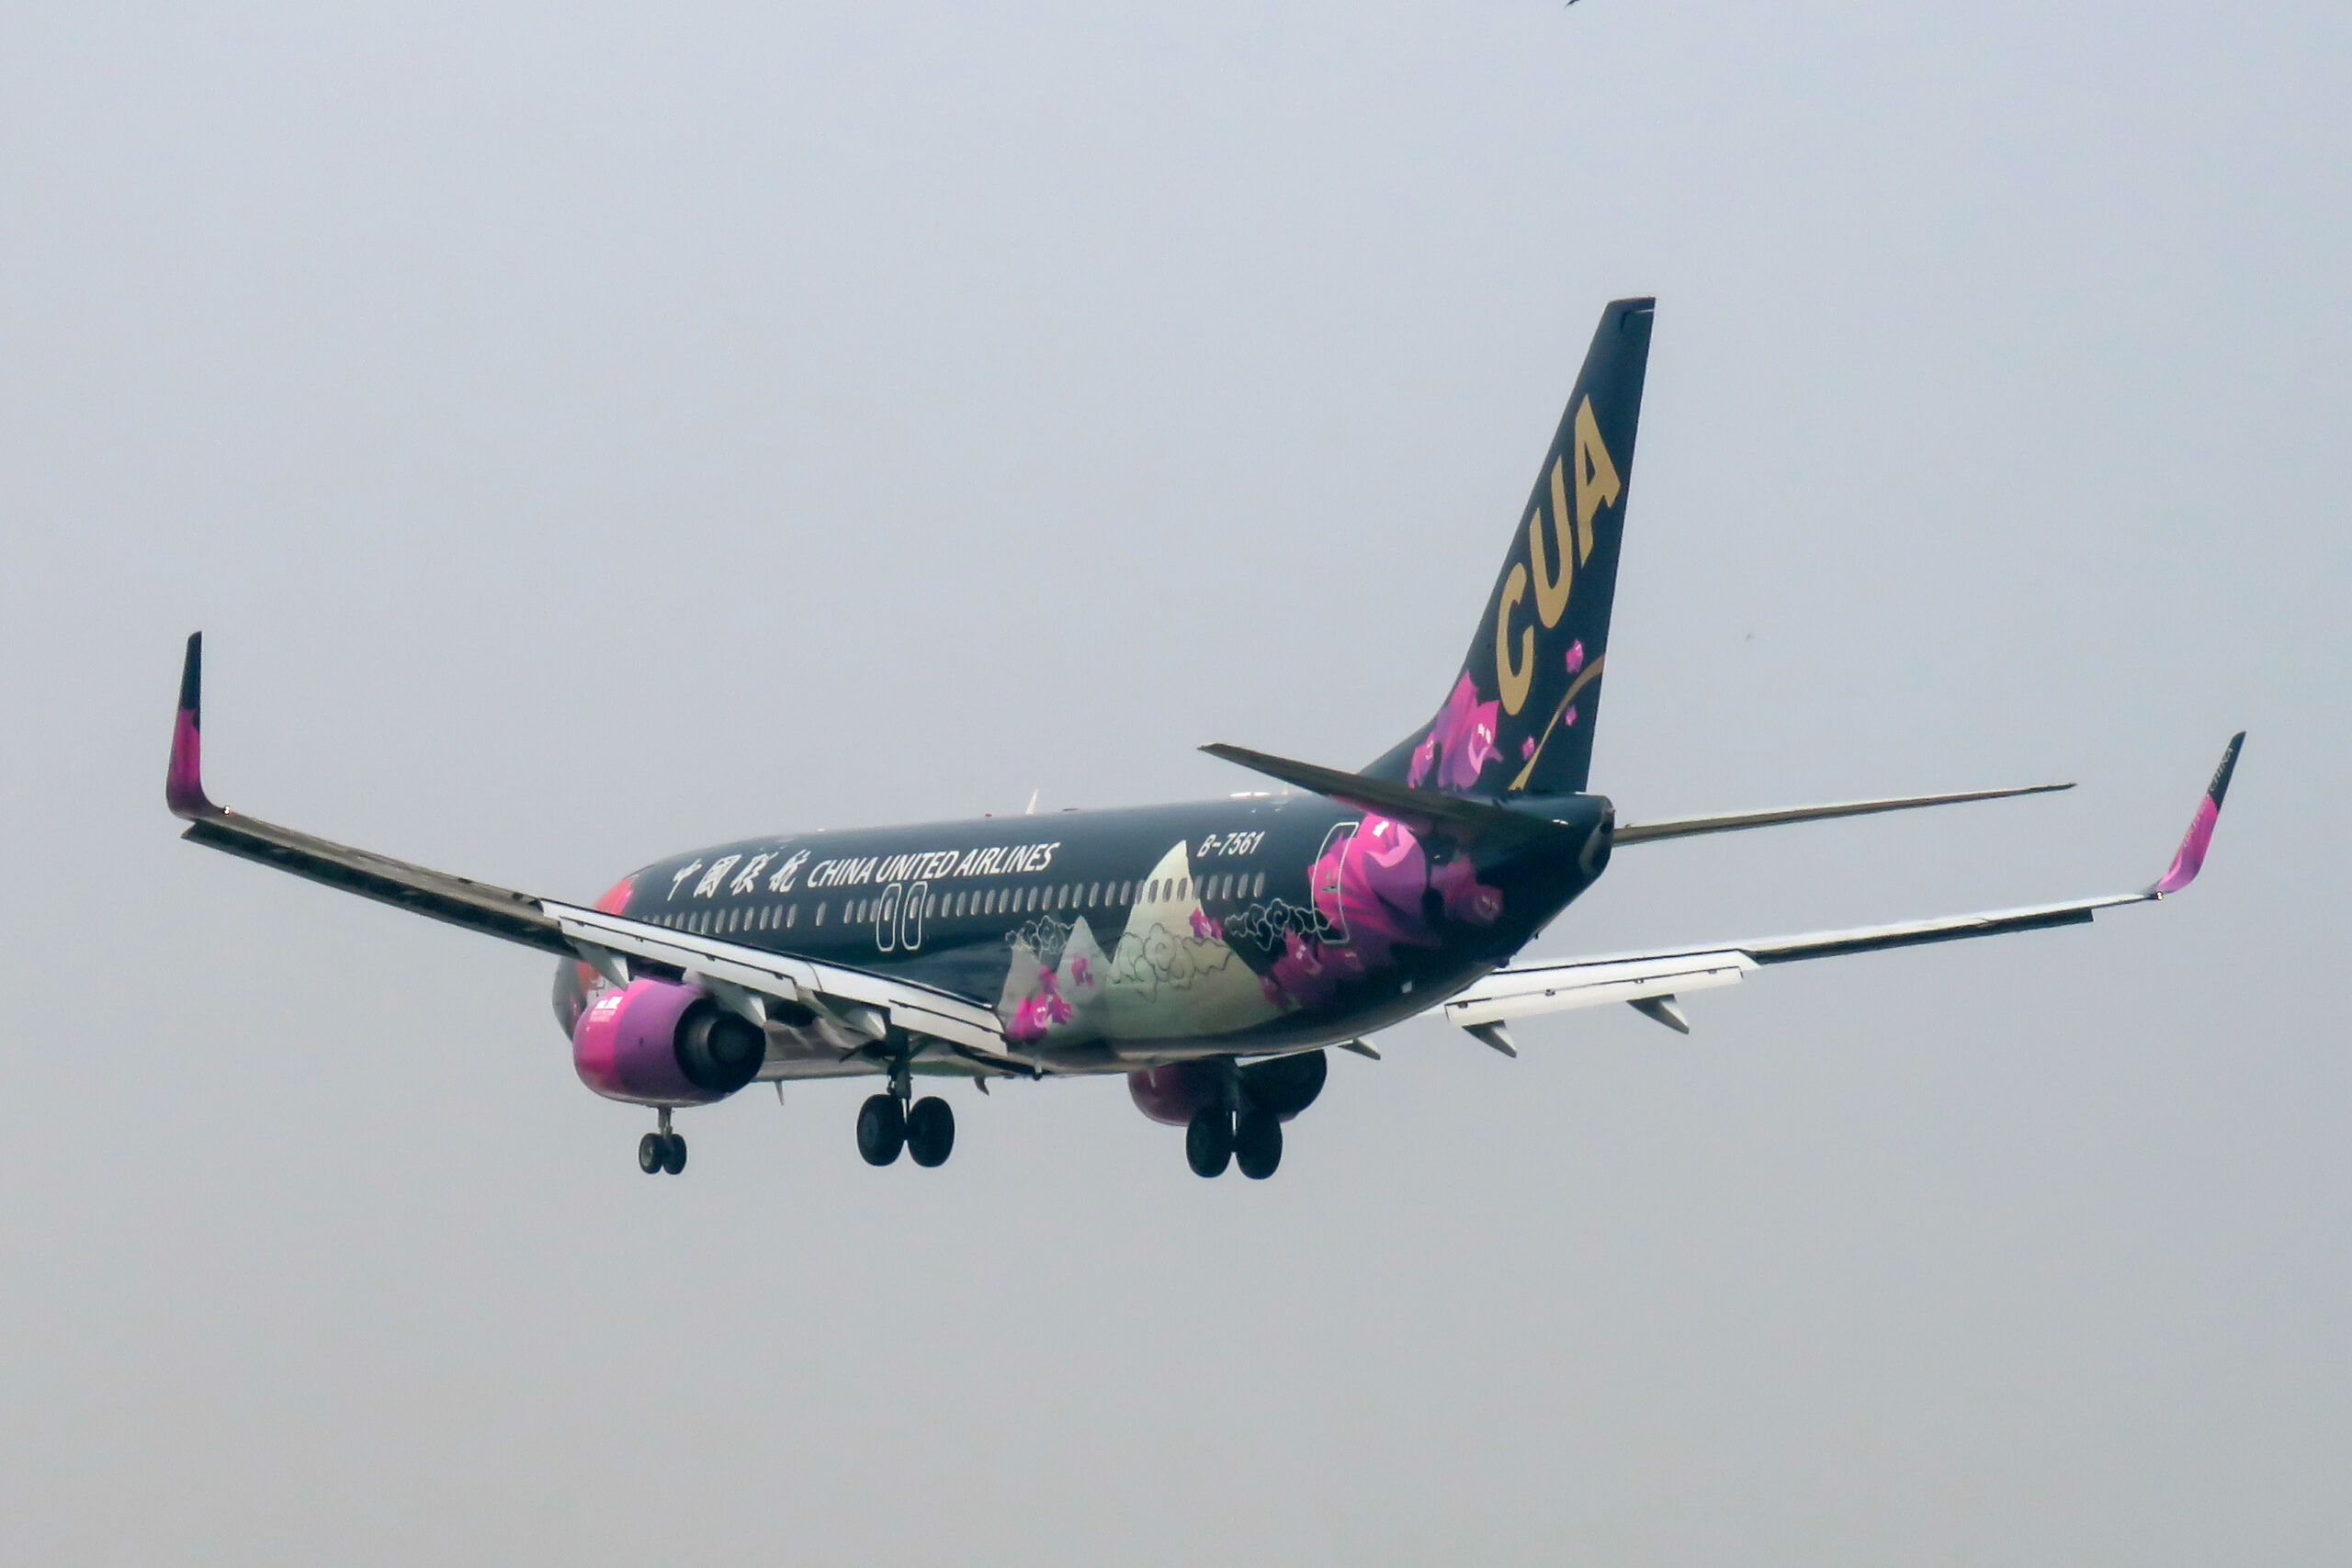
The main exception among high-volume mirrorless brands is the OM System OM-1, which carries an official IP53 rating, meaning it is protected against dust and against water spray up to sixty degrees from vertical. Leica goes a step further, with the SL2, SL2-S and SL3 rated IP54, though, like OM System, Leica does not certify its lenses, so a system is only as sealed as its weakest part. That is genuine splash and spray resistance, but it is still not waterproofing and not for immersion, and it is only achieved when the body is paired with an equally rated lens, of which only a couple currently qualify. This points to the single most important principle of weather sealing: the system is only as good as its weakest link. A sealed body with an unsealed lens leaves the lens mount and the whole optic exposed, and many budget and kit lenses have little or no sealing at all. Real weather protection needs both a sealed body and a sealed lens, with a gasket at the mount, and independent teardowns have repeatedly shown that even among “weather-sealed” lenses the quality of that sealing varies a lot.
For serious wet-weather work, a proper rain cover is the answer. These range from cheap disposable-style plastic sleeves that cost a few pounds and live crumpled in a bag pocket, through stretchy fabric shells for occasional showers, to fully seam-sealed covers with a fitted eyepiece for a long lens in a downpour. A neoprene lens cover adds a little protection and a lot of grip in the cold and wet, though it is really a protective and camouflage layer rather than a waterproof one. Round out the kit with a couple of microfibre cloths or a chamois for wiping glass, a few sachets of silica gel to help control moisture in the bag, and a large freezer bag or two. Whatever you use, the discipline matters more than the product: keep the camera covered between shots, wipe the front element often, and do not open the battery or card door, or change a lens, while rain is falling. Every time you open the camera you break whatever sealing it has and expose the sensor and electronics directly. If you shoot in the wet often, a second body with a second lens is the single best upgrade you can make, because it lets you cover wide and long without ever opening either camera in the rain, and it gives you a backup if one does take on water.
Condensation: the cold-to-warm trap
The damage that catches people out in wet and humid weather is often not the rain at all, but condensation. When a cold camera is brought into warm, humid air, or taken from an air-conditioned car into a muggy afternoon, moisture condenses on and inside it exactly as it does on a cold drink, because the gear’s surface is below the dew point of the surrounding air. Wiping the outside does nothing, because it keeps forming, and worse, it can condense on the inside of the lens and on the electronics where you cannot reach it.
The fix is patience and a plastic bag. Before you move gear across a big temperature gap, seal it in a large zip-lock or freezer bag while it is still at the old temperature, squeeze out most of the air, and only open it once the whole camera has warmed up or cooled down to the new ambient temperature. The condensation then forms on the outside of the bag rather than on the camera. Depending on the size of the temperature gap this can take from twenty minutes to a couple of hours, so plan for it: get the bag ready before you leave the cold, not after. Never try to hurry the process by warming wet gear on a heater or in direct sun, because that can drive moisture further into the lens. A few sachets of silica gel in the bag speed up the drying and are cheap insurance.
Salt, coast and seafront shows
Coastal and seafront airshows are some of the best places to shoot, with humid sea air that produces vapour and dramatic maritime light, but salt is quietly one of the most destructive things your camera will ever meet. Salt spray carried on a sea breeze settles on everything, and because salt is both corrosive and attracts moisture, it creeps into seams and switches, promotes corrosion of metal and electrical contacts, and can cause problems long after the day itself.
The rule at the coast is to treat salt exposure seriously and clean up promptly. Keep the camera covered as much as you can, and at the end of the day wipe the body, lens and especially the controls and seams with a cloth dampened with clean fresh water, ideally distilled or deionised, then dry everything thoroughly. Do not leave it until next week, because salt keeps working. Rinse or wipe filters and lens hoods, check the strap and the bag, which also collect salt, and let everything dry fully before it goes away. It is a little ritual that adds ten minutes to the end of a coastal shoot and can add years to the life of your gear.
Editing flat, wet-weather files
Files shot under heavy overcast or through mist come off the card looking flat, grey and low in contrast, and that is exactly what you want, because a flat raw file holds all its detail and gives you room to build the picture up deliberately. The mistake is to leave it flat or to slam a single contrast slider across it. Work the tone controls instead: set a true black point and a clean white point so the image uses the full range, then add midtone contrast to taste.
The Dehaze control is made for misty, murky frames and will cut through low-contrast haze, but use it in moderation, because too much turns skies gritty and colours dirty. On a storm-light frame, protect the highlights on any sunlit metal first, then deepen the dark sky with the black point and a graduated adjustment rather than a global contrast push. Wet surfaces and reflections often need a small lift in clarity or texture locally, brushed onto the aircraft and the wet tarmac rather than the whole frame, to make them sparkle without hardening the sky. The finishing step, output sharpening that suits a soft, damp-day file without crunching it, is covered in our guide to sharpening and noise reduction. Because you shot raw and exposed to protect the brights, the latitude is there to turn a dull-looking capture into a rich, moody final image.
Fieldcraft: staying dry and keeping shooting
The photographer is usually the weakest link in wet-weather photography, not the camera. Cold, soaked hands fumble the controls, water down the back of your neck destroys concentration, and a miserable person packs up early and misses the best light, which so often comes right at the end of a passing front. Dress for it properly: really waterproof jacket and trousers, a hat with a brim to keep rain off your eyes and the eyepiece, and gloves you can still operate the camera in. Your comfort is a photographic tool, because it is what lets you stay out long enough for the weather to do something worth shooting.
A few simple habits keep you working. Carry more than one microfibre cloth and keep the spares dry in a sealed bag, because a soaked cloth just smears water around. A large umbrella, or a fixed-position shelter at a spotting location, lets you keep the camera dry between passes even if it is little use while actually shooting a moving aircraft. At an airport, shooting from inside the car with the lens out of a partly open window is a legitimate and comfortable way to work an approach in heavy rain. Keep a dry towel and a spare set of everything in the car, put your bag somewhere it will not sit in a puddle, and protect the exposed gear the moment you are not actually shooting. None of this is glamorous, but it is the difference between a productive wet day and a soggy hour before you give up.
Weather and gear quick reference
The table below sums up the main wet-weather conditions, what they do to a photograph, and the practical response. Use it as a checklist when you are deciding whether to head out and what to pack.
| Condition | Effect on the shot | What to do |
|---|---|---|
| Flat overcast | Soft, even light on the aircraft; bright blank grey sky | Expose for the aircraft (+ compensation); fill the frame, use less sky |
| Storm light | Sunlit aircraft against a dark, dramatic sky | Underexpose slightly; shoot bursts; be ready, it is brief |
| Falling rain | Drops on the front element ruin frames | Cover the lens between shots; wipe often; use a clear filter; keep shutter up |
| Wet runway | Spray sheets on take-off; mirror reflections | Square to the runway; pre-focus at rotation; ~1/1000s; try low reflection angles |
| Low cloud and mist | Soft, low-contrast, hidden detail | Get closer; expose brighter; use the murk for mood |
| Cold to warm humid | Condensation on and inside the gear | Seal in a bag before the change; let it acclimatise; do not force-warm |
| Salt spray at the coast | Corrosion of contacts and seams over time | Keep covered; wipe with fresh water and dry thoroughly the same day |
Frequently asked questions
Can I use my camera in the rain?
Yes, with care. Most enthusiast and professional cameras are dust- and moisture-resistant enough to survive light rain and spray for a while, especially with a sealed lens fitted. They are not waterproof, though, so keep the camera covered between shots, wipe the front element often, and use a rain cover in anything more than a passing shower.
Are mirrorless cameras waterproof?
No. Apart from the OM System OM-1 (rated IP53) and Leica’s SL2, SL2-S and SL3 (rated IP54), mainstream interchangeable-lens cameras have no ingress-protection rating at all. Canon, Nikon and Sony describe their bodies as dust- and moisture-resistant but explicitly not waterproof, and water damage is generally excluded from warranty.
What are the best camera settings for overcast, grey days?
Expose for the aircraft rather than the bright sky, dialling in a little positive exposure compensation so the camera does not underexpose the subject. Shoot raw to keep the flat file’s full detail for editing. Because overcast light is soft and low, it is also ideal for dropping your shutter speed to blur propellers and rotors.
How do I stop rain drops ruining my photos?
Keep the lens pointed down or covered whenever you are not actually shooting, then raise it, take your burst and lower it again, wiping the front with a microfibre cloth or chamois between passes. A single drop on the front element causes soft, flared frames that are hard to spot in the viewfinder, so wiping often is the habit that matters most.
Do I need a rain cover, or is weather sealing enough?
Weather sealing buys you resistance to spray and light rain, not immunity, and it needs both a sealed body and a sealed lens to work at all. For steady or heavy rain a dedicated rain cover is well worth it, and they range from cheap disposable-style sleeves to fully seam-sealed covers for a long lens. Sealing lets you keep working briefly; a cover lets you keep working properly.
Should I use a UV or clear filter in the rain?
In the wet, yes, it is really useful. A flat filter is far quicker and safer to wipe or rinse than a curved, coated front element, and it takes the drops, spray and salt so the lens does not. In dry conditions it is a matter of preference, since many modern lenses have water-shedding coatings, but in rain and salt spray a sacrificial filter earns its place.
How do I avoid condensation on my lens?
Condensation forms when a cold camera meets warm, humid air. Before crossing a big temperature gap, seal the gear in a large zip-lock bag while it is still at the old temperature and only open it once it has acclimatised to the new one, so the moisture forms on the bag rather than the camera. Allow anywhere from twenty minutes to a couple of hours, and never force-warm wet gear on a heater.
Is it safe to change lenses in the rain?
Avoid it if you possibly can. Opening the camera to change a lens, or to swap a battery or card, exposes the sensor chamber and the interior directly to the weather and defeats whatever sealing the body has. If you must, do it under cover, out of the wind and rain, and be quick. Better still, carry a second body so you do not need to swap lenses in the wet at all.
How do I photograph a jet’s spray on a wet runway?
Get as square to the runway as the crowd line allows and pre-focus on the point where the aircraft will rotate, because the spray builds through the take-off roll and peaks as the nose lifts. Use a shutter speed around 1/1000 second to freeze the jet while keeping texture in the water, and expose slightly dark to hold detail in the bright spray against a grey sky.
How do I clean my camera after a coastal or seafront show?
Salt is corrosive and hygroscopic, so deal with it the same day. Wipe the body, lens, controls and seams with a cloth dampened with clean fresh water, ideally distilled or deionised, then dry everything thoroughly before it goes back in the bag. Do not leave salt on the gear for days, because it keeps attacking metal and electrical contacts long after the show.
How do I edit flat, grey wet-weather photos?
Start by setting a proper black point and white point so the image uses its full tonal range, then add midtone contrast to taste. The Dehaze control cuts through mist and murk but should be used in moderation to avoid gritty skies. Work clarity and texture locally on the aircraft and wet surfaces rather than globally, and because you shot raw, the latitude is there to build a rich, moody result.
What should I pack for aviation photography in bad weather?
A rain cover for your camera and lens, a couple of microfibre cloths or a chamois, a clear or UV filter, a few sachets of silica gel, and a large zip-lock or freezer bag for condensation control. Add warm, waterproof clothing for yourself, because a cold, wet, miserable photographer stops concentrating, and dry hands and a dry seat do more for your keeper rate than most accessories.
