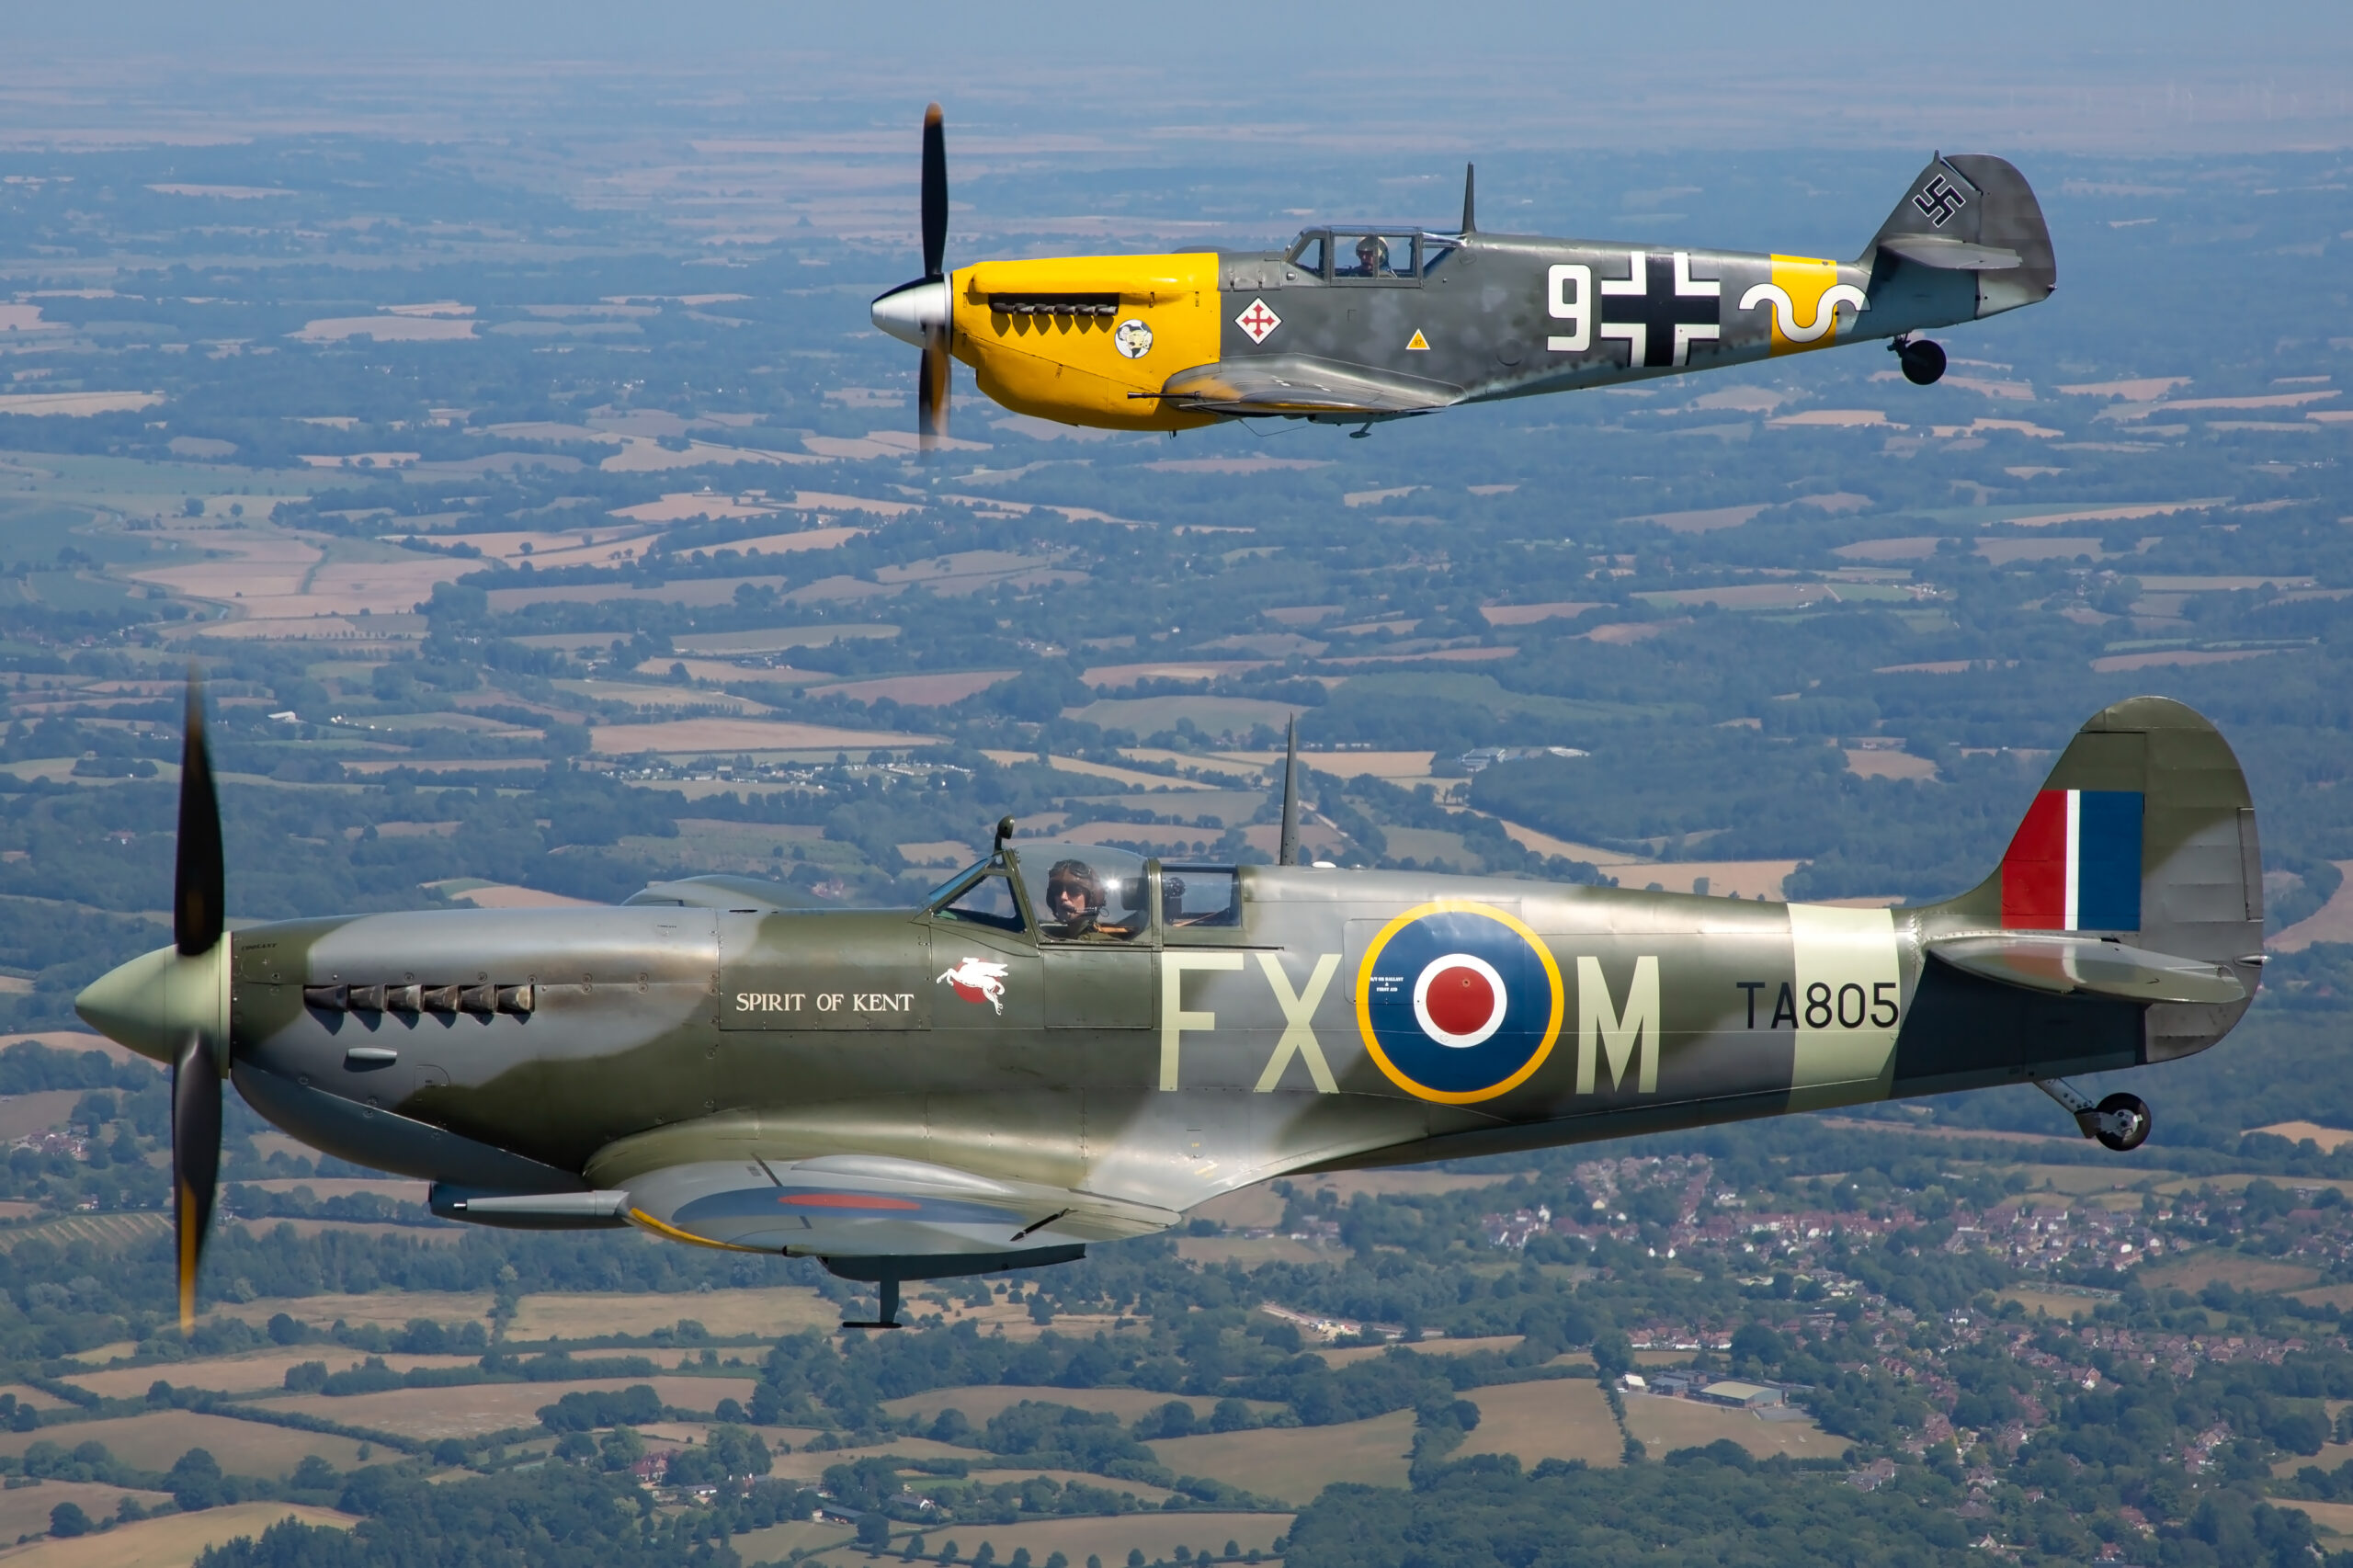
Two photographers can stand side by side at the same airshow, with the same camera and the same lens, and come home with completely different pictures. The difference is rarely the gear. It is where they put the aircraft in the frame, what they let into the background, and the moment they chose to press the shutter. That is composition, and it is the skill that turns a record shot of an aeroplane into a photograph worth keeping.
This guide is about composing aviation images that work. It starts with the single most useful idea, filling the frame, then builds through the rule of thirds, lead room, negative space, backgrounds, angles and the moment itself. There is a reference table for composing different subjects, a section on how light shapes a frame, the mistakes that quietly ruin otherwise good shots, and some practice drills to train your eye. None of it needs expensive kit. All of it will make your next set stronger.
What this guide covers
- Why composition matters more than gear
- Filling the frame: the core idea
- The rule of thirds and where to place the aircraft
- Lead room: giving the aircraft somewhere to go
- Using negative space and sky
- Backgrounds: what makes or breaks the shot
- Angles, banking and the aircraft’s attitude
- Framing in camera versus cropping later
- Composition by subject: jets, props, formations and static
- How light shapes composition
- Common composition mistakes
- Practice drills to train your eye
- Frequently asked questions
Why composition matters more than gear
It is easy to believe that better images come from better equipment. A longer lens, a sharper body, a faster autofocus system: each promises to fix the last set of disappointing shots. Sometimes gear is the limit. More often, the thing holding a picture back is not resolution or reach but the decisions the photographer made about the frame. A tack-sharp aircraft placed badly, against a messy background, in the wrong part of the frame, is still a weak photograph. A slightly softer image that is well composed will beat it every time.
Composition is the arrangement of everything inside the rectangle. Where the aircraft sits, which way it is heading, how much space surrounds it, what appears behind it, and how the eye travels through the picture. These are choices, even when you make them by accident. Learning to make them on purpose is the fastest way to improve, and it costs nothing.
The eye reads a photograph in an order
When someone looks at your image, their eye lands somewhere first, then moves. Good composition controls that journey. It puts the aircraft where the eye naturally goes, removes distractions that pull attention away, and uses lines and space to lead the viewer through the frame. Bad composition fights the eye, scattering attention across clutter or stranding the subject in a corner. You do not need to study art theory to do this well. You need to slow down enough to see the whole frame, not just the aeroplane.
Why aviation is a special case
Aviation subjects add their own challenges. The aircraft is usually moving fast, so you have little time to compose. It is often far away, so you are working at the long end of a zoom where small movements swing the frame a long way. And it is set against a huge, simple background, the sky, which is both a gift and a trap. A gift because it can be beautifully clean. A trap because it is easy to leave the aircraft small and lost in it. The principles that follow all exist to help you deal with those three facts.
Filling the frame: the core idea
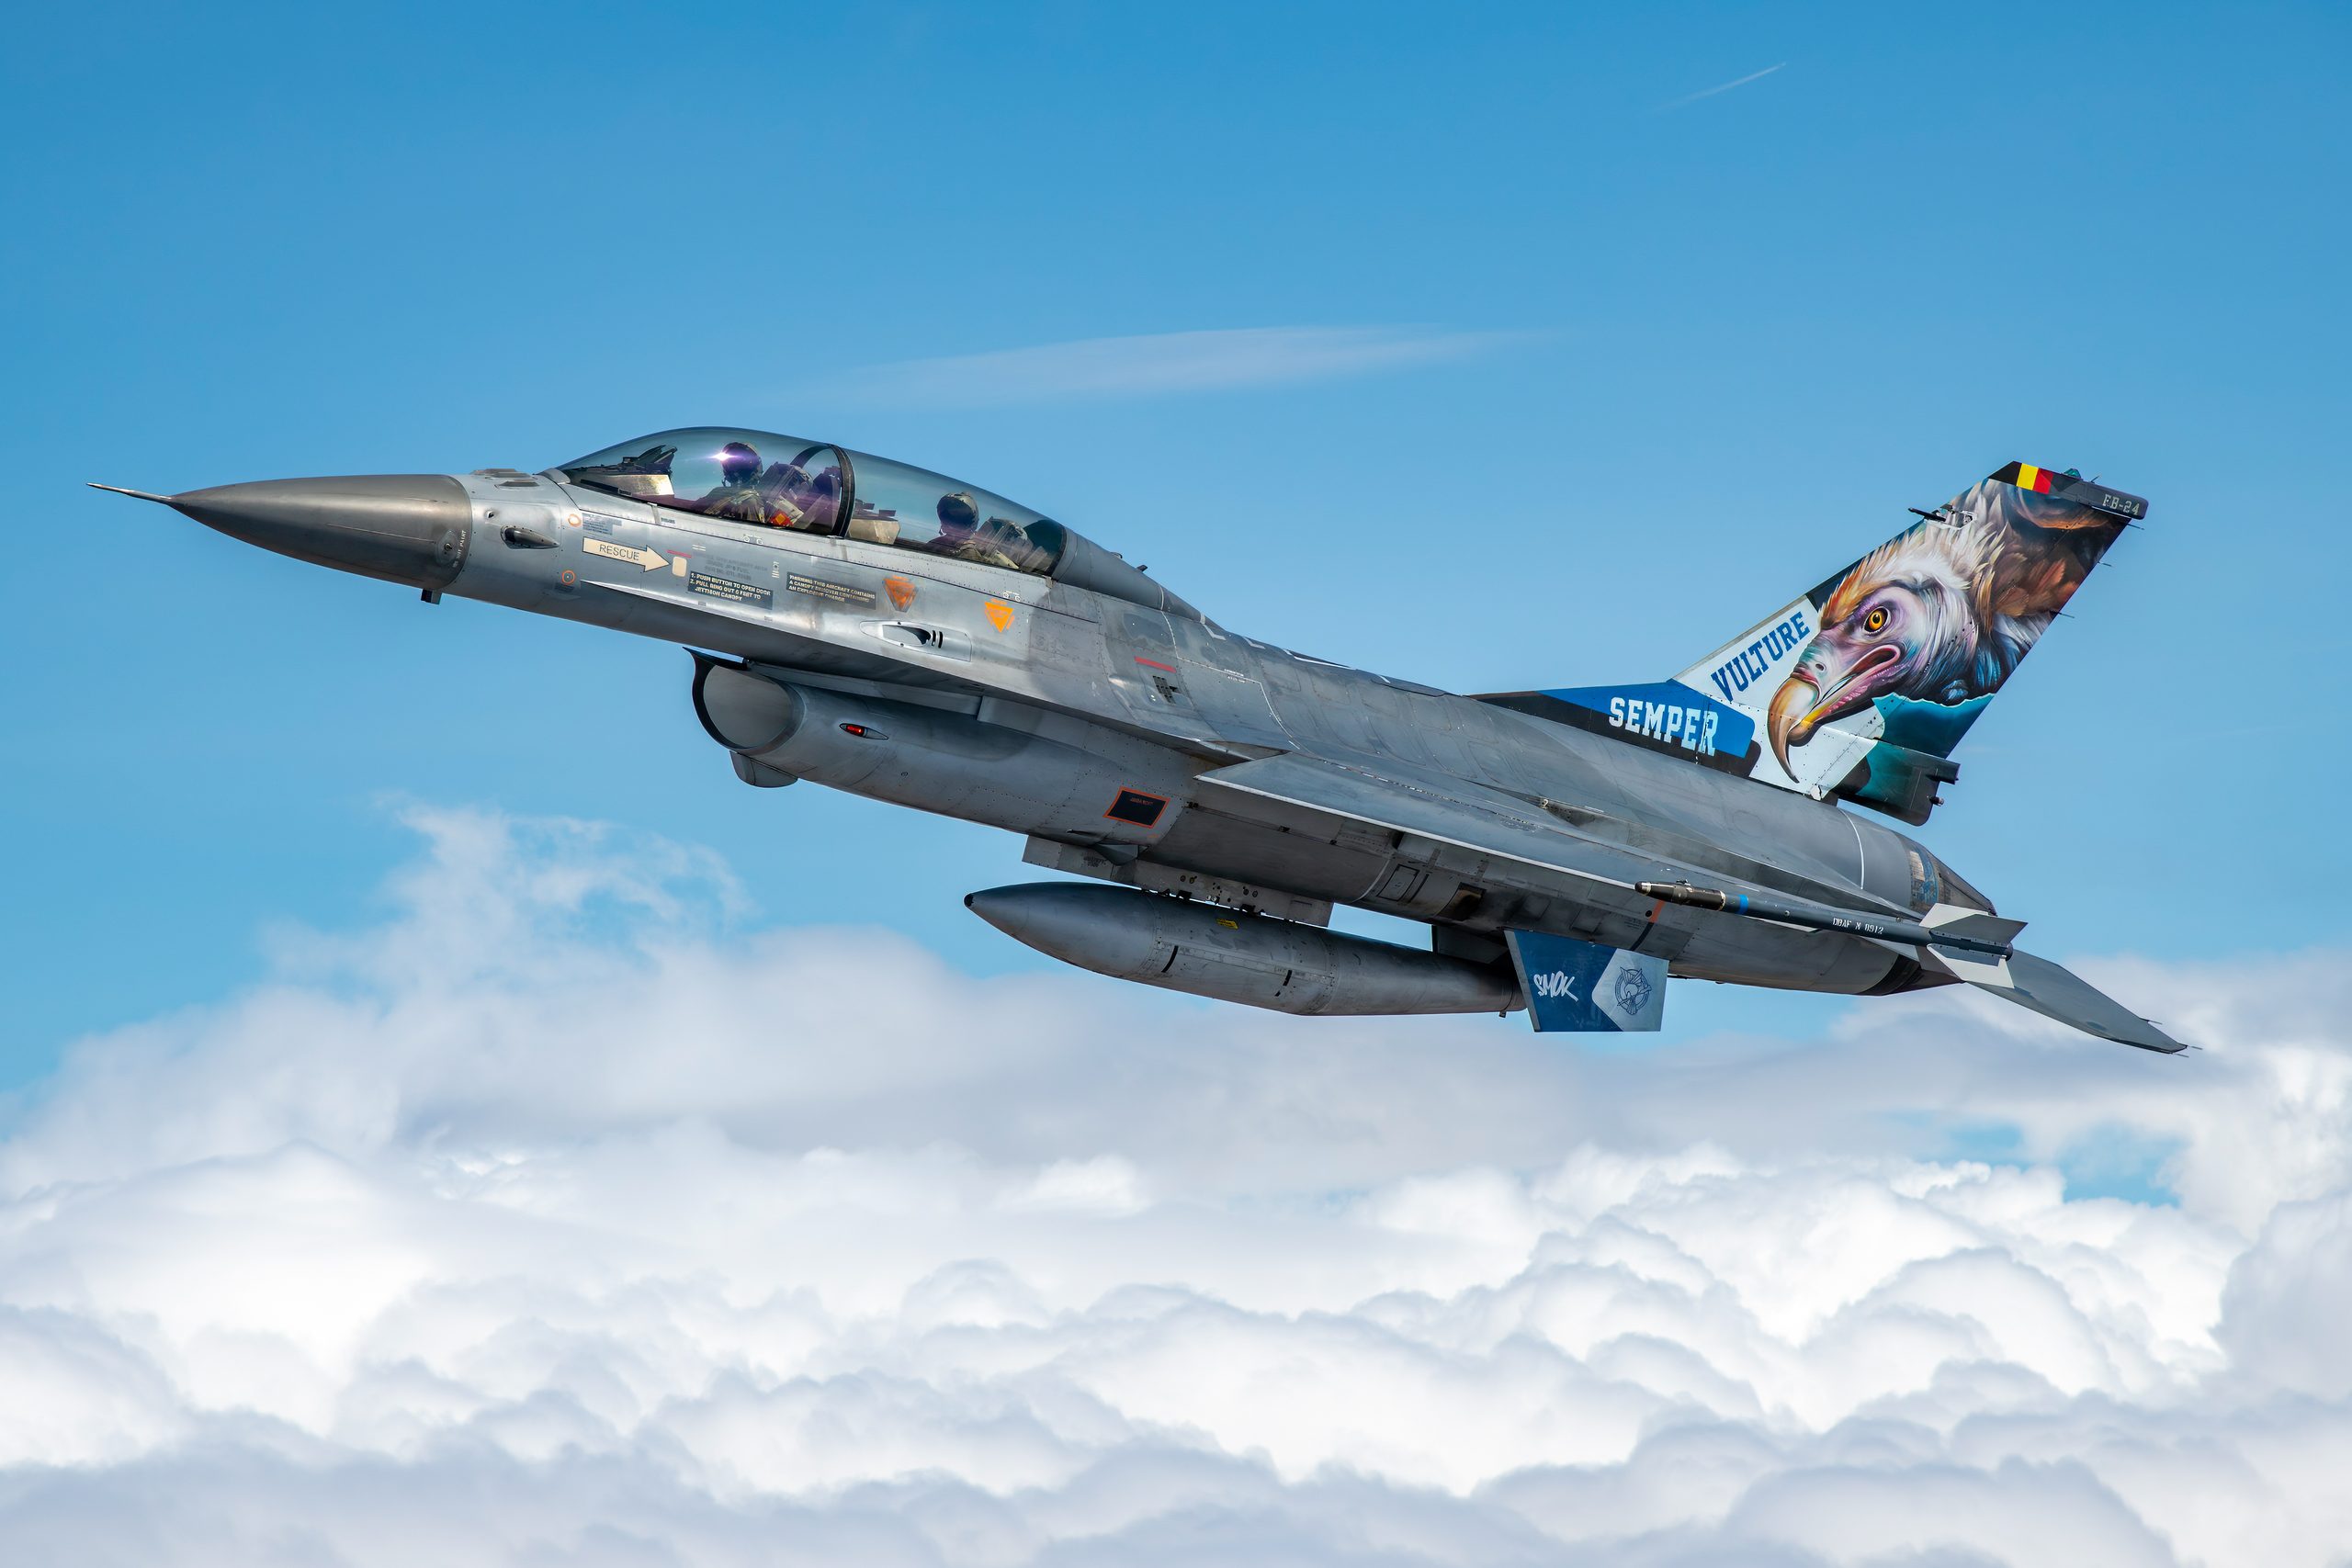
If there is one instruction that improves aviation photographs more than any other, it is this: make the aircraft bigger in the frame. Filling the frame means the aircraft occupies a strong, clear portion of the picture rather than sitting as a small shape lost in a sea of sky. It is the difference between a photograph of an aeroplane and a photograph with an aeroplane somewhere in it.
Why bigger reads better
A large subject reads instantly. The viewer sees the aircraft, its markings, its shape and its attitude without hunting for it. Detail that you worked to capture, the panel lines, the pilot’s helmet, the exhaust haze, is only visible if the aircraft is large enough to show it. A small aircraft in a big frame throws all of that away, no matter how sharp the file is. Filling the frame is how you make the effort of a long lens and careful focus actually count.
How to fill the frame
There are two ways to make the aircraft bigger: get closer, which you usually cannot do, or use more focal length. This is why reach matters so much in aviation. It is also why you should be ready to zoom in as an aircraft approaches and back out as it fills the frame, rather than sitting at one focal length and hoping. Anticipate the closest, largest point of a pass and frame for that. If you are shooting a zoom, keep your hand on the ring and work it through the pass.
When not to fill the frame
Filling the frame is the default, not a rule to obey blindly. Sometimes the setting is the story: an aircraft against a dramatic sky, a warbird over a period airfield, a jet dwarfed by towering cloud. In those cases you leave the aircraft smaller on purpose and let the space speak. The key word is on purpose. A small aircraft you chose to place that way, with intent, is a composition. A small aircraft because you did not zoom in is just a miss. We come back to this idea under negative space.
The rule of thirds and where to place the aircraft
The rule of thirds is the best known composition guide for good reason: it is simple and it works most of the time. Imagine your frame divided into nine equal rectangles by two vertical and two horizontal lines. The four points where those lines cross are natural resting places for the eye. Put your main subject on or near one of them and the composition usually feels balanced and intentional.
Applying it to a moving aircraft
For aviation, the rule of thirds usually means placing the aircraft off centre rather than dead in the middle, and setting it so it is heading into the larger part of the frame. A jet moving left to right sits better on the left third, with open space to the right for it to fly into. Place the body of the aircraft near a thirds intersection and let the nose point across the frame. Many cameras can overlay a thirds grid in the viewfinder, which is worth switching on while you train your eye.
Horizons and thirds
When the ground or the horizon is in shot, the thirds lines help there too. A low horizon on the lower third emphasises sky and the aircraft above it. A high horizon on the upper third emphasises the land, useful for an aircraft low over a runway or a period setting. What you want to avoid is the horizon cutting straight across the centre, which splits the picture into two equal halves and drains it of energy. Decide what the picture is about, sky or ground, and weight the frame toward it.
When to break it
The rule of thirds is a starting point, not a cage. A head-on pass, a symmetrical formation, or a single aircraft climbing vertically can all look powerful placed centrally, because the symmetry is the point. The skill is knowing when the subject wants balance and when it wants symmetry. Learn the rule well enough that you can feel when to set it aside.
Lead room: giving the aircraft somewhere to go
Lead room, sometimes called nose room or active space, is the space you leave in front of a moving subject. It is one of the most reliable tools in aviation composition and one of the easiest to get wrong under pressure. The principle is simple: an aircraft should have more space in front of its nose than behind its tail, so it looks like it is flying into the frame rather than out of it.
Why it works
The eye anticipates movement. When we see an aircraft heading in a direction, we instinctively look ahead of it to where it is going. If there is space there, the picture feels comfortable and full of momentum. If the nose is jammed against the edge of the frame, the aircraft feels trapped, as though it is about to hit the border, and the movement feels blocked. Lead room resolves that tension and gives the image a sense of direction and speed.
Getting it right in the moment
The challenge is that a fast aircraft moves through your frame quickly, and it is tempting to centre it or to lag behind it as you pan. Train yourself to keep the aircraft toward the trailing side of the frame while you track, leaving the leading space open. If you pan slightly ahead of the aircraft rather than chasing it, lead room tends to look after itself. On a head-on pass, lead room does not apply in the same way, because the aircraft is coming toward you, so centre it and use the symmetry instead.
How much is enough
There is no exact figure, but a useful habit is to leave roughly twice as much space in front as behind for a clear directional shot. For a very tight, dramatic frame you can reduce it, and for a spacious, atmospheric image you can increase it. What matters is that the balance favours the direction of travel. If in doubt, leave a little more room in front than feels necessary and refine it in the crop.
Using negative space and sky
Negative space is the empty area around the subject, and in aviation that usually means sky. It is the opposite instinct to filling the frame, and used well it is just as powerful. Where filling the frame gives impact and detail, negative space gives scale, mood and a sense of the environment the aircraft moves through.
What negative space does
A small aircraft set in a large, clean expanse of sky can say things a tight frame cannot. It conveys altitude, isolation and the vastness that flight lives in. A single jet high against towering cumulus, a warbird tiny beneath a bruised storm sky, a lone airliner drawing a contrail across an empty blue: these work precisely because the space dominates. The aircraft becomes a focal point in a larger scene rather than the whole scene itself.
Making it deliberate
The difference between effective negative space and a subject that is simply too small is intent and placement. Put the aircraft on a thirds intersection, give it lead room, and make sure the empty space is really clean and interesting, a graded sky, dramatic cloud, or the colour of golden hour, rather than flat, dull grey. Empty space only works when it earns its place. If the sky is bland, fill the frame instead. If the sky is beautiful, let it breathe.
Balancing space and subject
Think of it as a seesaw between the aircraft and the space. A striking sky can carry a smaller subject. A plain sky needs a larger one. Read the background first, then decide how much of the frame to give the aircraft. This is also where cloud, light and colour become compositional elements rather than just backdrop. Our guide to shooting in low light, on golden hour at the airfield, shows how a strong sky can become the reason for the whole picture.
Backgrounds: what makes or breaks the shot
You can compose the aircraft perfectly and still ruin the picture by ignoring what is behind it. The background is the element beginners overlook most and experienced photographers watch most closely. A clean background lets the aircraft stand out. A cluttered one buries it, no matter how sharp or well placed the subject is.
The trouble with low passes
The most common background problem happens when an aircraft is low. Suddenly the frame includes hangars, control towers, crowd barriers, parked aircraft, vehicles, trees and people. Any of these can clutter the shot or, worse, appear to grow out of the aircraft: a lamp post sprouting from a wingtip, a tower impaling the fuselage. The higher the aircraft, the cleaner the background tends to be, because it moves onto open sky.
Tactics for clean backgrounds
Three habits solve most background problems. First, shoot slightly upward so the aircraft sits against sky rather than clutter. Even a small change in your angle can lift a subject clear of a distracting horizon. Second, time the shot: wait for a low pass to climb, or catch the aircraft in the gap between distractions. Third, watch the whole frame, not just the aircraft. Before you fire, let your eye travel around the edges and check what is creeping in. This takes a fraction of a second once it becomes a habit.
When a background helps
Not every background is the enemy. A dramatic sky, a period hangar behind a warbird, or a recognisable landmark can add context and a sense of place that a plain sky lacks. The test is whether the background supports the subject or competes with it. If it adds meaning, keep it and compose it in. If it just adds noise, get rid of it by changing angle, timing or framing. Our piece on metering for bright skies also covers how to keep a clean sky background properly exposed rather than blown out.
Angles, banking and the aircraft’s attitude
An aircraft flat and level, side on to you, is a record shot. It shows the type clearly and it has its uses, but it is rarely exciting. The images that hold attention usually show the aircraft doing something: banking, climbing, pulling into a turn, rolling to show its topside. That is attitude, the angle and pose of the aircraft in the air, and reading it is central to strong aviation composition.
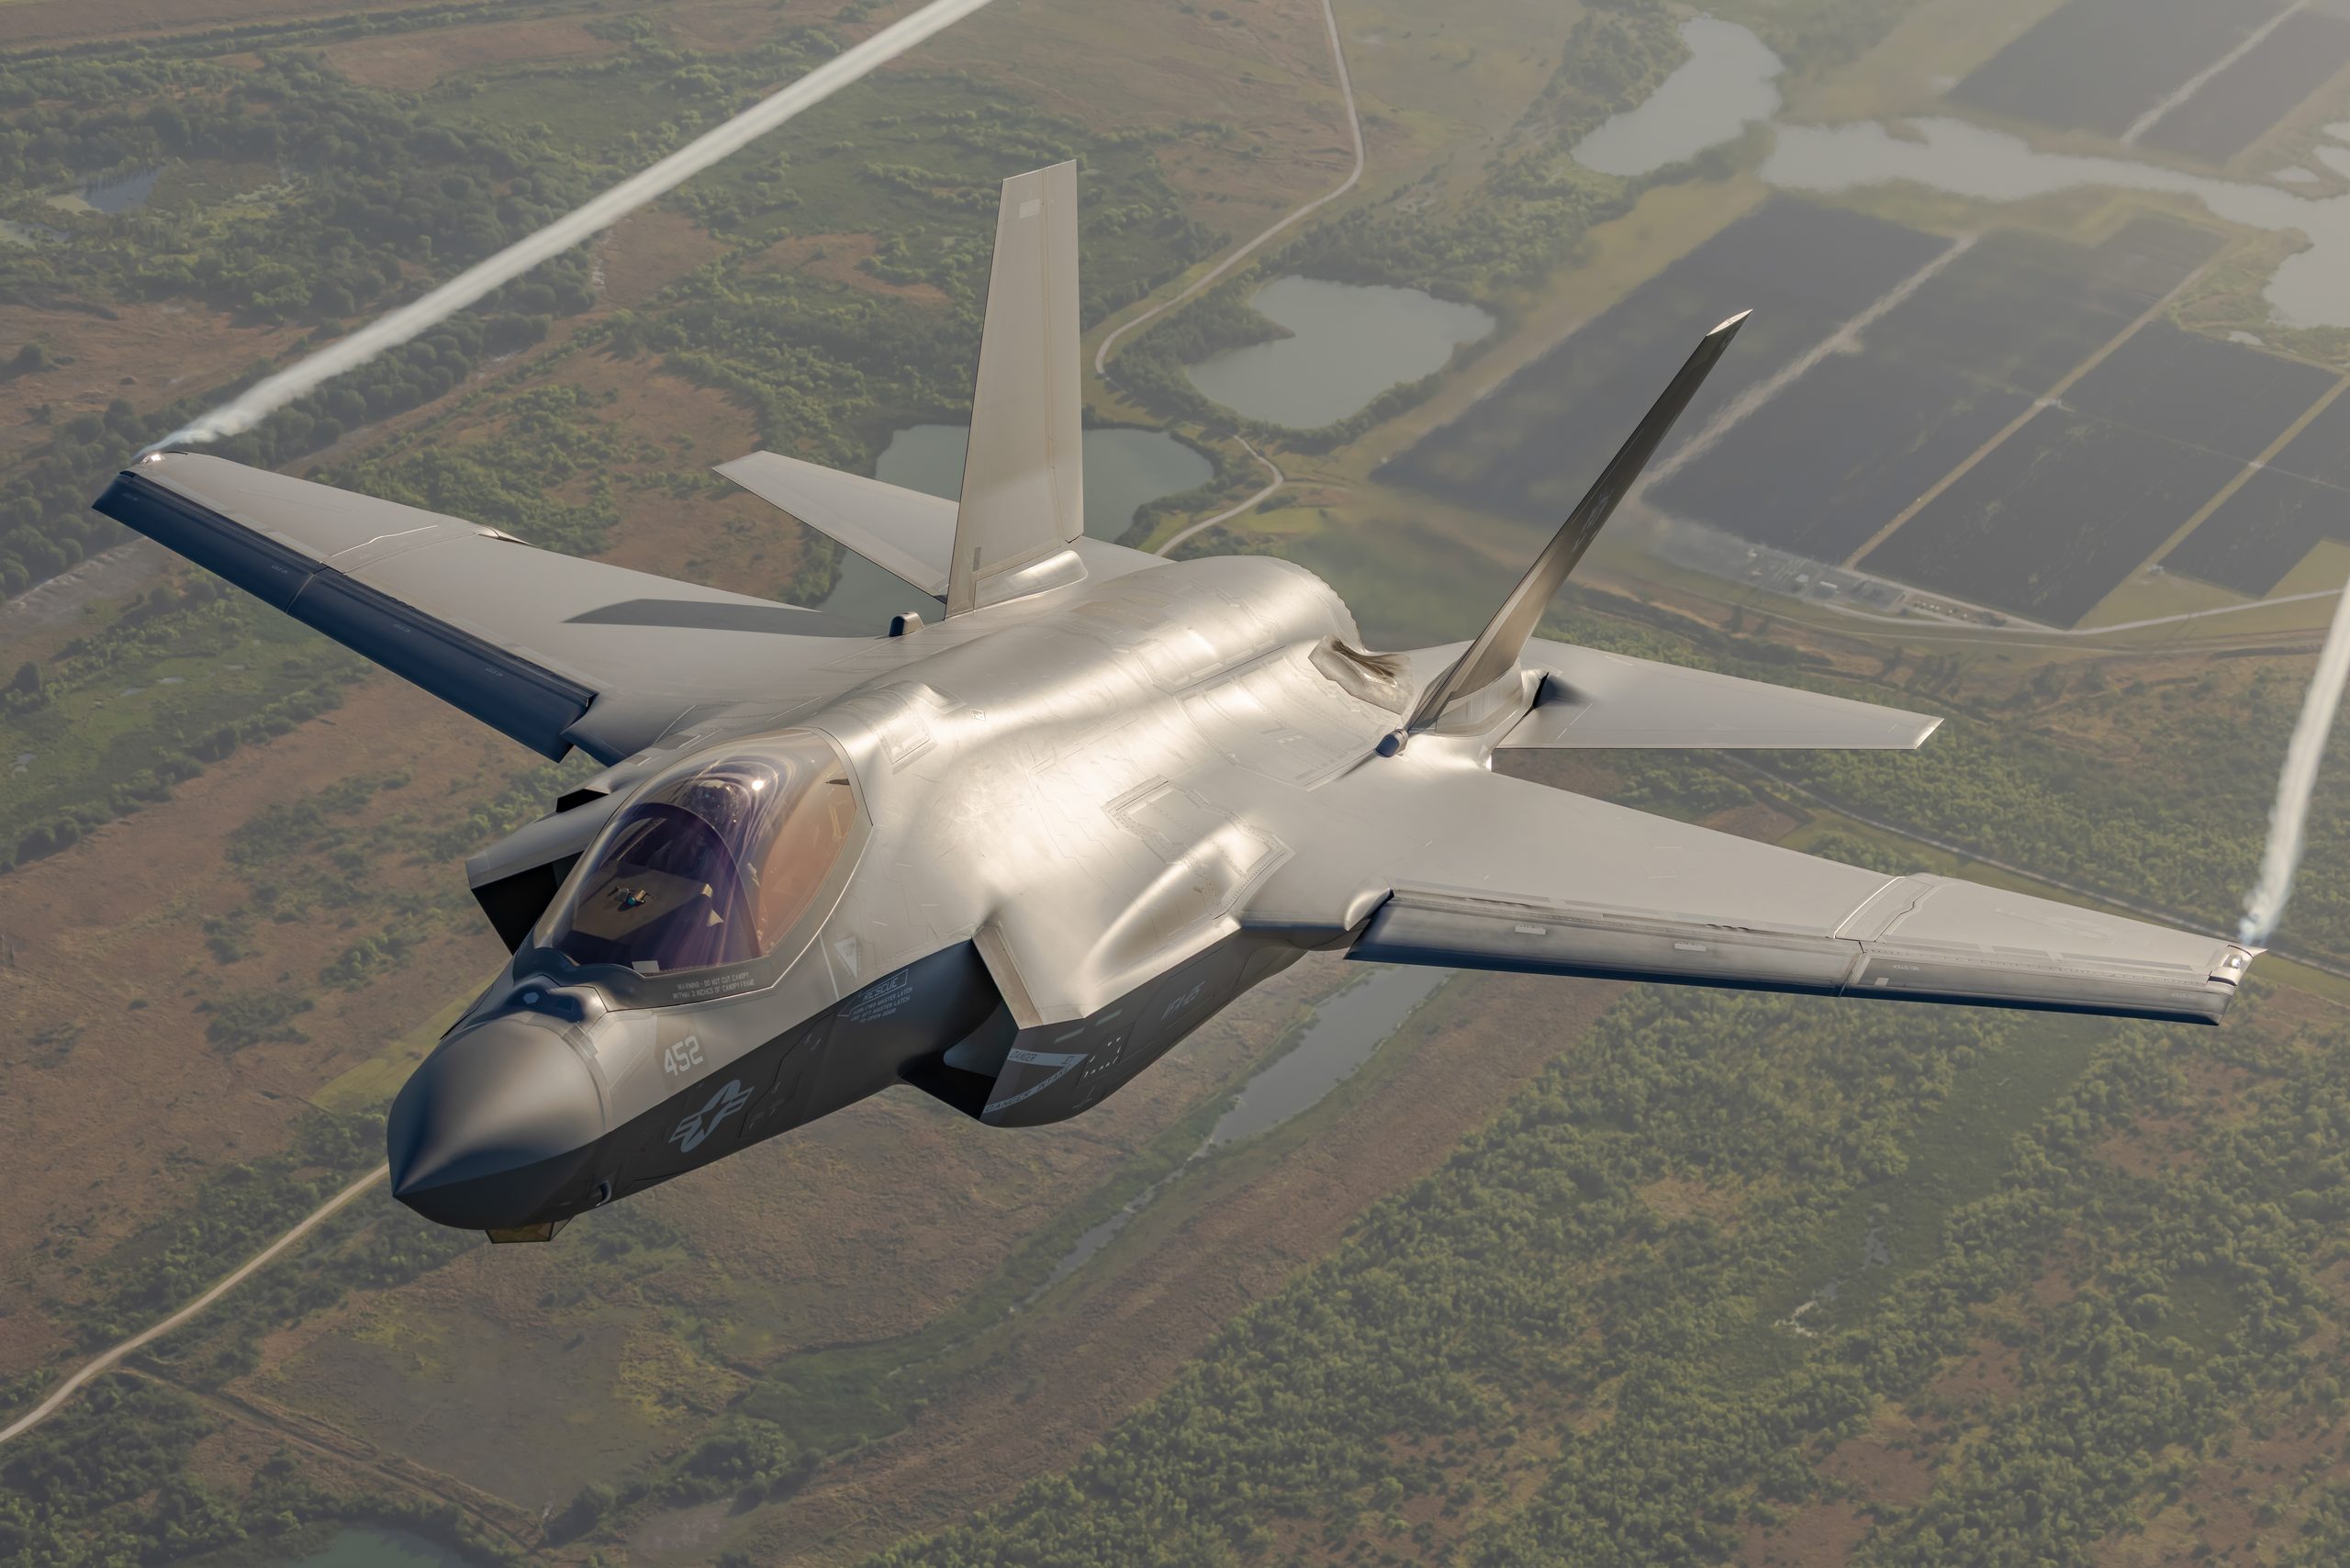
The topside pass
The most sought-after angle is the topside, where the aircraft banks toward you and shows the upper surface of its wings and fuselage. It turns a flat, two-dimensional side view into a three-dimensional shape with depth. Topside passes reveal the planform, the markings on the upper surfaces, and often the pilot in the cockpit. Position yourself where display aircraft roll into the crowd, watch for the bank, and be ready, because the best topside moment is brief.
Banking and the turn
Aircraft in a turn are inherently more dynamic than aircraft in level flight. The banked wings create diagonal lines that carry energy across the frame, and the pose suggests movement and intent. Standing away from the display centre often gives you more of these turning shots, as aircraft reposition and bank around. A diagonal aircraft in the frame almost always feels more alive than a horizontal one.
Diagonals and the line of the wings
Think about the lines the aircraft draws. The wings, the fuselage and any contrail or smoke trail are all lines that guide the eye. A strong diagonal, wingtip to wingtip or nose to tail, adds movement and tension. When you frame, notice those lines and use them: let a wing lead the eye toward the nose, or a smoke trail sweep in from a corner. Composition is partly about arranging these lines so the eye travels where you want it to go.
Head-on and going away
Two special cases are worth planning for. The head-on pass, aircraft coming straight at you, is dramatic and benefits from central, symmetrical framing. The going-away shot, showing the rear of the aircraft as it departs with afterburners lit or vapour streaming, can be striking too, and breaks the habit of only ever shooting aircraft approaching. Both add variety to a set that would otherwise be all side-on passes.
Framing in camera versus cropping later
Modern high-resolution sensors tempt you to shoot loose and crop later. Sometimes that is the right call. Often it is a habit that costs you quality and, more importantly, stops you learning to compose. Understanding the trade-off lets you choose deliberately rather than defaulting to the crop.
The case for filling the frame in camera
Every pixel you spend on empty sky is a pixel not spent on the aircraft. Fill the frame in camera and you keep the full resolution and detail of your sensor on the subject, which matters for large prints and for licensing. Composing in camera also forces you to make the decision in the moment, which is how you improve. If you always fix it later, you never train the instinct to see the frame while shooting. The discipline of getting it right in camera is worth more than the safety net of cropping.
The case for a little breathing room
Aviation subjects are fast and unpredictable, and clipping a wingtip is worse than a slightly loose frame. For difficult, erratic subjects, leaving a small margin around the aircraft is sensible insurance. You keep the whole aircraft, then crop precisely in editing to place it exactly where you want with the right lead room. This is not lazy: it is a deliberate strategy for subjects you cannot perfectly predict. The key is a small margin, not a tiny aircraft in a vast frame.
Cropping as a compositional tool
Cropping is not only damage control. In editing you can refine the balance, correct lead room, straighten a horizon, and try alternative compositions from the same file. A shot framed a little loose can become several different pictures. What cropping cannot do is add detail or sharpness that was never captured. Heavy cropping of a distant subject magnifies softness, noise and heat haze. So crop to refine, not to rescue a subject that was simply too far away.
Composition by subject: jets, props, formations and static
The principles are universal, but each type of subject leans on them differently. A fast jet, a propeller warbird, a display formation and a parked aircraft each ask for a slightly different compositional approach. Here is how to adjust, followed by a quick reference table.
Fast jets
Jets are fast and often distant, so filling the frame and lead room are the priorities. Anticipate the closest point of a pass and frame for it. Favour banking and topside moments for depth, and be ready for the head-on pass with central framing. Because jets move so quickly, a small margin for error is wise, but resist the urge to shoot too loose. For the technical side of tracking jets, our guide on how to photograph fast jets covers panning and shutter speed in detail.
Propeller aircraft and warbirds
With props you are usually panning at a slower shutter to blur the disc, which affects composition because you must track very smoothly to keep the fuselage sharp. Warbirds reward classic, clean framing that shows their lines, so fill the frame, keep the background clear, and catch them banking. The slower speed of many warbird passes gives you a fraction more time to compose than a jet allows, so use it.
Formations and display teams
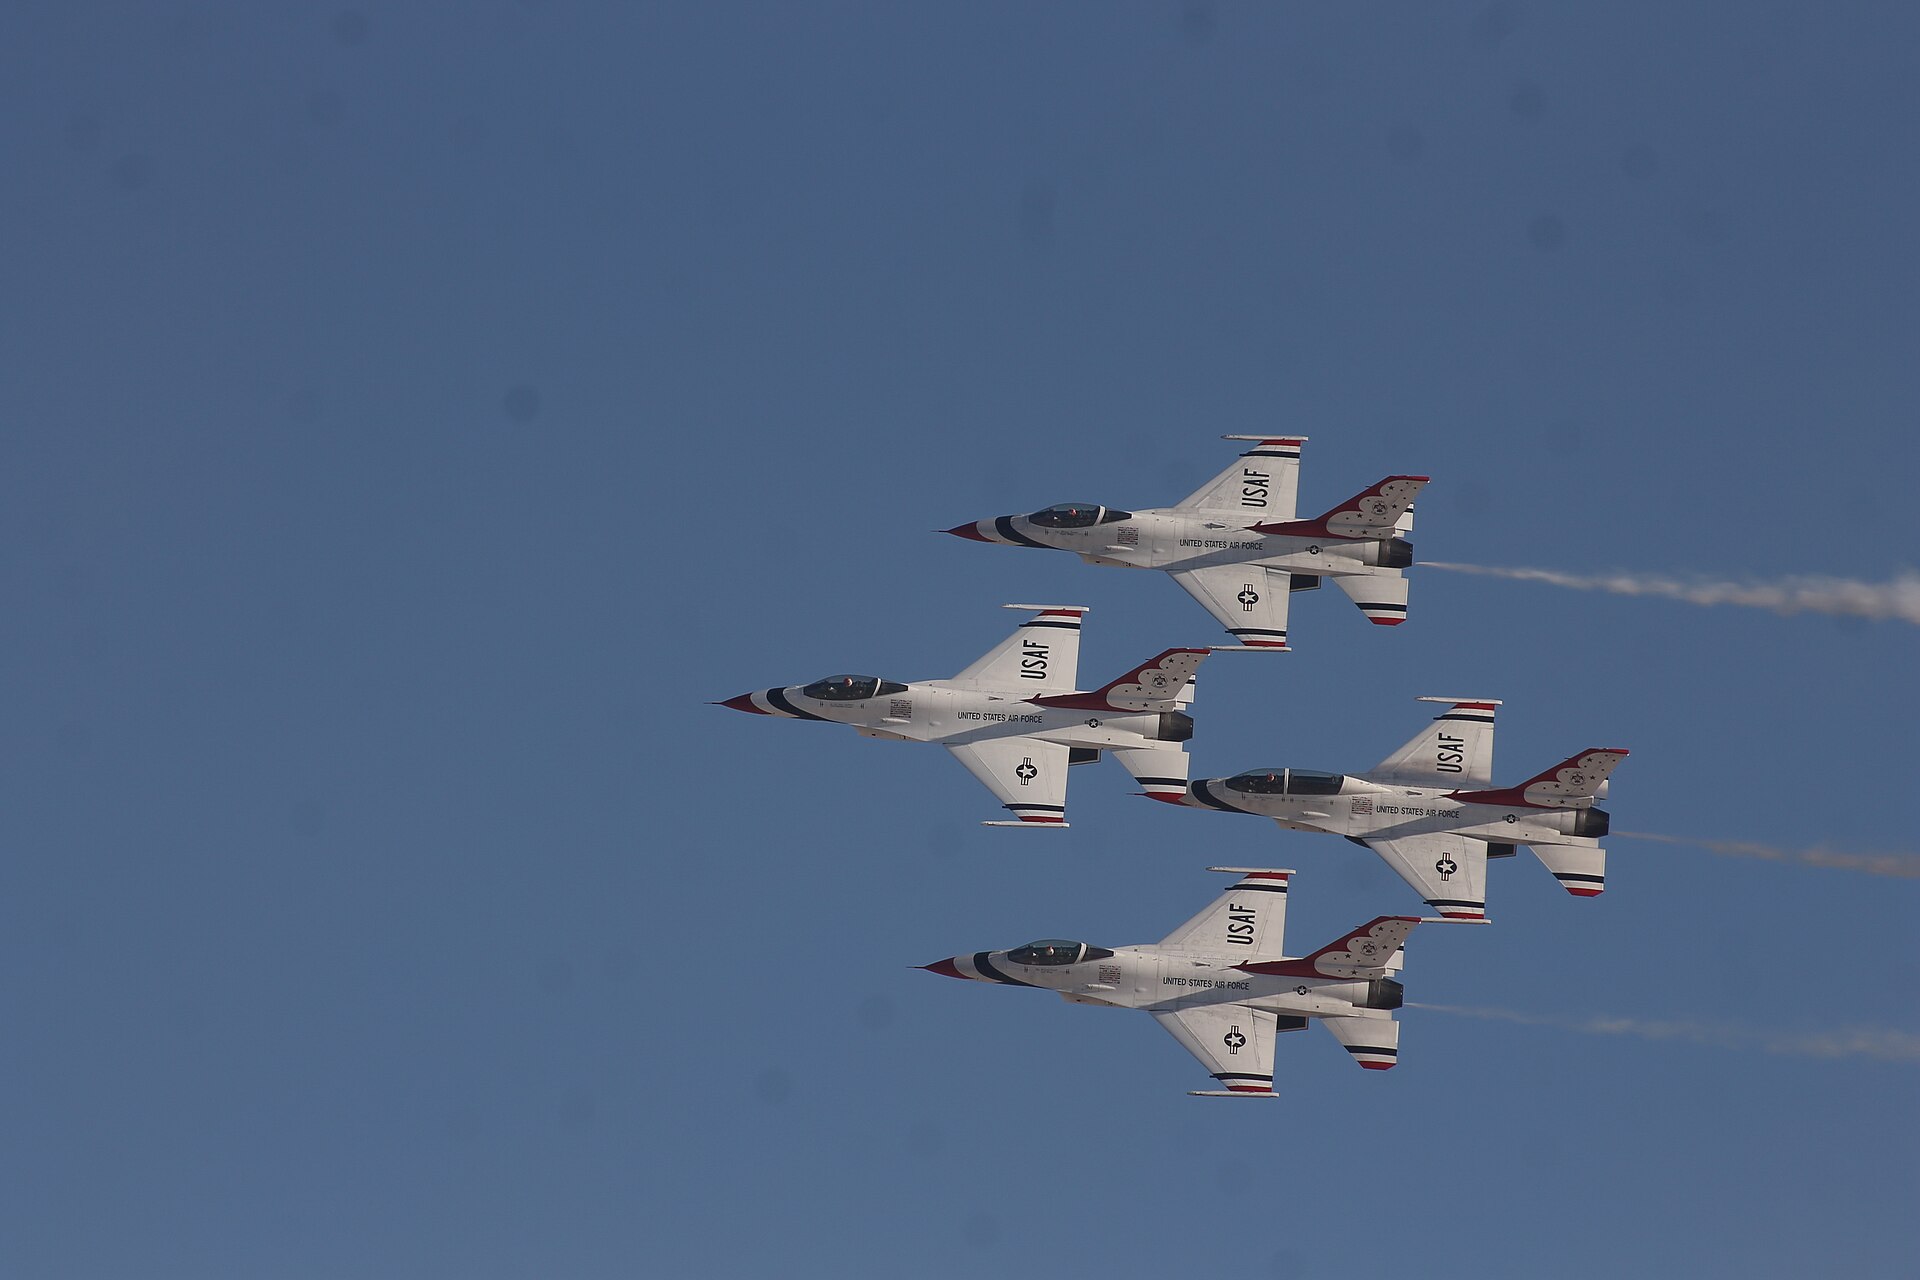
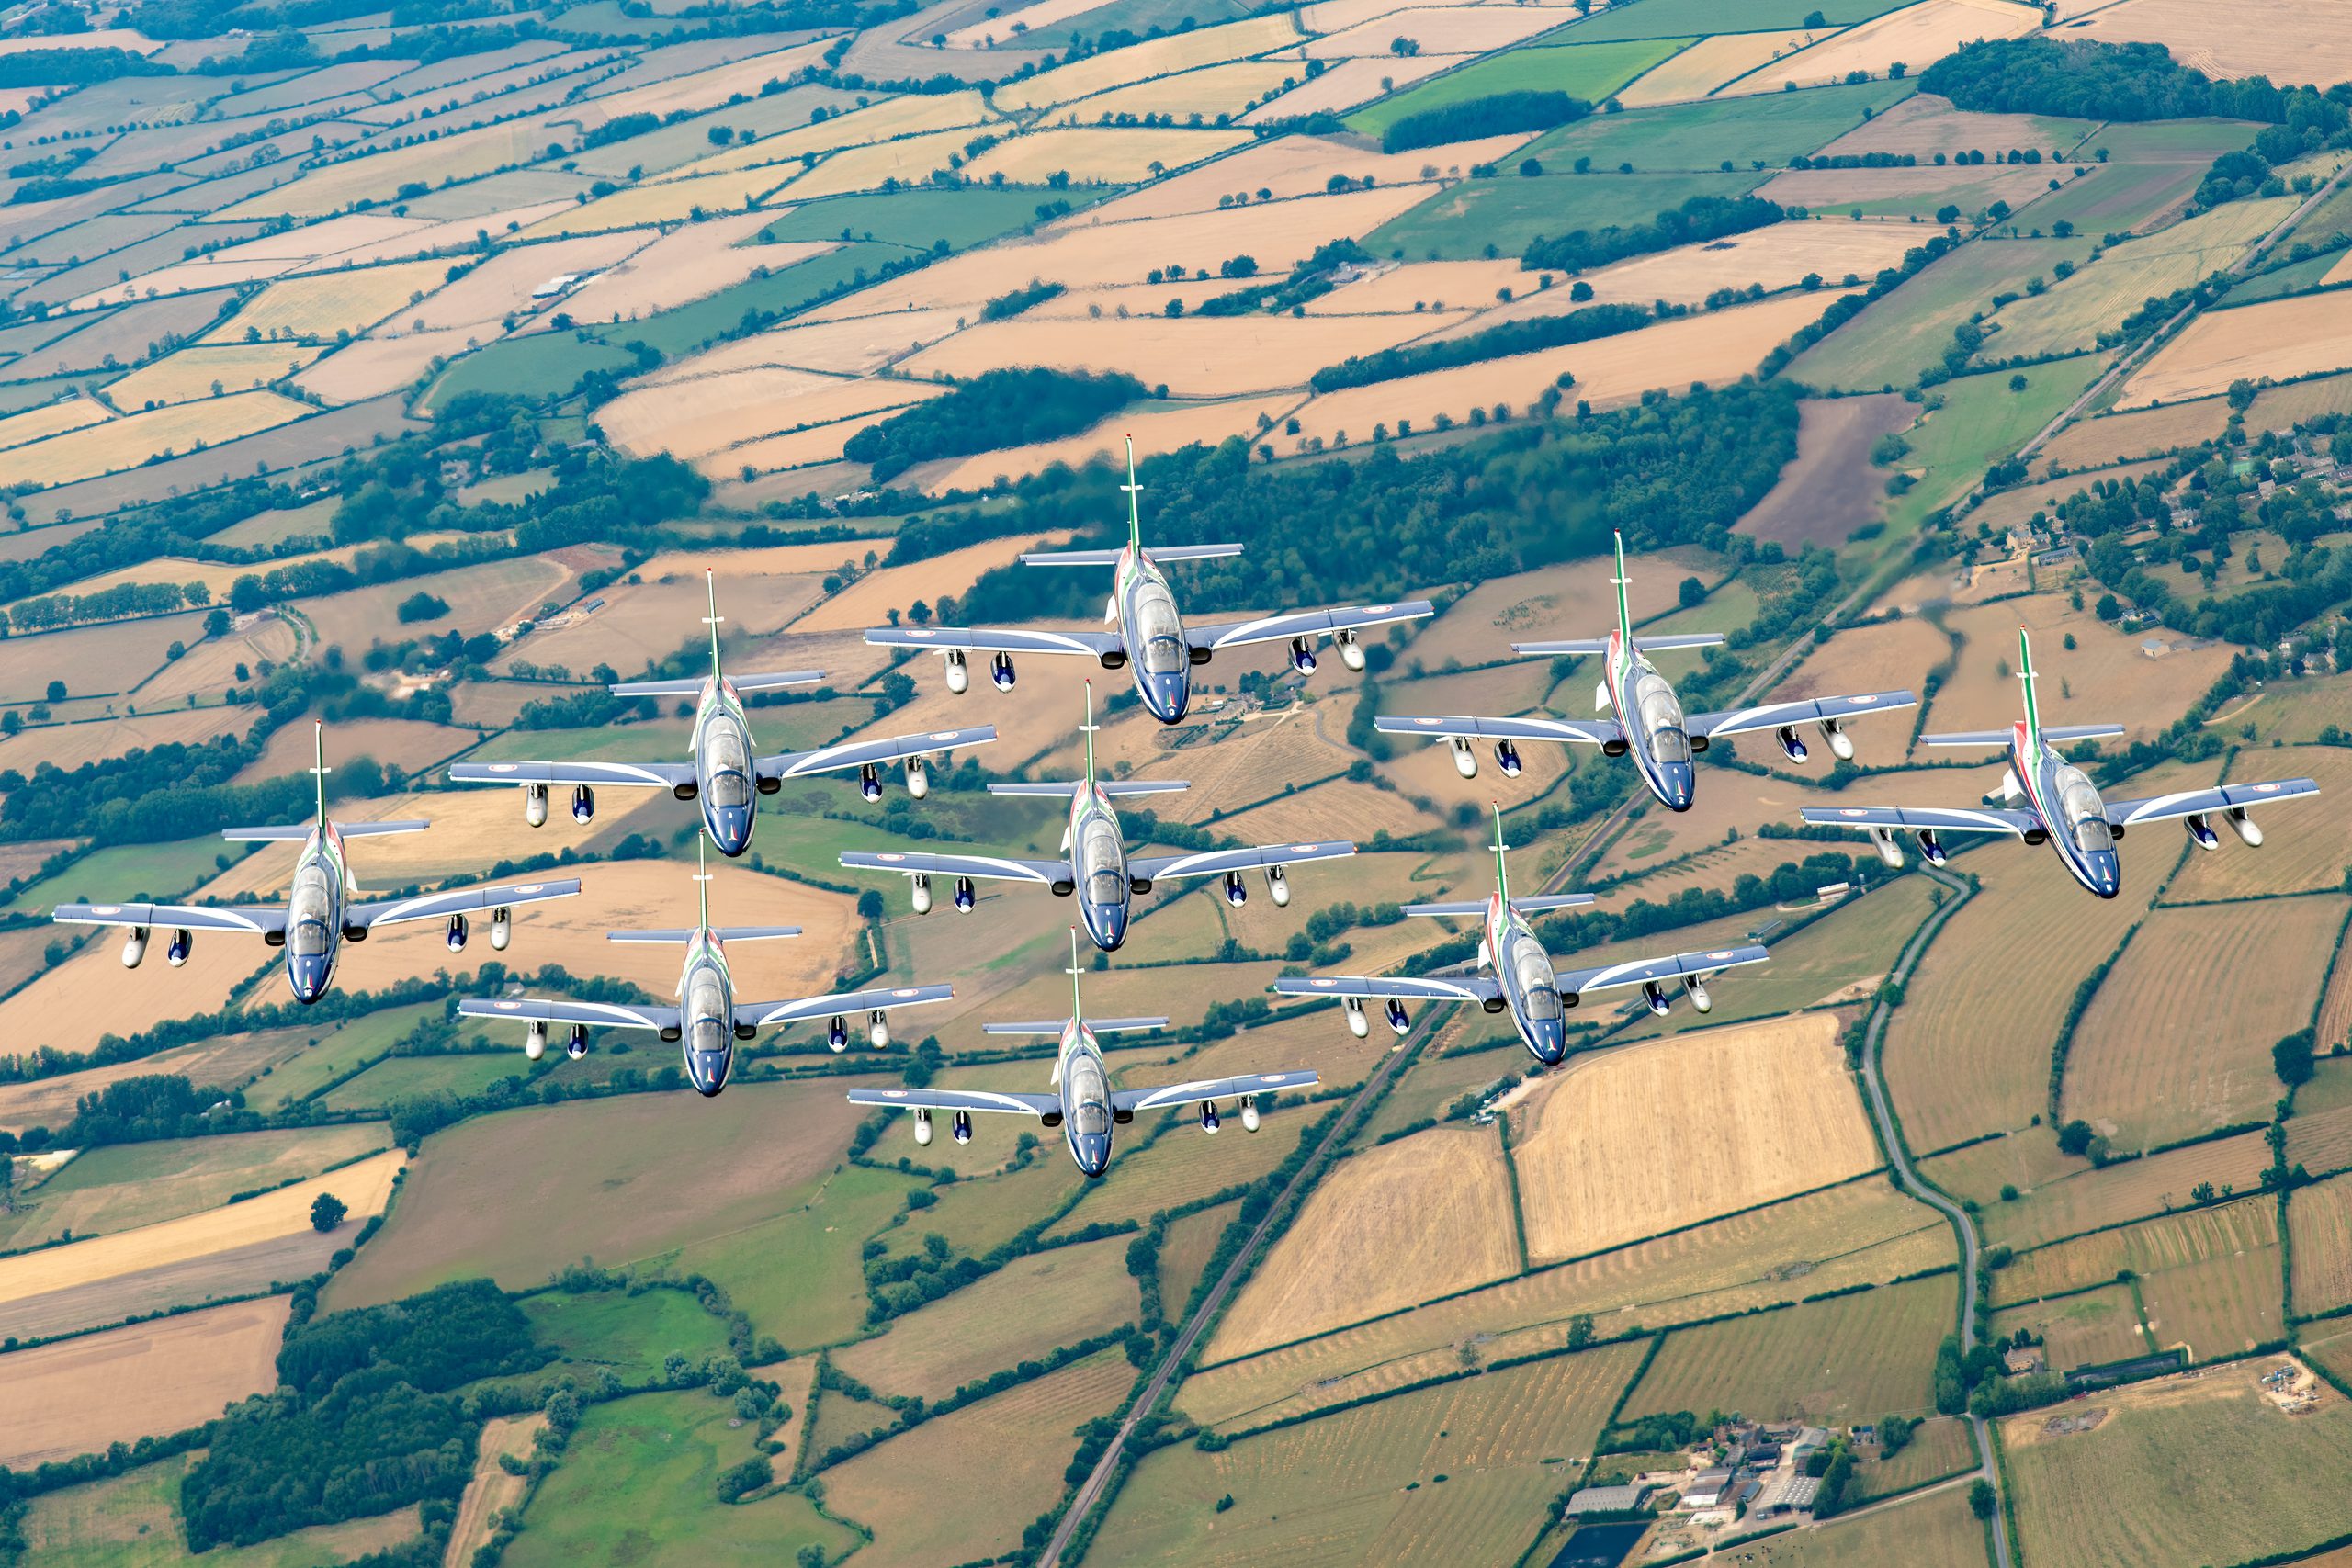
Formations are about the shape, so you often step back from the tightest framing to fit the whole team and any smoke or geometry. Compose for the pattern, leave room for the shape to read, and keep the formation off centre with lead room where it is moving directionally. For synchronised passes and opposition manoeuvres, anticipate the crossing point. Our guide to photographing the Red Arrows deals with formation timing and framing specifically.
Static aircraft
On the ground you control the angle by moving your feet, which is a luxury the flying display never gives you. Use it. Get low to place the aircraft against sky and lift it above clutter, find angles that show the lines of the airframe, and shoot details, nose art, cockpits and markings, when a clean full-length shot is impossible. A three-quarter front angle usually flatters an aircraft more than a flat side-on record shot.
| Subject | Main priority | Framing | Watch out for |
|---|---|---|---|
| Fast jets | Fill frame, lead room | Off centre, topside and head-on | Shooting too loose, clipping on fast passes |
| Props and warbirds | Clean lines, smooth pan | Off centre, banking, disc blurred | Fuselage blur from imperfect tracking |
| Formations and teams | Show the shape | Wider, room for pattern and smoke | Cropping the formation, dead-centre placement |
| Static aircraft | Angle and background | Low, three-quarter, or tight detail | Clutter, crowds, flat side-on record shots |
How light shapes composition
Composition and light are not separate skills. Light decides what your eye sees first, where the contrast falls, and which parts of the aircraft stand out. A frame that is well arranged but badly lit will still disappoint, and a beautifully lit subject can carry a simple composition. Learning to see the two together is what separates competent images from memorable ones.
Direction of light
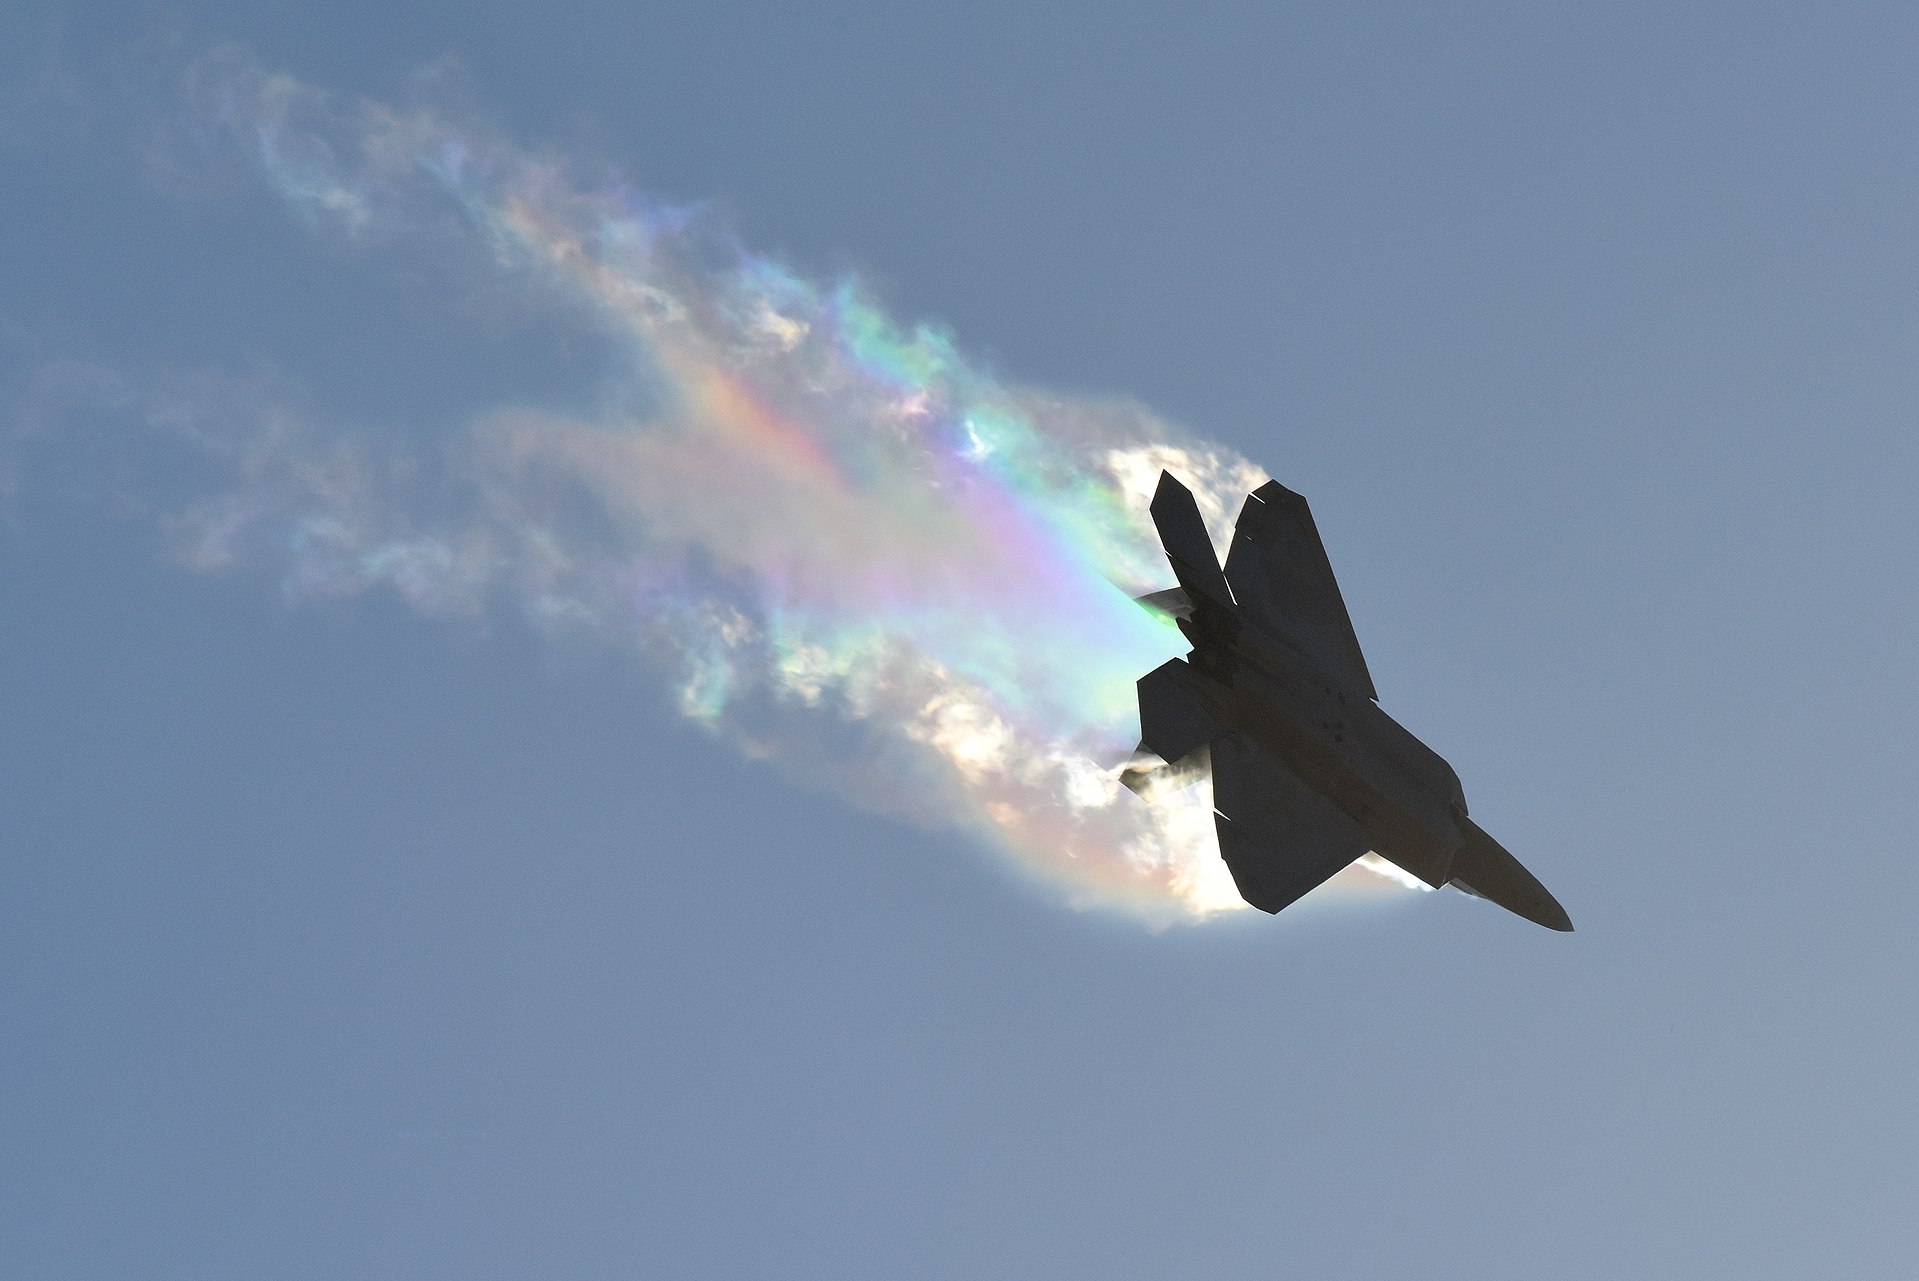
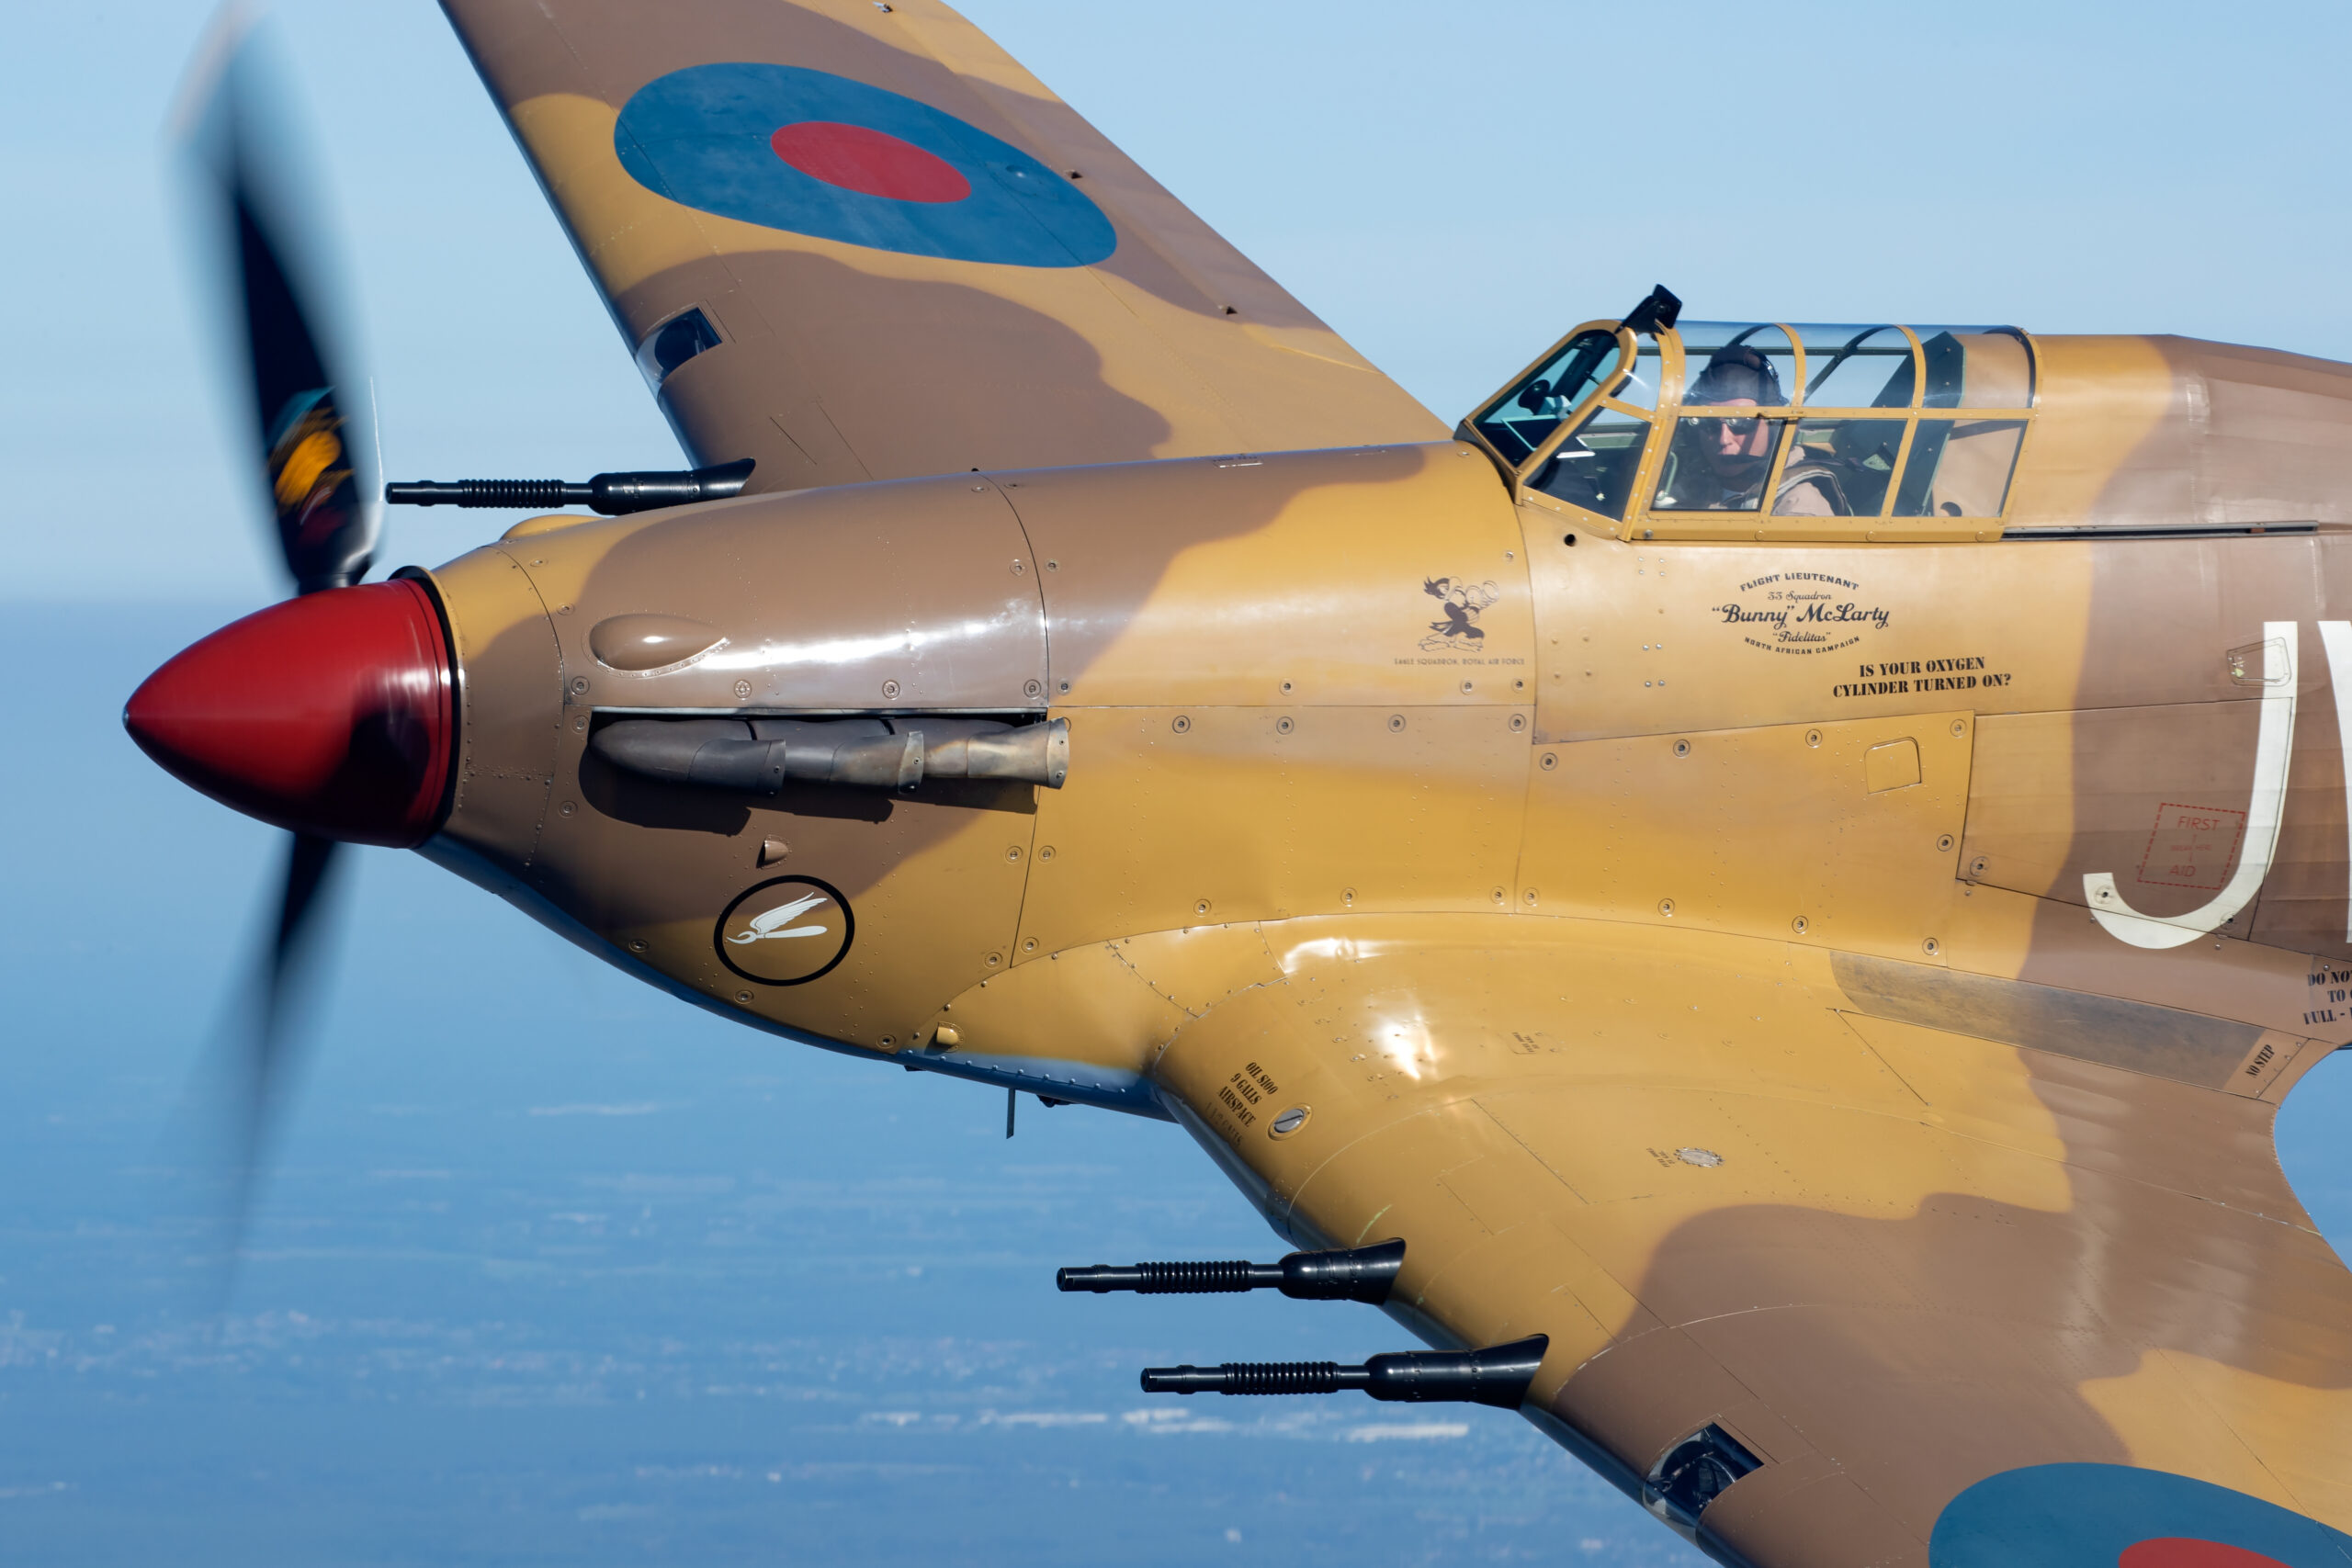
Front light, with the sun behind you, puts even illumination on the side of the aircraft facing you and holds colour in the markings. It is the safe, reliable choice and it keeps shadows off the parts you care about. Side light, earlier or later in the day, rakes across the airframe and reveals shape and texture through shadow, adding a three-dimensional quality that flat front light lacks. Backlight, shooting toward the sun, throws the near side into shadow but can produce dramatic rim-lit shapes, glowing vapour and silhouettes when you use it deliberately.
Contrast and where the eye goes
The eye is drawn to contrast and to light. A brightly lit aircraft against a darker sky pulls attention instantly, which is a compositional gift: the light itself becomes the tool that places your subject. Watch for these moments, an aircraft catching sun against a stormy backdrop, a jet lit while the ground behind is in shadow, and shoot them. The composition is half done when the light does the work of separating subject from background.
Golden hour and low light
Early and late in the day the light is warm, low and directional, which flatters aircraft and adds long shadows and modelling. It also lowers the contrast range so skies grade beautifully behind the subject. These are the conditions that turn an ordinary pass into a strong image, and they reward you for staying late or arriving early. Our guide to shooting aviation in low light goes deeper into working at the ends of the day.
Common composition mistakes
Most weak aviation images fail for a small number of repeatable reasons. Learn to spot them and you can fix them on the spot rather than discovering them at home.
The aircraft too small
By far the most common mistake is leaving the aircraft as a tiny shape in a big frame, not because the space was chosen but because the photographer did not fill the frame. Unless the space is deliberate, zoom in or move the crop until the aircraft reads clearly.
No lead room
Placing the aircraft so it is flying out of the frame, with its nose jammed against the edge, kills the sense of movement. Leave more space in front than behind so the subject flies into the picture.
Dead centre by default
Centring every subject out of habit makes for static, lifeless frames. Centre when symmetry is the point, such as a head-on pass, but otherwise place the aircraft off centre.
Cluttered or growing backgrounds
A tower, pole or another aircraft appearing to sprout from the airframe is a classic error. Shoot slightly upward, change angle, or time the shot to keep the background clean.
Tilted horizons
A sloping horizon or a listing runway is distracting and looks careless. Watch your levels, use a viewfinder level if you have one, and straighten in editing. Note that a banked aircraft is fine, it is the horizon that must stay level.
Chopped wingtips and props
Clipping a wingtip, a tail or the arc of a propeller usually looks like a mistake rather than a choice. Leave a little room, or crop cleanly and intentionally if you want a tight detail.
Everything side on
A set made entirely of flat, level, side-on passes is monotonous. Mix in banking, topside, head-on and going-away shots to give the set variety and energy.
Practice drills to train your eye
Composition improves with deliberate practice, not just time behind the camera. These simple drills sharpen the instincts described above so that in the moment, when an aircraft flashes past, you frame it well without having to think.
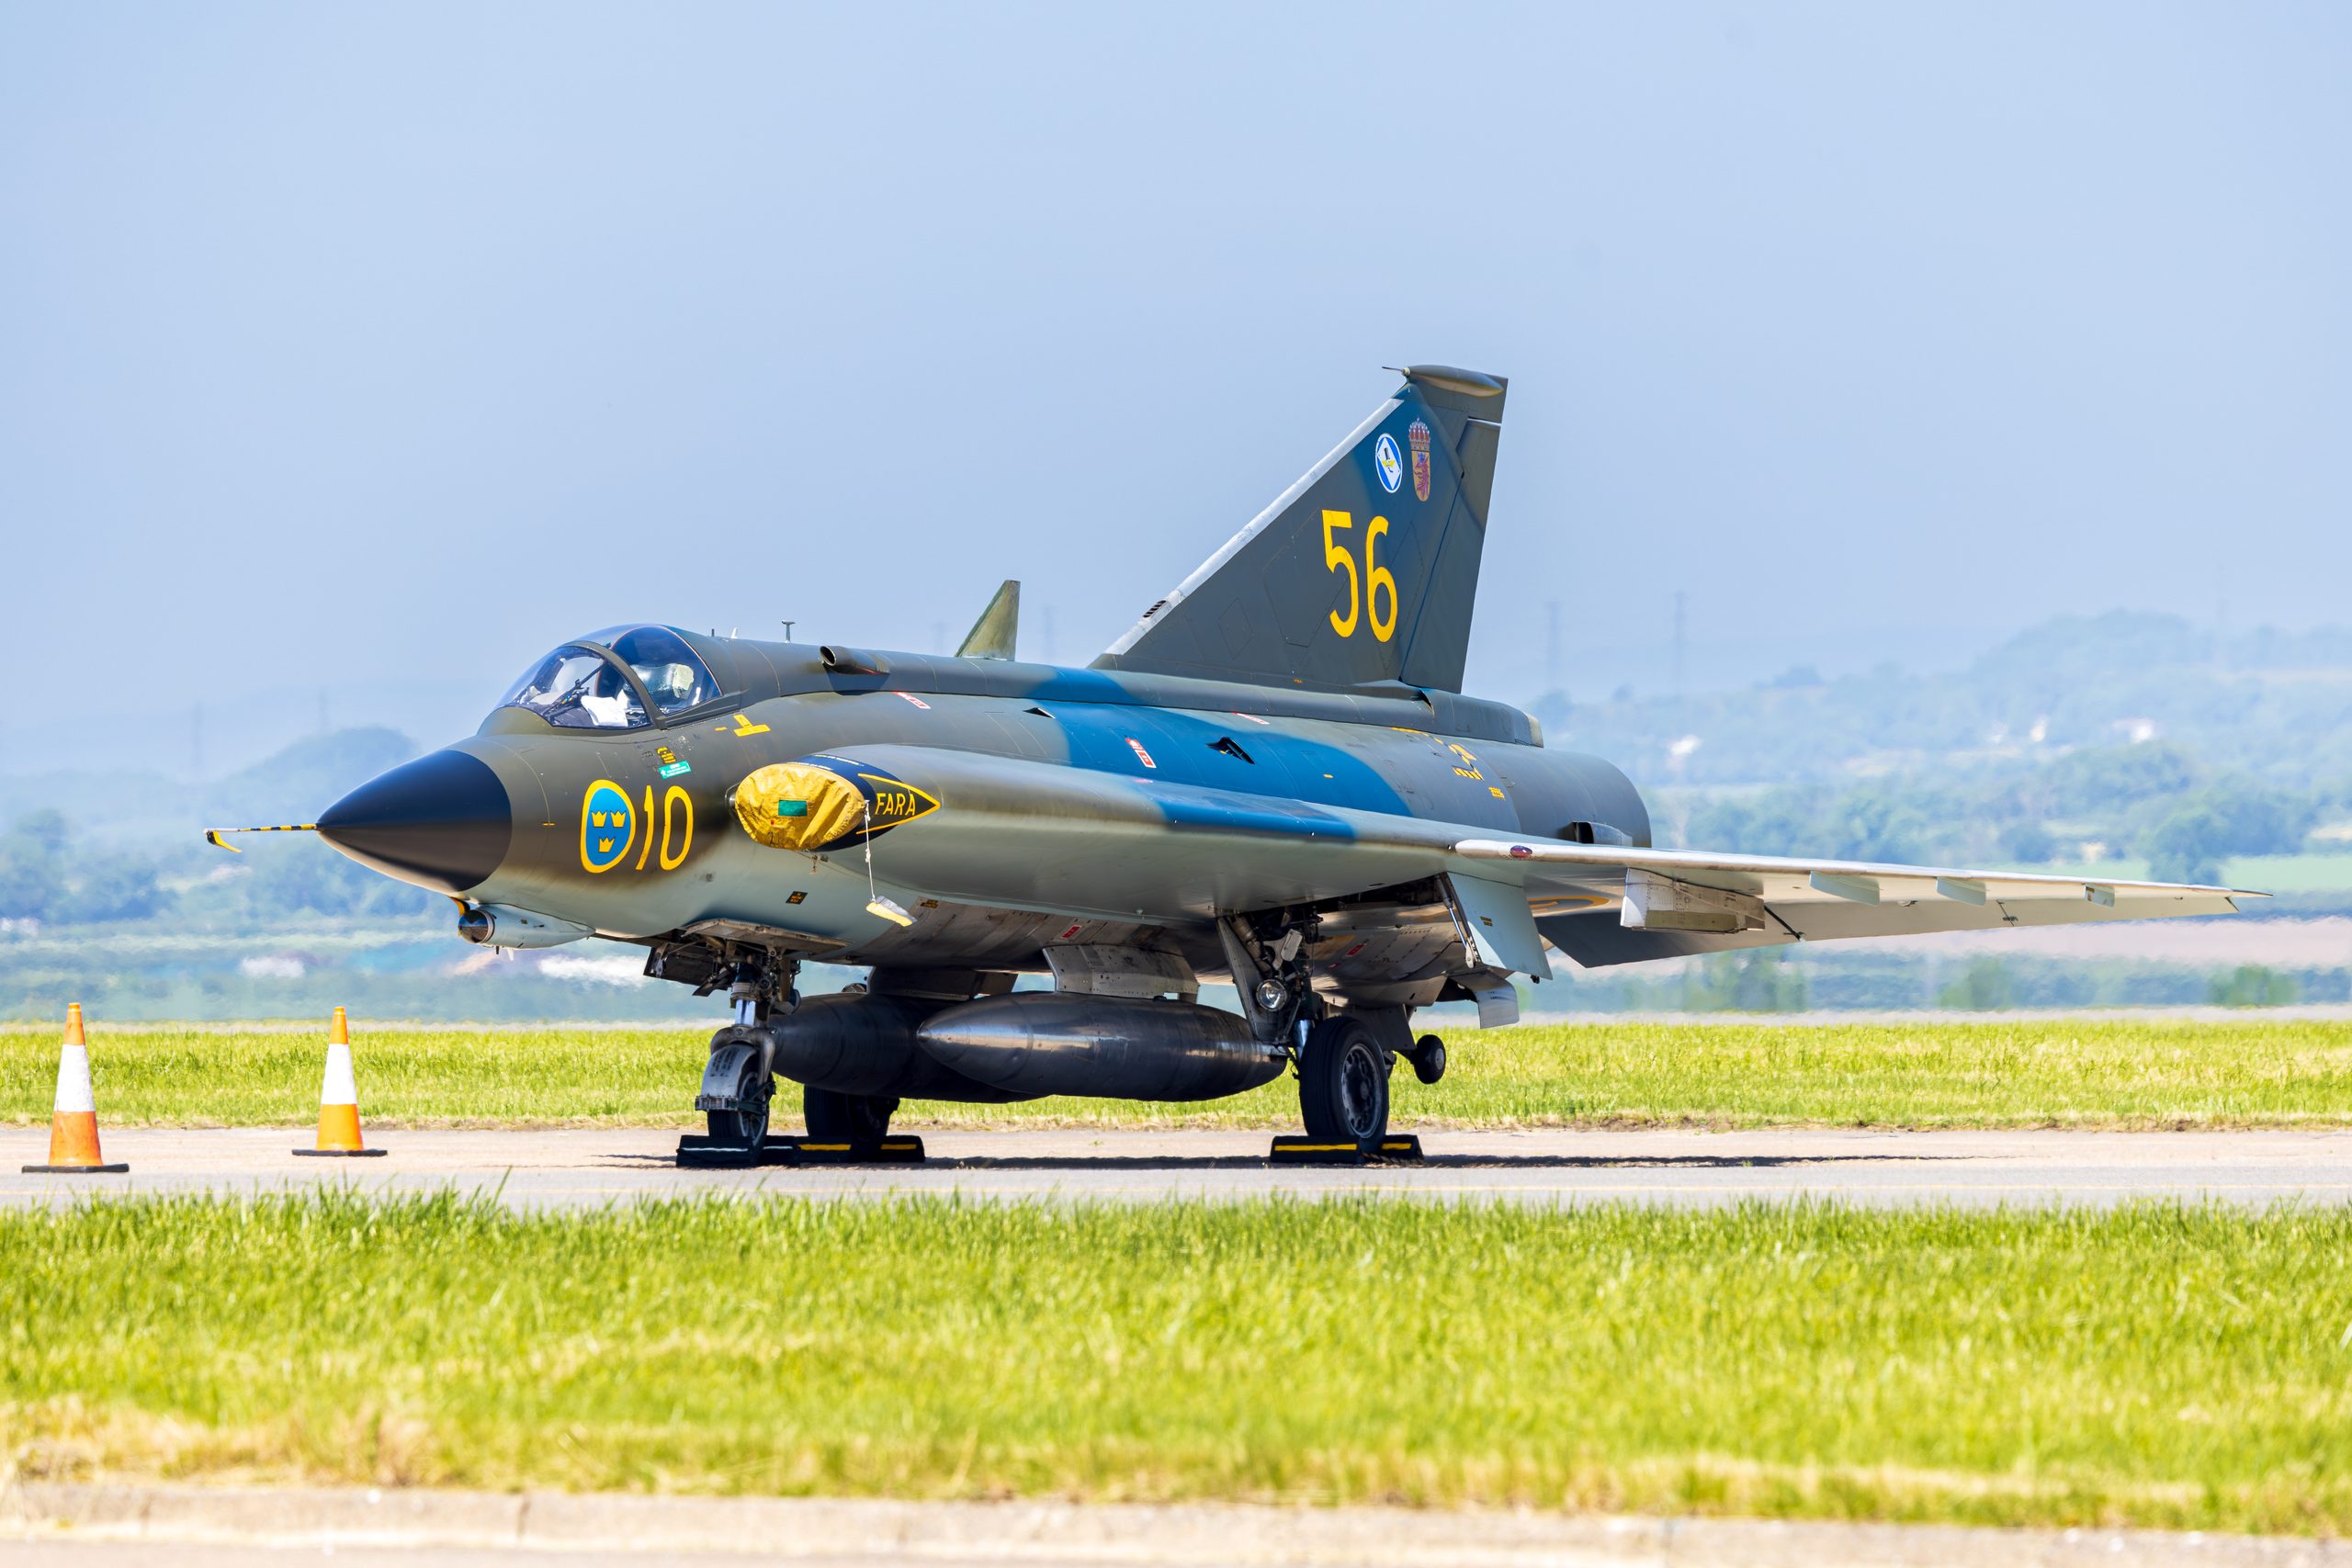
The single focal length day
Spend a session at one fixed focal length, or tape your zoom in place. Because you cannot change the size of the subject by zooming, you are forced to compose with placement, timing and angle instead. This teaches you to see the frame rather than reaching for the ring, and it transfers directly to the moments when there is no time to zoom.
The background check
For a whole session, make yourself check the background before every shutter press. Consciously scan the edges and the space behind the subject, and only fire when it is clean or deliberately chosen. It slows you down at first and becomes automatic quickly. After a few sessions you will notice clutter before it ruins a frame rather than after.
Editing your own work plainly
Sit down with a set and pick your five strongest frames, then work out exactly why they beat the rest. Almost always it comes down to composition and light, not sharpness. Then take a weak frame and ask what one change, a tighter crop, more lead room, a cleaner background, would have saved it. Learning to diagnose your own images is the fastest route to better ones.
Study images you admire
Look closely at aviation photographs that stop you, and analyse the composition rather than just enjoying it. Where is the aircraft placed? How much space is in front of it? What is the background doing? Where does your eye go first, and why? A good place to start is a strong, edited body of work such as the Piemags aviation galleries, where you can see how placement, light and clean backgrounds combine in finished images.
Frequently asked questions
What is the most important rule of composition in aviation photography?
Fill the frame with the aircraft and keep the background clean. A large, clearly defined subject against uncluttered sky reads instantly and looks intentional, and it makes the detail you worked to capture actually visible. Every other principle, the rule of thirds, lead room, negative space, is a refinement layered on top of those two basics. Get the subject big enough and the background clean, and you are most of the way to a strong image.
Should I use the rule of thirds for aircraft?
Yes, as a reliable starting point. Placing the aircraft off centre, roughly on a thirds intersection and heading into the open part of the frame, usually feels more natural and dynamic than dead centre. Switch on your camera’s thirds grid while you learn. Then break the rule deliberately when symmetry suits the subject, such as a head-on pass or an aircraft climbing vertically, where central placement is stronger.
How much sky should I leave around the aircraft?
Leave more space in front of the nose than behind the tail, so the aircraft flies into the frame rather than out of it. Beyond that, the amount of sky is a creative choice. Fill the frame tightly for impact and detail, or use generous negative space on purpose to convey scale and altitude when the sky is dramatic enough to carry it. Avoid the in-between: an aircraft that is small by accident and cramped against the leading edge.
Is it better to crop later or fill the frame in camera?
Fill the frame in camera whenever you can. It keeps the full resolution and detail of your sensor on the aircraft and trains you to compose in the moment. For fast, erratic subjects, leave a small margin so you do not clip a wingtip, then crop precisely in editing. Treat cropping as a way to refine composition, not as a way to rescue a subject that was simply too far away, because heavy cropping exposes softness and noise.
How do I get clean backgrounds at an airshow?
Shoot slightly upward so the aircraft sits against sky rather than hangars, crowds and clutter. Time your shot for when the subject is clear of distractions, and be willing to wait for a low pass to climb into open sky before firing. Most importantly, watch the whole frame and not just the aircraft, scanning the edges for anything creeping in, so you catch clutter before you press the shutter rather than after.
What focal length is best for composition in aviation photography?
There is no single best focal length, because composition is about where you place the subject, not only how much you zoom. A long lens helps you fill the frame with distant aircraft and is essential for the flying display. A shorter lens lets you place an aircraft in its setting or capture a whole formation. Choose the focal length that lets you frame the subject the way you intend, then compose carefully within it.
How do I compose a head-on pass so it does not look flat and lifeless?
Centre the aircraft and let the symmetry carry the frame, because lead room does not apply when the aircraft is coming straight at you. Time the shutter for the moment the nose, canopy and any vapour read most clearly, and keep the wings level so the symmetry looks deliberate rather than accidental. A head-on pass gains a lot from a clean, uncluttered background directly behind the aircraft, so shoot slightly upward to place it against open sky.
What is the best orientation, portrait or landscape, for aviation shots?
Landscape suits most flying subjects because aircraft are wider than they are tall and they move horizontally across the sky, which gives you room for lead room and a low pass. Portrait comes into its own for a steep vertical climb, a tail-slide or a rotor-blurred helicopter hovering, where the action runs up and down the frame. On the ground, portrait can flatter a tall tail or a three-quarter nose study, so switch orientation to match the shape and movement of the subject rather than defaulting to one.
How do I use vapour, contrails and exhaust as compositional elements?
Treat them as leading lines that carry the eye toward the aircraft, the same way you would use a smoke trail. Vapour streaming off wingtips in a hard turn adds instant drama, so frame to keep it inside the picture and leading into the shape rather than running straight out of a corner. Expose to hold detail in the vapour so it reads as a soft form rather than a blown white smear, and leave a little space in the direction it trails so the frame does not feel cramped.
How do I avoid clipping the wingtips or tail in aviation photos?
Leave a margin of clear space around the whole aircraft and frame a little wider than feels necessary, because a wingtip or tail clipped by the edge is the one fault you cannot fix later. Track the aircraft with both eyes open so you can see it approaching the frame edge, and if in doubt zoom out slightly and crop for the exact composition afterwards. Clipping is the single most common reason a technically good frame gets binned.
Should the aircraft be flying into the frame or out of it?
As a rule, give the aircraft space to fly into, so the nose points towards the larger area of empty frame rather than towards the edge it is about to leave. This reads as natural and lets the viewer follow the direction of travel. It is a guideline rather than a law: a deliberate composition with the aircraft leaving the frame can imply speed or departure, but do it on purpose, not by accident.
How do I compose a formation or multi-aircraft shot?
Compose for the shape the formation makes rather than any single aircraft, and keep the whole group in the frame with a little breathing space around it. The strongest frame is usually the one where the aircraft are evenly spaced and none overlaps another, so time your bursts for the moment the formation presents its cleanest planform. Straight, parallel smoke trails, where present, reinforce the geometry and lift the composition.
Composition is the part of aviation photography you can improve fastest and for free. Fill the frame so the aircraft reads, place it off centre with room to fly into, watch the background as closely as the subject, and shoot the aircraft doing something rather than sitting flat and level. Add good light to a well arranged frame and you have the ingredients of a picture that people stop to look at. Practise these habits until they are automatic, and your keeper rate will climb long before you ever need to buy another lens.
The same compositional thinking applies indoors, where isolating a subject is harder still. Our guide to photographing aircraft in museums and hangars covers clean backgrounds in a crowded hall.
