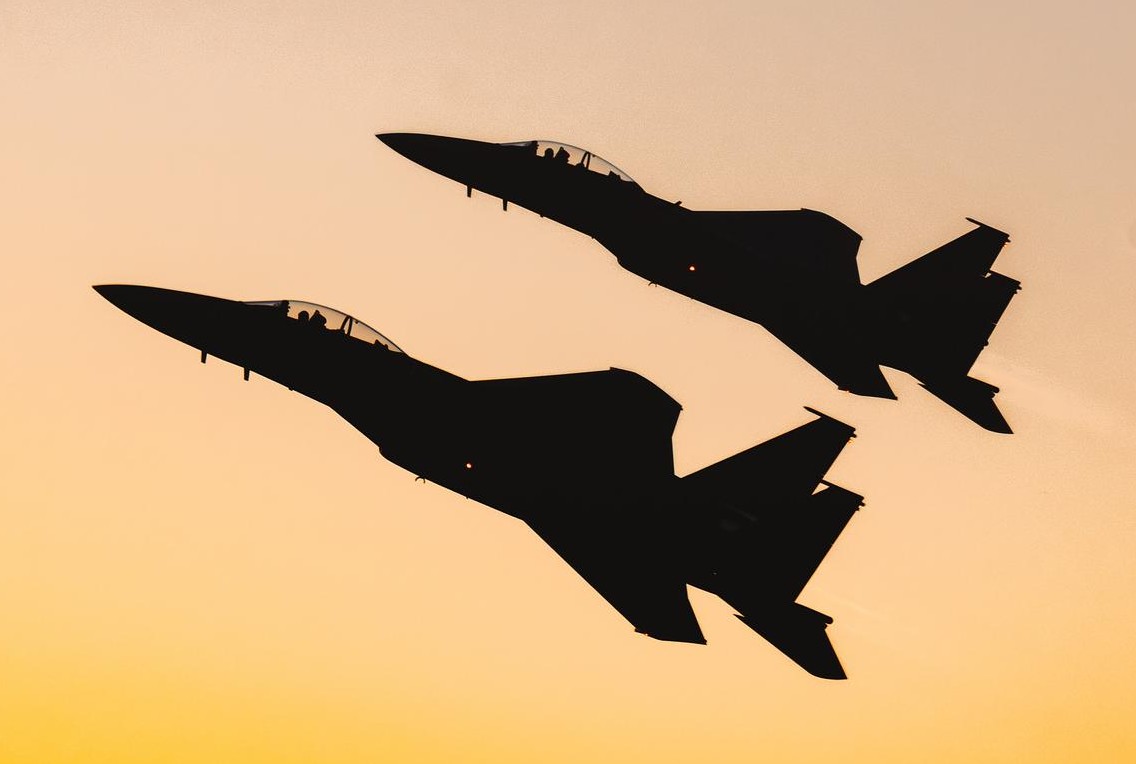
You track a Spitfire across a flat white sky, fire a burst as it banks, and check the screen to find a black aeroplane shape with no rivets, no roundel and no colour. The exposure looks fine on the sky and hopeless on the aircraft. This is the single most common way good aviation photos are ruined, and it happens because your camera is doing exactly what it was designed to do. This guide explains why it happens and gives you a reliable way to get correct exposure for aircraft against sky in every kind of light.
The aim here is not theory for its own sake. It is to put you in a position where, whatever turns up overhead, you already know which way to turn the dial and why. We will start with the one minute fix you can use today, then build up the understanding that lets you adapt when the simple fix is not enough: how metering modes behave, how to use exposure compensation without getting caught out, when manual exposure is the smarter choice, how to read the histogram on the flight line, and exactly what to do in the awkward situations that catch most people out.
What this guide covers
- Why the sky fools your camera meter
- The one minute fix (quick reference)
- Metering modes for sky backgrounds
- Exposure compensation, the dial that saves the shot
- Manual exposure and Auto ISO
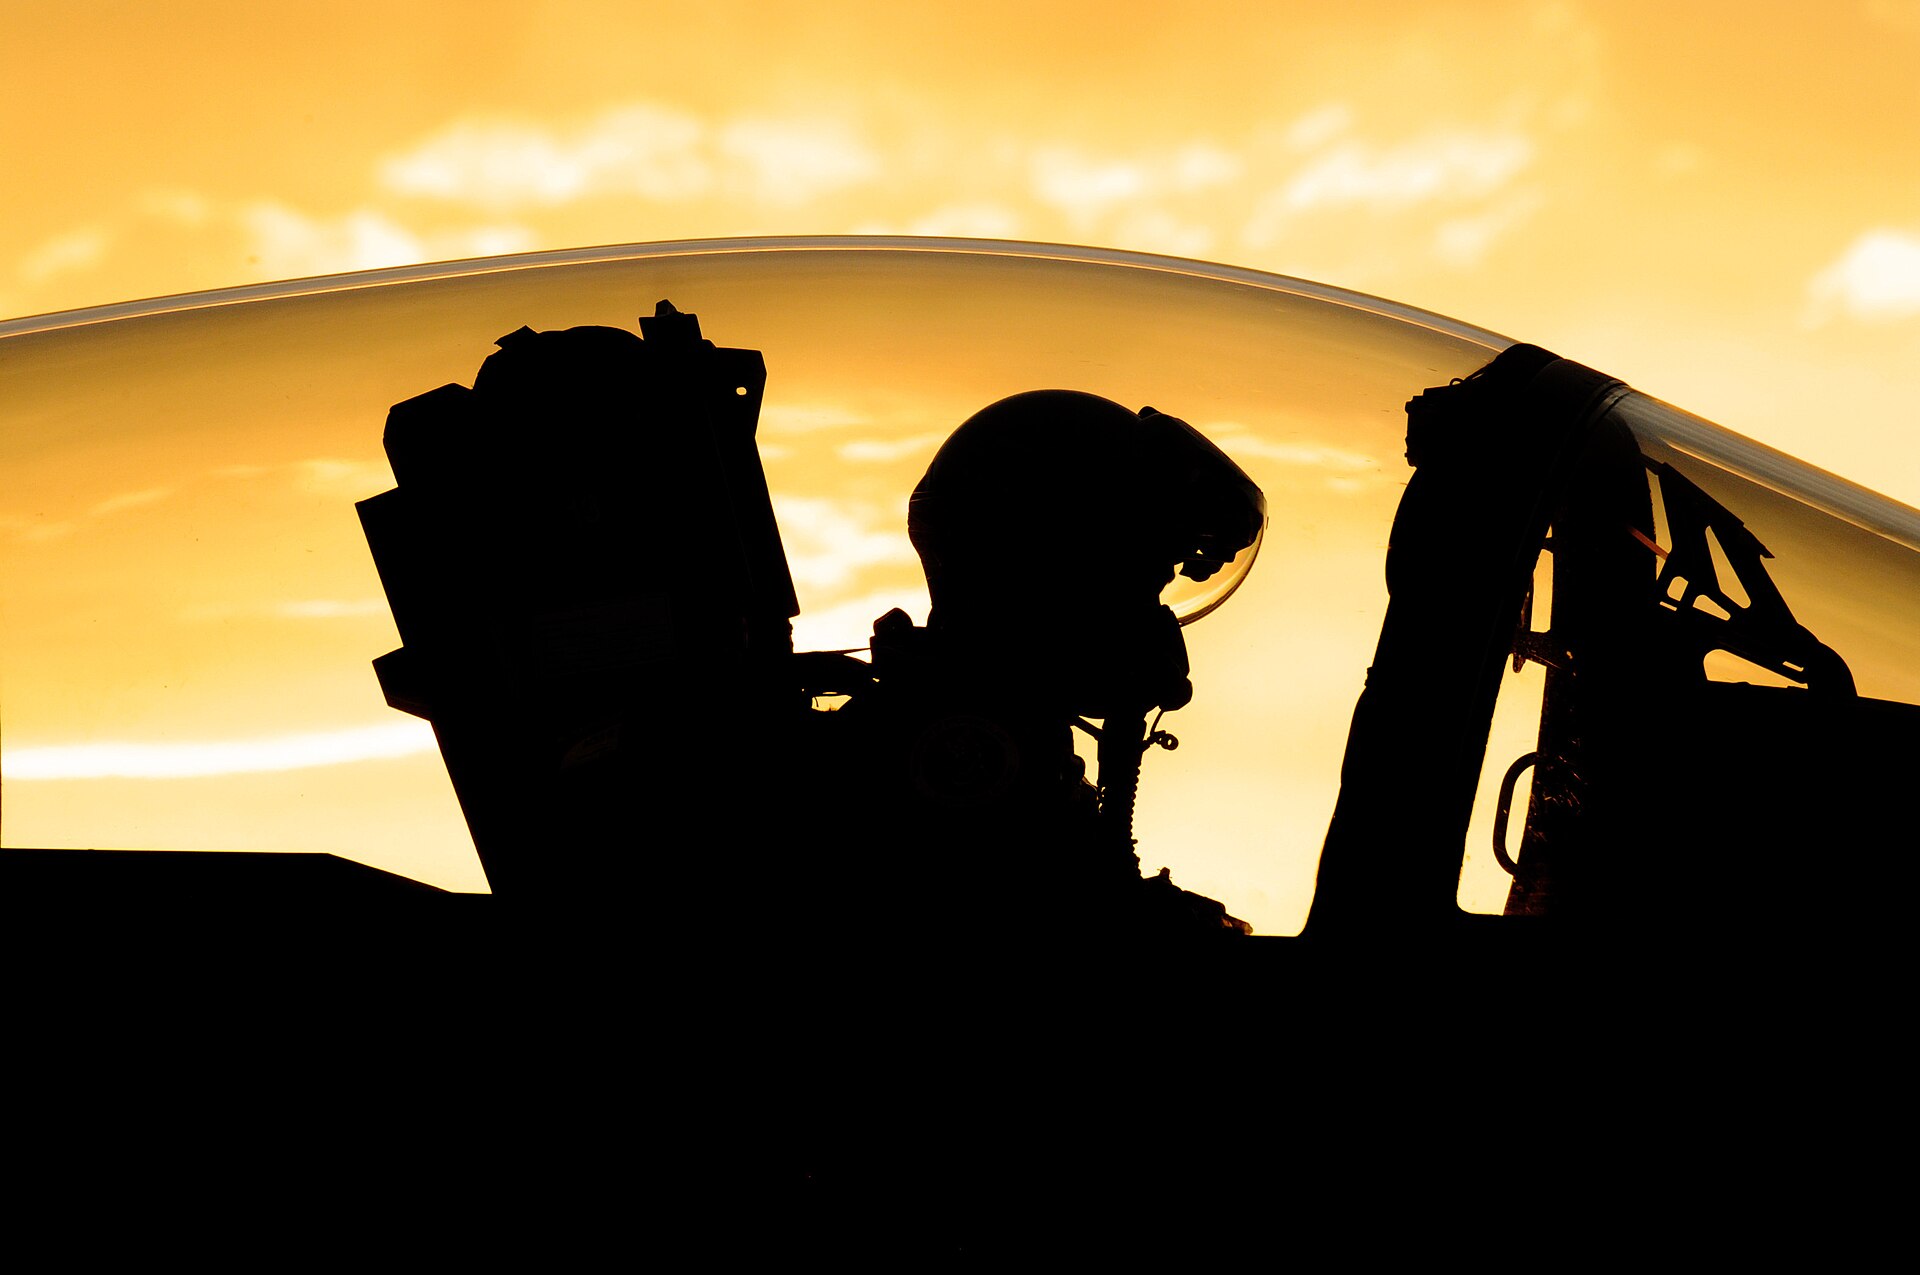
- Reading the histogram on the flight line
- Scenario by scenario settings
- When a silhouette is the right choice
- Full settings reference table
- Common mistakes
- A simple workflow for the whole day
- Frequently asked questions
Why the sky fools your camera meter
Your camera does not see colour, subject or sky the way you do. Its light meter measures the brightness of the scene and tries to work out an exposure that renders the average of everything in the frame as a mid tone, roughly the brightness of weathered tarmac or an 18 per cent grey card. That assumption is the foundation of every automatic exposure your camera makes, and most of the time it is a good one, because the average real world scene really does average out to something close to a mid tone.
Aircraft against sky breaks the assumption completely. Think about what is actually in the frame when a fighter crosses an open sky. The aeroplane might fill five or ten per cent of the picture. The rest is sky, and that sky is bright, often far brighter than a mid tone. The meter looks at the whole scene, decides it is far too bright, and cuts the exposure to drag that brightness back down to the middle of the range. The sky becomes a pleasant mid grey or blue, and the aircraft, which was darker than the sky to begin with, is pushed down into the shadows. You get a silhouette.
The grey card problem in plain terms
Picture a sliding scale of brightness from pure black on the left to pure white on the right. Your meter always wants to park the average of the scene in the middle. When most of the frame is bright sky, the average sits well to the right, so the camera shifts everything left to bring it back to centre. Everything includes your aircraft. The more sky and the brighter it is, the harder the camera pulls, and the darker your subject becomes.
This is why the problem is worst with a small, dark aircraft in a large, bright, empty sky, and least bad when a big aircraft fills the frame against a darker or more even background. It is not a fault. It is the meter doing its job with a scene that does not suit the assumption it is built on.
Why aircraft are the hardest case
Several things stack up against you at the same time. The subject is small in the frame for much of a display. It is usually moving fast, so you cannot take your time. The background brightness changes constantly as the aircraft moves from clear sky to cloud to haze and back. And aircraft themselves cover an enormous range of tones, from matt grey camouflage that wants more light to glossy white airliners and polished warbirds that want less. A single scene can contain the darkest and the brightest parts of your whole day, sometimes within one pass.
The one minute fix (quick reference)
If you only remember one thing from this guide, remember this: when an aircraft sits against a bright sky, the camera will make it too dark, so you need to add light back. In an automatic mode that means turning the exposure compensation dial to the plus side. Here is the short version you can act on straight away, before we get into the detail.
| Situation | Quick action | Starting point |
|---|---|---|
| Dark or grey aircraft, bright overcast sky | Add exposure compensation | +1 to +2 stops |
| Aircraft against bright blue sky | Add a little compensation | +0.3 to +1 stop |
| White or polished aircraft, bright sky | Protect highlights, add less or pull back | 0 to +0.7 stop, watch the histogram |
| Shooting into the sun, strong backlight | Add a lot, or accept a silhouette | +2 stops or more |
| Aircraft against dark cloud or terrain | Little or none, maybe pull back | -0.3 to 0 |
That table will get you usable frames in most conditions. It works because you are telling the camera that its first guess is too dark and asking it to brighten the result. The numbers are a starting point, not a rule. The reliable habit is to take a frame, look at the back of the camera, glance at the histogram, and adjust. Two seconds of checking early on saves a whole sequence later.
The rest of this guide is about understanding why these numbers work, so you can set them with confidence and change them when the simple version is not enough. If you want a broader settings overview that covers shutter speed and autofocus as well as exposure, the best camera settings for airshows guide is a good companion to this one.
Metering modes for sky backgrounds
Your camera offers several ways of measuring the scene, and the one you pick changes how badly the sky misleads it. Understanding the three main modes turns metering from a mystery into a tool you choose on purpose.
Matrix or evaluative metering
This is the default on almost every camera. Nikon calls it matrix, Canon calls it evaluative, Sony calls it multi, and they all do broadly the same thing: divide the frame into zones, measure each one, and combine them using clever logic that tries to recognise common scenes. Modern versions are really good and often factor in where your focus point sits, giving a little more weight to the area you are focusing on.
For aviation, matrix metering is a sensible starting mode because it is consistent and it copes well when the aircraft is large in the frame. Its weakness is exactly the scene we are worried about. Put a small dark aircraft in a big bright sky and the zones full of sky outvote the few zones containing the aeroplane, so the result is underexposed. That is not a reason to abandon it. It is a reason to pair it with exposure compensation, which is the most practical combination most of the time.
Centre weighted metering
Centre weighted metering ignores the clever scene recognition and simply measures the whole frame while giving most of the importance to a large area in the middle. It is predictable, which some photographers prefer, but for aviation it has the same basic flaw as matrix when the aircraft is small and off centre, and it lacks the scene smarts that sometimes rescue matrix. It is a reasonable middle ground if you keep the aircraft near the centre of the frame, but most aviation shooters end up using either matrix with compensation or spot.
Spot metering
Spot metering measures only a tiny circle, usually around one to five per cent of the frame, often linked to your active focus point on more capable bodies. Point that spot at the aircraft and the camera meters for the aircraft alone, ignoring the sky completely. In theory this is the perfect answer to the silhouette problem, because you are measuring the thing you care about.
In practice spot metering on a fast, small, moving target is hard. The spot has to be on the aircraft at the moment of exposure, and if it drifts onto the bright sky you get a sudden dark frame. It also meters whatever tone it lands on, so a spot on a dark panel gives a different reading from a spot on a white one, and the camera still tries to make that spot a mid tone. Spot metering rewards practice and works best on larger, slower, more predictable subjects, or when you can meter, lock the reading, and recompose.
Which mode for which situation
| Mode | Best for | Watch out for |
|---|---|---|
| Matrix / evaluative | General use, large subjects, fast changing scenes | Underexposes small subjects in bright sky, needs compensation |
| Centre weighted | Subject kept central, predictable results | Still fooled by lots of bright sky |
| Spot | Larger or slower aircraft, deliberate metering off the subject | Hard to keep on a small fast target, very sensitive to where it lands |
For most people the honest recommendation is matrix metering combined with exposure compensation for fast jets and busy displays, and a willingness to switch to spot, or better still to manual, when the light is steady and you want the most consistent results. The techniques for tracking a fast subject sharply are covered in the guide on how to photograph fast jets, and they go hand in hand with getting the exposure right.
Exposure compensation, the dial that saves the shot
Exposure compensation is the single most useful control for aircraft against sky, and it is worth understanding properly rather than just nudging it and hoping. It works in any automatic or semi automatic mode, which means aperture priority, shutter priority, or program, and in manual with Auto ISO. What it does is simple: it tells the camera to deviate from the exposure its meter wants, by a set amount, in the direction you choose.
Which way to turn it, and why
Add positive compensation to make the picture brighter than the meter wants. Add negative compensation to make it darker. Against a bright sky the meter is making your aircraft too dark, so you add positive compensation to bring the aircraft back up to a correct brightness. It feels counterintuitive at first, because the scene already looks bright to your eye, but you are not brightening the scene, you are overruling a meter that has been tricked by the sky.
The reverse is true for a bright subject against a darker background, or for a glossy white aircraft that the meter renders correctly but which then clips its own highlights. There you may want negative compensation to keep texture in the white. The principle never changes: you are deciding what should be a mid tone and compensating for the meter when it picks the wrong thing.
How much compensation, by scenario
| Scene | Compensation | Reasoning |
|---|---|---|
| Dark grey jet, bright white overcast | +1.3 to +2 | Huge area of bright sky, dark subject, meter pulls hard |
| Camouflaged aircraft, bright blue sky | +0.7 to +1.3 | Bright sky but more colour and tone than flat overcast |
| Mid toned aircraft, blue sky with cloud | +0.3 to +0.7 | Scene closer to average, less correction needed |
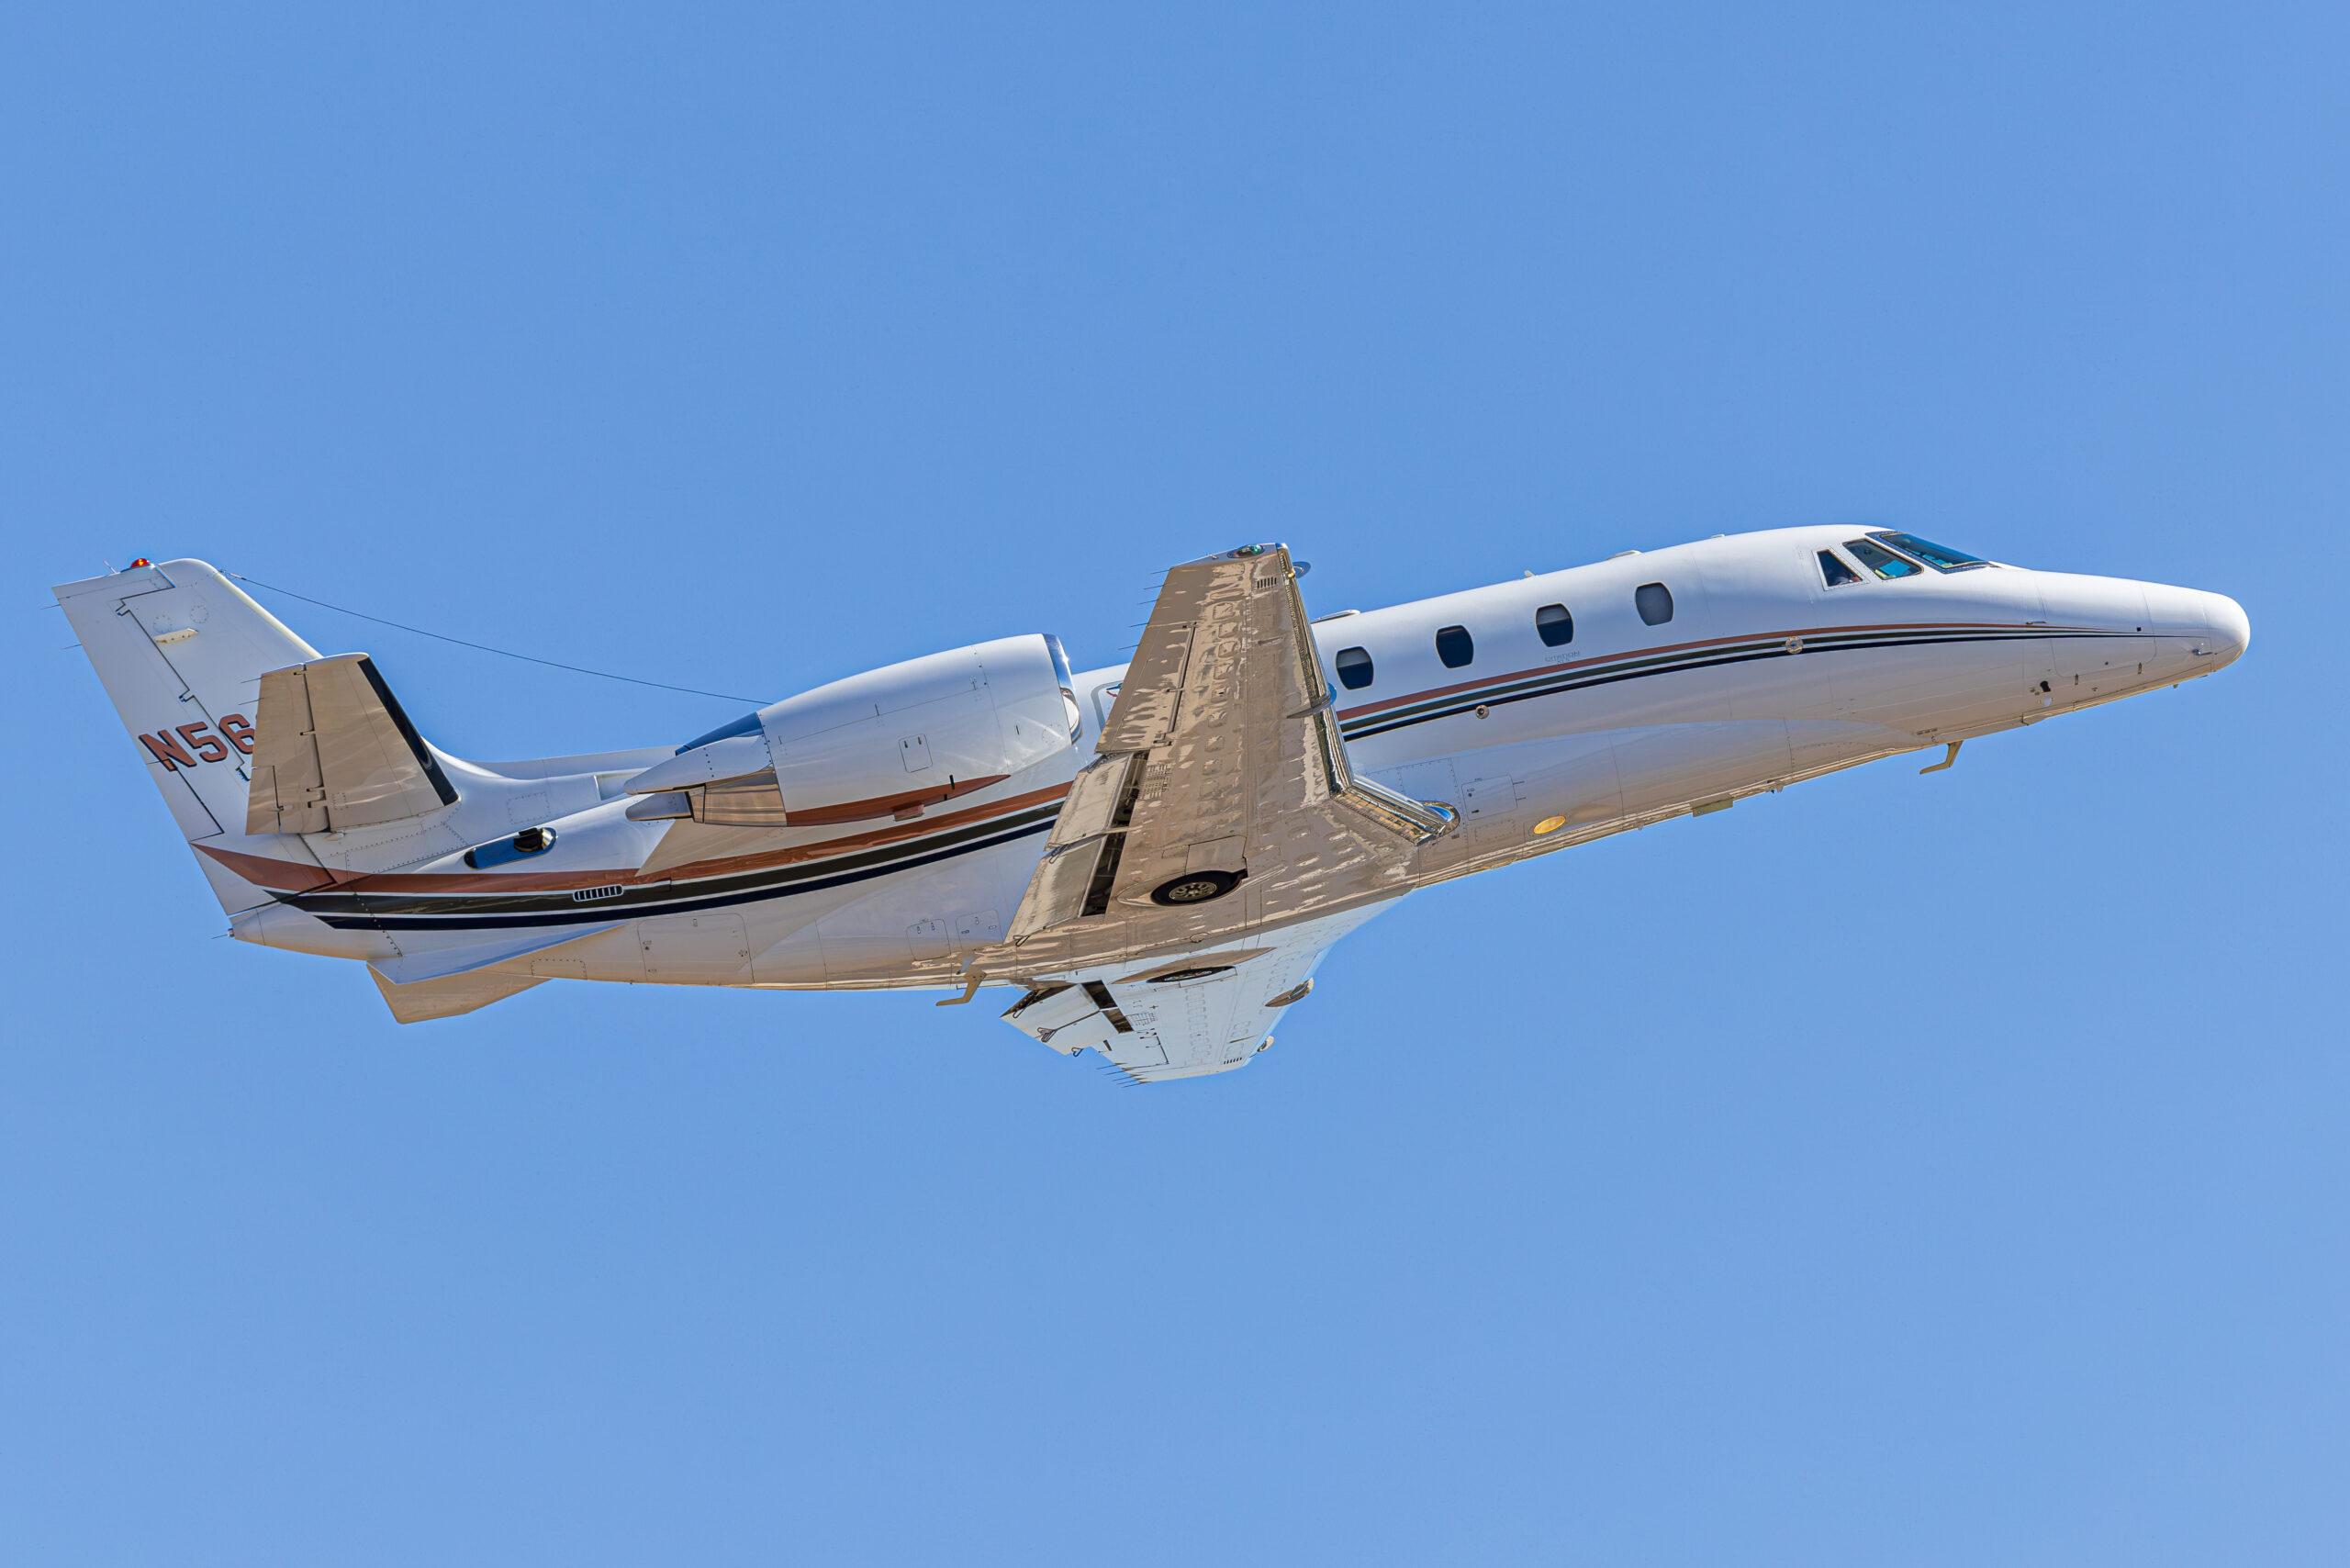
| White airliner or polished warbird, bright sky | 0 to +0.7, protect highlights | Bright subject can clip, check histogram before adding much |
| Aircraft against dark cloud, terrain or hangar | -0.7 to 0 | Dark background tricks meter the other way, can overexpose |
| Strong backlight, sun near the frame | +2 or more, or accept silhouette | Extreme contrast, decide whether you want detail or shape |
These are starting points, and the right number depends on how much of the frame the sky fills and how bright it is. A tighter framing on the same aircraft against the same sky needs less compensation than a wide shot where the aeroplane is a speck, because the proportion of sky changes. That is one reason consistency is hard in automatic modes, and it leads many photographers to manual exposure, which we come to shortly.
The danger of leaving it set
Exposure compensation has one notorious trap. You set plus two stops for a dark jet against white cloud, the jet lands, and the next thing on the flight line is a display starting low against the trees. Your camera is still adding two stops, and now everything is badly overexposed. It is one of the most common ways to ruin a sequence. Get into the habit of glancing at the compensation reading whenever the subject or the light changes, and reset to zero between very different situations. Some cameras let you assign compensation to a thumb dial so you can ride it continuously, which is the ideal setup for changeable conditions.
Manual exposure and Auto ISO
Once you understand why the sky misleads the meter, manual exposure starts to look less intimidating and more like the obvious answer. The whole reason your exposure jumps around in automatic modes is that the meter keeps re measuring a scene whose background brightness keeps changing. If the light on the aircraft is steady, the correct exposure for the aircraft is also steady, so why let the camera keep changing its mind? In manual you set the exposure once for the aircraft and it stays put no matter how much sky is in the frame.
Setting manual exposure from the sky
On a day with consistent light there is a simple way to nail manual exposure. Choose your shutter speed for the motion you want, set an aperture that gives you enough depth and sharpness, usually a stop or so down from wide open, then adjust ISO until the exposure looks right on a test frame and the histogram sits well. A practical method is to meter off a plain patch of sky, note the reading, then open up by the right amount for that sky, because a mid blue sky photographed correctly is often close to the exposure you want for the aircraft. Take a frame of an actual aircraft, check it, and lock it in. From then on every pass is exposed identically, which is exactly what you want for a clean set of images.
The point worth stressing is that manual exposure does not mean fighting the camera on every frame. It means doing the thinking once, at the start, when you have time, instead of leaving the camera to guess under pressure when you do not. On a steady day it is the most reliable route to consistent, correctly exposed aircraft against sky.
Manual with Auto ISO, the best of both
If the light is changing, for example broken cloud sending the sun in and out, full manual can leave you chasing the exposure. Manual with Auto ISO is the answer many aviation photographers settle on. You fix the shutter speed and the aperture, the two settings that control motion and sharpness, and let the camera vary only the ISO to hold the exposure as the light changes. Crucially, exposure compensation still works in this mode, so you can dial in your plus one or plus two for bright sky and the camera will apply it through the ISO. You get the consistency of manual control over shutter and aperture, with automatic adaptation to changing light, and you keep the compensation override for the sky problem.
The one thing to watch is your ISO ceiling. Set a sensible maximum so the camera does not push the ISO higher than you are comfortable with on a dull day. If it hits the ceiling and the image is still dark, you will need to drop the shutter speed or open the aperture. For low light specifically, the dedicated guide to aviation photography at golden hour goes deeper into balancing ISO against shutter speed as the light fades.
Reading the histogram on the flight line
The image on the back of your camera lies to you. Its brightness changes with the ambient light and the screen brightness setting, so a photo that looks perfect in the shade can be badly underexposed when you get home. The histogram does not lie. Learning to read it quickly is the difference between hoping your exposures are right and knowing they are.
What the histogram is telling you
The histogram is a graph of how many pixels fall at each brightness level, with pure black on the far left and pure white on the far right. A graph that runs off the left edge means shadows are crushed to black with no detail. A graph that runs off the right edge, or piles up against it, means highlights are blown to pure white with no detail. The shape in between is just the spread of tones in your scene, and there is no single correct shape, because it depends entirely on what you photographed.
What a good aircraft against sky histogram looks like
This is where aviation is unusual. A dark aircraft against a bright sky produces a histogram with two separate clumps: a tall peak on the right for all that bright sky, and a smaller group further left for the aircraft. That is normal and not a problem in itself. What you care about is whether the aircraft data sits at a sensible brightness rather than crushed against the left edge, and whether the sky peak has stopped short of clipping off the right edge, or at least has not taken the important highlights with it.
In other words, do not try to force an aircraft against sky scene into a tidy central hump. Accept the two clumps, make sure the left one (your aircraft) is bright enough to hold detail, and make sure the right one (your sky) is not so far right that it loses everything. If the aircraft clump is jammed against the left wall, add exposure. If the sky clump is climbing the right wall and you care about that sky, pull back.
Expose to the right, with care
There is a well known technique called exposing to the right, which means pushing the exposure as bright as you can without clipping the highlights, because digital sensors record more information in the brighter tones and a brighter exposure gives cleaner shadows and less noise. For aviation it is useful but needs care, because the brightest highlights are often on the aircraft itself: a white fuselage, a sunlit leading edge, a canopy reflection or a polished panel. Push too far to protect against noise and you can blow those highlights, which are exactly the parts you cannot recover. Expose as brightly as you can, but let the important aircraft highlights, not the empty sky, be your limit.
Highlight alerts and the RAW safety margin
Turn on the highlight warning, the flashing blinkies that mark clipped areas on playback. If the empty sky around the aircraft blinks, that often does not matter, because nobody mourns lost detail in featureless white sky. If the aircraft itself blinks across its bright surfaces, that is your warning to pull back by a third or two thirds of a stop. One useful thing to know is that the histogram and blinkies are usually generated from the JPEG preview, not the RAW file, so they are pessimistic. If you shoot RAW you typically have an extra portion of a stop of highlight headroom beyond what the warning suggests, which is comforting but not a licence to ignore the alert entirely.
Scenario by scenario settings
Theory is only useful if it tells you what to do when an aircraft is actually overhead. Here are the situations you will meet again and again, with a practical plan for each.
Dark jet against bright overcast, the classic silhouette trap
This is the worst case and the most common. A grey or dark fast jet, a flat white sky with no detail, and a meter that is determined to turn your aircraft black. In an automatic mode, dial in plus one and a half to plus two stops of compensation and check a frame. Better still, switch to manual or manual with Auto ISO and set the exposure from the aircraft so it stays correct no matter how the framing changes. Do not worry about the white sky blowing out, because flat overcast has no detail worth keeping. Your only job is to get tone and colour into the aeroplane.
White or polished aircraft in bright blue sky
The opposite problem. A gloss white airliner, a silver warbird or a polished metal display jet can clip its own highlights even when the meter is roughly right, because the brightest panels are near the top of the range to begin with. Here you want little or no positive compensation, and often a touch of negative, while you watch the histogram and the highlight warning. Let the brightest white keep just a hint of texture rather than going to paper white. The blue sky will look slightly deeper as a result, which usually suits the image.
Shooting into the sun and strong backlight
When the aircraft is between you and the sun, the contrast is extreme and you have a genuine choice to make. If you want detail in the aircraft you will need a lot of positive compensation, two stops or more, and you will accept that the sky around it burns out completely. If you want a clean silhouette shape, do the opposite and let the aircraft go dark against a glowing sky. There is no neutral answer here, because the scene is too contrasty to hold both ends. Decide what the picture is about before you press the shutter.
Topside passes and banking turns
When an aircraft banks towards you and shows its topside, two things happen. More of the aeroplane faces you, so it fills more of the frame and reflects more light, and you often see colour and markings that were hidden in level flight. These frames usually need less positive compensation than the same aircraft flying straight and level against the sky, because the proportion of sky has dropped and the aircraft is catching more light. If you are riding the compensation dial, ease off slightly as the aircraft banks into the light, and add it back as it levels out and shrinks against the sky again.
Aircraft against cloud versus clear blue
Broken cloud is a constant exposure challenge because the background brightness changes from frame to frame as the aircraft crosses from bright cloud to darker cloud to clear blue. This is the situation where manual with Auto ISO earns its keep, because it holds the aircraft exposure steady while the camera quietly adjusts for the changing background. In a fully automatic mode you will see the exposure jump around as the aircraft moves, and you will get a mix of good and bad frames from a single pass. Bright white cloud behind the aircraft behaves much like overcast and needs positive compensation. Dark grey storm cloud can fool the meter the other way and lead to overexposure.
Sunset and golden hour passes
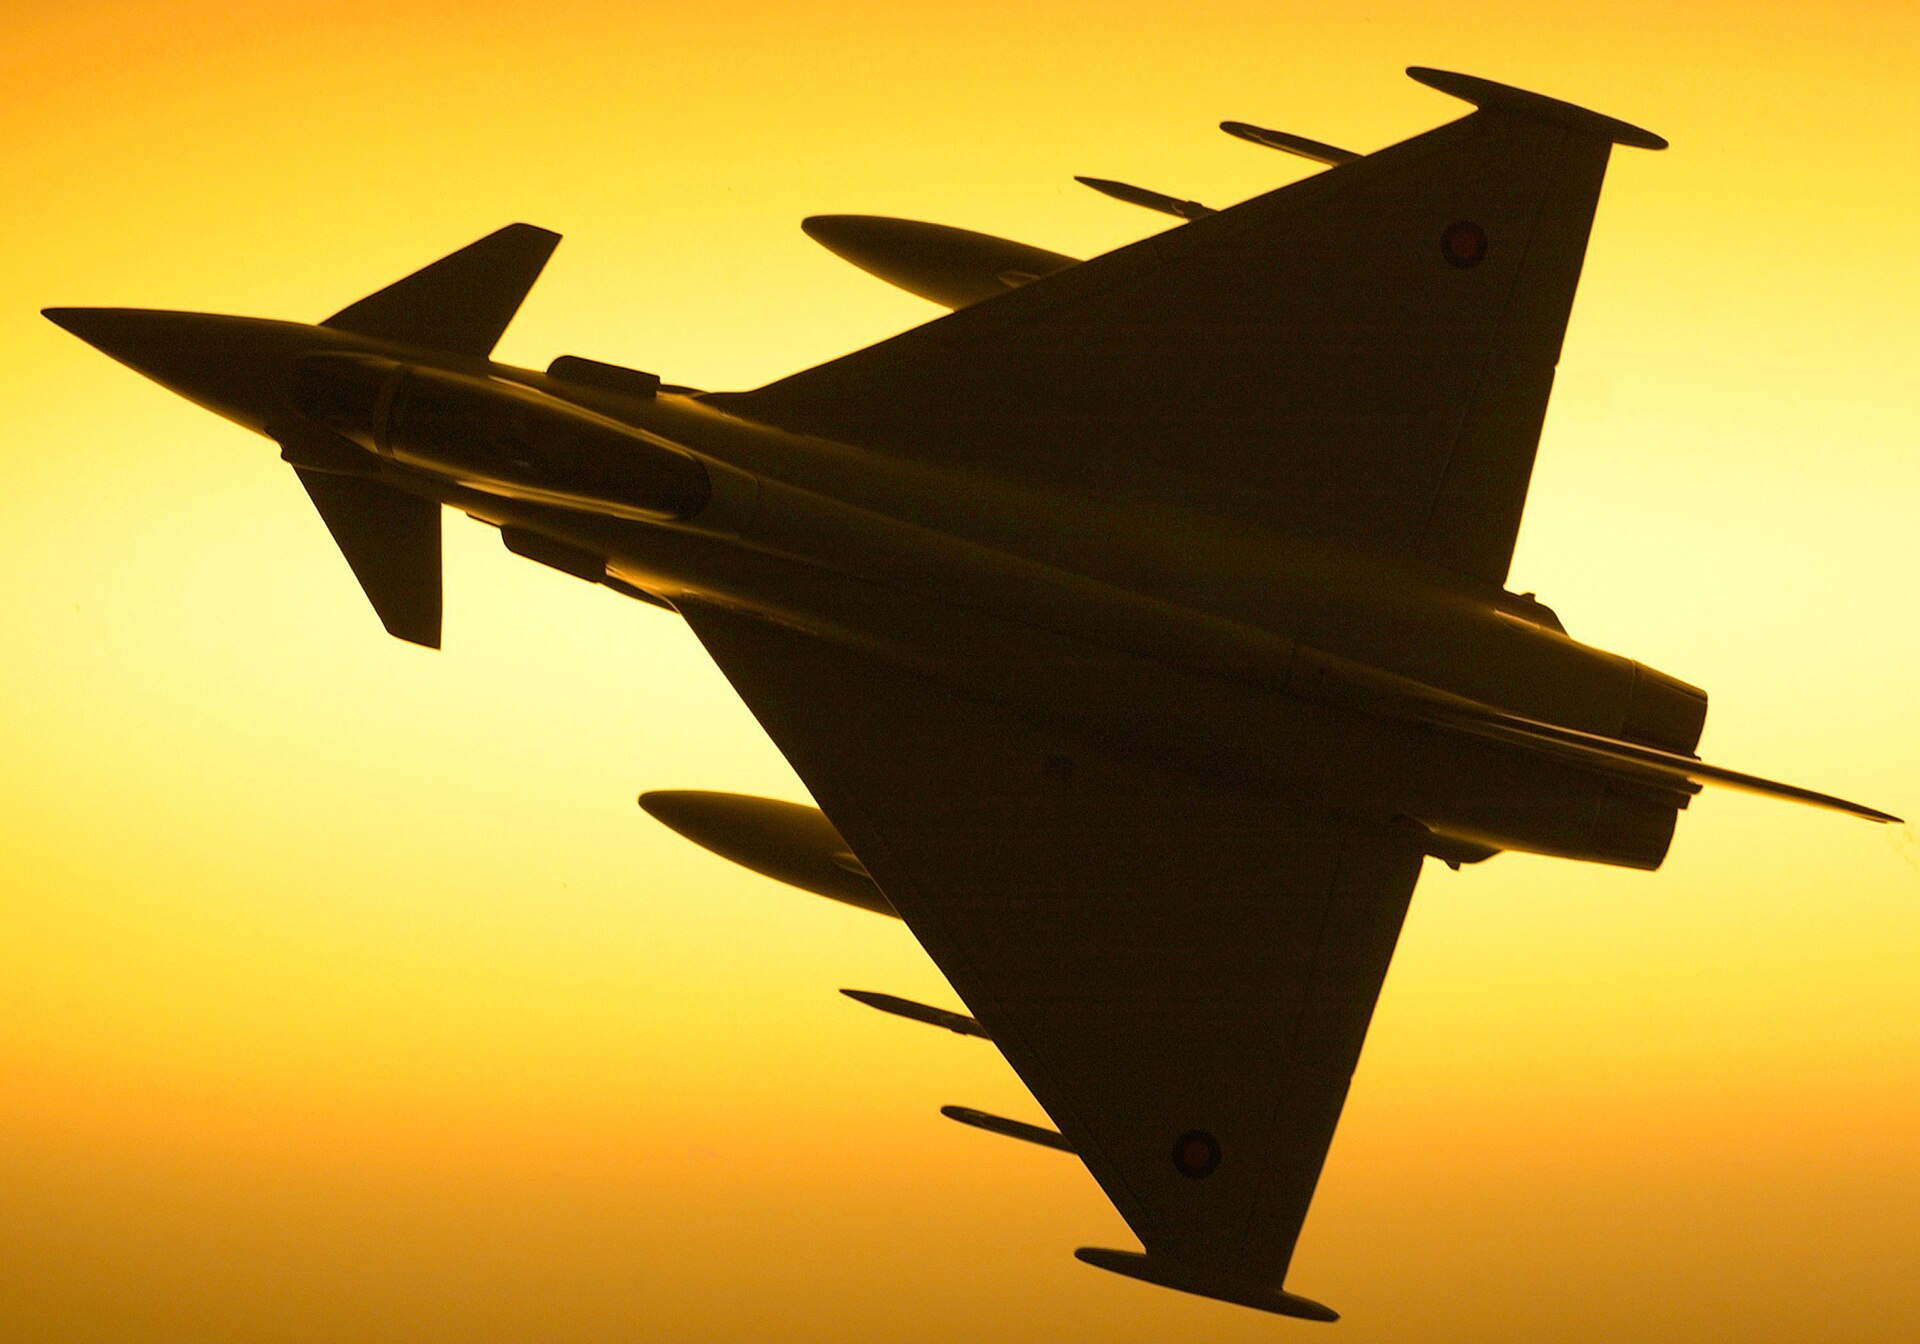
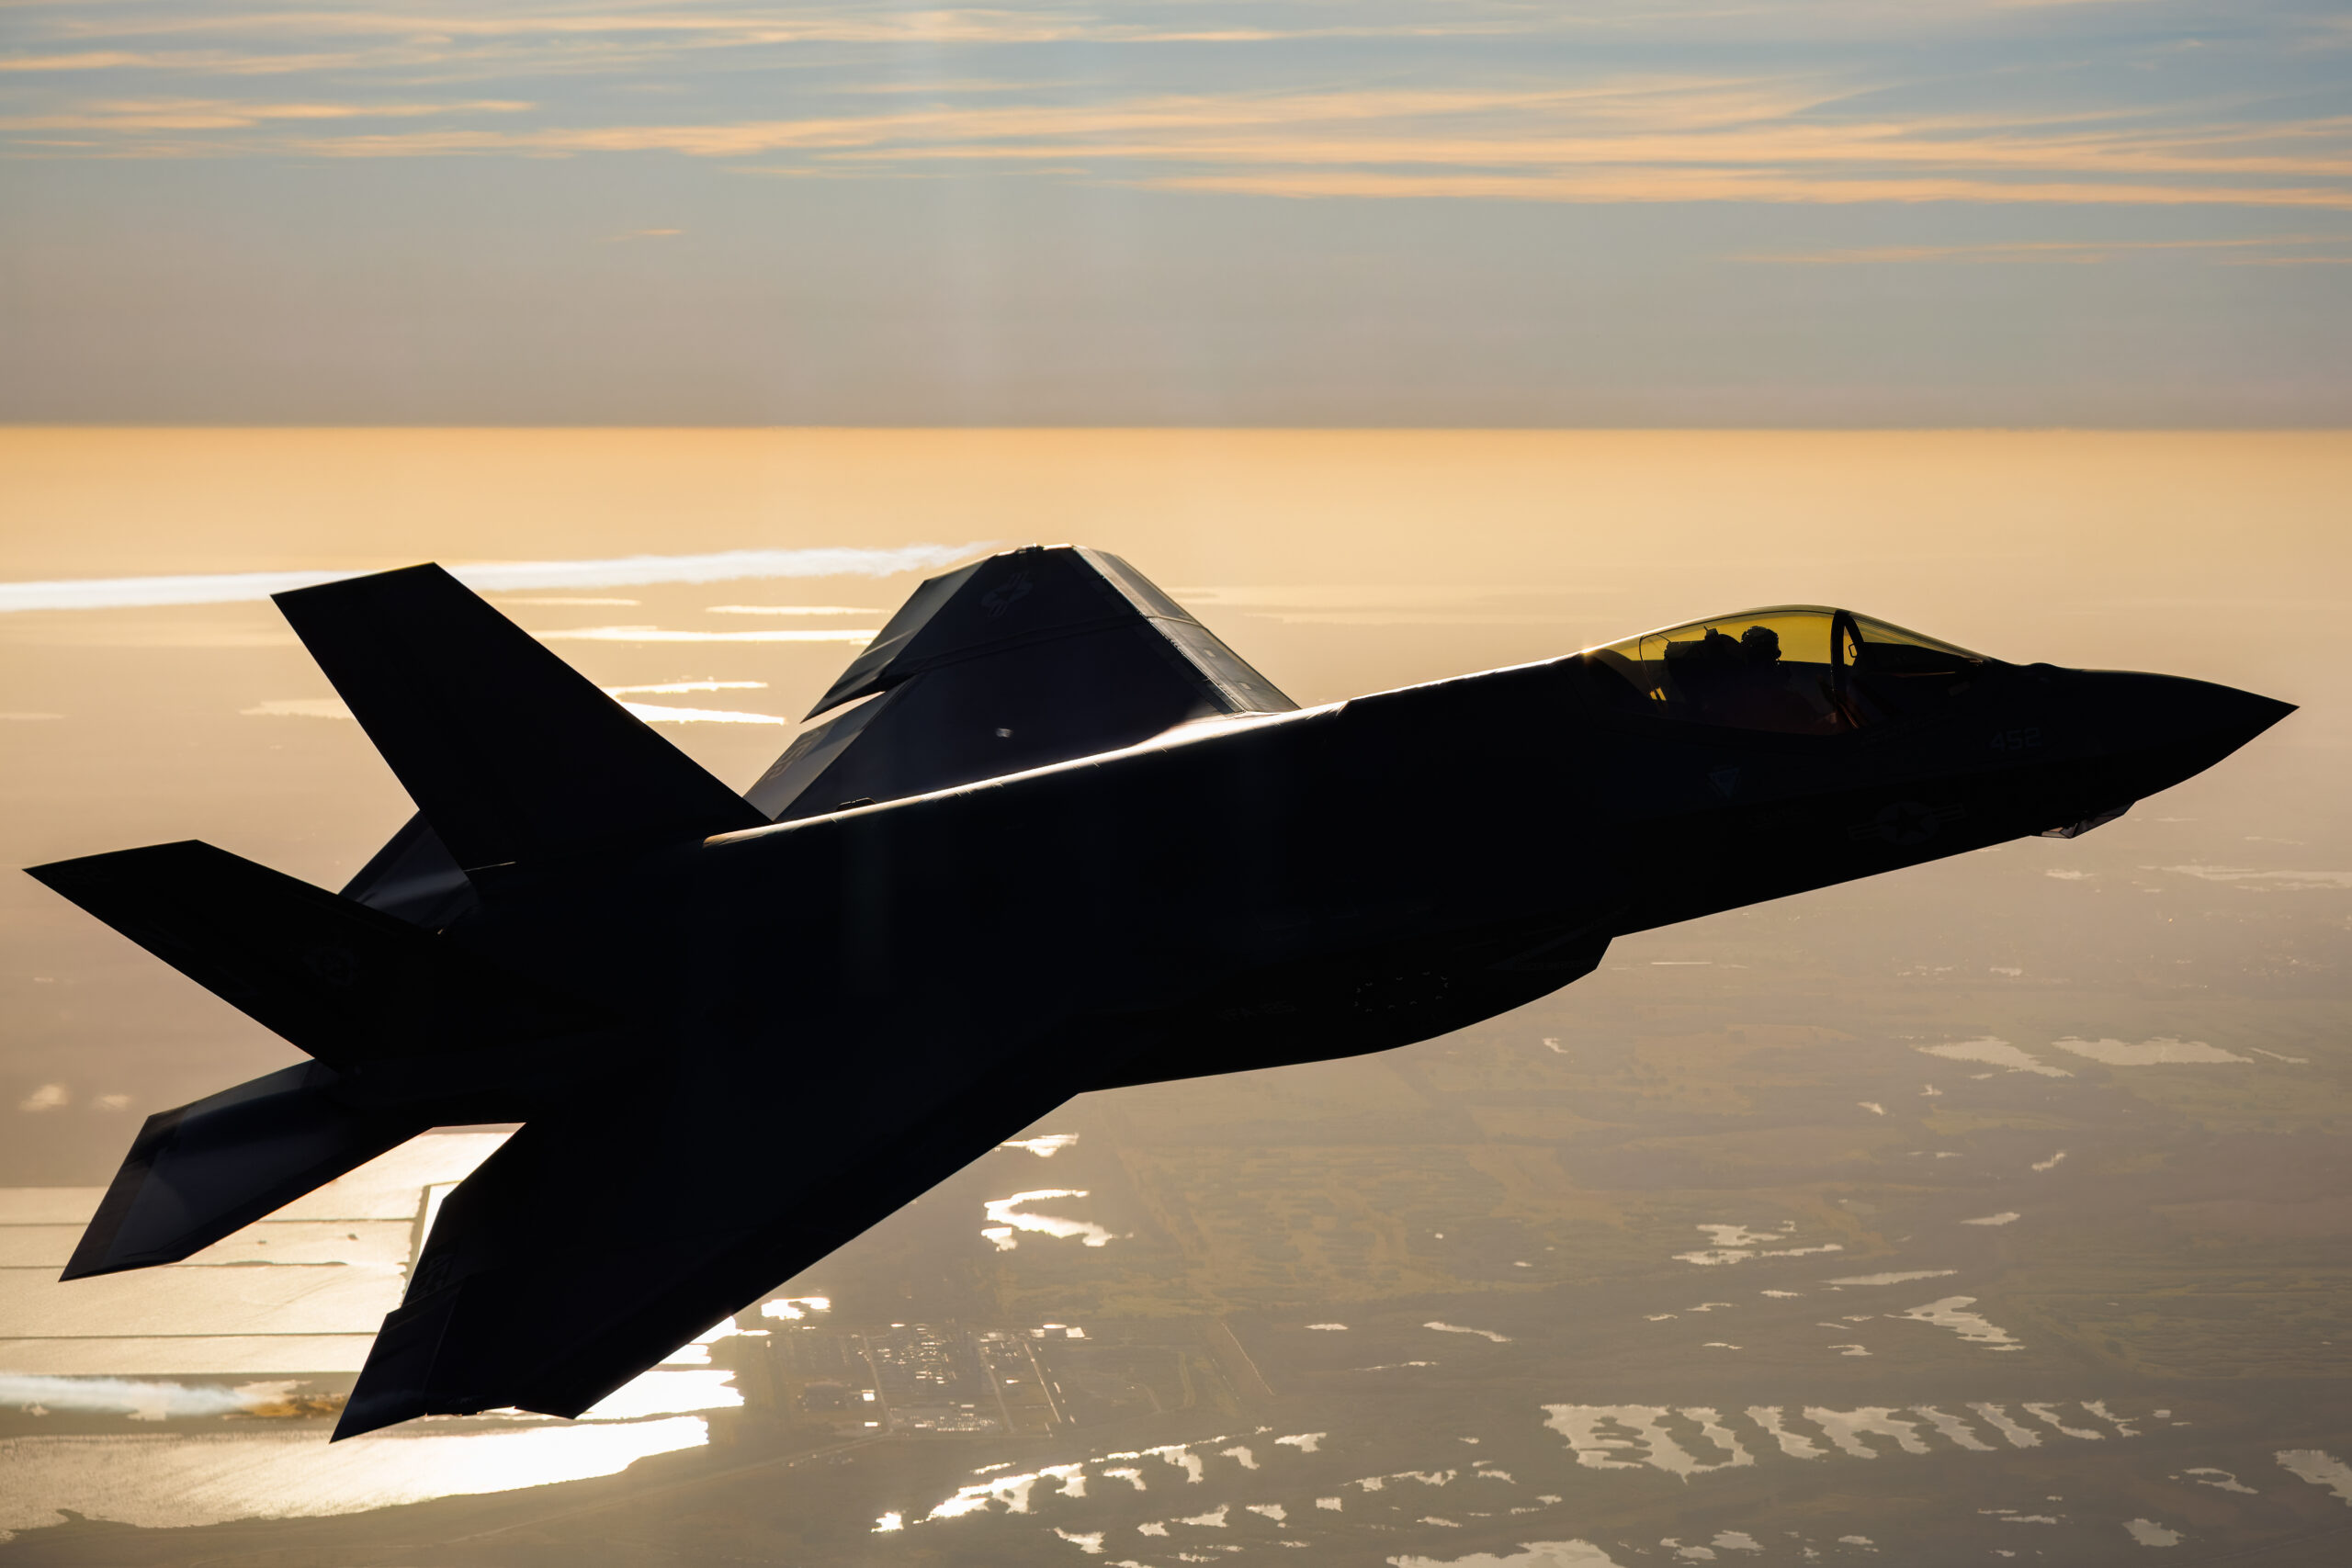
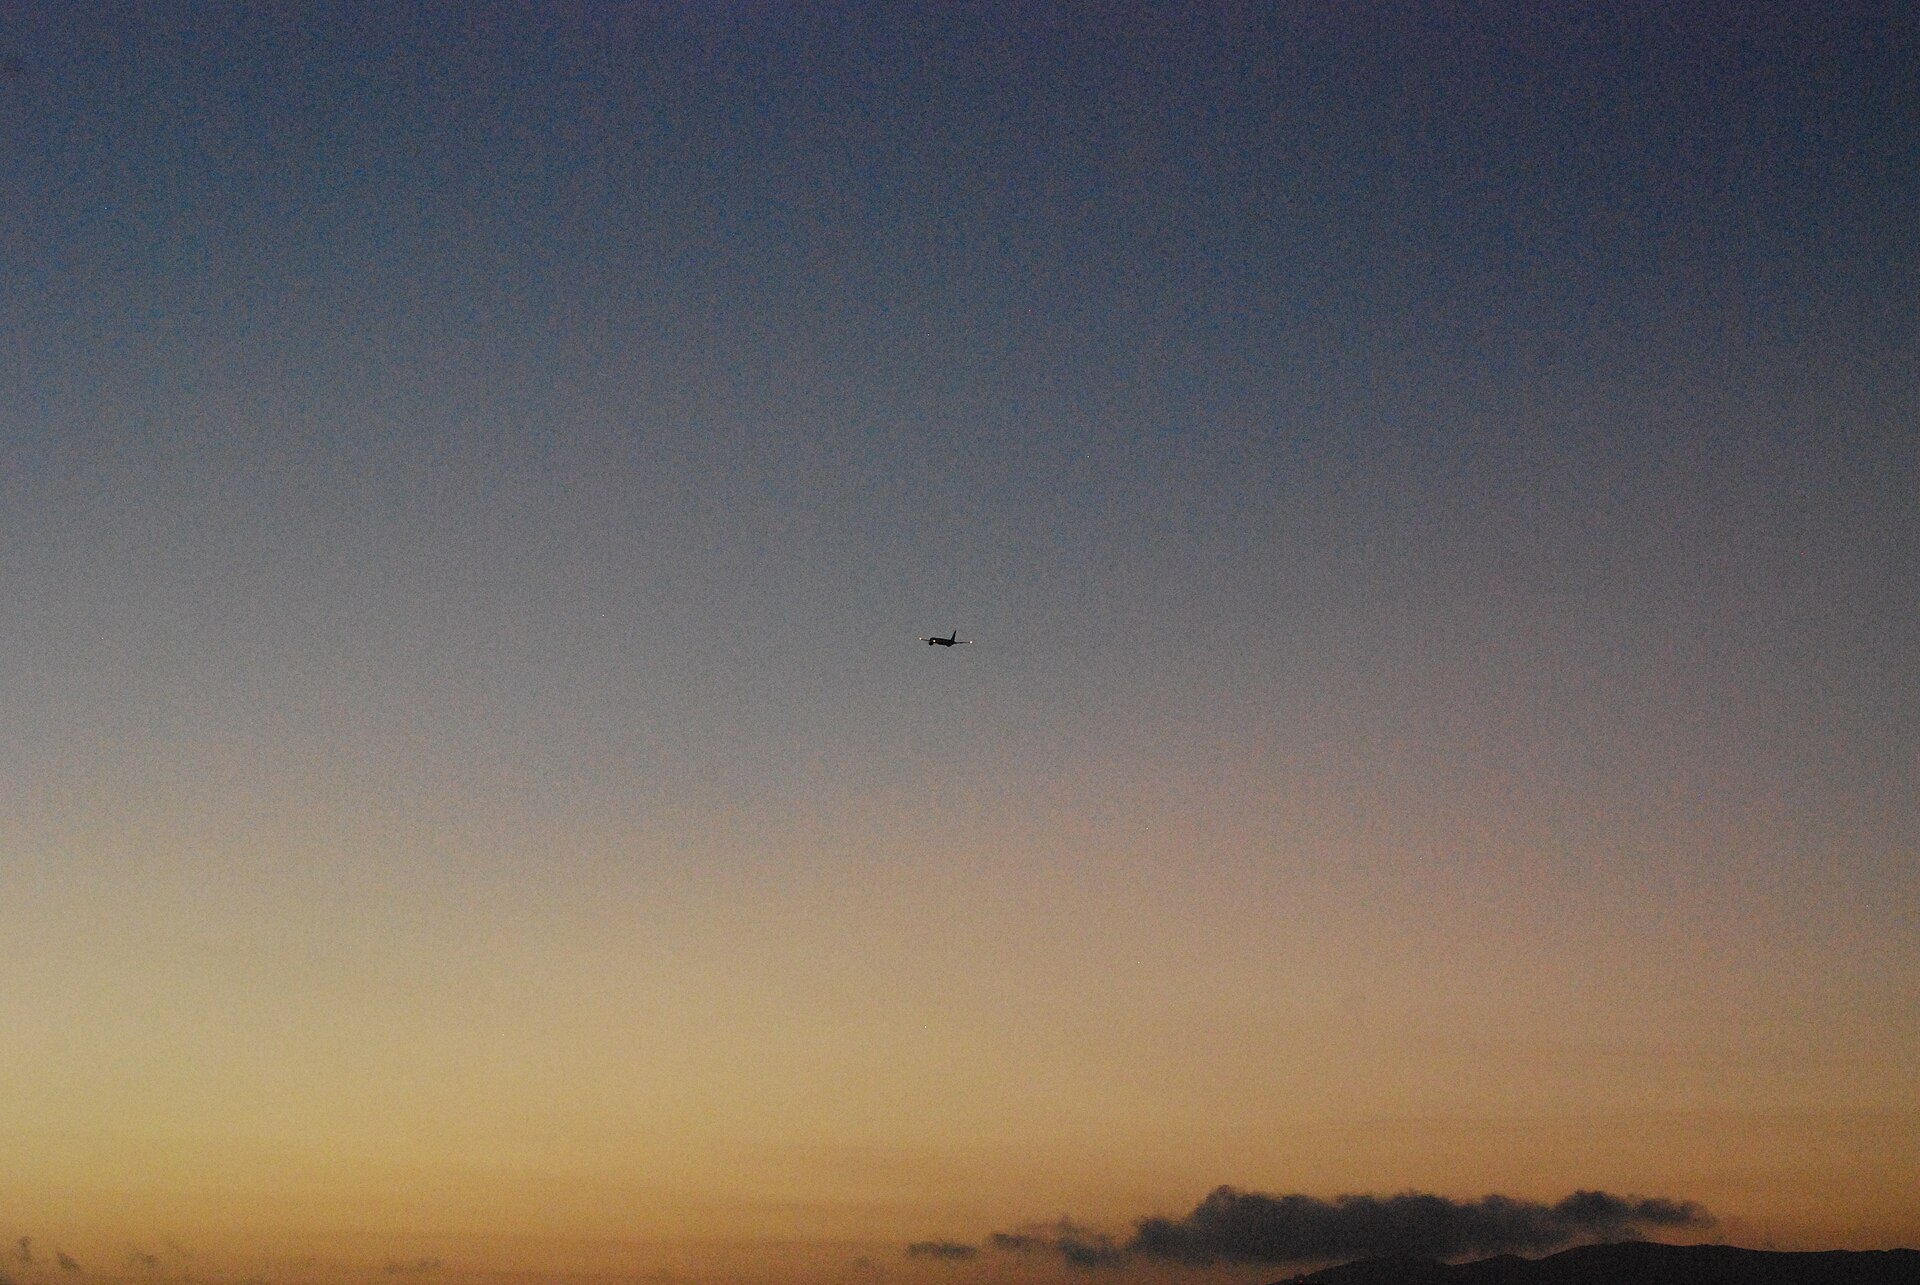
As the sun drops, the sky stops being a flat bright background and becomes part of the picture, full of colour and graduated tone. Now you really may want to expose for the sky and let the aircraft sit darker, because a warm sky with a crisp aircraft shape can be a stronger image than a brightly lit aeroplane against a washed out background. This is the one time the silhouette is often the goal rather than the failure. Meter for the bright part of the sky, keep an eye on the colour, and decide how much of the aircraft you want to reveal. The light changes fast at this time of day, so check your exposure more often than you think you need to.
When a silhouette is the right choice
Everything so far has treated the silhouette as a failure, because most of the time it is. But a silhouette you chose on purpose is a completely different thing from one the camera handed you by accident. A clean black aircraft shape against a burning sunset, a formation outlined against a deep orange sky, or a helicopter framed against the disc of the setting sun can be some of the most striking images you make all day.
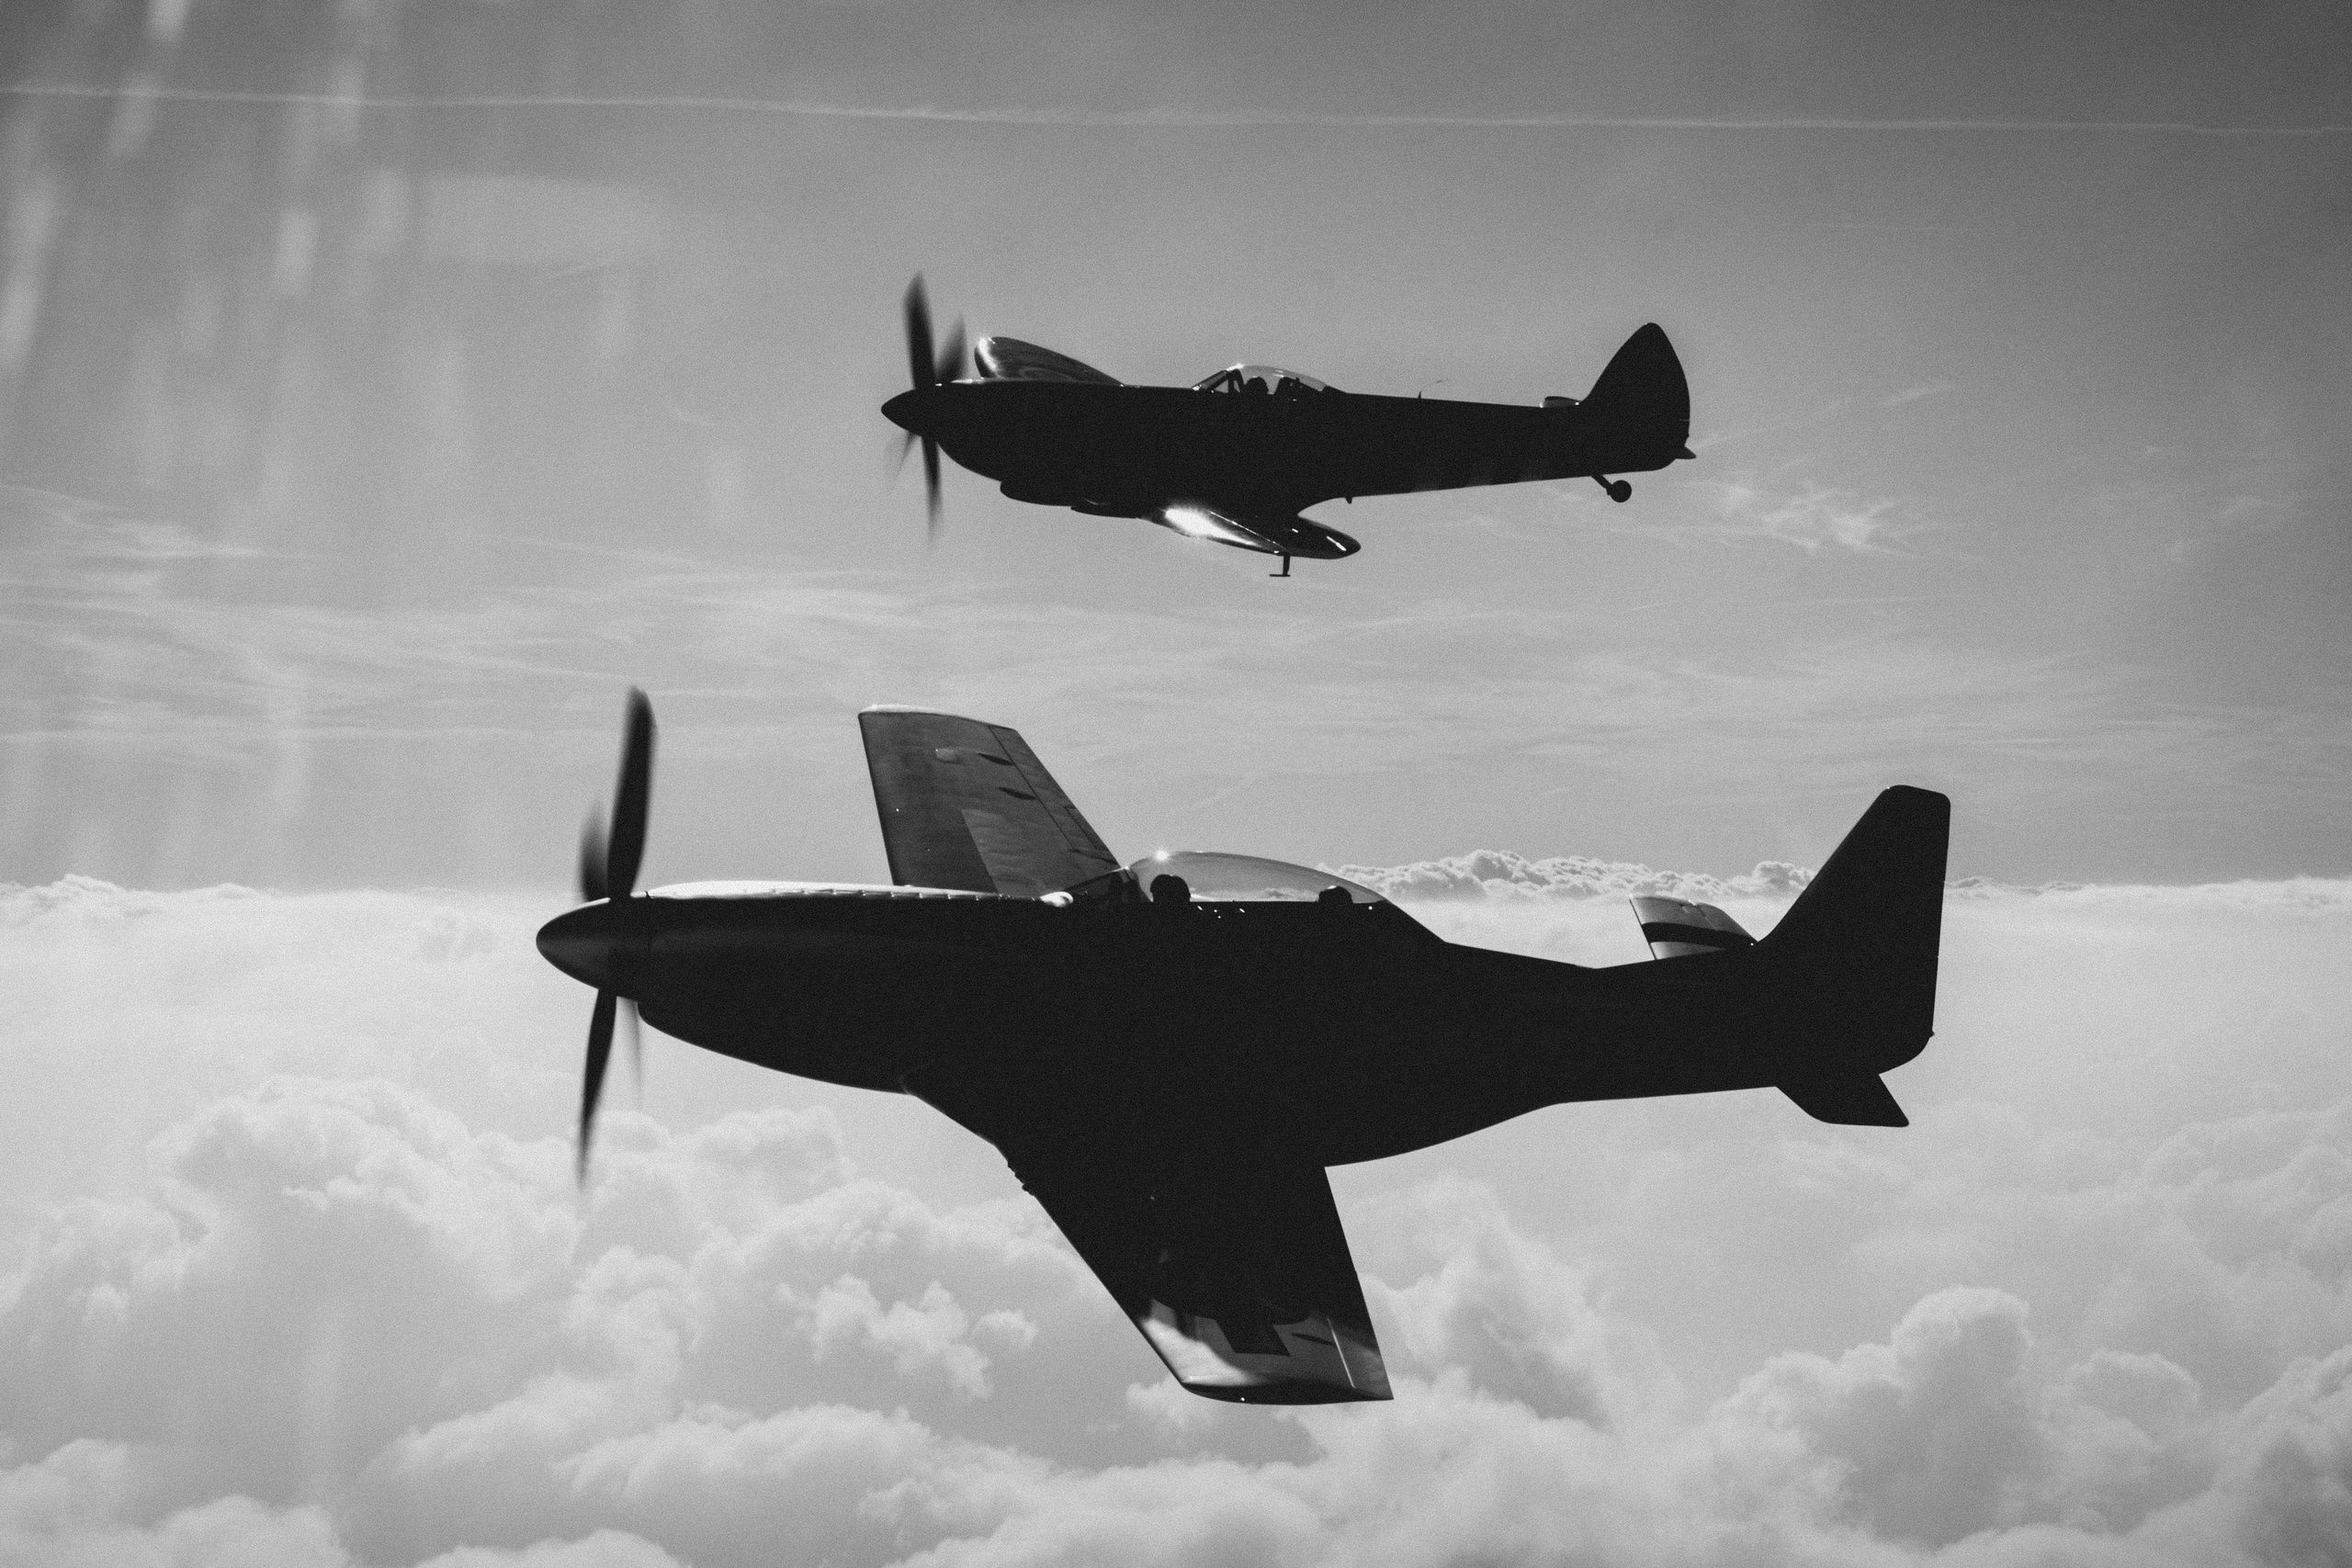
The difference is intent and execution. A deliberate silhouette has a strong, recognisable shape, clean separation between the aircraft and the background, and a sky worth showing. To make one, expose for the bright sky, which pushes the aircraft to black, and compose so the aircraft is read clearly as a shape, ideally side on so the wings and tail are obvious rather than a head on blob. Avoid clutter behind the aircraft, and let the sky do the work with its colour and gradient. A little negative compensation deepens the sky colour and strengthens the effect.
So when you see the camera turning an aircraft dark against a dramatic sky, pause before you reach for the compensation dial. Sometimes the right move is not to fix the silhouette but to commit to it. Once you understand why silhouettes happen, you can switch between preventing them and making them on purpose, which is exactly the kind of control this whole guide is aiming at. If you want to see how finished images use both bright, detailed aircraft and strong silhouettes, the Piemags aviation galleries are a useful reference for what works.
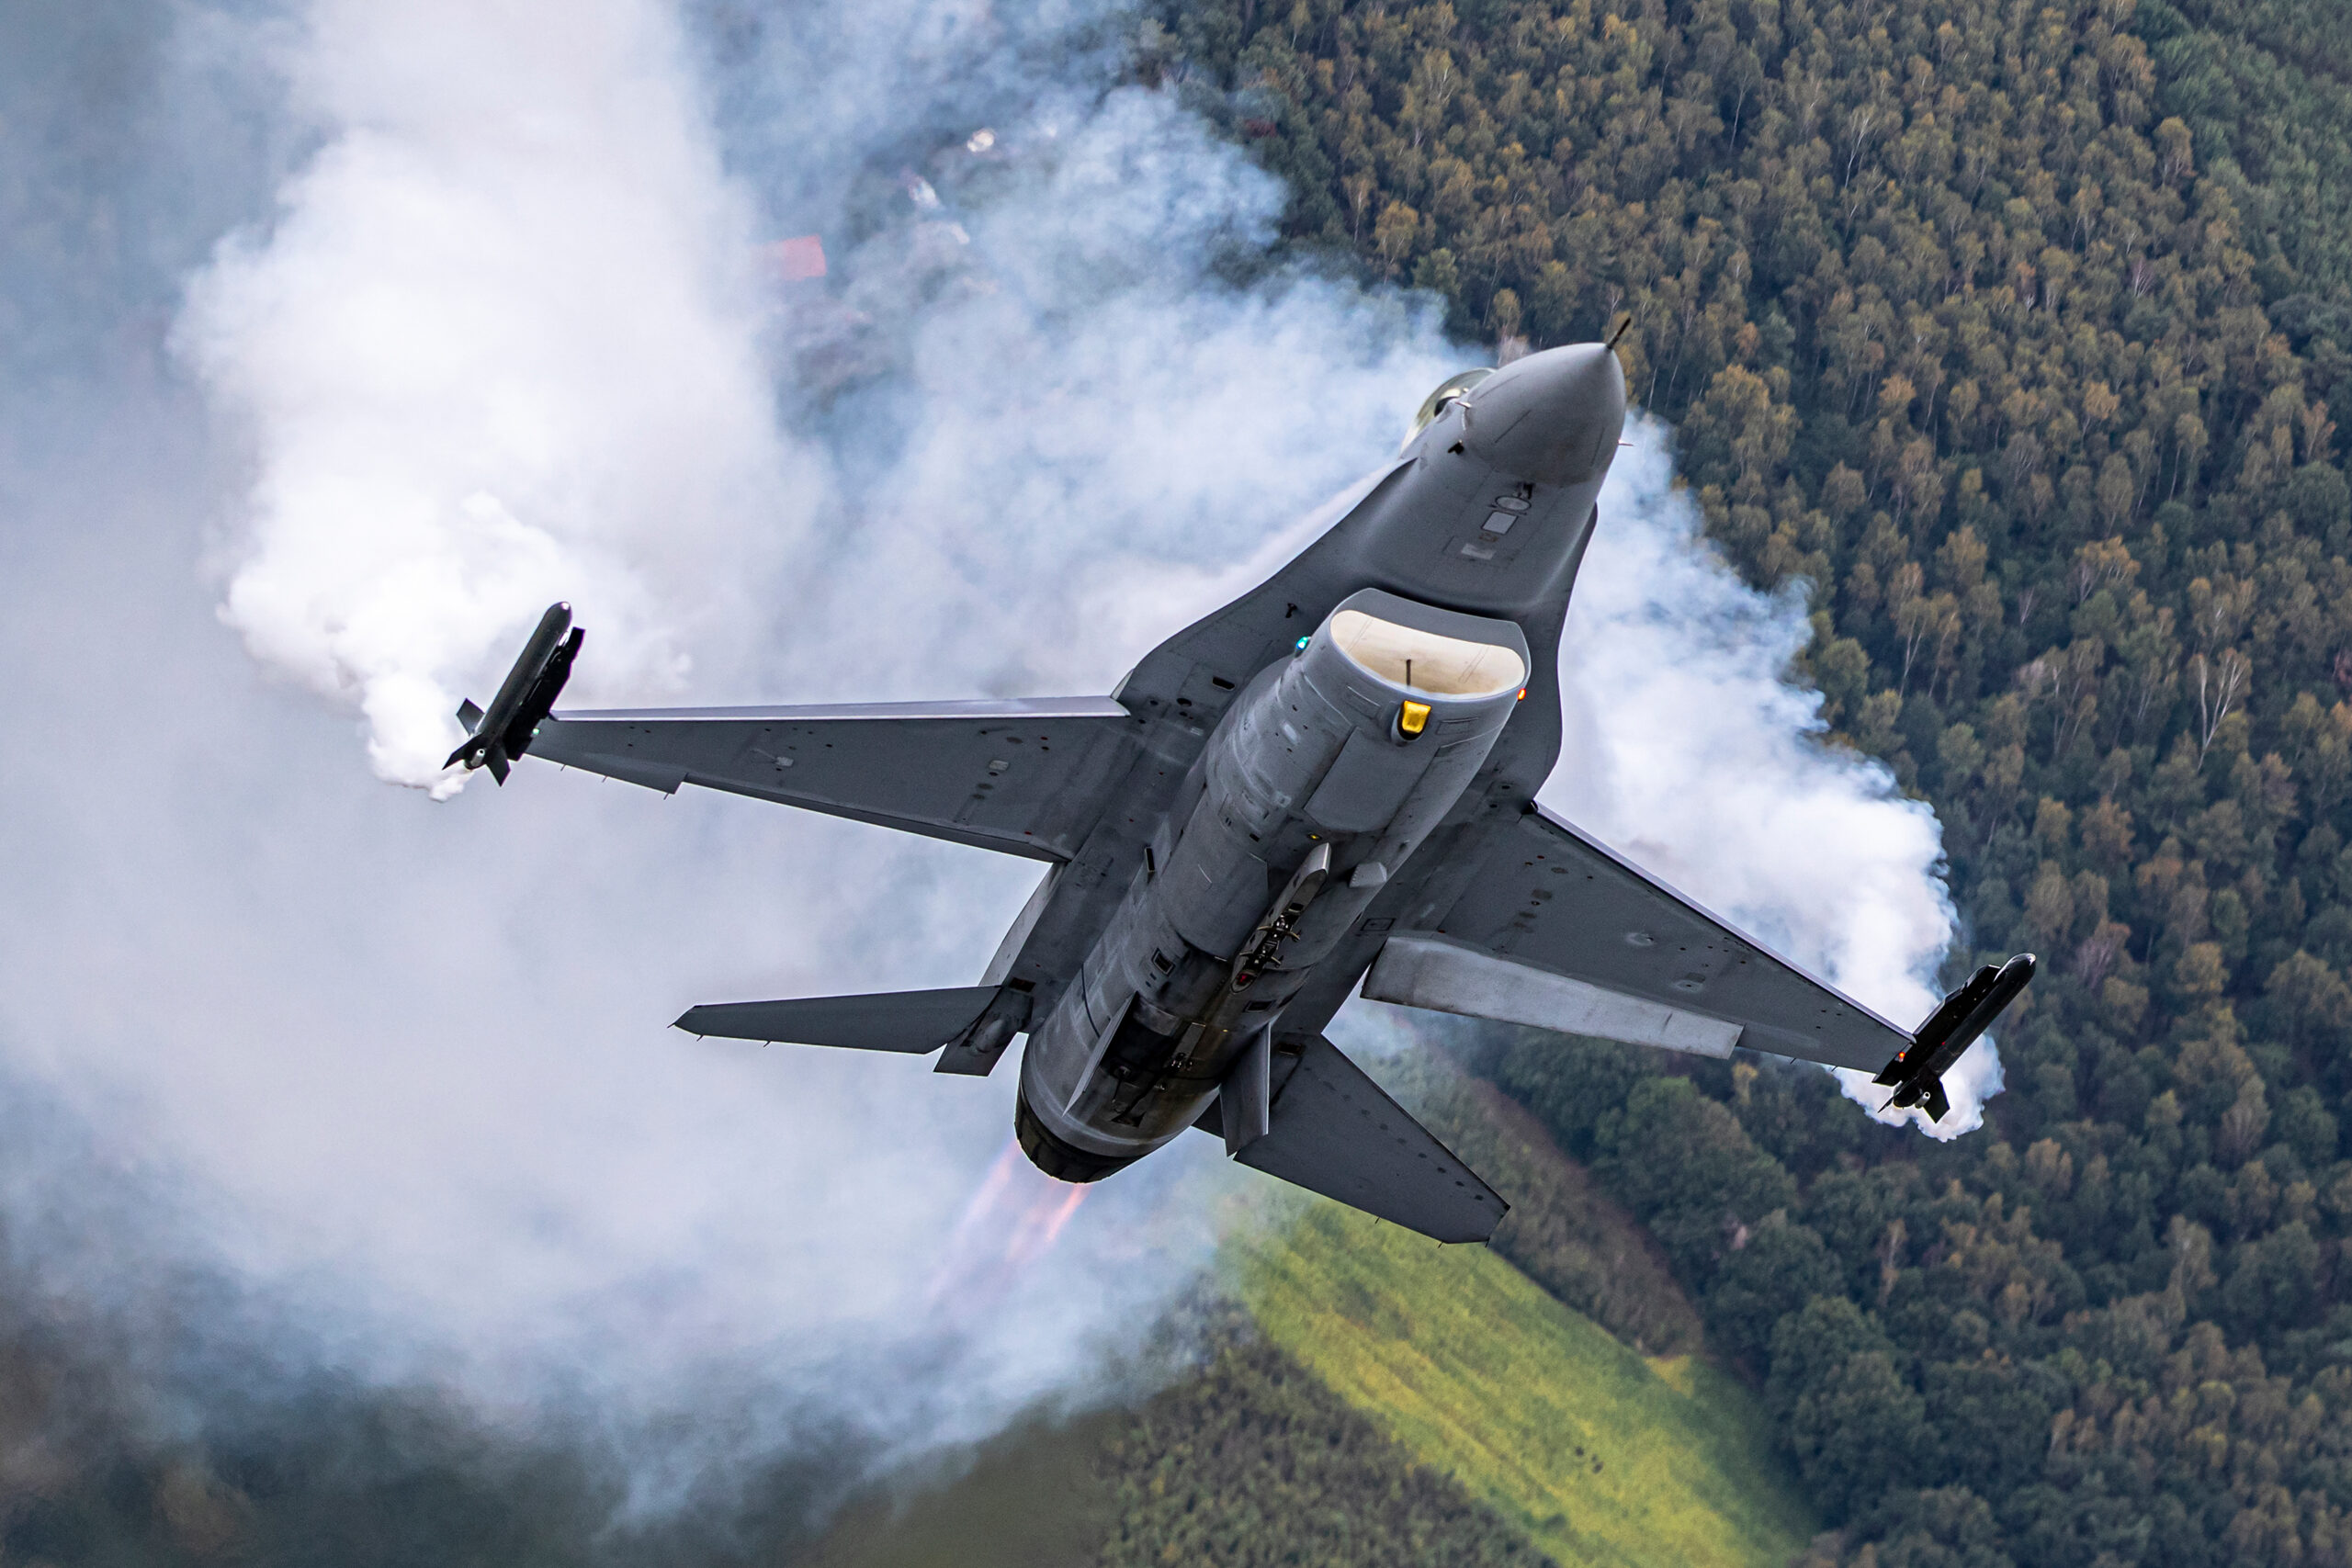
Full settings reference table
This table pulls the whole approach together. Treat the exposure compensation values as starting points to verify against the histogram, and remember that switching to manual or manual with Auto ISO removes the frame to frame variation entirely.
| Scene | Suggested mode | Exposure compensation | Note |
|---|---|---|---|
| Dark jet, flat white overcast | Manual, or Av with comp | +1.3 to +2 | Ignore blown sky, expose for the aircraft |
| Grey or camo aircraft, blue sky | Av with comp, or M + Auto ISO | +0.7 to +1.3 | Less sky brightness than overcast |
| White airliner, bright sky | Av with comp | 0 to +0.7 | Protect highlights, watch blinkies on the fuselage |
| Polished warbird, hard sun | Manual | 0 to +0.3 | Highlights on metal clip easily |
| Broken cloud, changing light | M + Auto ISO | +0.7 to +1.3 | Holds aircraft exposure as background shifts |
| Backlit, sun near frame, want detail | Av with comp or M | +2 or more | Sky will burn out, that is fine |
| Backlit, want silhouette | Av or M, meter the sky | -0.3 to -1 | Deliberate dark shape against bright sky |
| Aircraft against dark cloud or trees | Av with comp or M | -0.7 to 0 | Dark background can cause overexposure |
| Sunset and golden hour | Manual, check often | varies, meter the sky | Light changes fast, silhouette often the goal |
Common mistakes and how to avoid them
Trusting the rear screen instead of the histogram
The most expensive mistake of all. The screen looks bright in the shade and your photos look fine, so you carry on, and at home you find a whole day of underexposed aircraft. Glance at the histogram, not just the picture, especially early in the day when you are setting up.
Leaving compensation set after the situation changes
You set plus two for a dark jet on white sky, then a display team comes on low against the trees and everything overexposes. Reset compensation to zero between very different subjects, and check the reading whenever the light or the background changes.
Chasing a tidy central histogram
Aircraft against sky naturally gives a split histogram with the sky in one place and the aircraft in another. Trying to bunch it all into the middle will underexpose your subject. Expose for the aircraft and let the sky sit where it falls.
Blowing the aircraft highlights to fight noise
Exposing to the right is a good habit, but the brightest part of an aviation scene is often the aircraft itself. Push too far and you lose the white fuselage or the polished panel for good. Let the aircraft highlights be your limit, not the empty sky.
Using spot metering on a tiny fast target
Spot metering is precise but unforgiving. On a small, fast jet the spot keeps slipping onto the sky, giving wildly inconsistent frames. Unless you can reliably hold it on the aircraft, matrix with compensation or manual will serve you better.
Forgetting to shoot RAW
RAW gives you the headroom to lift a slightly dark aircraft and to recover highlights that the JPEG would have thrown away. Against high contrast skies, that latitude is exactly what you need. If you ever shoot JPEG for aviation, get the exposure even more precisely right in camera, because there is far less to rescue.
A simple workflow for the whole day
Tie it all together into a routine and the silhouette problem largely disappears. Here is a workflow that works from the first display to the last.
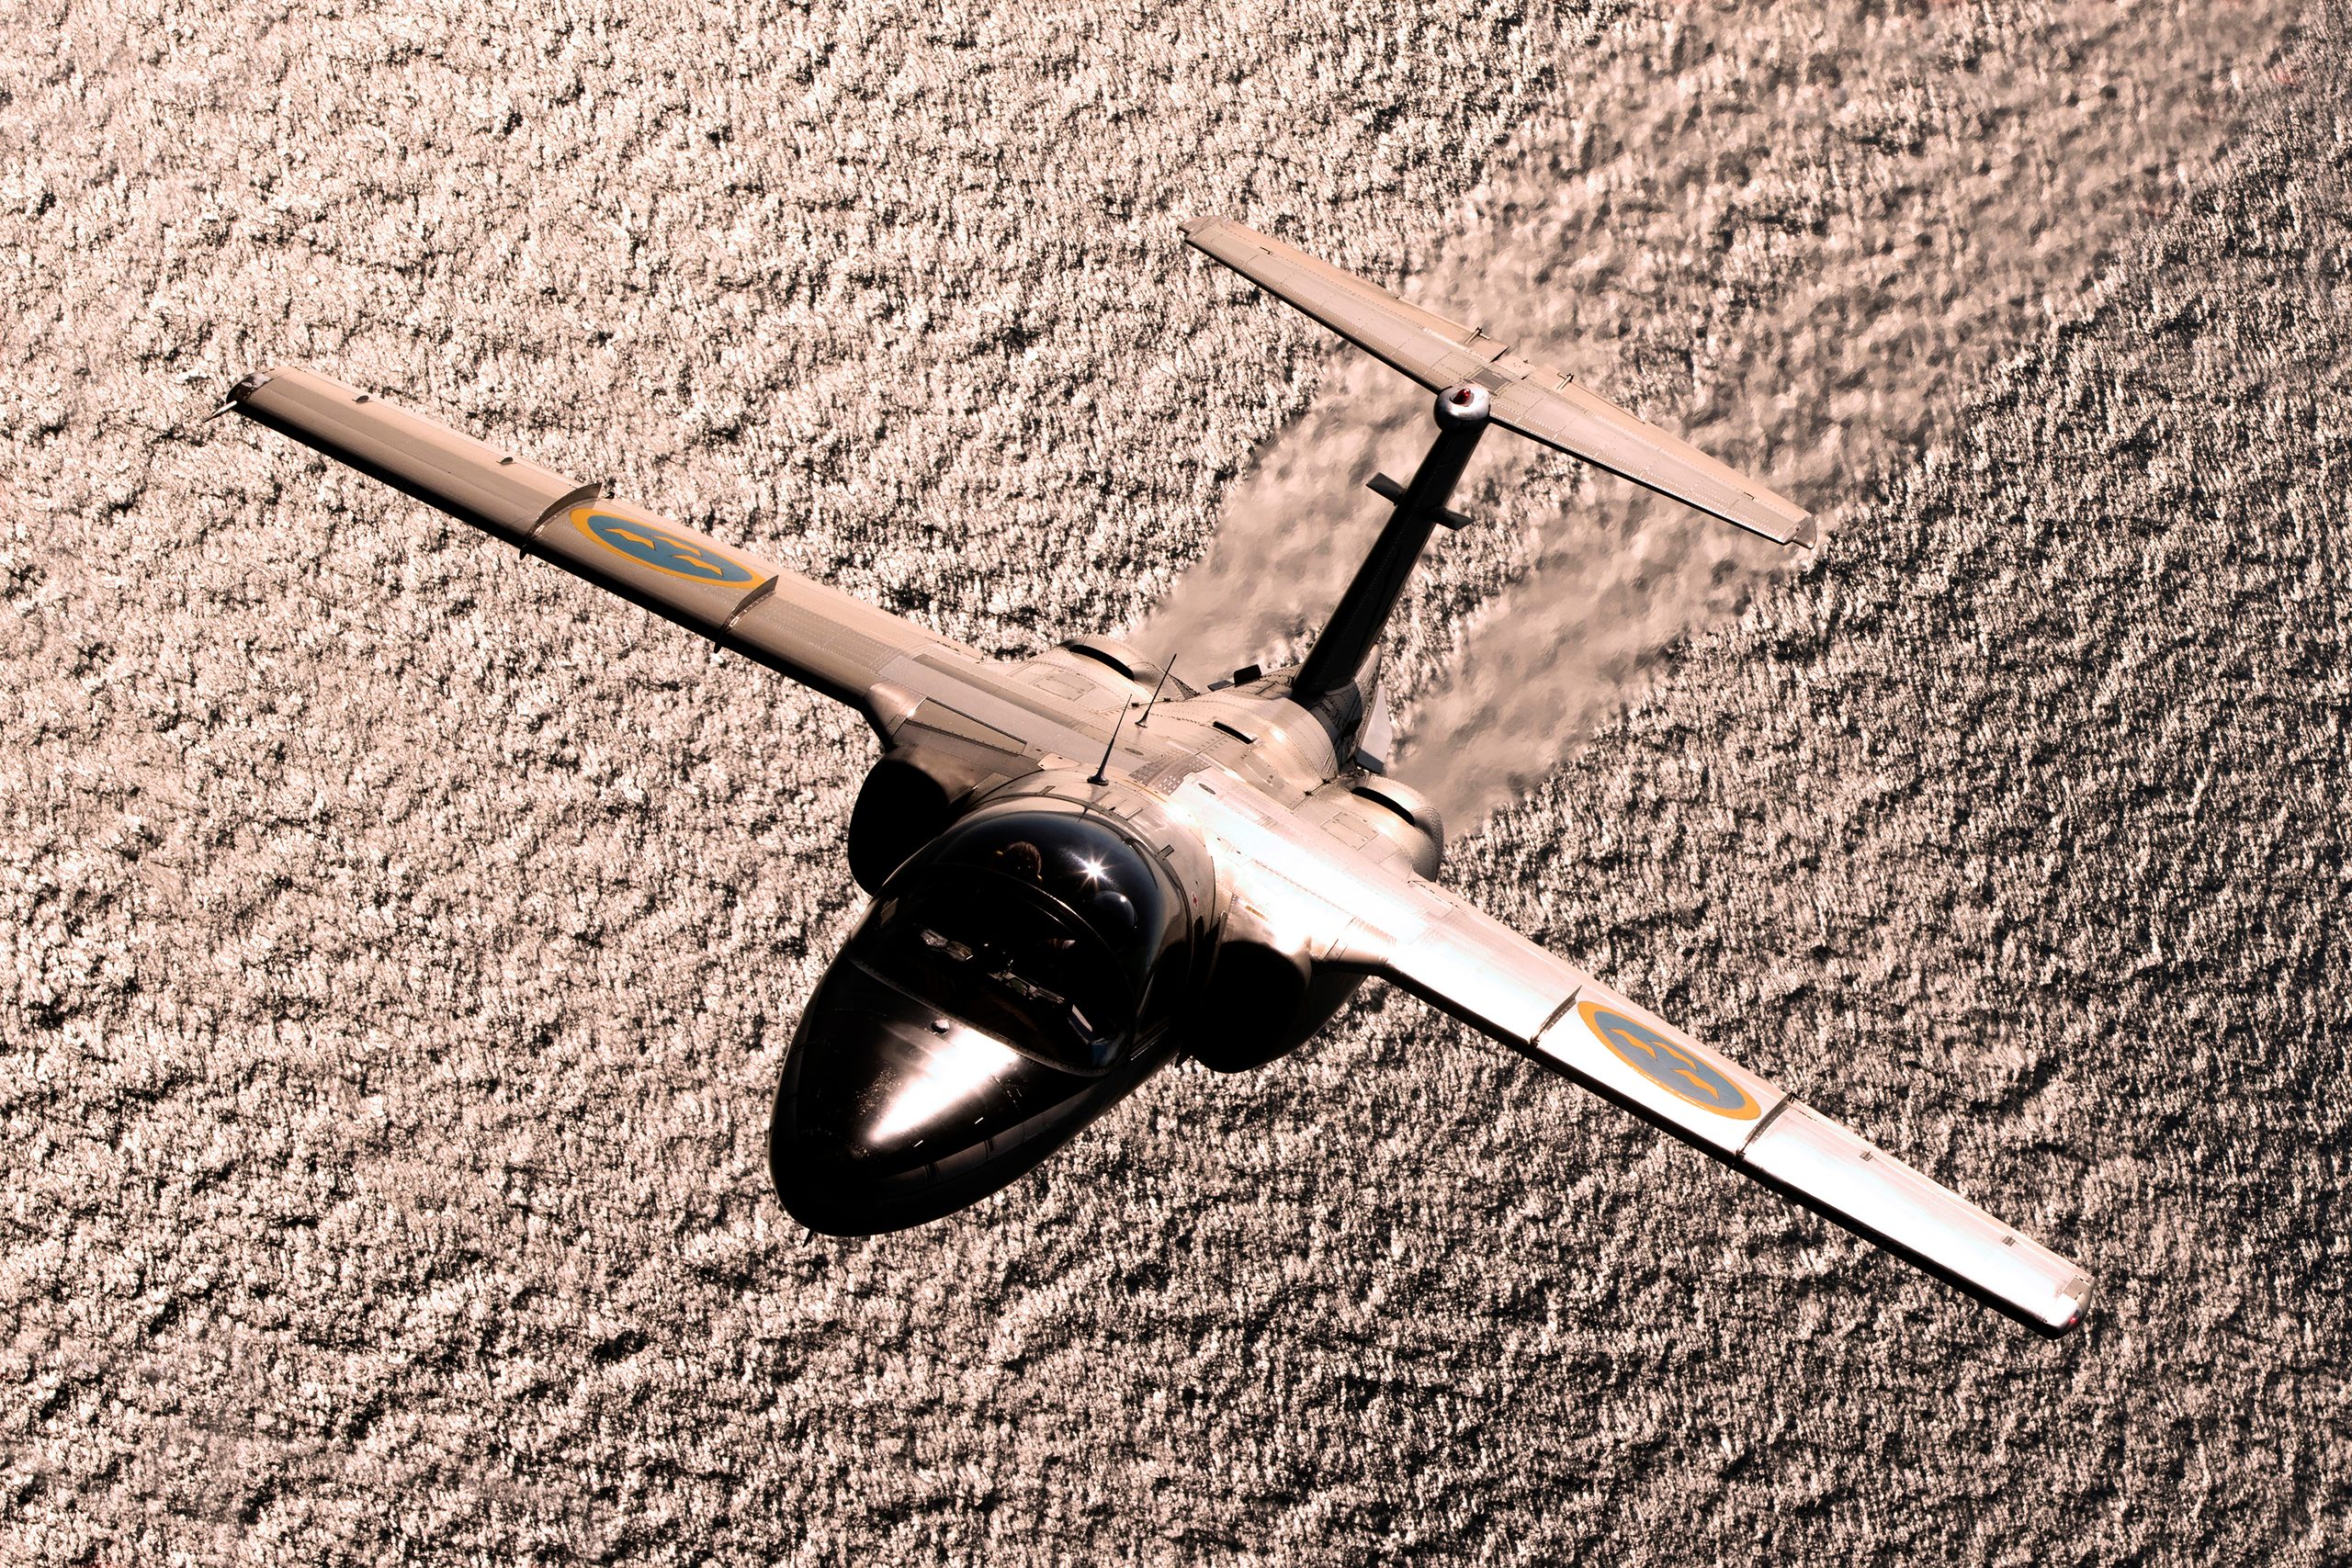
When you arrive, look at the light and the sky. Decide whether it is a steady day, where manual makes sense, or a changeable one, where manual with Auto ISO is better. Set your shutter speed for the type of aircraft you expect, your aperture for sharpness and depth, and your ISO or ISO ceiling to suit the light. Take a test frame of anything at a similar distance and brightness to the aircraft, a ground display or a parked aeroplane against the sky, and check the histogram. Adjust until the subject holds detail and the important highlights are safe.
As each act comes on, ask one question: how much bright sky is in this frame and how dark is the aircraft? The more sky and the darker the aircraft, the more positive exposure you need, whether through compensation in an automatic mode or your manual setting. After the first pass of any new aircraft, check a frame and the histogram, and trim the exposure if needed. Then stop chasing it and concentrate on tracking and timing, because once the exposure is set for that aircraft in that light, it does not need to change until the light or the subject does.
At the end of an act, reset your compensation to zero so the next subject starts clean. Keep half an eye on the changing light through the day, and recheck after any big change such as the sun coming out or dropping towards the horizon. That is the whole routine. Set it from the subject, verify with the histogram, hold it steady, and reset between acts.
Correctly exposed, clean-background frames are the ones picture desks come back for. Our guide to keywording stock photographs covers how to make sure they can be found.
Frequently asked questions
- What exposure compensation should I use for a dark aircraft against a bright sky?
- Start at plus one to plus two stops in an automatic mode with matrix or evaluative metering, then check the histogram and the back of the camera and fine tune. The brighter and emptier the sky, and the darker and smaller the aircraft, the more compensation you need. A small dark jet against flat white overcast often wants the full plus two, while a larger aircraft filling more of the frame needs less.
- Why do my aircraft keep coming out as silhouettes?
- Because the camera meter is trying to make the average brightness of the frame a mid grey. When bright sky dominates the picture, the meter sets a dark exposure to tame the sky, and the aircraft, which is already darker, falls into shadow. The fix is to tell the camera the aircraft matters more than the sky, using positive exposure compensation, spot metering on the aircraft, or a manual exposure set from the aircraft itself.
- Is it better to shoot manual or aperture priority for bright skies?
- Both work and both are used by experienced aviation photographers. Aperture priority with exposure compensation is quick and forgiving when the background brightness keeps changing and you do not have time to think. Manual exposure, set once from the aircraft and locked, gives the most consistent results when the light is steady, because the aircraft is exposed identically no matter how much sky is in the frame. Manual with Auto ISO is a strong middle ground for changeable light.
- Which metering mode is best for a white aircraft in a blue sky?
- Matrix or evaluative metering usually copes well, but a gloss white fuselage can still clip its highlights. Dial in around minus a third to minus one stop of exposure compensation to protect the brightest whites, and check the histogram and the highlight warning so the white keeps a hint of texture rather than going to pure paper white. The blue sky will look a little deeper, which normally suits the picture.
- Can I recover an underexposed aircraft in editing?
- If you shoot RAW you can lift a moderate underexposure of a couple of stops, but you pay for it with extra noise and weaker colour in the shadows. Badly clipped highlights, such as a blown white fuselage, are usually gone for good. It is always better to get the exposure close in camera than to rely on rescuing it later, which is why the few seconds spent checking the histogram are worth it.
- Should I expose for the sky or for the aircraft?
- Expose for the aircraft, because that is your subject, while keeping the brightest important highlights from clipping beyond recovery. A slightly bright sky with full detail in the aircraft is a usable, sellable photo. A perfectly exposed sky with a black aircraft is not, unless a silhouette was your intention. The only common exception is sunset, where the sky becomes the subject and a deliberate silhouette can be the stronger image.
- Should I use zebras or the histogram to judge exposure for aircraft against sky?
- Both do the same job of warning you about clipped highlights, so use whichever your camera shows most clearly in the viewfinder. Zebras are handy on mirrorless bodies because they flash over blown areas live as you compose, letting you set exposure before you fire. Whichever you use, remember that the empty sky blinking does not matter, but zebras or clipping over the aircraft’s own bright panels is your cue to pull back a third to two-thirds of a stop.
- How does exposure change when an aircraft crosses from clear sky into cloud?
- In an automatic mode the meter re-reads the changing background and the exposure jumps, so a single pass gives a mix of good and bad frames as the aircraft moves from bright cloud to darker cloud to blue. The fix is manual with Auto ISO, which holds the aircraft exposure steady while the camera only adjusts for the background you do not care about. Set your exposure from the aircraft, add compensation for the sky, and then the crossing background stops ruining your sequence.
- Do polarising filters help with exposure when shooting aircraft against a bright sky?
- A polariser can deepen a blue sky and cut glare, which increases the contrast between a pale aircraft and the background, but it costs you roughly one and a half to two stops of light. That is a real penalty in aviation, where you already want a fast shutter, so you may be forced to a higher ISO to compensate. The effect also varies with your angle to the sun and is uneven across a wide sky, so many aviation photographers skip it and control the sky in editing instead.
Bringing it together
The silhouette problem is not a flaw in your camera and it is not bad luck. It is the predictable result of a meter doing its job on a scene that does not suit it. Once you see that, the cure is obvious. Decide that the aircraft, not the sky, is what must be correctly exposed, then make the camera do that, whether by adding compensation, metering off the subject, or setting a manual exposure and holding it. Verify with the histogram rather than the screen, reset between acts, and keep an eye on the changing light. Do those few things and your aircraft will carry tone, colour and detail in almost any sky.
Getting exposure right is also what makes an image worth keeping and worth licensing, because buyers want clean, detailed aircraft, not grey blobs. If you want to see how correctly exposed aviation work is presented and used commercially, the details on the Piemags licensing page are a good place to look, and the same standards of exposure apply whether you are shooting for yourself or for sale.
If you want to take the deliberate route and shoot into the light on purpose, our full guide to backlighting and silhouettes in aviation photography covers metering, composition and the best UK venues for it.
