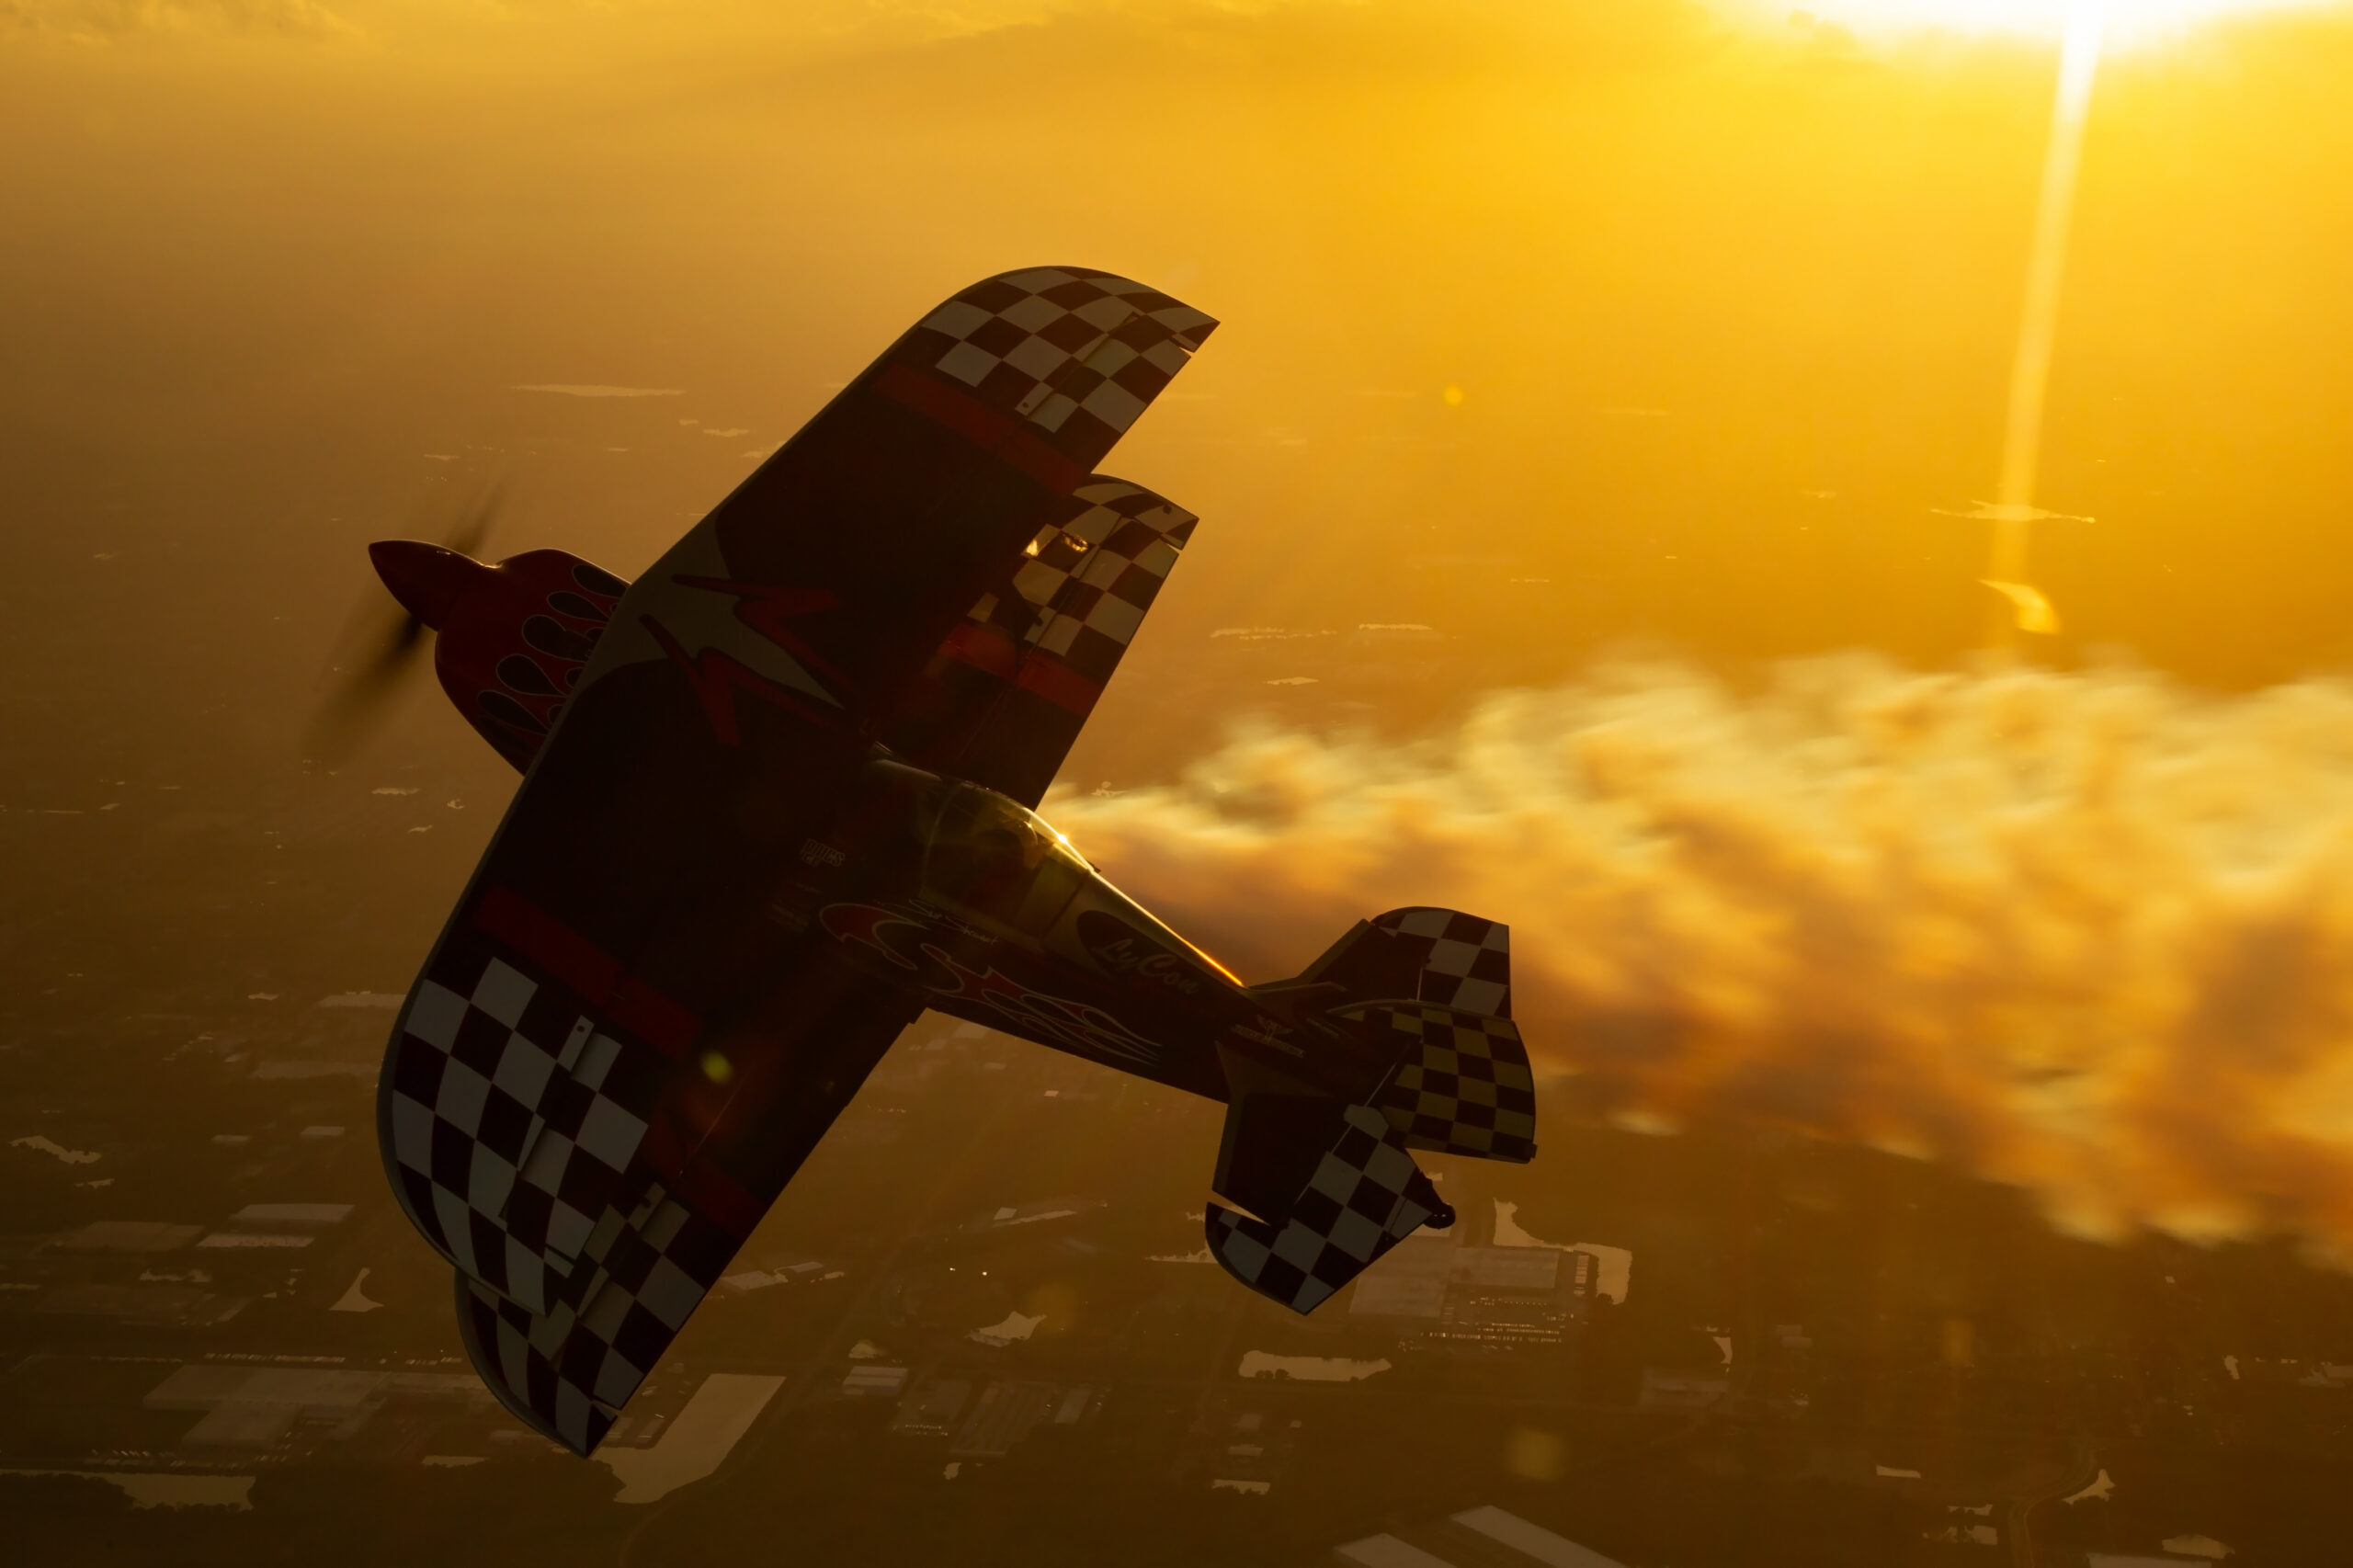
Backlit aviation photography means shooting towards the light so the aircraft renders dark against a bright sky, sea or sunset, and the technique comes down to one decision: expose for the background, not the aircraft. Get that right, switch off the automatic shadow-lifting tools, and the same low sun that ruins a conventional shot will hand you the most dramatic frames of the day.
Most aviation photographers spend their first few seasons fighting backlight. The display organiser puts the sun behind the display line, the arrivals bank at a winter airshow happens with the sun low over the far side of the airfield, and every frame comes back with a murky grey underside where a gleaming jet should be. The instinct is to treat shooting into the sun as a failure state. This guide argues the opposite. Once you understand what your meter is doing and take charge of the exposure yourself, backlight stops being a problem and becomes a look: rim-lit warbirds, jets crossing a glittering sea, and true silhouettes that reduce an aircraft to pure shape against colour.
What this guide covers
- Why backlight works in aviation photography
- How your meter sees backlight
- Exposure for deliberate silhouettes
- Camera setup for shooting into the light
- Flare, ghosting and optics
- Safety: your eyes and your sensor
- Planning the light: venues, timing and tools
- Silhouette composition: shape is everything
- Field scenarios: sunset acts, water and twilight departures
- Post-processing: crush the blacks or recover them
- Frequently asked questions
Why backlight works in aviation photography
Aircraft are among the most recognisable shapes humans have ever built. A Spitfire’s elliptical wing, a biplane’s strut-braced stack, the drooped nose of a jet trainer or the rotor disc of a helicopter all read instantly even when every surface detail is gone. That is exactly what a silhouette does: it removes colour, markings and texture and leaves only outline. Nikon’s own guidance on silhouette shooting makes the point that the stronger the shape of the subject, the more successful the image, and that the less visible detail there is, the more dramatic the photograph becomes. Aviation subjects pass that test more convincingly than almost anything else you can point a camera at.
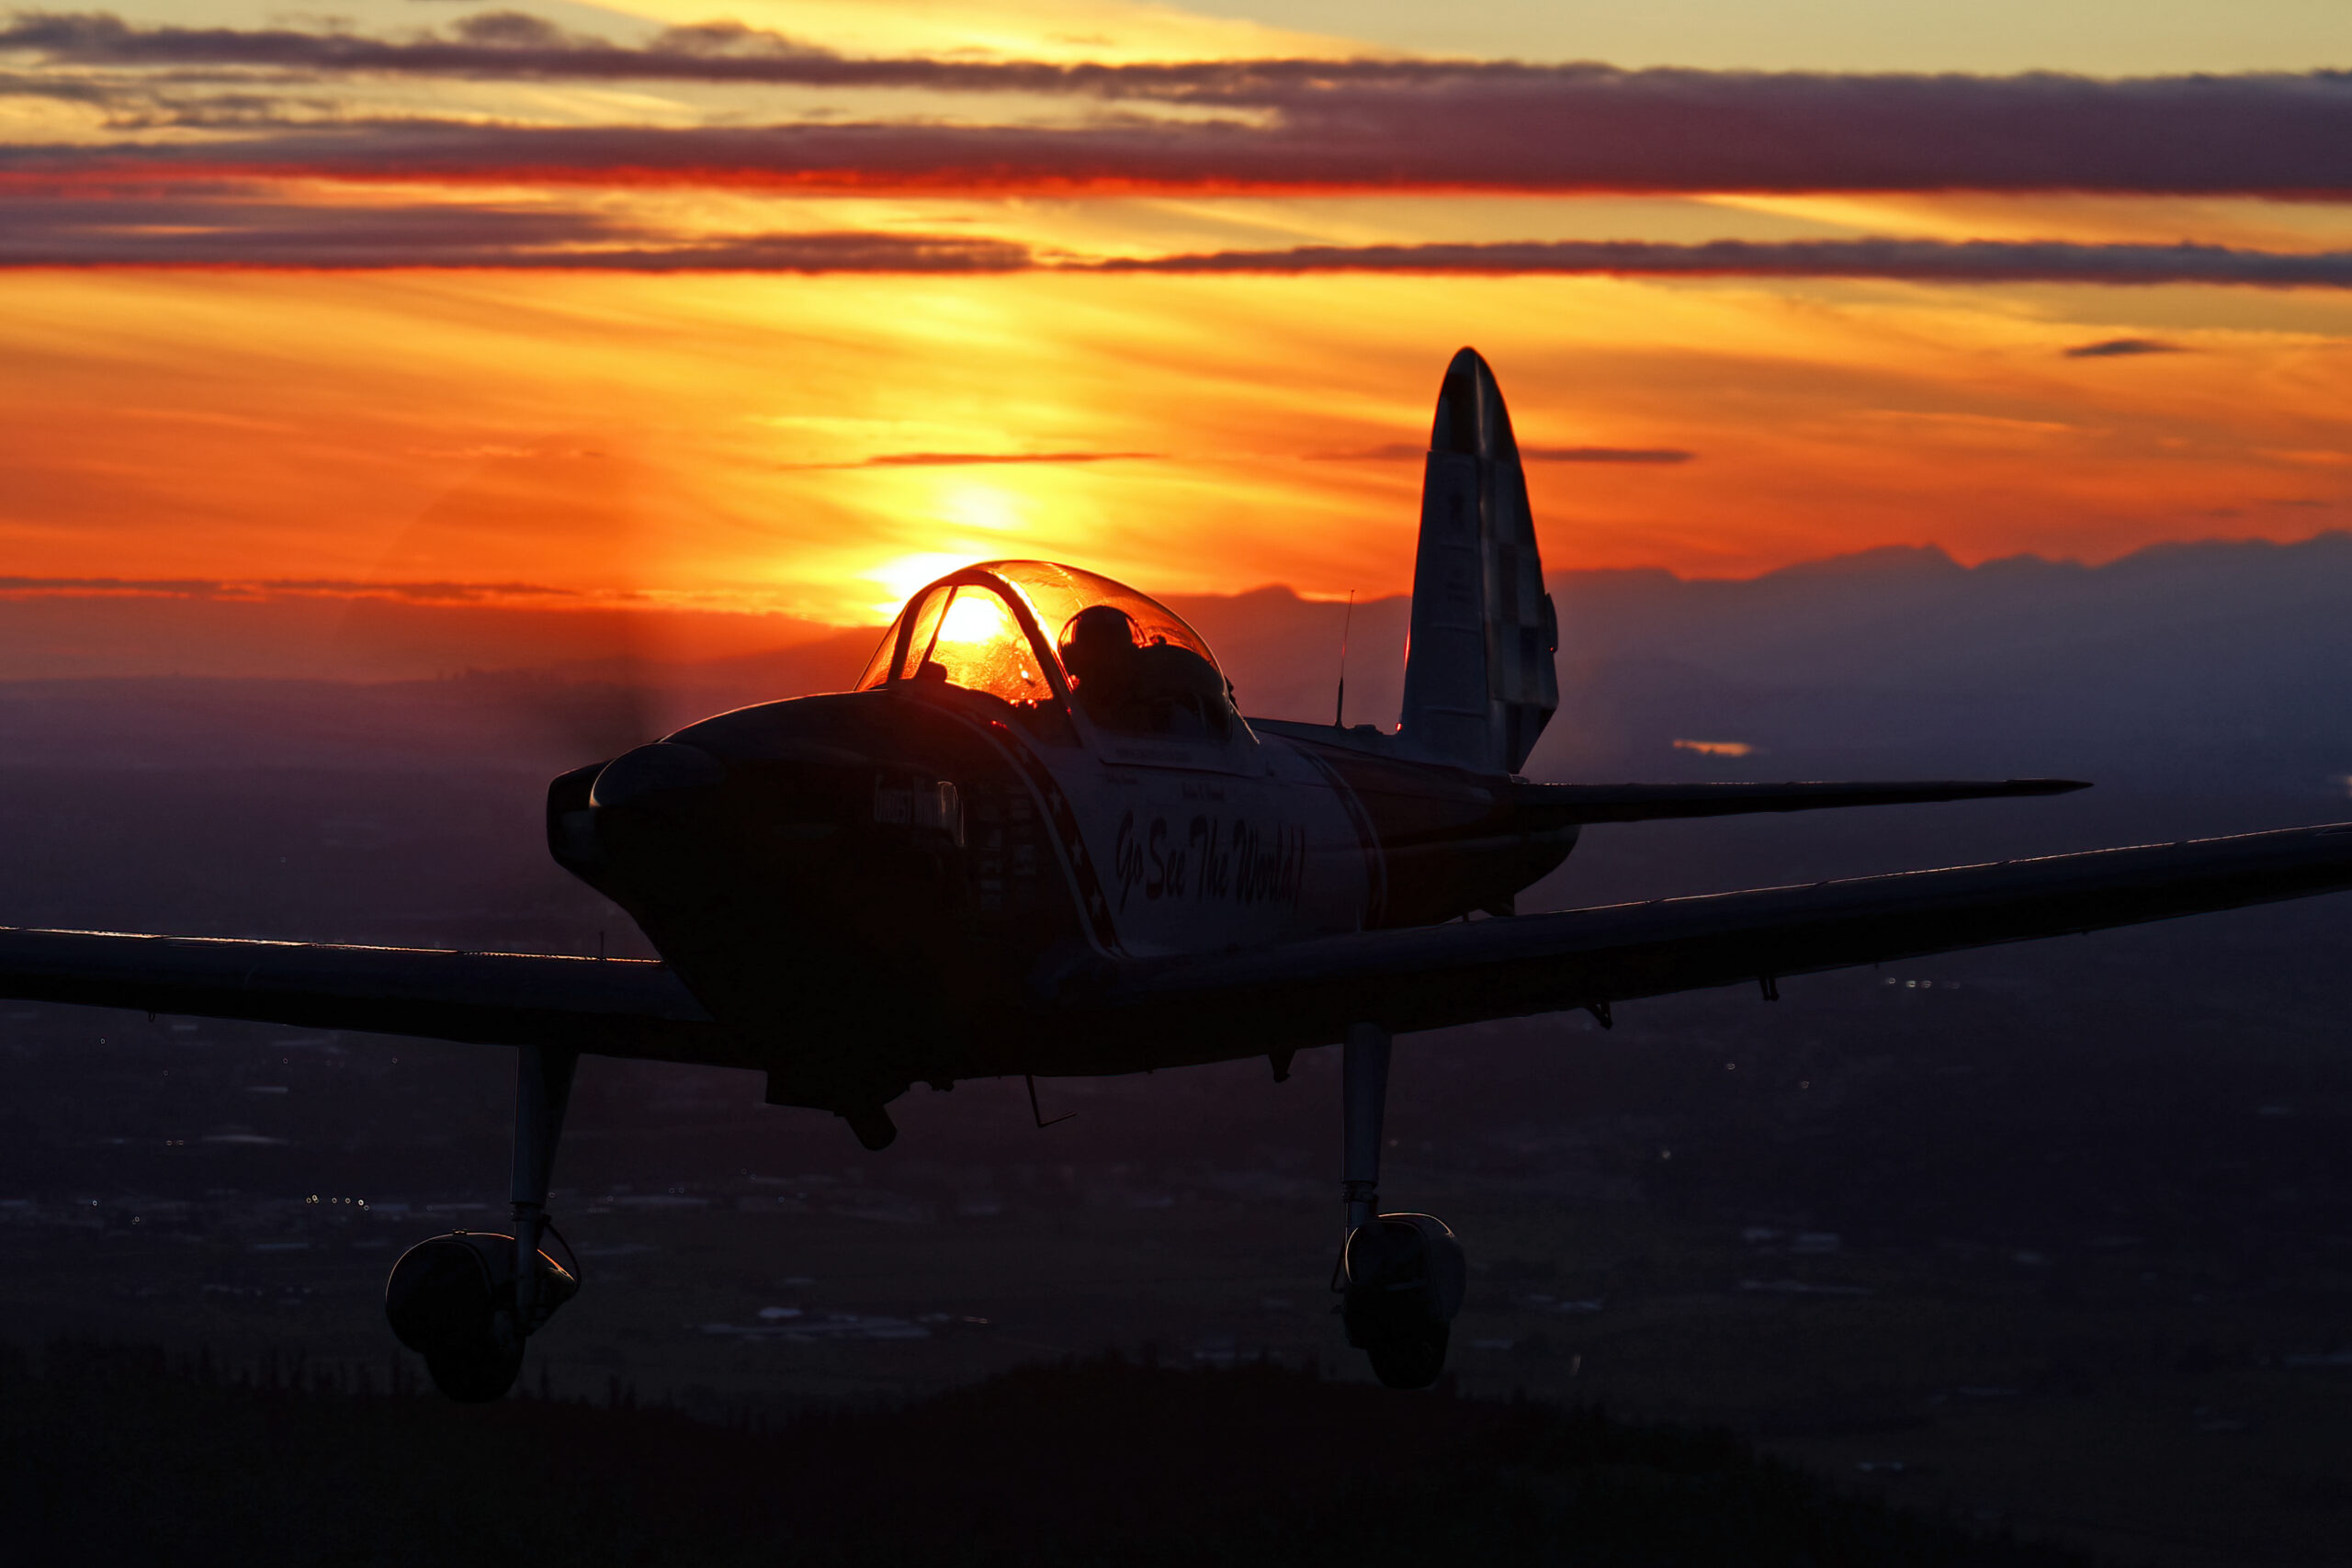
Backlight also earns its keep well before the sun touches the horizon. Shooting towards the light in the afternoon gives you rim light, where the sun traces a bright line along a fuselage spine, a canopy arch and a propeller arc while the rest of the airframe falls into shadow. It gives you sparkle on water, with the aircraft crossing a sheet of glittering highlights instead of flat blue. It turns smoke, vapour and exhaust heat into luminous, three-dimensional structures. Front-lit photography records an aircraft; backlit photography stages it.
There is a practical argument too. At any airshow you will spend part of the day with the sun somewhere unhelpful. The photographers who come home with a varied set are the ones who treat those hours as silhouette and rim-light time rather than dead time. The skills in this guide, metering for the sky, holding highlight detail, focusing on a dark shape, are also precisely the skills that rescue the awkward slots in the flying programme, and they build directly on the fundamentals in our guide to exposing aircraft against bright sky.
One clarification before we start. Backlit and silhouetted are related but not identical. A backlit image is any frame where the main light source sits behind the subject; the aircraft can still carry plenty of visible detail, lifted by reflected light from clouds, sea or haze. A silhouette is the extreme case where you deliberately let the aircraft go to black. Both are covered here, and knowing which of the two you are making, before you press the shutter, is half the craft.
How your meter sees backlight
Every unwanted silhouette in your library comes from the same place: the meter is calibrated to render what it measures as a mid tone, roughly the 18 per cent grey of photographic tradition. Point the camera at an aircraft crossing a bright sky and the meter sees an overwhelmingly bright scene, concludes there is plenty of light, and cuts the exposure until that sky averages out to grey. The aircraft, which occupies a small fraction of the frame, is dragged down with it and comes out several stops underexposed. Canon’s professional Infobank spells this out: the meter cannot know whether it is looking at a bright scene or a dark scene, so it assumes everything is average.
The metering modes differ in how they respond to that situation, and the differences matter more in backlight than anywhere else. Evaluative metering (matrix on Nikon, multi on Sony) actively tries to detect backlighting. Canon’s documentation explains that when the central zones of the frame read darker than the outer zones, the camera concludes the main subject is probably backlit and biases the exposure towards the centre. That sounds helpful, and for casual shooting it often is, but it makes the mode unpredictable the moment you start adding your own exposure compensation, because you cannot know how much correction the camera has already applied. Dial in minus two stops for a silhouette and evaluative metering may quietly fight you, lifting the exposure back up because it has decided your subject needs rescuing.
Spot and partial metering have no such opinions. They read a small area, either the centre of the frame or, on most current mirrorless bodies, the area under the active focus point, and they report what they see with no scene analysis on top. That predictability is exactly what you want when you are working deliberately. Meter the bright sky beside the sun and the sky will be exposed correctly while the aircraft falls into shadow. Meter the aircraft itself and the airframe will hold detail while the sky blows out. You choose the outcome instead of negotiating with an algorithm. Canon’s guidance for calibrating a spot reading is worth memorising: a reading taken from a white area with detail needs around one and a half to two stops added to render it white rather than grey, and a reading from a dark area needs the same amount removed.
Nikon bodies add a fourth option that deserves more attention from aviation photographers: highlight-weighted metering. It biases the exposure to protect the brightest parts of the scene, and Nikon’s own documentation notes that with a dark subject against a bright background it can be used deliberately for silhouettes, because the camera exposes for the background and lets the subject fall into shadow. Against a sunset sky it behaves like an automatic version of the sky-metering technique above, and it removes the need to keep riding the compensation dial as the light changes. Nikon also notes the honest weakness of spot metering for our subject matter: keeping a small spot area on a fast-moving aircraft is really difficult, which is why many jet photographers end up in manual exposure instead.
Manual exposure is the cleanest answer of all, and for silhouette work it is the professional default. Adobe’s silhouette guide calls manual mode essential for this kind of photography, because every automatic mode in the camera is trying to do the one thing you do not want: bring the shadows up. Set the shutter speed the subject demands, set the aperture, then adjust ISO or aperture until the sky sits where you want it on the histogram. The aircraft will take care of itself by falling into black. The meter becomes a reference rather than a decision-maker, which is precisely its proper role in difficult light.
Exposure for deliberate silhouettes
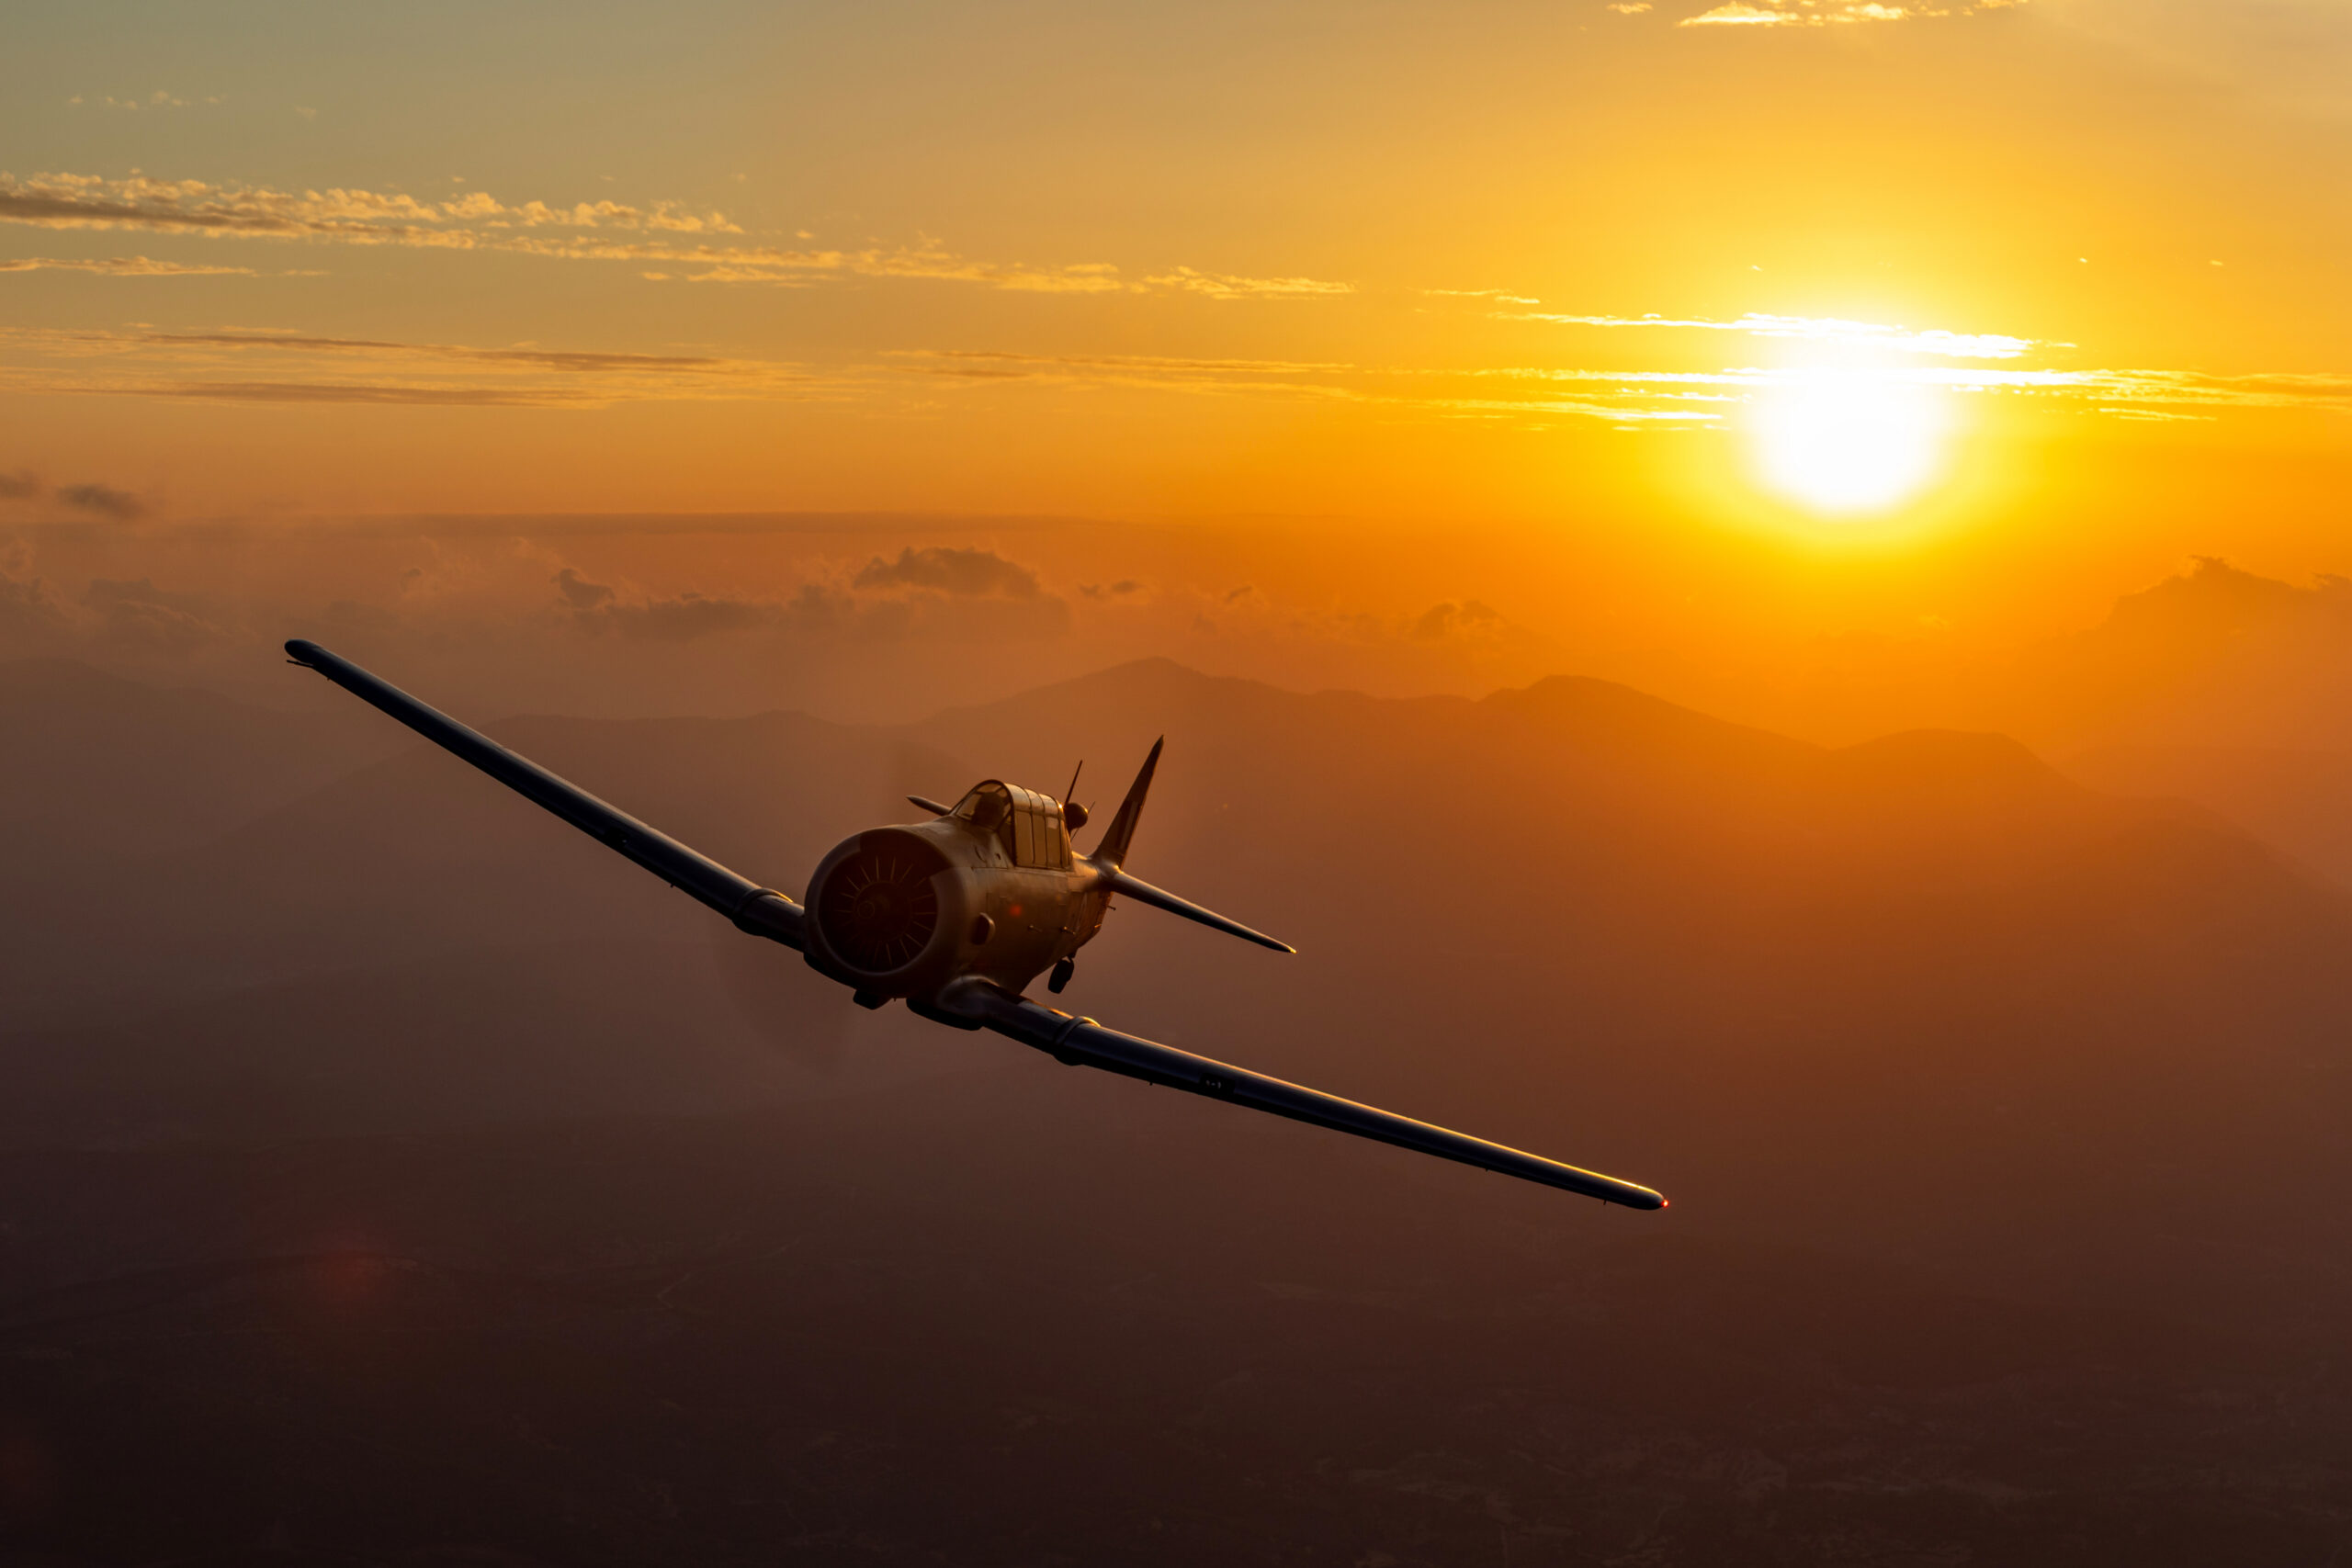
The core method for a deliberate silhouette can be stated in one sentence: expose for the background and place your subject in shadow. Nikon’s tutorial on silhouette shooting uses almost exactly those words. In practice, at an evening airshow, that means metering the sky, not the aircraft, and accepting that the airframe will clip to black. Everything else in this section is refinement of that single move.
How much negative exposure compensation you need depends entirely on how bright the sky is, and it pays to be honest that there is no magic number. Canon’s rough guidance is that around minus one stop handles most dark-background situations, and from there you keep dialling down, often to minus two or beyond, until the sky renders with the depth of colour you saw with your eyes and the aircraft goes black. Current bodies typically offer up to five stops of compensation in third-stop steps, so you have far more range than you will ever need. Watch the rear screen or viewfinder, not the meter scale: the meter is the thing you are deliberately overruling. And note one trap Canon flags in its own documentation: on EOS bodies, exposure compensation survives the camera being switched off, so the minus two and a third you set for the last act of an evening show will still be there for the first act of tomorrow’s front-lit display unless you clear it.
Switch off the automatic contrast optimisers before you start. Nikon’s silhouette tutorial says plainly to turn Active D-Lighting off, because its whole purpose is to lift shadow areas, which is the opposite of what a silhouette needs. Canon’s equivalent is the Auto Lighting Optimizer, which selectively brightens the darker parts of an image; leave it enabled and the camera will spend the whole evening quietly un-silhouetting your silhouettes. The same logic applies to any in-camera HDR or dynamic-range-expansion mode on other brands.
The histogram is your instrument panel for this work, and you should read it differently depending on which of the two images you are making. For a conventional backlit shot where you intend to recover shadow detail later, the standard expose-to-the-right logic applies: push the exposure as bright as you can without clipping the highlights, because a raw file records far more usable information in its brighter tones, then pull it back in processing. For a true silhouette the logic inverts. You protect the sky’s highlights exactly as before, but you let the left side of the histogram slam into the edge on purpose. The blacks are meant to clip. What you must never do is clip the side that carries the story: a blown sunset sky is unrecoverable and, as B&H’s histogram guidance puts it, once tones fall off the left edge they are lost to a black abyss, so make sure the side you sacrifice is the side you chose.
Bracketing earns its place in fast-changing evening light. Both Nikon and Adobe recommend it for silhouette work, and at a sunset display the light can move a full stop in ten minutes. Three frames at two-thirds of a stop apart cost you nothing at aviation shutter speeds and give you a choice of sky densities from the same pass. The table below gives working starting points; treat them as first guesses to refine against the histogram, not as settings to trust blindly.
| Scenario | Metering | Compensation or method | Notes |
|---|---|---|---|
| Rim-lit aircraft, sun well above horizon | Evaluative or centre-weighted | Around -2/3 to -1 EV | Hold the rim highlights; lift shadows in raw later |
| Full silhouette against sunset sky | Spot on bright sky, or manual | Meter the sky; typically -1 to -2 EV from the scene average | ADL and Auto Lighting Optimizer off; let blacks clip |
| Aircraft over sun-glittered water | Spot or highlight-weighted | Expose for the glitter, roughly -1 EV as a first guess | Glitter reads like a field of specular highlights; check blinkies |
| Afterburner or pyro at dusk | Manual | Expose for the flame or sparks | See our night airshow guide for full recipes |
| Unwanted backlight, need detail | Spot on the airframe | +1 to +2 EV on the scene, or spot-meter the aircraft | Accept the blown sky or bracket for it |
Camera setup for shooting into the light
Mirrorless cameras changed backlit photography more than any other genre, for one simple reason: the electronic viewfinder shows you the exposure you are about to make. Canon’s documentation describes exposure simulation directly, noting that with it enabled the viewfinder and screen preview the image with the current settings applied, so you can use what you see as the guide to how much compensation the scene needs. In backlight this is transformative. On a DSLR you metered, guessed, shot and chimped; on a mirrorless body you watch the sky deepen and the airframe sink into black in real time, before the aircraft arrives. If your images keep surprising you, check that exposure simulation is actually on, because several bodies disable it in some drive or flash modes.
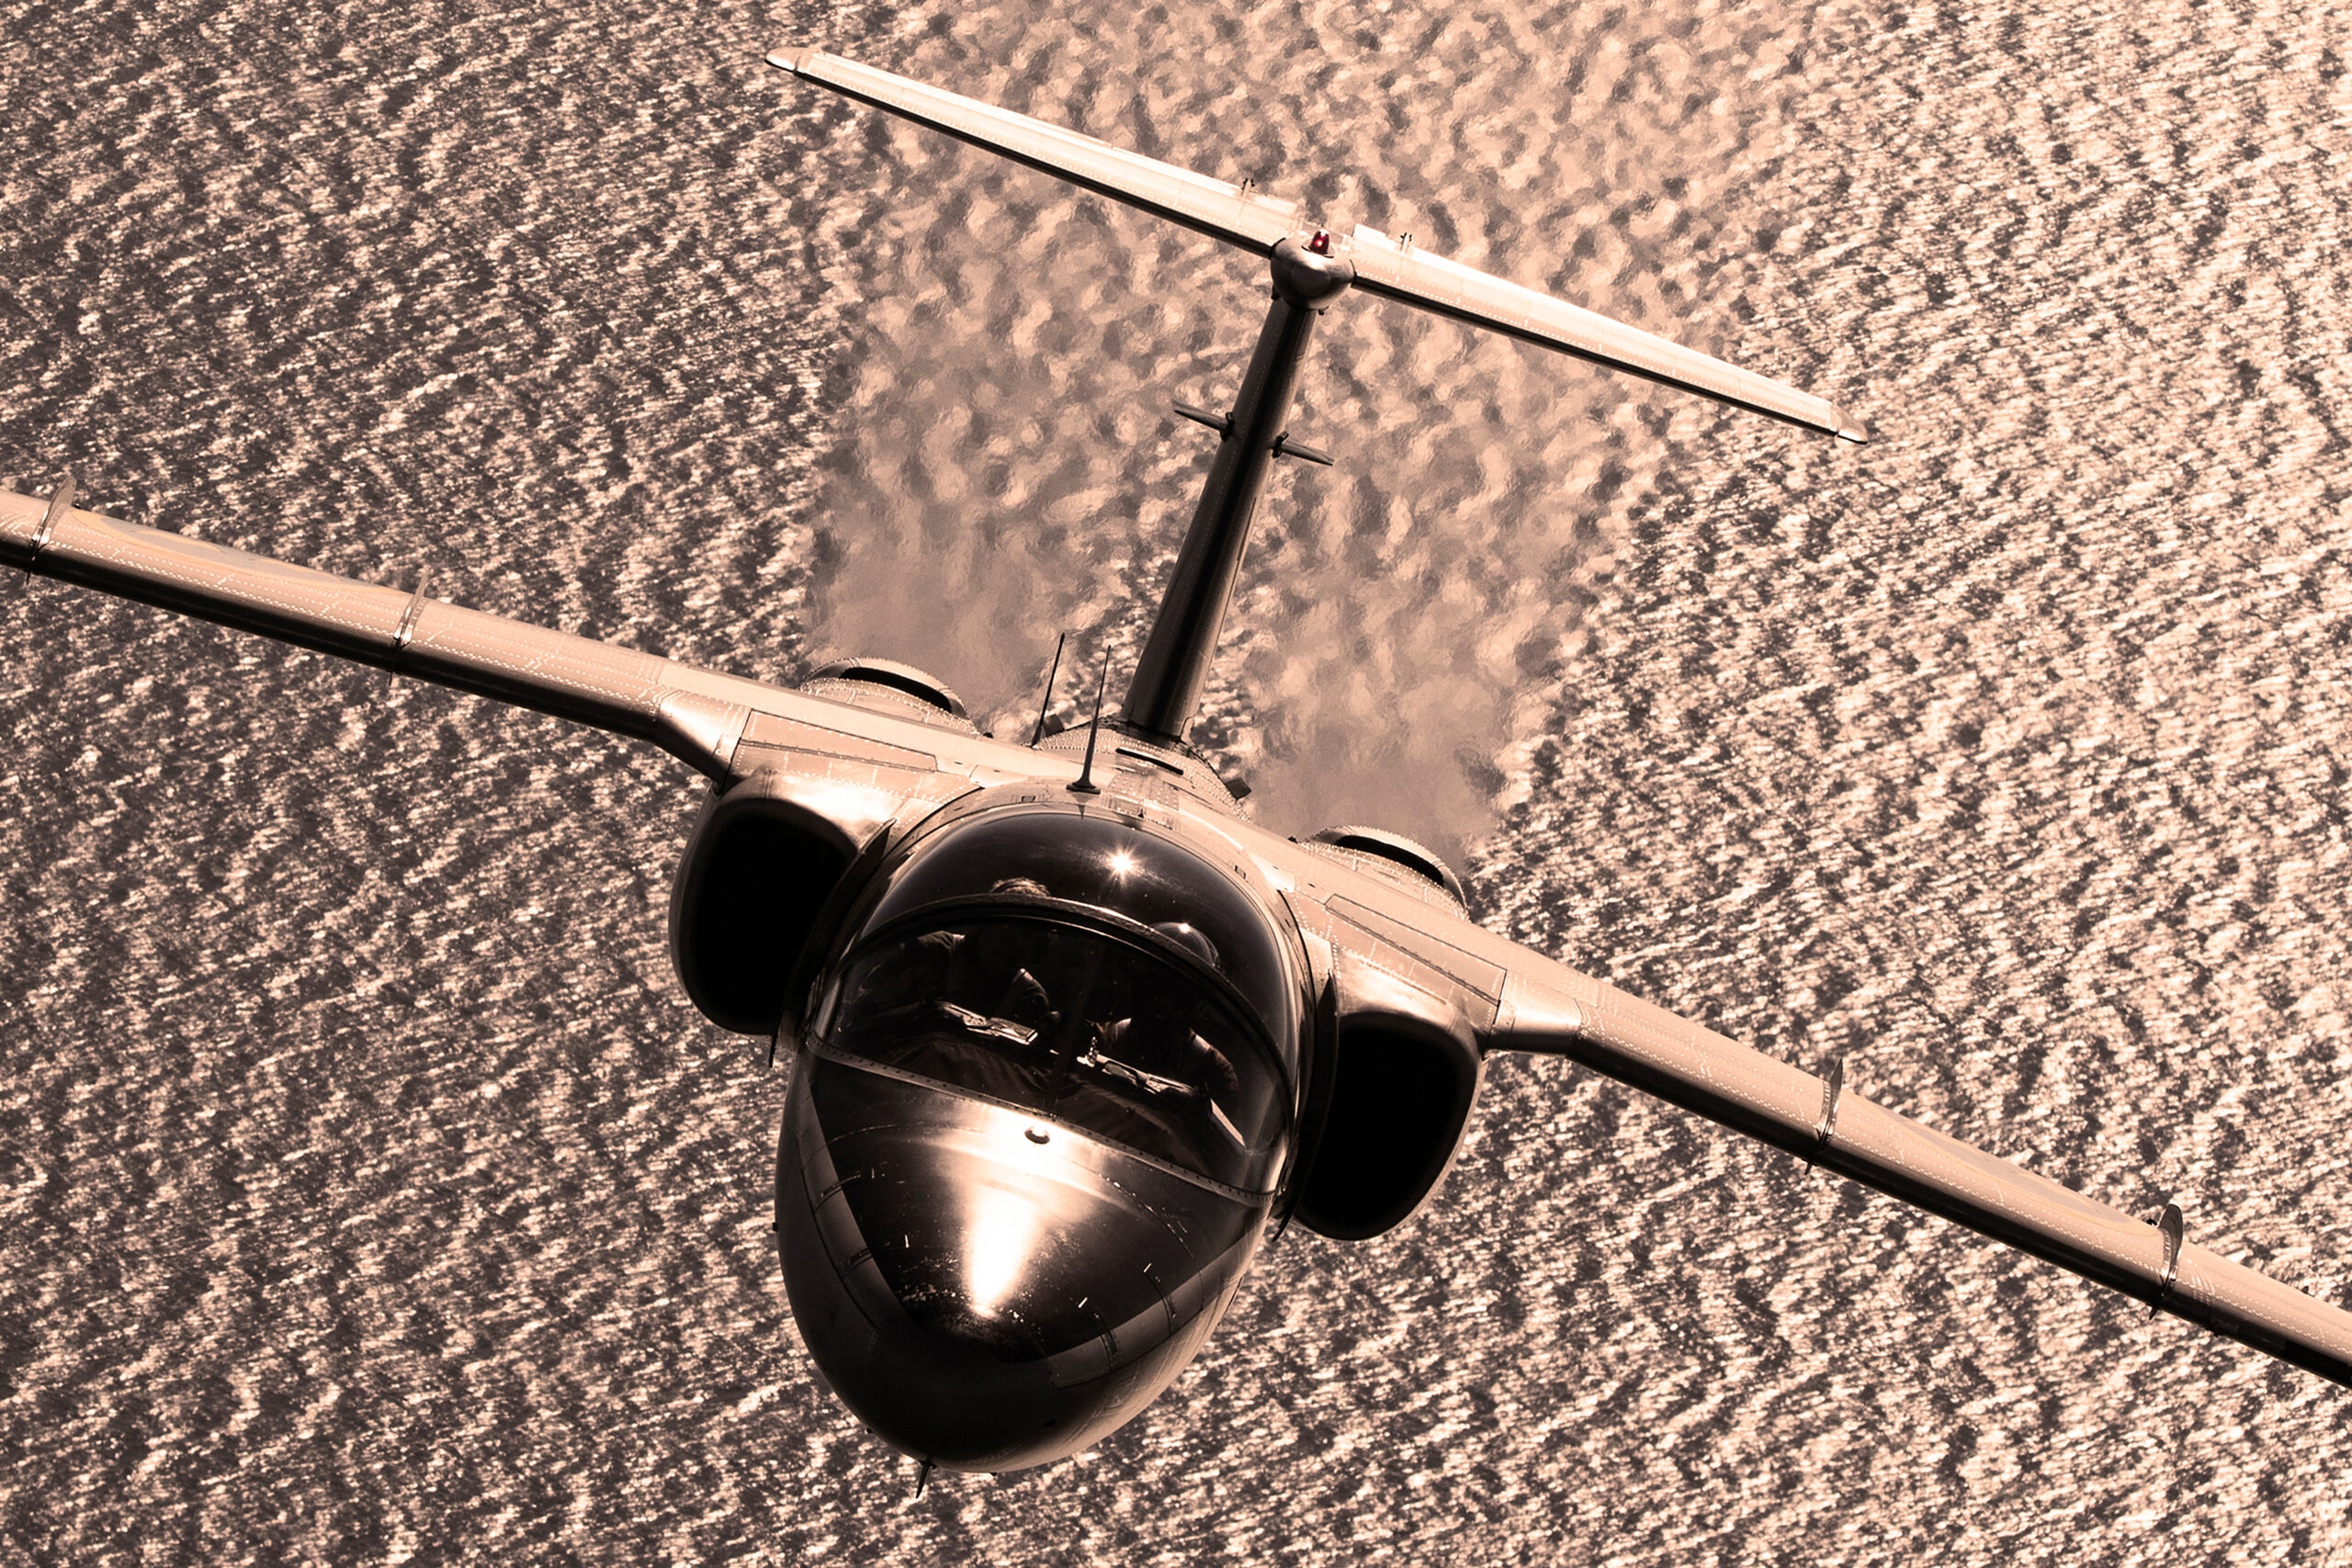
Two viewfinder overlays earn their place in this work. The live histogram gives you the same protect-the-highlights readout discussed above without taking your eye from the finder. Zebra warnings, available for stills on most current mirrorless bodies, paint stripes over any area that has reached your chosen brightness threshold; set them a touch below clipping and use them as a final check that the sunset sky is holding detail. Between exposure simulation, the live histogram and zebras, there is no longer any excuse for coming home with a blown sky.
Autofocus needs a different approach when the subject is a dark shape. Modern subject-detection systems are impressive, but they were trained mostly on well-lit subjects, and a pure silhouette gives them little to grip. The reliable technique is older than any of them: place your AF point on the aircraft’s edge, where the dark airframe meets the bright sky, because that boundary is the highest-contrast line in the entire frame and even modest AF systems lock onto it instantly. Nikon’s silhouette guidance endorses exactly this, along with manual focus as the fallback. For displays flown along a predictable line you can also pre-focus on the display axis and let depth of field do the rest. Continuous AF generally holds a silhouetted aircraft well once acquired; acquisition is the hard part, so start on the edge. If your camera supports it, back-button focus makes this discipline much easier to maintain, and our back-button focus guide covers the setup.
Shutter speed logic does not change just because the light is behind the subject. Jets still want 1/1000s or faster; propellers and rotors still want 1/250s or slower if you care about blur in the blades, and a silhouetted propeller aircraft with a frozen prop looks just as dead as a front-lit one. What changes is the ISO you will need to hold those speeds as the light falls. Do not be precious about it. A silhouette is mostly sky tones and solid black, and noise hides in both far better than it hides in lifted shadows. ISO 1600 with a correctly placed exposure will beat ISO 400 with two stops of shadow recovery every single time.
Flare, ghosting and optics
Point a lens at the sun and you invite every air-to-glass surface inside it to throw reflections at your sensor. That is what flare and ghosting are: light bouncing between element surfaces instead of passing cleanly through, showing up as coloured blobs marching across the frame, a milky veil of lost contrast, or both. Zooms suffer more than primes for a structural reason, since they carry more elements and therefore more reflecting surfaces, and their hoods have to be shallow enough to clear the widest focal length, which leaves them nearly useless at the long end where aviation photographers live.
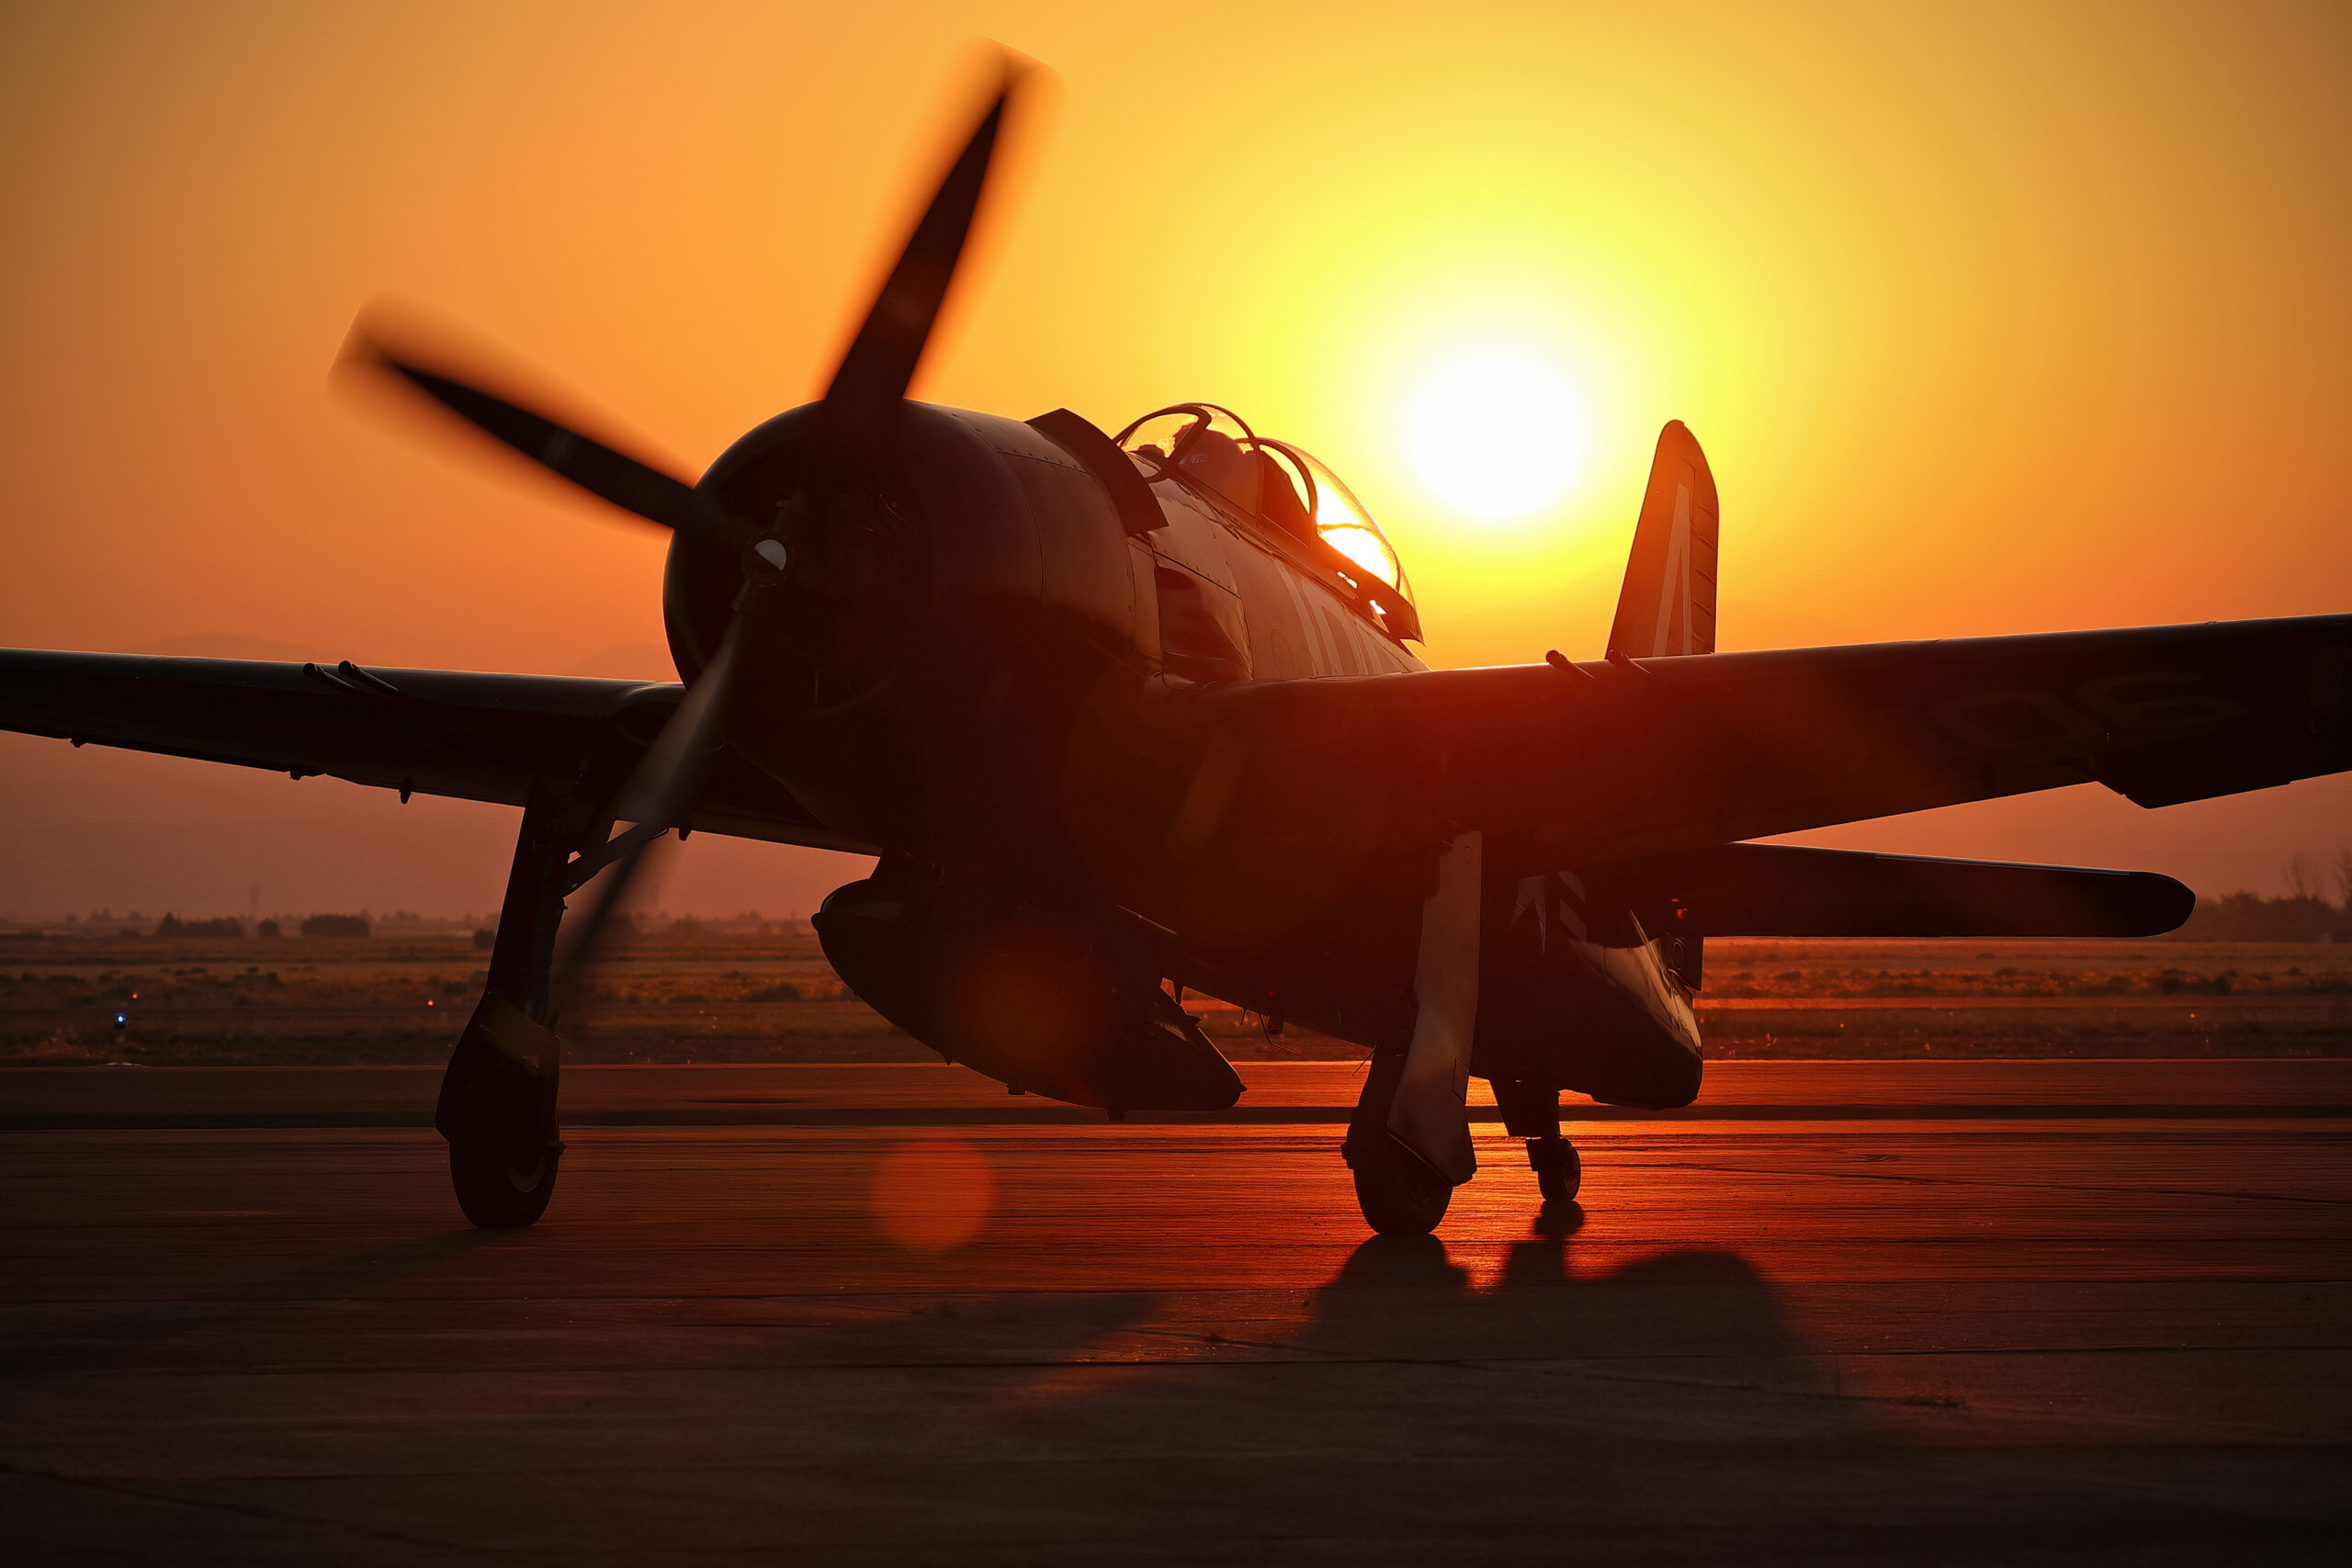
The lens makers have spent two decades engineering coatings against exactly this situation, and it is worth knowing what is in your kit. Canon’s Subwavelength Structure Coating grows nanometre-scale pyramid structures on the glass, smaller than the wavelength of visible light, and is particularly effective against light striking at steep diagonal angles; its Air Sphere Coating adds an ultra-low refractive index layer that tackles near-vertical light, and the two are used together on recent L-series glass. Nikon’s Nano Crystal Coat addresses diagonal incidence and its newer ARNEO coat handles vertical incidence, a pairing Nikon says keeps images clean even with a light source inside the frame. Sony’s Nano AR Coating II applies a precisely regular nano-structure to large and strongly curved elements. None of these make a lens immune, but they are why a current telephoto shot into the sun looks dramatically cleaner than the same shot on glass from 2005.
Your own contribution costs nothing. Fit the hood, always, even shooting towards the sun; it cannot shade an in-frame light source but it kills the oblique stray light that causes veiling flare from just outside the frame. Take the protective filter off, because a flat filter in front of the lens is two extra reflecting surfaces and is responsible for a large share of the ghost images photographers blame on their lenses. Keep the front element clean, since haze and fingerprints scatter backlight into a general glow. Then work the angle: a shift of a degree or two in your shooting position, or waiting for the aircraft to occlude the sun’s disc, transforms the flare pattern completely. A body or wing crossing the sun turns it from a problem into a starburst, and the frame where the sun burns through a canopy is often the keeper of the sequence.
Safety: your eyes and your sensor
Shooting towards the sun carries two real risks, and both are documented by the manufacturers rather than folklore. The first is your eyesight. Camera and lens manuals from Nikon, Sigma and others carry the same warning: do not look at the sun through the lens or an optical viewfinder, because the magnified, focused image can cause permanent visual impairment. Clinicians call the injury solar retinopathy, a photochemical burn to the central retina, and a long telephoto multiplies the risk precisely because it concentrates the light. An electronic viewfinder removes this danger to your eye, since you are looking at a screen rather than through the optics, and this is one more quiet argument for mirrorless at evening shows. Never track an aircraft across the sun’s disc with a DSLR’s optical finder.
The second risk is the camera itself. Nikon’s official guidance is not to leave a lens pointed at the sun, because intense focused light can degrade the sensor or leave white-blur artefacts, and lens manuals add that concentrated sunlight inside the barrel can damage internal components or even start a fire in extreme cases. The practical protocol is simple: compose with the sun just out of frame or hidden behind the aircraft or cloud when you can, work quickly during the passes where the sun is really in frame, do not park the camera pointing at a low sun between acts, and cap the lens when it is on your shoulder facing west. Minutes of exposure are the enemy; deliberate, brief frames are fine, which is why sunset aviation photography exists at all.
Planning the light: venues, timing and tools
Backlit opportunities are predictable to the minute, because the sun’s position is the one variable in aviation photography you can look up in advance. Three planning apps dominate the field. PhotoPills, on iOS and Android for a one-off purchase of around ten pounds, overlays the sun’s track on a map and in augmented reality, so you can stand at a crowd line in the morning and see exactly where the sun will sit during the evening act. The Photographer’s Ephemeris offers the same core sun and moon geometry as an iOS app and a web app that runs on anything, though there is no native Android version. Sun Surveyor, on both platforms, adds a live augmented-reality view of the sun path with a free Lite edition to try. Any of the three answers the only question that matters: where will the light be when the aircraft are flying?
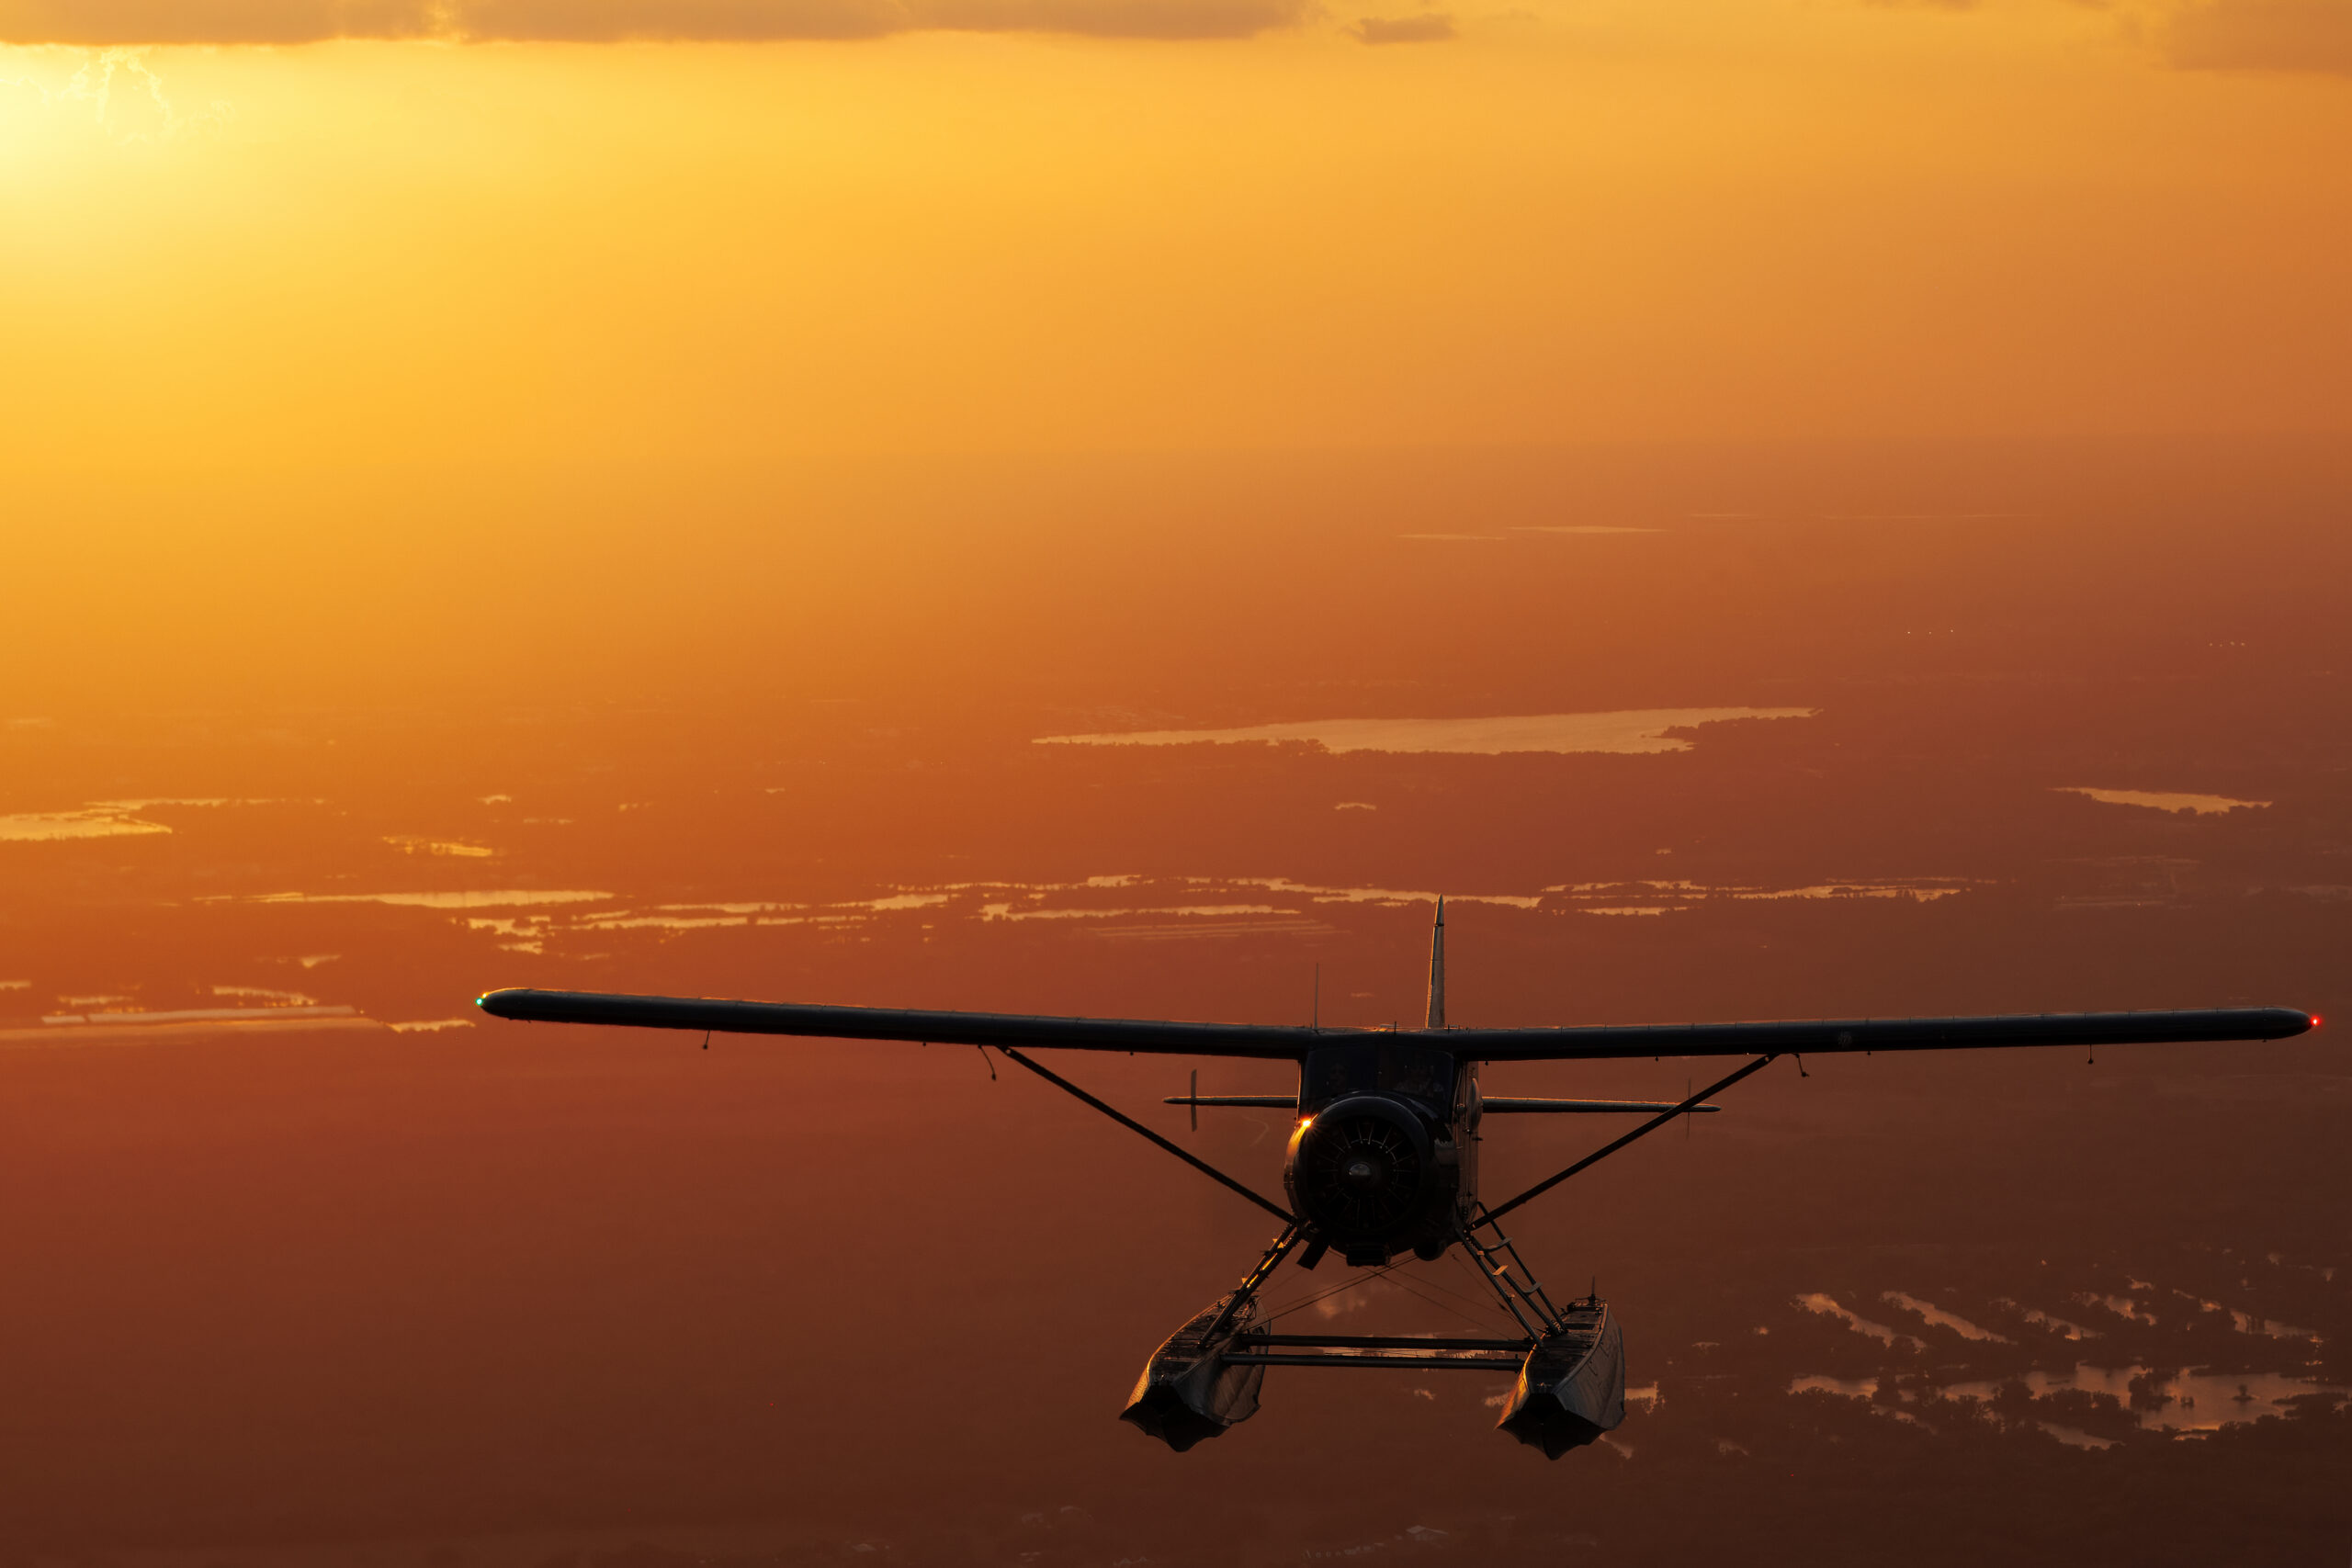
Venue geometry decides everything, and it is worth being precise because half-remembered folklore gets it wrong. At RAF Fairford, home of the Royal International Air Tattoo, the showground and its roughly two and a half mile crowd line sit on the south side of the east-west runway, so spectators look north and the midday sun sits behind them: the main show is front-lit for most of the day, which is superb for conventional shots and useless for silhouettes. The genuine backlit opportunities at Fairford come on the arrivals and departures days, where several of the popular viewing spots on the northern and western perimeter are backlit on summer mornings and evenings, a fact the spotting guides state plainly. Duxford is the opposite case: the flying display axis lies south of the crowd line, so regulars know you are shooting towards the sun for much of the day, with the light swinging friendlier towards the western end of the airfield as the afternoon wears on. IWM lean into their geometry with evening events built for photographers, and Shuttleworth’s Old Warden evening shows remain the most reliable golden-hour aviation fixture in Britain.
Updated July 2026: the evening and backlight calendar for the rest of this season looks like this. RIAT 2026 was cancelled in May amid uncertainty over access to RAF Fairford, with the Air Tattoo returning 16 to 18 July 2027; Fairford arrivals-day backlight is therefore off the menu this year. Shuttleworth’s Flying Proms on 15 August 2026 pairs the evening display with an orchestra and a firework finale. IWM Duxford runs its Flying Evening on 22 August 2026, alongside the after-hours Duxford in a Different Light photography events it has staged through the summer. On the coast, Eastbourne’s Airbourne returns on 13 to 16 August 2026 after its pause, with the crowd facing south over the sea, which is textbook into-the-light shooting for most of the day. Bournemouth Air Festival, which pioneered the UK’s dedicated twilight Night Air displays, ended after its 2024 edition when council funding ceased. Check organisers before travelling; display schedules move.
| Event or venue | Date / status | Why it matters for backlight |
|---|---|---|
| Shuttleworth Flying Proms, Old Warden | 15 August 2026 | Evening display into sunset, pyrotechnics and firework finale |
| IWM Duxford Flying Evening | 22 August 2026 | Golden-hour flying on a naturally into-sun display axis |
| Eastbourne Airbourne | 13 to 16 August 2026 | Seafront show, crowd faces south over water; sun glitter and marine haze |
| RIAT, RAF Fairford | 2026 cancelled; next 16 to 18 July 2027 | Main show front-lit; arrivals/departure days from north-side spots are the backlit draw |
| Bournemouth Air Festival | Ended (last held 2024) | Its twilight Night Air format is the one to watch for elsewhere |
Do not overlook ordinary airfields. A summer evening departure bank at any major airport puts heavy jets rotating into a bright western sky, and the spotting guides’ complaint that a location is backlit in summer evenings is your invitation to go there on purpose. Golden hour and backlight are natural partners, and our golden hour guide covers the front-lit half of that hour; this one covers what happens when you turn around.
Silhouette composition: shape is everything
A silhouette strips an image down to outline, colour and arrangement, which means composition carries the entire frame. The first discipline is choosing aspects that read. Side-on profiles and plan-form topsides keep an aircraft’s outline unambiguous; head-on aspects reduce many types to an unreadable dart. Biplanes, gliders, floatplanes, swing-wing jets mid-sweep and anything with a distinctive tail all make superb silhouettes, and helicopters work when the rotor disc is preserved by a suitably slow shutter. If a type is hard to identify in your silhouette, the silhouette is not working; the whole point is that shape alone carries identity.
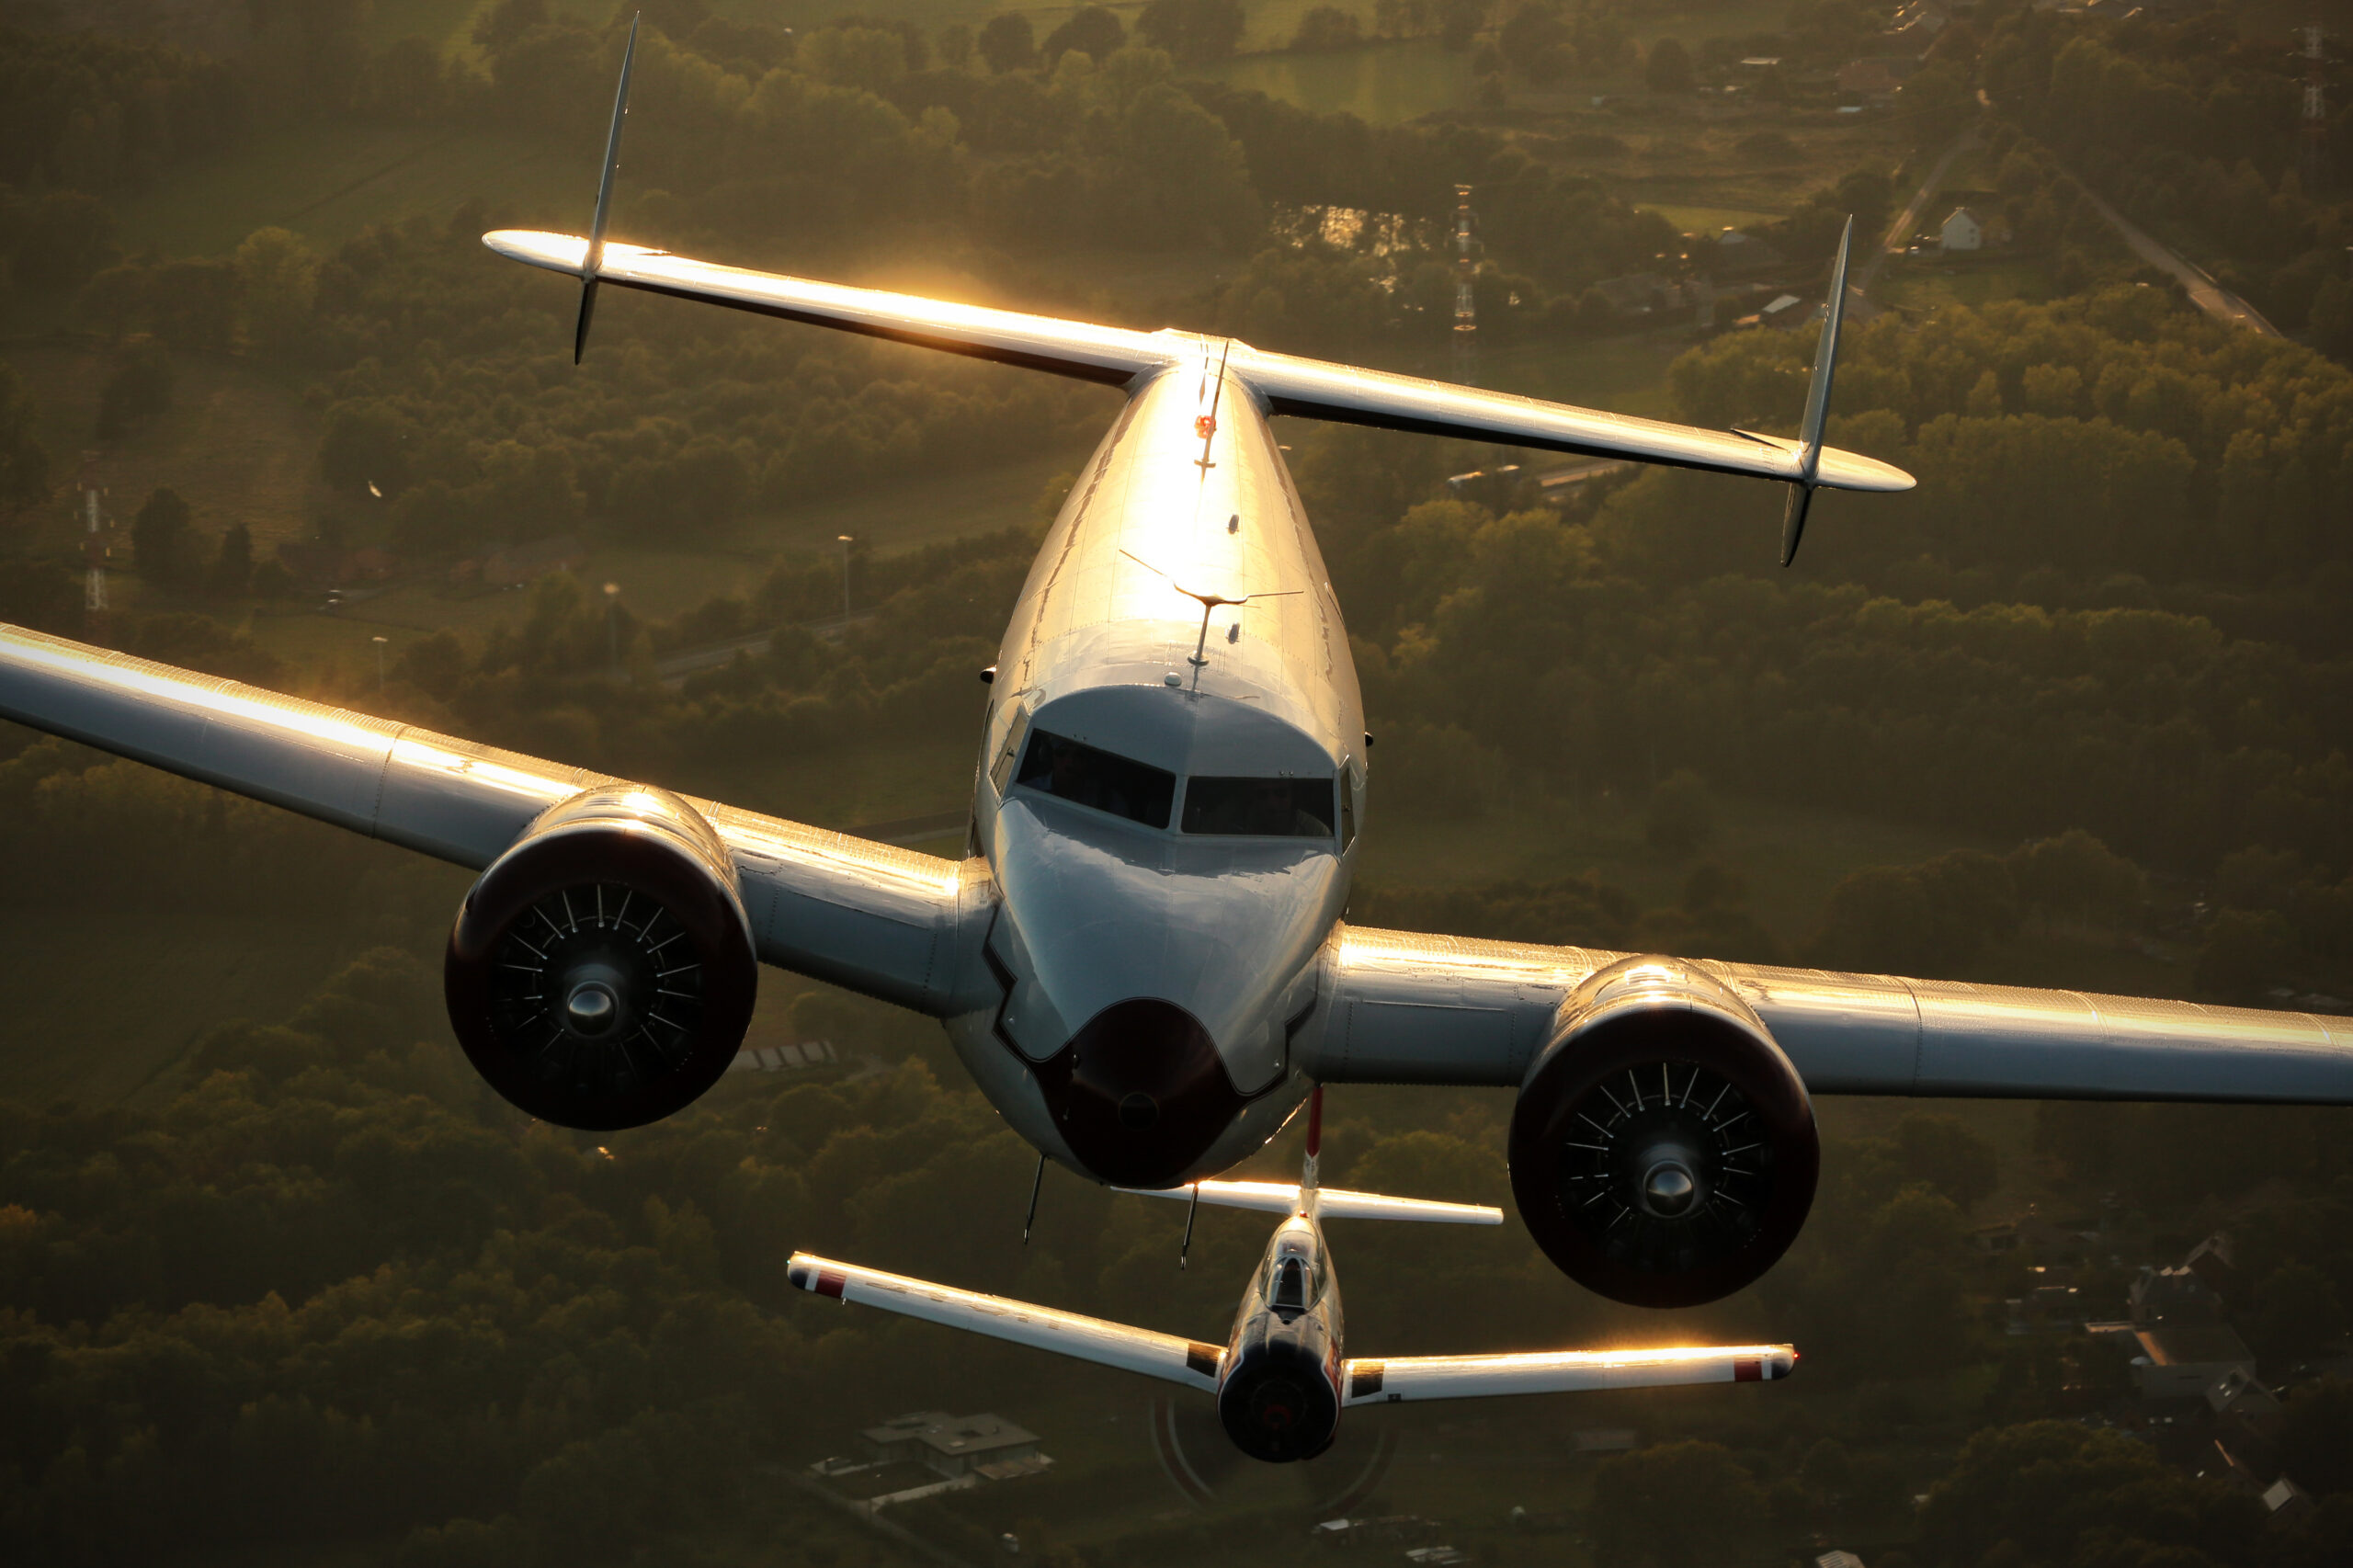
The second discipline is separation. A silhouette dies the moment its outline merges with another dark mass, so keep the aircraft clear of terrain, pylons, crowd heads and other aircraft on the horizon line. Wait for the beat in a display sequence when the subject climbs above the tree line into clean sky, or drop your own position to put more sky behind the display axis. In formation passes, the frame works when every aircraft’s outline stays distinct; the moment two dark shapes overlap they read as one confusing blob, which is why loose echelon and stream passes silhouette better than tight boxes.
Adobe’s silhouette guidance draws a useful line between perfect and partial silhouettes. A perfect silhouette renders the subject fully black, and it lives or dies on shape and sky colour. A partial silhouette keeps a kiss of light, sun glinting along a fuselage spine, a glowing canopy, a rim-lit wing edge, and reads as more three-dimensional and often more atmospheric. Neither is superior; they are different pictures. Decide which you are making before the pass, because the exposure differs by a stop or more, and a muddled half-exposure delivers neither. Place the horizon low and give the sky room, use the rule-of-thirds grid if it helps, and remember that negative space is doing the talking; the compositional principles in our composition guide apply with the volume turned up.
Field scenarios: sunset acts, water and twilight departures
The sunset display act is the most forgiving scenario, because the organiser has already put the aircraft between you and the colour. Arrive with the exposure roughed in before the act starts, sky metered, compensation set, optimisers off, then refine on the first pass. The light will fall fast, so keep one thumb near the ISO control and accept the climb. Smoke systems and pyrotechnics read best against the deepest colour about twenty minutes after sunset, at which point you are really shooting a night display; our night airshow guide picks up where this section stops.
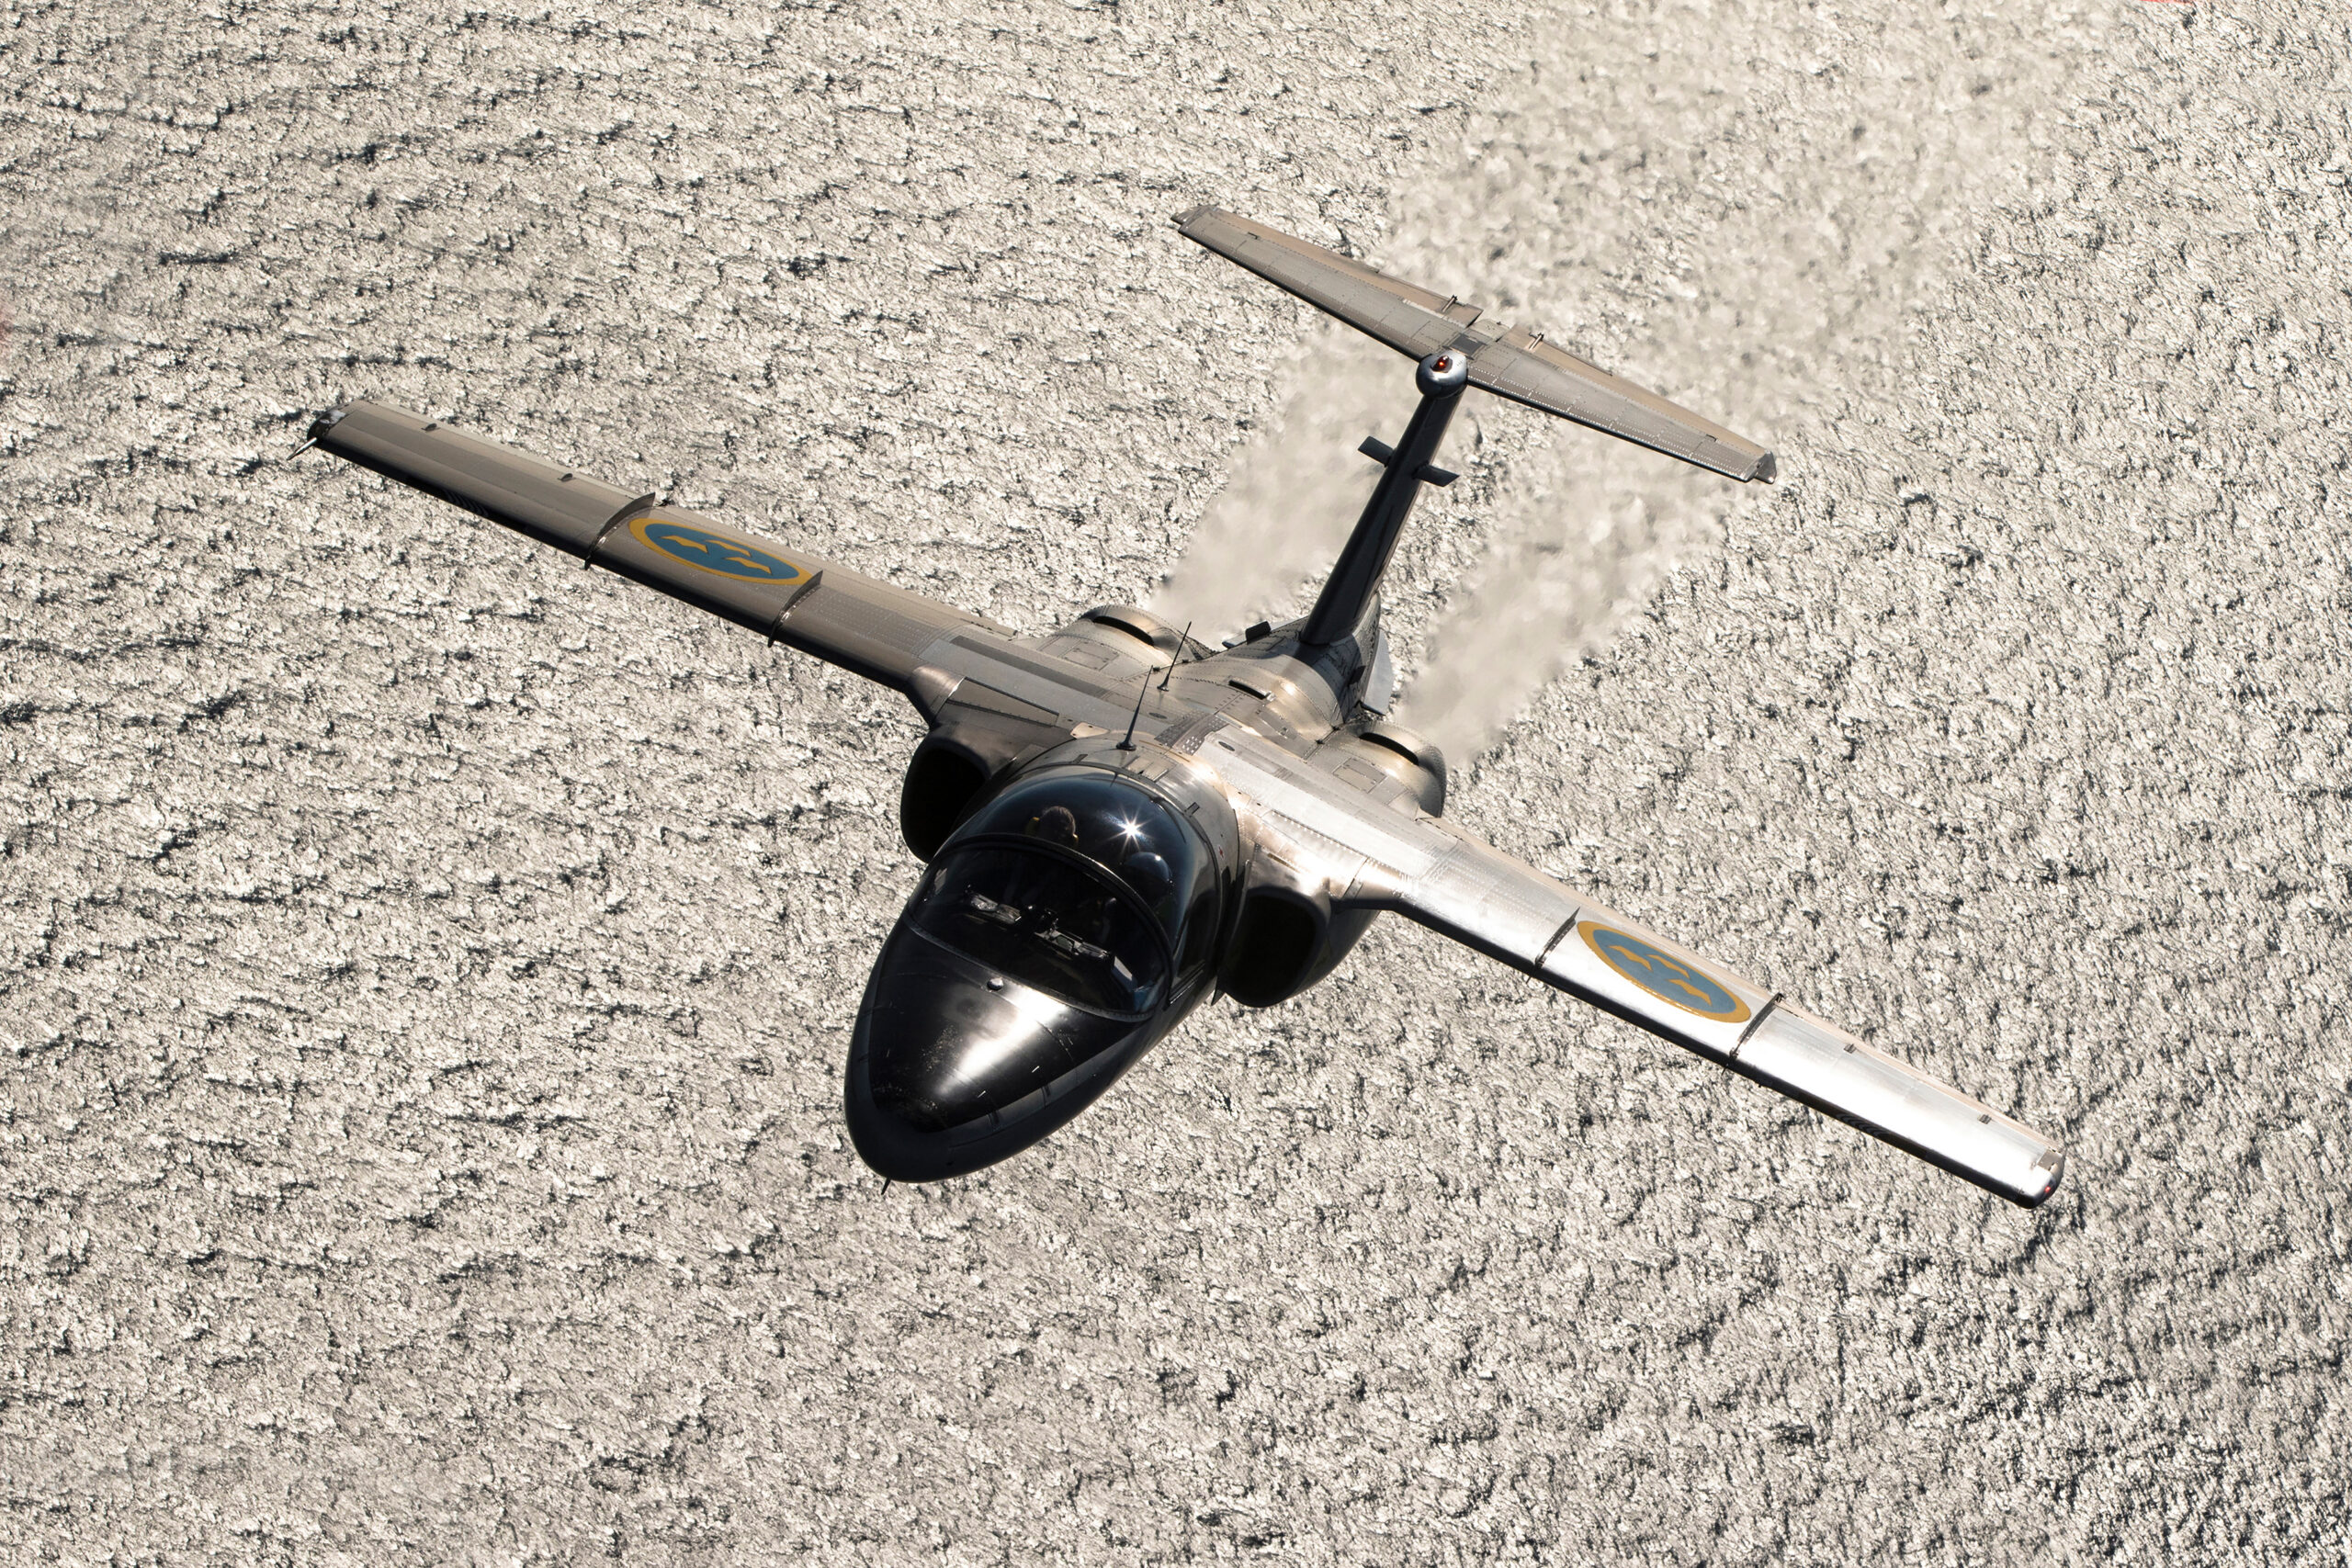
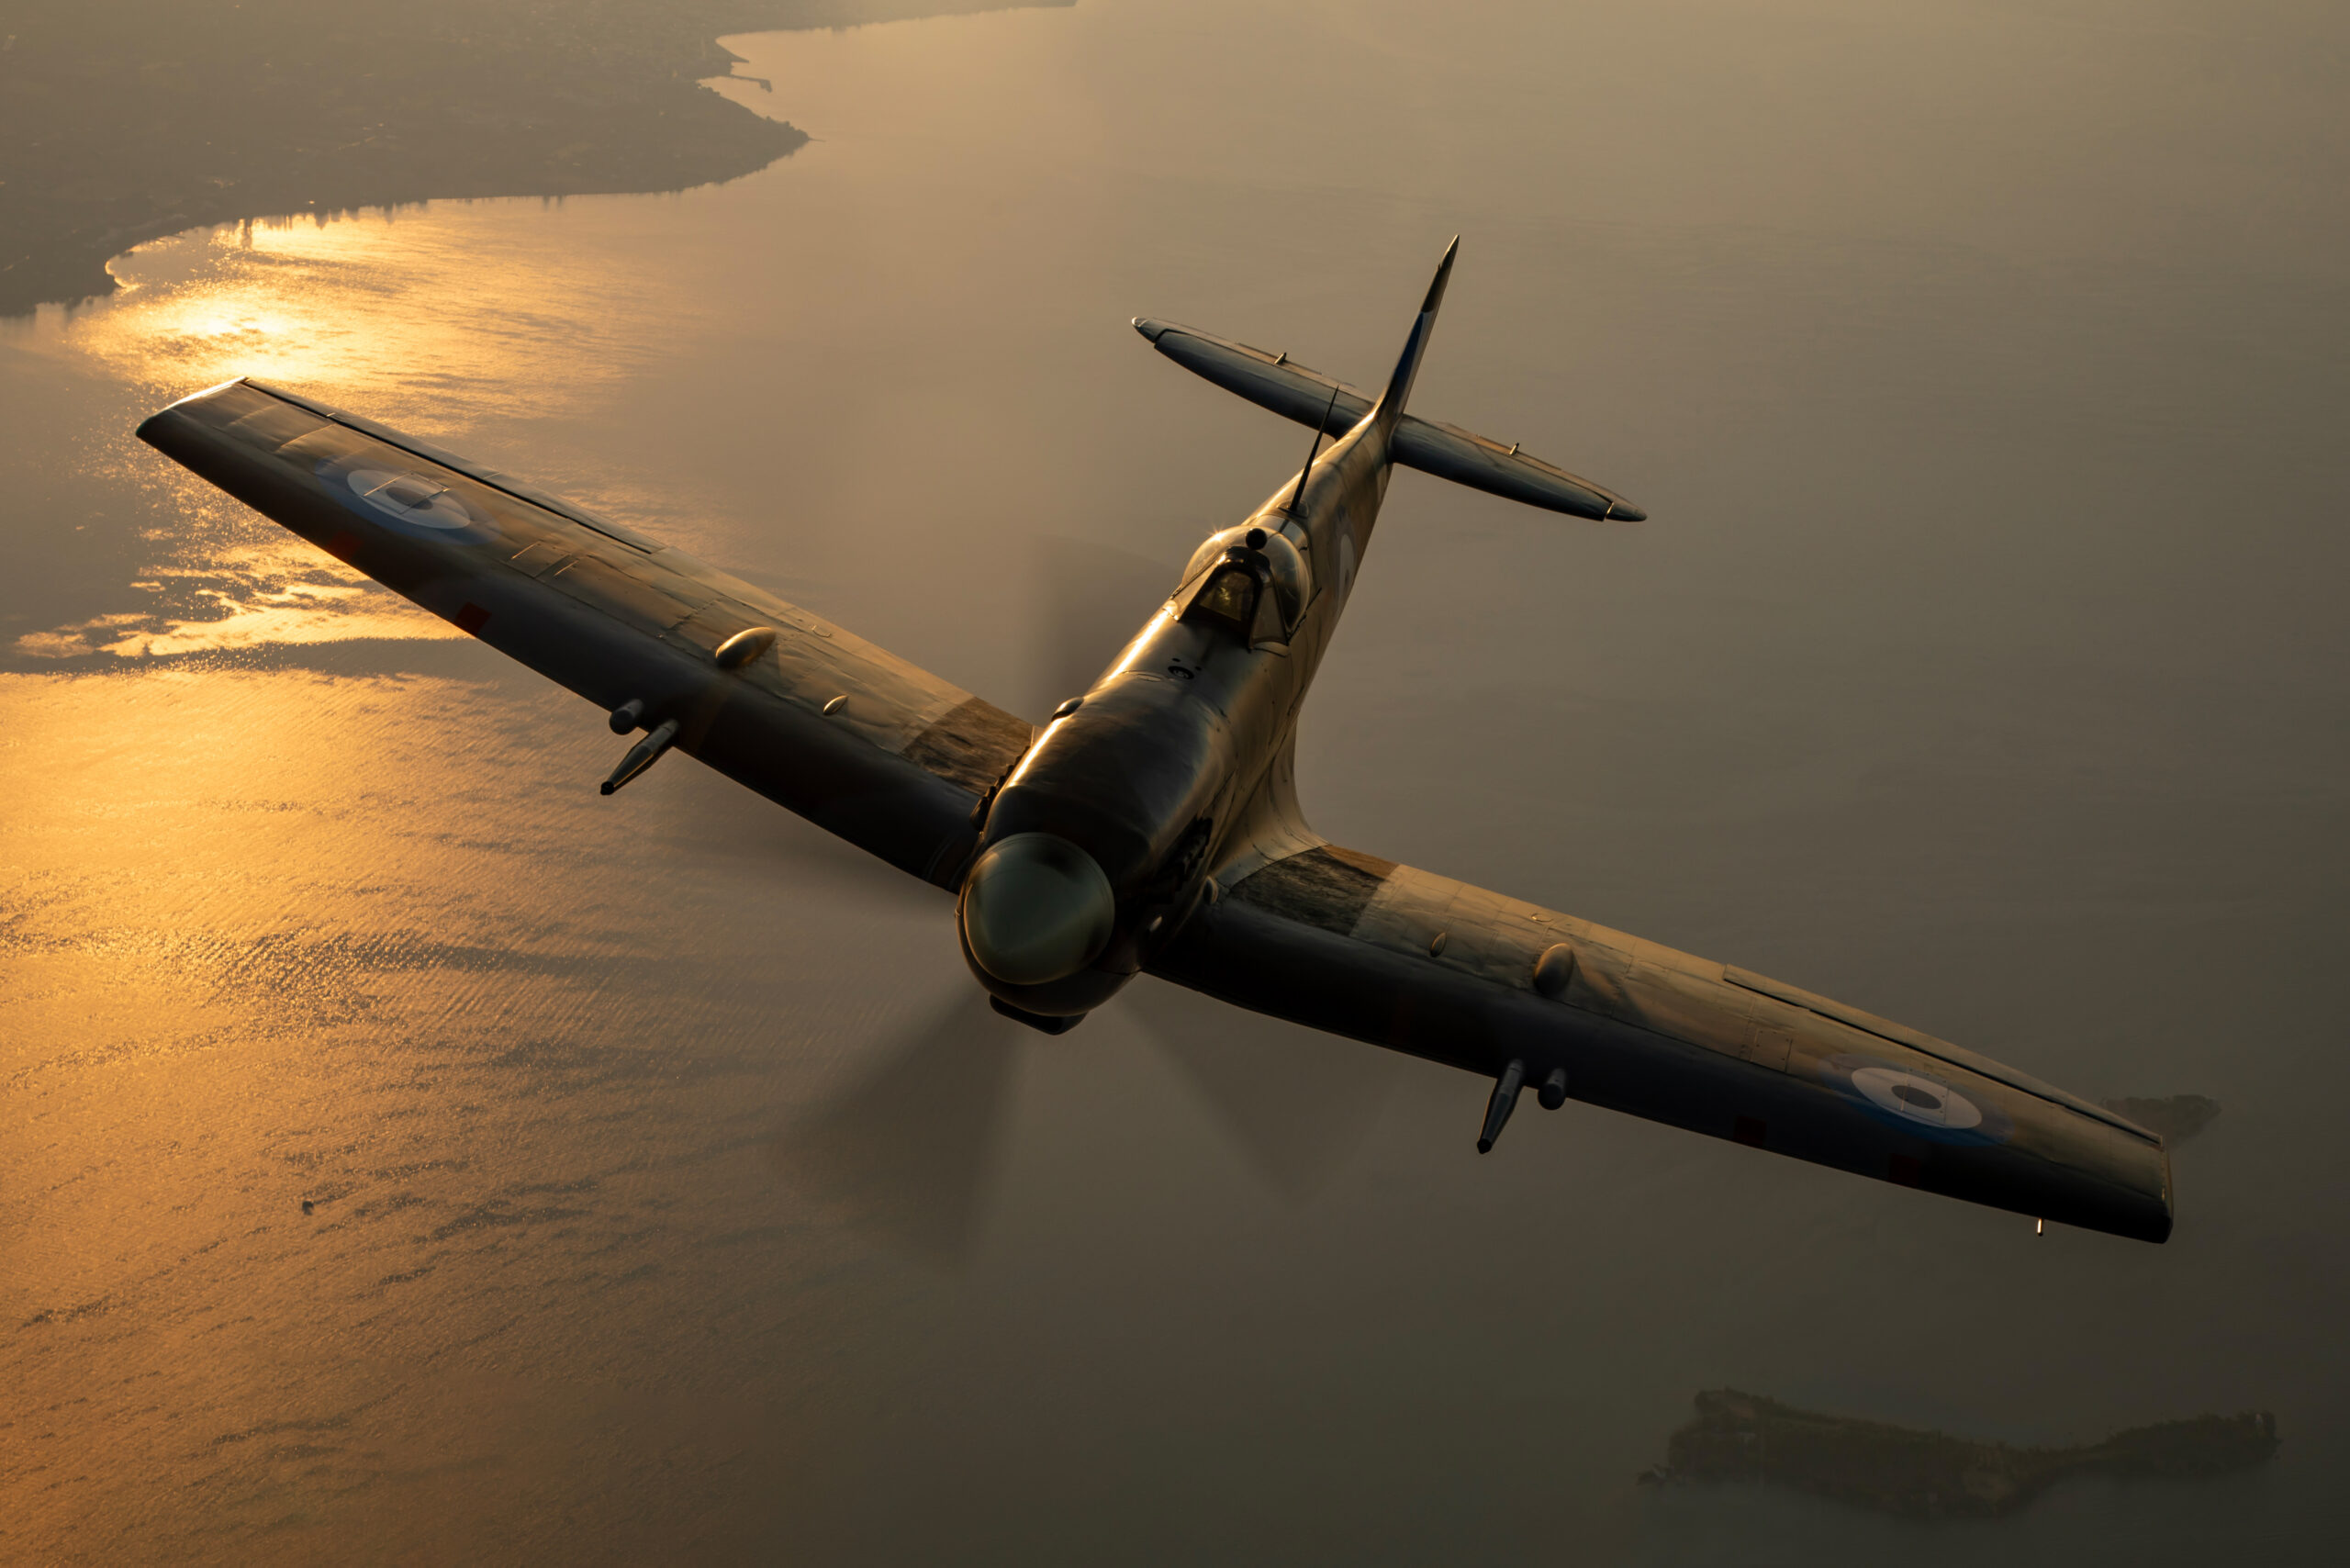
Water changes the arithmetic in your favour. A low sun over sea or lake lays a path of glitter across the surface, and an aircraft crossing that path picks up bounce light from below while presenting a dark shape against the sparkle. The background is a field of specular highlights rather than a single bright source, so meter for the glitter and watch the zebras; the shimmer will push individual pixels to clipping while the average stays manageable. Coastal shows and seaplane operations serve this composition all day, not just at sunset, and the low-contrast silver of a hazy maritime afternoon can be as effective as any orange sky. Marine haze softens long-lens shots into the bargain, so get as close as the venue allows and treat the softness as atmosphere rather than failure.
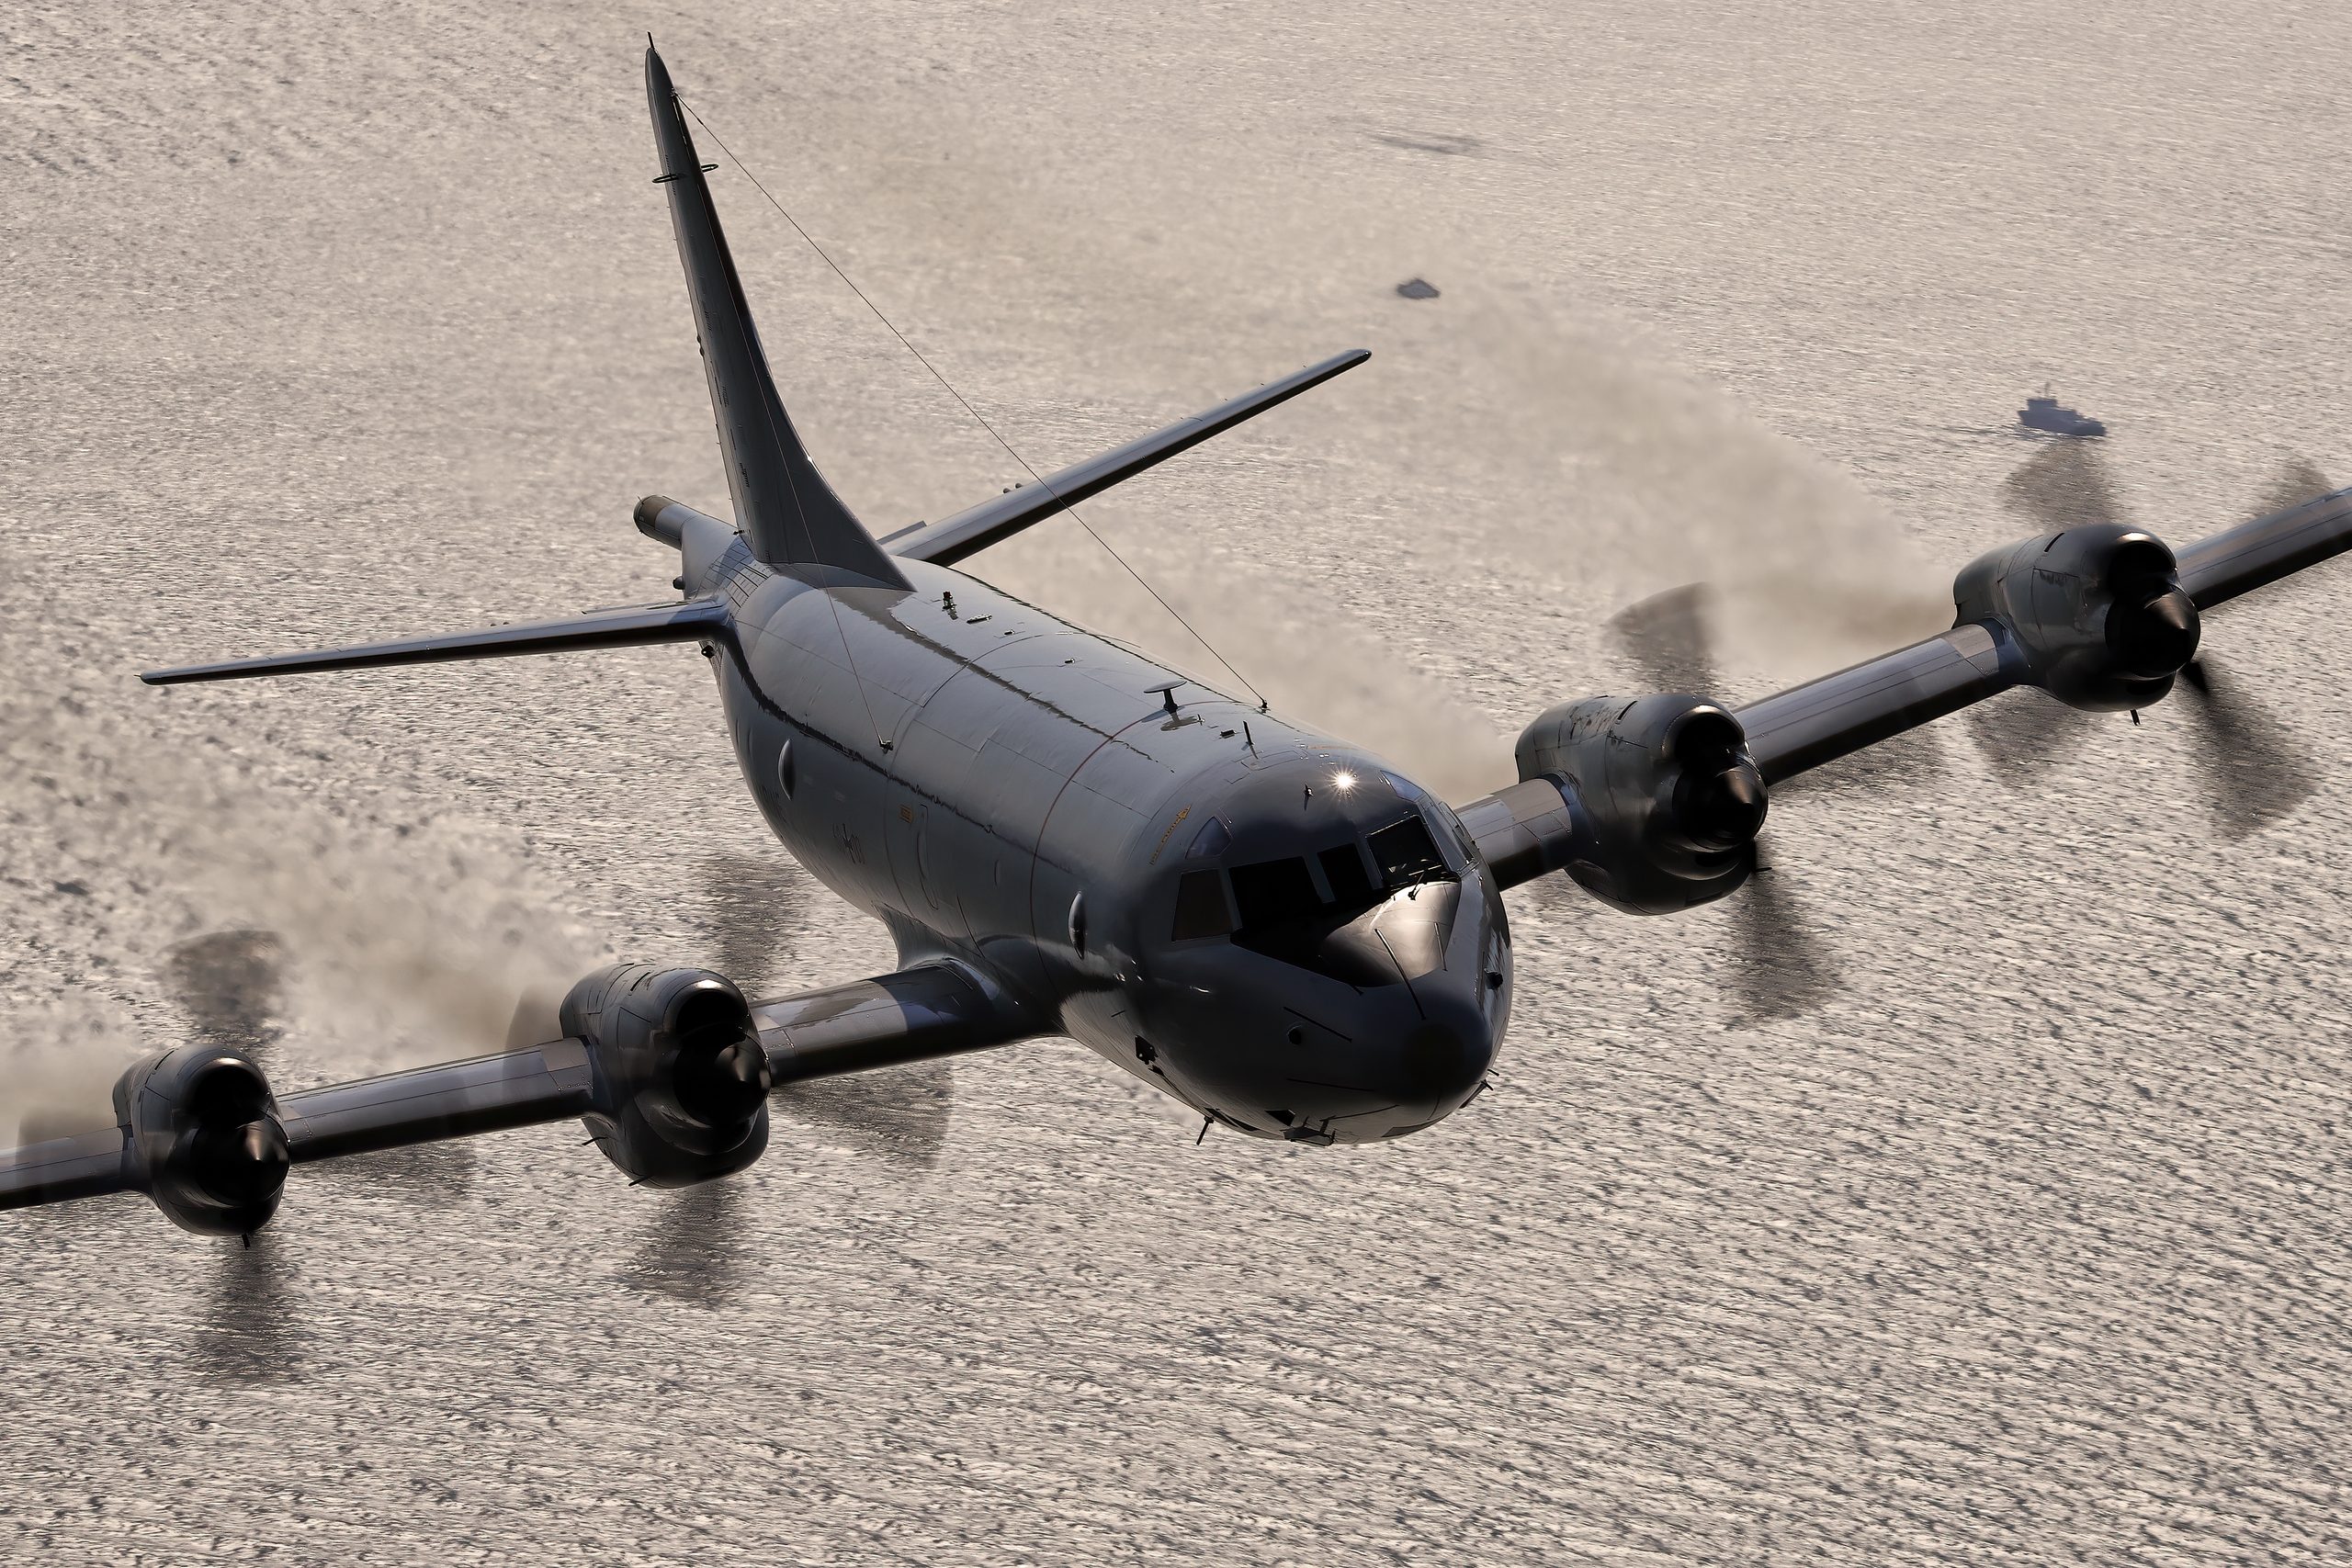
Heat haze deserves its own honest paragraph, because backlight makes it more visible, not less. Shimmer is refraction through mixing air of different temperatures, worst at long range, at low angles over tarmac, and at long focal lengths, and a low sun behind the subject lights up every ripple. You cannot process it away. Shoot earlier or later in the day, get closer, favour elevated positions that lift your sight line off the runway, and when it cannot be beaten, use it: a silhouetted jet dissolving into backlit shimmer with the burner cans glowing is a picture about heat, and it works precisely because of the haze. Our heat haze guide goes deeper on the physics and the tactics.
Twilight departures at working airports round out the scenario list. Summer evening banks put heavy aircraft rotating into the last of the western light, navigation lights and burner glow starting to register against the sky, and the fence-line locations that guides dismiss as backlit in the evening become exactly where you want to stand. The same discipline applies: expose for the sky, focus on the edge, let the airframe go dark, and keep shooting as the blue hour deepens, because the ten minutes when the sky holds colour but the ground lights have come on produce frames nothing else in the calendar can.
Post-processing: crush the blacks or recover them
Every backlit raw file arrives at the computer with the same question attached: recover or commit? The answer was largely decided at capture, and the histogram tells you which image you actually made. If you exposed for detail with the sky held just below clipping, you have latitude to work with: modern full-frame sensors are quoted by their makers at up to around fifteen stops of dynamic range, with Sony claiming fifteen for the A7 IV, though independent labs typically measure a stop or two less in practical terms. That is enough to lift a rim-lit airframe convincingly. But shadow recovery is not free. B&H’s guidance is blunt that even from raw, dragging the shadows up hurts image quality and adds noise, and anything that clipped to black at capture is simply gone. A lifted shadow never matches a correctly exposed one, which is why the recover-everything reflex produces those grey, glowing, faintly radioactive aircraft that populate photo forums.
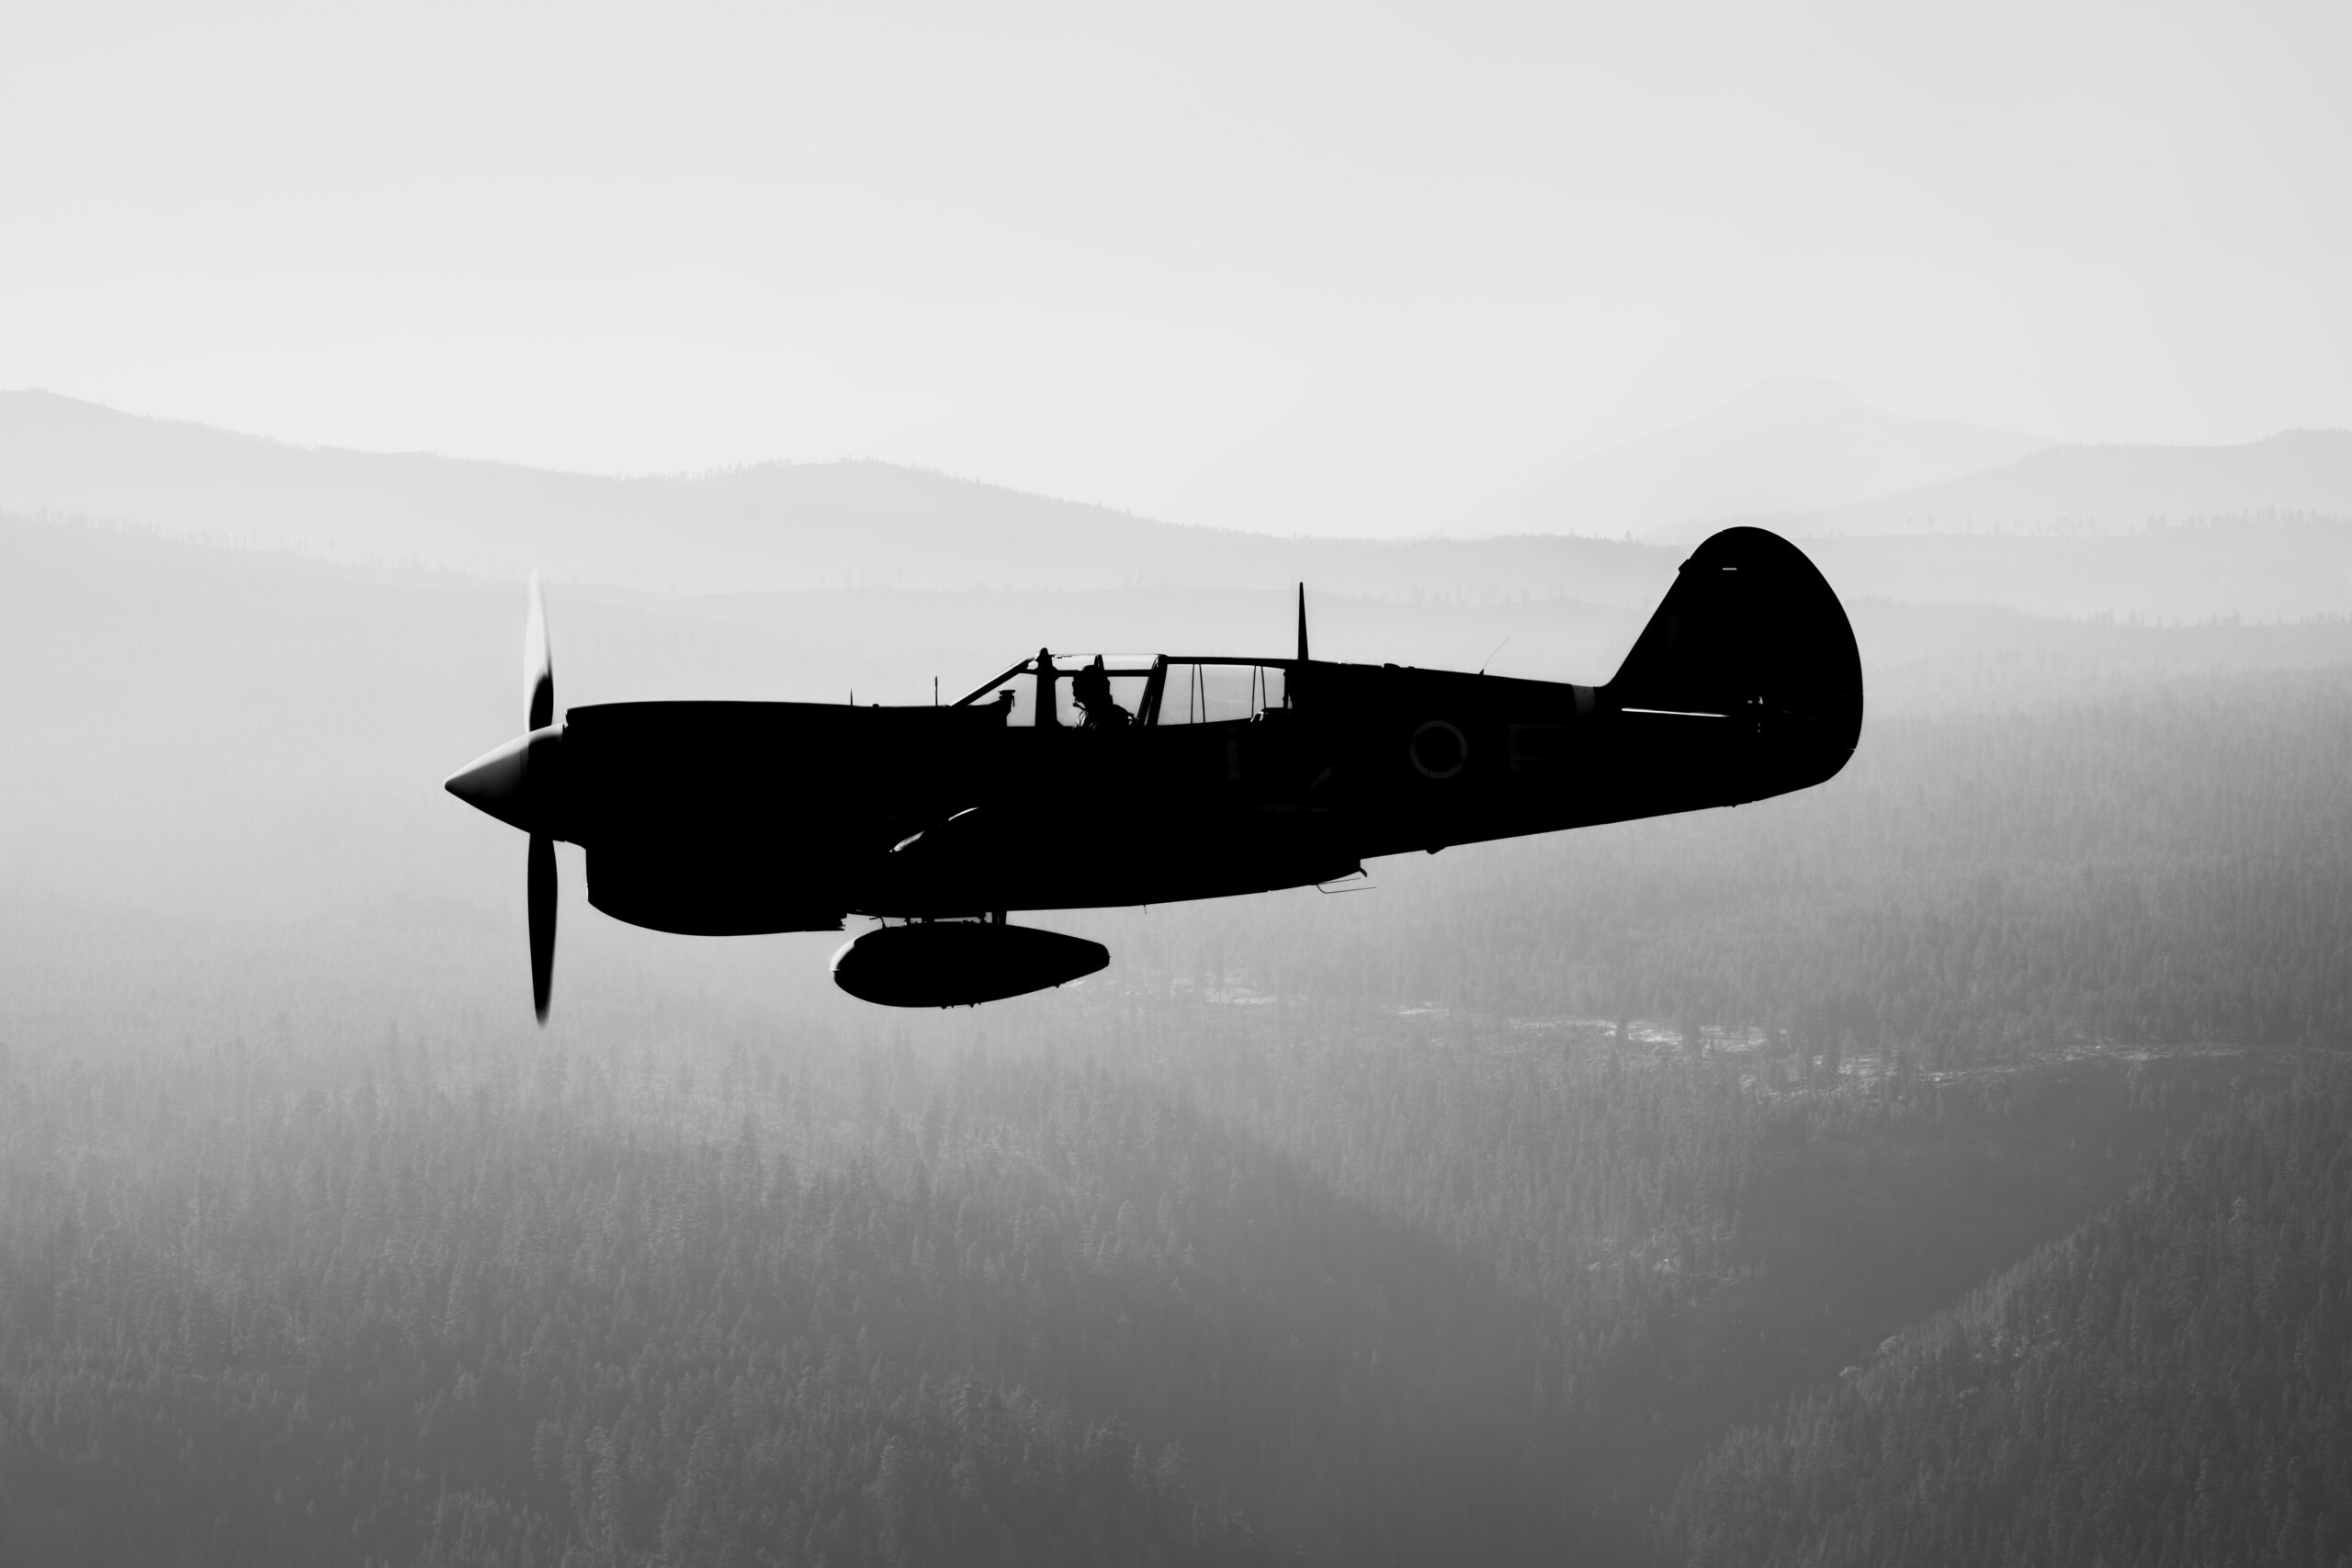
If the frame is a silhouette, process it like one. Set the black point so the airframe is really black, not a muddy charcoal; Adobe’s own silhouette tutorial says to check the histogram and make sure the blacks are really black. Build the sky with the tone curve and colour controls rather than the shadows slider. Lightroom’s masking tools, including subject and sky selection, let you treat the two halves of a silhouette independently, darkening the aircraft to solid black while holding the sunset exactly where you exposed it. Dehaze is the most backlight-relevant slider in the application and it works in both directions: pull it right to cut marine or heat haze and restore contrast, or push it left to add atmosphere back into a dusk frame that came out cleaner than it felt. White balance is a creative control here, not a correction; nudging a sunset silhouette warmer is legitimate interpretation of light that was really warm.
Keep the workflow honest. Silhouettes tolerate strong contrast moves, but the moment you start compositing skies or repainting colour wholesale you have left photography for illustration, which matters if your images are destined for editorial licensing. Everything in our Lightroom workflow guide about raw fundamentals applies here; the silhouette-specific difference is only where you send the blacks. When the work is done, the proof is simple: does the frame read instantly at thumbnail size? A good aviation silhouette survives being shrunk to an icon, because shape is all it ever needed. You can see how these frames hold up across the Piemags aviation galleries, and if you want to use one, our licensing page explains how that works.
West-facing seafronts such as Southport and Blackpool are back-lit for much of the flying window by geography rather than by choice. The guide to seafront airshow photography sets out which UK venues face which way.
Some places make this compulsory. At Duxford the crowd line looks out along about 148 degrees, so the sun sits close to the display line through the late morning and every frame in that window is a backlit one. Our photographer’s guide to IWM Duxford gives the exact times.
Frequently asked questions
Why do my airshow photos come out as silhouettes when I do not want them to?
Your meter renders the scene as a mid tone, and a bright sky dominates the reading, so the camera underexposes the aircraft. Add positive exposure compensation, often plus one stop or more against a white sky, or spot-meter the airframe itself. On a mirrorless body the viewfinder shows the problem before you shoot.
What exposure compensation should I use for a deliberate aircraft silhouette?
There is no fixed figure. Canon’s guidance is that around minus one stop handles most dark-subject situations, and you deepen from there until the sky is correctly exposed and the airframe goes black. Watch the histogram: protect the sky highlights and let the blacks clip. Most current bodies offer up to five stops of compensation in third-stop steps.
Should I use spot or evaluative metering for backlit aircraft?
Evaluative metering tries to detect and correct backlighting itself, which makes results unpredictable when you add compensation on top. Spot or partial metering plus compensation gives you full control: meter the sky for a silhouette or the aircraft for detail. Nikon’s highlight-weighted mode is a third option that protects bright skies automatically.
What camera settings work for sunset airshow photography?
Manual mode, or aperture priority with negative compensation. Shutter speed still comes from the subject: 1/1000s or faster for jets, 1/250s or slower for props to keep blur in the blades, with ISO rising as the light falls. Expose for the sky, switch off Active D-Lighting or the Auto Lighting Optimizer, and bracket when you can.
How do I focus on a backlit aircraft that is nearly black in the frame?
Autofocus can hunt on a low-contrast dark shape, so place the AF point on the aircraft’s edge where it meets the bright sky, which is the highest-contrast line in the frame. Continuous AF generally holds once acquired. If it still hunts, focus manually or pre-focus on the display line.
Will pointing my camera at the sun damage the sensor?
It can. Nikon’s official guidance is not to leave a lens pointed at the sun, because focused sunlight can degrade the sensor or leave white-blur artefacts, and lens manuals warn it can damage internal parts. Long telephotos concentrate the light further, so keep the sun out of frame or occluded, work fast, and cap the lens between passes.
Is it safe to look at the sun through my viewfinder?
Through an optical viewfinder or the lens directly, no. Camera and lens manuals warn of permanent visual impairment, and clinicians call the injury solar retinopathy. An electronic viewfinder shows you a screen rather than direct light, so your eye is protected, though the sensor is still exposed. Never track an aircraft across the sun with a DSLR.
How do I reduce flare and ghosting when shooting into the sun?
Flare comes from light reflecting between lens element surfaces. Fit the hood, remove protective filters, keep the front element clean, and shift your angle so the sun sits behind the aircraft or just outside the frame. Modern coatings such as Canon SWC and ASC, Nikon Nano Crystal and ARNEO, and Sony Nano AR II are designed to suppress exactly this, and primes generally flare less than zooms.
When is the best light for silhouettes at UK airshows?
The hour either side of sunset, which in practice means evening events: Shuttleworth’s evening shows and Flying Proms, IWM Duxford’s Flying Evenings and after-hours photography nights, and seafront shows where the crowd faces the water. Duxford’s display axis sits south of the crowd line, so late-day flying there is naturally backlit.
Is RIAT good or bad for backlit photography?
The main crowd line at Fairford is on the south side facing north, so displays are front-lit for most of the day, which is excellent for conventional shots and poor for silhouettes. The backlit opportunities come on arrivals and departure days from the northern and western viewing spots, which spotting guides note are backlit on summer mornings and evenings. RIAT 2026 was cancelled; the show returns in July 2027.
Can I recover a silhouette in Lightroom instead of exposing for it?
Only up to a point. Raw files hold useful shadow latitude, but heavy shadow lifts add noise and flatten colour, and anything clipped to pure black is unrecoverable. Decide at capture, bracket if unsure, and use masking to balance sky and subject. If the shape is strong, commit to true black rather than a muddy half-recovery.
What is the difference between a perfect and a partial silhouette?
A perfect silhouette renders the subject fully black, so the outline carries everything. A partial silhouette keeps a sliver of light or detail, such as sun glinting off a canopy or a rim-lit wing edge, and feels more three-dimensional. Both are valid pictures; they need different exposures, so decide which you are making before the pass.
Back-lit frames and silhouettes are natural candidates for mono, so pair this with our guide to black and white aviation photography.
