Back-button focus moves autofocus activation off the shutter release and onto a button under your right thumb, usually the one marked AF-ON, so that focusing and firing the shutter become two separate decisions. For aviation photographers that separation is worth more than almost any other custom setting on the camera. It lets you track a displaying jet with continuous AF one second, lock focus and recompose on a static the next, and prefocus on a crowd line or runway threshold without the camera trying to refocus every time you press the shutter. This guide explains what back-button focus is, where it came from, why it suits airshows, spotting and air-to-air work so well, and exactly how to set it up on current Canon, Nikon, Sony, Fujifilm and OM System bodies, using each manufacturer’s own setting names throughout.
What this guide covers
- What back-button focus is
- Where back-button focus came from
- Why it matters in aviation photography
- Setting up back-button focus by system
- Back-button focus at a glance
- Back-button focus and subject detection
- Drills to make it instinctive
- Common mistakes and when to leave it off
- Frequently asked questions
What back-button focus is
On a factory-fresh camera, a half-press of the shutter button does three jobs at once: it wakes the meter, starts autofocus and arms the release. Press a little further and the shutter fires. Back-button focus, often shortened to BBF, breaks that bundle apart. You tell the camera that the shutter button should only meter and fire, and that autofocus should start only when you press a separate button on the rear of the body. On almost every current camera aimed at enthusiasts and professionals, that button already exists and is labelled AF-ON, sitting exactly where your right thumb naturally rests.
Once configured, the logic is simple. Thumb down, the camera focuses. Thumb held down in continuous AF, the camera keeps focusing, tracking whatever is under the active AF area. Thumb lifted, focus stays where it was left, and no amount of stabbing at the shutter button will shift it. The shutter button becomes a pure trigger. You can fire one frame or a long burst at any moment, with focus either actively tracking or deliberately parked, and the camera never second-guesses you.
The practical consequence is that one camera setup covers jobs that normally need two or three different AF configurations. With the camera left in continuous AF (AI Servo on Canon, AF-C on Nikon, Sony, Fujifilm and OM System), holding the button gives you full tracking behaviour for a fast jet, while a short press and release behaves exactly like single-shot AF with focus lock for a parked aircraft. You no longer need to flick between One Shot and Servo, or AF-S and AF-C, in the middle of a display. That is the whole trick, and it is why so many working sports, wildlife and aviation photographers refuse to give it up.
There is nothing exotic about the feature. It is free, it is buried in the custom function menus of every current interchangeable-lens camera from the major brands, and it takes two minutes to enable. The cost is a week or two of retraining your hands, which is exactly what the drills later in this guide are for.
Where back-button focus came from
Separating AF activation from the shutter release is nearly as old as usable autofocus itself. Canon states that it was the first camera maker to offer the feature, introducing it in 1989 on the EOS 630, a 35mm film SLR sold in Europe as the EOS 600, with the professional EOS-1 following the same year. On those bodies it was implemented as a Custom Function that shifted AF start to a rear button, because early continuous AF systems could be thrown off by anything momentarily crossing the frame, and press photographers wanted focus to stay put while they kept shooting.
Dedicated hardware followed. Nikon’s flagship F5 of 1996 carried AF start buttons on the rear of the body, including one positioned for vertical shooting, which activated autofocus independently of the shutter release. Canon added its first button actually labelled AF-ON with the EOS-1D Mark III in 2007, and the control quickly spread to the EOS 40D and onwards through the range. What began as a niche custom function for agency shooters gradually became standard equipment, to the point where a missing AF-ON button on a mid-range body is now treated as a talking point in reviews.
The reason the technique survived every generation of autofocus improvement is that it solves a control problem rather than a performance problem. Autofocus has become astonishingly good at acquiring and tracking subjects. It still cannot read your mind. Only you know whether, at this instant, you want the camera to refocus or to leave focus exactly where it is. Putting that decision under a dedicated thumb button is the most direct interface anyone has yet designed for it.
It is worth being clear about what back-button focus is not. It does not make autofocus faster, it does not improve tracking algorithms, and on its own it will not rescue soft images caused by poor shutter speed discipline or bad panning technique. What it does is remove an entire category of missed shots: the ones where the camera refocused when you did not want it to, or would not fire because it was still hunting when the moment arrived.
Why it matters in aviation photography
Aviation photography is unusually hard on autofocus habits because a single day mixes wildly different subjects. At a typical airshow you might photograph fast jets pulling vapour at 400 knots, a slow piston warbird, a formation team crossing in front of pyrotechnics, and a line of parked statics, all within an hour. Each of those wants a different focusing behaviour, and back-button focus is the one setup that handles them all without a trip into the menus. If you are still building your overall airshow configuration, our airshow camera settings and autofocus guide covers the wider picture; this section is about where the thumb button specifically earns its keep.
Tracking the display, then shooting the statics
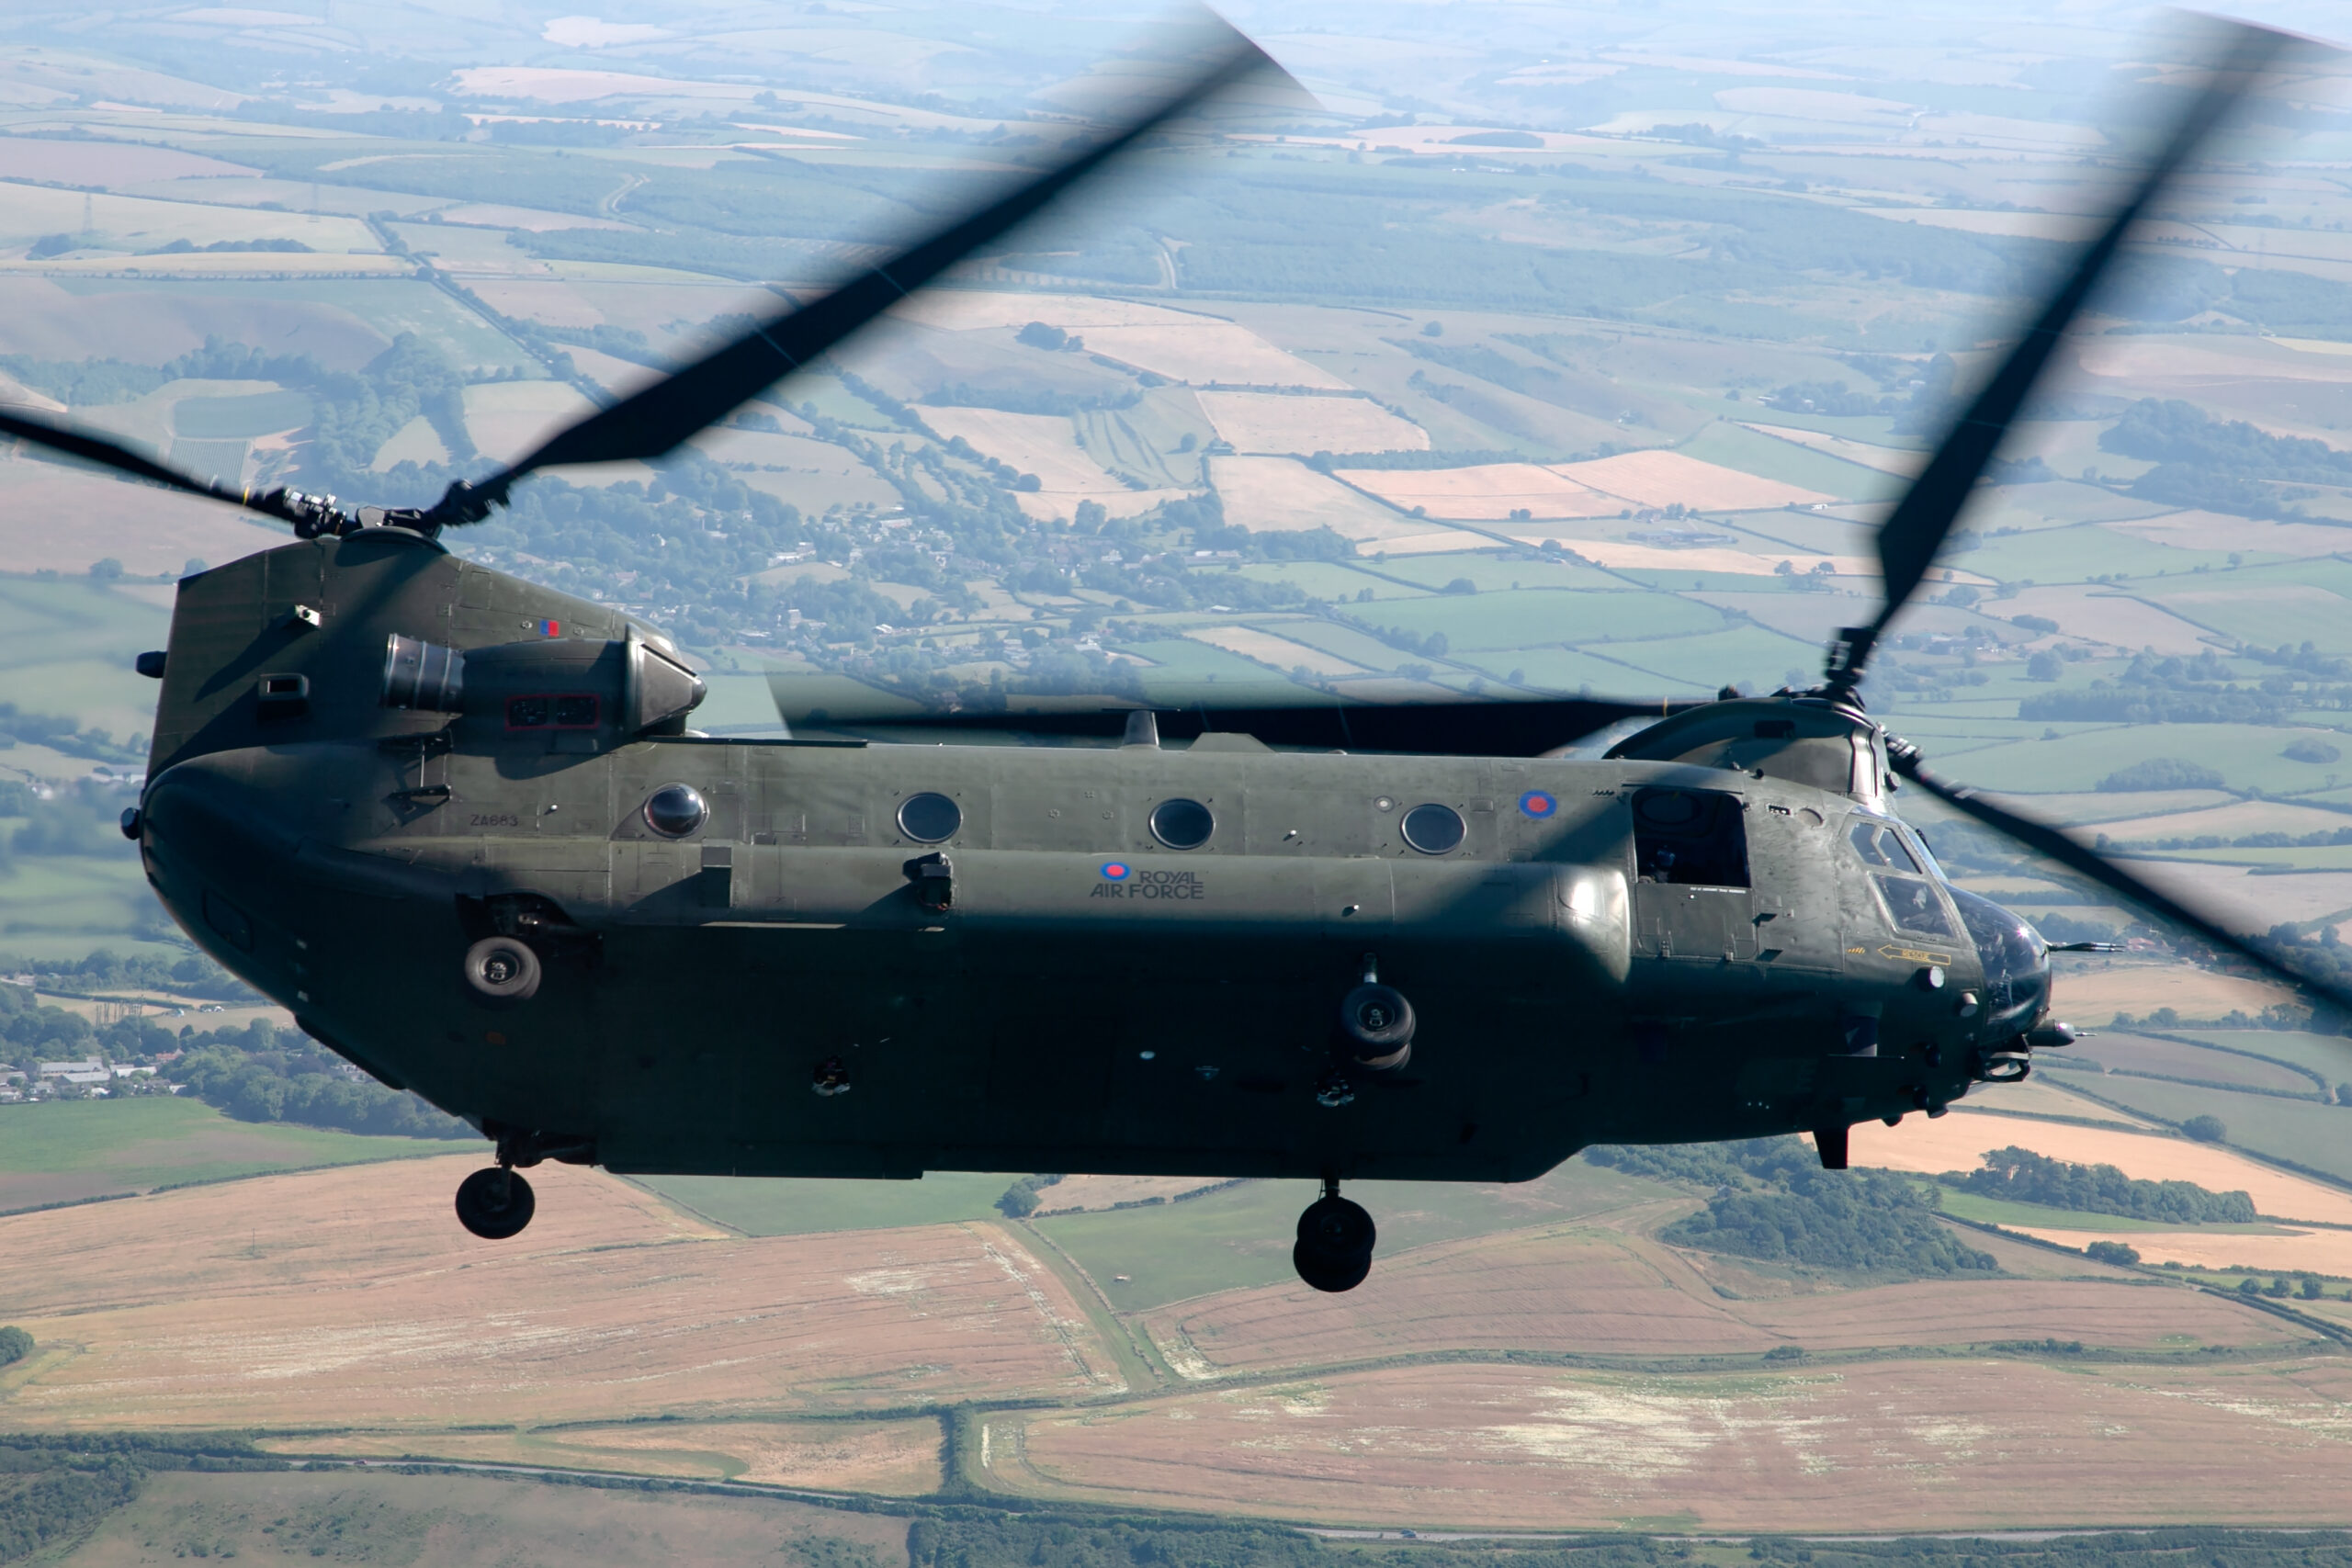
The classic airshow problem is switching between a displaying aircraft and everything else. With shutter-button AF in continuous mode, every frame of a static aircraft risks the camera refocusing on the barrier, a wing walker’s rope line or a spectator’s head. Switch to single-shot AF for the statics and you will inevitably still be in it when the next display gets airborne. With BBF you stay in continuous AF all day. Hold the thumb button to track the Typhoon through its display, release it, focus once on the static Spitfire, lift your thumb and recompose as many frames as you like with focus locked. Nothing to change, nothing to forget.
Prefocusing on a display line or runway
Displays are flown on predictable lines. If you know the fast pass will come down the crowd line at a fixed distance, you can focus on a point along that line, lift your thumb and wait, with the shutter button live the whole time. When the aircraft arrives you fire immediately, with no acquisition delay, then press the button to pick up tracking as it passes. The same applies at the runway threshold when spotting: focus on the numbers or a taxiway sign at the same distance as the touchdown zone, park the focus and shoot arrivals without the AF system ever hunting into an empty sky.
Holding focus through smoke and pyro
Smoke systems, flares and airshow pyrotechnics are exactly the sort of high-contrast clutter that grabs autofocus. When a jet disappears behind its own smoke trail for half a second, a shutter-linked AF system will often lunge at the smoke, and you lose the frames on the far side. With BBF you have a choice you otherwise do not have: lift your thumb just before the aircraft enters the smoke, keep firing with focus held at the aircraft’s distance, and press again as it emerges. At typical display distances with a long lens, depth of field comfortably covers the aircraft’s movement during that moment.
Panning props and slow passes
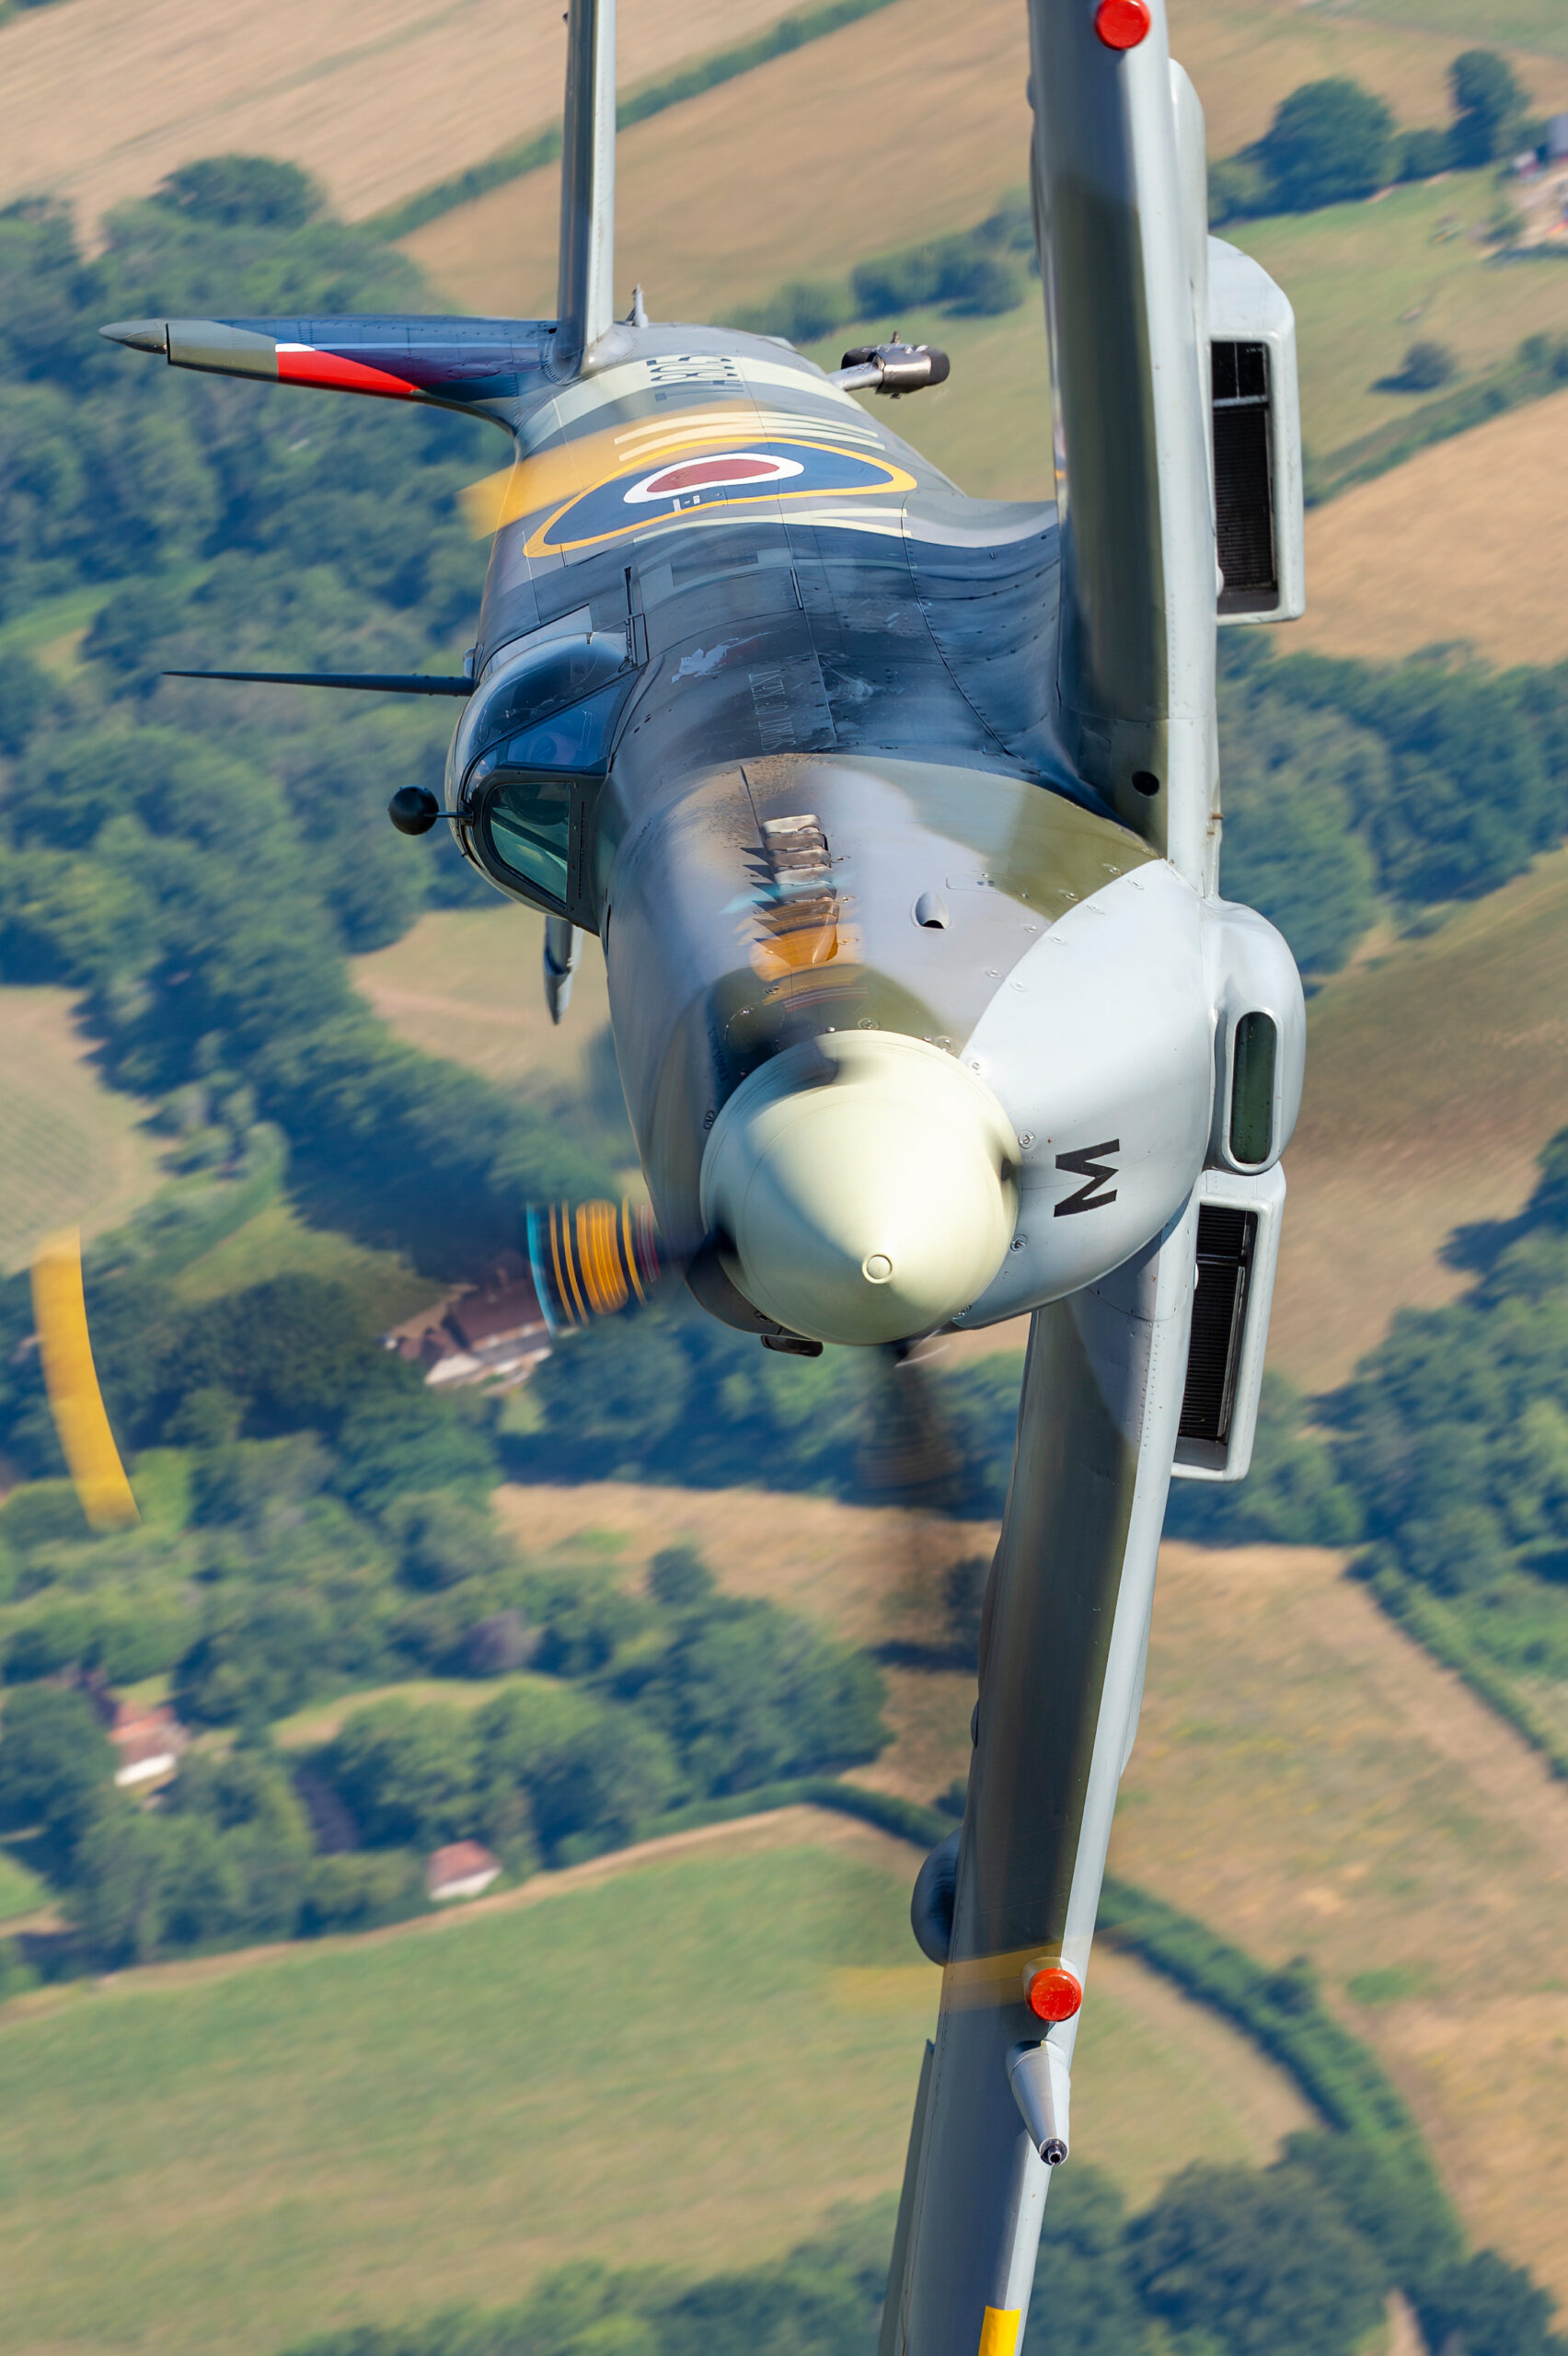
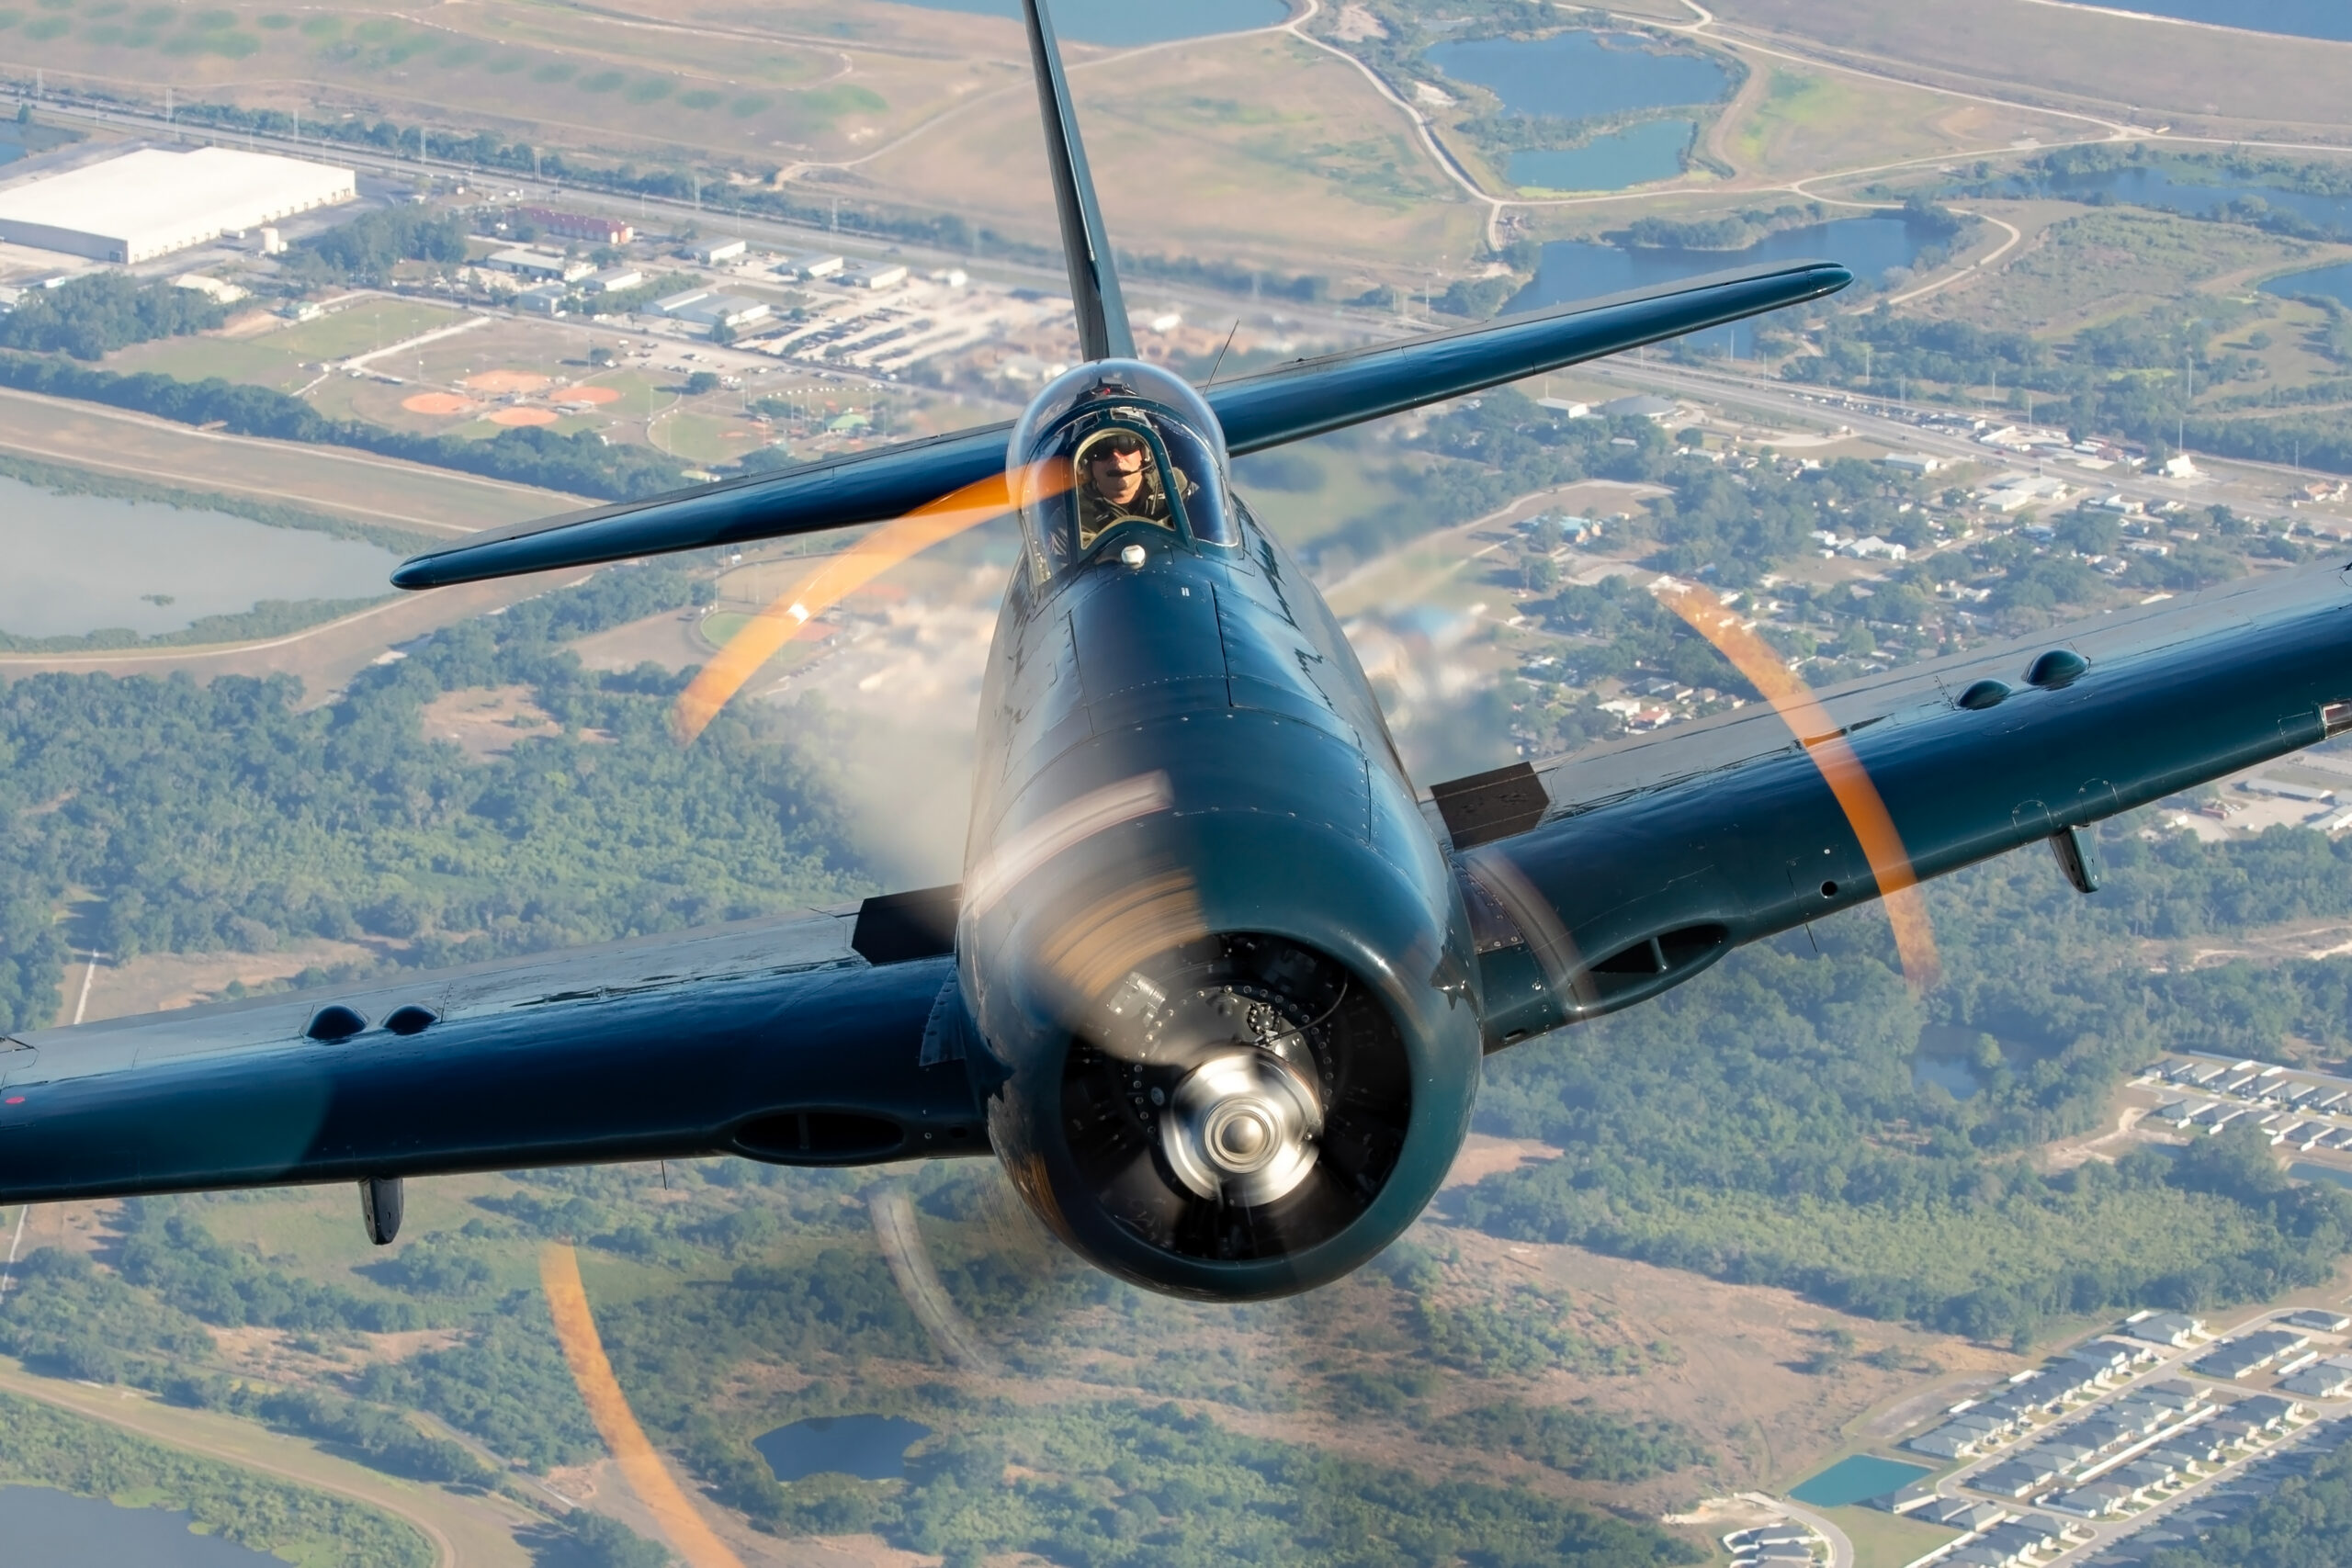
Propeller aircraft demand slow shutter speeds, often 1/125s or lower, to keep the disc blurred, and that means long smooth pans. Refocusing is not the hard part; keeping the pan smooth is. Holding a thumb button while panning is mechanically steadier than modulating a half-press with your index finger, because the thumb presses back against the pressure of your palm rather than adding a downward stab to the release finger. Many photographers find their keeper rate at slow shutter speeds improves simply because the release finger now does only one delicate job. Pair the technique with good support habits from our guide to handholding a long lens and slow-speed prop work becomes far more consistent.
Formation and head-on passes
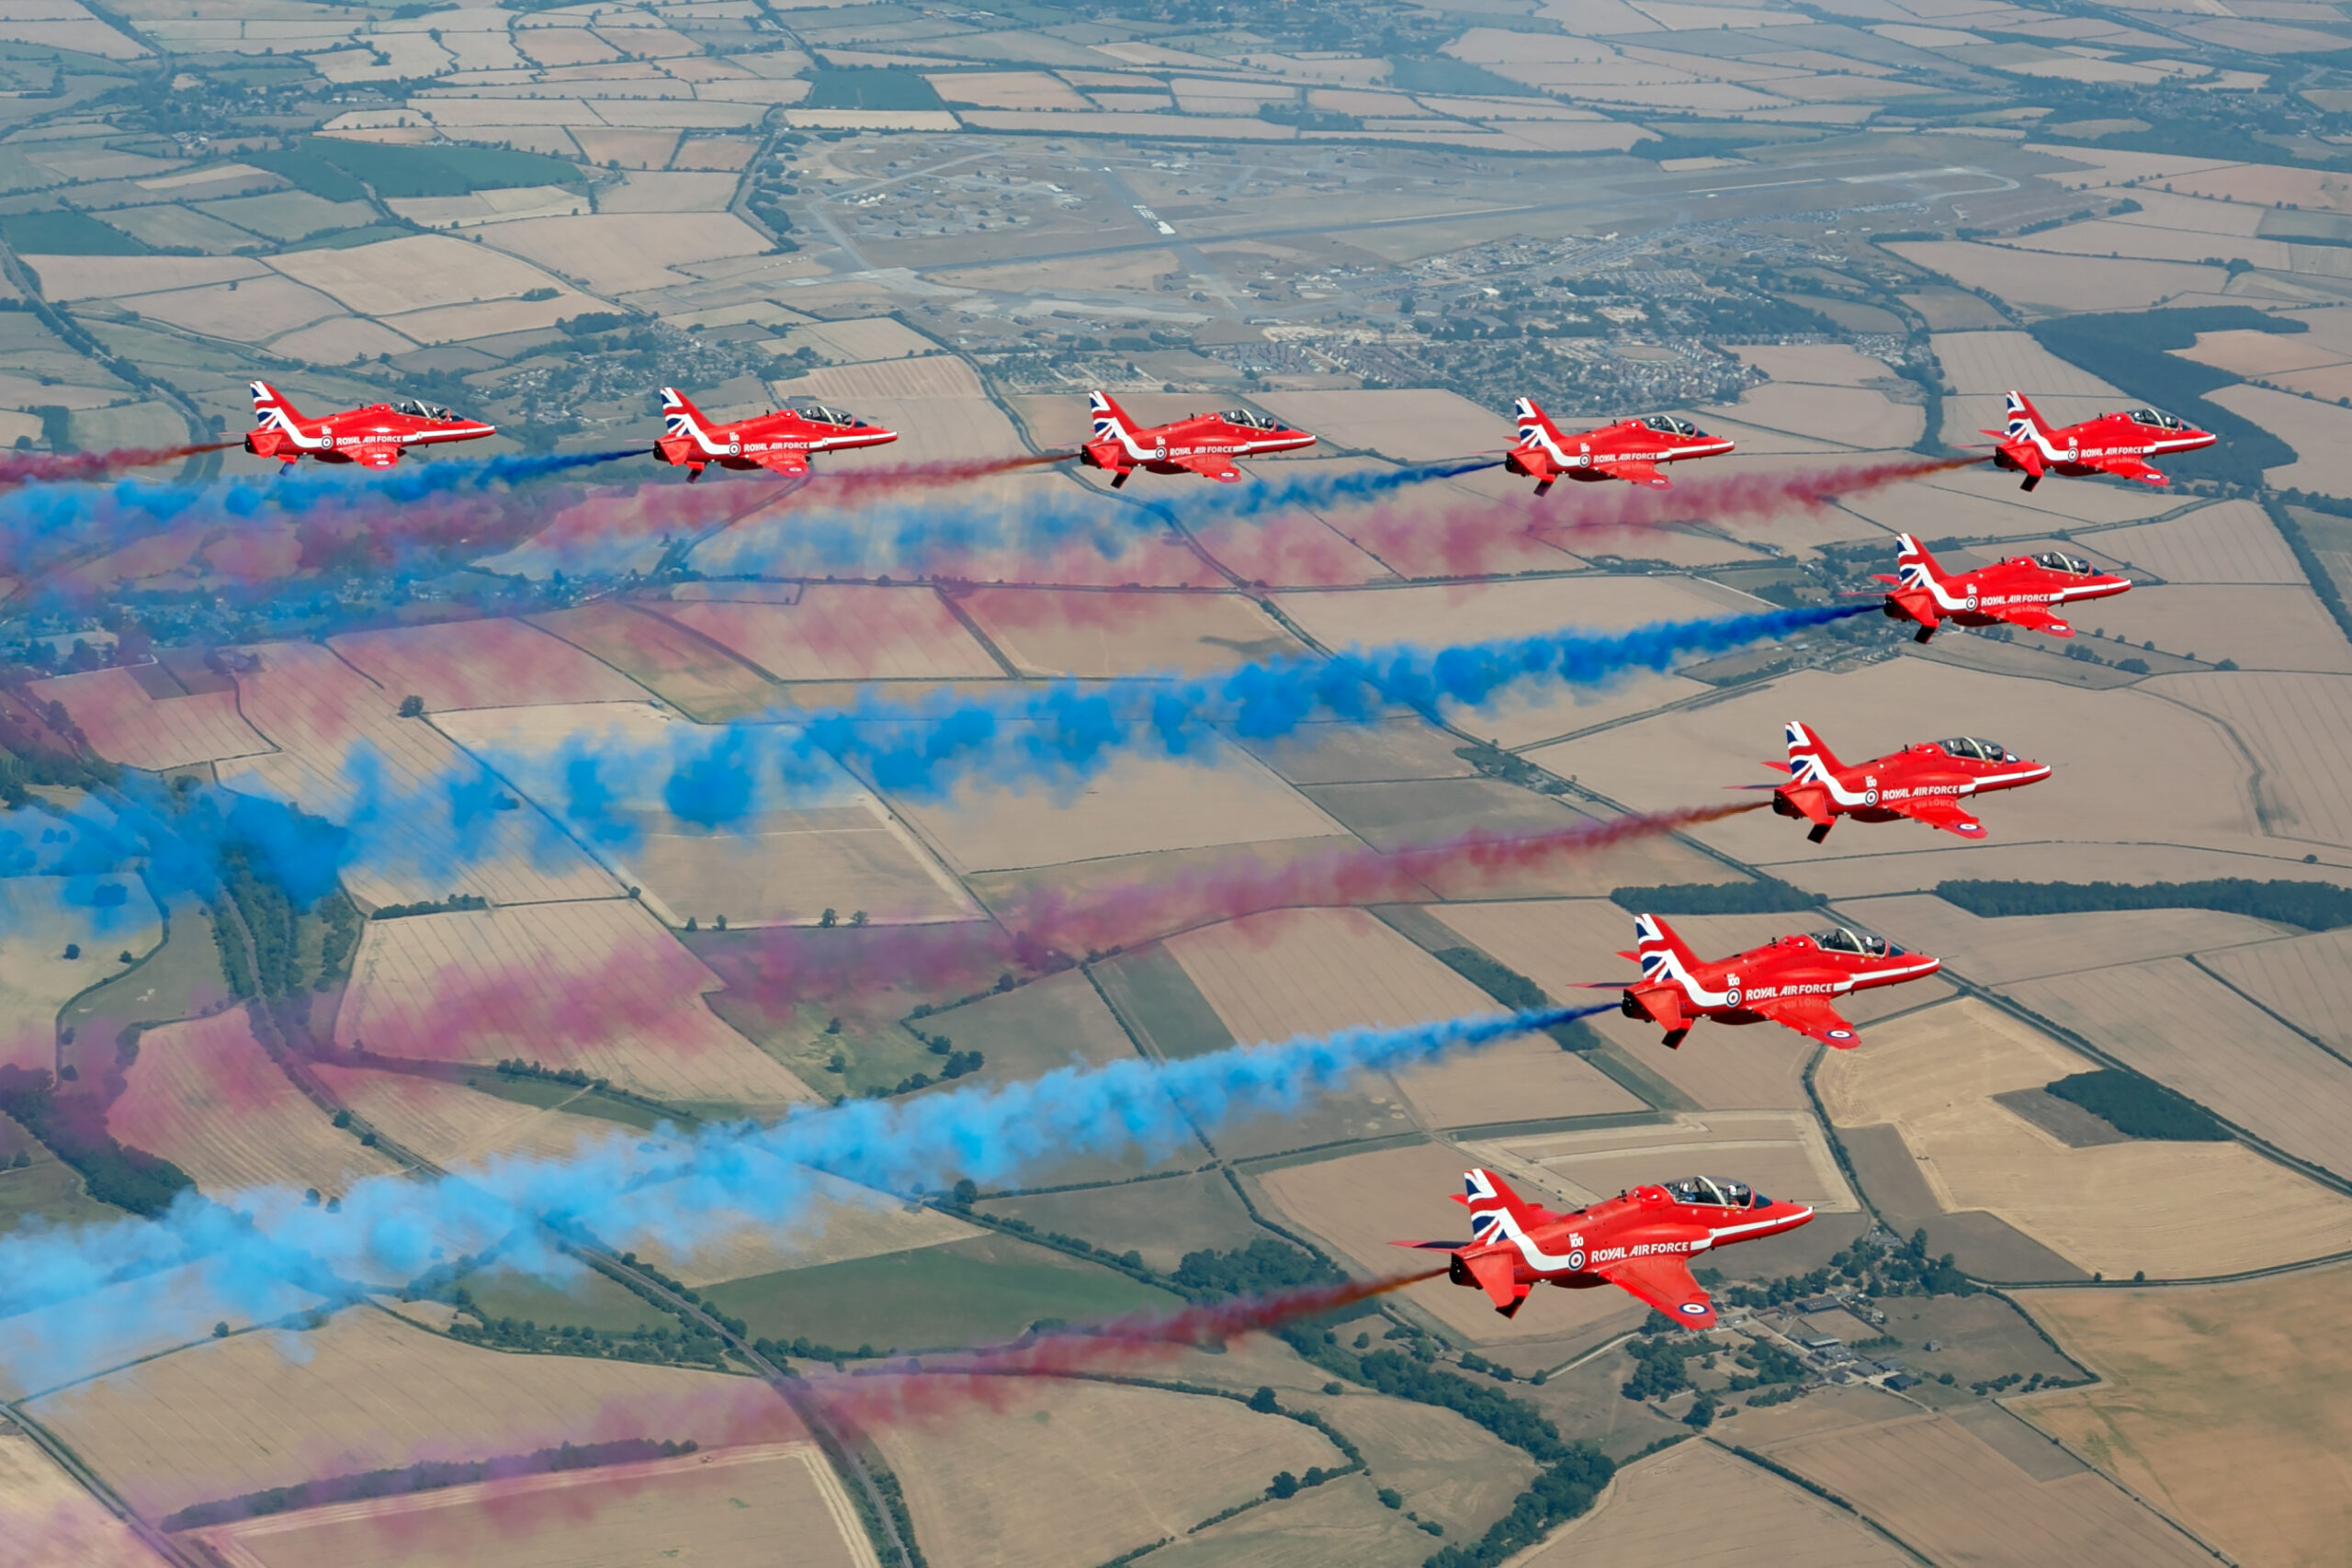
Formation work punishes indecisive autofocus. In a nine-ship formation the AF system has a dozen plausible targets, and during a crossing break it has several moving in opposite directions. With BBF you can track the lead aircraft, release the button as the formation crosses so focus holds on the set-piece distance, and resume tracking once the elements separate. Head-on passes are the other stress case: closure rates are enormous and an AF area that slips off the airframe for even a moment can send the lens racing to the background. Holding focus through the wobble, rather than letting the camera restart acquisition, saves those frames. There is more on positioning and timing in our guide to photographing formation flying.
When the aircraft leaves the AF area
Every aviation photographer has had a fast jet outrun the frame. You are tracking hard, the subject clips the edge of the AF coverage, and shutter-linked AF instantly refocuses on cloud or the far treeline. Recovering takes a second you do not have. With BBF the failure mode is benign: lift your thumb the instant you lose the aircraft, and focus simply stays near the right distance, so when you re-find the subject the lens is already close and reacquisition is nearly instant. This single behaviour is the biggest practical difference in photographing fast jets, where display lines regularly out-accelerate your pan.
Air-to-air sorties
On an air-to-air shoot the subject sits at a briefed, almost constant distance, but the frame is full of distractions: the camera ship’s window frame, prop disc or door edge, plus cloud layers beyond. Focus once on the subject aircraft, lift your thumb, and shoot compositions freely without the AF system wandering onto the airframe you are shooting from. When the subject repositions, one press updates focus. It is the recompose workflow of a portrait shooter, applied at 120 knots.
Setting up back-button focus by system
The recipe is the same on every brand: remove AF start from the shutter button, confirm the rear button starts AF, and leave the camera in continuous AF. The setting names below are the manufacturers’ own, verified against their current documentation. Menu positions can shift slightly between firmware versions, but the setting names are stable, so if in doubt use the camera’s menu search or the named setting in the index of the official reference guide.
Canon EOS R series (R5, R5 Mark II, R7)
All three bodies carry a dedicated AF-ON button, and Canon handles BBF entirely through button assignment rather than a single on-off switch. Open the menu, go to the orange Custom Functions tab and choose Customize buttons. Select the shutter button entry and change its half-press assignment from [Metering and AF start] to [Metering start]. Then check the AF-ON button is set to [Metering and AF start], which it is by default. That is the whole conversion: half-press now meters only, and the thumb button drives AF. Set AF operation to Servo AF so a held button tracks and a released button locks.
Canon’s Customize buttons screen also allows detail settings on AF assignments, so a second rear button, commonly the AE lock button marked with an asterisk, can start AF with a different AF area from the one AF-ON uses. Canon additionally offers a function named [Switch to registered AF func.], which temporarily swaps to a pre-registered combination of AF settings, such as a different AF area and tracking behaviour, for as long as you hold the assigned button. Registered on a spare button, it gives you an instant escape hatch, for example from a small tracking zone to whole-area AF when a display gets unpredictable.
Nikon Z series (Z8, Z9, Z6 III)
Nikon gives you a purpose-built switch. In the Custom Settings menu (the pencil icon), go to the a group, Focus, and open [AF activation]. On the Z8 and Z9 this is Custom Setting a6. Change it from [Shutter/AF-ON] to [AF-ON only]. From that point the camera will not focus on a half-press; only the AF-ON button, or any control assigned to AF-ON, starts autofocus. Inside the [AF-ON only] setting there is a sub-option called [Out-of-focus release]; leave it enabled so the shutter fires whenever you press it, whether or not the camera judges the subject in focus, which is exactly the behaviour you want for prefocused passes.
Button assignment lives in the f group under Custom controls, where the AF-ON function can also be duplicated onto other buttons, and Nikon supports combined assignments such as [AF-area mode + AF-ON], which switches to a chosen AF-area mode and starts AF while the button is held. For a bigger jump, [Recall shooting functions (hold)] recalls a saved bundle of exposure and focus settings while held, which airshow shooters use as a one-button switch from slow-shutter prop settings to fast-jet settings. Keep the focus mode in AF-C, and the held button tracks while a release locks focus.
Sony Alpha (A1, A9 III, A7 IV)
Sony splits BBF into the same two halves. First, in the Focus menu under AF/MF, set [AF w/ Shutter] to [Off]. Sony’s own description of the setting is the definition of BBF in miniature: select Off to adjust the focus and the exposure separately. Second, confirm the rear AF-ON button is assigned to [AF On], which is the default; reassignment, if you want AF on a different control, is done through [Custom Key/Dial Set.] in the Setup menu’s Operation Customize section. Leave the focus mode on AF-C and the behaviour matches the other brands: hold to track, release to lock.
Sony’s hybrid option is [Reg. Custom Shoot Set], which registers a package of settings, including focus mode, focus area, shutter speed and aperture, and recalls it while you hold a custom key assigned to [Recall Custom hold 1] to [Recall Custom hold 3]. In practice that means your thumb runs normal tracking AF while one finger can summon, for instance, a wide focus area with faster shutter speed for an unexpected break, then everything reverts the instant you let go.
Fujifilm X and OM System
Fujifilm’s route on the X-H2S and X-T5, both of which have a rear AF-ON button, is through the SET UP menu: open BUTTON/DIAL SETTING, select SHUTTER AF and switch it off, which stops the shutter button starting autofocus. On bodies or setups without a convenient AF-ON control, the FUNCTION (Fn) SETTING screen in the same menu assigns AF-ON to another rear button such as AE-L. Fujifilm also documents a second method: leave the camera in manual focus mode with INSTANT AF SETTING chosen (AF-S or AF-C), and the rear button then fires a burst of autofocus on demand while the focus ring remains live for corrections, a setup some prop shooters prefer for statics and slow subjects.
The OM System OM-1 has a dedicated AF-ON button on the rear, and its AF menu includes a setting that controls whether a half-press of the shutter button starts autofocus, with the behaviour configurable separately for S-AF and C-AF; disable half-press AF and the AF-ON button takes over. OM System’s own learning resources cover back-button focusing as a supported technique, and the company’s Pro Capture mode pairs unusually well with it, since a prefocused, thumb-parked camera can buffer frames before the moment you fully commit.
Back-button focus at a glance
The table below condenses the verified setup for each system. Every setting name is the manufacturer’s official wording; menu locations are given broadly because they can move a little between models and firmware versions within a system.
| System | Example bodies | Remove AF from shutter | AF start button | Hold-to-switch AF feature |
|---|---|---|---|---|
| Canon EOS R | R5, R5 Mark II, R7 | Customize buttons: shutter half-press to [Metering start] | AF-ON, assigned [Metering and AF start] (default) | [Switch to registered AF func.] |
| Nikon Z | Z8, Z9, Z6 III | Custom Setting a6 [AF activation] to [AF-ON only] | AF-ON (assignable via Custom controls) | [Recall shooting functions (hold)], [AF-area mode + AF-ON] |
| Sony Alpha | A1, A9 III, A7 IV | [AF w/ Shutter] to [Off] (Focus menu, AF/MF) | AF-ON, assigned [AF On] (default) | [Recall Custom hold 1-3] via [Reg. Custom Shoot Set] |
| Fujifilm X | X-H2S, X-T5 | BUTTON/DIAL SETTING: SHUTTER AF to OFF | AF-ON, or a button assigned AF-ON via FUNCTION (Fn) SETTING | Not offered as a single hold-to-recall AF function |
| OM System | OM-1 | Disable half-press AF in the AF menu (set separately for S-AF and C-AF) | AF-ON | Custom shooting modes on the mode dial rather than a hold function |
Two general points apply across every row. First, leave the camera in continuous AF; the entire benefit of BBF is that a held button tracks and a released button locks, and that only works in AF-C or Servo. Second, check what your half-press still does. On most bodies it continues to run metering and, importantly, keeps image stabilisation active, so your viewfinder stays steady while your thumb is off the button.
Back-button focus and subject detection
The obvious question in 2026 is whether machine-learning subject detection has made back-button focus redundant. Modern bodies can recognise aircraft specifically: Nikon’s Z8 and Z9 include an Airplanes option among their AF subject detection choices, and Sony bodies with the dedicated AI processing unit, such as the A9 III, A7R V and A1 II, offer [Airplane] as a recognition target that identifies the airframe and favours the nose or cockpit area. Canon’s R-series bodies apply vehicle-priority subject detection alongside people and animals. When these systems lock on, they are remarkably sticky, and it is fair to ask what a thumb button still adds.
The answer is that subject detection changes what the AF system does while it is active; back-button focus decides when it is active at all. Detection does not know that you want to hold focus on the display line before the aircraft appears, because there is no aircraft to detect yet. It cannot know that the smoke-obscured blur you are panning through should be ignored rather than reacquired, or that at this moment you would rather keep focus on the lead ship than the wingman the algorithm finds more confident. And on the statics, detection modes cheerfully find the aircraft behind the one you are composing against. BBF is the veto. Detection drives superbly while your thumb is down, and stops instantly when it is up.
The two systems are therefore complements, not rivals, and the manufacturers have effectively endorsed the combination by building hybrid controls around it. Canon’s [Switch to registered AF func.], Nikon’s [AF-area mode + AF-ON] and [Recall shooting functions (hold)], and Sony’s [Recall Custom hold] all assume a photographer who runs one AF behaviour on the thumb and summons a different one, often a wider area with subject detection given freer rein, on a second button. A common aviation configuration is exactly that: AF-ON drives a modest tracking zone for discipline on formations and statics, while a second button momentarily opens up whole-area detection for a solo display against clean sky.
Updated July 2026: every current flagship and enthusiast body from the five brands covered here ships with a dedicated AF-ON button and the settings named above, so nothing about the core technique has changed with recent releases. The refinements have come around it: Nikon’s Z8 and Z9 carry the dedicated Airplanes subject detection option, Sony’s AI-processor bodies, including the A1 II, offer the [Airplane] recognition target plus an automatic recognition mode that picks the subject type itself, and Canon’s R5 Mark II adds Eye Control AF for steering the initial AF point by looking at it, which pairs naturally with a thumb button that decides when that point is acted on. None of these features replaces the hold-to-focus, release-to-lock logic; all of them are more controllable with it.
Drills to make it instinctive
The failure mode of back-button focus is not the setup, it is the fortnight afterwards, when your thumb forgets its job under pressure. The fix is deliberate practice before an event that matters, and aviation offers convenient practice subjects everywhere. Each of these drills targets a specific reflex, and none needs an airshow ticket.
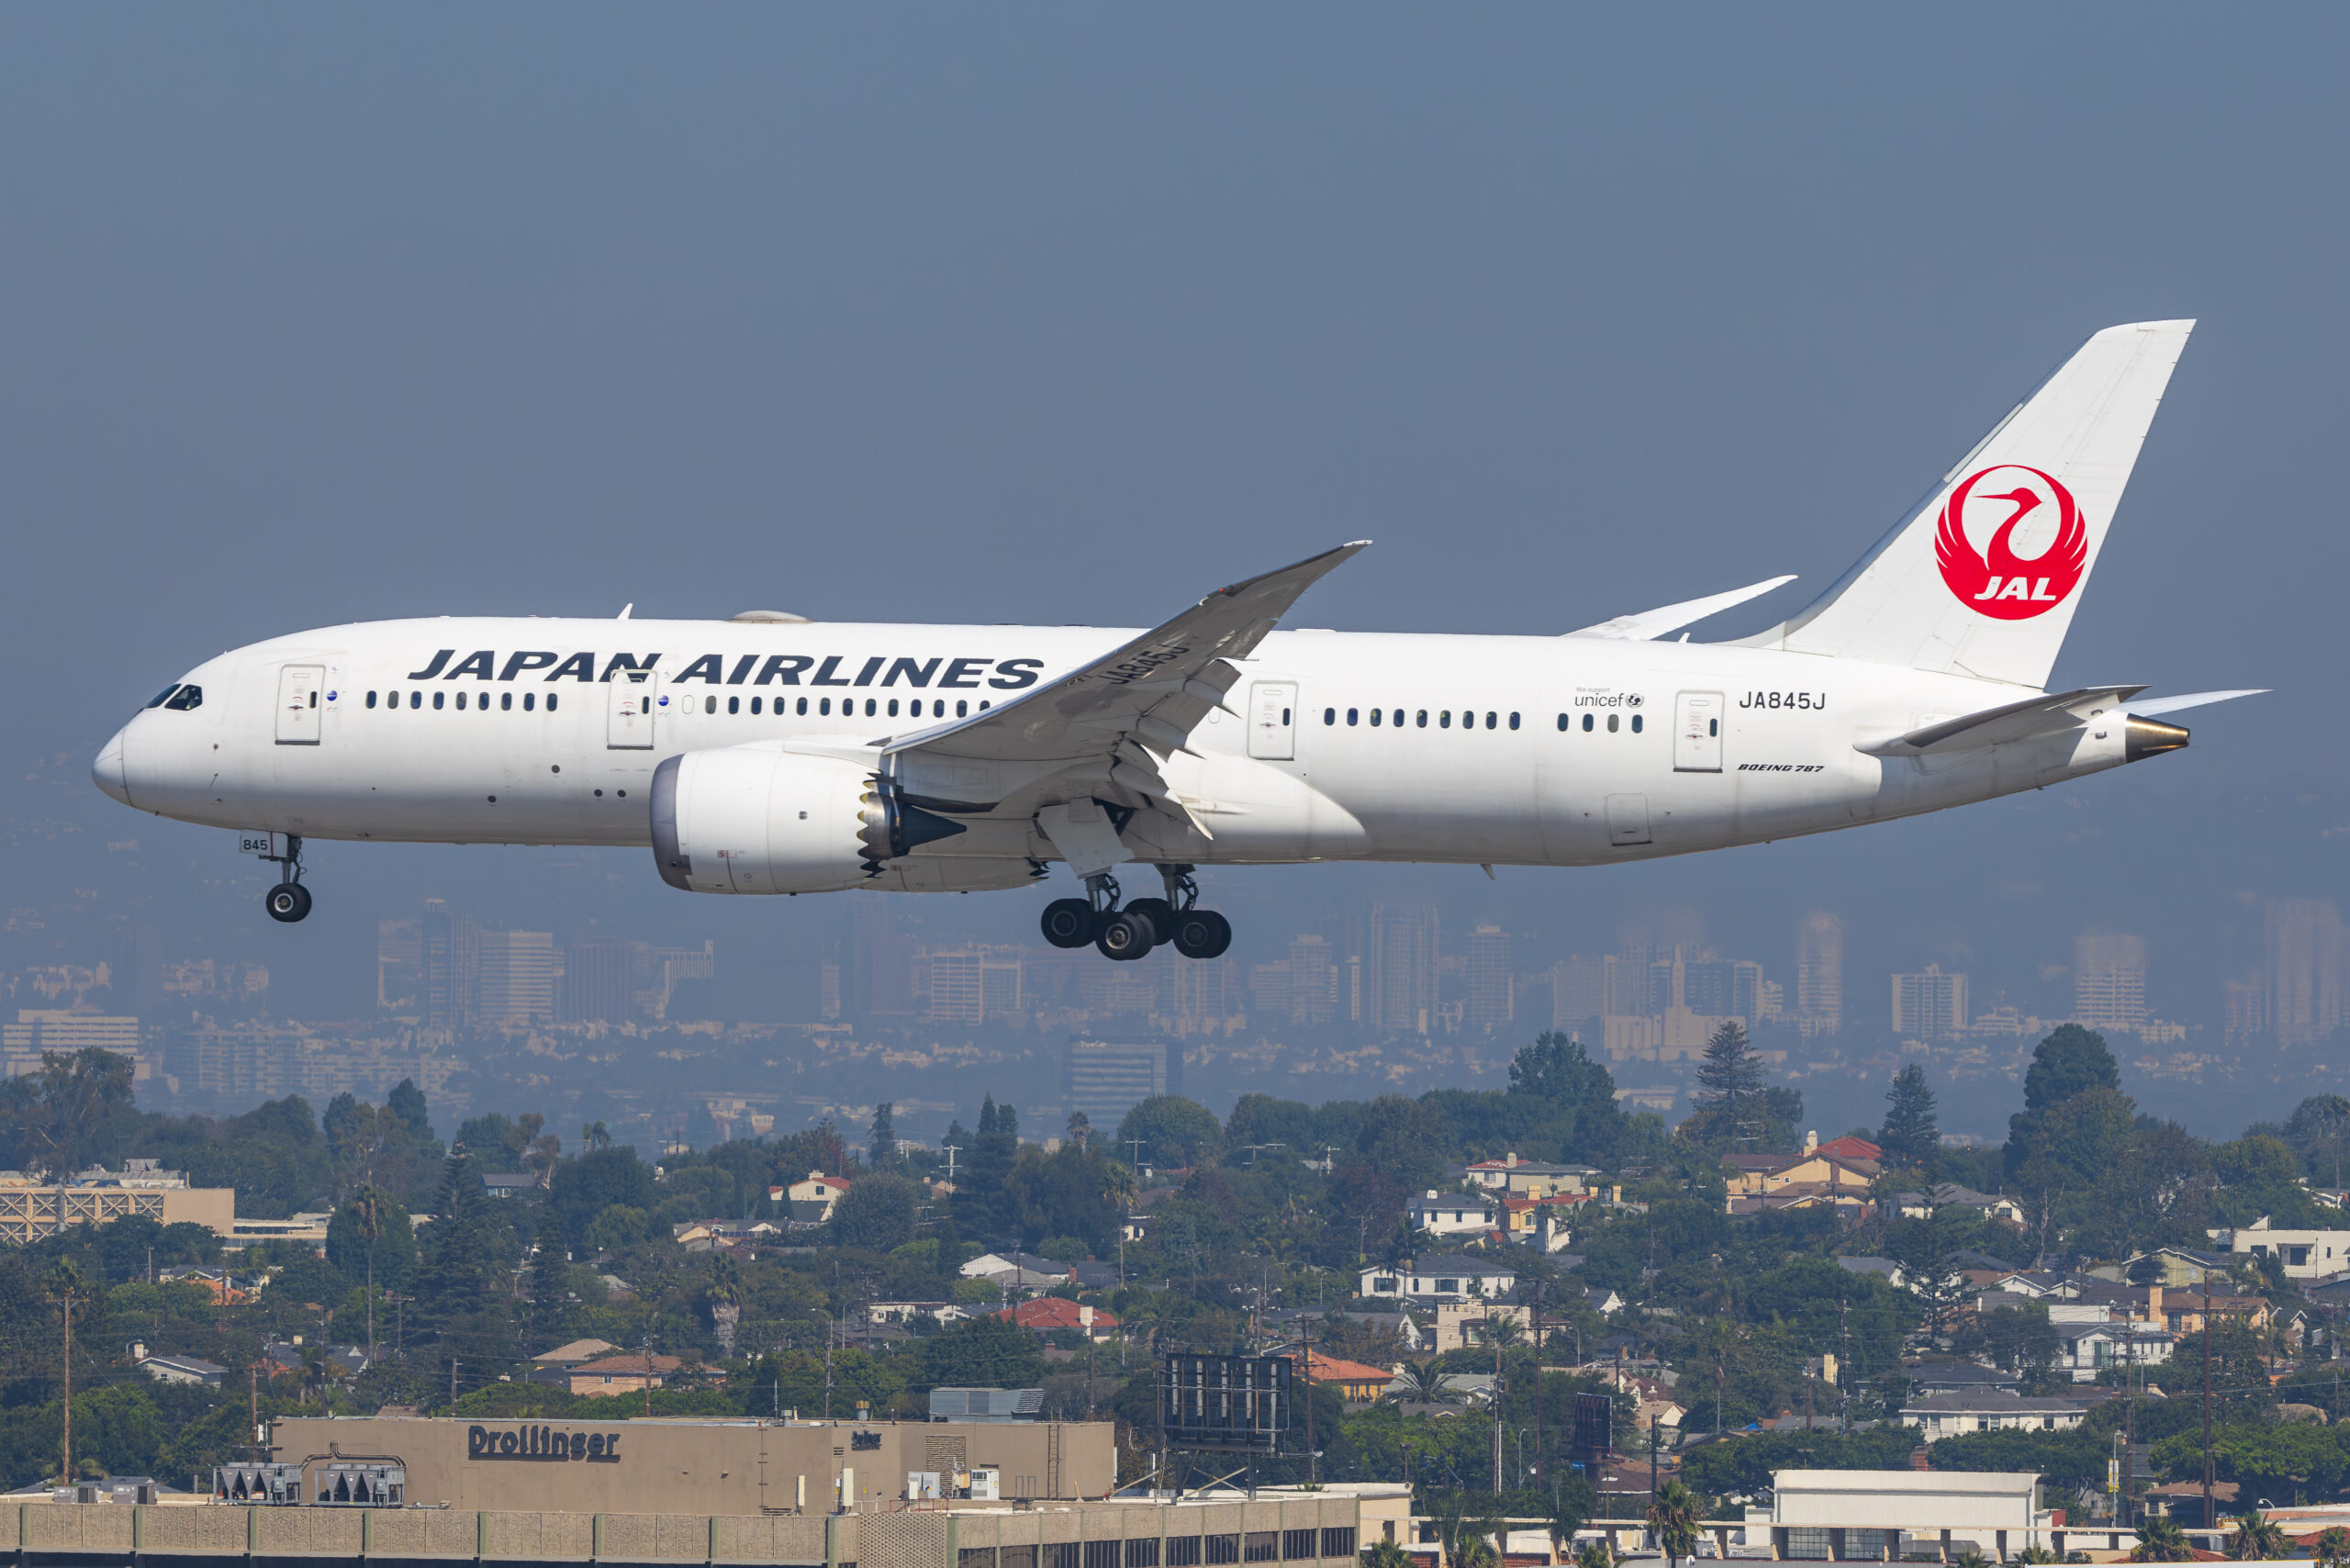
Drill one: the commuter drill. Spend an evening near an airfield circuit or under an approach path and shoot ordinary traffic with the button held throughout, tracking from acquisition to overhead. The aim is simply to burn in the hold. Airliners on approach are fast enough to punish a slack pan but predictable enough that you can think about your thumb. Twenty arrivals is usually enough to stop the hold feeling deliberate.
Drill two: the park-and-fire drill. At the same location, prefocus on a fixed point at touchdown distance, lift your thumb, and shoot each arrival without touching the button at all. This trains the release half of the habit and proves to your own satisfaction that the shutter fires instantly on a parked focus. It also builds the judgement of how much depth of field you have to play with at a given distance and focal length.
Drill three: the toggle drill. Alternate deliberately: track one aircraft with the button held, then shoot the next entirely from a parked prefocus, then back again. The switching itself is the skill an airshow demands, so rehearse the switching, not just the two states. Add a recompose element by locking focus on a parked vehicle or building, then reframing several compositions without refocusing.
Drill four: the blackout drill. While tracking, lift your thumb for a slow count of two, keep panning, then press again and confirm how quickly focus reacquires. This is the smoke-and-pyro rehearsal, and it teaches the most counterintuitive part of the technique: that briefly doing nothing is often the correct input. Practise it until lifting your thumb mid-pan stops feeling like a mistake.
Run the four drills across two or three sessions and the habit generally sticks. The final check is negative: hand yourself a day of ordinary shooting, family, street, anything, and see whether you reach for the thumb button without thinking. When you do, you are ready to trust it at a display. You can see what the technique produces when it becomes automatic in the results across our aviation galleries, where almost every airborne frame was tracked or parked from the thumb.
Common mistakes and when to leave it off
Back-button focus has a short list of recurring failure points, and knowing them in advance shortcuts most of the frustration. The most common by far is releasing the button mid-pan without meaning to. Long displays, heavy lenses and cold hands all conspire to ease thumb pressure just as the subject accelerates, and the first you know of it is a sequence that drifts soft. The cure is grip, not willpower: brace the camera so the thumb presses back into the body’s natural pressure rather than hovering, and if you shoot long sessions, alternate which knuckle joint does the holding to spread the load.
Thumb fatigue is real on multi-hour show days, especially with a gripped body and a heavy telephoto. If your thumb aches by the lunchtime displays, look at your left hand first; the right hand should be steering and pressing, not carrying the rig. Supporting the weight properly under the lens, as covered in the handholding guide linked earlier, removes most of the strain. Some photographers also assign AF start to two rear buttons so either the AF-ON button or the AE lock button works, letting the thumb shift position during long displays.
Forgetting AF-C is the classic setup error. In single-shot AF, a held back button does not track; the camera focuses once and stops, and every subsequent frame of a moving aircraft is progressively softer. If BBF ever seems to have broken, check the focus mode switch before anything else. The reverse error appears on Nikon bodies where [AF activation] has been set to [AF-ON only] with the out-of-focus release sub-option disabled, which can leave the shutter refusing to fire on a deliberately prefocused scene; leave [Out-of-focus release] enabled and the shutter always obeys you.
Stabilisation interactions catch people out less than feared, but they are worth understanding. On current bodies, in-body and lens stabilisation are activated by the half-press or by AF activation, and continue to run while you shoot, so a parked focus does not mean a dead stabiliser; a half-press still steadies the finder. Panning modes on lens switches behave exactly as they do with shutter-linked AF. The one habit to build is giving stabilisation its fraction of a second to settle on a prefocused shot, via a half-press as the aircraft approaches, rather than a single cold full-press.
There are also situations where the honest advice is to switch BBF off, and the good news is that on every system above the change is one setting. Hand the camera to anyone else, a colleague, a family member, a marshal taking your photo, and it will baffle them; the shutter will fire, focused wherever you last left it. One-handed shooting, for instance holding a monopod-mounted long lens with the left hand while working a second body with the right, makes the simultaneous thumb-and-finger action really awkward, and shutter-linked AF is simply more practical. The same applies to thick gloves at a winter spotting session, where thumb feel disappears and half-press AF is the more reliable interface. Cold-weather aviation photographers often re-enable shutter AF for gloved months and return to BBF for the season. If your images are licensed or delivered to clients, note the change in your workflow the way you would any other settings change; consistency of technique is part of what underwrites the standards described on our licences page.
The final mistake is abandoning the technique after one difficult day. The first outing with BBF is nearly always slightly worse than your old results, because you are paying attention to your hands instead of the aircraft. The second is level. From the third onwards, the missed-refocus and hunting failures quietly disappear from your take, and that is where the technique pays for the retraining. Give it three sessions before you judge it.
Frequently asked questions
What is the difference between AF-ON and a half-press of the shutter?
Functionally they can trigger the same autofocus system; the difference is what else happens at the same time. A default half-press starts metering, stabilisation and autofocus together and leads directly into firing the shutter, while AF-ON starts autofocus alone. Back-button focus removes AF from the half-press so the two controls have separate, non-overlapping jobs.
Does back button focus work with subject detection and tracking?
Yes, fully. Subject detection modes such as Nikon’s Airplanes option or Sony’s [Airplane] recognition target run whenever autofocus is active, and with BBF autofocus is active exactly while you hold the button. That means detection tracks the aircraft while your thumb is down and stops instantly when you lift it, which is the most controllable way to use these modes at an airshow.
Is back button focus worth it on mirrorless cameras?
Yes. Mirrorless autofocus is faster and stickier than DSLR autofocus, but it still cannot know when you want focus held rather than updated. Prefocusing a display line, holding through smoke, recomposing on statics and surviving a subject leaving the AF area are all decision problems, not performance problems, and BBF solves them on mirrorless exactly as it did on DSLRs.
How do I set up back button focus on a Canon EOS R5 or R7?
Open the menu, go to the orange Custom Functions tab and choose Customize buttons. Set the shutter button half-press to [Metering start] and confirm the AF-ON button is assigned [Metering and AF start], which is its default. Set AF operation to Servo AF so holding the button tracks and releasing it locks focus.
How do I set up back button focus on a Nikon Z8 or Z9?
In the Custom Settings menu, open Custom Setting a6 [AF activation] and select [AF-ON only], leaving the [Out-of-focus release] sub-option enabled. The camera will then focus only when you press AF-ON or another control assigned to it via Custom controls. Keep the focus mode in AF-C for hold-to-track behaviour.
How do I set up back button focus on a Sony A7 IV or A1?
In the Focus menu under AF/MF, set [AF w/ Shutter] to [Off], which stops the shutter button focusing on a half-press. The rear AF-ON button is assigned [AF On] by default, and you can move the function to another control through [Custom Key/Dial Set.] if you prefer. Shoot in AF-C so a held button tracks continuously.
Should I use AF-C or AF-S with back button focus?
Use continuous AF: AF-C on Nikon, Sony, Fujifilm and OM System, or Servo AF on Canon. In continuous mode a held button tracks a moving aircraft and a released button locks focus, so you get single-shot behaviour for free whenever you want it. In AF-S the button focuses once and stops, which throws away most of the benefit for moving subjects.
Why are my photos out of focus after switching to back button focus?
The usual causes are forgetting to press the button at all, releasing it mid-pan without noticing, or being in single-shot AF so the camera stopped tracking after the first acquisition. Check that the focus mode is continuous and that the shutter half-press really has had AF removed. Then run a few tracking drills; the habit settles within two or three sessions.
Can I still meter and use stabilisation with the shutter half-press?
Yes. Back-button focus removes only autofocus activation from the shutter button, so a half-press still runs metering and keeps image stabilisation active on current bodies. That matters for aviation because you can steady the viewfinder and settle exposure on a prefocused scene without touching focus at all.
Does back button focus help with panning propeller aircraft?
It helps in two ways. Holding AF with the thumb, which presses back against your grip, is mechanically steadier during a slow-shutter pan than modulating a half-press with the index finger, so the release finger only has one delicate job. You can also park focus at the display distance and concentrate entirely on pan smoothness at 1/125s or slower.
Should I hold the AF-ON button down while tracking a fast jet?
Yes, keep it held for the whole tracking sequence so continuous AF and subject detection stay live, and fire bursts with the shutter button whenever you like. Lift your thumb deliberately only when you want focus held, for example as the jet enters smoke or leaves the AF area. Press again the moment you want tracking back.
When should I not use back button focus?
Switch it off when handing the camera to someone who does not use it, when shooting one-handed, and when thick winter gloves remove the thumb feel it depends on. It is a single setting to disable on every current system, so changing back for a cold spotting session costs nothing. Re-enable it when normal two-handed shooting resumes.
With your thumb handling focus, the next skill to train is the pan itself: work through our progressive panning drills.
