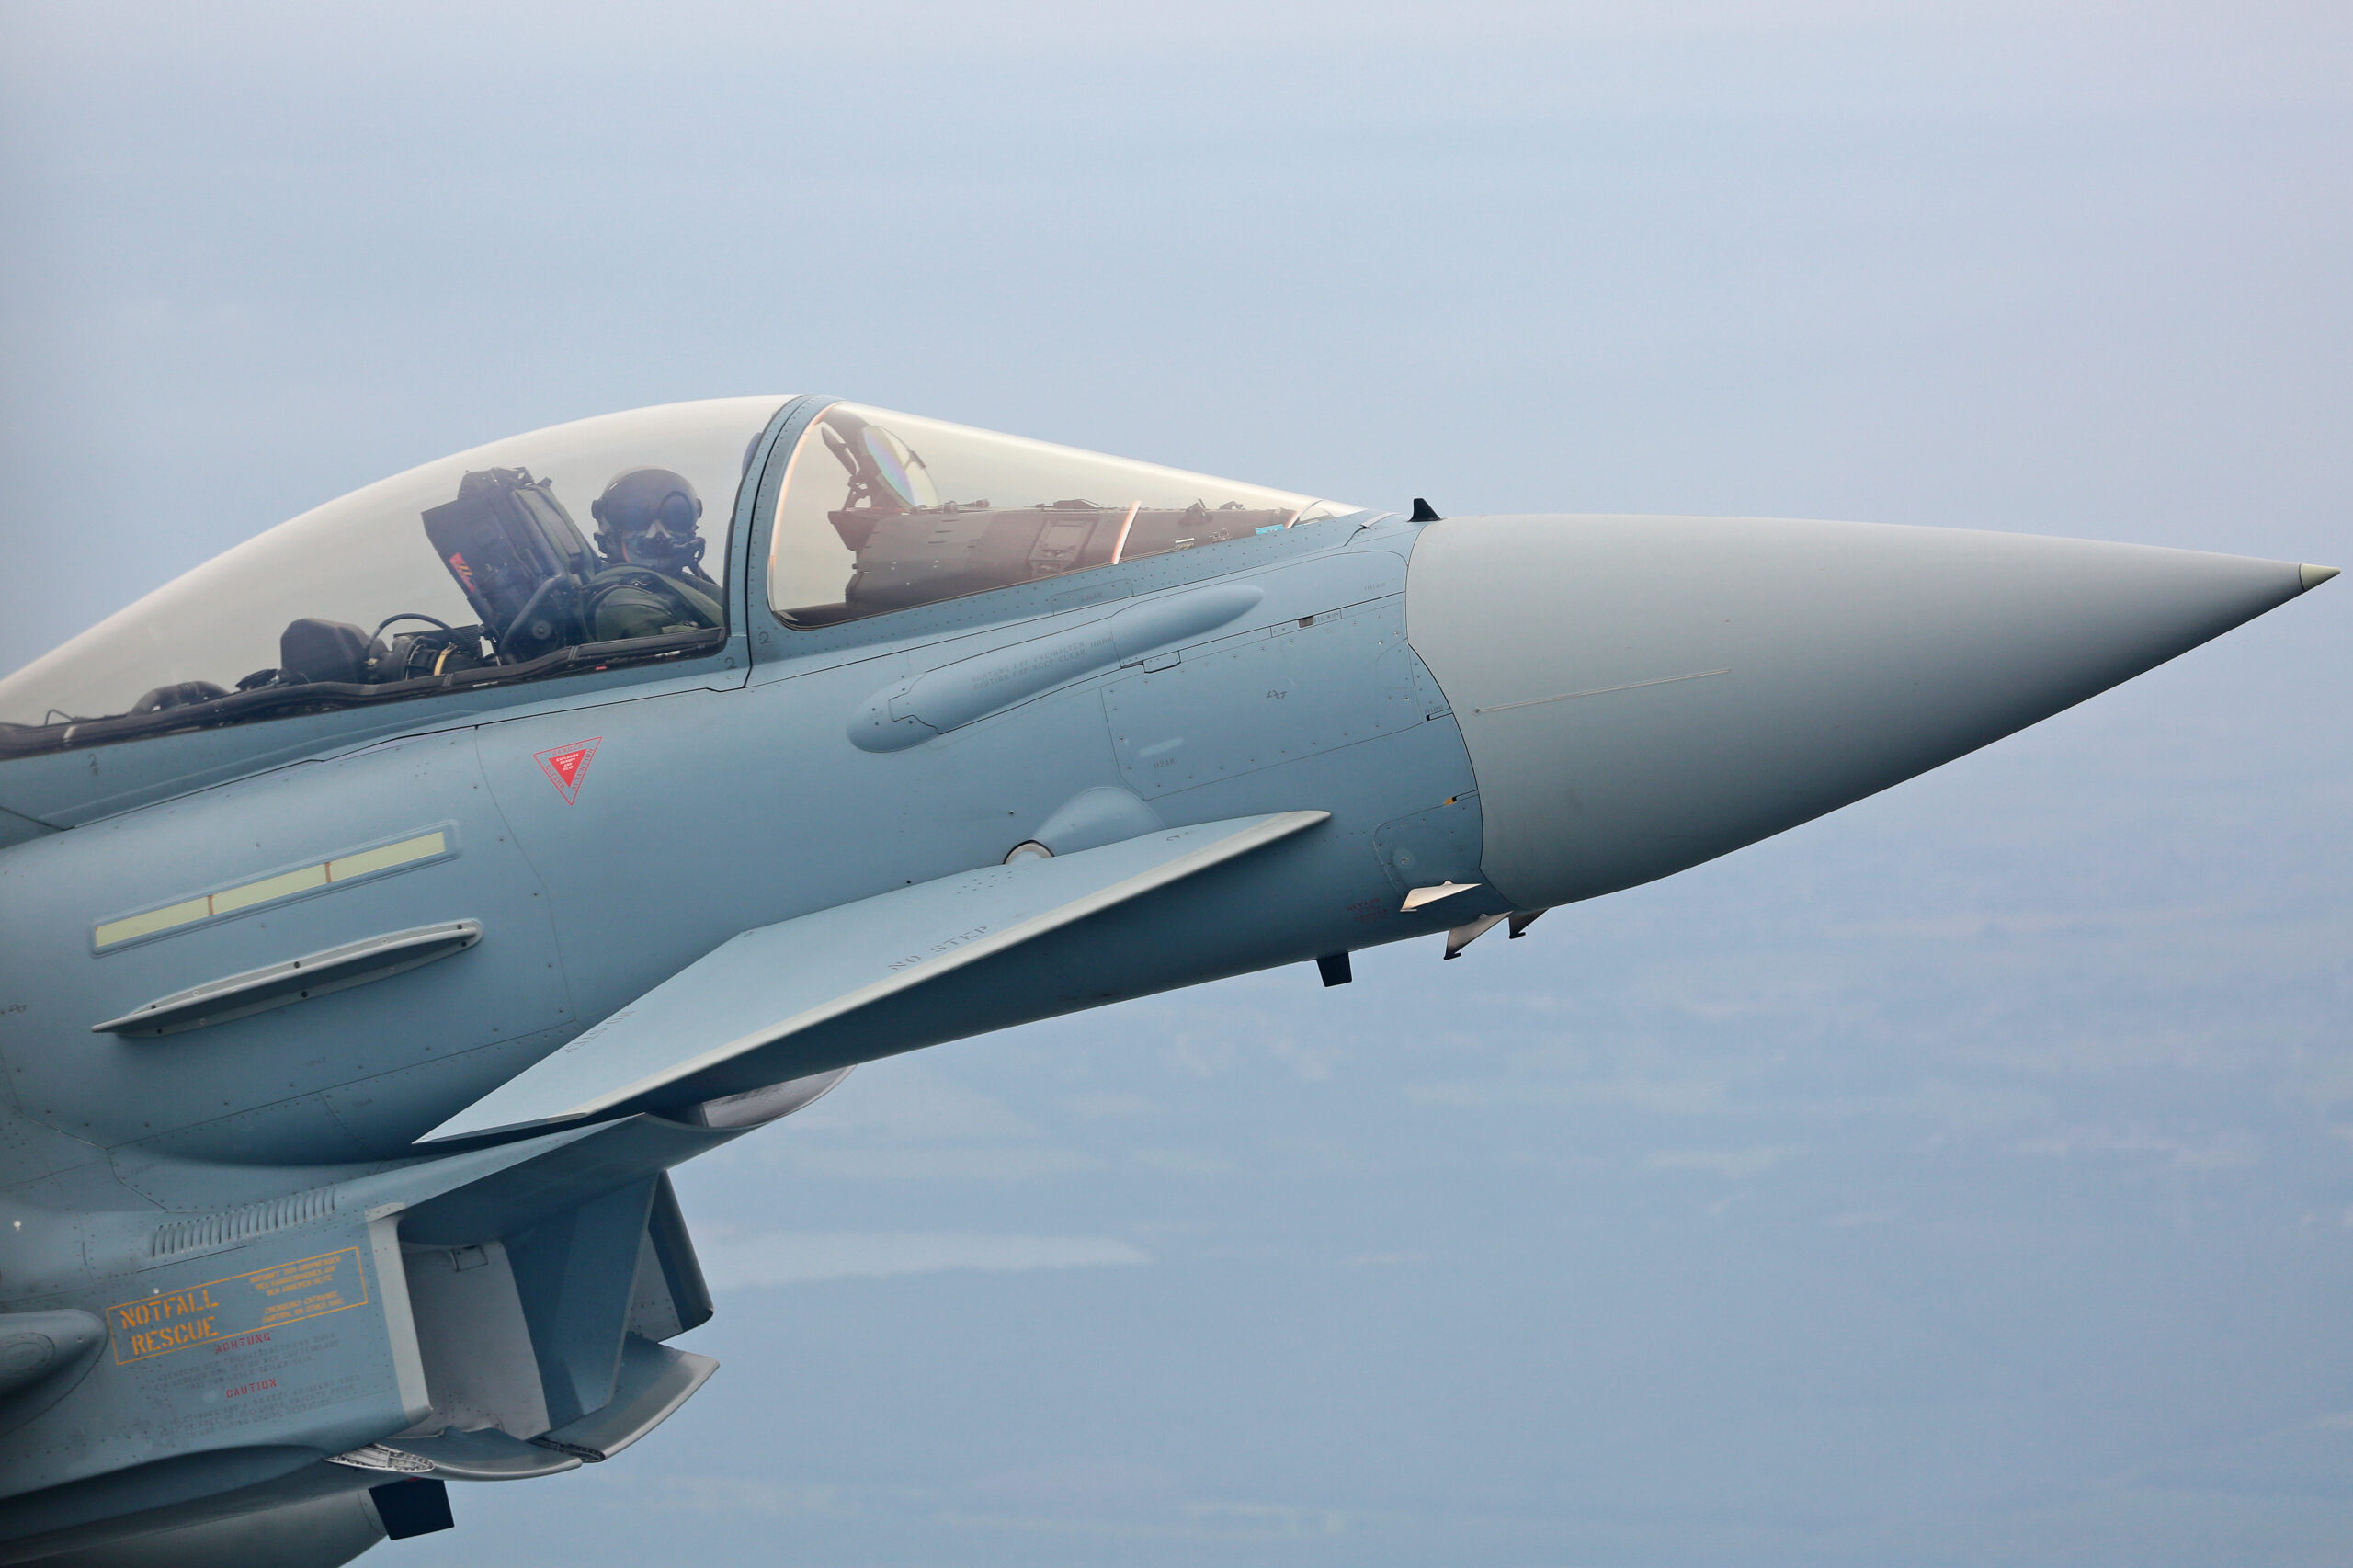
Handholding a long lens successfully comes down to three things: a stable stance that stacks the lens weight over your skeleton rather than your muscles, a shutter speed matched to the focal length and the subject, and short shooting bursts that stop fatigue from wrecking your keeper rate. Everything in this guide builds on those three foundations. Modern 500mm and 600mm zooms weigh around 2kg, which is well within handholding range for most photographers, provided the technique is right. This is the complete method we use for airshows, air-to-air sorties and airfield fence lines, from how to stand to when to admit defeat and reach for the monopod.
What this guide covers
- Why handhold at 500mm and beyond
- What you are actually fighting
- Choosing a lens you can handhold all day
- Stance, grip and posture
- Breathing and shot timing
- Shutter speed and stabilisation
- Panning at long focal lengths
- Finding and keeping the subject in the frame
- Building stamina and managing a full day
- Worked examples from the display line
- Handholding in wind, cold and crowds
- Common mistakes and how to fix them
- When a monopod wins
- Frequently asked questions
Why handhold at 500mm and beyond
Aviation is a moving-subject discipline. Aircraft cross the sky quickly, change direction without warning and rarely appear where you expected them. A tripod locks you to one axis of movement and one patch of sky, and at a crowded airshow it also locks you into an argument with everyone standing behind you. Handholding gives you the freedom to swing through a full display circuit, drop to a knee for a low pass, and spin round when the display team splits and half the formation reappears behind the crowd line.
There was a time when 500mm meant a 4kg prime and handholding it was a specialist skill. That has changed. The current generation of super-telephoto zooms, the Sony 200-600mm, Nikon Z 180-600mm, Canon RF 200-800mm and Sigma 150-600mm among them, all sit close to the 2kg mark, and stabilisation systems now correct five or more stops of shake. The equipment problem has largely been solved. What remains is technique, and technique is free.
It is worth being clear about what good handholding buys you in image terms. First, sharpness at marginal shutter speeds: the difference between a usable 1/320s frame and a smeared one is almost entirely down to how the lens is supported. Second, smoother panning, because your whole upper body becomes the pan head. Third, faster target acquisition, because a lens that is balanced in your hands points where you look. Photographers who master this stop thinking about the lens at all, which is the point. The camera should disappear so the flying can take over.
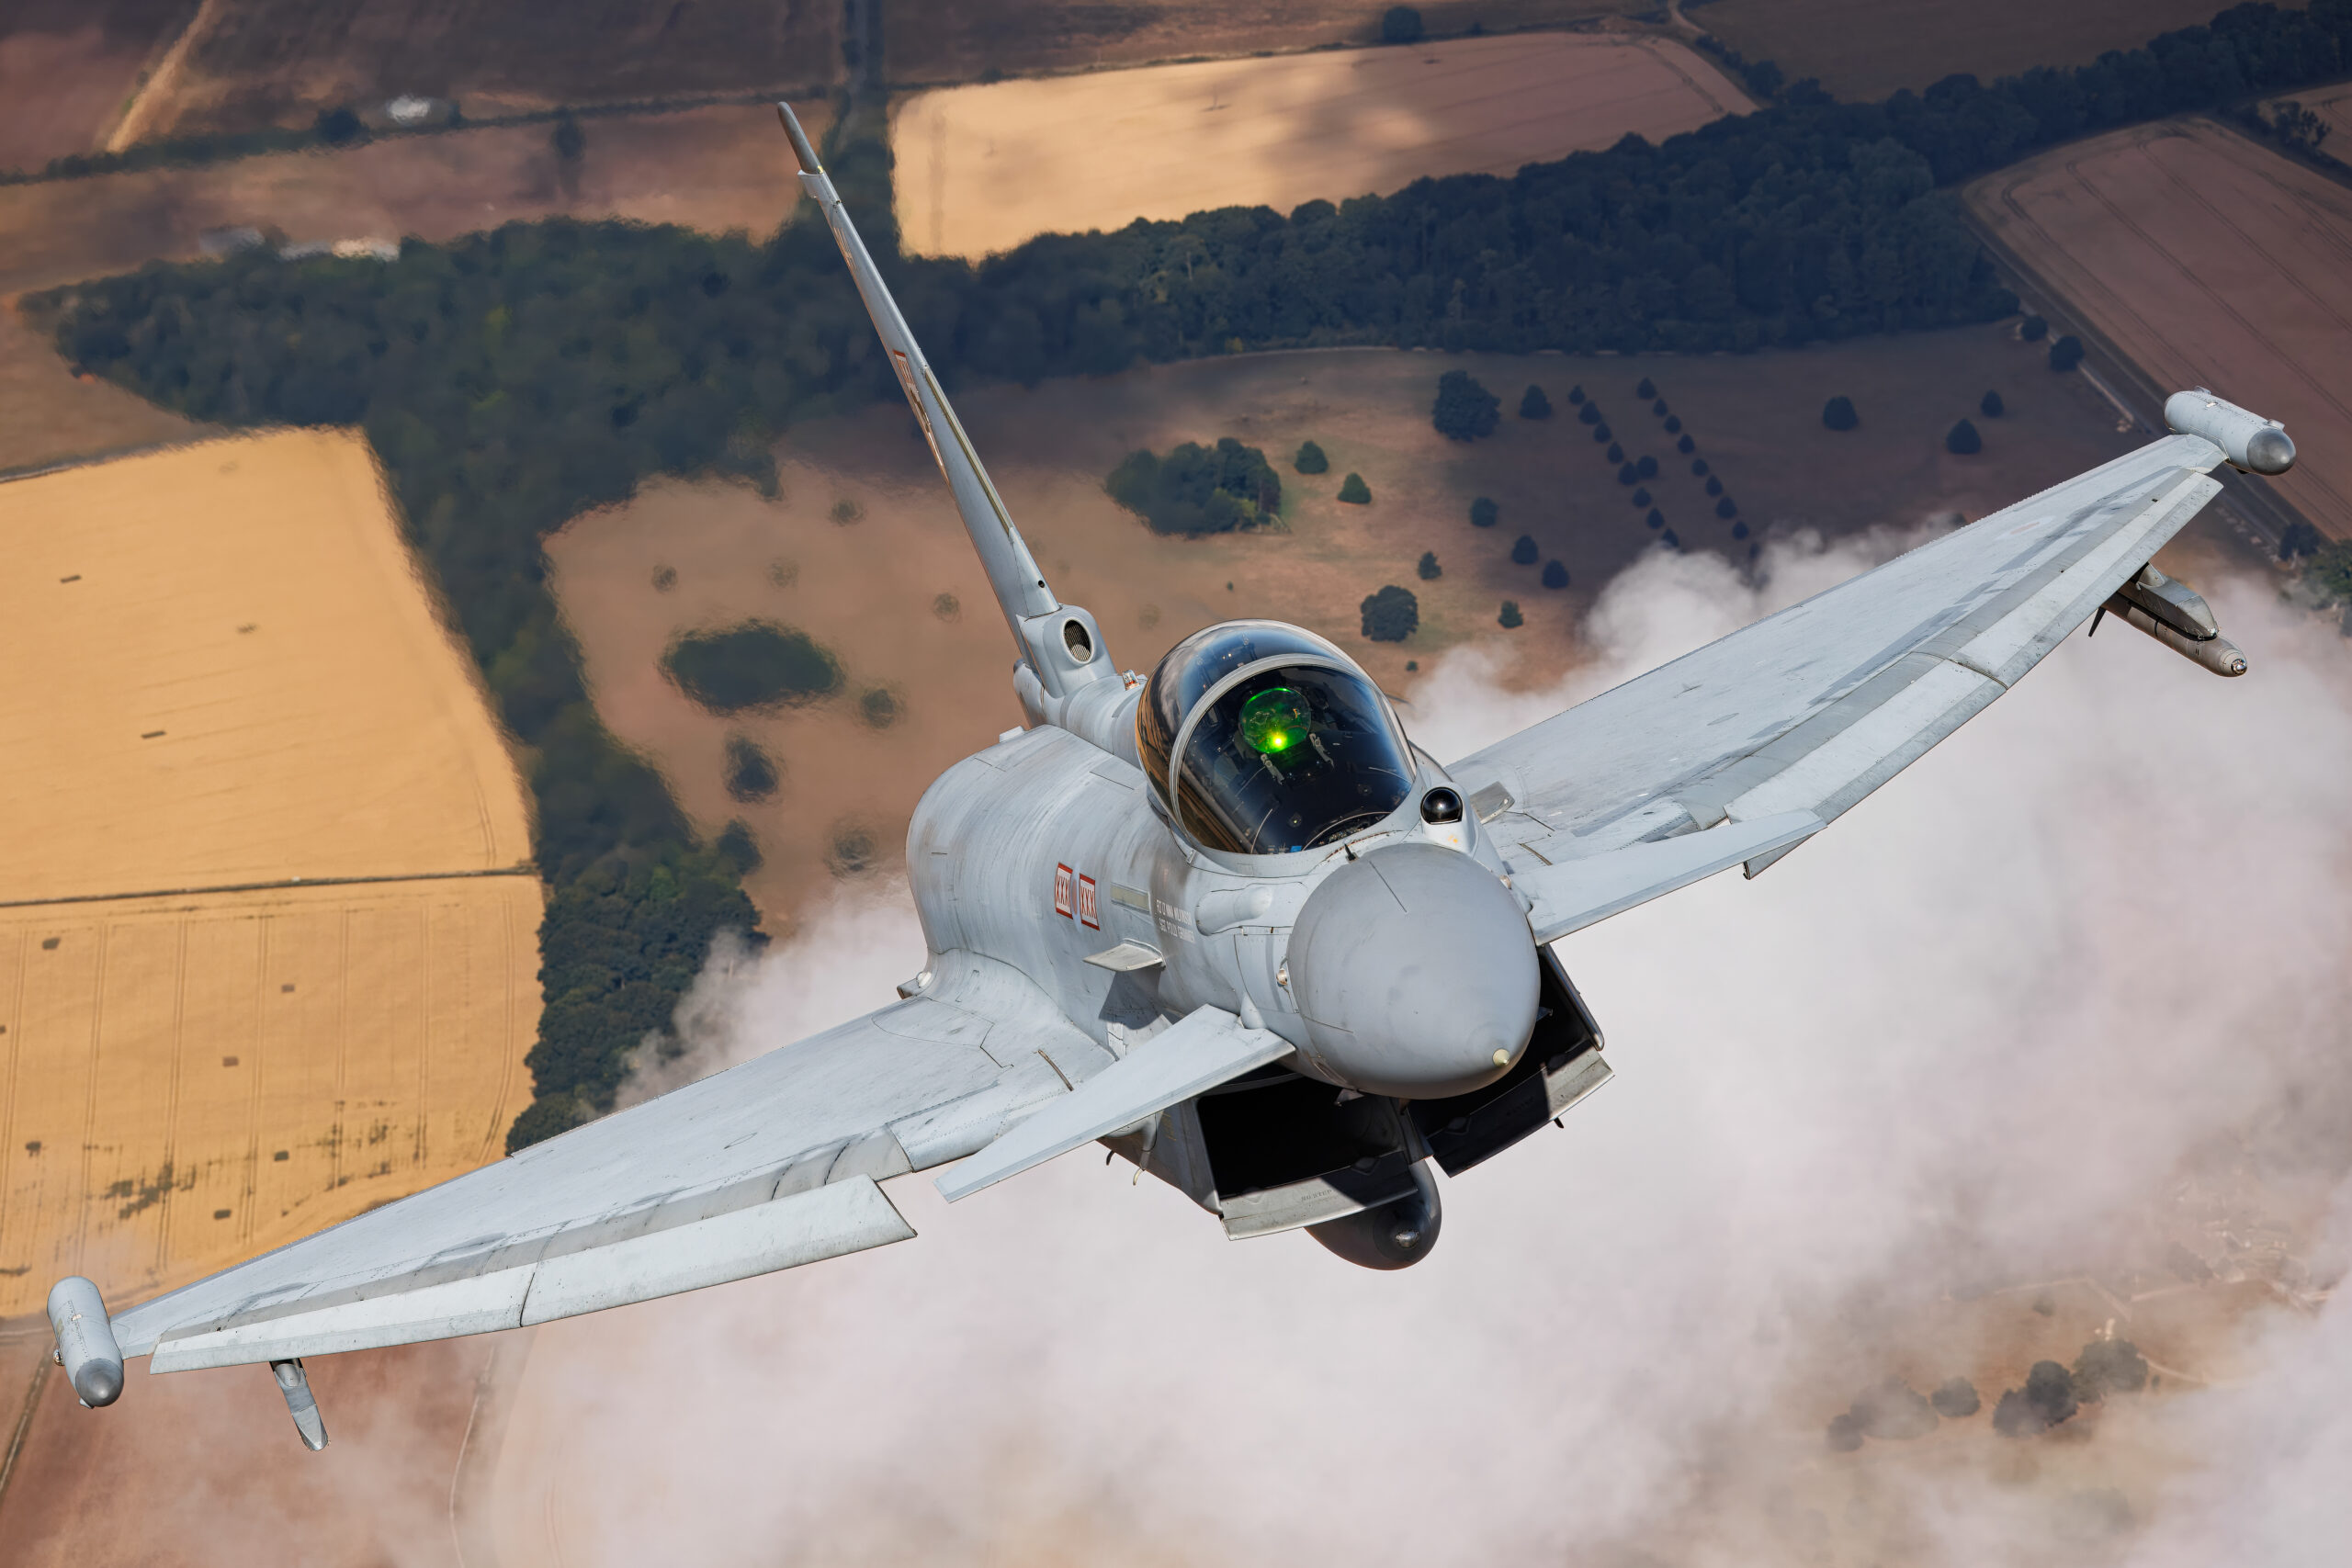
What you are actually fighting
Understanding why long lenses are hard to hold steady makes every fix in this guide easier to apply. The problem is not weight alone. A 2kg camera bag hangs off one shoulder all day without complaint. The problem is where the weight sits and what magnification does to small movements.
Leverage, not weight
A super-telephoto zoom puts most of its mass 20 to 30cm in front of the lens mount. Held at eye level, that mass acts at the end of a lever formed by your forearms, and your muscles must supply constant torque to stop the front element dropping. Torque is what tires you, and tired muscles tremble. This is why the single most effective change most photographers can make is moving their left hand further forward under the lens barrel: a longer support base shortens the effective lever and the load drops noticeably.
Magnified motion
At 600mm on a full-frame body the horizontal field of view is roughly 3.4 degrees. Rotate the lens by just a tenth of a degree, a movement far too small to see or feel, and the image shifts by about 3 percent of the frame width. That is dozens of pixels of smear at typical sensor resolutions if it happens during the exposure. Angular error, not linear error, is the enemy, and angular error is what trembling muscles produce. Every technique below either reduces the trembling, shortens the exposure so the trembling does not matter, or hands the correction over to the stabiliser.
The fatigue curve
Fresh muscles hold a 2kg lens almost perfectly still. The same muscles forty minutes into a display, after two hundred raised-and-lowered cycles, oscillate visibly. Fatigue does not build linearly: you feel fine, then quite suddenly you cannot hold the horizon level. Working with the fatigue curve rather than pretending it does not exist is a big part of the method in the stamina section later on.
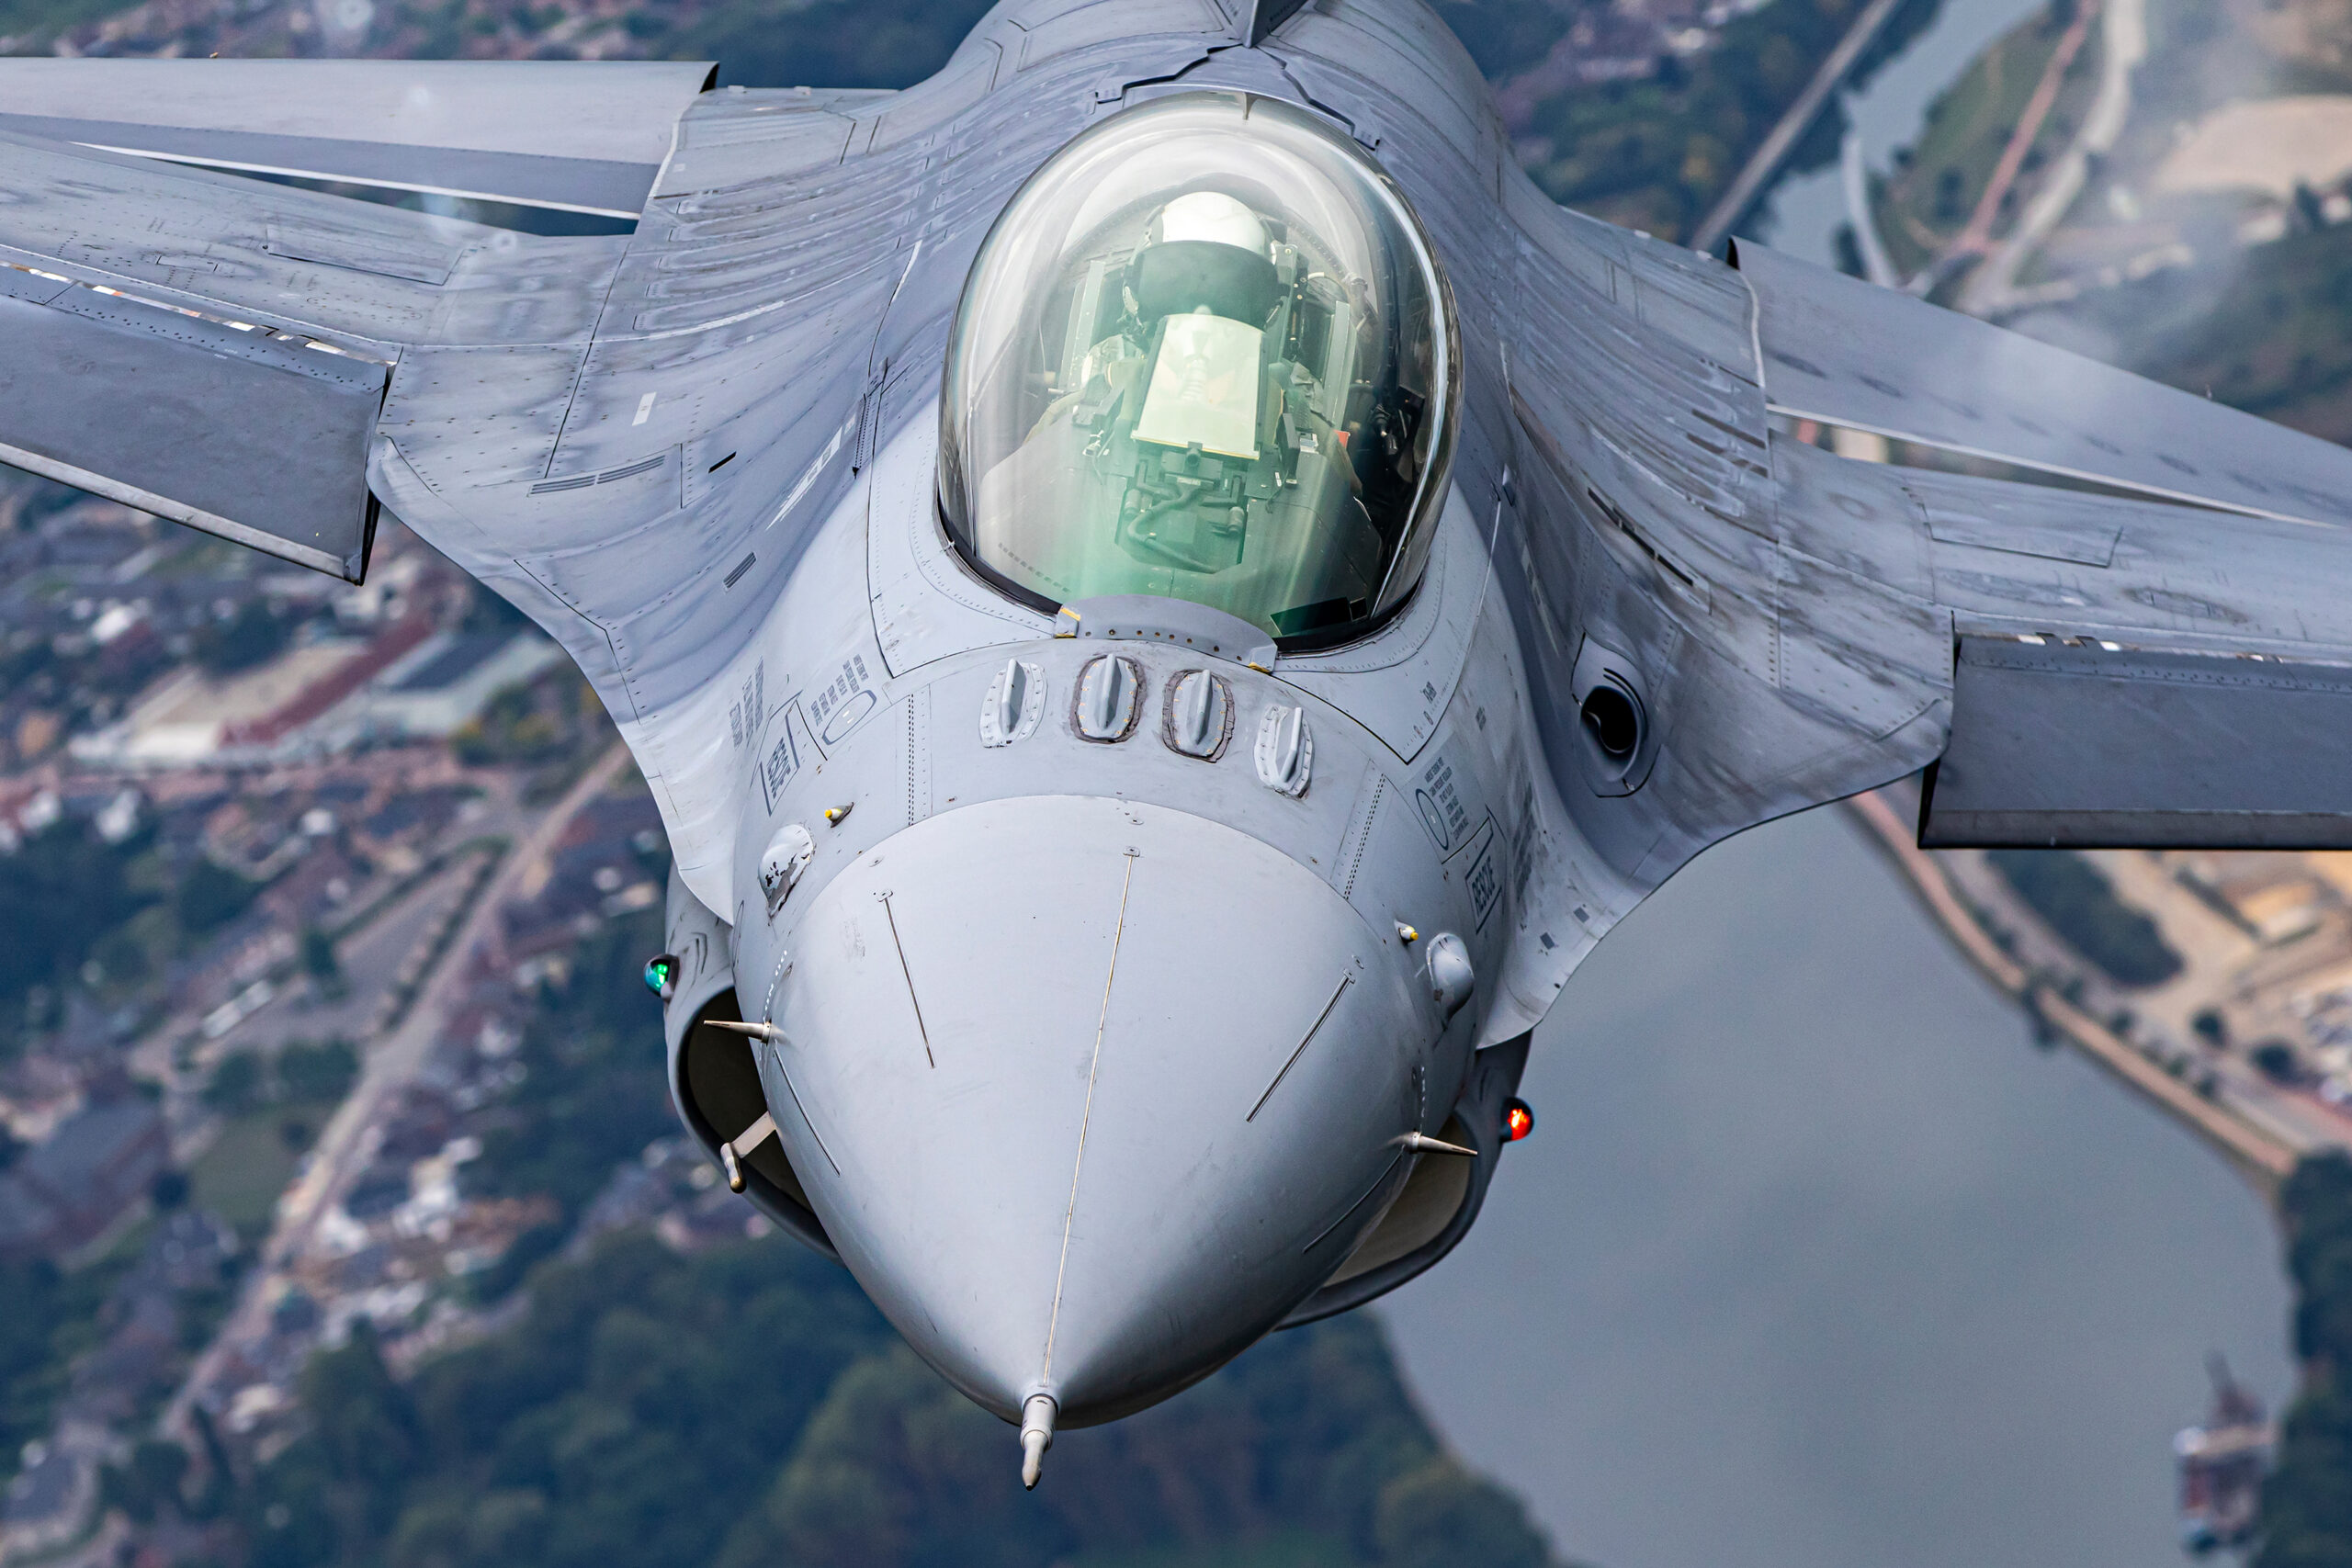
Choosing a lens you can handhold all day
The best handholding technique in the world will not rescue a lens that is simply too heavy for your build and your day. Before technique comes an honest equipment decision. The good news is that the current market is full of 500mm-plus options at weights that would have seemed impossible fifteen years ago. Our full lens guide covers image quality and value in detail; here the only question is what each option feels like at hour six of an airshow.
The figures below are taken from the manufacturers’ own specification pages. Note that makers measure differently: some quote the bare lens, others include the tripod collar, so treat small differences with caution.
| Lens | Reach | Quoted weight | Stabilisation (maker figure) | Handholding notes |
|---|---|---|---|---|
| Canon RF 100-500mm f/4.5-7.1L IS USM | 500mm | 1,530g (with tripod mount ring) | 5 stops | The lightest full-frame route to 500mm here; balances close to the body and suits smaller shooters |
| Nikon Z 180-600mm f/5.6-6.3 VR | 600mm | 1,955g (2,140g with collar ring) | 5.5 stops | Internal zoom keeps balance constant through the range, a real help when panning |
| Sony FE 200-600mm f/5.6-6.3 G OSS | 600mm | 2,115g | OSS with panning mode (Mode 2) | Internal zoom, three focus-hold buttons fall under the left hand |
| Sigma 150-600mm f/5-6.3 DG DN OS Sports | 600mm | 2,100g (with tripod socket) | Approx 4 stops as launched; roughly 5.5 stops at the long end with the OS2 firmware | Extending zoom shifts balance as you zoom; the torque switch stops creep |
| Canon RF 200-800mm f/6.3-9 IS USM | 800mm | Approx 2,050g | Optical IS, boosted with IBIS bodies | The most reach per gram on this list, but 800mm magnifies every wobble; treat it as a bright-day lens |
| Nikon AF-S 500mm f/5.6E PF ED VR | 500mm | 1,460g | VR | The Phase Fresnel design proves a 500mm prime can weigh less than many 70-200s |
Three practical observations from using this class of lens on the display line. First, internal zooms (Sony 200-600mm, Nikon 180-600mm) are easier to handhold than extending designs because the centre of gravity never moves; your left hand learns one position and stays there. Second, remove the tripod foot if the maker allows it: 150 to 200g off the bottom of the lens is meaningful at hour six, and the foot digs into your forearm when you support the barrel from underneath. Third, weight you carry matters as much as weight you hold. A 2kg lens plus a second body plus a bag of spares is a system decision, which is why our airshow packing guide is ruthless about leaving things behind.
If you are tempted to add reach with a converter instead of a bigger lens, read our teleconverter guide first: converters add little weight but cost light and autofocus speed, which changes the handholding equation in its own way, because darker viewfinders and slower shutter speeds punish shaky support twice over.
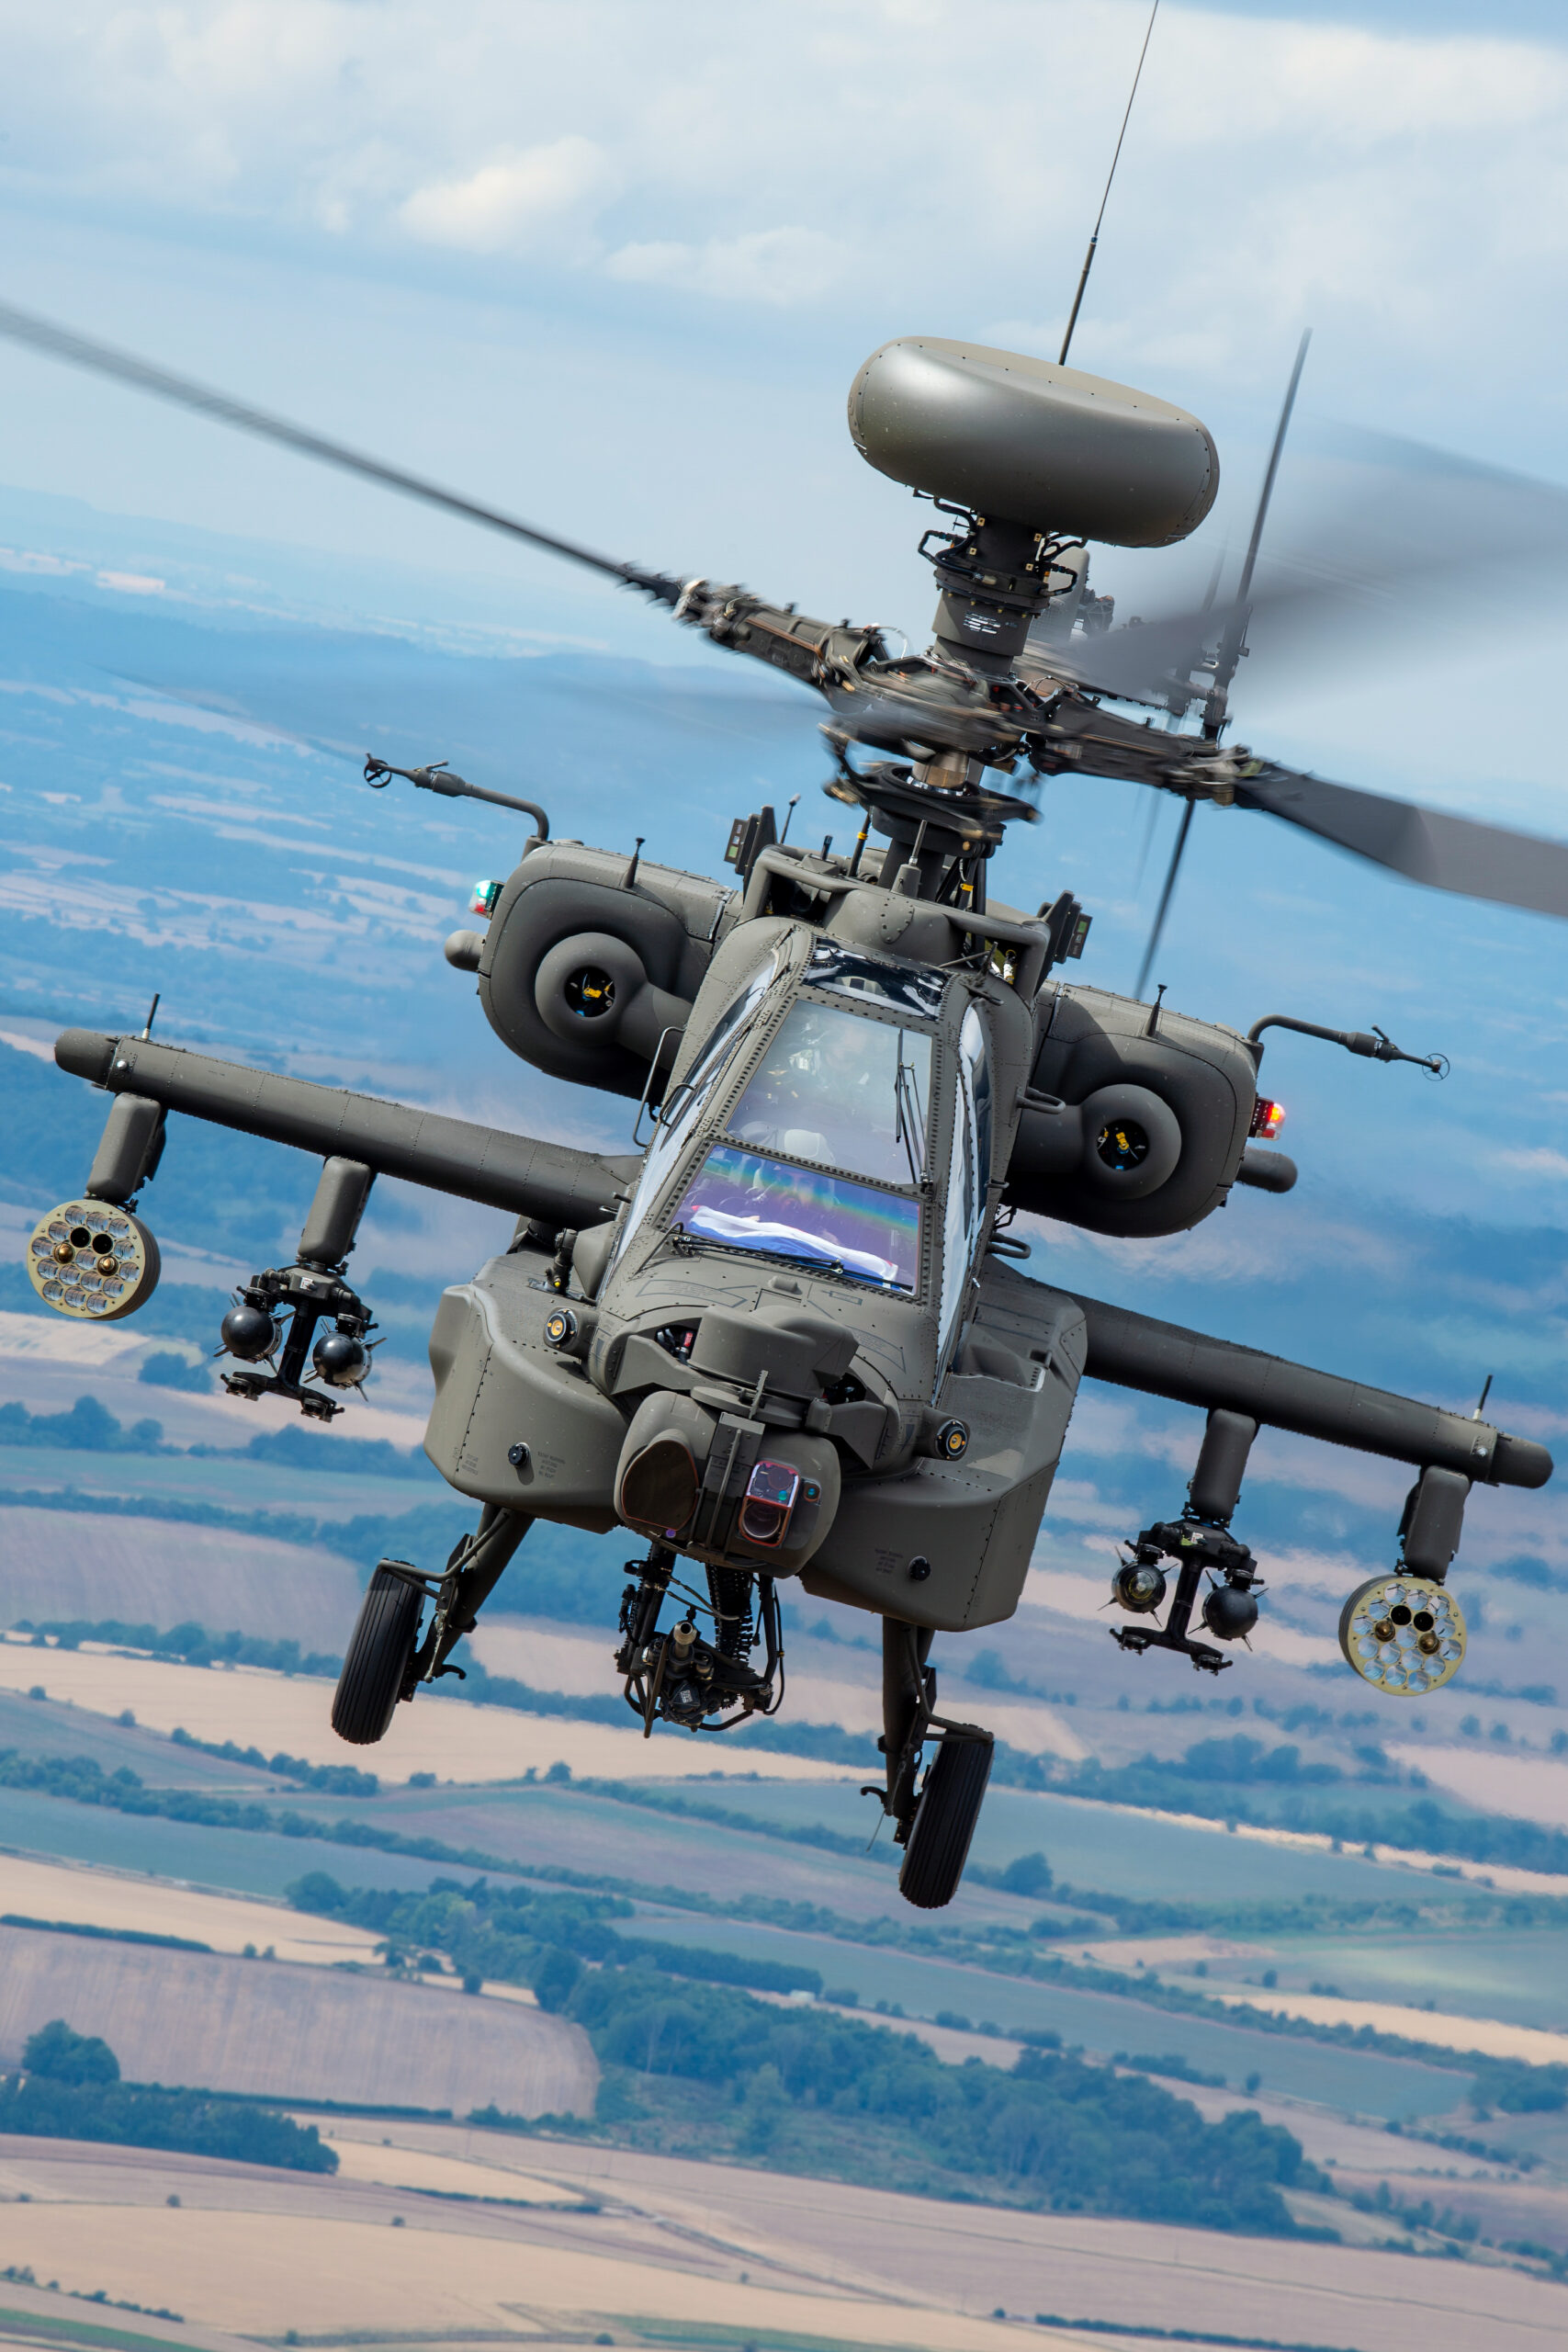
Stance, grip and posture
Watch experienced long-lens shooters at RIAT or Duxford and you will notice they all stand the same way. That stance is not style. It is the position that lets bone, not muscle, carry the load.
Feet and base
Stand with your feet shoulder-width apart, the leading foot (left for most right-handed shooters) a half step towards the subject, weight spread evenly. This staggered base matters for two reasons: it resists the backwards lean that heavy lenses encourage, and it gives you 180 degrees of smooth upper-body rotation for panning. Point your leading foot at the middle of the expected flight path, not at where the aircraft is now, so the middle of your pan, where the shutter usually fires, happens with your body unwound and relaxed.
The left hand
Your left hand belongs under the lens barrel, palm up, as far forward as you can comfortably reach, ideally around the zoom ring so support and zooming happen in one place. The lens should rest in the palm like a beam on a pillar. Do not grip: gripping recruits forearm muscles that then tremble. The hand is a shelf, not a clamp. If you find your fingers whitening around the barrel mid-display, consciously open them and let the weight settle back into the palm.
Elbows and the frame
Tuck the left elbow into your ribs, or brace it against your torso if your reach allows, so the lens weight passes through your forearm into your body and down your skeleton to the ground. The right hand should do almost no lifting: it steers, works the controls and squeezes the shutter. Shoulders stay down and relaxed. Hunched shoulders feel supportive and are not; they simply pre-load the muscles that you need calm for the shot.
Head and eye
Pull the camera back into your eyebrow so the body has a third contact point against your face. Viewfinder shooting is measurably steadier than rear-screen shooting with a long lens for exactly this reason: three points of contact beat two. Keep both eyes open when you can. The free eye watches for the rest of the formation and stops you getting lost in an empty sky, a technique covered properly in the section on finding the subject.
Breathing and shot timing
Rifle shooters have known for a century that breathing is the difference between a wobble and a hold. The same physiology applies behind a camera, because the diaphragm moves your whole upper body by several millimetres per breath cycle, and at 600mm several millimetres is the whole frame.
The method is simple. Breathe normally while tracking. As the aircraft approaches the point where you want the shot, exhale gently to about half empty, pause without straining, and fire during that pause. The natural respiratory pause after an easy exhale gives you two to three seconds of your steadiest hold. Do not hold a full breath: full lungs mean tension through the chest and shoulders, a faster heartbeat within seconds, and more movement, not less.
Timing bursts inside that pause is the second half of the skill. Modern cameras shoot fast enough that a one-second burst at the right moment beats five seconds of continuous spraying, and it keeps your buffer, your card and your editing session manageable. Track, exhale, burst, recover, repeat. The recover step, dropping the lens to your chest for even five seconds between passes, is what keeps the fatigue curve flat, and it is the habit that separates photographers still sharp at the last display of the day from those who peaked at lunchtime.
Shutter speed and stabilisation
Support technique buys you steadiness; shutter speed decides how much steadiness you need. The two work together, and the right answer changes with the subject, which is why aviation photographers end up with a small table of speeds committed to memory. Our cheat sheet collects them all; here is the reasoning for the handholding cases.
The 1/focal length rule and what is left of it
The old guideline said the minimum handheld shutter speed is one over the focal length: 1/500s at 500mm, 1/600s or the nearest step at 600mm. The rule dates from film days and it describes an unstabilised lens and average technique. Stabilisation rewrites it for static subjects: a five-stop stabiliser turns a 1/500s requirement into a theoretical 1/15s hold on a museum aircraft or a parked airframe. But for flying subjects the rule still earns its keep in a different role, because stabilisers correct camera shake, not subject movement. No stabiliser will freeze a jet crossing the frame; only shutter speed does that.
Speeds that work
For fast jets, work at 1/1000s to 1/2000s and let the ISO float. At these speeds your handholding technique has a wide safety margin and frame-crossing speed is the only real threat, which is a panning problem more than a shake problem. Full technique for jets is in our fast jet guide. For propeller aircraft and helicopters the equation inverts: you must come down to 1/250s or slower to keep the propeller disc or rotor alive, and at those speeds at 500mm-plus, technique and stabilisation carry the whole load. This is the hardest handholding case there is, and it is where the stance, breathing and panning sections of this guide pay for themselves. A helicopter hovering at 1/125s at 600mm is a sterner test of your hold than any jet.
Using the stabiliser properly
Three habits get the most from any stabilisation system. First, choose the right mode: Mode 1 (all-axis) for statics and near-stationary subjects, Mode 2 or the maker’s panning equivalent for anything crossing the frame, so the system corrects vertical shake while leaving your deliberate horizontal sweep alone. Second, give the system a half second: half-press or back-button focus slightly before the shot so the stabiliser settles before the shutter fires; a stabiliser caught mid-correction can smear a frame on its own. Third, do not fight it: if the viewfinder image jumps as you pan, you are in the wrong mode, not cursed with a faulty lens.
Panning at long focal lengths
Panning with a 600mm lens is ordinary panning with the tolerances tightened. The principles are the same as at 200mm, but the angular field is a third of the size, so errors that would pass unnoticed now cost you the frame. If panning itself is new to you, start with our prop blur guide, then come back for the long-lens specifics.
Pan from the hips
The pan must come from your waist and hips, never from your arms. Arms panning independently of the torso is the number one cause of kinked, jerky pans at long focal lengths. Set your feet so the middle of the pan faces the subject, wind your upper body towards the acquisition point, and unwind smoothly as the aircraft crosses. Your locked arms, lens and torso rotate as one turret. The end of the pan matters too: follow through after the shutter closes exactly as a golfer swings through the ball, because stopping the pan at the moment of exposure is a smear you can see in the files.
Match the speed early
Acquire the aircraft early, further out than feels useful, and spend a second or two matching its angular speed before it reaches your shooting window. A matched pan needs only tiny corrections during the exposure. A late acquisition means you are still accelerating the lens when the shutter fires, and acceleration is exactly what ruins slow-shutter frames. This is another argument for the wide stance: acquiring early means starting the pan wound up, and only a stable base lets you rotate 120 degrees without shuffling your feet mid-pass.
Vertical discipline
Display aircraft rarely fly a flat line past the crowd. They climb, curve and descend, and your pan has to carry a vertical component while keeping the horizon level. The trick is to let the left palm control pitch, tilting the lens barrel up and down on the shelf of the hand while the hips supply the horizontal sweep. Practise on airliners on approach, which fly the most predictable lines in aviation and descend at a steady three degrees: if you can hold one in the same third of the frame from a kilometre out to the threshold, display work will feel easy. There are drills for exactly this in our plane spotting guide.
Finding and keeping the subject in the frame
The most demoralising long-lens experience is pointing 600mm of glass at an empty piece of sky while the display happens somewhere else. A 3.4-degree field of view is a soda straw, and finding a fast jet through a soda straw is a skill in itself.
Acquisition
Keep both eyes open and lift the camera along your sightline without moving your head. The technique is to lock your gaze on the aircraft, then bring the viewfinder up to the seeing eye while the free eye keeps watching. With practice the subject is already in the frame when the eyecup lands. If you do lose the aircraft, do not hunt with the lens: zoom out if you have a zoom, reacquire, and zoom back in. With a prime, drop the camera five degrees, find the aircraft with both eyes, and lift again. Hunting through the viewfinder wastes seconds; the drop-and-lift takes one.
Tracking through the display
Learn the display sequence. Aircraft leave a display line predictably: they pull up into loops at the crowd-centre datum, they break left or right at the ends, and display teams split and rejoin on rehearsed cues. Photographers who have watched a team’s display twice know where the next pass comes from, and knowing beats searching every time. Between passes, drop the lens, rest the arms and watch the whole sky. The lens comes up when the aircraft commits to its line, not before.
Let autofocus help
Modern subject-detection autofocus holds a lock through brief framing errors, which effectively enlarges your margin. Set a generous tracking area rather than a single point at long focal lengths, and let the camera keep the lock while you concentrate on the pan. Our autofocus guide covers the settings body by body.
Building stamina and managing a full day
An airshow is an endurance event. Gates open at eight, the last display lands after six, and the light is often best at either end of the day. Handholding technique that works for one display has to survive eight of them, and that is a conditioning and management problem as much as a photographic one.
Condition the specific muscles
The muscles that hold a long lens, the deltoids, the forearm flexors and the upper back, respond quickly to specific training. The best exercise is the obvious one: hold your actual camera and lens in shooting position at home, track imaginary aircraft along the ceiling line, and build from thirty seconds to three minutes over a few weeks. It feels faintly ridiculous and it works. Photographers who do this for a month before the season report the difference at the first show of the year: the lens feels lighter because the specific muscles are stronger, and panning drills sharpen at the same time.
Manage the day
Carry the system on both shoulders, not one: a proper strap or harness that puts the lens at your hip between displays saves the shoulders for shooting. Put the lens down completely during gaps; a 2kg lens held for a five-minute gap between displays is five minutes of fatigue spent on nothing. Eat and drink properly, because trembling has dietary causes as well as muscular ones, and dehydration shows up in your files before you feel it. And plan the day so your most demanding subjects, the slow-shutter prop and helicopter work, come when you are fresh rather than at the end. Our airshow planning guide covers building a day plan around the display schedule.
Know your personal limit
Weight limits are personal and honest self-assessment beats bravado. If your keeper rate falls off a cliff after twenty minutes, that is data, and the answer is either a lighter lens, more recovery breaks or a monopod for the middle of the day, not gritted teeth. The photographers with the highest keeper rates at the end of a long show are almost never the strongest; they are the ones who managed their effort best.
Worked examples from the display line
Four real situations, with the complete handholding decision chain for each.
Fast jet display, 500mm, bright day
Shutter 1/1600s, aperture wide open or one stop down, ISO on auto. At this speed shake is a non-issue if your stance is right, so attention goes entirely to the pan and the framing. Feet set facing crowd centre, acquire at the end of the line, match speed, burst at the crossing point and through the pull-up. The only handholding discipline that matters here is the between-passes rest, because a jet display is eight minutes of continuous temptation to keep the lens up.
Spitfire topside pass, 600mm, 1/250s
The classic hard case: slow shutter for prop blur, long focal length, curving flight path. Stabiliser to panning mode, feet set early with the pan centre on the expected topside point, exhale as the aircraft banks in, one committed burst at the apex. Expect a keeper rate in the low tens of percent and do not be discouraged: everyone’s rate at this combination is a fraction of their jet rate. The frames that land are worth ten frozen-prop jets, as our warbird guide shows.
Helicopter hover, 600mm, 1/125s
The sternest test in the book. No panning motion to mask errors, full rotor blur required, maximum magnification. Everything in this guide applies at once: staggered stance, left palm shelf, elbow braced into the ribs, exhale pause, stabiliser in all-axis mode, and short bursts fired inside the respiratory pause. If a fence post, railing or friend’s shoulder is available, use it; pride has no place at 1/125s and 600mm. More rotor-specific technique is in our helicopter guide.
Airliner on approach at dusk, 500mm, 1/320s
Fading light pushes the shutter down and the ISO up. The approach path is predictable, so set your feet for a long smooth pan, acquire early, and let the stabiliser’s panning mode do the vertical correction while you concentrate on a constant-speed sweep. Dusk approaches are the best free practice aviation offers: one aircraft every ninety seconds on a known line, as covered in our airliner guide.
Handholding in wind, cold and crowds
Technique guides tend to assume a calm day and an empty field. Real aviation photography happens in gusts, at freezing dawn arrivals and shoulder to shoulder on a crowd line, and each of those changes the handholding method in specific ways.
Wind
A long lens with its hood fitted is a sail. In a gusting crosswind the front element gets pushed in irregular shoves that no stabiliser fully absorbs, because the movements are large and low-frequency. Three counters work. Turn your body so the wind comes from behind your leading shoulder rather than square across the lens. Widen your stance a half step beyond normal and drop your centre of gravity slightly, exactly as you would carrying a heavy box in wind. And in strong gusts, take the hood off: you lose some flare protection, which matters less on overcast windy days anyway, and the pushing force drops noticeably. Raise the shutter speed a stop as well; wind-shove is subject-independent and only a shorter exposure hides it.
Cold
Cold degrades handholding twice over. Muscles at a February fence line lose fine control long before they feel painful, and bulky gloves ruin the open-palm support that good technique depends on. Thin liner gloves under fingerless outer mitts preserve the palm shelf and the control feel. Keep the lens slung and your hands in pockets between movements, and double your rest intervals, because cold muscles fatigue faster and recover slower. Shivering, once it starts, ends slow-shutter work entirely: walk, warm up, come back. Dawn arrivals photographed at 1/160s are won and lost on body temperature management, not camera settings.
Crowds and barriers
On a packed crowd line the full panning stance is often impossible: there is a person at each elbow and a fence at your chest. Adapt rather than fight. Claim your footprint early and set the staggered stance inside it, angled to the display line. Use the barrier: a beanbag, a folded jacket or even a forearm on the fence rail turns the obstruction into a support, and the fence-rest hold is often steadier than free standing. When a full pan is blocked, shoot the arriving and departing thirds of the pass in two short pans instead of one long one. And watch your lens swing when you turn; at 600mm you are wielding a third of a metre of glass at other people’s head height. Fence-specific technique, including shooting through mesh cleanly, is covered in our airfield fence guide.
Shooting verticals
A vertical pull-up or a climbing pass forces the camera into portrait orientation, and the standard hold falls apart exactly when the subject is most dramatic. Rotate the camera so the shutter hand is on top, keep the left palm under the barrel where it was, and drop the left elbow to your stomach rather than your ribs. The pan for a vertical subject is a tilt, driven by the knees and back rather than the hips: soften the knees and rock back smoothly as the aircraft climbs. Practise the transition from horizontal pan to vertical tilt on departing airliners, which rotate and climb on a predictable schedule every couple of minutes.
Common mistakes and how to fix them
These are the faults we see most often on the crowd line, each with its one-line fix.
Gripping the barrel. White knuckles mean tense forearms and tense forearms tremble. Open the hand, let the lens sit in the palm.
Left hand too close to the body. Support near the mount leaves the heavy front element on a long lever. Slide the hand forward under the zoom ring.
Square stance. Feet side by side give you no fore-aft stability and a cramped pan. Stagger the leading foot towards the flight line.
Holding a full breath. Full lungs are tense lungs. Fire on the pause after an easy exhale.
Wrong stabiliser mode. All-axis mode during a pan fights the sweep and jitters the frame. Panning mode for anything crossing; all-axis for statics and hovers.
Keeping the lens up between passes. This is the silent keeper-rate killer. Down, rest, up. The display will still be there.
Chasing with the arms. Arms-only panning kinks the track. Lock the triangle, rotate from the hips.
Shutter speed borrowed from a shorter lens. A speed that was safe at 300mm is marginal at 600mm on the same subject. When in doubt at long focal lengths, halve the exposure time and raise the ISO; noise cleans up in post, smear does not.
When a monopod wins
Handholding is a tool, not a religion. There are days and briefs where a support simply produces better files, and recognising them is part of the craft.
A monopod earns its place when shutter speeds live below 1/250s for long stretches, as they do on a props-and-warbirds programme; when the lens is really heavy, a 3kg-plus prime rather than a 2kg zoom; when you are shooting from a fixed position all day anyway, as at an enclosure with an assigned spot; and when a long static subject list, engine runs, taxi shots and statics, means the lens is up more than it is down. Our monopod guide covers heads, technique and the panning compromises in full.
The honest rule: if your keeper rate on slow-shutter subjects is consistently below what the monopod gives you, use the monopod and spend your energy on timing and composition instead. The image does not record how it was supported. Plenty of the frames in our archive galleries were shot from a monopod without apology, and plenty more were handheld because the moment demanded mobility. The subject decides, not the ego. Everything in the galleries is available to license for editorial and commercial use through our licensing page.
Frequently asked questions
What shutter speed should I use when handholding a 500mm lens?
It depends on the subject, not just the lens. For fast jets use 1/1000s to 1/2000s, where handshake has a wide safety margin. For propeller aircraft and helicopters you need 1/250s or slower to keep the prop or rotor blurred, and at those speeds stance, breathing technique and the stabiliser’s panning mode do the heavy lifting. For static aircraft a modern five-stop stabiliser lets you handhold far below the old 1/500s guideline.
Is image stabilisation enough to handhold 600mm?
For static and slow subjects, yes. Current systems from Canon, Nikon, Sony and Sigma quote roughly four to five and a half stops of correction, which makes sharp handheld frames of parked aircraft routine. Stabilisation only corrects camera shake though. It cannot freeze a moving aircraft, so for flying subjects you still need an appropriate shutter speed and a smooth pan.
How heavy is too heavy to handhold for aviation photography?
Most photographers can handhold around 2kg of lens for a full display with rest breaks, which covers the current 150-600mm and 200-600mm class. Beyond roughly 3kg, sustained handholding becomes a specialist effort and a monopod usually produces better files. The honest test is your own keeper rate: if it collapses after twenty minutes, the lens is too heavy for your current technique or conditioning.
Should I turn image stabilisation off when panning?
No, switch modes instead. Use the panning mode (Mode 2 on most systems), which corrects vertical shake while leaving your horizontal sweep alone. All-axis stabilisation during a pan fights your deliberate movement and can make the viewfinder image jump. Only older lenses without a panning mode benefit from switching stabilisation off for fast pans.
Do I need a monopod at an airshow?
Not necessarily. A 2kg super-telephoto zoom is comfortably handholdable for most people with good technique, and handholding gives faster target acquisition and freer panning. A monopod wins when shutter speeds sit below 1/250s for long periods, when the lens weighs 3kg or more, or when you shoot from one fixed spot all day. Many photographers handhold displays and use the monopod for statics and engine runs.
Does the 1/focal length rule still apply with modern stabilisation?
As a hard rule, no. Stabilisation lets you handhold static subjects several stops below 1/500s at 500mm. The rule survives as a useful mental benchmark for unstabilised situations and as a reminder that magnification multiplies shake. For moving aircraft the subject’s speed across the frame, not the rule, sets your shutter speed.
How do I stop my arms shaking with a long lens?
Shaking is almost always fatigue or tension rather than weakness. Support the lens with an open palm rather than a grip, tuck the left elbow into your ribs so bone carries the load, lower the lens completely between passes, and fire during the pause after a gentle exhale. Conditioning helps too: holding your camera in shooting position for a few minutes a day for a month before the season measurably steadies your hold.
Are lightweight 500mm primes better than zooms for handholding?
They are lighter, and lenses like Nikon’s 1,460g 500mm f/5.6E PF are easier to hold up for long periods than a 2,100g zoom. The trade-off is flexibility: with a prime you cannot zoom out to reacquire a lost subject or frame a wide formation, and at an airshow that costs shots. Many photographers pair a light prime with a second body and a 70-200mm to cover both needs.
Is a monopod better than handholding a long lens?
It depends on the subject. A monopod takes the static weight and helps on long lens work where you are tracking smoothly, which is why many photographers use one for whole airshow days. Handholding gives you far more freedom to follow an aircraft through a fast, high pass or a topside roll. Most working photographers do both, using a monopod for heavy glass and long waits and dropping it for the unpredictable passes.
Does image stabilisation help when handholding a long lens?
Yes, substantially, but choose the right mode. Most makers offer a panning-aware mode that stabilises only the vertical axis so it does not fight your horizontal movement. Canon calls this Mode 2, Nikon has Sport VR and similar options, and OM System and Sony have their own equivalents. Check your specific body and lens, because the naming and behaviour vary.
How do I stop my arms getting tired at an airshow?
Do not hold the lens up between passes. Rest the rig on your shoulder or across your body, or set it on a monopod, and only bring it to your eye when something is running in. Support the lens with your left hand well forward under the barrel rather than gripping the camera body, keep your elbows tucked into your ribs, and stand with your feet apart so your torso rotates as one unit.
What is the heaviest lens you can realistically handhold?
Most people can handhold a 2 to 3 kg telephoto for a full display if their technique is sound, which covers the common 100-400, 200-600 and 150-600 zooms. Beyond about 3 kg, such as an exotic 500mm f/4 or 600mm f/4 prime, handholding becomes a short-burst activity rather than something you sustain, and a monopod stops being optional.
Your thumb has a role too: back-button focus pairs naturally with a stable long-lens hold, keeping focus control off the shutter finger.
