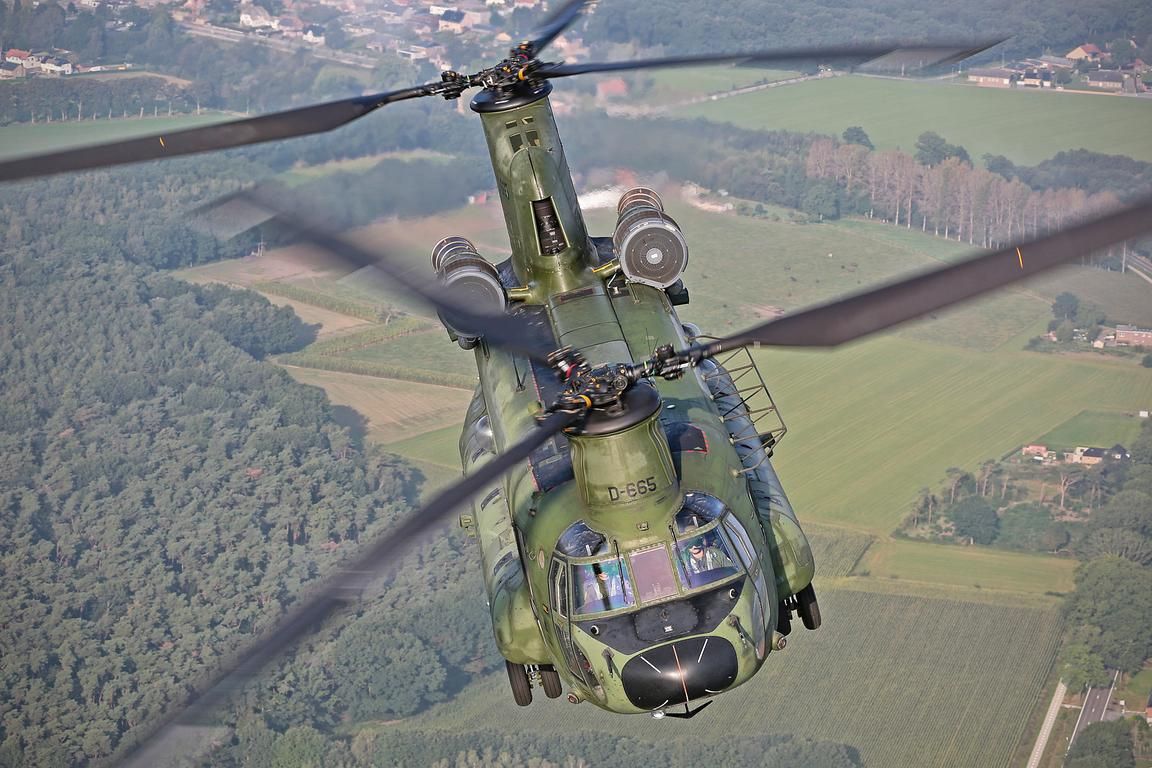
To photograph helicopters well you shoot in shutter priority at around 1/125 of a second, pan smoothly with the aircraft and let the rotor blades blur into a full, living disc. That single decision, choosing a shutter speed slow enough to show the rotor turning, separates a helicopter photograph that feels alive from one that looks like a plastic model hanging on a string. Everything else in this guide, the panning, the autofocus setup, the lens choice, exists to help you hold the airframe sharp while the blades do their work.
Helicopters are the slowest aircraft you will ever photograph and, at the same time, the most demanding. A fast jet forgives you with speed: 1/1000 of a second, track it, done. A helicopter punishes the same settings by turning into a frozen sculpture. This guide covers the whole craft, from the physics of rotor blur to the exact settings for a hovering Chinook, and it draws on the same field experience behind our prop blur guide and fast jet guide.
What this guide covers
- Why helicopters are a different challenge
- Rotor blur explained
- Choosing your shutter speed
- Panning technique for moving helicopters
- The full settings recipe
- Autofocus and tracking
- Photographing the hover
- Know your subject: rotor systems compared
- Light, backgrounds and composition
- Where to photograph helicopters
- Common mistakes and how to fix them
- Lenses and gear for helicopter photography
- Processing helicopter shots
- Frequently asked questions
Why helicopters are a different challenge
Every aviation photographer learns the same lesson at their first airshow. You spend the morning shooting the jets at 1/1000 or faster, the images look crisp, and you feel invincible. Then the helicopter display arrives, you keep the same settings, and every frame comes back dead. The airframe is pin sharp. The rotor blades are pin sharp too, and that is the problem. A helicopter with frozen blades looks broken. The eye reads it instantly as wrong, even if the viewer cannot say why. A machine that stays airborne through movement has to show movement.
The difficulty is that the fix works against you. Slow the shutter to 1/125 and the blades sweep into a beautiful arc, but now every wobble of your hands, every step of the zoom ring, every gust shaking your monopod prints straight into the frame. Helicopter photography is a constant negotiation between two kinds of sharpness: you want the fuselage sharp and the blades blurred, and both outcomes depend on the same shutter speed pulling in opposite directions.
There is a second complication that propeller aircraft do not have. A Spitfire has one propeller on one axis, pointing the way the aircraft travels. A helicopter has a main rotor turning on a roughly horizontal disc and a tail rotor turning on a vertical one, and the tail rotor spins considerably faster than the main rotor. A shutter speed that blurs the main rotor nicely will usually blur the tail rotor into invisibility, while a speed that shows tail rotor detail freezes the main disc. You cannot serve both, so you prioritise the main rotor and let the tail rotor go.
The third difference is behaviour. Jets fly past you on predictable display lines. Helicopters hover, pirouette, fly backwards, bow to the crowd and hold position thirty feet up while the pilot waves. This is a gift, because a hovering subject lets you shoot far slower shutter speeds than a crossing one, and this guide will show you how to exploit that.
Rotor blur explained
Rotor blur is simply the arc each blade sweeps during the time your shutter is open. The longer the exposure, the longer the arc. Understand the numbers and you can predict the look before you press the button.
Helicopter main rotors turn far more slowly than most people assume. A light two-seat trainer like the Robinson R22 runs its main rotor at roughly 500 revolutions per minute, while the huge tandem rotors of a Chinook turn at around 225. The reason is physics: blade tips must stay comfortably below the speed of sound, so the bigger the rotor diameter, the slower it turns. What this means for you is that a big helicopter needs a slower shutter speed than a small one to show the same amount of blade sweep.
Run the arithmetic for a rotor at 400 rpm, a fair midpoint for many types. That is about 6.7 revolutions per second, or one revolution every 150 milliseconds. At 1/250 of a second the blade sweeps roughly 10 degrees, barely more than a frozen line with soft edges. At 1/125 you get around 19 degrees, a clear, deliberate arc. At 1/60 the sweep passes 40 degrees, and with a multi-blade rotor the arcs begin to overlap into the classic near-solid disc. Photographers who chase the full-disc look shoot at 1/30, 1/15 or even slower, where a two-blade rotor sweeps most of a half turn.
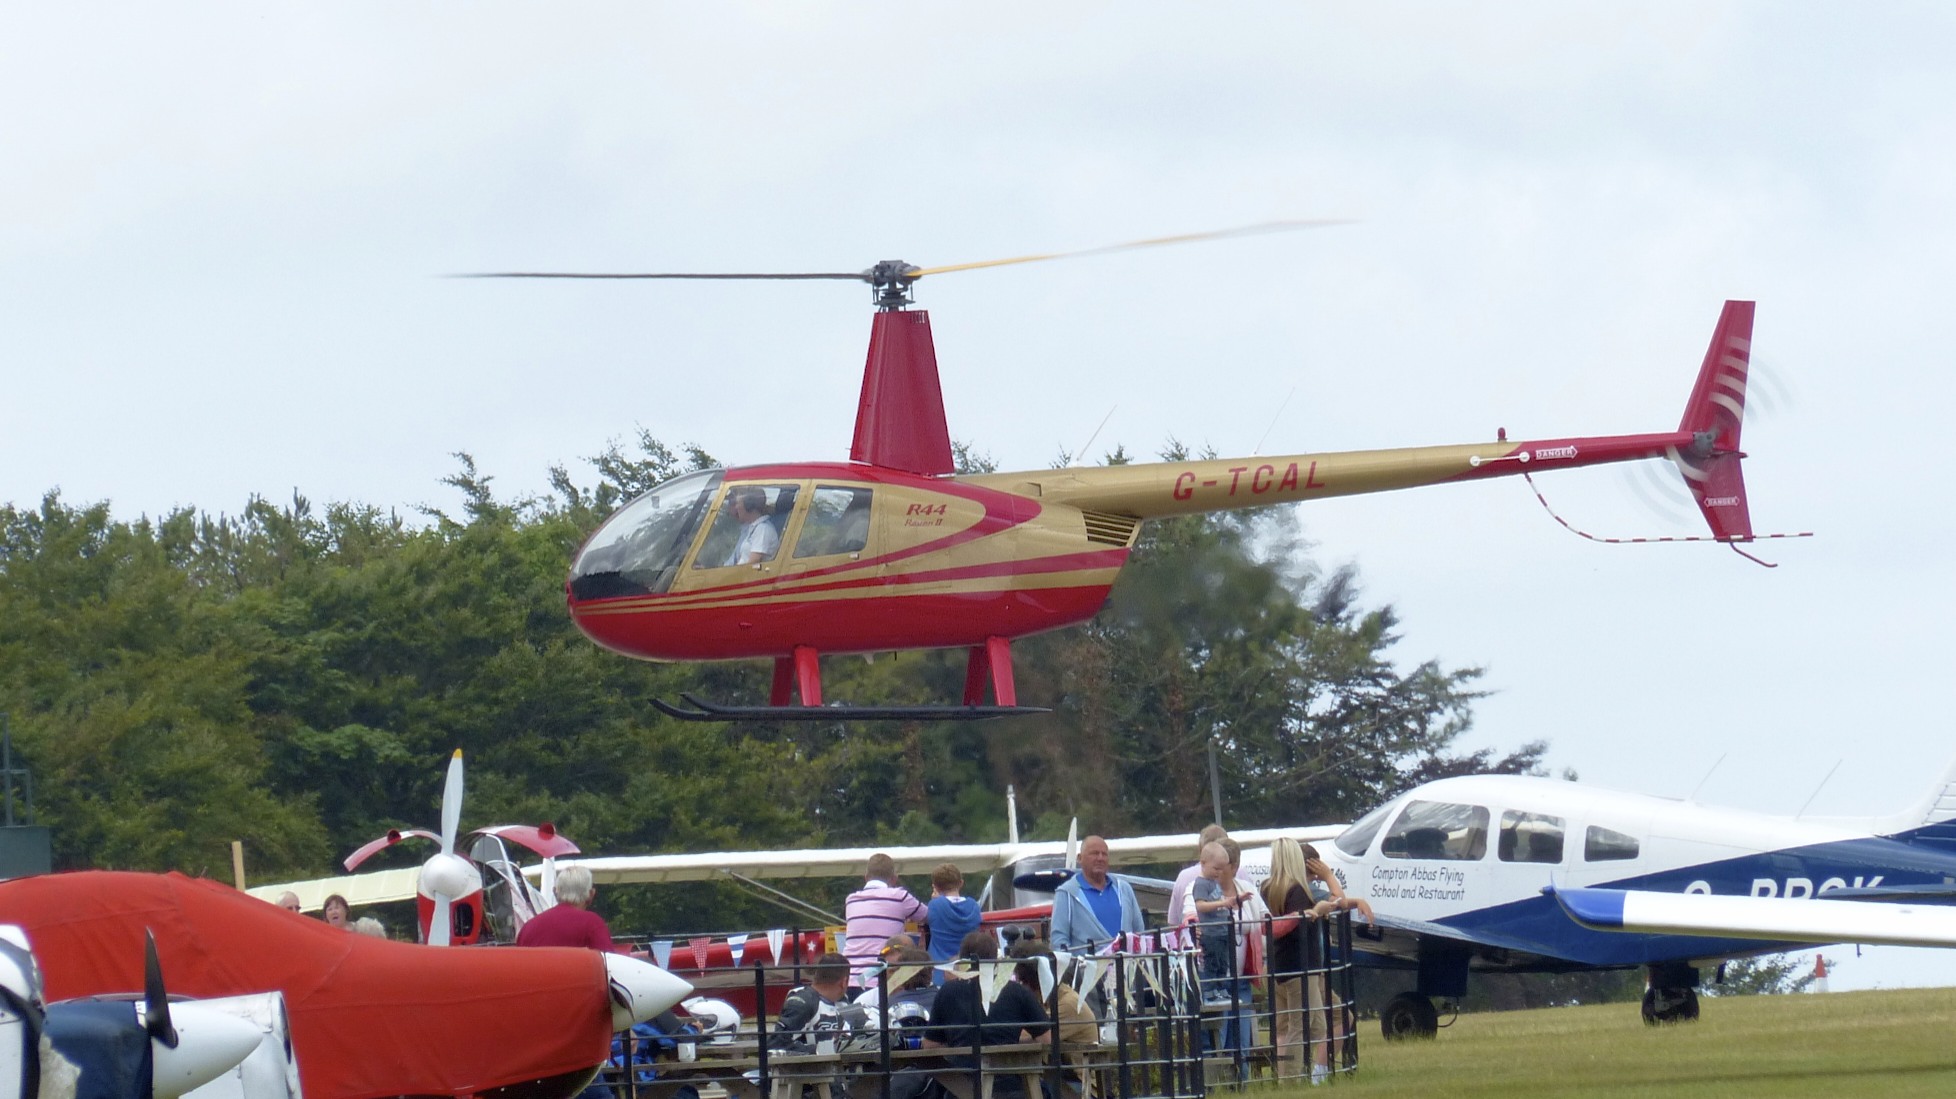
Blade count changes the look as much as rpm does. A two-blade Robinson gives you two thin arcs that need a very slow shutter to join up. A five-blade rotor fills its disc quickly, so even 1/160 can look respectable. This is why a settings recipe that worked on one type disappoints on another, and why the rotor systems section below is worth your time before an event.
One warning about very slow speeds: heat haze and downwash. A hovering helicopter sits in a column of its own disturbed air, and on a warm day the space under and behind it shimmers. No shutter speed fixes haze, so if the air is boiling, get closer, change angle, or accept the loss and shoot tighter crops later in the day.
Choosing your shutter speed
Every helicopter photographer settles on a personal ladder of shutter speeds. Here is a proven one, and the reasoning behind each rung. Treat 1/125 as home. It blurs the main rotor convincingly on almost every type, and your keeper rate while panning stays realistic. When the helicopter is hovering, or when you are feeling confident, step down. When it is crossing fast, or the wind is shoving your lens, step up, but know what you lose: by 1/250 most rotors look nearly stopped, and beyond that the image goes lifeless.
| Shutter speed | What you get | When to use it |
|---|---|---|
| 1/500 and faster | Frozen blades, dead image | Almost never; only for record shots of fast crossing transits where blur is impossible anyway |
| 1/250 | Slight softening at blade tips | Windy days, long lens handheld, first attempts while you build confidence |
| 1/160 to 1/125 | Clear, deliberate blade arcs | The working standard for crossing passes and display flying |
| 1/100 to 1/60 | Long arcs, discs begin to fill | Hovers, slow passes, well-practised panning |
| 1/30 and slower | Full disc, dramatic background streaks | Hovering subjects, braced or supported lens, high frame rate, low expectations and big rewards |
Two refinements make this ladder work harder for you. First, adjust for rotor size. A Chinook or a Merlin, with big slow rotors, wants a stop slower than the table says; a small Robinson wants whatever you can hold. Second, adjust for focal length. Blur from camera shake scales with focal length, so 1/60 at 200mm is far easier than 1/60 at 600mm. If you must shoot slow at long reach, find a fence post, a friend’s shoulder, or drop to one knee and brace the elbow. Our monopod guide covers the support question in depth.
Shoot in shutter priority (Tv or S on the dial) rather than full manual for moving helicopters, and let the camera ride the aperture. Aviation light changes second by second as the aircraft moves against bright sky, dark trees and back again, and you have enough to think about. Manual with auto ISO achieves the same result if you prefer to lock both shutter and aperture. What matters is that the shutter speed is a decision you made, not a side effect.
Bracket your speeds across a display, not within a pass. Fly one pass at 1/125, the next at 1/80, a hover sequence at 1/40. Reviewing between passes tells you what you and the conditions can hold today. Wind changes that answer, coffee changes it, and a 600mm lens changes it a lot.
Panning technique for moving helicopters
Panning is the whole game at slow shutter speeds. The aim is simple to describe and hard to do: the lens keeps the helicopter in exactly the same place in the frame for the whole exposure, so the airframe stays sharp while the blades and the background smear.
Set your feet first. Stand facing the point where you will end the pan, not where you will start it, then twist your upper body back towards the approaching aircraft. Uncoiling is smoother than winding up. Feet shoulder width apart, elbows tucked into your ribs, left hand under the lens barrel taking the weight, right hand only squeezing the shutter. The camera swings because your hips turn, not because your arms move.
Pick up the aircraft early, while it is still small in the frame, and match its speed before you fire. The most common panning fault is starting the swing as you press the button; the first frames are always smeared because the lens is accelerating. Track, settle, then shoot a burst through the sweet spot of the arc, and follow through after the last frame exactly as a golfer follows through a swing. Stopping the pan at the moment of exposure is the second most common fault, and it shows up as a sharp start and a smeared finish inside a single burst.
Helicopters give you one unusual gift and one unusual problem. The gift is speed: a display helicopter crosses at 60 to 120 knots, half the speed of a jet, so the angular tracking is gentler and slower shutter speeds are realistic. The problem is flight path. Jets fly lines; helicopters wander. A Chinook in a role demo will decelerate mid-pass, pitch its nose up hard and stop dead, and if you are panning on autopilot you will swing straight past it. Watch the display, learn its shape on the first run, and be ready for the aircraft to stop being a panning subject and become a hover subject in the space of two seconds.
If your lens has stabilisation modes, use the panning mode (Mode 2 on Canon and Sigma, Sport on Nikon) which stabilises only the vertical axis and leaves your horizontal swing alone. Normal mode fights the pan and produces strange stuttery results. At 1/30 and slower some photographers switch stabilisation off entirely and trust technique; test both on your own kit, because bodies and lenses differ.
The full settings recipe
Here is the complete starting configuration, the one to dial in before the helicopter appears. It assumes a modern mirrorless or DSLR body with a telephoto zoom; adapt the labels to your brand. For the wider airshow context, our airshow settings quick reference pairs well with this section.
| Setting | Value | Why |
|---|---|---|
| Mode | Shutter priority (or manual with auto ISO) | Shutter speed is the creative decision; delegate the rest |
| Shutter speed | 1/125, adjusted per the ladder above | Convincing rotor blur with a workable keeper rate |
| ISO | Auto, capped at your body’s comfortable maximum | Slow shutters rarely need high ISO in daylight; the cap protects night shoots |
| Drive | Continuous high | Blade positions are random; more frames means better arcs to choose from |
| Autofocus | Continuous (AF-C or AI Servo), tracking area | The subject moves even when it hovers |
| Stabilisation | Panning mode for passes, normal for hovers | Match the mode to the movement |
| Metering | Evaluative or matrix, with exposure compensation ready | Dark airframes against bright sky fool meters; expect to add up to a stop |
| File | RAW | Slow-shutter keepers are rare enough to deserve full editing headroom |
A note on aperture, since shutter priority takes it out of your hands. At 1/125 in bright daylight the camera will drive the aperture towards f/16 or beyond, deep into diffraction territory, and on very bright days it may run out of range entirely. The fix is to drop ISO to base and accept small apertures, or fit a polariser, which costs a stop and a half and also deepens sky colour. Diffraction softness at f/16 is real but modest, and it matters far less than the life the slow shutter buys you.
Watch your exposure compensation against dark green and grey military airframes. A meter aimed at an olive drab Merlin filling the frame will overexpose the sky behind it; a meter aimed at a tiny helicopter in a huge bright sky will underexpose the aircraft into a silhouette. Our guide to metering for bright skies deals with this exact problem in detail.
Autofocus and tracking
Autofocus for helicopters is easier than for jets in one way and harder in two. The easy part is speed: closure rates are low, so any modern continuous AF system holds a crossing helicopter without drama. The first hard part is the rotor. Some AF systems, especially older contrast-based ones and some subject-detection modes, occasionally grab the spinning blades or the blur disc instead of the fuselage. If your camera has aircraft or vehicle detection, test it early in the day; most current systems lock onto the cockpit or engine mass correctly, but if yours hunts, fall back to a small expandable AF area held on the nose.
The second hard part is the hover taxi against ground clutter. A helicopter hover taxiing along a crowd line passes in front of trees, hangars, fire trucks and fences, and a wide tracking area will happily jump to the background the moment contrast there beats contrast on the aircraft. Tighten the AF area for anything happening below the horizon, and widen it again for aircraft against clean sky. Our full airshow autofocus guide covers the button setup that lets you switch areas with your thumb without leaving the viewfinder.
Back-button focus earns its keep here. Separating focus from the shutter release means you can hold focus on a hovering helicopter and time your bursts for blade position and nose attitude without the camera refocusing between frames. It also lets you recompose during a hover without the AF point wandering onto sky.
Photographing the hover
The hover is the helicopter photographer’s secret weapon, and most people waste it. A hovering helicopter is very nearly a static subject, which means the panning constraint disappears and the only blur limit left is your own stability. This is where 1/30, 1/15 and the full-disc look live.
Treat a hover like a tripod opportunity even without a tripod. Brace against anything solid. Switch stabilisation to its normal mode, because there is no pan for it to fight and modern stabilisers are worth three to five stops on a static subject. Shoot long bursts of eight or ten frames; hand shake is random, and in every long burst one or two frames land on the moment your wobble cancelled itself.
Watch the aircraft’s attitude, not just its position. A hover is never truly still: the nose bobs, the tail swings a few degrees, the pilot corrects for gusts constantly. The keeper frames are the ones where the nose is level or slightly up and the aircraft is presenting its side or three-quarter view. And watch for the moments display crews build in for you: the bow to the crowd, the pedal turn that swings the tail past the line, the steep wingover-style departure. The pirouette in particular is a gift, because the airframe rotates while the position holds, and a slow shutter turns the rotor into a full disc while the fuselage stays acceptably sharp.
Hovers are also your chance for detail. Crew in the door, pilots’ helmets in the cockpit, the flex of the blades at their tips, downwash flattening the grass in a perfect circle. Zoom in. A 600mm frame of a Chinook’s forward rotor head with the crew visible below it says more about heavy-lift aviation than any full-airframe record shot.
Know your subject: rotor systems compared
Ten minutes of homework on the types displaying transforms your results, because rotor systems photograph differently. The two variables that matter are blade count and rotor speed, and they usually move together: light helicopters have few blades turning fast, heavies have many blades turning slowly.
| Type | Main rotor | What it means for you |
|---|---|---|
| Robinson R22 / R44 | 2 blades, fast (roughly 400 to 530 rpm) | Thin twin arcs; needs 1/60 or slower for a filled disc, but the fast rotor helps blur arrive quickly |
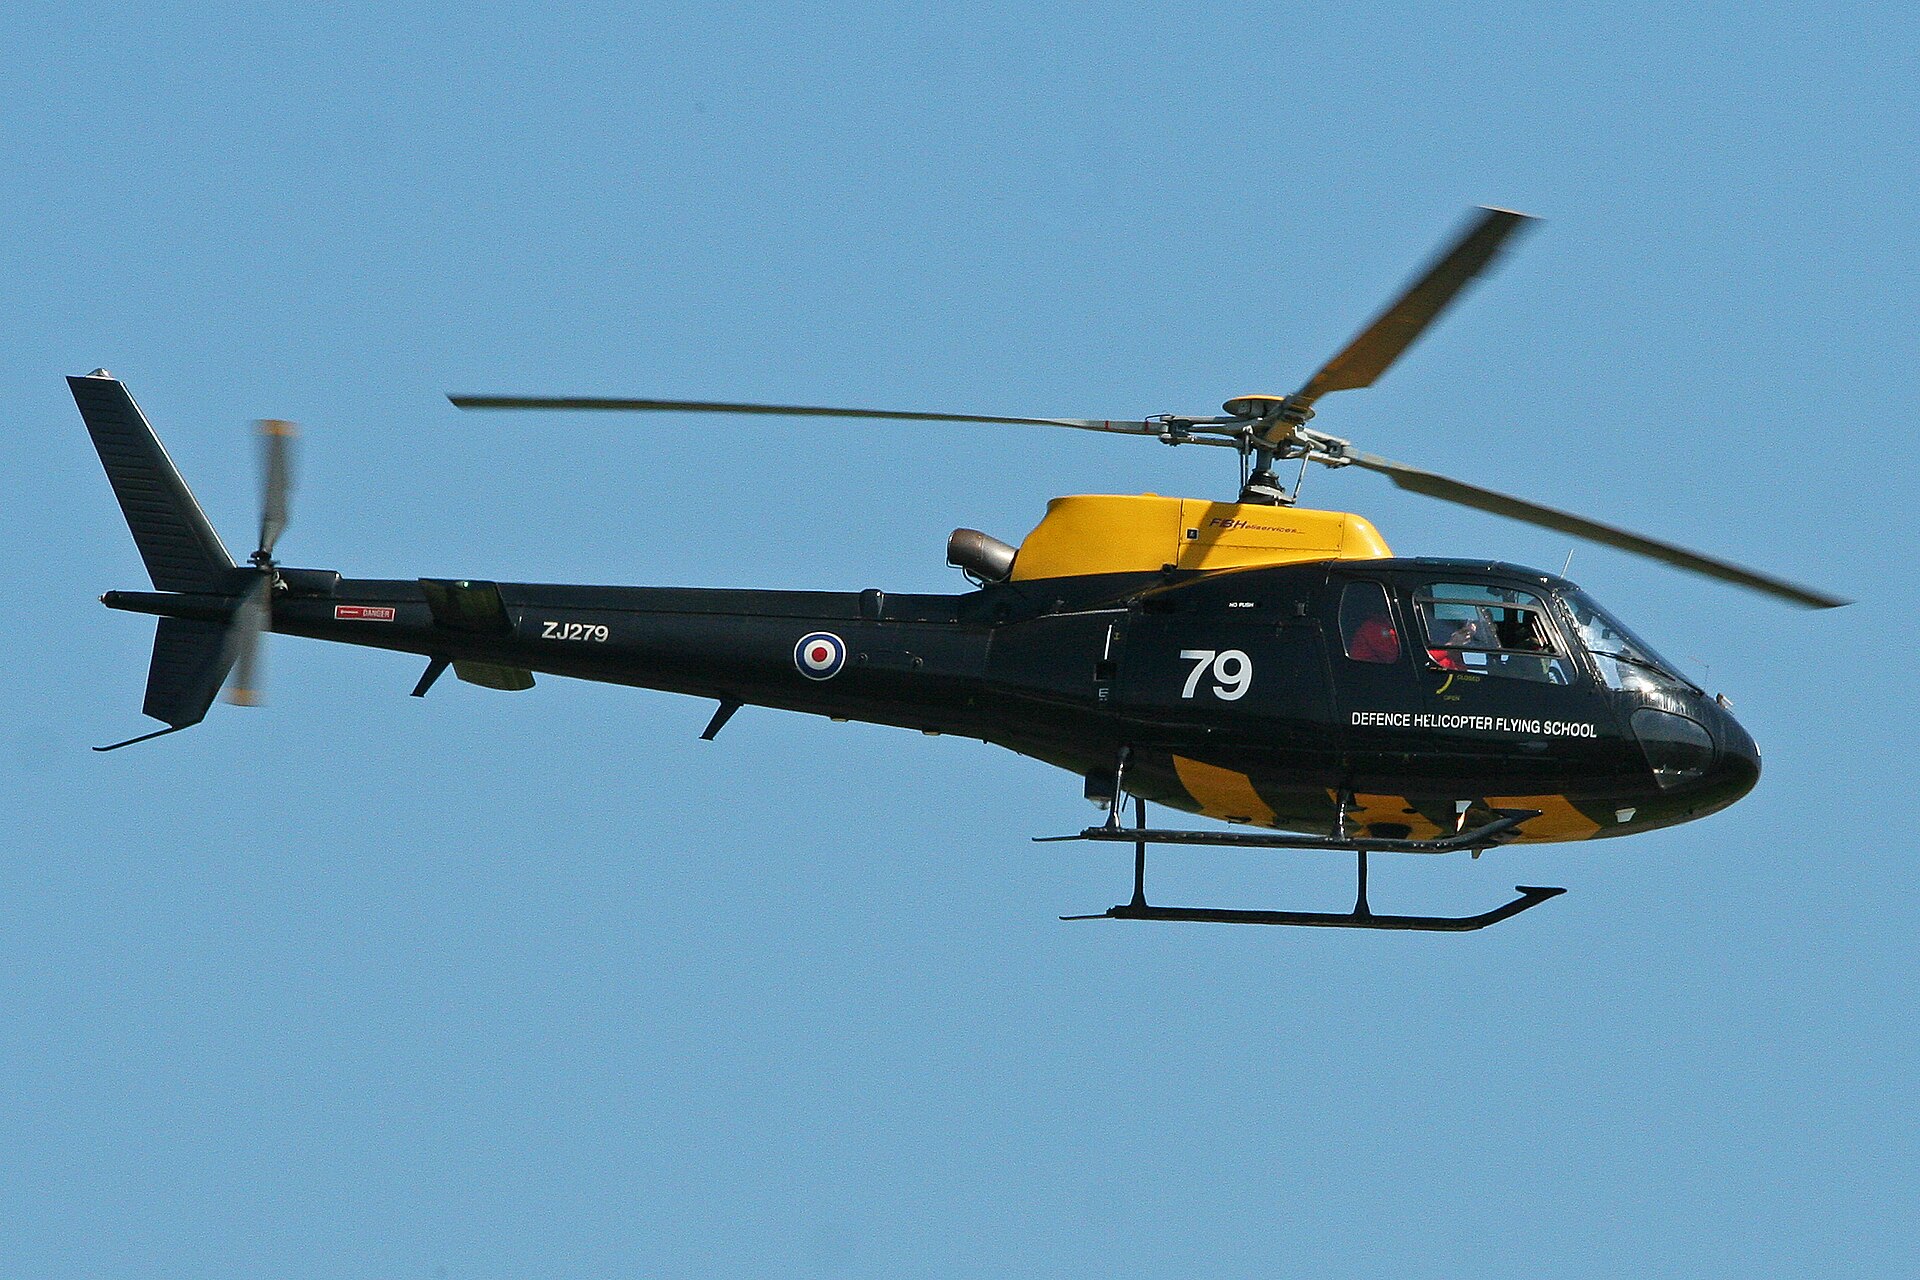
| Airbus AS350 / H125 family | 3 blades | Balanced; 1/125 gives pleasing arcs, 1/60 approaches a disc |
| Boeing AH-64 Apache | 4 blades | Disc fills readily; 1/160 already looks alive, 1/100 is dramatic |
| Leonardo AW101 Merlin | 5 blades, large diameter | Slow big rotor with many blades; even 1/200 shows movement, 1/125 fills the disc |
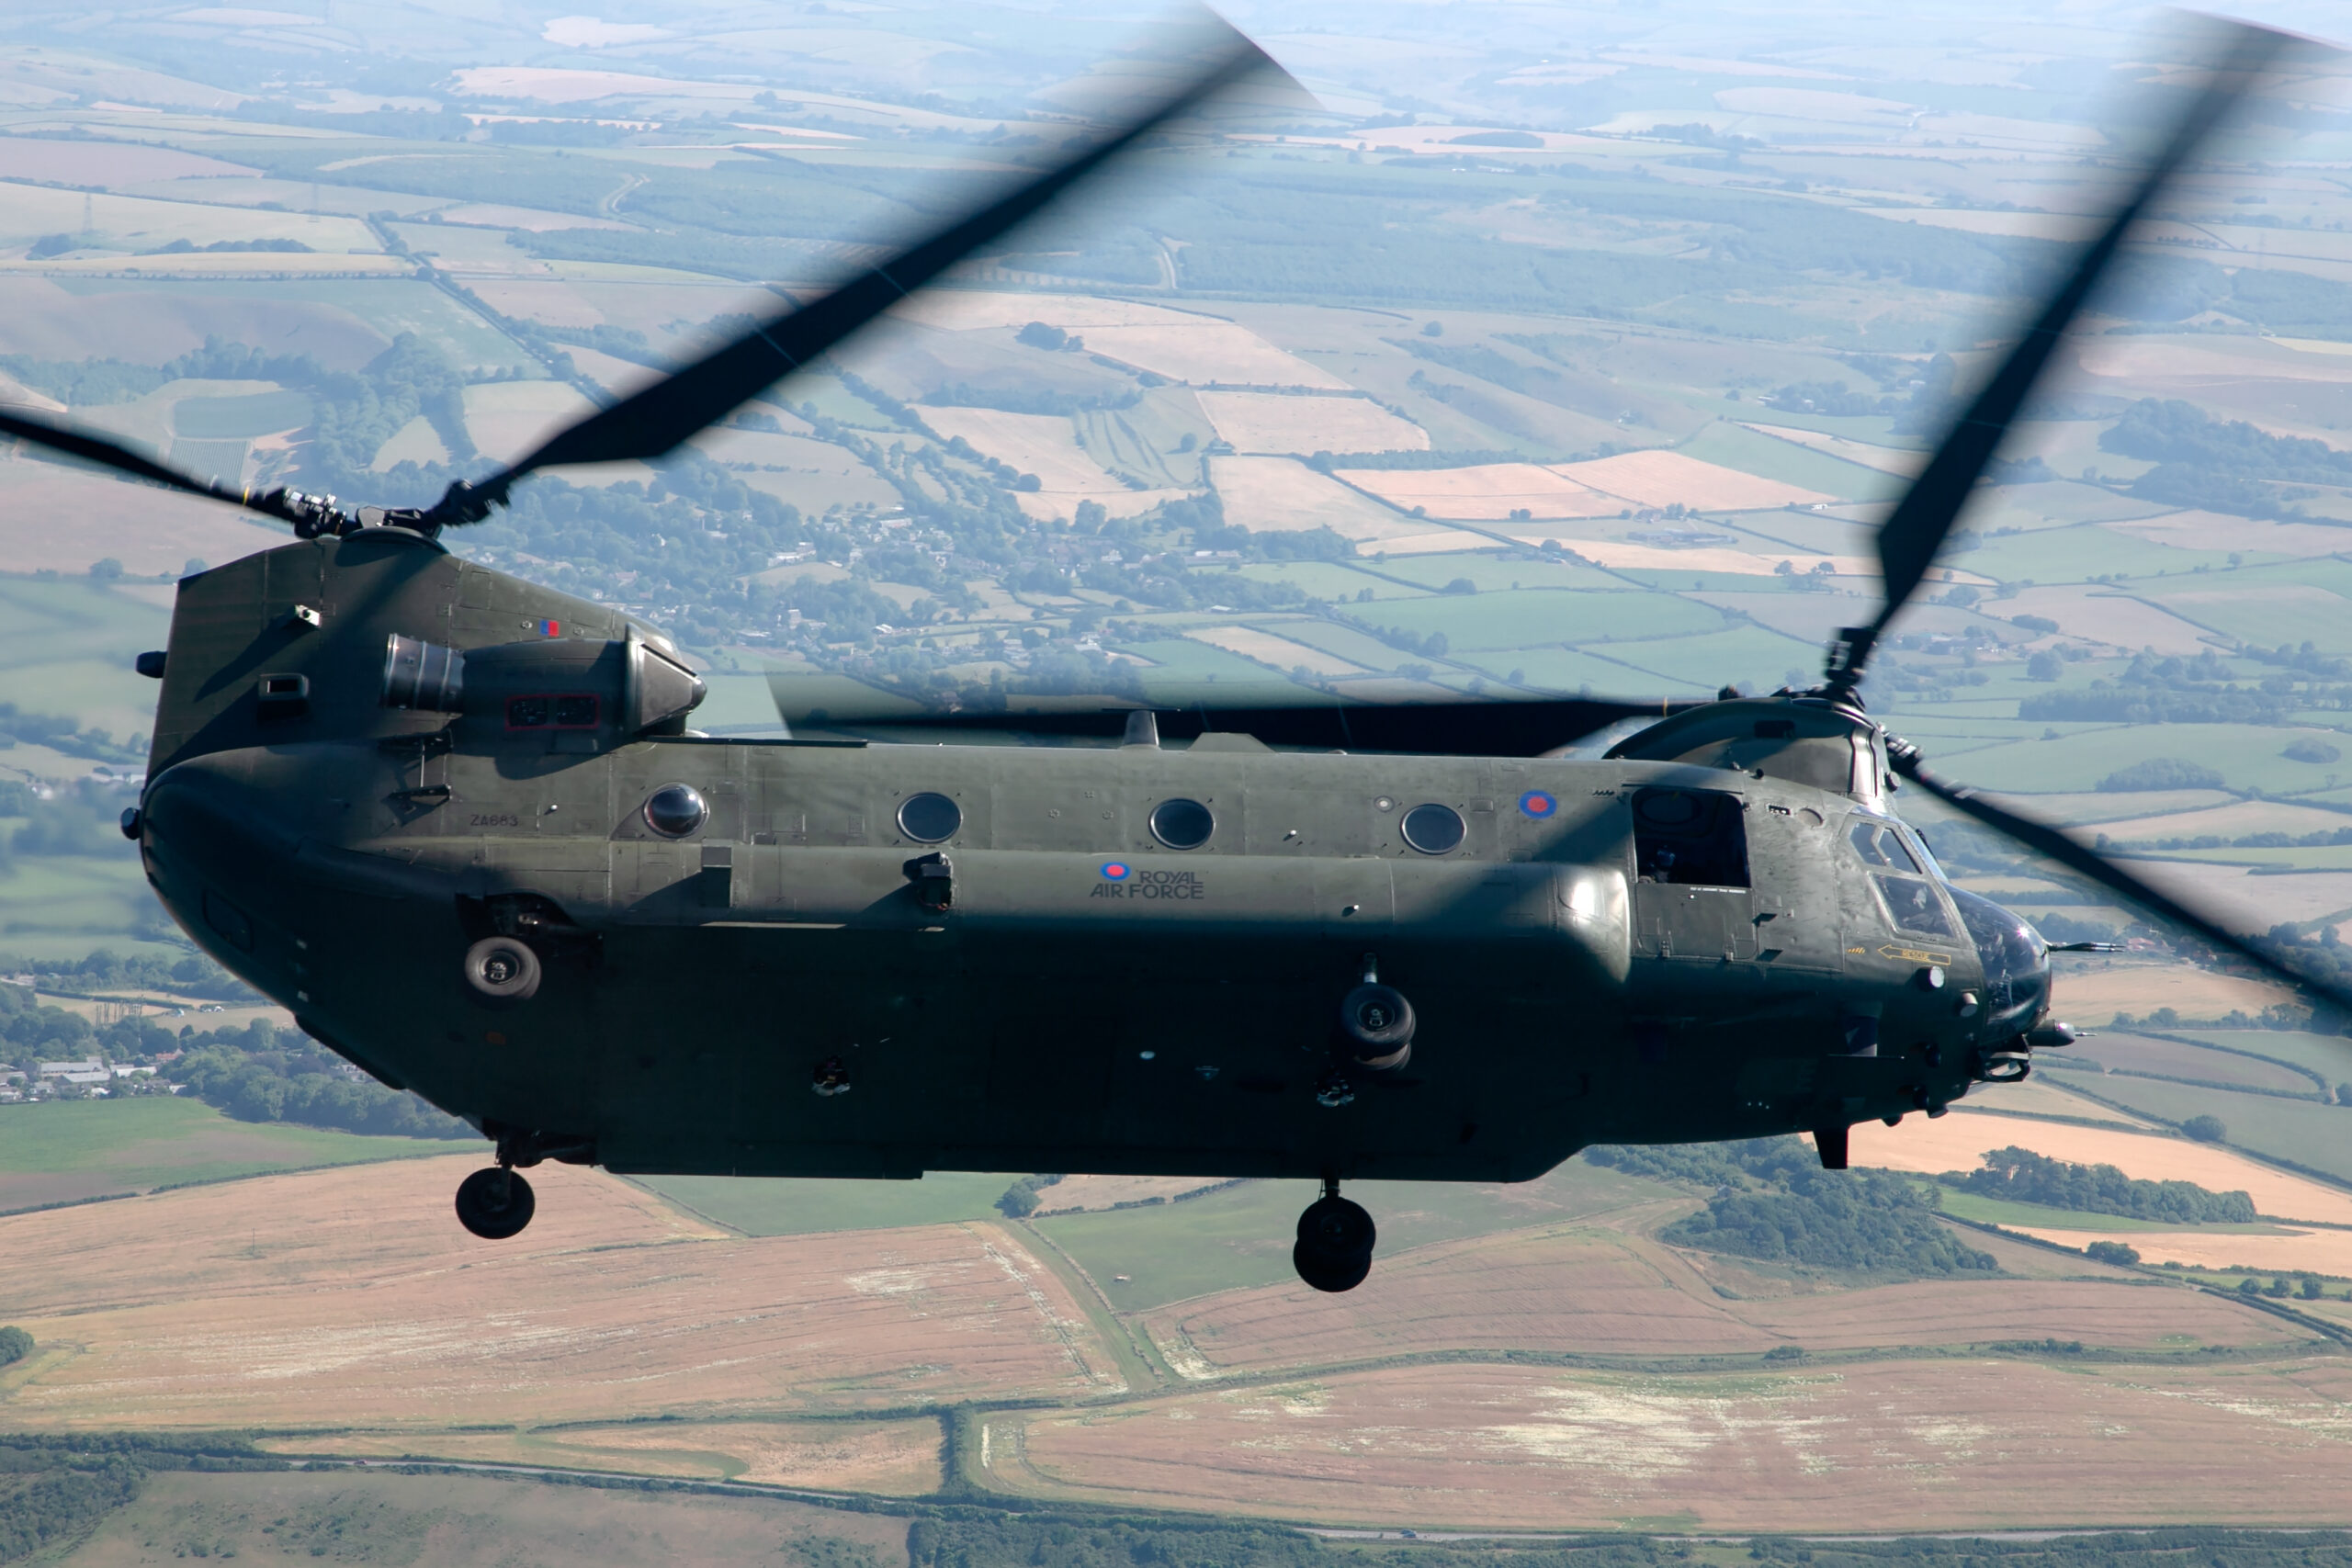
| Boeing CH-47 Chinook | 2 rotors, 3 blades each, around 225 rpm | Very slow rotors; go a stop slower than usual, and mind that the two discs overlap visually on some angles |
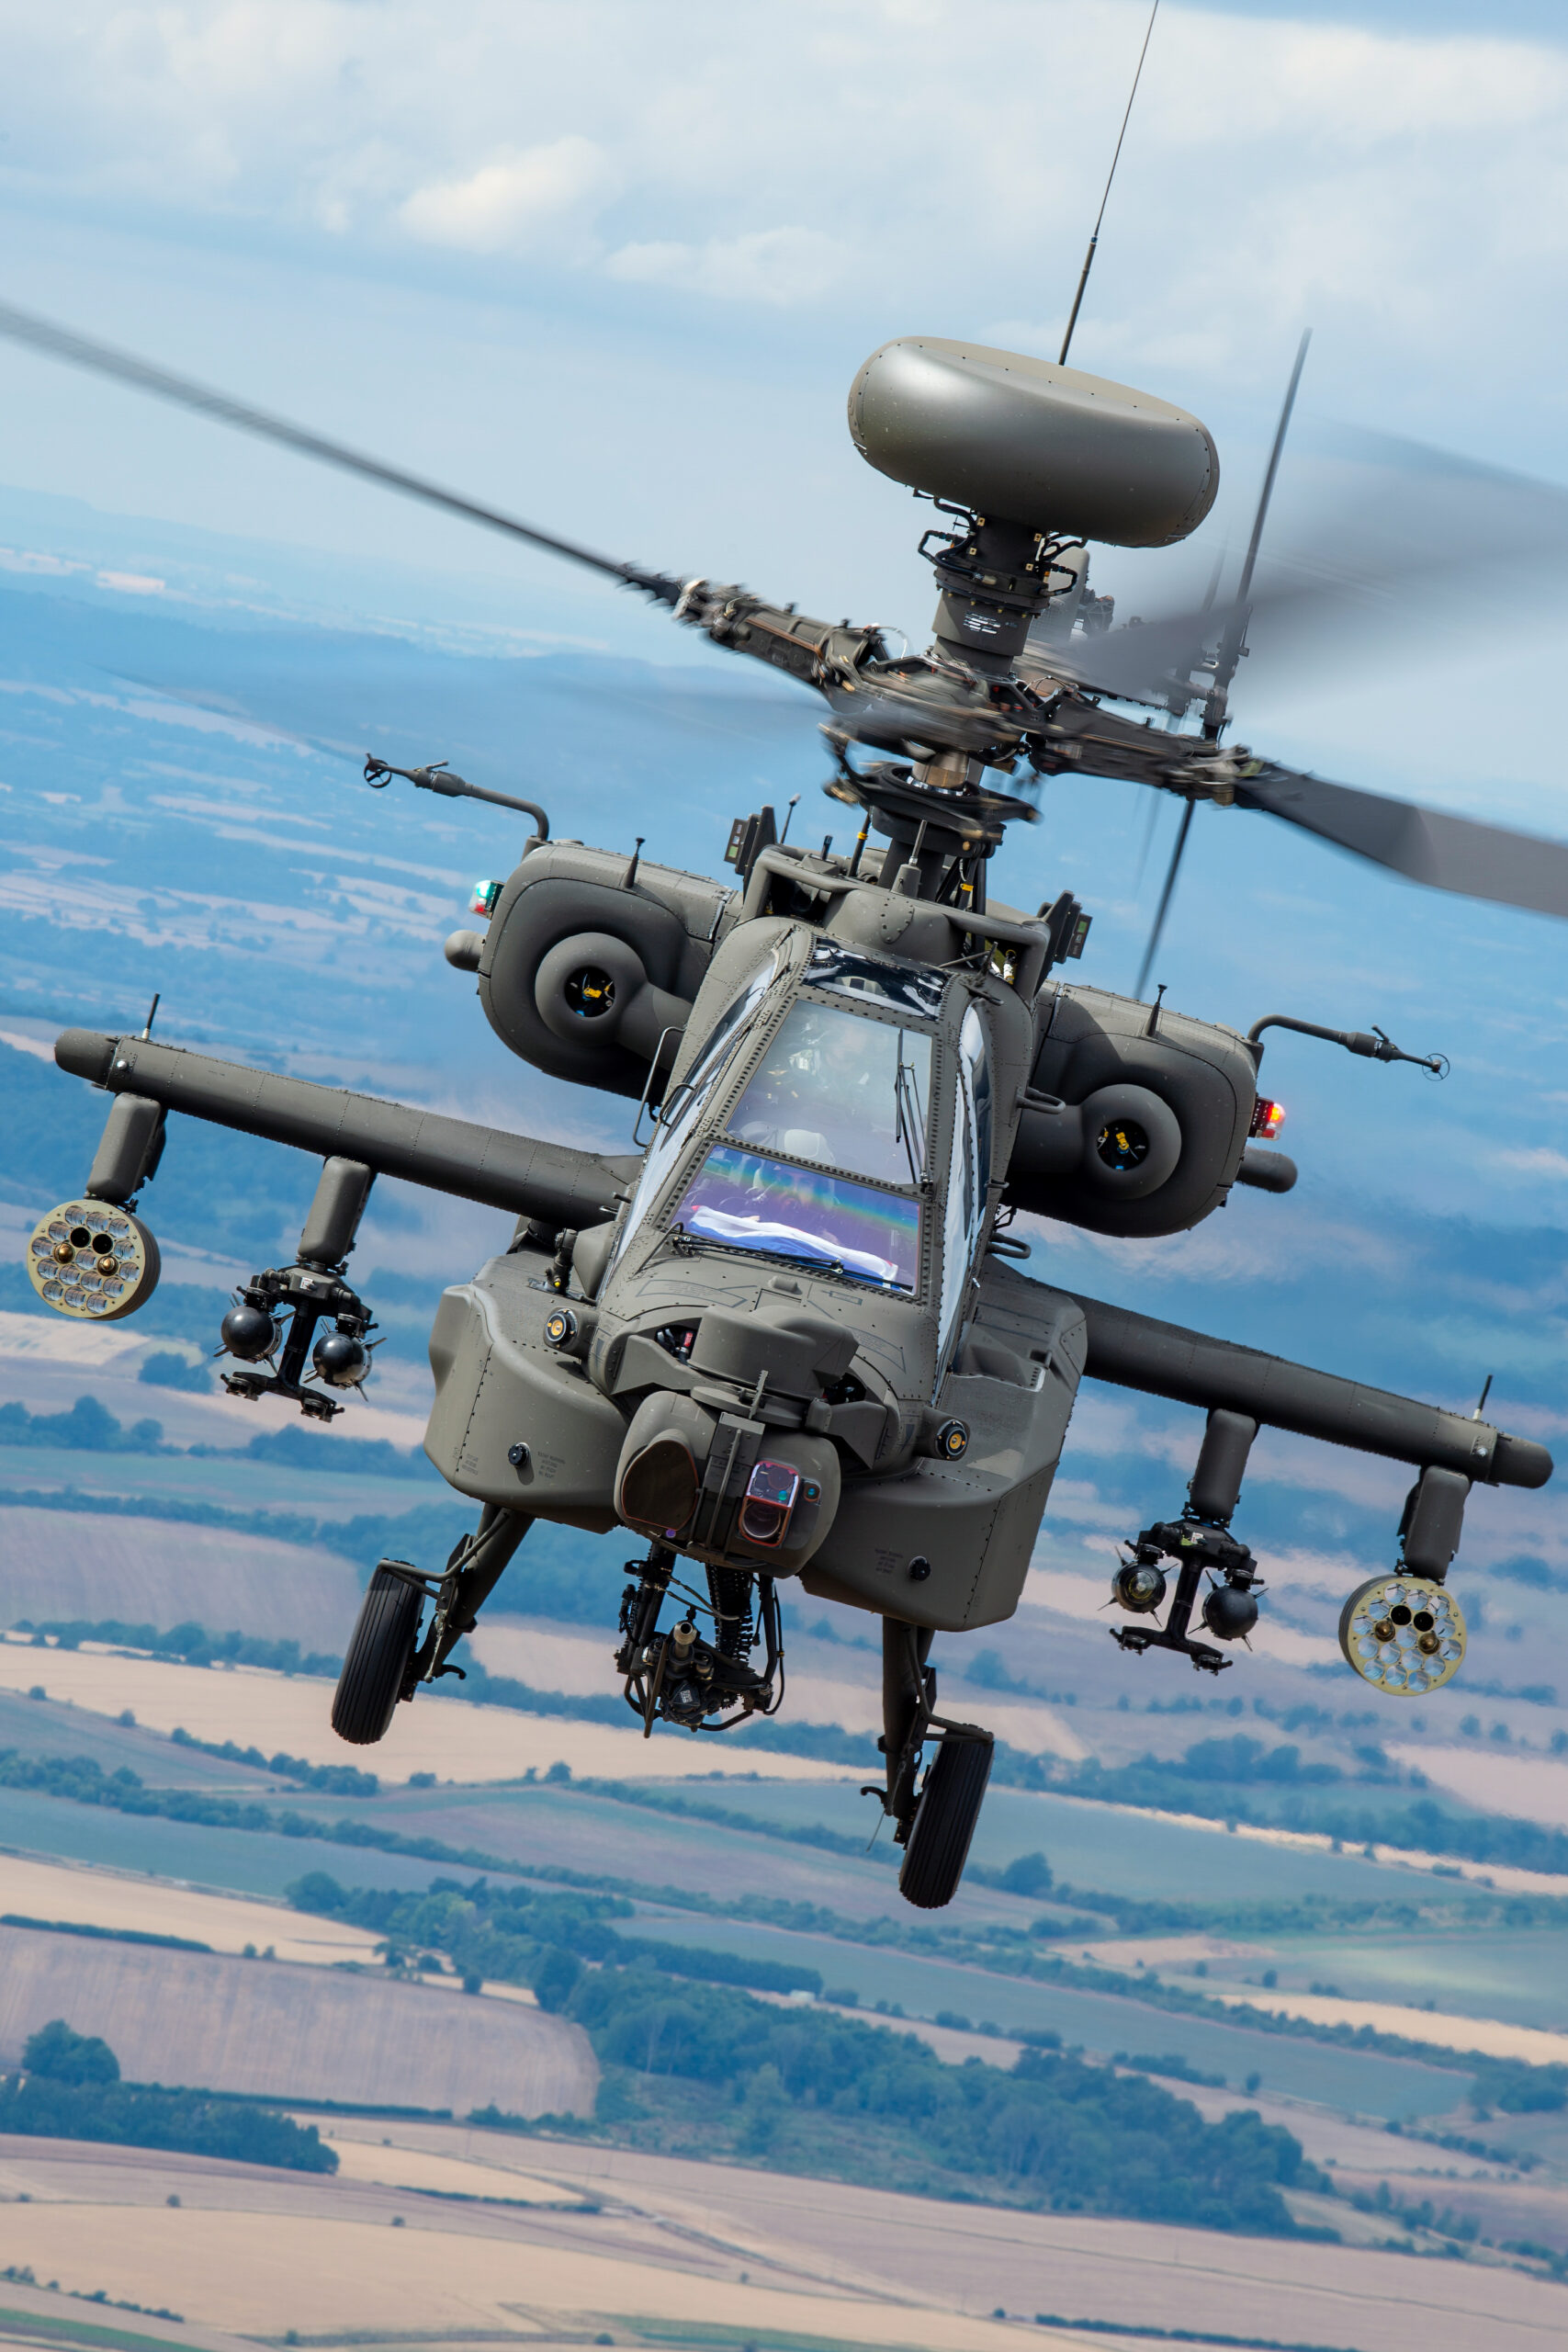
The Chinook deserves its own paragraph, because it is the star of the UK display circuit and the most photographed helicopter in the country. Its tandem rotors intermesh, the front disc tilting one way and the rear the other, and from head-on angles the overlapping blur discs make a spectacular shape that no other display type offers. It is also huge and slow-rotored, which means your instinct from smaller types will leave its blades looking too frozen. Drop a full stop from whatever worked on the Apache.
Tail rotors reward a moment of thought too. On most types the tail rotor turns several times faster than the main rotor, so it blurs at almost any speed that shows main rotor movement. The exception worth knowing is the Fenestron, the shrouded fan on many Airbus types, which hides its blades inside a duct and removes the question entirely. And the Chinook, of course, has no tail rotor at all.
Light, backgrounds and composition
Everything in our aviation composition guide applies to helicopters, but three points deserve special weight.
First, backgrounds matter more, because slow shutter speeds turn them into streaks. A panned helicopter against a treeline produces lovely horizontal green smears that shout speed; the same pan against a bare sky produces nothing, because sky has no texture to streak. When you have a choice of position, put something behind the display line: trees, hangars, a ridge. The streaked background is half the drama of a slow pan.
Second, helicopters fly low, and that changes the light. Displays happen at a few hundred feet, not a few thousand, so the aircraft picks up colour reflected from the ground and its lower surfaces are less shadowed than a jet’s. Late afternoon light at a summer airshow can light a hovering Chinook from below the horizontal, gilding the fuselage while the sky behind stays blue. Our golden hour guide shows how far this can be pushed.
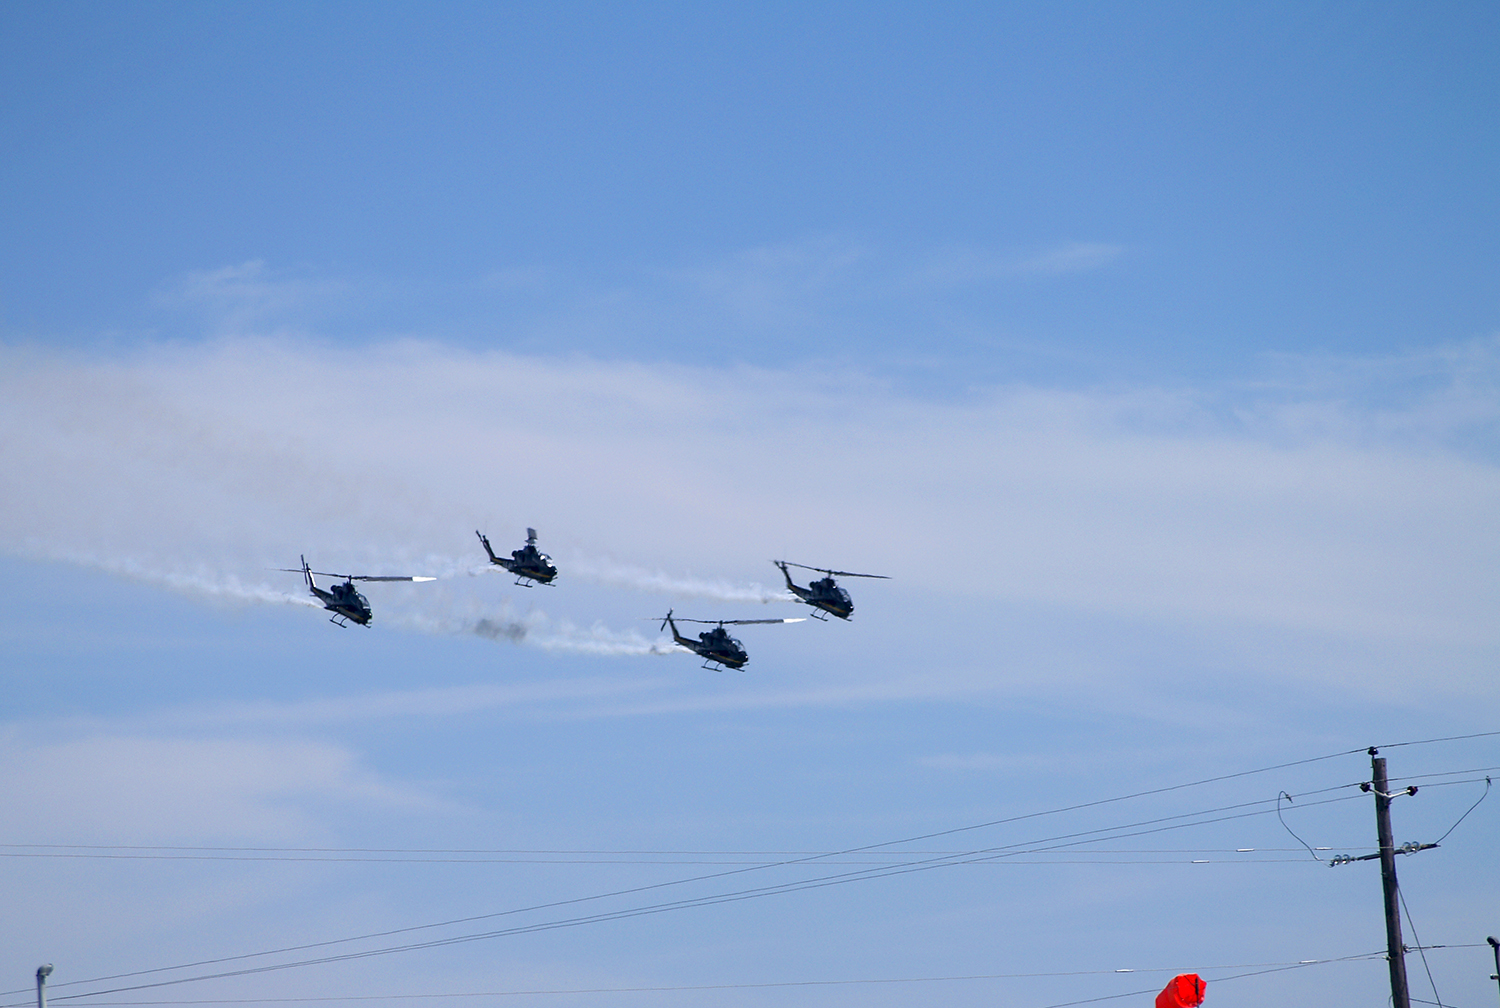
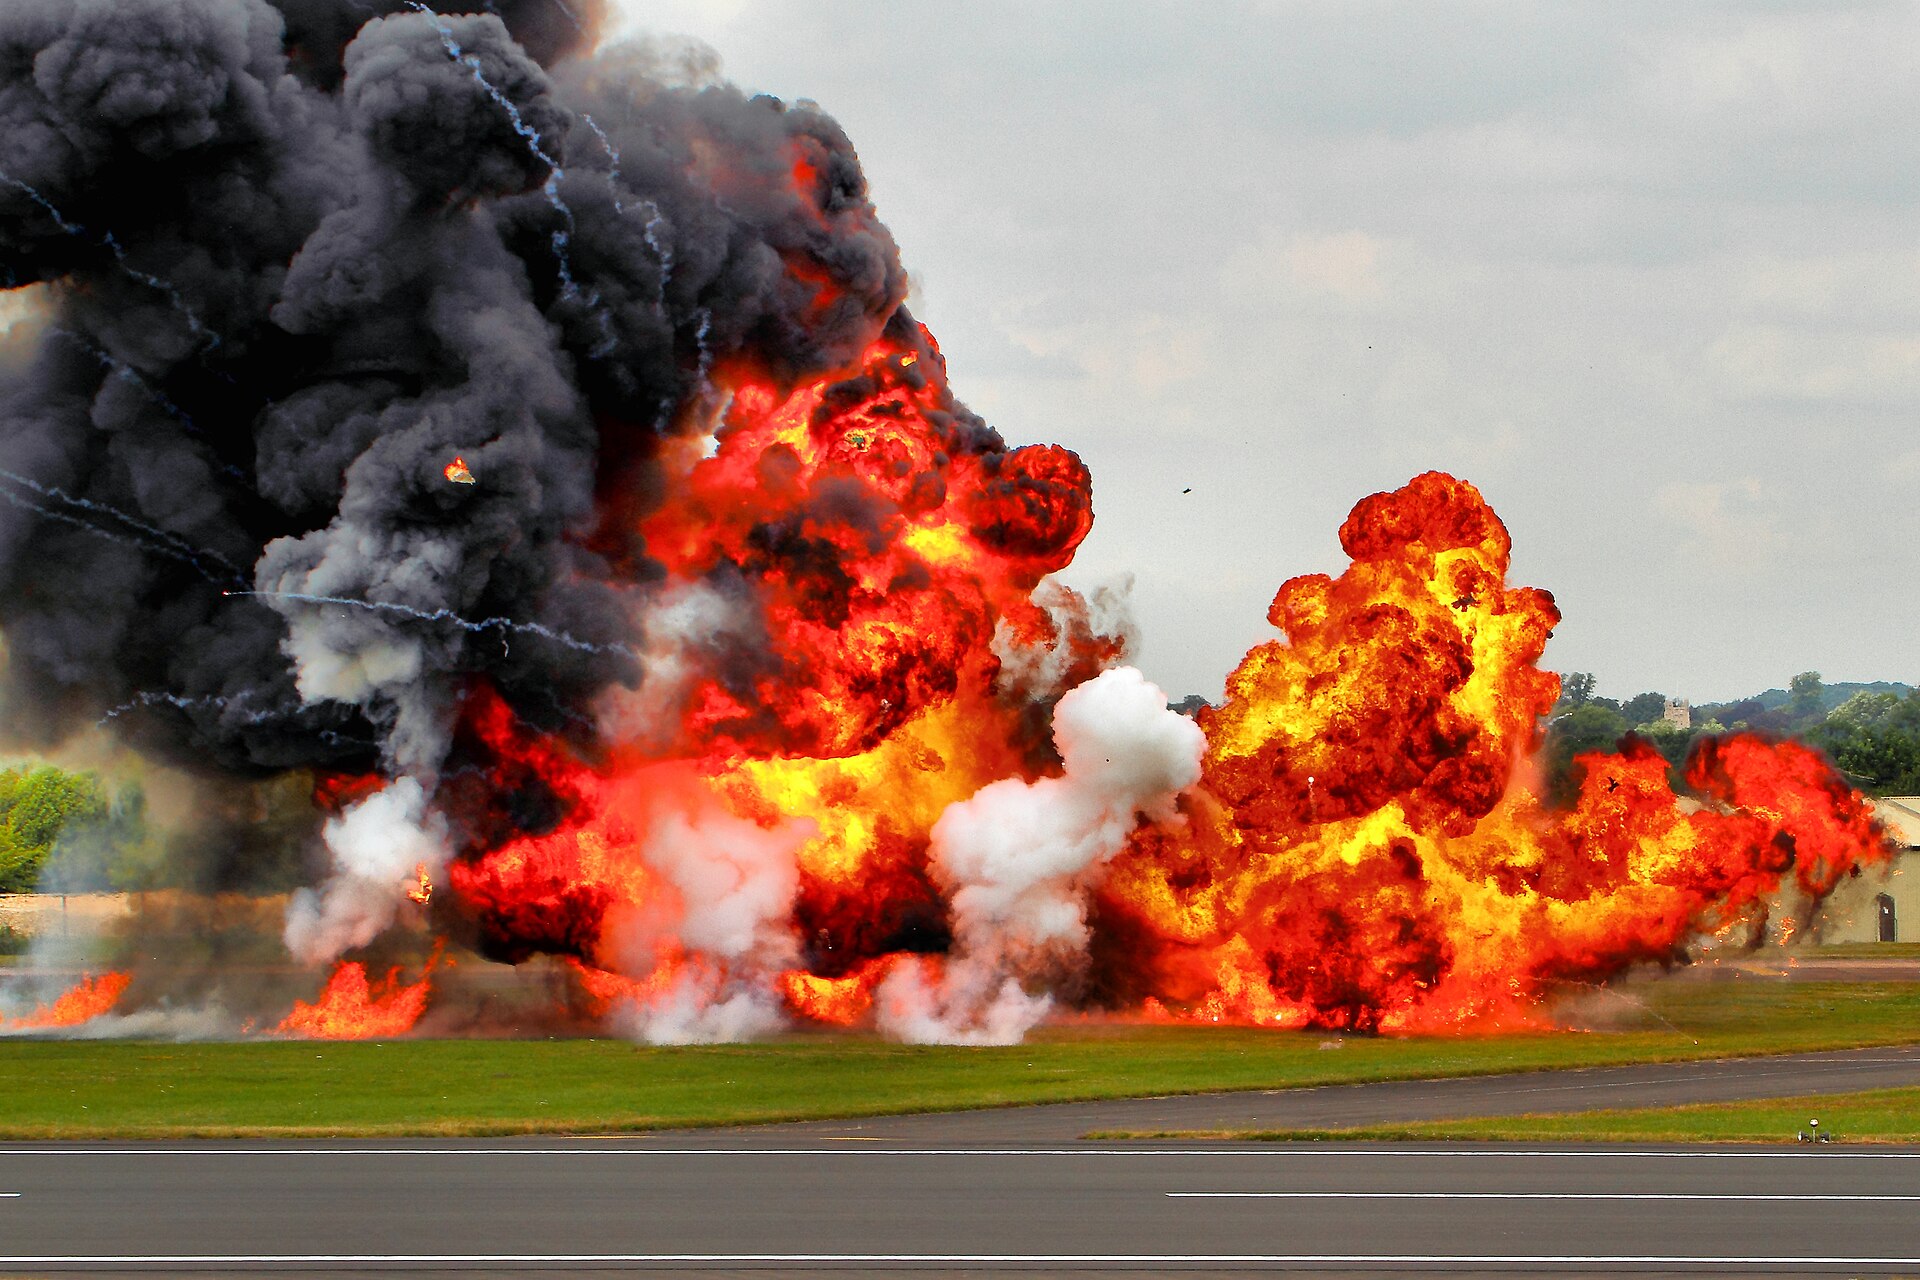
Third, include the environment. Helicopters interact with the ground like nothing else that flies: downwash flattens grass into rings, kicks spray off water and dust off runways, and role demonstrations add troops, vehicles and pyrotechnics. A frame that shows the disturbed world under the aircraft tells the story of rotary flight far better than a clean sky portrait. This is where helicopters beat jets for storytelling, so compose wider than instinct suggests and keep the ground in the frame when something is happening on it.
Where to photograph helicopters
Airshows are the obvious venue and still the best. UK shows reliably field military rotary displays, and the RAF Chinook Role Demo Team, flying from RAF Odiham, remains the highlight of the circuit when it appears; check the RAF display team pages and show websites for each season’s confirmed appearances rather than assuming. The Army Air Corps Apache display and Royal Navy rotary demonstrations appear at larger events in a similar way. Arrive for the morning arrivals if the show allows it, because helicopters often hover taxi to parking, low and slow, right along the crowd line.
Beyond the show circuit, think about where helicopters actually work. Coastal search and rescue bases, police and air ambulance operating sites, heliports and flying schools all generate movements, with the usual courtesies: shoot from public land, never obstruct operations, and be aware that emergency services helicopters at an incident are working scenes, not photo opportunities. Hospital helipads are off limits for obvious reasons. Flying schools are friendlier than most people expect; a polite email sometimes earns you a fence-line invitation on a training day, and circuits mean the same aircraft returns every few minutes, which is perfect for practising the shutter speed ladder.
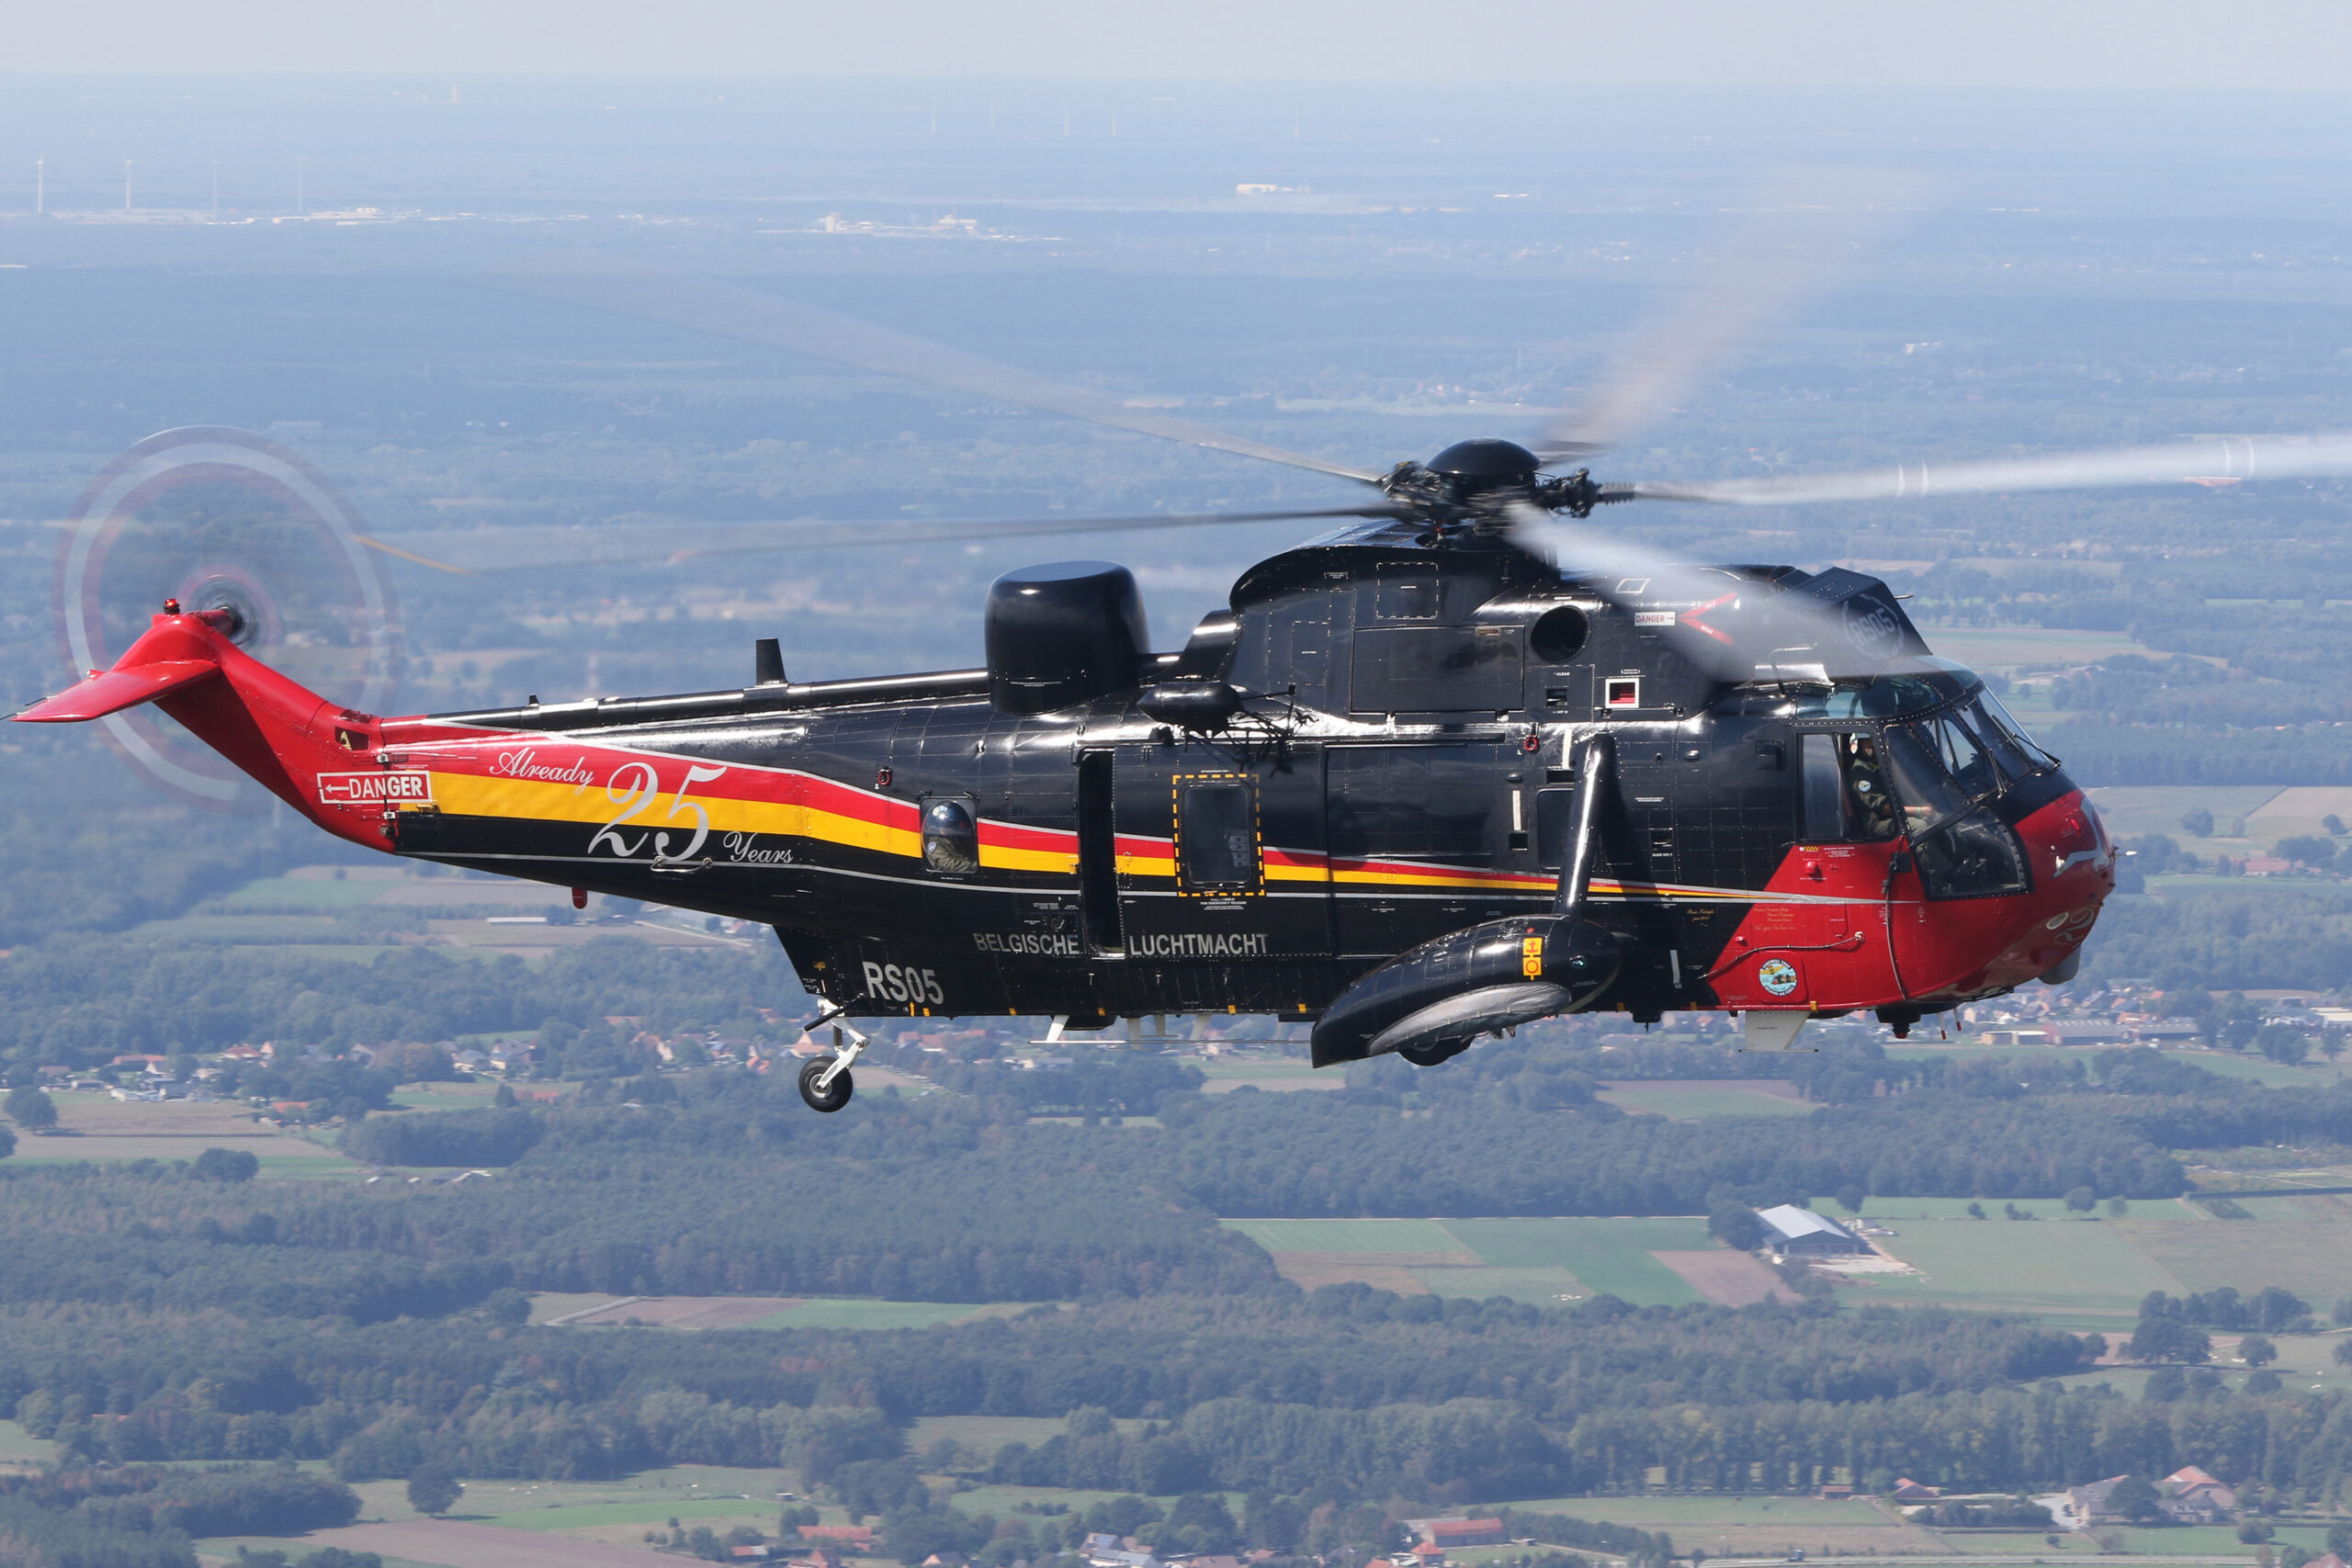
For static subjects and winter practice, The Helicopter Museum at Weston-super-Mare is widely described as the largest collection in the world dedicated to helicopters, with more than 80 airframes, including the Westland Lynx G-LYNX that set a helicopter world speed record of just over 400 km/h in 1986. Static airframes will not give you rotor blur, but they teach you the shapes, the details and the angles, and museum open-cockpit days get you views no airshow offers. If you photograph at RIAT, our RIAT photography guide covers positioning for the rotary displays there, and you can see how we shoot these subjects in the Piemags galleries.
Common mistakes and how to fix them
Frozen blades
The classic. The photo is technically perfect and completely dead, because you shot at 1/1000 out of jet habit. Fix: slow down to 1/125 and rebuild from there. If you catch yourself doing this mid-display, change immediately; one pass of keepers beats a card full of statues.
Everything blurred, not just the blades
Your shutter speed outran your panning skill or your support. The airframe smear direction tells you the cause: horizontal smear means the pan speed did not match the aircraft, vertical smear means shake or a stabiliser fighting the pan in the wrong mode. Fix: step one speed up the ladder, check the stabiliser is in panning mode, and work on the follow-through. Blur that appears only at one end of a burst means you started firing before the pan settled or stopped panning before the burst ended.
The background jumped into focus
A wide tracking AF area grabbed the trees behind a hover taxi. Fix: shrink the AF area whenever the aircraft is below the skyline, and consider back-button focus so an accidental refocus needs a deliberate thumb press.
Silhouetted airframe under a bright sky
The meter saw mostly sky and exposed for it. Fix: dial in positive exposure compensation, typically two thirds of a stop to a full stop for a dark airframe against cloud, and check the histogram after the first pass, not after the display. The bright skies guide gives a complete method.
Heat haze mush
Everything is soft and no setting explains it. You shot through hundreds of metres of shimmering air, often across a sun-baked runway, or through the helicopter’s own downwash and exhaust. Fix: nothing in the camera; move, wait for cooler air, shoot subjects closer to you, and read our sharpening guide for what post-processing can and cannot rescue.
Chopped rotor discs
The composition looked fine in the viewfinder, but the blur disc extends further than the frozen blades suggested, and the print shows a disc clipped at the frame edge. Fix: compose for the disc, not the blades. Leave a rotor radius of space above and around the aircraft, especially on two-blade types where the disc only reveals itself in the final image.
Lenses and gear for helicopter photography
Helicopters are kinder to your wallet than fast jets, because they fly closer, lower and slower. The 100-400mm class zoom that struggles for reach on a distant jet display is often ideal for rotary work, and the 600mm class zooms come into their own for detail shots and off-airfield spotting. The full market survey lives in our aviation lens guide and the cheaper end in the budget telephoto guide; the short version for helicopter photographers goes like this.
| Class | Examples | Helicopter verdict |
|---|---|---|
| 70-200mm f/2.8 | All brands | Underrated for rotary: displays come close, the wide aperture handles dusk hovers, and the light weight makes slow-shutter panning easier |
| 100-400 / 100-500mm | Canon RF 100-500mm, Sony 100-400mm GM, Nikon Z 100-400mm | The sweet spot; covers a full display without lens changes |
| 600mm-class zooms | Nikon Z 180-600mm f/5.6-6.3, Sony FE 200-600mm f/5.6-6.3, Sigma 150-600mm DG DN Sports, Canon RF 200-800mm f/6.3-9 | Reach for detail work and spotting; heavier to pan smoothly at 1/60, so build up gradually |
Body-wise, anything current with continuous AF and eight or more frames per second is enough; helicopter photography stresses your technique, not your camera’s specification sheet. Stabilisation, in body or in lens, matters more than resolution, and a panning mode matters most of all. High frame rates help simply because blade position is a lottery and more tickets win more draws.
Two small items punch above their weight. A polariser tames bright-day apertures at slow shutter speeds and cuts glare off canopies, at the cost of about a stop and a half. And ear protection sounds unrelated to photography until you have stood under a Chinook role demo; flinching at 1/60 of a second costs frames, and earplugs are cheaper than any lens.
Processing helicopter shots
Editing helicopter images follows the standard aviation workflow in our Lightroom guide, with three rotary-specific notes.
First, protect the blur. Aggressive global sharpening and texture sliders put edges back into the rotor arc and make it look gritty rather than smooth. Mask your sharpening to the fuselage and let the disc stay silky. AI noise reduction tools generally respect motion blur, but check the blade tips at 100 percent, because some tools try to reconstruct detail there and produce artefacts.
Second, mind the horizon in panned shots. A slow pan often tilts a degree or two, and streaked backgrounds make the tilt obvious. Straighten off the streaks themselves; they should run level.
Third, be honest. Adding fake rotor blur in post, and there are tutorials that teach spinning-blur filters, rarely convinces: real blur varies along the blade, faster at the tip than the root, and painted-on blur does not. Get it in camera. If a great frame has slightly stiff blades, a subtle radial blur confined to the blade tips can help, but treat it as a last resort, and if the image is heading for stock, disclose any manipulation; our guide to licensing aviation photography and the Piemags licensing page explain why that matters commercially.
Frequently asked questions
What is the best shutter speed for photographing helicopters?
Start at 1/125 of a second. It blurs the main rotor convincingly on almost every type while keeping panning realistic. Go slower, towards 1/60 or beyond, for hovering helicopters and big slow-rotored types like the Chinook, and step up towards 1/250 only when wind or long focal lengths make slower speeds impossible.
Why do my helicopter photos look frozen and lifeless?
Your shutter speed is too fast, usually because it was left over from photographing jets. At 1/500 and above the rotor blades freeze solid and the helicopter looks like a model on a stand. Slow the shutter until the blades sweep into visible arcs; the movement is what makes the picture feel alive.
Why are my helicopter shots blurry all over rather than just the blades?
The airframe blur means your panning did not match the aircraft, or camera shake crept in at the slow shutter speed. Check that lens stabilisation is set to its panning mode, tuck your elbows in, swing from the hips and follow through after the burst. If it persists, go one shutter speed faster and rebuild your technique gradually.
What lens do I need for helicopter photography?
A 100-400mm class zoom covers most airshow helicopter displays, because helicopters fly closer, lower and slower than jets. A 600mm class zoom such as the Nikon Z 180-600mm, Sony 200-600mm or Sigma 150-600mm adds reach for detail shots and off-airfield spotting. Even a 70-200mm f/2.8 works well when displays come close.
Can I photograph helicopters with a kit lens or a phone?
Yes, at close-range events. Phones default to fast electronic shutters that freeze blades, so use a manual camera app to force a slower shutter if you can. A kit zoom on any interchangeable-lens camera in shutter priority at 1/125 will produce genuine rotor blur; you simply need the aircraft close enough to fill a reasonable part of the frame.
How do I photograph the RAF Chinook display?
Use a slower shutter than for any other display type, around a stop below your usual setting, because the Chinook’s tandem rotors turn at only about 225 rpm. Watch the first pass to learn the display shape, expect hard decelerations into hovers and nose-up flares, and compose with space around the aircraft because the twin discs extend well beyond the fuselage.
Where can I photograph helicopters in the UK?
Airshows with military rotary displays are the most productive venues, with RIAT and the seaside shows regular hosts. Between shows, flying schools, heliports and coastal bases generate movements you can shoot from public land, and The Helicopter Museum at Weston-super-Mare holds more than 80 static airframes for detail and reference work.
What settings should I use for a hovering helicopter?
Treat the hover as a static subject: stabilisation in normal mode, shutter speed as slow as you can hold, from 1/60 down to 1/15 with good bracing, and long bursts of eight to ten frames. Hand shake is random, so within a long burst a few frames will land sharp while the slow shutter turns the rotor into a full disc.
Why do my helicopter photos have frozen rotor blades?
Your shutter speed is too high. A helicopter photographed at 1/2000 will have its rotors stopped dead, which looks unnatural and static. Drop to around 1/125 for clear blade arcs, and to 1/100 or slower for a full or nearly full rotor disc, accepting a lower keeper rate as the price of a convincing image.
What shutter speed gives a full rotor disc?
It varies by type, because rotor speeds differ, but 1/125 second is a good starting point for most helicopters, with 1/100 or slower needed for a complete disc. Small, fast-turning rotors may read acceptably at 1/160, while some need 1/60 or slower. Check the back of the camera and adjust, because the same setting does not suit every type.
Is it harder to photograph helicopters than fixed-wing aircraft?
In one specific way, yes. The slow shutter speeds needed for rotor blur are the opposite of what your instincts tell you, and they demand much better panning technique to keep the fuselage sharp. Everything else, the tracking and the composition, follows the same principles as any other aviation subject.
What autofocus mode works best for helicopters?
Continuous autofocus with a small to medium tracking area works well, because a helicopter hovering or moving slowly is an easier focus target than a fast jet but the rotor disc can confuse the sensor. If your camera has aircraft or vehicle subject detection, it will often lock the fuselage rather than the blades, which is what you want.
Helicopters reward patience more than any other aviation subject. The settings in this guide will get you to competent quickly, but the images that stop people scrolling come from time in the field, watching how each type moves, and having the nerve to keep slowing the shutter down. Take the ladder, find a helicopter, and start climbing down it.
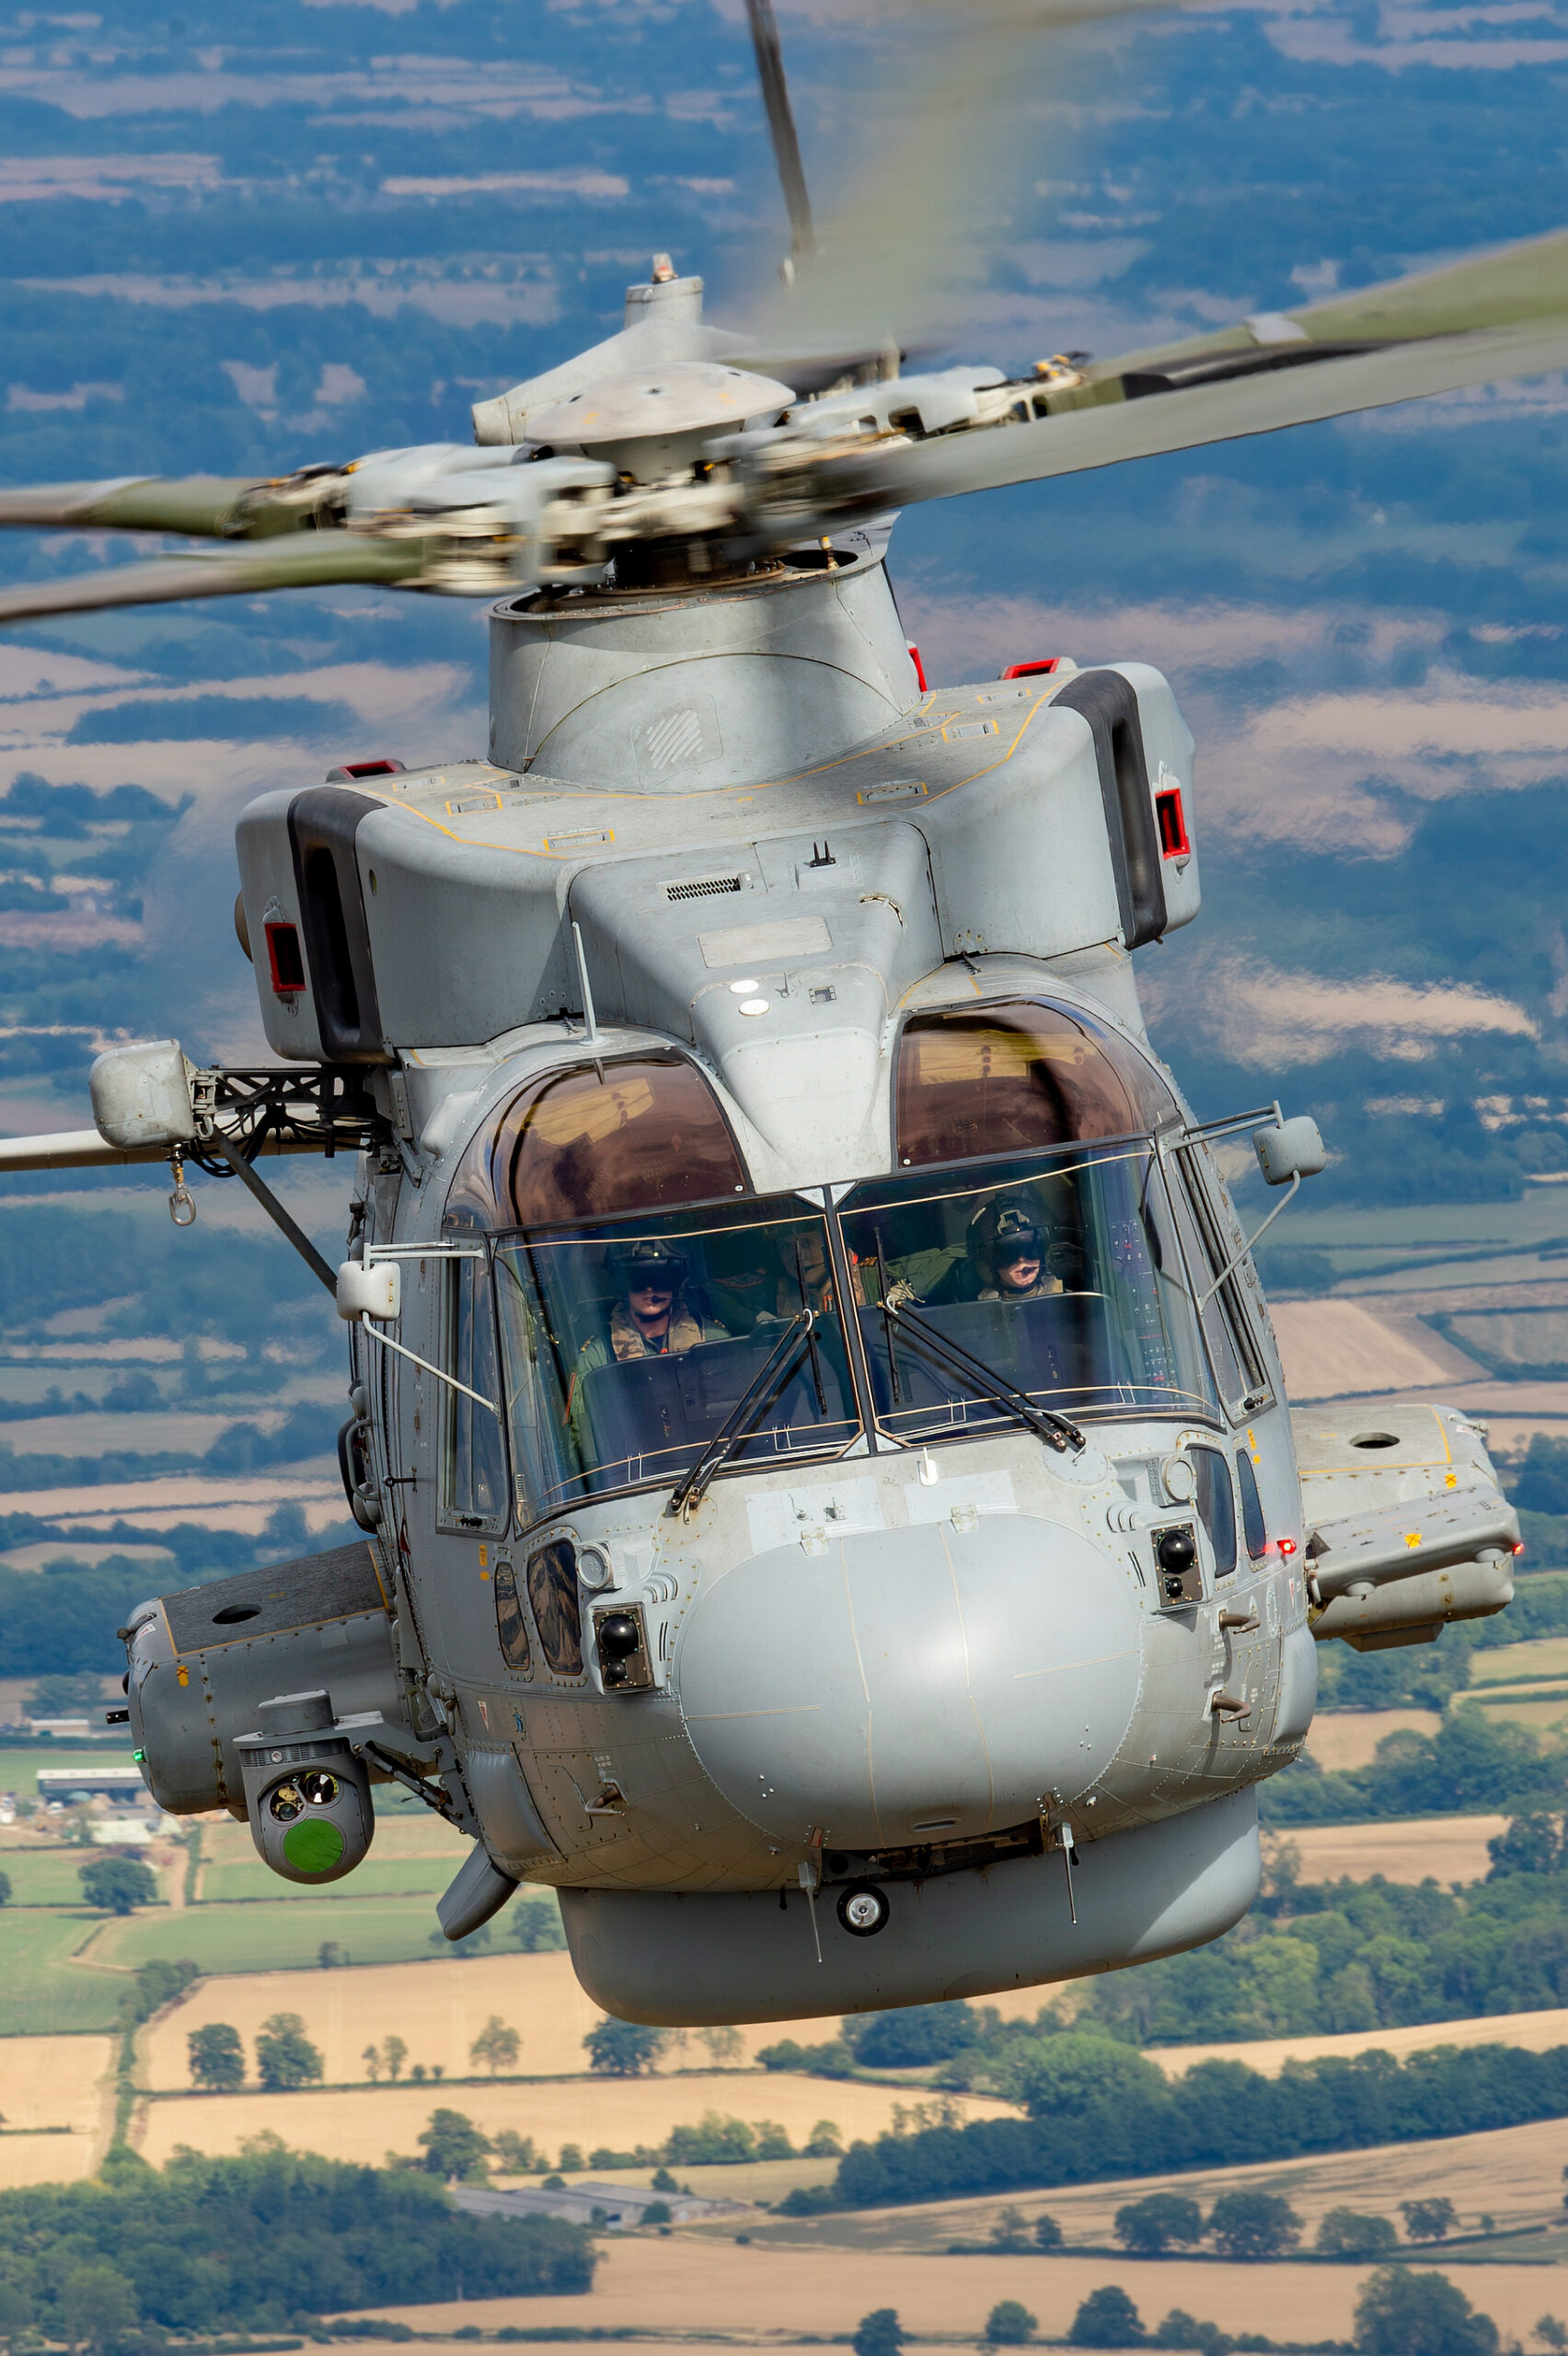
Featured image: a Royal Netherlands Air Force CH-47D Chinook photographed air to air at Sanicole 2021 by Piemags / Aviation PhotoCrew. View and license this image in the Piemags gallery, or see all options on the licensing page.
If you need finished rotary imagery rather than technique, our buyer’s guide to helicopter photographs covers the air-to-air collection and licensing.
