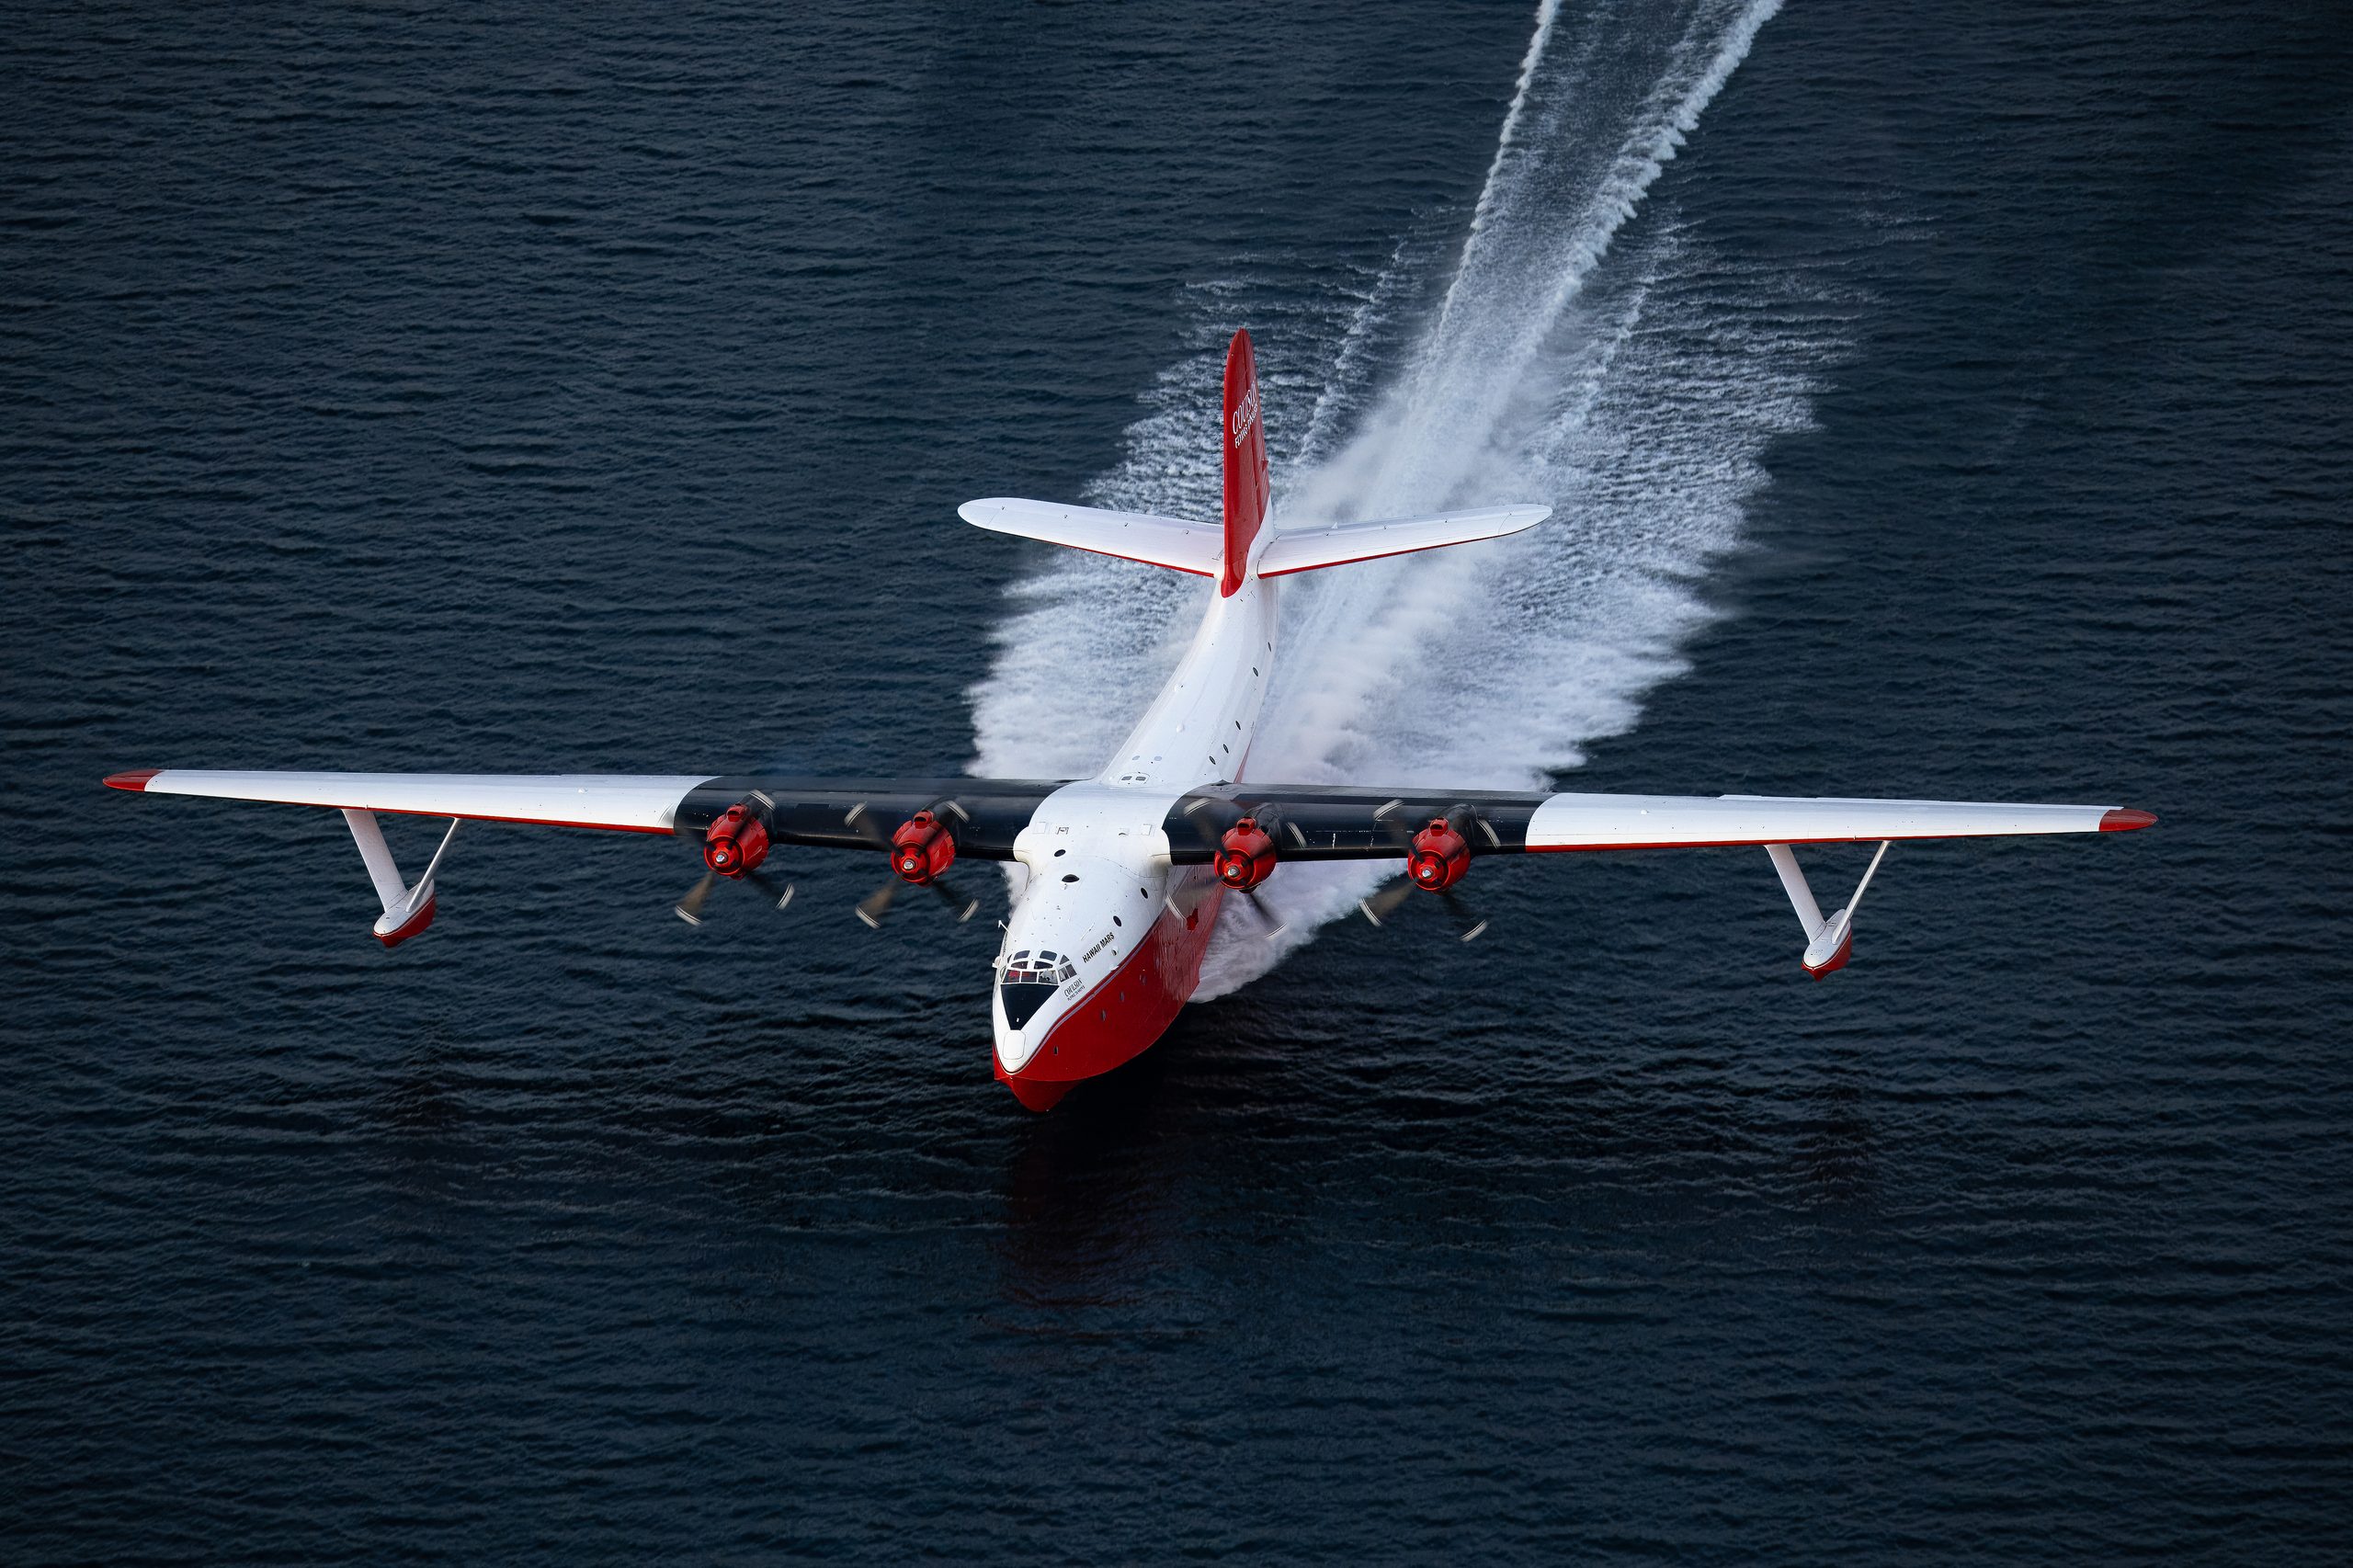
Panning is the technique of swinging the camera to match a moving subject during a slow shutter exposure so the subject stays sharp while the background streaks, and the single biggest improvement to your keeper rate comes from treating it as a physical skill you drill progressively, not a setting you dial in. Aviation photography forces the issue: propellers and rotors only look right at shutter speeds far below the point where handheld technique starts to fail, so the photographers who bring home sharp 1/80 second passes are almost never more talented than you. They have simply logged more deliberate, measured practice.
This guide is that practice plan. It covers the physics of why pans fail, the biomechanics of a repeatable swing, shutter speed ladders for every aviation subject, the stabilisation modes each camera maker actually documents for panning, and a three phase drill programme you can start this week on a public road, long before the next airshow. It finishes with a diagnostic section for reading your failures and twelve answers to the questions photographers ask most.
What this guide covers
- Why panning matters more in aviation than anywhere else
- What actually happens during a panned shot
- The biomechanics of a good pan
- Handheld versus monopod pivots
- Shutter speed ladders by subject
- Stabilisation modes for panning, maker by maker
- The drill programme: how to structure practice
- Phase one: drills without an airshow
- Phase two: airfield circuit traffic
- Phase three: airshow passes
- Reviewing your results and diagnosing failures
- Common panning mistakes
- When panning is the wrong tool
- Frequently asked questions
Why panning matters more in aviation than anywhere else
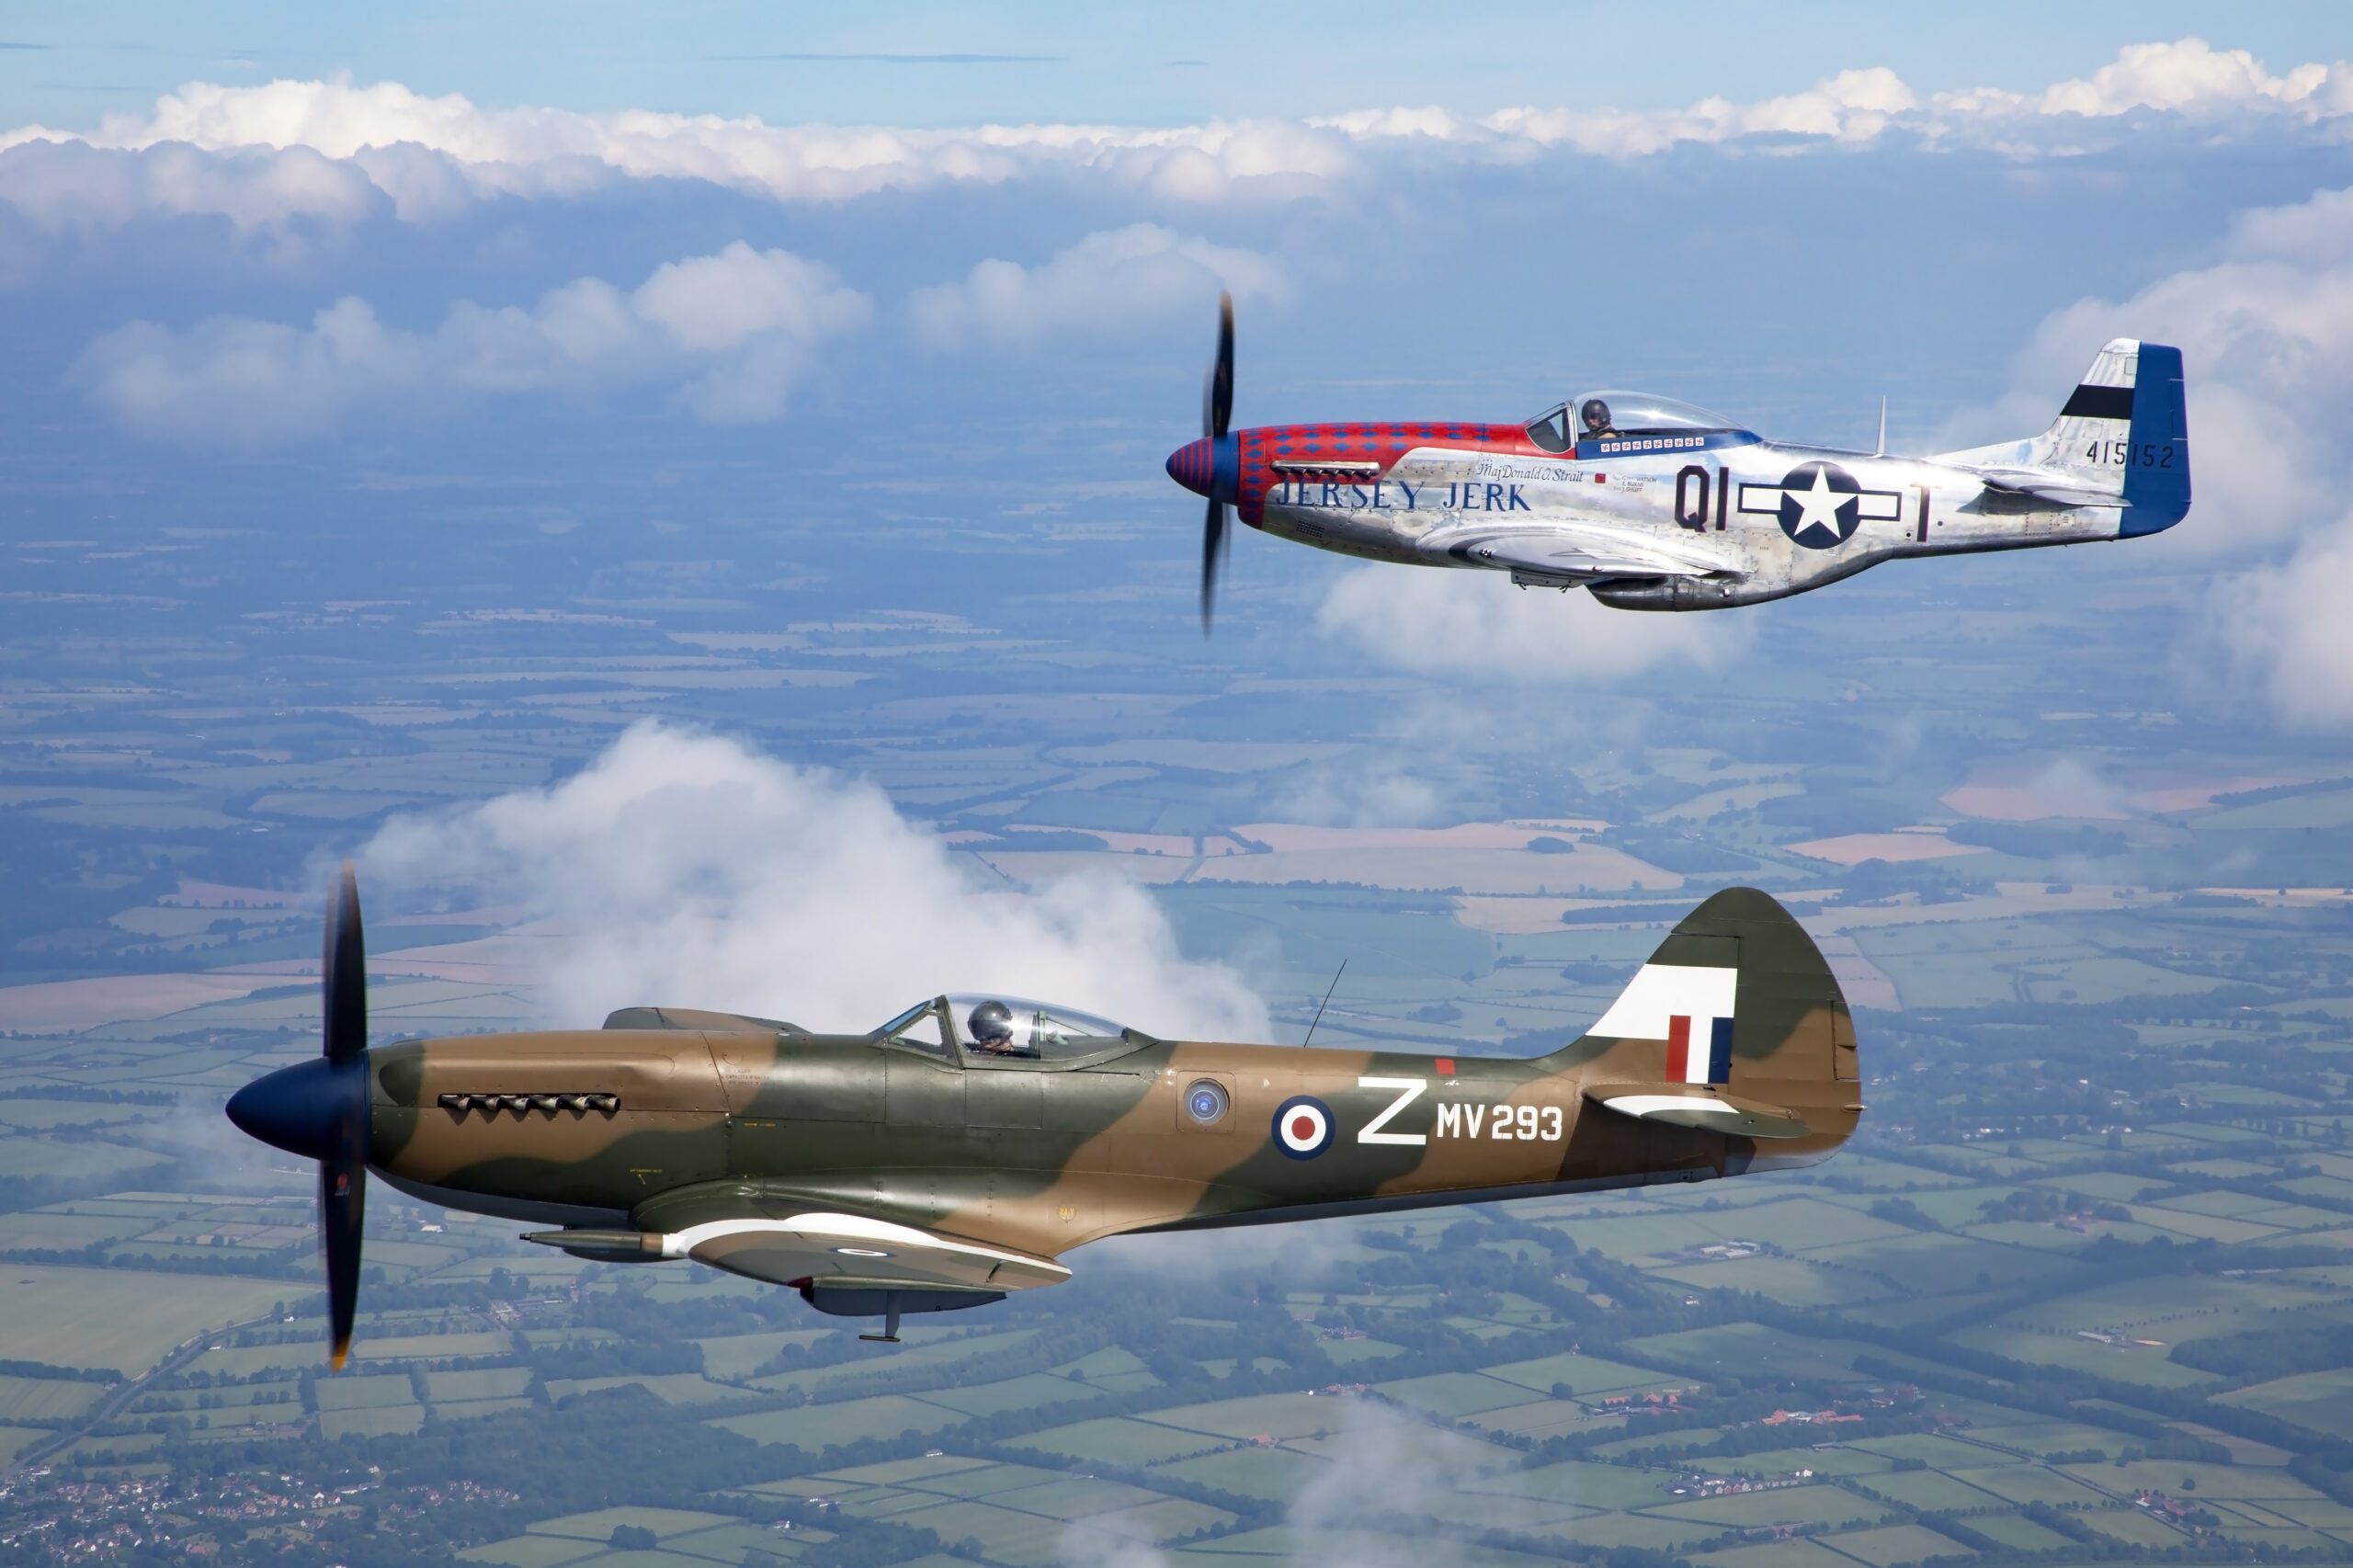
Plenty of genres use panning for creative effect. Aviation is the one where it is structural. A piston engined warbird photographed at 1/2000 second shows a propeller frozen mid rotation, and a frozen propeller reads to the eye as a dead engine. The aircraft looks like a plastic model suspended on a wire. To render a full or near full propeller disc you need shutter speeds in the region of 1/60 to 1/125 second, and everything about that range works against you: a long telephoto magnifies every tremor, the aircraft is moving at anywhere from 60 to 300 knots, and you are standing in a crowd with no room to brace. Our companion guide to propeller blur and shutter speed covers the aesthetic ladder in detail; this post is about building the physical skill that lets you actually use it.
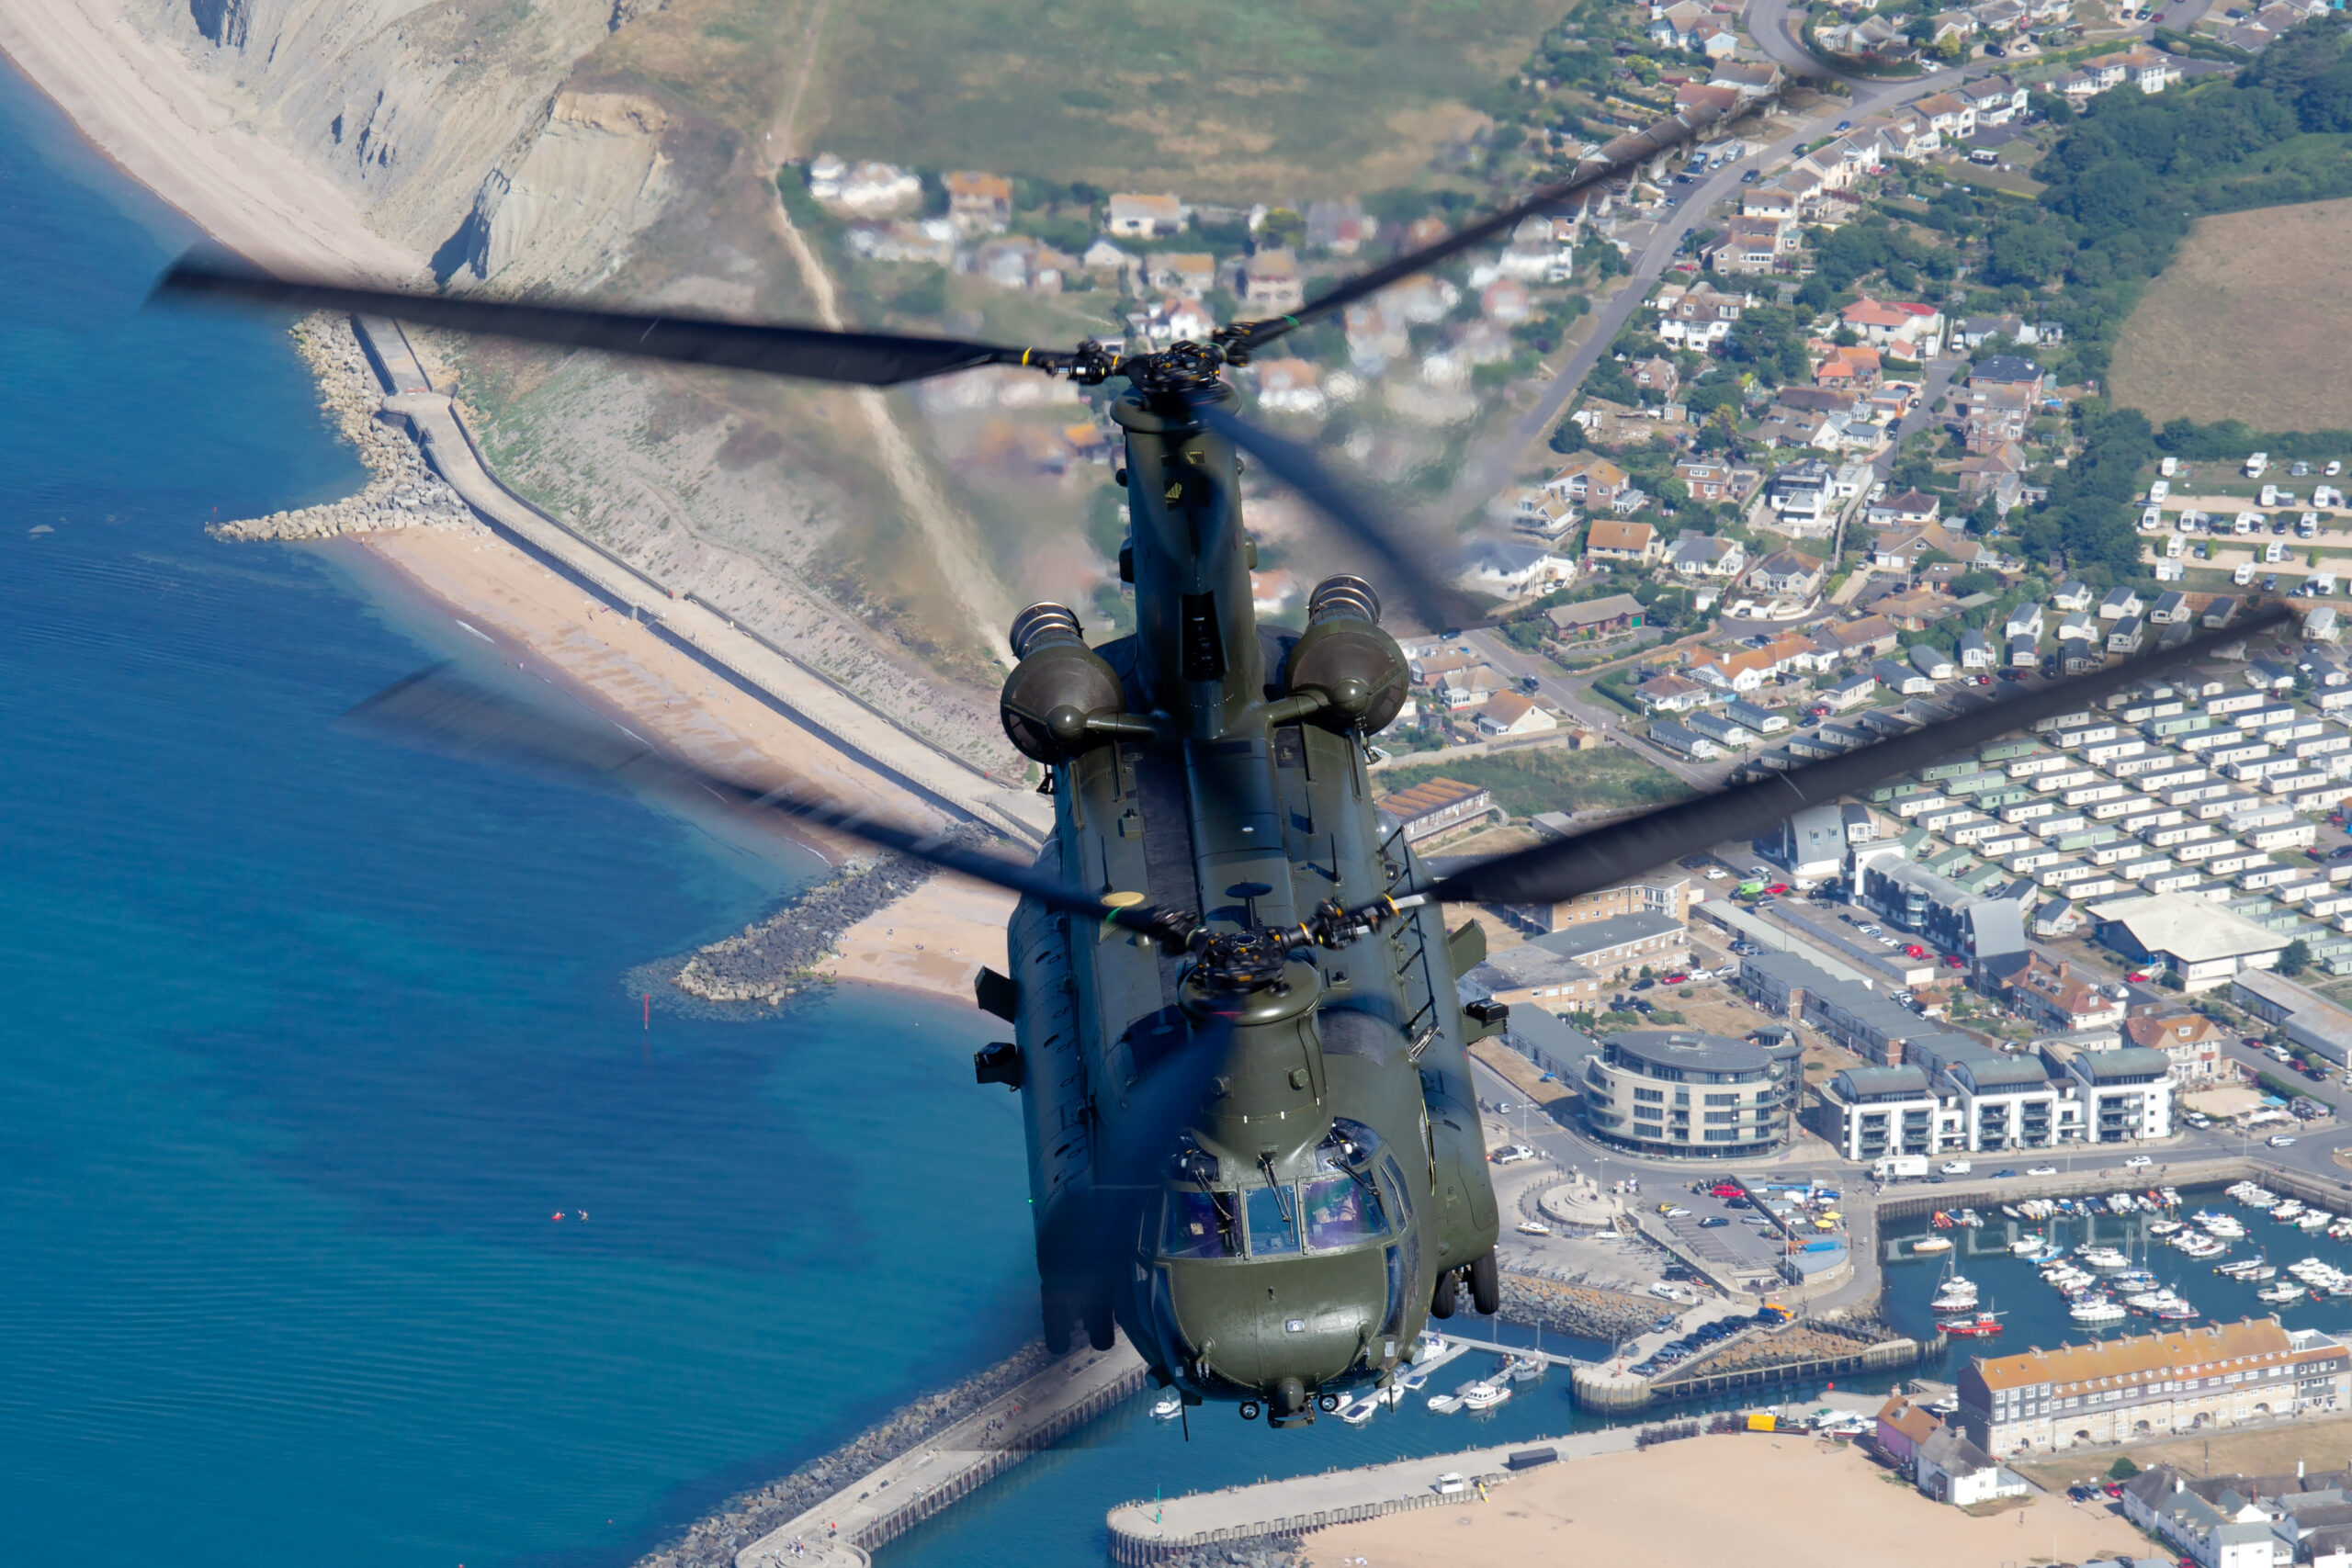
Helicopters are stricter still. Main rotors turn much more slowly than propellers, so freezing them takes very little and blurring them into a proper disc demands even slower shutter speeds, often 1/100 second and below on the working end. There is a reason experienced rotorcraft photographers describe the discipline as panning practice with a paint scheme attached, and our guide on how to photograph helicopters leans on exactly the drills described below.
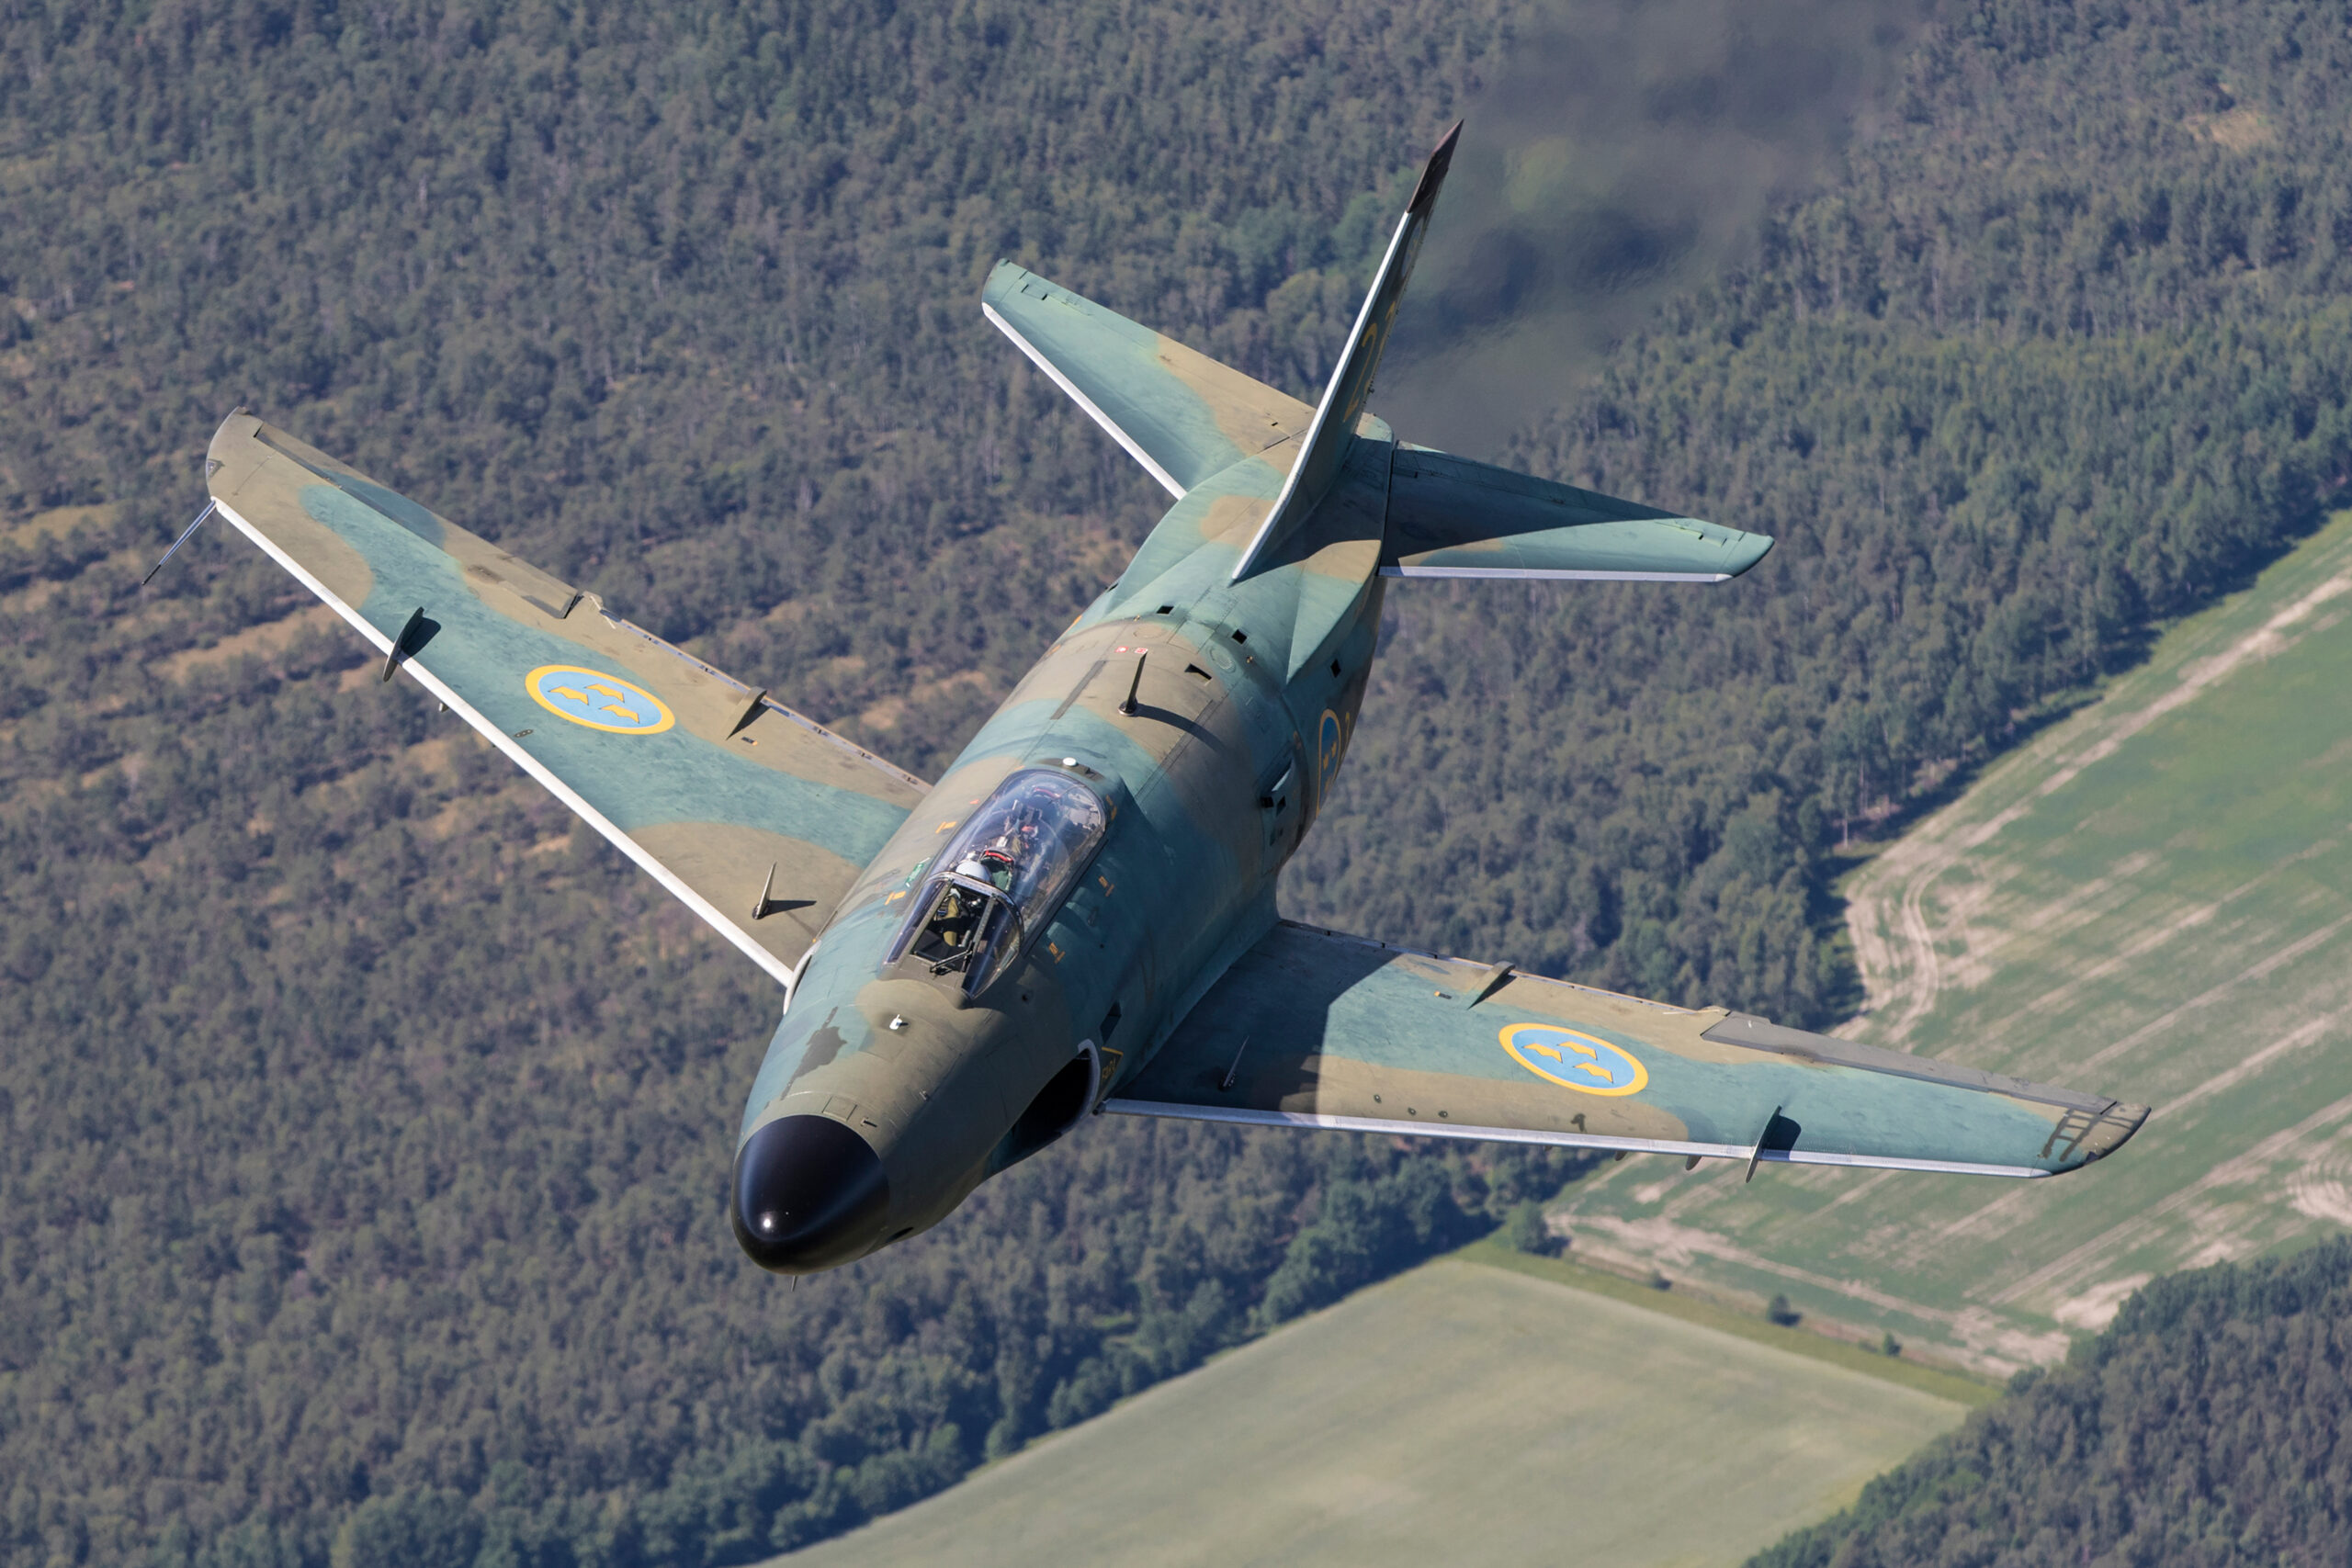
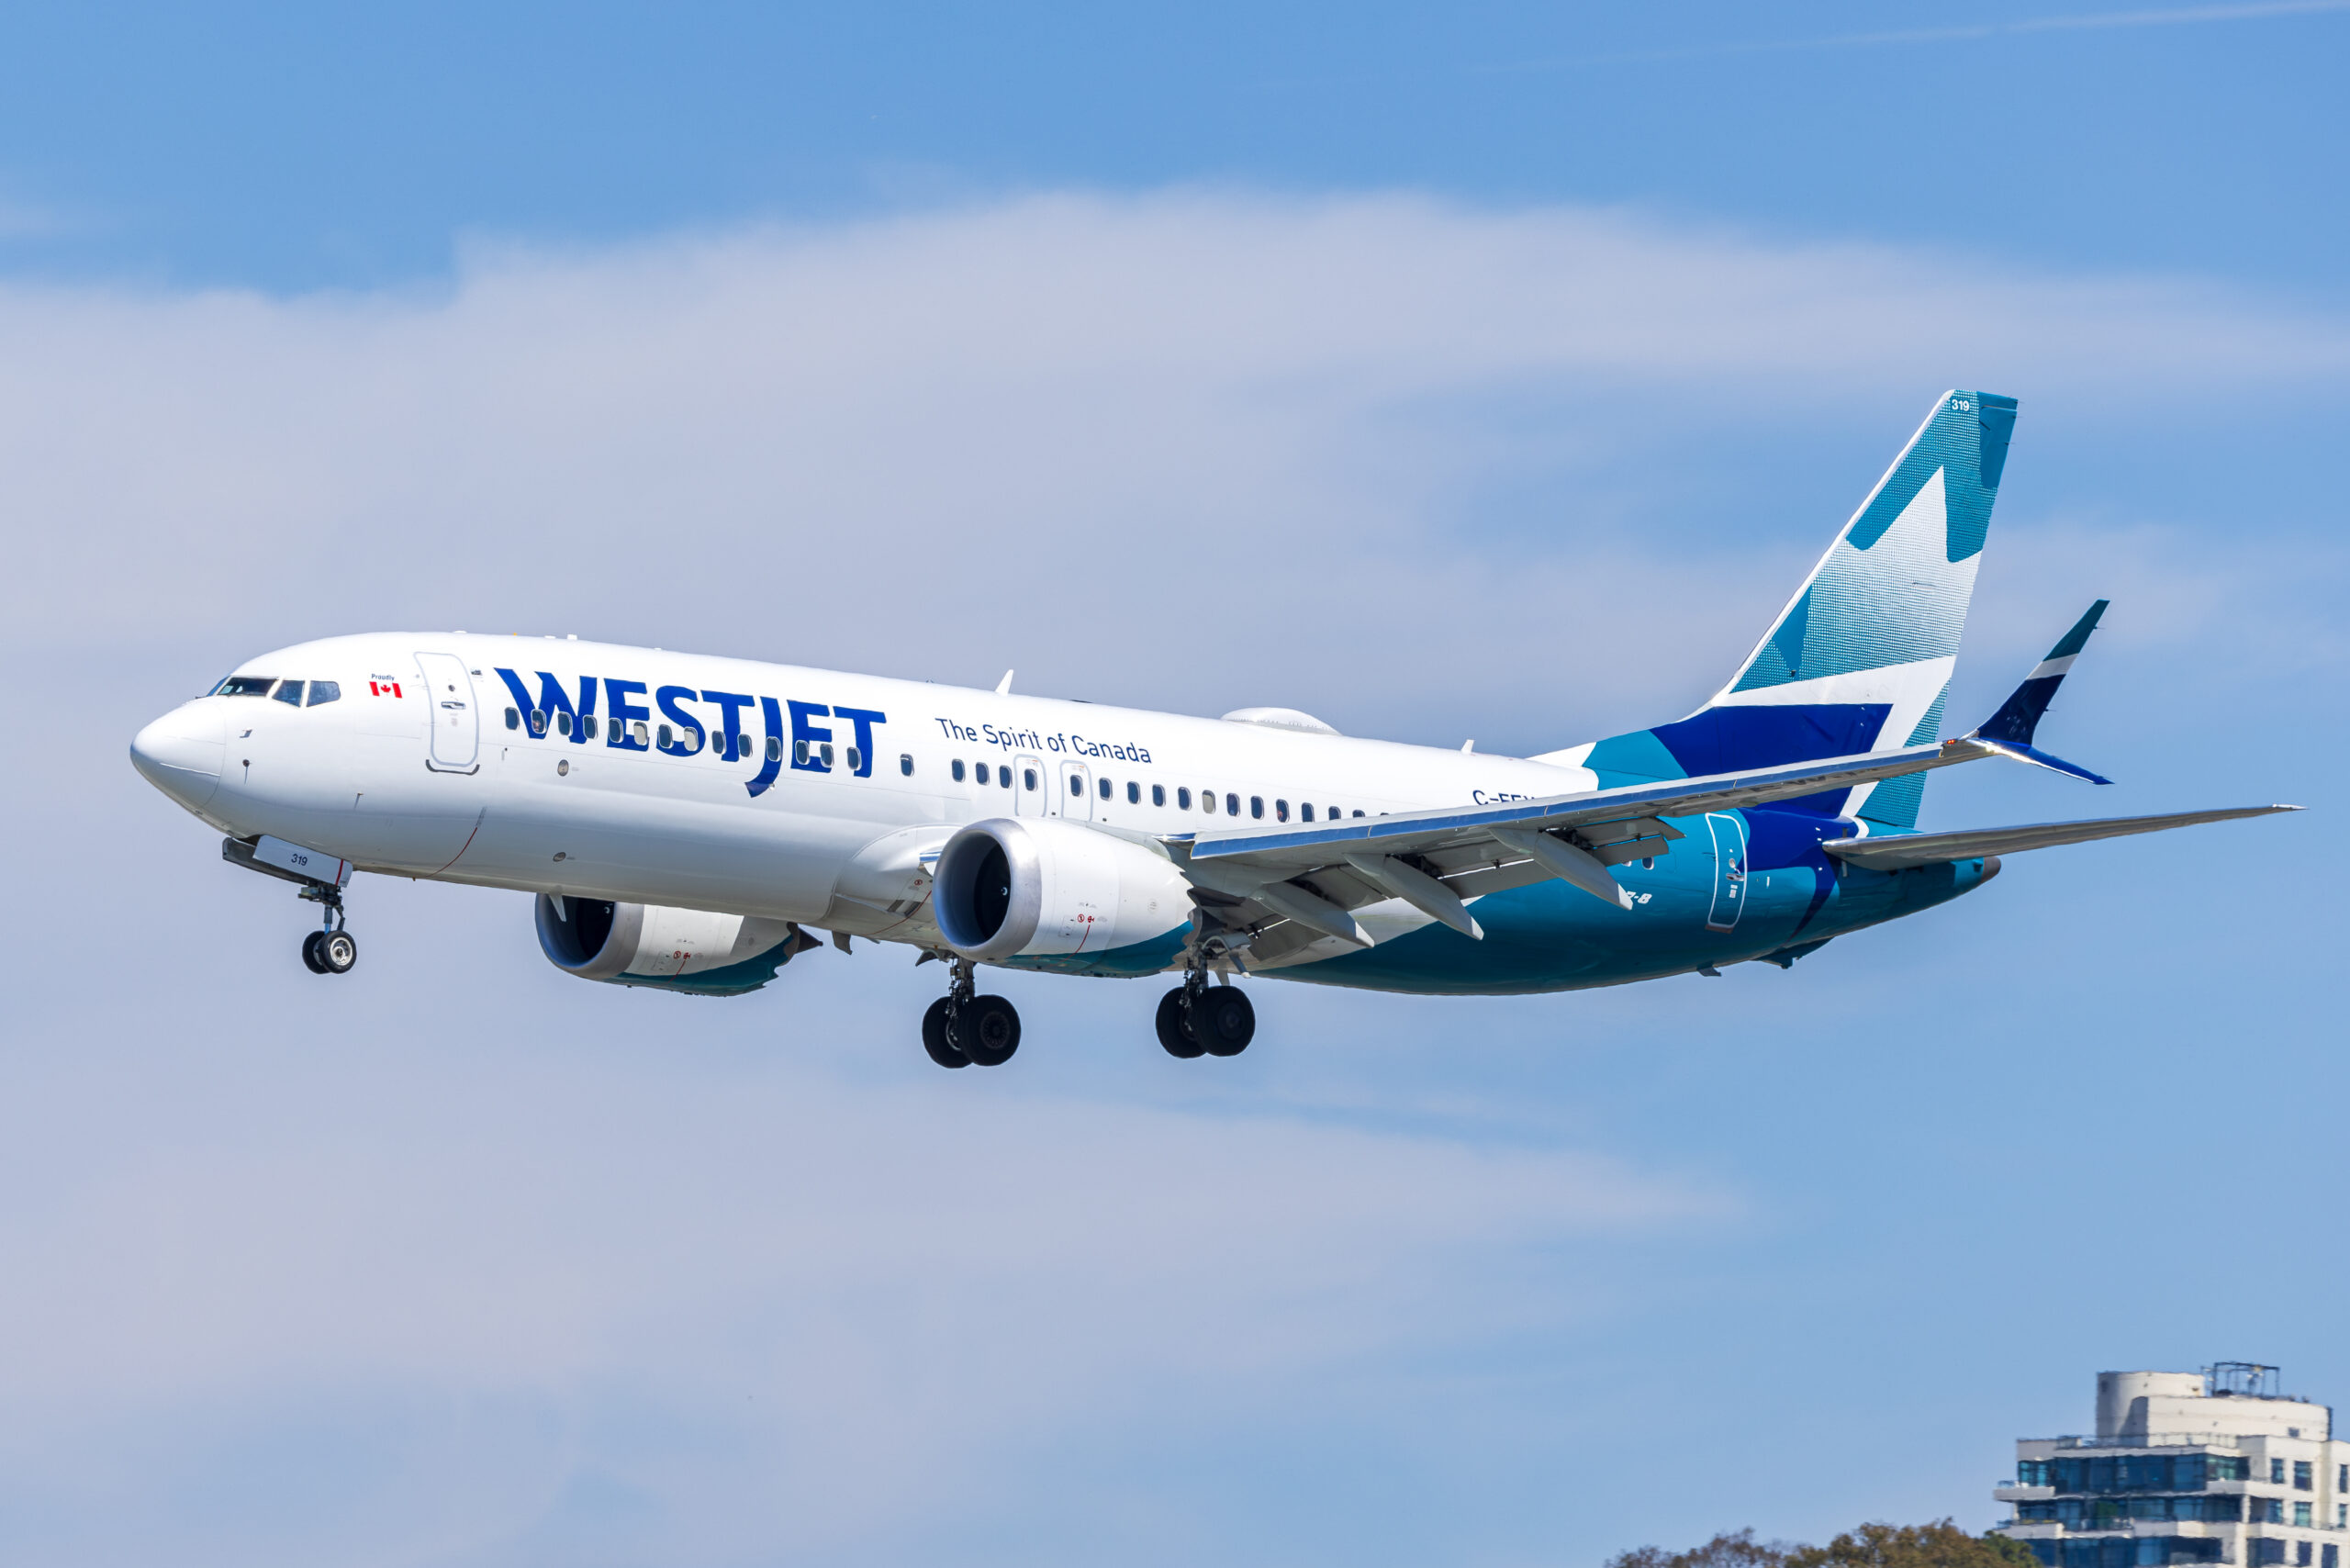
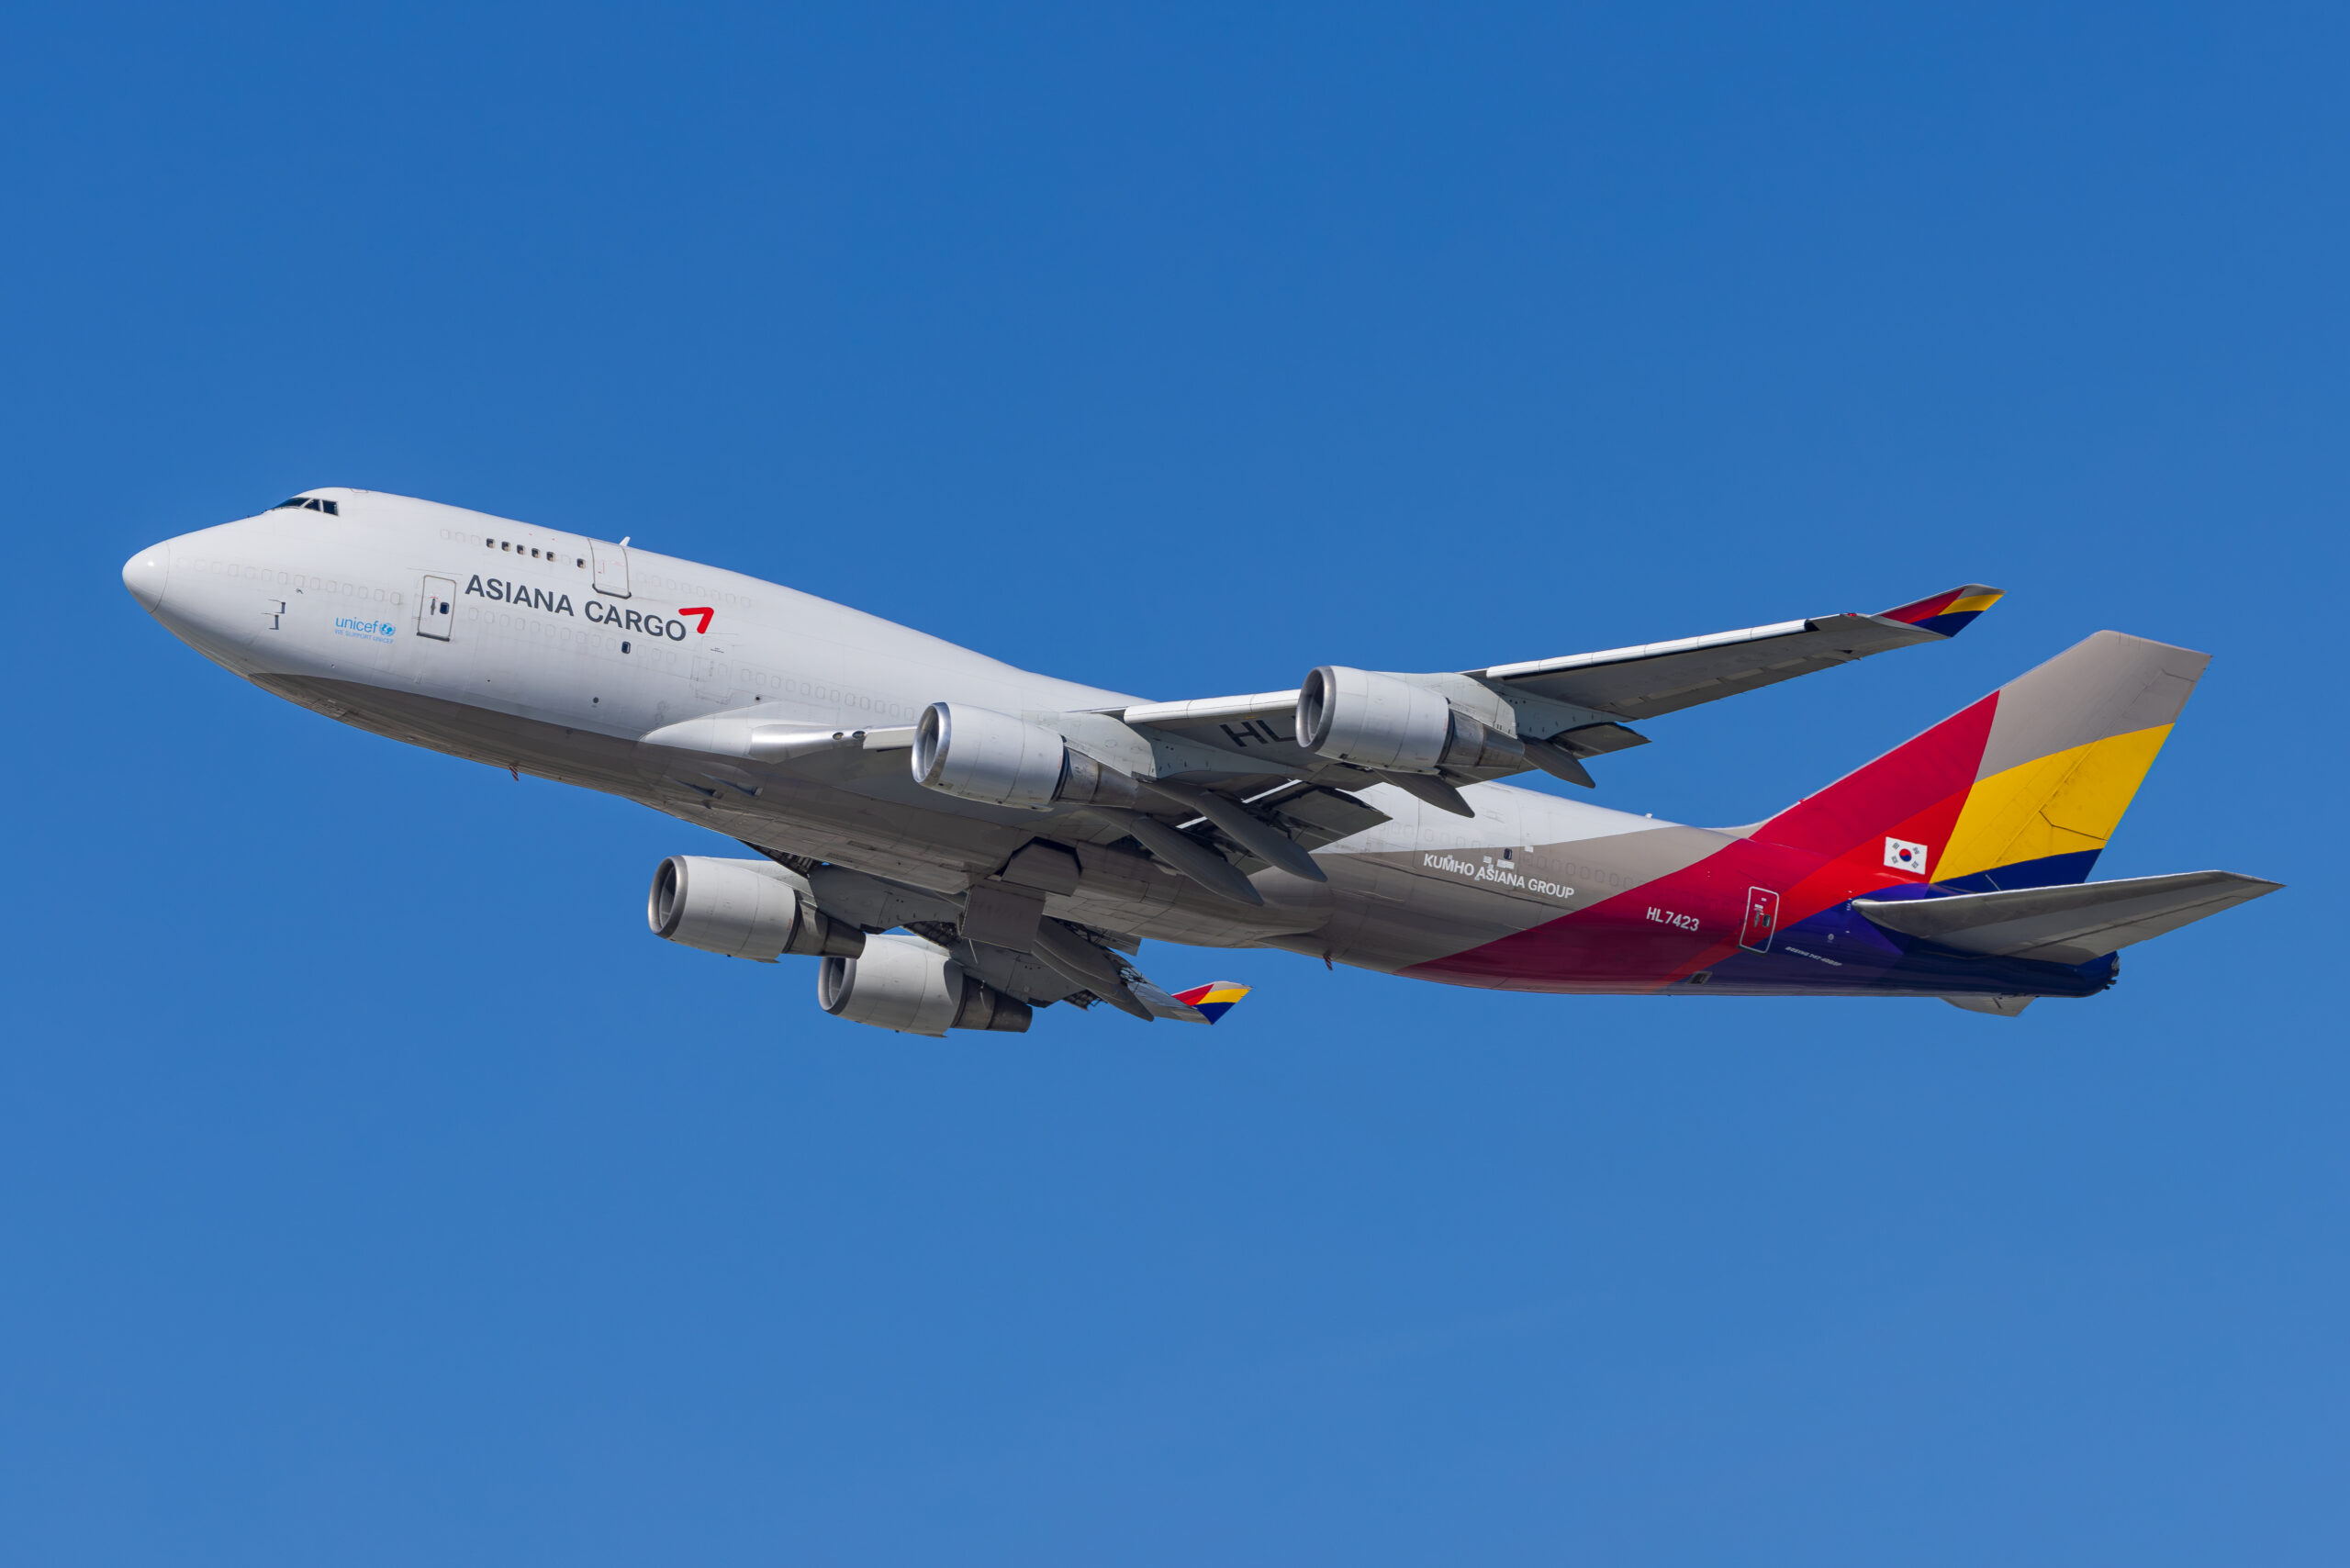
Jets flip the problem around. You can freeze a jet at 1/1600 second with no rotating parts to betray you, and most beginners do. The results are sharp and sterile. A Typhoon frozen against a clear sky carries no more sense of speed than one parked on static display. Introduce a pan at 1/250 or 1/125 second on a fast pass, or on the takeoff roll where runway furniture and heat shimmer streak past behind the airframe, and the photograph starts to communicate velocity rather than merely record shape. The takeoff roll is the classic case: the aircraft is accelerating through 100 to 180 knots a few hundred metres away, the background is full of texture that streaks beautifully, and the motion is predictable and level. It is the single best real world panning target in the sport.
So panning in aviation is not a garnish. It is the enabling skill for propeller subjects, the differentiator for jets, and the entry fee for helicopters. That is why it deserves a training programme rather than a paragraph of tips.
What actually happens during a panned shot
A panned photograph works when the subject’s image stays on the same photosites for the whole exposure while the background’s image does not. Your job is to rotate the camera at exactly the subject’s angular rate for the duration the shutter is open, which is a matching exercise, not a strength exercise. Understanding the arithmetic explains why keeper rates collapse as shutter speeds fall, and it will make the diagnostic section later far more useful.
Take a workable example. An aircraft flying a display line at 100 knots, roughly 51 metres per second, passing 200 metres in front of you, sweeps past at about 15 degrees per second at the closest point of the pass. At 1/60 second the camera must rotate through about a quarter of a degree during the exposure, matched to the aircraft throughout. That sounds tiny until you consider the focal length. A 400mm lens on a full frame body sees a horizontal field of view of only about five degrees, so a tracking error of a few hundredths of a degree during the exposure smears the subject across dozens of pixels on a modern high resolution sensor. The faster the subject and the longer the lens, the less error the frame forgives.
Three consequences follow. First, the angular rate is not constant: an aircraft on a straight, level pass sweeps past slowly as it approaches, fastest directly in front of you, then slowly again as it departs, so a good pan is an acceleration and deceleration, never a constant speed swing. Second, errors perpendicular to the pan matter as much as errors along it, which is why stabilisation systems that correct only the axis you are not panning on earn their keep. Third, halving the shutter speed roughly doubles the precision demanded of your swing, which is why the drill programme below moves down the ladder one rung at a time and never skips.
None of this needs to be in your head at the fence. It needs to be in your hips.
The biomechanics of a good pan
Watch a competent clay shooter or a golfer and you are watching the same movement pattern a good pan uses: a stable base, rotation generated from the hips and torso, the upper body moving as a single unit, and a follow through that continues well after the critical moment. The arms and wrists are the worst possible source of a pan because they are the joints with the least mass and the most tremor. Everything below is about moving the rotation down into the big, smooth muscles.
Stance and base
Stand with your feet around shoulder width, knees soft, weight slightly forward on the balls of your feet. Point your leading foot roughly at the point where you expect to release the shot, which is usually the crowd centre point of the pass, not where you first pick the aircraft up. This matters because your torso rotates most smoothly through the middle of its range. If you square your feet to the pickup point instead, you will run out of comfortable rotation exactly when the aircraft is closest and its angular rate is highest. Set the base for the middle of the pan and accept a slightly wound up starting position.
Rotate from the hips, not the arms
Tuck both elbows into your torso, support the lens from underneath with your left hand at or ahead of the zoom ring, and pull the camera firmly into your brow. From that locked position, the only moving parts should be your hips and trunk. The camera, head, shoulders and arms rotate together as a turret. If your elbows drift out or your wrists start steering, the pan develops the high frequency wobble that shows up as double edged detail in your files. The techniques in our guide to handholding a long lens apply unchanged here; a pan is just handholding with rotation added.
Track, release, follow through
Pick the aircraft up early, well before you intend to shoot, and settle into its rate so that the matching is already happening before the shutter opens. Keep both eyes open if you can manage it; the free eye buys you situational awareness for the moment the subject enters your swing. Release the shutter in the middle of the rotation without changing anything about the rotation, and this is the discipline most people lack at first, because the instinct is to stab the button and stop. Keep the pan running smoothly through the exposure and continue it for a beat after the last frame, exactly like a golfer swinging through the ball. Photographers who stop at the click get files where the first frame of a burst is sharp and the rest decay, or where every frame carries a smear in the final third of the exposure.
Breathing and shutter discipline
Do not hold a big breath; a full chest is a tense chest. Breathe out gently as the aircraft approaches the release point and squeeze the shutter during the tail end of the exhale, the same calm release taught in marksmanship. Squeeze rather than jab. On a 500 gram shutter press at 1/80 second, a jab is a composition change.
Handheld versus monopod pivots
Handheld panning is the default and, for display flying, usually the right answer. Your hips are a better fluid head than most fluid heads: they allow simultaneous rotation and elevation change, which matters because almost no pass is perfectly level from your position. The cost is that you are also the source of every tremor, which is what the drill programme and the stabilisation section address.
A monopod changes the geometry. Planted vertically with the lens on a collar foot, it takes the vertical load off your arms and gives the pan a defined axis, which can noticeably improve results on long sessions with heavy glass, on predictable level subjects such as takeoff rolls and taxiing aircraft, and for photographers with shoulder or back issues. Rotate around the monopod leg by walking your torso around it rather than sweeping the lens sideways with your arms, and loosen the collar or use a dedicated tilting monopod head so the rig can follow a climbing or descending subject without you levering the leg off the ground. The compromise is agility: a monopod is slower to reposition when a display moves unexpectedly along the crowd line, and it does nothing for the axis you pan on. Many working aviation photographers use one for the morning arrivals and departures, then go handheld for the flying display. Try both during phase two of the programme and let your keeper log, not habit, decide.
A tripod with a gimbal head is a different tool for a different job, mostly static aircraft, night shoots and video. For stills panning it constrains the very motion you are trying to train, and gimbals encourage fingertip steering, which reintroduces the small muscle problem. If you do pan from a gimbal, for example on a paid ramp position with a 600mm prime, keep the friction light and drive the swing from the shoulders, not the wrist.
Shutter speed ladders by subject
A ladder is simply an ordered set of shutter speeds for one subject type: a comfortable starting rung, a working rung that produces saleable results, and a stretch rung you climb down to as your keeper rate earns it. The numbers below are consistent with the ranges in our propeller blur and fast jet guides. Treat them as calibrated starting points, not laws; light, distance and focal length all move them.
Two principles govern every row. Ground subjects tolerate slower speeds than airborne ones because their motion is level and predictable and you can often stand closer to their line. And rotating parts set the ceiling: for props and rotors the shutter speed is chosen for the disc first, with the pan quality expected to catch up through practice, whereas for jets the shutter speed is purely a creative choice about background streak.
| Subject | Starting rung | Working rung | Stretch rung | Notes |
|---|---|---|---|---|
| Practice: cars at 30 to 60 mph | 1/125 | 1/60 | 1/30 | The core phase one drill; roadside, short lens |
| Practice: cyclists and runners | 1/60 | 1/30 | 1/15 | Slow angular rates let you train very low speeds |
| Practice: trains | 1/125 | 1/60 | 1/30 | Utterly predictable line; good for long lens reps |
| Piston props in flight | 1/320 | 1/125 to 1/160 | 1/60 to 1/100 | Working rung gives a strong arc; stretch rung approaches a full disc |
| Turboprops in flight | 1/320 | 1/125 to 1/200 | 1/80 | Similar discipline to pistons; watch exhaust haze |
| Helicopters in flight | 1/160 | 1/100 | 1/50 to 1/80 | Slow turning main rotors demand the low end for a full disc |
| Jet takeoff roll and taxi | 1/500 | 1/250 | 1/125 | Best background streak per unit of difficulty in aviation |
| Fast jet display passes | 1/1000 | 1/500 | 1/250 | Pan for streak and to keep bursts consistent; no disc to serve |
| Aircraft on the ground, engines running | 1/125 | 1/60 | 1/40 | You are static, subject is slow; disc quality is the whole point |
Read the table vertically as a curriculum, not horizontally as a menu. Nobody should be attempting 1/80 second on a displaying Sea Fury before they can hold 1/60 on traffic outside their house. The programme below is built directly on these rungs, and the rule is always the same: you buy the next rung down with a measured keeper rate on the current one.
Aperture and ISO follow from the shutter choice. At 1/125 in bright summer light you will be at base ISO and small apertures, so watch for diffraction beyond f/11 to f/16 and consider a polariser or one to two stops of neutral density if you want to avoid the smallest stops. Exposure is the easy third of the triangle here; set shutter priority or manual with auto ISO, fix the shutter to the rung you are training, and give the pan your full attention.
Stabilisation modes for panning, maker by maker
Stabilisation systems exist to remove camera movement, and a pan is deliberate camera movement, so every maker has had to teach its system the difference. The behaviour and the switch labels differ by brand, and using the wrong mode is one of the classic causes of ruined pans, because a system trying to correct your pan fights the swing and produces stuttering, double imaged backgrounds. Here is what the makers themselves document.
Canon
Canon lenses with an IS switch use Mode 1 for static subjects, correcting both pitch and yaw. Mode 2 is the panning setting: Canon’s own documentation describes it as ignoring the panning movement and compensating only for movement perpendicular to the panning direction, with the system detecting the direction of the pan automatically so it works in any orientation. Mode 3 applies stabilisation only at the moment of exposure, which suits erratic sports tracking. Some RF and RF-S lenses have no mode switch at all and instead detect intentional panning automatically, switching from standard to panning stabilisation on their own; Canon names the RF 24-105mm F4-7.1 IS STM and RF 100-400mm F5.6-8 IS USM as examples. On IBIS bodies, a lens IS switch controls the lens and body systems together.
Nikon
Nikon’s system is called VR, Vibration Reduction, and its documented panning behaviour spans two settings. Normal mode includes what Nikon calls Panning Detection: the camera detects the panning movement, suppresses correction in the direction of the pan and corrects only the perpendicular axis, regardless of orientation. Sport mode is the setting Nikon’s manuals recommend for panning shots, and in both Normal and Sport the documentation states that vibration reduction applies only to motion that is not part of the pan, so a horizontal pan gets vertical correction only. In practice, Normal works well for deliberate single passes and Sport keeps the viewfinder steadier during aggressive, erratic tracking.
Sony
Sony bodies stabilise with SteadyShot, and the panning intelligence lives with the lens where one has a mode switch. Sony’s lens instruction manuals for telephotos such as the FE 70-200mm F2.8 GM OSS II describe MODE1 as compensation for normal shake, MODE2 as compensation for camera shake when panning moving subjects, and MODE3 as prioritising a stable viewfinder while tracking. Note the override rule from Sony’s own camera help guides: if a lens with a SteadyShot mode switch is attached, the setting can only be changed with the switch on the lens, not from the camera body.
Fujifilm and OM System
Fujifilm does not document a dedicated stills panning mode. Its cameras offer IS MODE settings that run stabilisation continuously or only at the moment of shooting, and Fujifilm’s own quick start guides advise turning the video oriented IS MODE BOOST function off when panning with a subject, keeping it for static handheld work. OM System is the most explicit of all: the OM-1 Mark II manual states that in S-IS Auto the camera suspends image stabilisation on the axis where panning motion is detected, while S-IS2 applies vertical only correction for horizontal pans and S-IS3 applies horizontal only correction for vertical pans, for photographers who prefer to choose the axis manually.
Updated July 2026: the mode names and behaviours above were checked in July 2026 against Canon’s professional infobank pages, Nikon’s VR documentation and current Z series manuals, Sony’s camera help guides and lens instruction manuals, Fujifilm’s current X series guides and the OM System OM-1 Mark II instruction manual. The direction of travel across makers is automatic panning detection, so if you shoot a recent body and lens with no panning switch anywhere, the system very likely detects the pan for you; the failure cases described later will tell you if it is not.
The drill programme: how to structure practice
Everything to this point is knowledge. What changes your results is structured repetition with measurement, and that requires an honest definition of a keeper and a simple log. A keeper, for this programme, is a frame where the chosen sharp point, the cockpit or the pilot’s helmet on aircraft, the driver’s window on cars, is critically sharp at 100 per cent while the background shows directional streak. Nearly sharp does not count. Sharp but at a faster shutter speed than the drill demanded does not count.
The percentages that follow are training targets drawn from working practice, not measured research statistics, and you should treat them exactly the way a running coach treats pace targets: calibration for effort, not a claim about the population of photographers. The structure is what matters. Each session, shoot a fixed block of attempts at your current rung, count keepers, and record three numbers in your phone: rung, attempts, keepers. You progress one rung down the ladder when you hit the target rate in three consecutive sessions, and you move back up a rung whenever your rate halves, which will happen after layoffs and nobody should be precious about it.
The working targets: around 3 keepers in 10 at a new rung means the rung is appropriate to train. Around 5 in 10 means you are consolidating. Consistently 6 to 7 in 10 across three sessions means the rung is yours; step down. If you are below 2 in 10, the rung is too ambitious and is teaching you bad compensations, so go back up. Twenty minutes twice a week beats a three hour binge before an airshow, because the skill is motor learning and motor learning consolidates between sessions.
Phase one: drills without an airshow
The best panning practice available to you costs nothing and is a short walk away: ordinary traffic on an ordinary road. Cars are plentiful, repeatable, predictable and free, and a 30 to 40 mph car at 30 metres presents a broadly similar tracking problem to an aircraft at display distance. Stand well back from the kerb on the far side of a pavement or verge, pick a stretch with a clear background that will show streak, and work perpendicular to the traffic flow. Use whatever lens you will use at shows, even though it feels like too much glass for the job, because the drill is training the mass and inertia of your real rig.
The core traffic drill
Blocks of ten. Pick the car up early, match its rate, release a short burst at your chosen point, follow through. Start at 1/125 and log your rate. Most photographers new to deliberate practice find 1/125 falls quickly, 1/60 takes a few weeks of sessions, and 1/30 remains a genuine test for years. Resist the urge to spray long bursts; three frames per pass keeps the discipline in the swing rather than the buffer. When a rung is earned, step down. When 1/30 produces keepers on demand, airshow speeds will feel generous.
Variation drills
Cyclists and runners let you train absurdly slow rungs, 1/15 and below, because their angular rates are low; they teach the smooth slow swing that helicopters demand. Trains are the opposite gift: perfectly predictable lines at speed, ideal for long lens repetitions and for practising the accelerating pan as they approach and pass, always from a station platform behind the yellow line or from public land, never trackside. Birds, especially large slow flappers such as gulls, herons and geese along a river or coastline, add the vertical component that road traffic lacks and force the hips and elevation to work together; they are the closest ground school there is to a displaying aircraft, and they do not file complaints about being photographed at 1/80.
Dry practice
Between sessions, dry pan. Track the top edge of passing cars from a window, or follow a line along the wall as smoothly as you can with the camera to your eye and the shutter untouched. Marksmen and golfers rehearse without ammunition or balls for the same reason: the movement pattern is the skill, and the movement pattern can be rehearsed anywhere.
Phase two: airfield circuit traffic
Once the traffic drill delivers 1/60 keepers on demand, move to a local general aviation airfield on a fair weather weekend. Circuit traffic is the aviation photographer’s practice range: the same aircraft flying the same pattern every six minutes or so, with a takeoff, a climb out, a downwind pass, an approach and a landing on each lap. No airshow offers that repetition. Find the public viewing area or perimeter locations where photography is permitted, keep clear of operational areas, and be a good ambassador; airfields that tolerate photographers do so because photographers behave.
Structure the session around the pattern. Departures and landing rollouts are your ground rungs from the table, 1/250 down towards 1/125, with the aircraft on a known line and the airfield furniture giving the background streak. Climb outs and downwind passes introduce the vertical component and changing range that phase one could not fully simulate; work them at the flight rungs, starting at 1/320 for props and stepping down as the log allows. A Cessna 172’s cruise propeller speed is slow enough that even moderate shutter speeds show pleasing blur, so circuit bashers are forgiving subjects that flatter your progress while still training the swing.
Phase two is also where you settle your equipment questions with evidence. Run one session handheld and one with the monopod at the same rungs and compare keeper rates in the log. Test your stabilisation mode choices the same way: a session in the maker’s panning mode against a session with stabilisation off entirely at 1/250 and faster. Many photographers discover their rate at moderate speeds barely changes without stabilisation, which is useful knowledge for the day a switch gets knocked, while at 1/60 and below the correct panning mode earns its keep on the axis you cannot govern.
Give phase two at least three or four sessions before an airshow. The jump from cars to aircraft is mostly psychological, but the jump from no aircraft to airshow pressure is real, and circuit traffic removes it in advance.
Phase three: airshow passes
An airshow is the exam, not the classroom, and the biggest single change from phase two is that nothing repeats. Each display item gives you a handful of passes, the line and height vary by act, and the crowd constrains your stance. The skill you built in phases one and two frees your attention for the things that are new: reading the display line, anticipating the crossing point, and choosing rungs in real time.
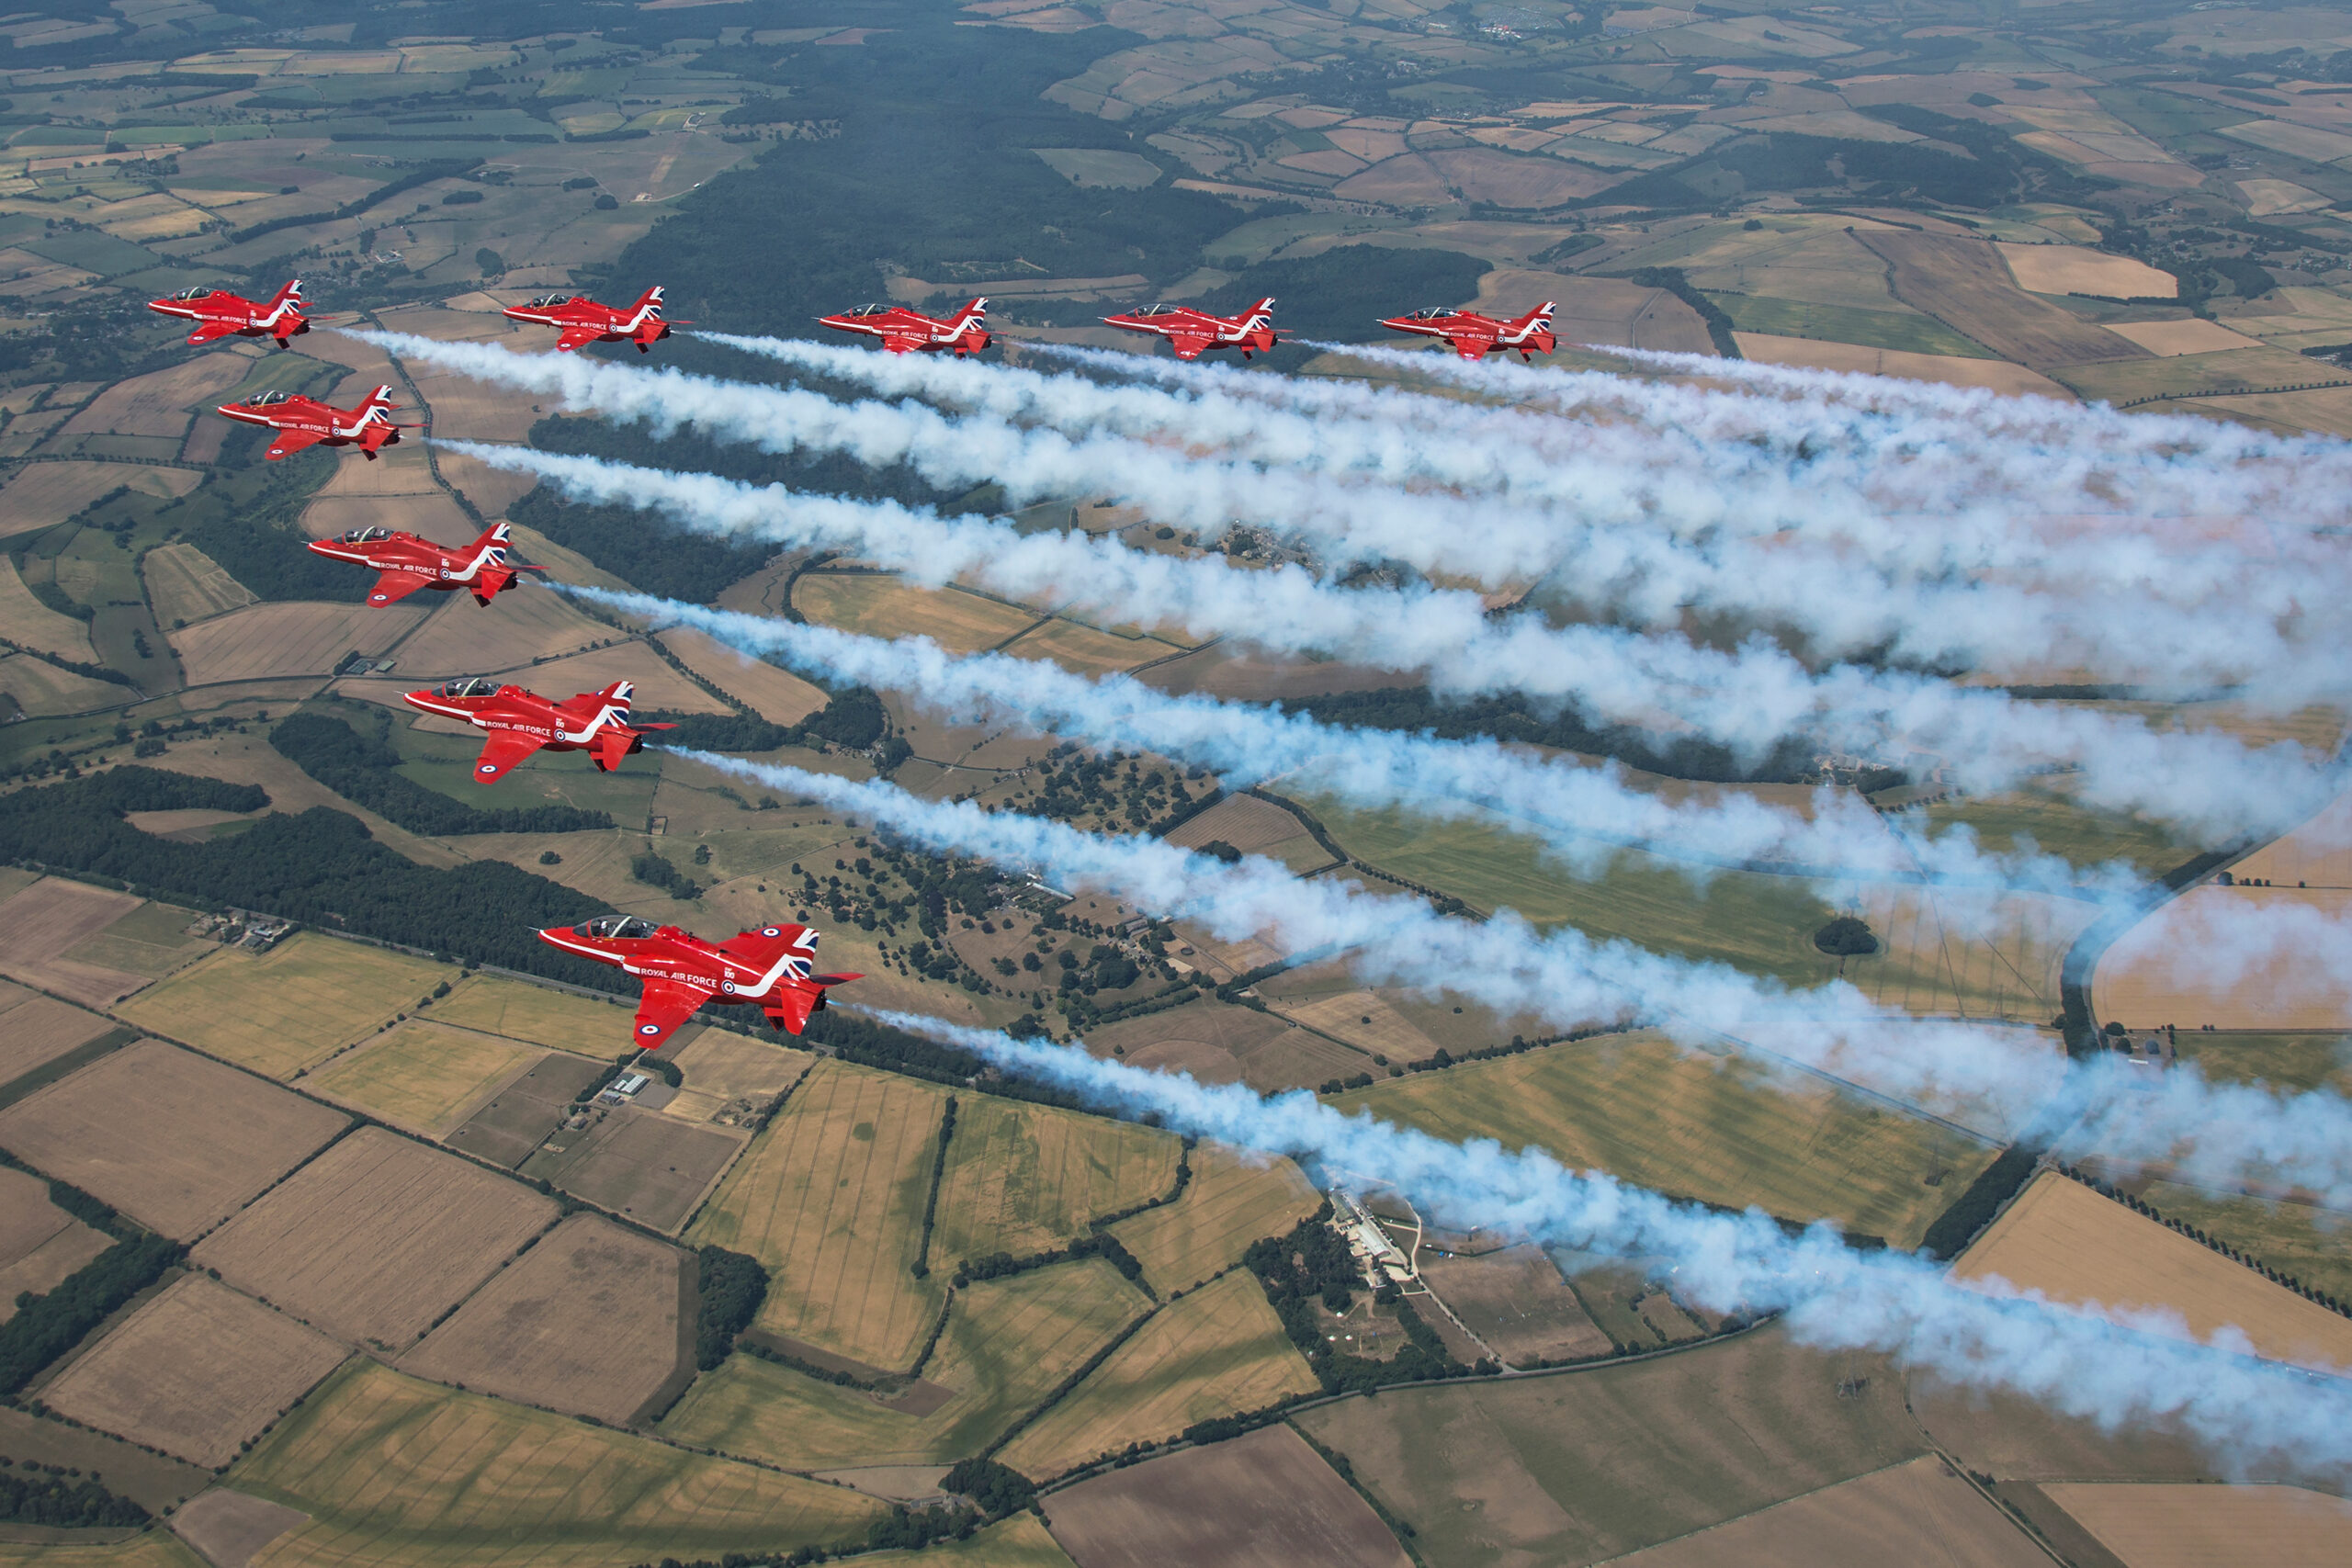
Work the day as a graduated session. Fly the morning arrivals and any practice slots at your working rungs to warm up the swing; treat the first display item as calibration, not portfolio; and only climb down to stretch rungs on subjects that offer multiple passes. A four ship of trainers doing repeated formation passes is an invitation to work down the ladder. A single fast pass from an item you may never see again is not the moment to attempt a personal best; shoot it a rung above your working level and bank the image. Takeoff and landing phases remain your highest percentage panning opportunities all day, exactly as they were in phase two, and at many shows the departure sequence at the end of the day is shot into calmer light with thinner crowds.
Stake out your position with the pan in mind, not just the light. You need room for the full rotation, including the follow through, without a fence post, a flagpole or another photographer’s head entering the swing. Half a metre of extra space to your off side is worth more than half a metre closer to the fence. Set your feet for the crowd centre crossing point as described earlier, and reset them deliberately between items; feet drift, and drifting feet are why the last act of the day so often produces soft files. The panned images across our galleries are overwhelmingly shot from positions chosen for rotation room first.
Keep logging, even at shows. Rung, attempts, keepers, per display item, in the gaps between acts. It takes thirty seconds and it converts an exciting day out into another data point in the programme.
Reviewing your results and diagnosing failures
The review session after each shoot is where the keeper rate actually improves, because each failure mode has a distinct signature and a distinct fix. Cull at 100 per cent magnification, sort by the rung you shot, and read the blur like a mechanic reads a spark plug: the direction and character of the smear tells you what the camera was doing while the shutter was open.
Whole frame blur, subject and background equally smeared
Nothing was matched: the camera moved but not with the subject. Usually this is a late pickup, a stabbed shutter or a pan that stopped at the click. The fix is upstream of the exposure: earlier pickup, settled rate before release, follow through. If the smear is diagonal, your swing is dropping or climbing through the release; check your foot alignment against the crossing point.
Sharp background, blurred subject
The camera was still and the subject moved through the frame, meaning the pan never really happened or stabilisation fought it to a standstill. If you see this repeatedly with stabilisation active at slow rungs, check you are in the maker’s panning mode from the section above, or that a lens switch has not been knocked to the wrong position; remember on Sony the lens switch overrides the body menu.
Subject double imaged or stuttered
A double edge on the airframe, or a background streak that looks like a dashed line rather than a smooth smear, points to conflict during the exposure: stabilisation correcting against the pan axis, a monopod foot juddering on a hard surface, or a wrist led correction halfway through the swing. Isolate the variable: repeat the rung with stabilisation off, or handheld, and compare.
Sharp airframe, wrong sharp point
If the tail is sharp and the cockpit soft, your pan rate slightly lagged the subject, because a lagging pan holds the trailing parts of the aircraft still on the sensor while the leading parts creep; a leading pan does the opposite. This is the most encouraging failure of all, because it means your error is now measured in fractions of the airframe length. Rotational errors of this size respond to nothing but repetitions, so log it and keep drilling. Distinguish all of these from simple focus misses, which show a uniformly soft subject with no directional character and are an autofocus conversation, not a panning one; continuous AF with a tracking area suited to the subject is assumed throughout this programme.
Be brutally selective about what leaves your computer. A 1/60 pan with a full prop disc and a critically sharp cockpit is a saleable, portfolio grade image precisely because most photographers cannot produce one on demand; a nearly sharp version of the same frame is worthless. Clients and picture editors license the first kind, and the standards behind our licences assume that level of technical quality at full resolution.
Common panning mistakes
Certain errors recur so reliably in other photographers’ airshow files, and in my own early archives, that they deserve their own list. The first is chimping mid sequence: reviewing the last burst on the rear screen while the subject is still displaying, which costs the next pass and breaks the physical rhythm the programme exists to build. Review between items, never between passes. The second is shutter speed drift: setting 1/125 with good intentions at 09:00 and discovering at the edit that the afternoon was shot at 1/1000 because a thumb wheel moved and nothing in the viewfinder shouted about it. Lock the dial if your body allows it, or build the habit of a settings glance at every item change.
The third is spraying: holding the shutter for twenty frame bursts in the hope that probability will provide. It will occasionally, which is exactly why it is corrosive; the reward teaches you nothing repeatable, and the buffer runs dry the moment a really rare pass arrives. Short deliberate bursts of three to five frames keep the pan smooth and the log honest. The fourth is borrowed settings: copying a rung from someone whose swing has years on yours. The ladder position that produces keepers is personal, which is the entire reason to keep a log rather than a screenshot of someone else’s exposure data.
The fifth is neglecting the vertical axis. Most practice happens on level subjects, so most photographers develop a purely horizontal swing, and the first displaying aircraft that carves a climbing turn exposes it. Phase one’s bird work and phase two’s climb outs exist precisely to train elevation into the movement. And the sixth is abandoning the technique after one bad show. A wet, gusty display day can halve anyone’s keeper rate; the log distinguishes a bad day from a bad trend, which is another reason to keep it.
When panning is the wrong tool
Knowing when not to pan is part of the skill. Head on and near head on passes give you almost no lateral motion to match; the aircraft grows in the frame rather than crossing it, and a slow shutter buys you blur with no compensating streak, so shoot these fast and sharp. High energy aerobatics with rapid direction changes, a tumbling Pitts or a jet pulling vertical, move through multiple axes faster than any swing can track, and the honest choice is a fast shutter, with the sense of motion carried by vapour, smoke and attitude instead of background streak. Our fast jets guide covers that fork in the road in detail.
Heat haze is the other great veto. On hot days the air between you and a distant runway is a shimmering lens that no shutter speed fixes, and a slow pan through haze compounds two kinds of blur into files nothing can rescue. When haze is visible in the viewfinder at long range, either move your work to closer subjects and shorter focal lengths or accept that the session is practice for the swing rather than portfolio hunting. Documentation work is a further exception: if the purpose of the frame is registration detail, airframe condition or an accident survey, freeze it; panning is an aesthetic tool and aesthetics are not the brief. Finally, respect the light. Panning trades shutter speed for motion, and in flat dusk light the streaked background can turn to grey mush; sometimes the stronger image is the sharp one with the burner lit against the gloom. The drill programme gives you the keeper rate to choose freely. The choice itself remains photography.
Frequently asked questions
What shutter speed should I use for panning aircraft?
Match the shutter speed to the subject: roughly 1/60 to 1/125 second for propeller aircraft to show a strong prop arc, 1/50 to 1/100 for helicopter rotor discs, and 1/125 to 1/500 for jets where the blur is purely about background streak. Start a rung faster than your target, confirm your keeper rate, then step down. Distance, focal length and the aircraft’s speed all shift the numbers, so treat published figures as starting points.
Should image stabilisation be on or off when panning?
On, but in the correct mode. Use Canon IS Mode 2, Nikon VR Normal or Sport, Sony lens MODE2, or OM System S-IS Auto, all of which are documented to stop correcting along the pan axis while still steadying the perpendicular axis. Standard full correction modes can fight the pan and cause stuttered backgrounds, and many recent lenses and bodies detect panning automatically.
Why are my panning shots blurry even on the subject?
The usual causes are a pan rate that does not match the subject, stopping the swing as you press the shutter, or stabilisation fighting the pan in the wrong mode. Check the character of the blur: directional smear means a rate mismatch, a double image suggests stabilisation conflict, and uniform softness with no direction is a focus miss rather than a panning fault.
What is a good keeper rate for panning shots?
As a training guide, about 3 sharp frames in 10 means a shutter speed is appropriate to practise, 5 in 10 means you are consolidating, and 6 to 7 in 10 across several sessions means you are ready to try a slower speed. These are editorial targets for structuring practice, not industry statistics. At very slow speeds like 1/30 second, even experienced photographers accept far lower rates.
Can I practise panning without aircraft?
Yes, and you should: cars on an ordinary road are the single best drill because they are free, frequent and predictable. Cyclists train very slow shutter speeds, trains suit long lens repetition, and large slow birds add the vertical component that road traffic lacks. Use the same camera and lens you will use at airshows so the practice transfers.
Is panning easier with a shorter lens?
Yes. A shorter focal length has a wider field of view, so the same tracking error smears the subject across fewer pixels and framing errors are more forgiving. That makes short lenses ideal for learning the movement, but you should progress to your airshow focal lengths quickly because the inertia and balance of the real rig are part of the skill.
Should I use burst mode when panning?
Use short bursts of three to five frames released in the middle of a smooth swing. Bursts raise the odds of one frame coinciding with the cleanest part of your pan, but long sprayed sequences encourage a sloppy swing, fill the buffer and teach you nothing repeatable. The burst supports the technique; it does not replace it.
What is the best autofocus mode for panning aircraft?
Continuous autofocus with a tracking area appropriate to the subject, such as a zone or subject detection area that holds the airframe. Panning and autofocus are separate systems solving separate problems: AF handles distance changes while your swing handles angular motion. Many aviation photographers pair this with back button focus so tracking runs independently of the shutter release.
Do I need a monopod for panning?
No, but it helps in specific cases: long sessions with heavy telephotos, predictable level subjects like takeoff rolls, and photographers managing shoulder or back fatigue. It defines the pan axis and carries the weight, at the cost of agility when a display moves. Test handheld against monopod sessions at the same shutter speeds and let your keeper rate decide.
What does IS Mode 2 do on Canon lenses?
Canon documents Mode 2 as a panning setting: the lens detects the direction of your pan, stops correcting movement in that direction and stabilises only the axis perpendicular to it. It works in any orientation, horizontal or vertical. Some RF lenses omit the switch and are designed to detect intentional panning automatically, moving between standard and panning stabilisation on their own.
How long does it take to get good at panning?
With structured practice of two short sessions a week, most photographers get reliable results at 1/125 second within a few weeks and solid 1/60 performance within a season. Very slow speeds such as 1/30 and below remain a career long pursuit. Unstructured practice takes far longer because there is no measurement, which is why a simple log of attempts and keepers accelerates progress so much.
Does panning work for jets as well as propeller aircraft?
Yes, but for a different reason. Jets have no propeller disc to serve, so panning is purely a creative choice to streak the background and convey speed, typically at 1/125 to 1/500 second on passes and takeoff rolls. Props and helicopters make slow shutter speeds mandatory for the disc, which is why panning skill matters most for them.
