
Plane spotting is one of the easiest hobbies in the world to start and one of the deepest to master. At its simplest it is standing near an airport watching aircraft come and go. Take it further and it becomes a lifelong pursuit of rare types, special liveries, distant registrations and the perfect photograph on a golden evening. You need almost nothing to begin, and the barrier to your first good day out is lower than you might think.
This guide is for the beginner who wants to do it properly. It covers what spotting actually is, the small amount of kit you need, how to find good locations at a major airport, how to read the runways and the wind so you know where aircraft will be, the camera settings that work, the apps that make it far easier, how to identify what you are looking at, and the etiquette and safety that keep the hobby welcome. By the end you will be ready to plan a first session that produces results rather than frustration.
What this guide covers
- What plane spotting is
- Getting started: what you actually need
- Finding good spotting locations
- Reading the airport: runways and wind
- Gear for spotting and spotting photography
- Camera settings for spotting
- Tools, apps and tracking flights
- Identifying aircraft, airlines and registrations
- Etiquette, safety and staying legal
- Photographing versus logging
- Common beginner mistakes
- Best times of day and year to go spotting
- Frequently asked questions
What plane spotting is
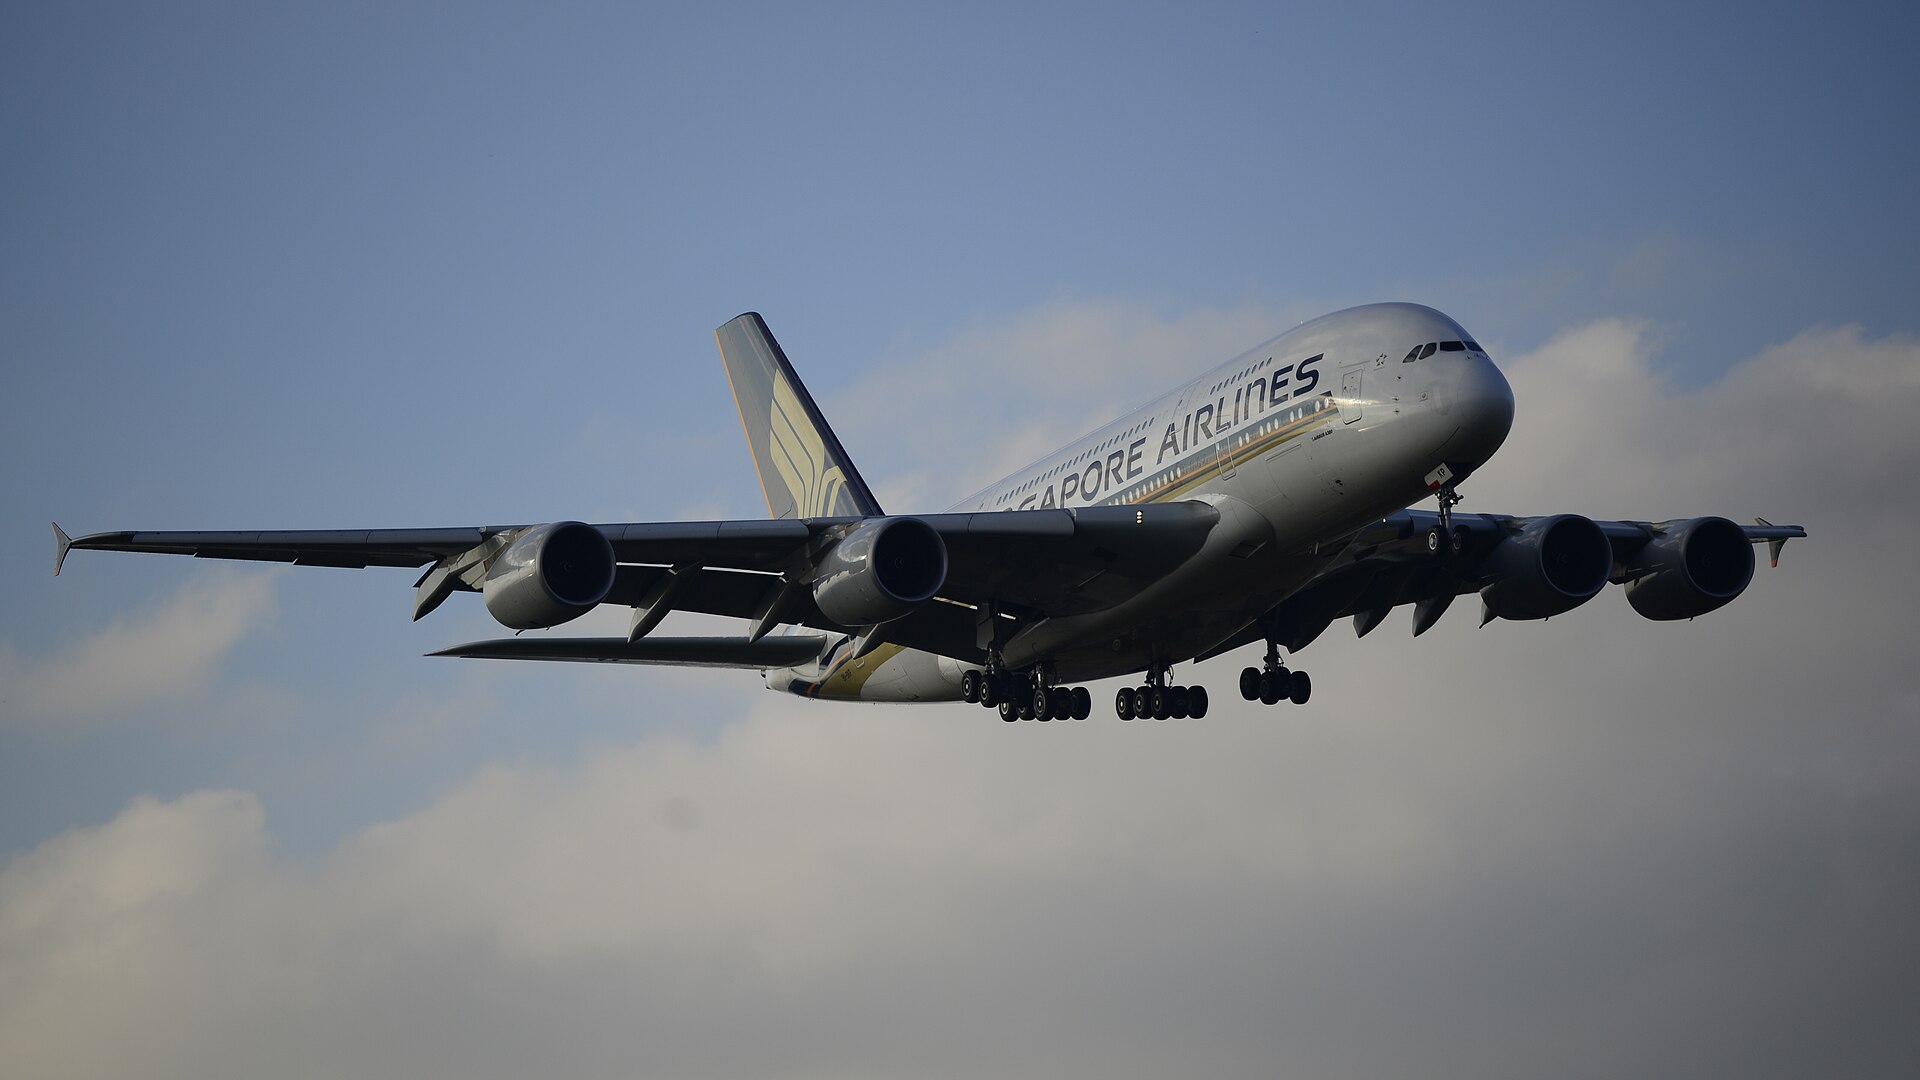
Plane spotting is the hobby of observing aircraft, usually at or near airports, and often recording what you see. For some people it is about the aircraft themselves, watching a particular type, chasing a rare visitor, or seeing a special livery. For others it is photography, capturing aircraft in good light and building a collection of images. For many it is both, and for a good number it is simply a peaceful way to spend a few hours outdoors near the thing they love.
A hobby with many forms
There is no single right way to spot. Some spotters keep meticulous logs of every registration they have seen, treating it almost like collecting. Some travel to photograph particular aircraft or to catch types before they are retired. Some sit at their home airport with a flask and enjoy the rhythm of arrivals and departures. What unites them is an interest in aircraft and a willingness to spend time watching them. You can take whichever path appeals and change your mind as you go.
Why it is a good hobby to start
Spotting is cheap to begin, accessible almost anywhere there are aircraft, and endlessly deep. You can start today with nothing but your phone and a viewing spot. It gets you outdoors, it teaches you a surprising amount about aviation, geography and photography, and it has a friendly, knowledgeable community that is usually glad to help a newcomer. It also rewards patience and planning, so it suits people who enjoy learning the details rather than wanting instant results.
What to expect on a first visit
On your first proper session, expect some waiting, some aircraft you cannot identify, and a few frames that do not come out. That is normal and part of the learning. Go with modest expectations, watch how experienced spotters position themselves, and treat the first outing as reconnaissance as much as results. Your second visit will be far more productive because you will understand the location.
Getting started: what you actually need
One of the joys of spotting is how little you need to begin. You can start with things you already own and add equipment only as your interest grows and you discover what you actually want to do.
The bare minimum
To begin, you need nothing more than your eyes, somewhere safe and legal to stand, and ideally a phone. A phone gives you a flight-tracking app to see what is arriving, a map to find your way, and a camera good enough for record shots of aircraft on the ground or close on approach. Many lifelong spotters started with exactly this and nothing more. Do not let a lack of expensive gear stop you.
Adding a camera
If you want to photograph aircraft in the air, a camera with a telephoto zoom is the next step. A lens reaching at least 200mm to 300mm is a sensible entry point, and longer if you are further from the runway. A bridge camera with a long built-in zoom is a popular, affordable starting point, and an interchangeable-lens camera with a telephoto zoom gives more room to grow. Our guide to budget telephoto lenses for aviation photography covers the realistic options if you are buying with spotting in mind, and the wider best lenses for aviation photography guide goes further.
The small extras
Beyond a camera, the useful extras are simple: comfortable clothing and footwear for standing outside, something to keep the rain off you and your gear, a way to note registrations whether a notebook or your phone, and a flask and snacks for a longer session. Binoculars help you read distant registrations and identify aircraft, and are really useful even if photography is your main interest. None of this is expensive, and most of it you already have.
Finding good spotting locations
Where you stand decides almost everything about a spotting session: which aircraft you see well, how good your photographs are, and whether you enjoy the day. At a major airport the difference between a great spot and a poor one can be a few hundred metres, so it is worth researching before you go.
Start with official viewing areas
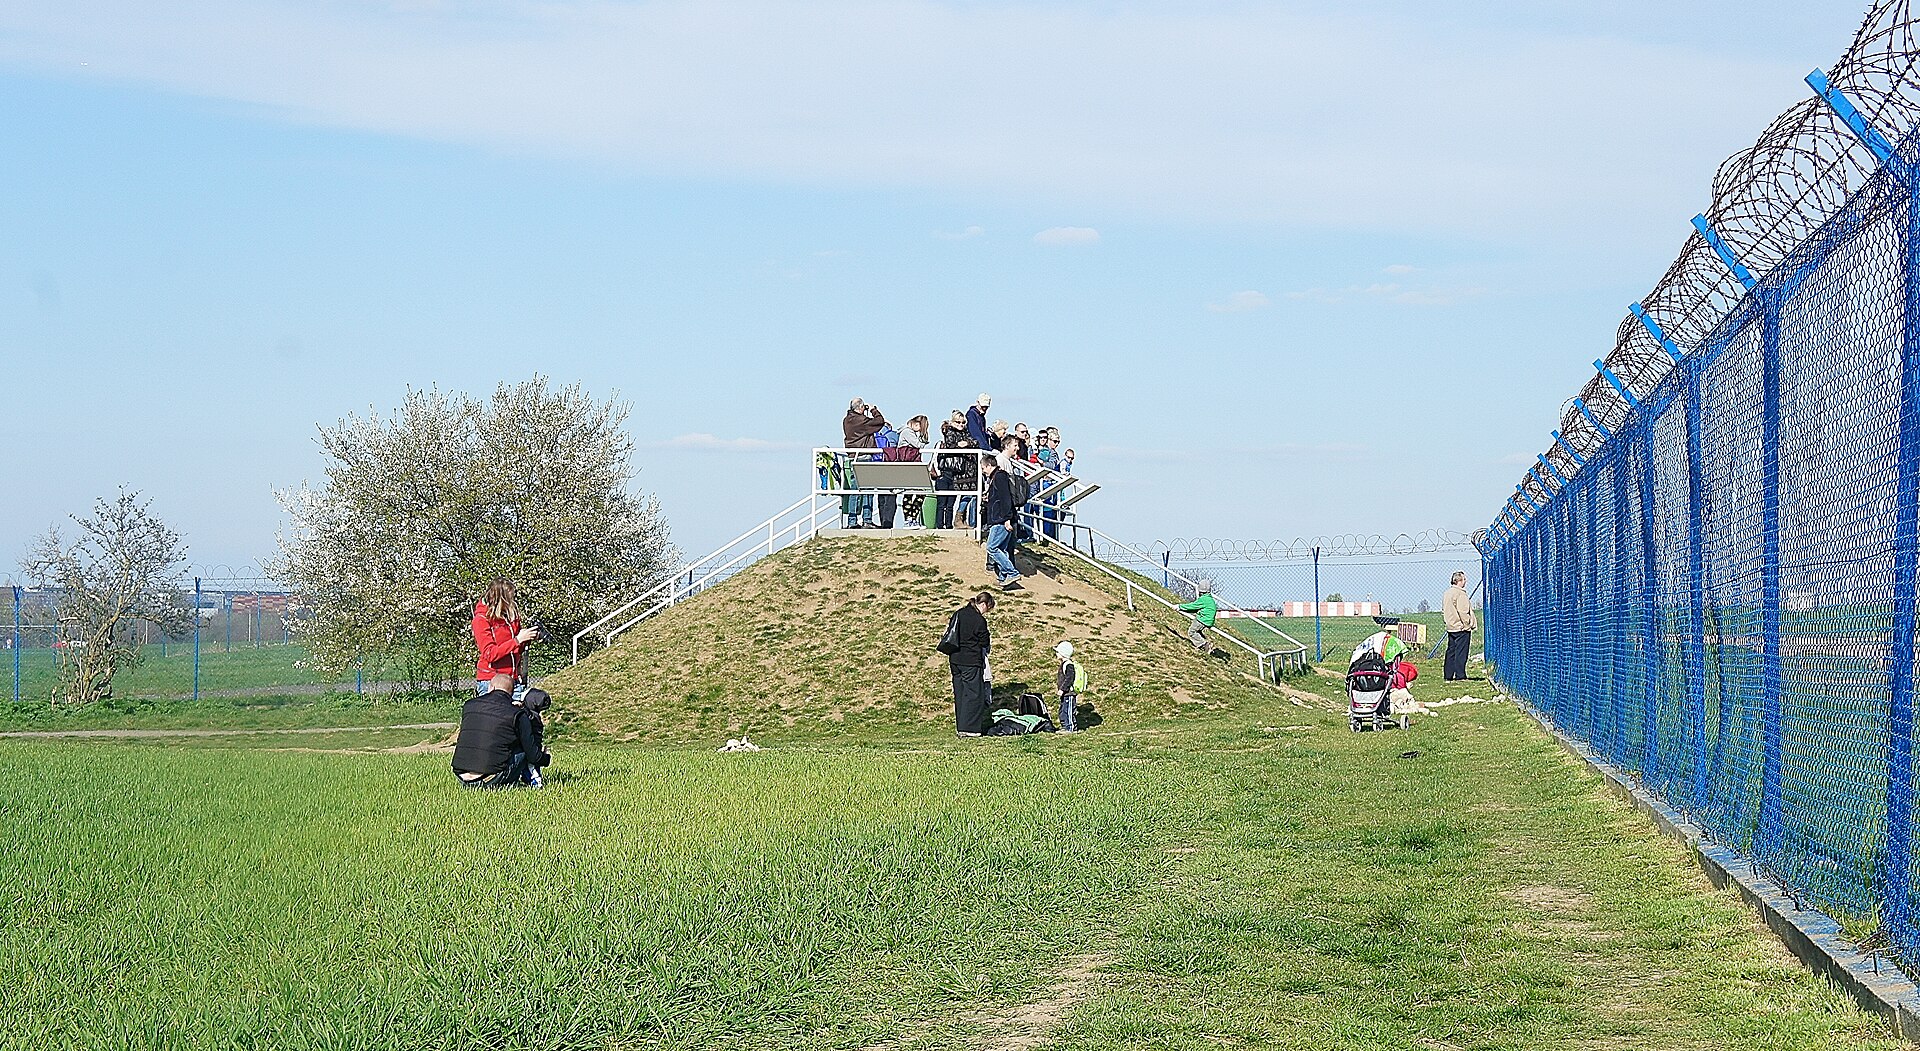
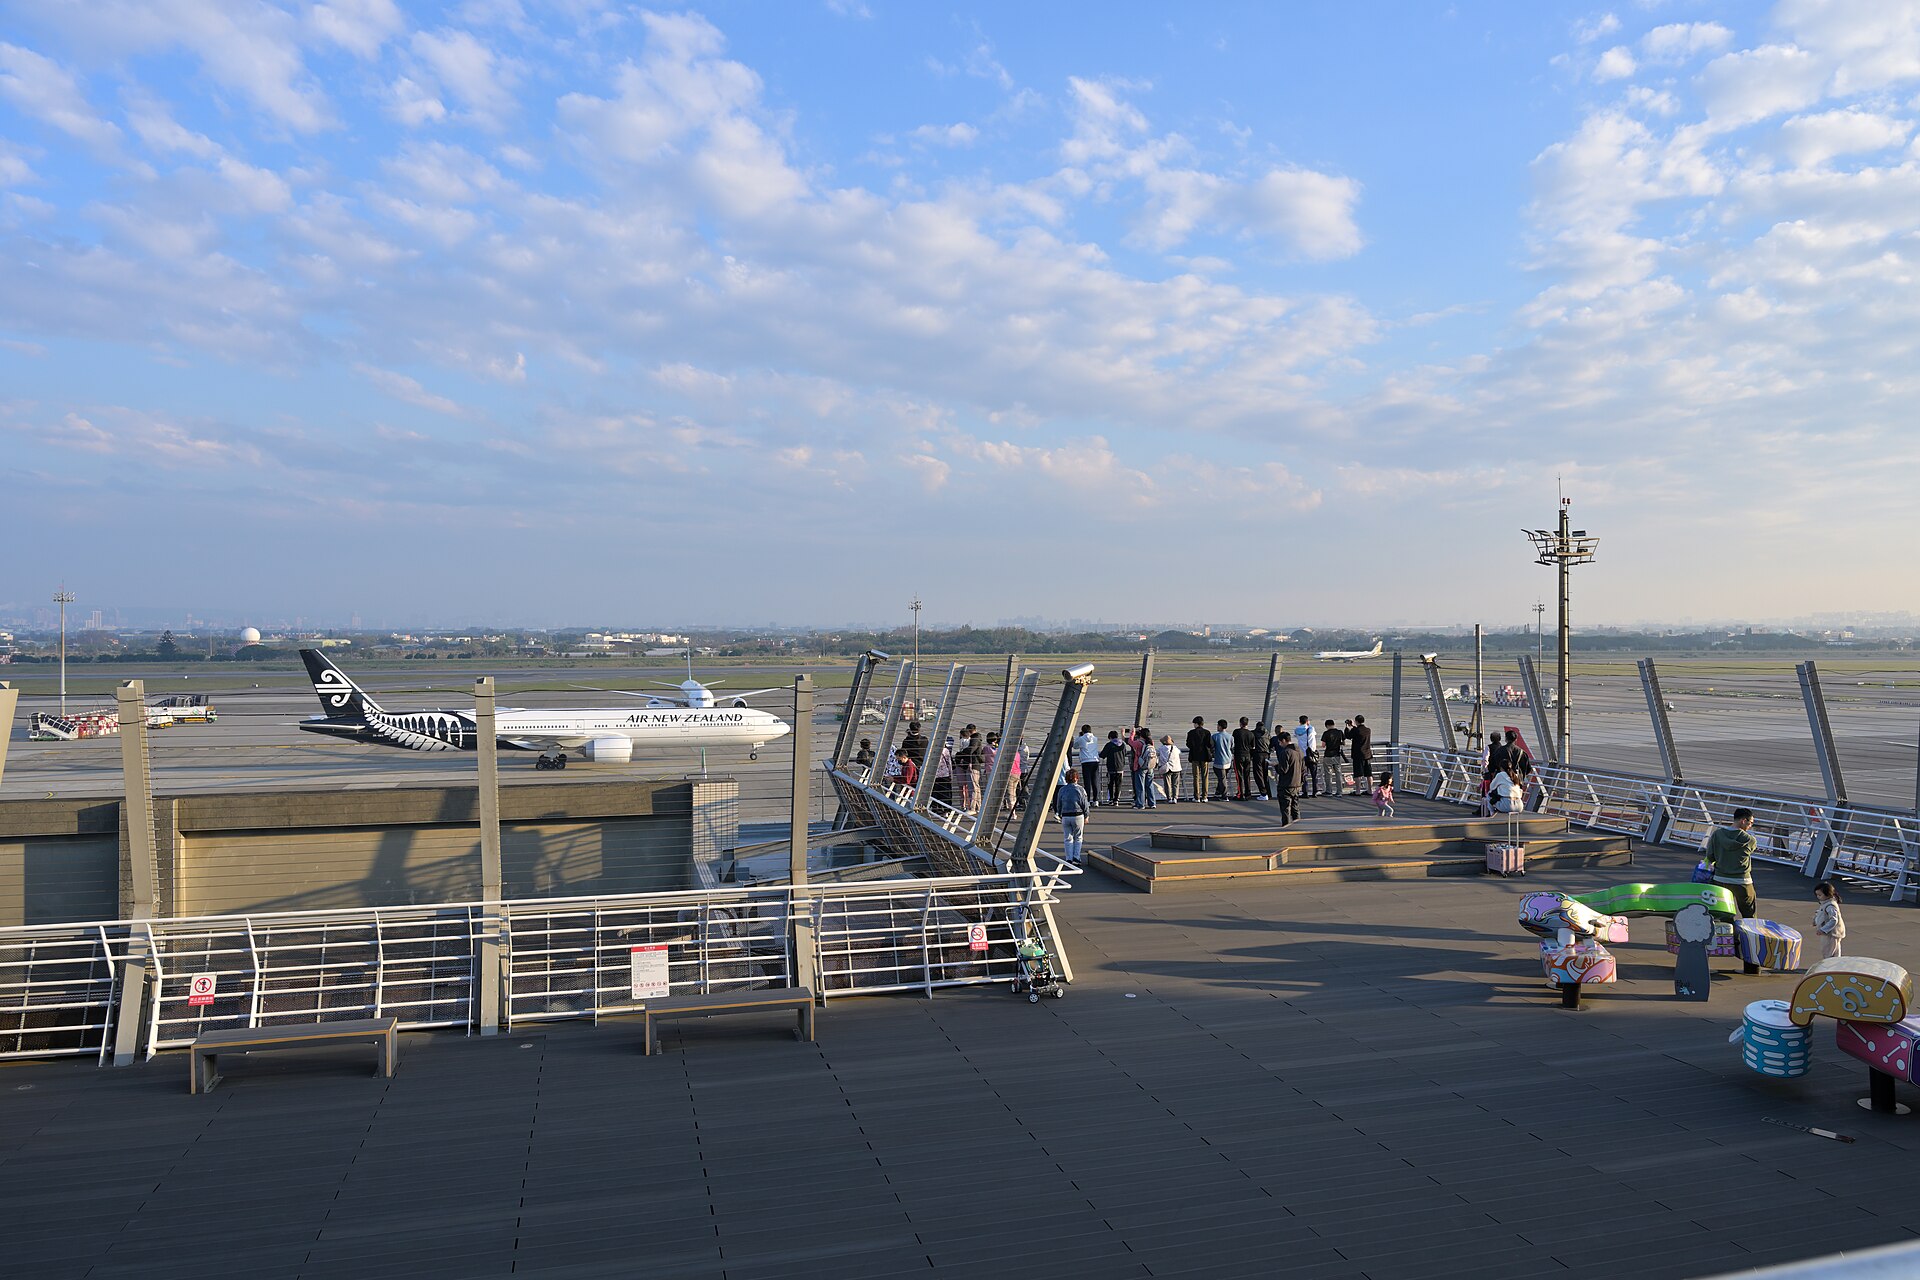
Many large airports provide official viewing areas, from dedicated spotting mounds and terraces to nearby parks and car parks that have become established spots. These are the safest and easiest places to begin, because they are legal, accessible and usually positioned with a decent view. Search for your airport’s viewing area or spotting location and start there for your first visit.
The value of the runway ends
Some of the best positions are near the ends of the runway. On the approach end, aircraft pass low overhead as they come in to land, giving dramatic, close views and the chance for underside and head-on shots. Just past the departure end, aircraft are climbing out, often with gear retracting. These positions put you close to the action, though they demand you think carefully about the sun, which we come to below.
Using the spotting community
The spotting community has already done much of the work of finding and documenting good locations. Online forums, dedicated spotting websites and apps often list the best positions for each airport, complete with notes on which runway direction they suit and where the sun is at different times of day. Reading these before a visit saves you hours of wandering. If you meet other spotters at a location, most are happy to share local knowledge with a polite newcomer.
Think about access and comfort
A great view is no good if you cannot park, cannot stay, or are moved on. Check that a location has legal parking or public transport, that you are allowed to be there, and that there is nothing that will cut your session short. Established spots are established precisely because they solve these problems, which is another reason to start with them rather than improvising a position against a perimeter fence.
Reading the airport: runways and wind
The single most useful thing a new spotter can learn is how to predict which way aircraft will be using the airport, because that decides where you should stand. It comes down to the wind, and once you understand it you can plan a session instead of hoping.
Aircraft use the runway into the wind
Aircraft take off and land into the wind wherever possible, because it gives them lift at a lower ground speed. That means the direction the wind is blowing from decides which end of the runway aircraft will be using. A westerly wind means aircraft operate toward the west; an easterly wind means they operate toward the east. Because most airports can use a runway in either direction, the wind effectively flips the whole operation, and with it the best place to stand.
Why it matters for your position
If aircraft are landing toward the west, the approach is at the eastern end and the departures climb out to the west. Stand at the wrong end and you will watch aircraft take off away from you into the distance, or land far across the airfield, instead of passing close overhead. Check the wind before you leave, or an app that shows the runway in use, and choose the end that puts the action in front of you.
Combining wind and sun
The complication is that the runway direction and the sun do not always cooperate. The best-lit end for photography might be the end aircraft are climbing away from, and the close approach might be into the sun. Part of the craft of spotting is balancing the two: sometimes you accept a less ideal position for better light, sometimes you take the close pass and accept harsher light. Learning the interplay for your local airport is what turns you from a visitor into a regular. Our guide to shooting aviation in low light helps you make the most of the times when the light is at its best.
Gear for spotting and spotting photography
Spotting gear ranges from nothing at all to a heavy camera bag, and the right amount for you depends on whether you are logging, photographing, or both. Here is a sensible progression and a reference table.
For logging and watching
If your interest is watching and recording, the essentials are binoculars to read distant registrations and identify types, a way to note what you see, and a flight-tracking app. A modest pair of binoculars transforms your ability to read a registration across an airfield and costs little. This is the lightest, cheapest way to enjoy the hobby.
For photography
To photograph aircraft you want reach, because even at a viewing area the aircraft are often some distance away. A telephoto zoom reaching 300mm is a good baseline, and 400mm or more helps at larger airports or for aircraft higher on approach. A camera with quick, reliable autofocus makes moving aircraft far easier. Spare batteries and memory cards matter for a long session, and a lens cloth keeps dust and rain off the front element. You do not need the most expensive body; reach and reliable focus matter more than headline resolution.
Support and comfort
Handholding a long lens is fine for short bursts, but a monopod helps on a long day, taking the weight while letting you swing to follow aircraft. Our comparison of monopods versus handholding covers when each makes sense. Add weatherproof clothing, a foldable seat for the quiet spells, and sun protection, and you can comfortably spend a whole day out.
| Level | Core kit | Reach | Nice to have |
|---|---|---|---|
| Just starting | Phone, viewing spot | Phone camera | Flight-tracking app |
| Logging and watching | Binoculars, notebook or app | Binoculars | Airport and spotting guides |
| Photography | Camera, telephoto zoom | 300mm or more | Spare batteries, cards, lens cloth |
| Serious and all day | Two bodies or long zoom, monopod | 400mm or more | Seat, weatherproofs, sun protection |
Camera settings for spotting
Photographing aircraft at an airport uses the same principles as any aviation photography: match your shutter speed to the subject, keep enough depth of field, and use continuous autofocus. The main differences are the range of light through the day and the fact that you often have more time to prepare than at an airshow.
Shutter speed for jets and props
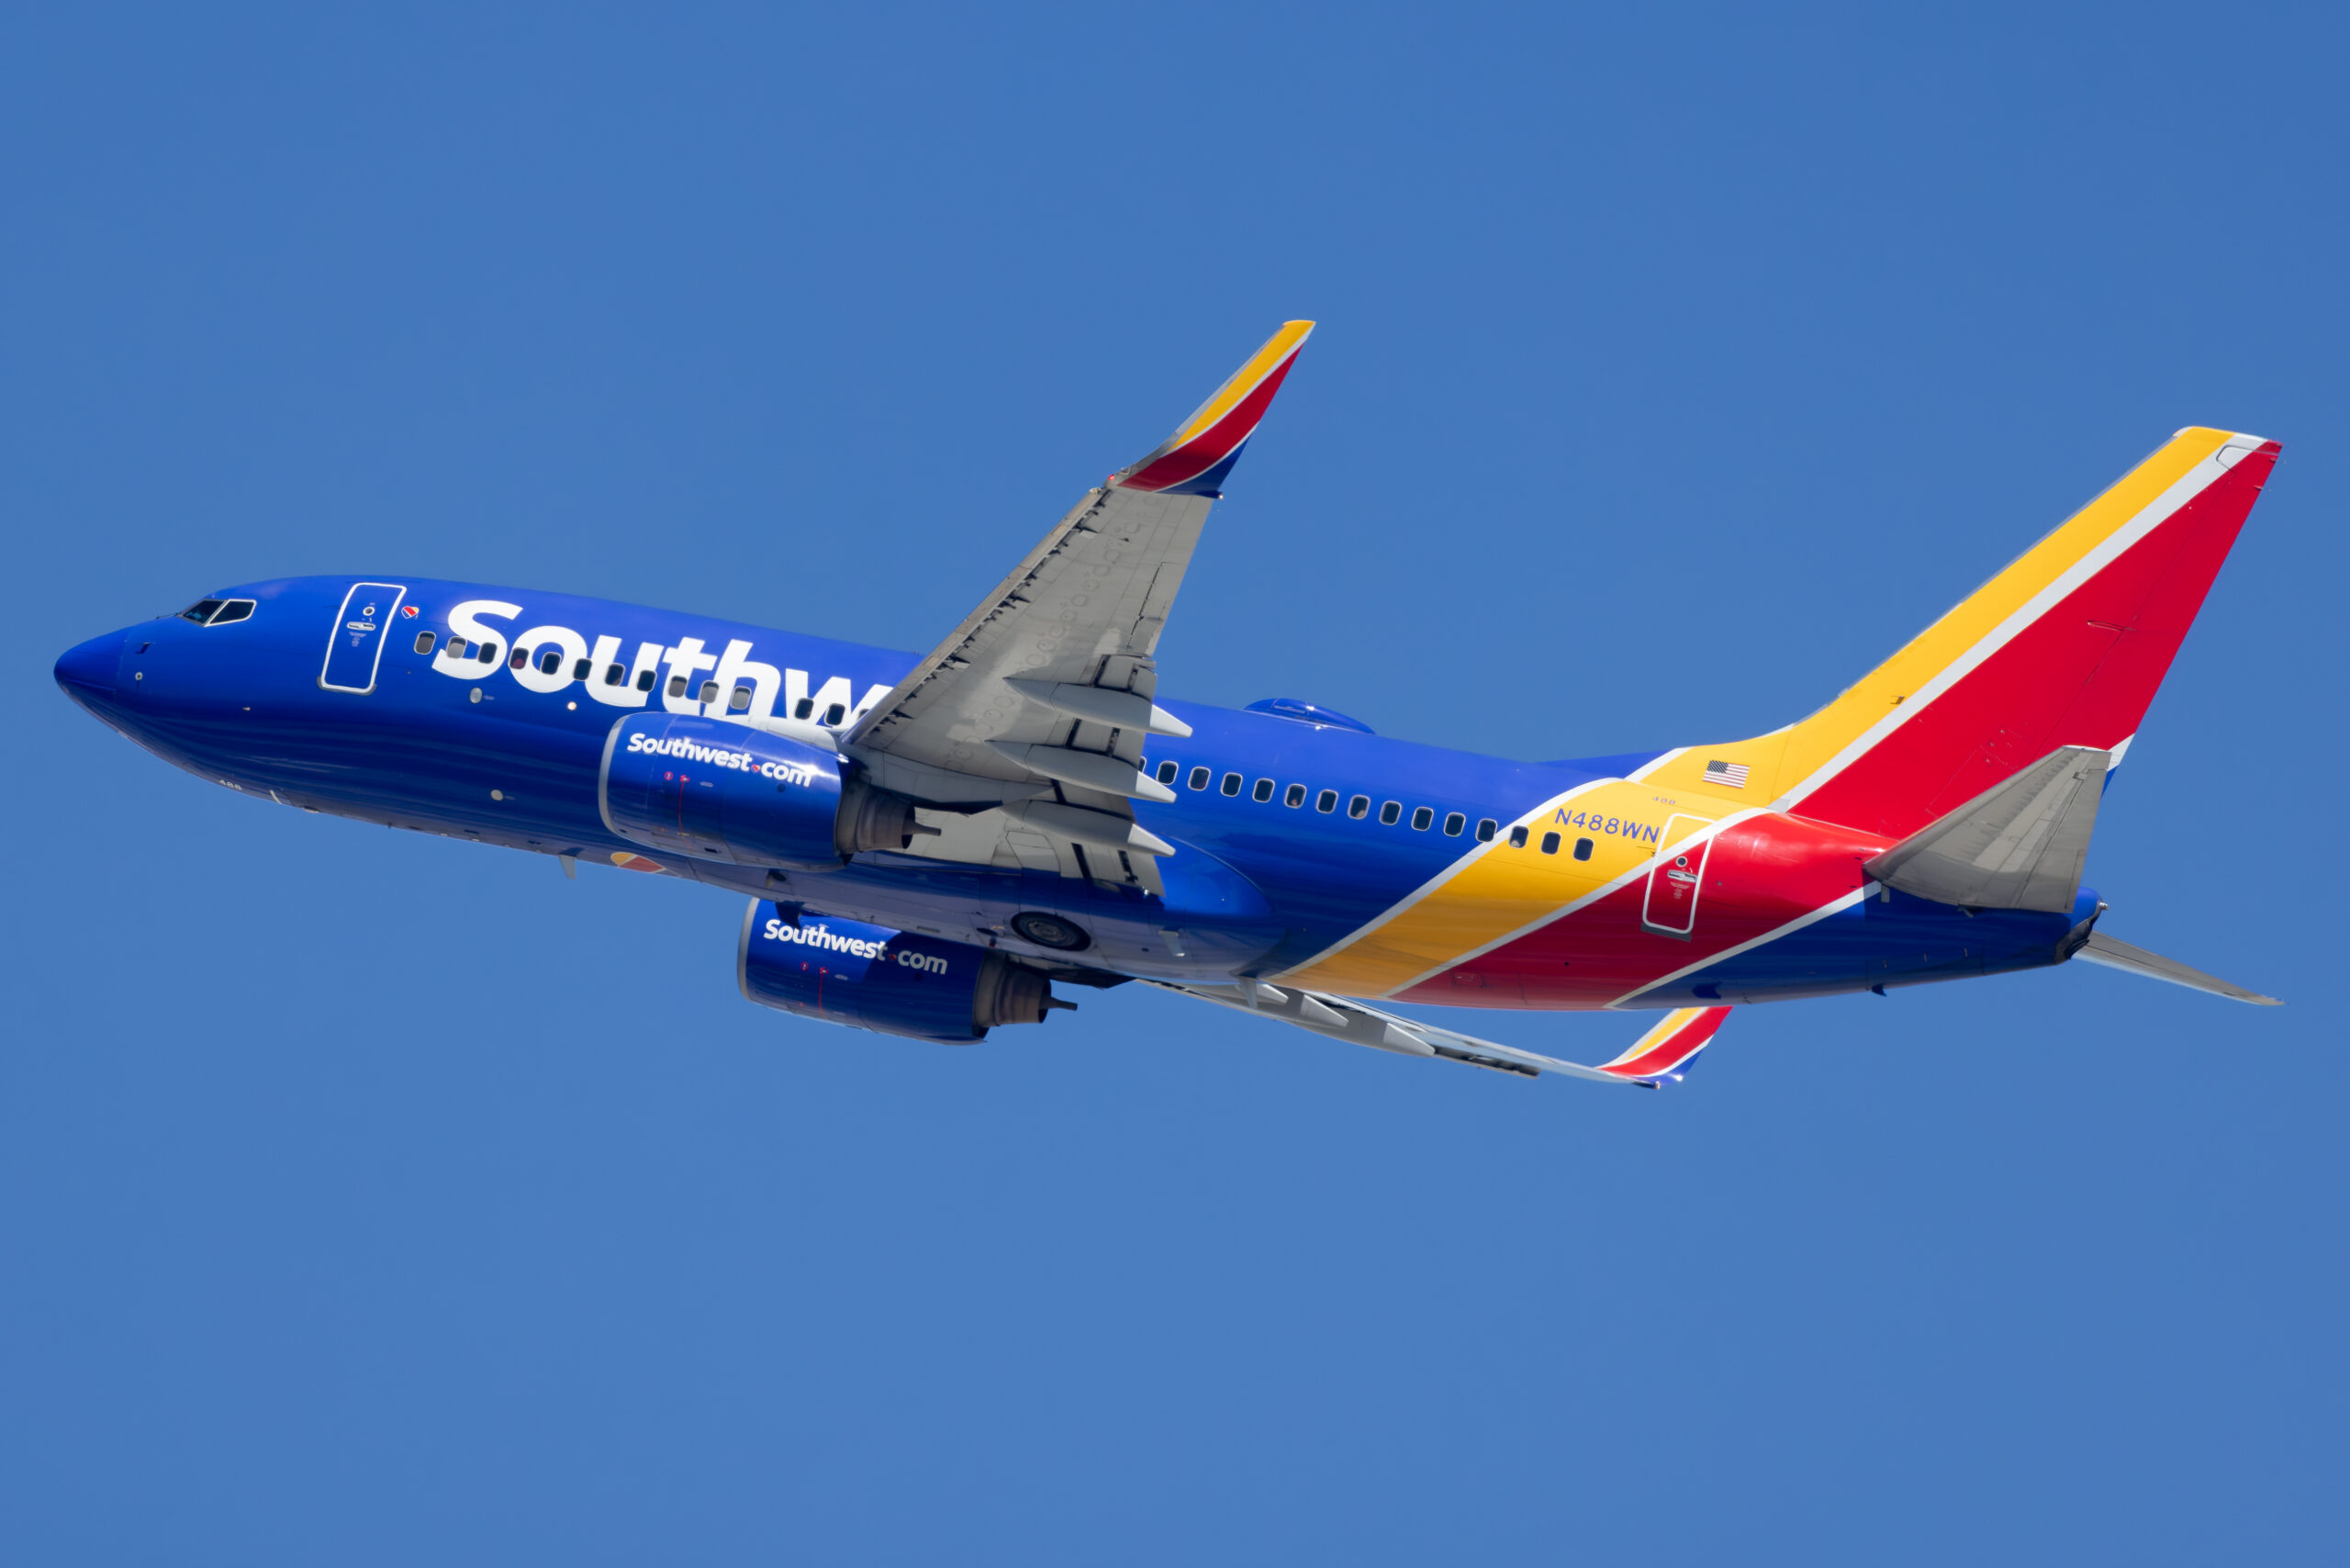
For jet airliners and fast aircraft, a shutter of 1/500 to 1/1000 second freezes the airframe cleanly. For anything with a propeller, drop to around 1/200 second so the blades blur into a natural arc rather than freezing into a stopped cross that looks lifeless. This is the same jets-fast, props-slow rule that governs airshow photography, and it applies just as much to a turboprop airliner on approach as to a warbird at a display. Our guide to the best camera settings for airshows is a useful reference here.
Aperture, ISO and focus
An aperture around f/6.3 to f/8 gives a little depth of field and keeps most lenses near their sharpest. Set ISO to keep your shutter where you want it, and do not be afraid to raise it in dull light or near dawn and dusk, because a slightly noisier sharp image beats a clean blurred one. Use continuous autofocus so the camera tracks aircraft as they move, and shoot raw so you can recover a bright sky or lift a shadowed aircraft in editing.
Dealing with the light
Airport light changes through the day, from harsh midday sun to soft golden evenings. Aircraft against a bright sky will fool the meter into underexposing, so add a little exposure and check your histogram. The most attractive spotting light is often early and late in the day, when the sun is low and warm, so plan sessions around those times when you can. On approach shots, be aware of shooting into the sun and either expose for the aircraft or wait for a better-lit direction.
Tools, apps and tracking flights
Modern spotting is transformed by flight-tracking tools. Where earlier spotters relied on patience and a radio, today you can see what is inbound, what type it is, and when it will arrive, all on your phone. Used well, these tools turn a session from waiting and hoping into planning and anticipating.
Flight-tracking apps
Live flight-tracking apps show aircraft in the air in real time, with their type, airline, origin, destination and often their registration. For a spotter this is invaluable: you can see a rare type inbound while it is still an hour away, work out which runway it will use, and be ready in the right position with the right settings. Many spotters keep one open throughout a session. Some also show the runway in use, which helps you choose where to stand.
Planning a session
Before a visit, you can use these tools to see what is scheduled and whether anything unusual is due. Knowing that an interesting visitor is arriving lets you plan the day around it. During the session, the app tells you what is next so you are never caught out by an aircraft appearing unexpectedly. This is especially useful at a busy major airport where the pace can be relentless.
Databases and logging tools
Beyond live tracking, there are databases and apps for logging what you have seen, looking up an aircraft’s history from its registration, and keeping your personal list. If logging appeals, these turn a notebook into a searchable record and connect you to a wider community of spotters doing the same. They also help you identify an aircraft after the event from a registration you noted or photographed.
Identifying aircraft, airlines and registrations
Part of the pleasure of spotting is learning to identify what you are looking at, from a glance at a distant shape to reading a registration off a tail. It comes with practice, and there is a logical way to build the skill.

Start with the airline
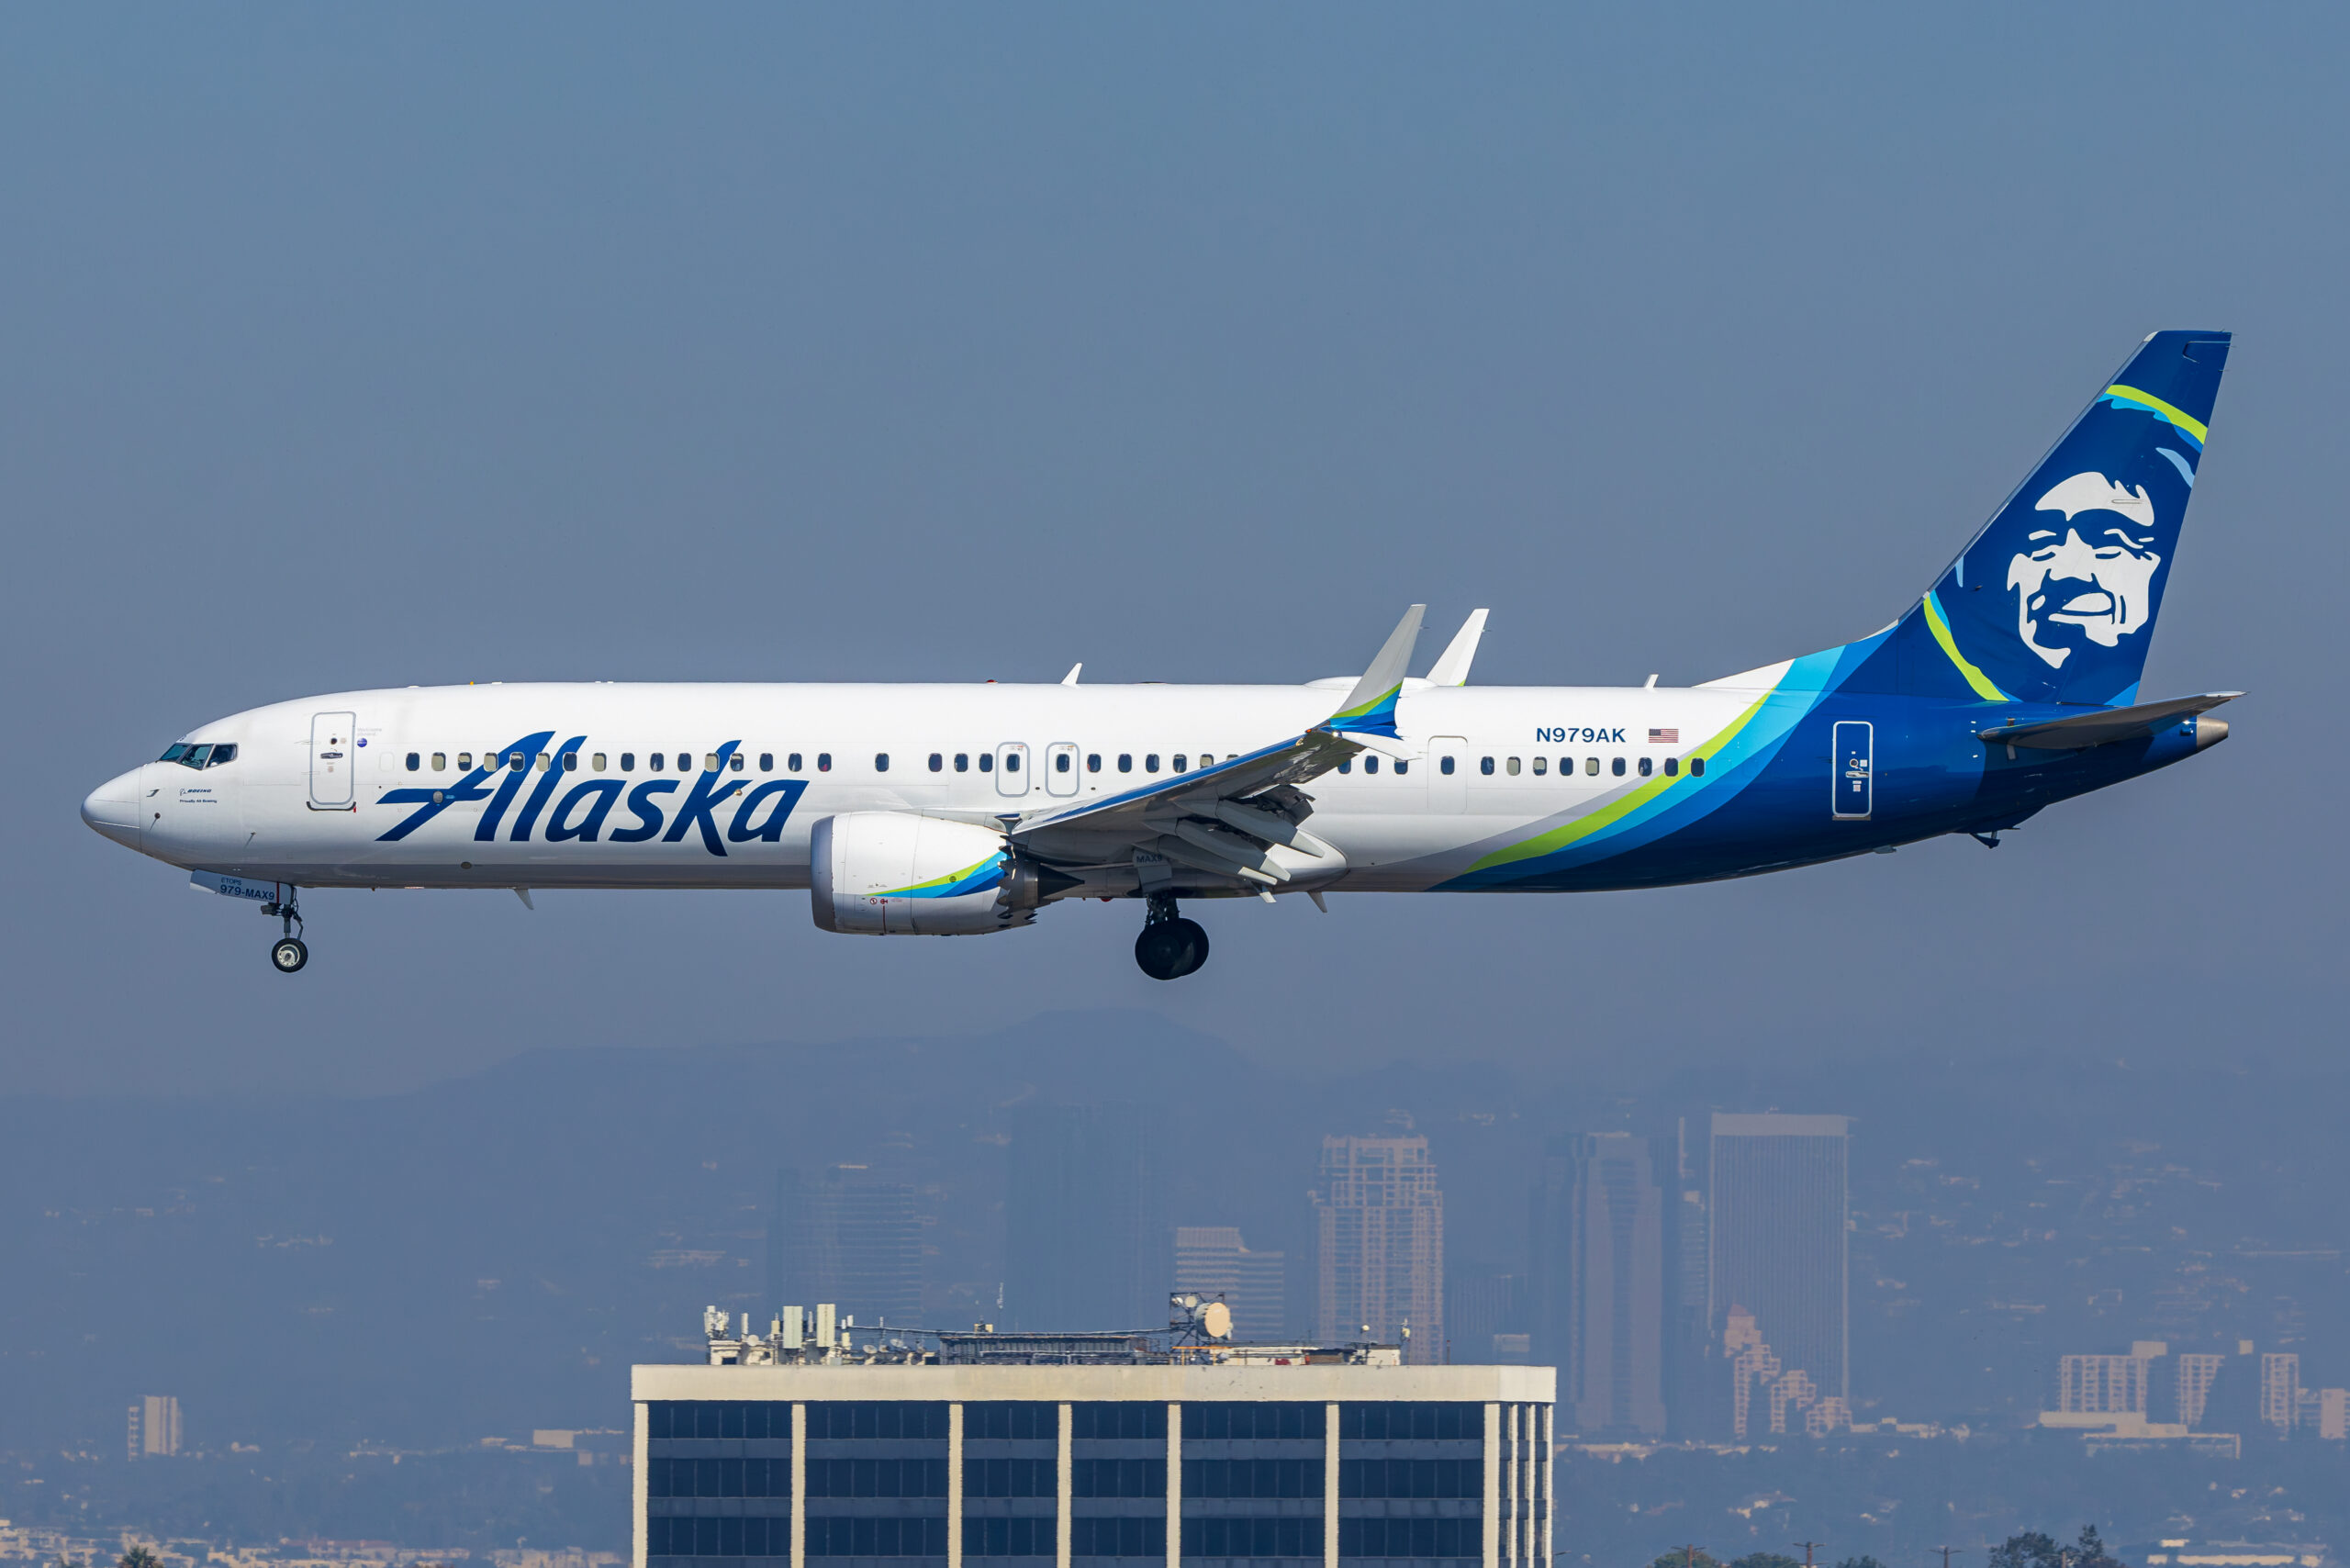
The easiest identifier is the livery, the paint scheme and logo of the airline. Airline liveries are distinctive and quickly learned, and they immediately tell you who is operating the aircraft. From there you can often narrow down the likely types, because airlines operate particular fleets. Learning the liveries of the carriers that use your local airport is a fast way to feel fluent.
Identify the type
To identify the aircraft type, look at size, the number and position of the engines, the shape of the nose and tail, and details like winglets on the wingtips. A twin-engine narrow-body, a four-engine wide-body and a twin-engine regional jet all have recognisable shapes once you know what to look for. Beginners often start by learning to tell the main manufacturers apart, then the specific families, then individual variants. It is a skill that builds naturally the more you watch.
Read the registration
Every aircraft carries a unique registration, painted on the fuselage or tail, which identifies that specific airframe. Reading it lets you look up the aircraft’s history, add it to your log, and tell one aircraft of a type from another. Registrations follow national patterns, so with experience you can often tell the country of registration at a glance. Binoculars or a photograph help you read a registration you cannot make out with the naked eye.
Learn as you go
Do not try to learn everything at once. Start by identifying the airlines and the broad types at your local airport, then add detail over time. Photographing aircraft helps enormously, because you can study the image afterwards, read the registration, and confirm the type at leisure. Within a few sessions you will be recognising common aircraft on sight, which is one of the quiet satisfactions of the hobby.
Etiquette, safety and staying legal
Spotting has a long tradition and a generally good relationship with airports and the public, and keeping it that way depends on spotters behaving sensibly. A little care over etiquette, safety and the law protects the hobby and keeps you welcome.
Stay legal and follow local rules
In most places, watching and photographing aircraft from public land is perfectly legal, and many airports actively provide viewing areas. The rules do vary by country and by airport, though, so check local guidance before visiting somewhere new, stay off private and restricted land, and follow any signs or instructions from staff and security. Never enter operational areas or climb on anything to get a better view. If you are ever unsure whether you are allowed somewhere, use a recognised viewing area instead.
Be sensible around security
Airports are security-conscious environments, and a person with a long lens near the perimeter can attract attention. This is normal and nothing to worry about if you are behaving openly and legally. Be polite and cooperative if approached by staff or police, explain that you are spotting, and carry identification. Standing in established spotting locations, where your presence is expected, avoids most misunderstandings. Do not photograph security infrastructure or do anything that could look like you are probing the airport’s defences.
Courtesy to others
At popular spots you will share space with other spotters and members of the public. Do not block others’ views, keep your gear tidy and out of the way, and be friendly, because the community is one of the best parts of the hobby. Pick up your litter and leave a spot as you found it, so it stays available and welcome for everyone. Experienced spotters are usually generous with advice, so a polite question is often rewarded with local knowledge you could not find online.
Personal safety
Think about your own safety too. Do not park dangerously or stand where you could obstruct traffic or emergency access. Dress for the weather, because standing still outdoors for hours gets cold even on a mild day. Stay hydrated in summer and take care near roads. None of this is onerous, but a little forethought keeps a long session comfortable and safe.
Photographing versus logging
Two traditions sit at the heart of spotting: logging the aircraft you see, and photographing them. Many people do both, but it is worth understanding the difference, because it shapes how you spend a session and what gear you carry.
Logging
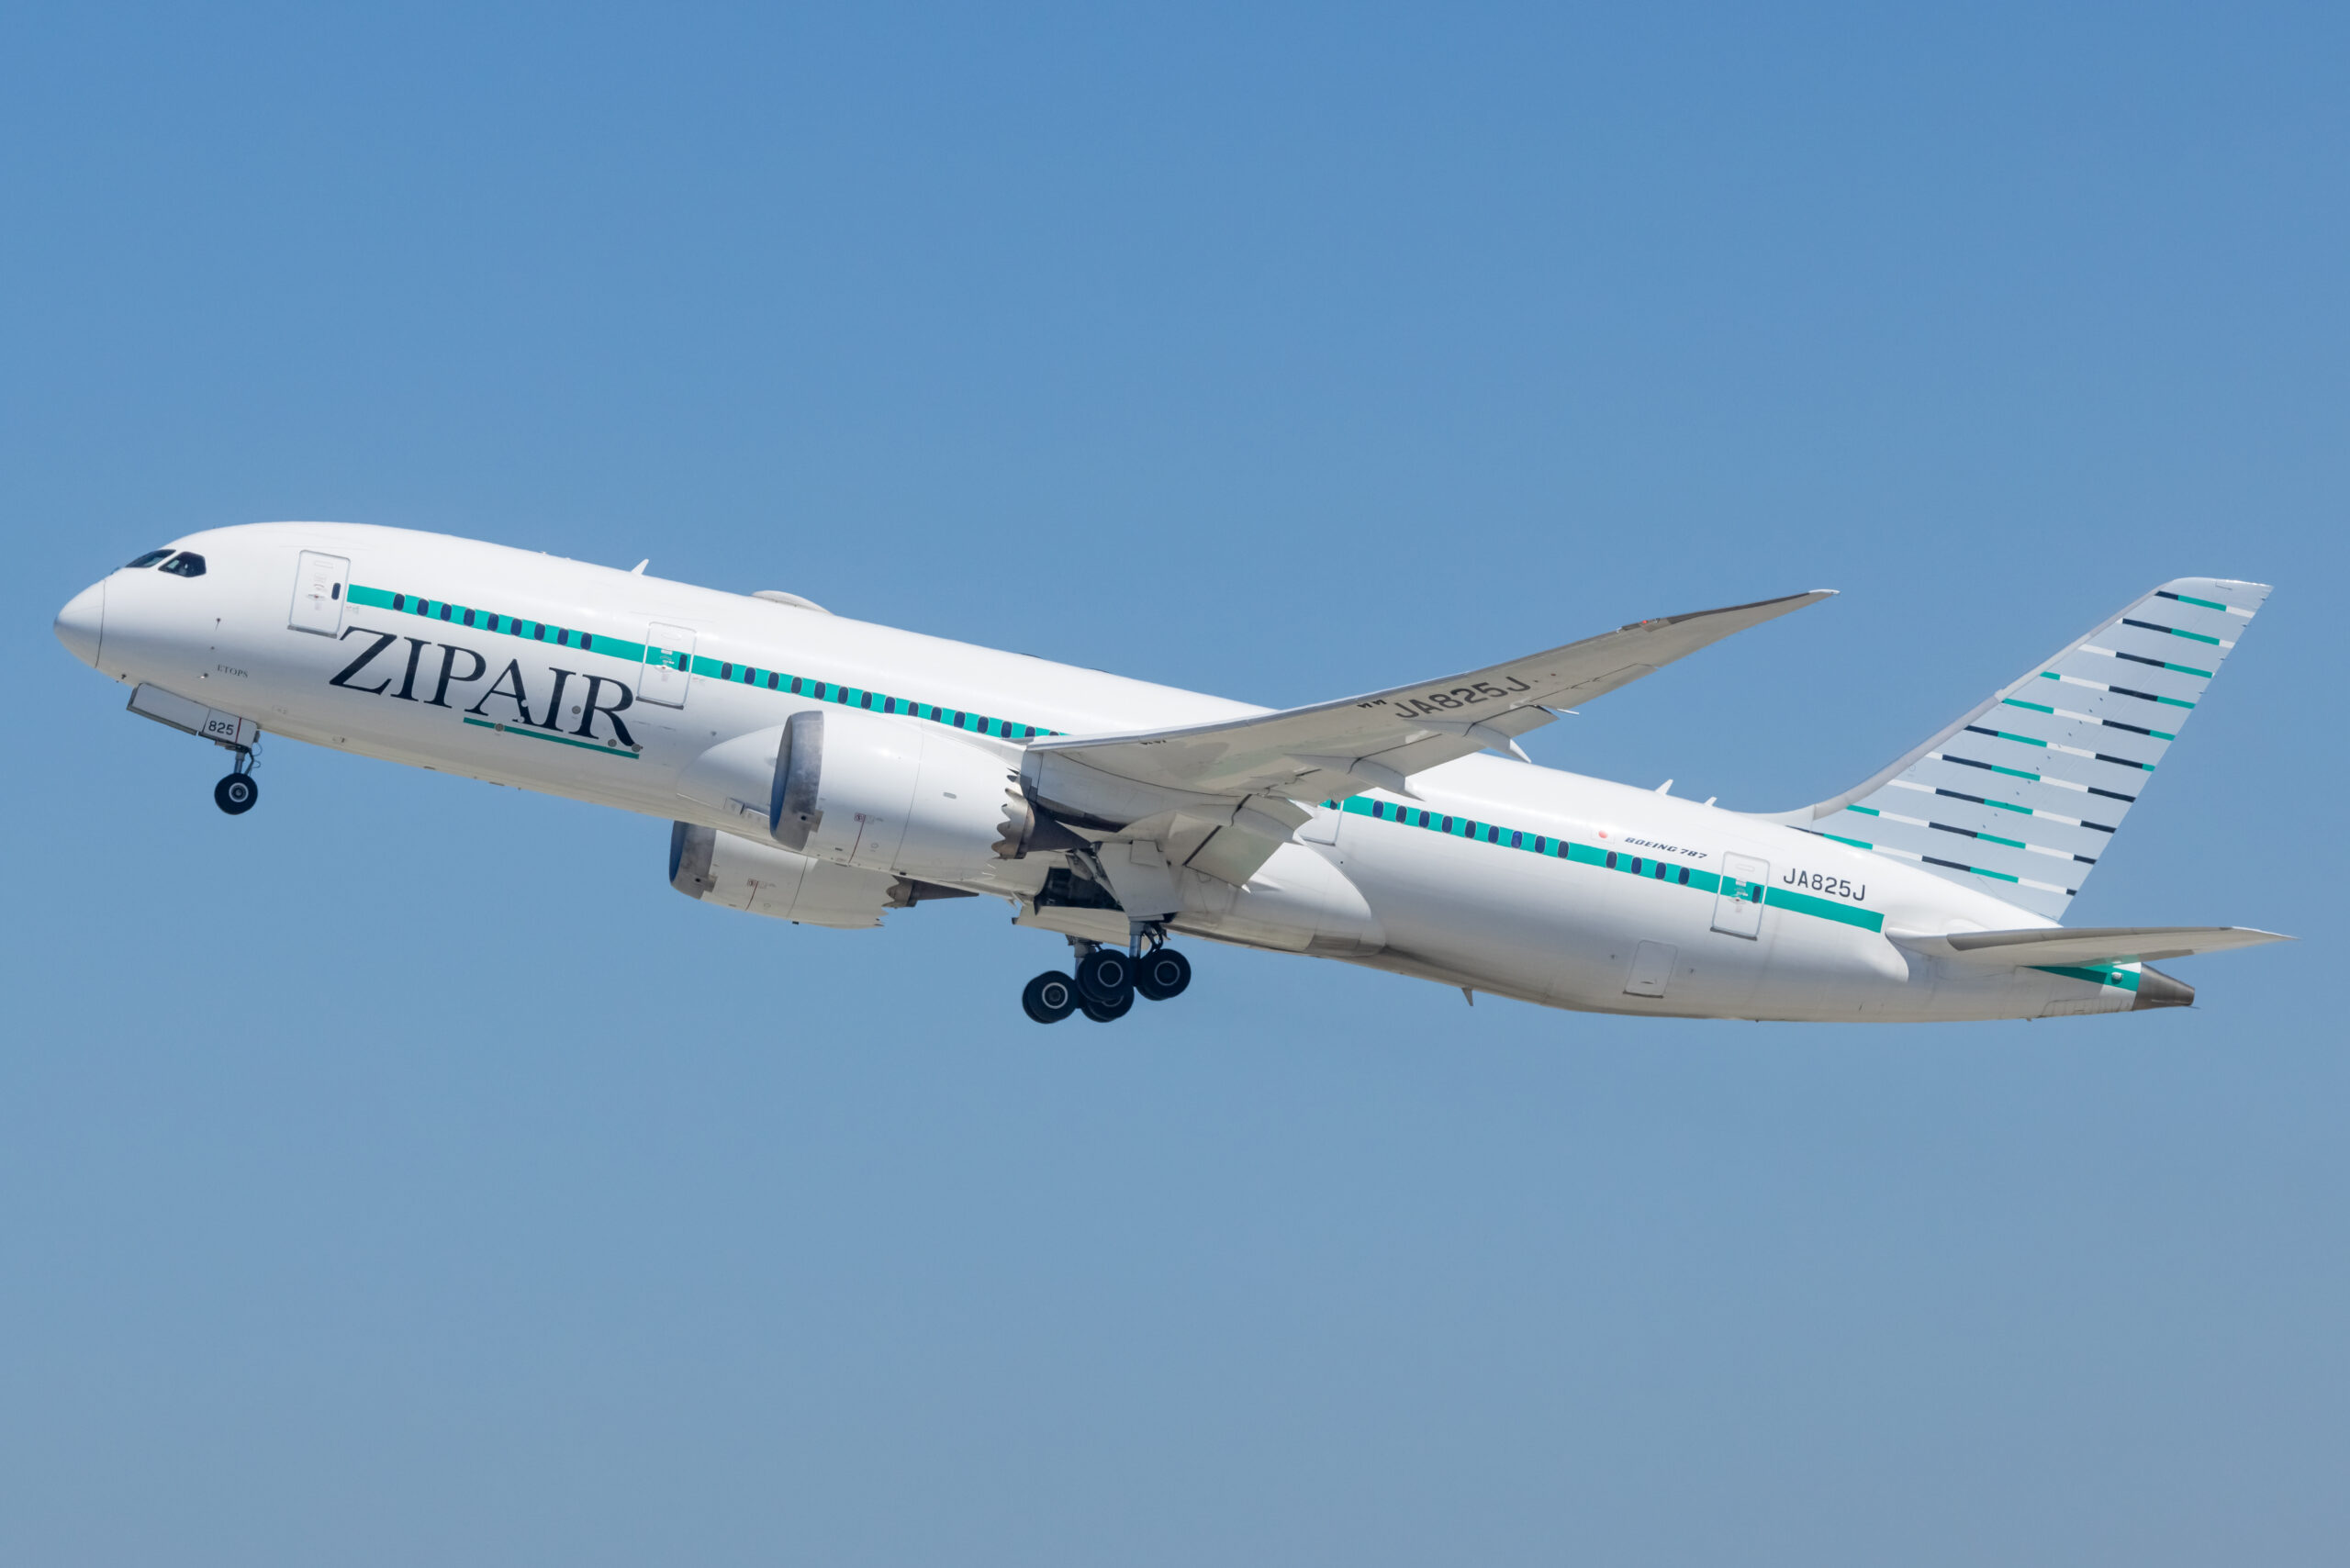
Logging is recording the registrations of the aircraft you see, building a personal list over time. It is the traditional core of the hobby, and for many spotters the pleasure is in the collection: seeing a registration for the first time, chasing types or airlines you have not yet logged, and watching your list grow. Logging needs almost no equipment, just a way to note what you see and, ideally, binoculars to read distant registrations. It rewards patience and record-keeping rather than photographic skill.
Photography
Spotting photography is about capturing images of the aircraft, whether as a record or as a creative pursuit. It asks more of your gear and technique, but it produces something you can share, print or license, and it lets you study an aircraft in detail afterwards. Photography also solves an identification problem, because a clear photograph preserves the registration and details for you to confirm later.
Doing both
Most spotters end up doing a bit of both, noting the registration and taking a photograph of anything interesting. The two complement each other: the log records what you saw, and the photograph proves and preserves it. You do not have to choose. Start with whichever appeals more, and let the other grow if it does. If photography draws you in, the same skills carry across to airshows and beyond, and a well-kept, well-edited collection can become something you are really proud of, like the finished work in the Piemags aviation galleries.
Common beginner mistakes
New spotters tend to make the same handful of mistakes. None of them is serious, and all are easy to avoid once you know them.
Standing at the wrong end
Turning up without checking the wind and runway direction, and ending up watching aircraft depart into the distance, is the classic beginner error. Check the wind or the runway in use before you go and choose the right end.
Ignoring the sun
Shooting into the sun leaves aircraft dark and disappointing. Think about where the sun is relative to the aircraft, and either position for good light or plan your visit for a time when the light works at your chosen spot.
Not enough reach
Expecting frame-filling shots with a short lens leads to tiny aircraft in a big frame. Be realistic about the reach you have, get as close as the location legally allows, and consider a longer lens if photography matters to you.
Freezing propellers
Using a fast shutter on a turboprop stops the blades dead and makes the aircraft look broken. Drop to around 1/200 second for anything with a propeller so the disc blurs naturally.
Forgetting the basics of comfort and legality
Arriving without weatherproofs, without checking you are allowed to be there, or without a plan, cuts a session short. A few minutes of preparation, on the weather, the rules and the runway direction, makes the difference between a good day and a wasted trip.
Giving up too soon
Quiet spells are part of spotting. Beginners sometimes leave just before something interesting arrives. Use a flight-tracking app to see what is coming, and be patient, because the best aircraft of the day often appear when you least expect them.
Best times of day and year to go spotting
When you go spotting matters almost as much as where. The time of day shapes the light and the traffic, and the season changes both the weather and what is flying. A little thought about timing lifts your results and your enjoyment.
Time of day
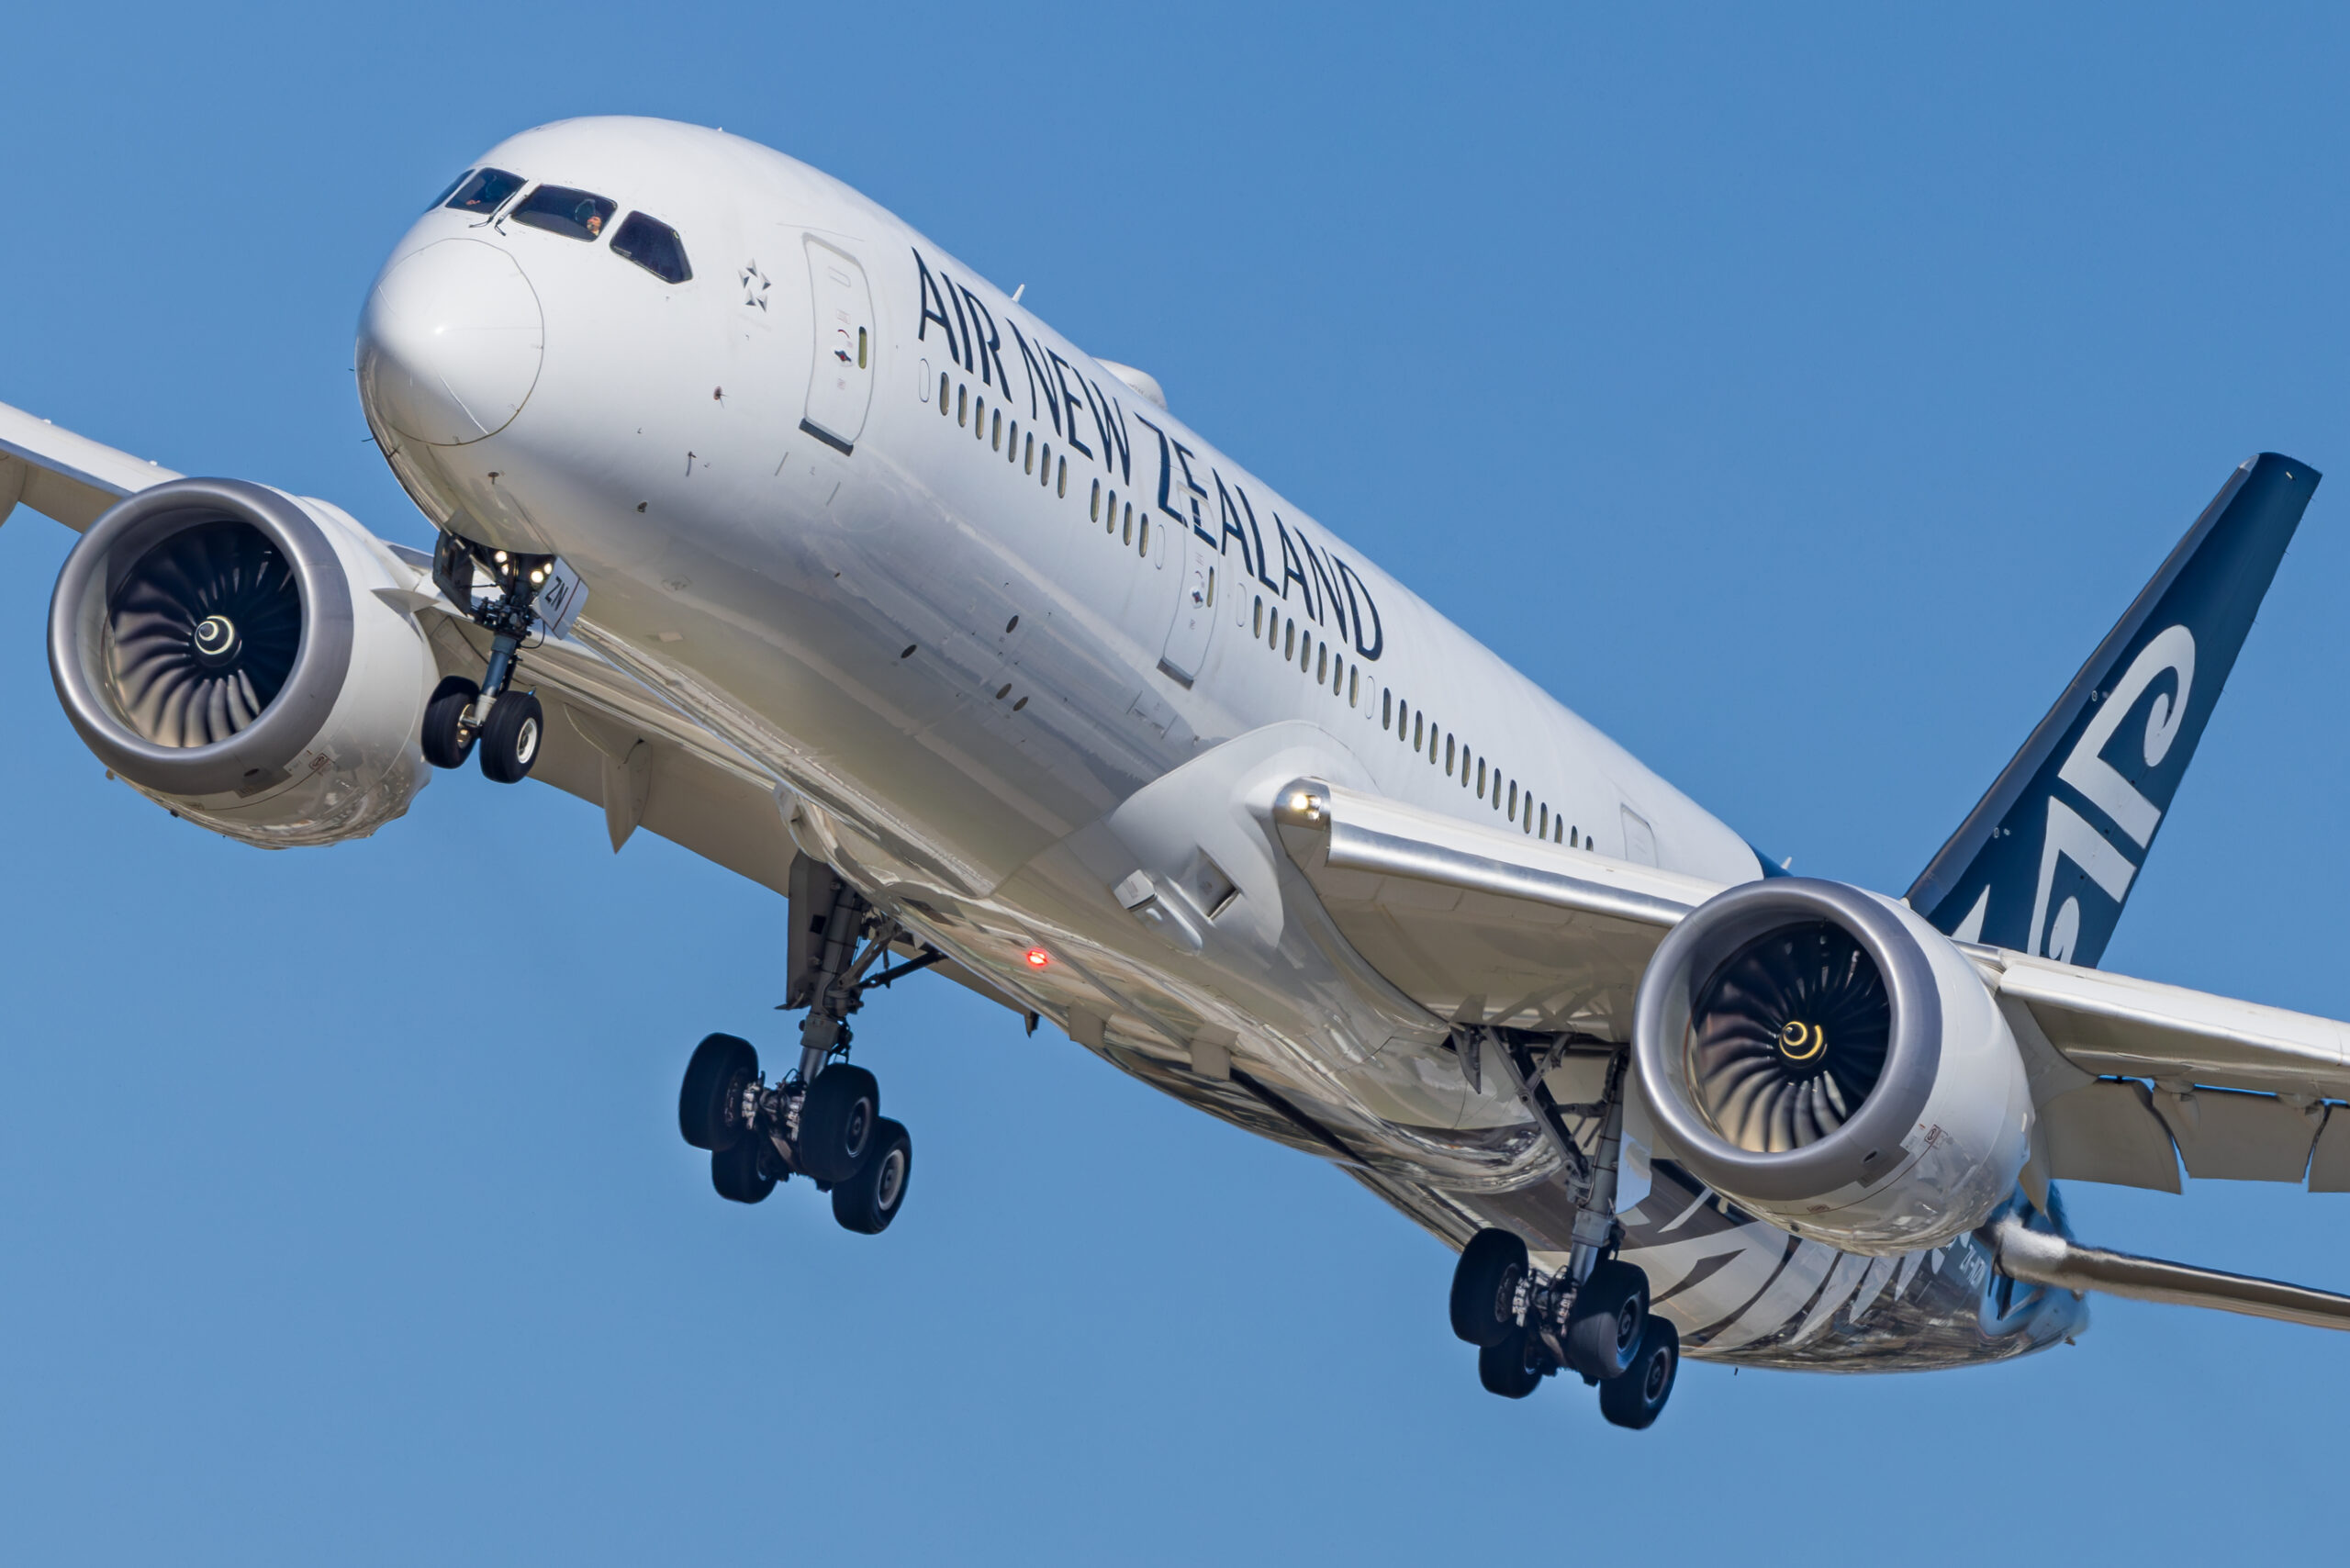
Major airports have rhythms. Early morning often brings a wave of long-haul arrivals and the first departures, in soft, low light that flatters aircraft. The middle of the day is usually busiest but has the harshest light. Late afternoon and evening bring another peak of traffic and the warm, golden light that makes the best photographs. If photography is your aim, plan around the ends of the day when you can, because the same aircraft looks far better lit by a low sun than a high one.
A few airports settle the question for you. Our guide to plane spotting at Palm Springs covers one where the light, the traffic and the usual runway direction all point the same way in the morning, which makes it an easy first airport to plan.
Traffic patterns
Beyond the light, traffic varies through the day and week. Business-heavy airports are busier on weekday mornings and evenings; leisure destinations peak at weekends and in holiday seasons. A flight-tracking app lets you see the pattern for your airport, so you can pick a time when there is plenty to see rather than a quiet lull.
Curfews shape the day too, and they are easy to overlook. Our guide to plane spotting at San Diego covers an airport where departures are banned before half past six in the morning while arrivals are not, so the first hour of light is arrivals only, every day of the year.
Season and weather
The seasons change the experience. Summer brings long days, better weather and holiday charter traffic, including aircraft and airlines you may not see the rest of the year. Winter brings shorter days but crisp, clear light and, at some airports, seasonal routes. Weather affects both comfort and the runway in use, so check the forecast, dress for standing still outdoors, and remember that dramatic skies can make a more interesting photograph than flat blue. There is no bad season to spot, only different things to see.
Spotters often end up with archives of real historical value, particularly of types now withdrawn. If you have ever wondered whether yours could be licensed, our guide to licensing aviation photography is a good place to start.
For a worked example of everything above applied to two real airfields, our location guide to RAF Lakenheath and RAF Mildenhall sets out the published hours, the runway light through the year, the places the spotting community documents, and the law as it stands after the Official Secrets Act 1911 was repealed.
Frequently asked questions
Is plane spotting legal?
In most countries, watching and photographing aircraft from public land is legal, and many airports provide official viewing areas for the purpose. The rules do vary by country and by airport, so check local guidance before visiting somewhere new, stay off private and restricted land, and follow any signs or instructions from staff and security. If you are ever unsure whether you are allowed somewhere, use a recognised viewing area or established spotting location, and cooperate politely if approached by security.
What equipment do I need to start plane spotting?
You can start with nothing more than your eyes, a safe place to stand and a phone, which gives you a camera and a flight-tracking app. To photograph aircraft in flight, a camera with a telephoto zoom of at least 200mm to 300mm is a sensible entry point, longer if you are further from the runway. Binoculars help you read distant registrations, and simple comforts like weatherproof clothing and a way to note what you see round out the kit. You can build up gear as your interest grows.
How do I find good plane spotting locations?
Start with official airport viewing areas and well-documented spotting locations, which are legal, accessible and usually well positioned. Look for spots near the runway ends, where aircraft are low on approach or just after take-off, and consider where the sun falls at the time you plan to visit. Spotting forums, websites and apps list the best positions for each airport and often note which runway direction they suit, which saves a lot of trial and error.
What camera settings should I use for plane spotting?
For jets, use a fast shutter of 1/500 to 1/1000 second to freeze the aircraft, with continuous autofocus and an aperture around f/6.3 to f/8. For propeller aircraft, drop to around 1/200 second so the blades blur into a natural arc. Raise ISO as needed to keep the shutter fast enough in dull or low light, and shoot raw so you can recover a bright sky or lift a shadowed aircraft. Add a little exposure when shooting aircraft against a bright sky.
How do I identify aircraft and airlines?
Start with the airline livery, which is distinctive and quickly learned, then narrow down the type by size, the number and position of the engines, and shape details such as winglets. The registration, painted on the fuselage or tail, uniquely identifies the individual aircraft and lets you look up its history in a flight-tracking app or database. With practice you will recognise the common types at your local airport on sight, and photographs help you confirm anything you were unsure of.
What is the difference between spotting and logging?
Logging is recording the registrations of the aircraft you see and building a personal list over time, and it is the traditional heart of the hobby, needing almost no equipment. Spotting photography is capturing images of the aircraft, which asks more of your gear and technique but gives you something to share and study. Many people do both, noting the registration and taking a photograph, but you can happily enjoy spotting as pure logging with no camera at all.
How do I read an aircraft registration that is too far away to see clearly?
Binoculars are the quickest fix and will let you read a tail or fuselage registration right across an airfield that is a blur to the naked eye. Failing that, photograph the aircraft with your longest lens and read the registration off the enlarged image at home, which also lets you confirm the type at leisure. A flight-tracking app often shows the registration of an inbound aircraft anyway, so you can note it before it even lands.
Can I go plane spotting if I do not own a car?
Yes, many established spotting locations at major airports are reachable by bus or train, and airport viewing areas are usually well served because the terminal itself is a transport hub. Check spotting guides and forums for your airport, since they often note which spots have public transport and which really do need a car. Travelling light with a phone and a modest telephoto suits public transport well, and you avoid the parking problems that catch out drivers at improvised roadside spots.
What is the difference between an airport and an airfield for spotting?
A major airport handles scheduled airline traffic, so you see airliners, cargo jets and business aircraft on regular timetables, which suits app-based planning. A smaller airfield or general aviation strip is quieter and tends towards light aircraft, gliders, helicopters and the occasional visiting warbird, with far less predictable movements. Airfields reward patience and local knowledge over an app, and their relaxed atmosphere and closer viewing often make them a friendlier place to start than a busy international airport.
Plane spotting gives back as much as you put in. Start simply, with a phone and a good viewing spot, learn to read the wind and the runways so you stand in the right place, and add a telephoto lens when you want to photograph what you see. Use the apps to plan, learn the aircraft a few at a time, respect the rules and the people around you, and be patient through the quiet spells. Do that and a first tentative visit can turn into a hobby that lasts a lifetime and takes you to airports and airshows you would never otherwise have seen.
When you are ready for the busiest airport in the country, start with our Heathrow spotting guide.
Once airport railings feel routine, the next step is low level military flying, and our Mach Loop photography guide explains how to plan a first trip to Wales.
For a worked example of everything on this page at one airfield, see our location guide to photographing RAF Coningsby.
