Here is the one-line answer: for jets shoot at 1/1000s or faster with f/5.6 to f/8 and auto ISO, for propeller aircraft and helicopters slow the shutter to between 1/125s and 1/250s to keep the blades turning, use continuous autofocus with a flexible tracking area for everything that moves, and meter for the aircraft rather than the sky. That is the core of aviation photography on one line, and the rest of this page unpacks every setting behind it.
This cheat sheet exists because airshows do not wait for you to think. When the display swaps from a Typhoon to a Spitfire to a helicopter inside ten minutes, you need the right numbers in your head, not buried in a 40 minute video you half remember. Every recommendation below comes from working days at the crowdline and in the air, and each section links to a full guide if you want the reasoning in depth. Print it, save it to your phone, or skim it in the car park before the gates open.
What this guide covers
- How to use this cheat sheet
- The master settings table
- Fast jets
- Propeller aircraft and warbirds
- Helicopters
- Display teams and aerobatics
- Airliners, transports and heavies
- Static displays and ground shots
- Low light and night
- Autofocus setup
- Exposure and metering
- The weather playbook
- Takeoff, landing and taxi
- Memory cards, burst and buffer
- Where to stand: the display line and the sun
- The night before checklist
- Common mistakes and quick fixes
- Lenses and support at a glance
- Frequently asked questions
How to use this cheat sheet
The settings here are starting points, not laws. Light changes, distances change, and every lens and body pairing behaves a little differently, so treat each number as the middle of a bracket you adjust from. The structure is simple: the master table gives you every scenario at a glance, then each section explains the two or three decisions that actually matter for that subject, flags the mistake most people make, and points you to the full guide where one exists.
A word on shooting modes before the numbers. For subjects where shutter speed is the creative decision, which is nearly everything in aviation, shutter priority or manual with auto ISO are the fastest ways to work. Manual plus auto ISO is the professional default: you pick the shutter speed for the subject, you pick the aperture for sharpness and depth, and the camera rides the ISO as the light shifts. Exposure compensation still works in this mode on every current mirrorless system, and you will use it constantly against bright sky. If you prefer aperture priority for statics and ground work, that is fine too; the mode matters far less than knowing why you chose the shutter speed you did.
One more principle that underpins everything: shoot RAW. Aviation throws the widest dynamic range situations at you, dark airframes against brilliant cloud, and RAW files keep the highlight and shadow detail that JPEGs throw away. Card space is cheap. Missed detail is permanent. Our airshow settings guide covers the reasoning in full.
The master settings table
This is the page to screenshot. Every scenario, one row each. Shutter speeds are the priority column: get those right and a slightly wrong aperture or ISO rarely ruins a frame.
| Scenario | Shutter speed | Aperture | ISO | Autofocus | Notes |
|---|---|---|---|---|---|
| Fast jet, crossing pass | 1/1000s to 1/2000s | f/5.6 to f/8 | Auto (base to 800) | AF-C, zone or tracking | Pan smoothly, shoot in bursts |
| Fast jet, head-on or vertical | 1/1600s to 1/2500s | f/5.6 to f/8 | Auto | AF-C, expanded point | Closure speed is highest here |
| Jet with afterburner, dusk | 1/500s to 1/1000s | f/4 to f/5.6 | Auto (cap 3200) | AF-C | Expose for the airframe, let the flame burn bright |
| Propeller aircraft, display | 1/125s to 1/250s | f/8 to f/11 | Base (100 to 200) | AF-C, zone | Full prop disc needs 1/125s or slower |
| Warbird, air to air or close pass | 1/160s to 1/320s | f/7.1 to f/9 | Base | AF-C, tracking | Compromise between blur and keeper rate |
| Helicopter, hover or pass | 1/100s to 1/200s | f/8 to f/11 | Base | AF-C, centre zone | Slower than props; big rotor discs show gaps fast |
| Display team, formation | 1/1000s to 1/1600s | f/8 | Auto | AF-C, zone on lead | Depth of field covers the formation at f/8 |
| Airliner or heavy, flypast | 1/640s to 1/1000s | f/6.3 to f/8 | Auto | AF-C, zone | Slower subjects; watch for prop or fan blur bonus |
| Static aircraft, ramp | 1/250s or slower | f/8 to f/11 | Base | AF-S, single point | Work the angles, wait for clean backgrounds |
| Night shoot or pyro | 1/8s to 2s (tripod) | f/5.6 to f/8 | 100 to 400 | Manual focus | Tripod, remote release, no VR on the legs |
| Panning practice, ground runs | 1/60s to 1/125s | f/11 to f/16 | Base, ND if needed | AF-C, zone | Follow through after the shutter closes |
Two things the table cannot say often enough. First, shutter speed for propellers and rotors is a creative choice with a hard trade: slower shutter means more blade blur and fewer sharp keepers. Second, none of these rows work without solid panning technique underneath them, which is a body skill, not a camera setting. Nikon’s panning tutorial with Dave Black is one of the better manufacturer explanations of the follow-through principle, and it applies to aircraft exactly as it does to motorsport.
Fast jets
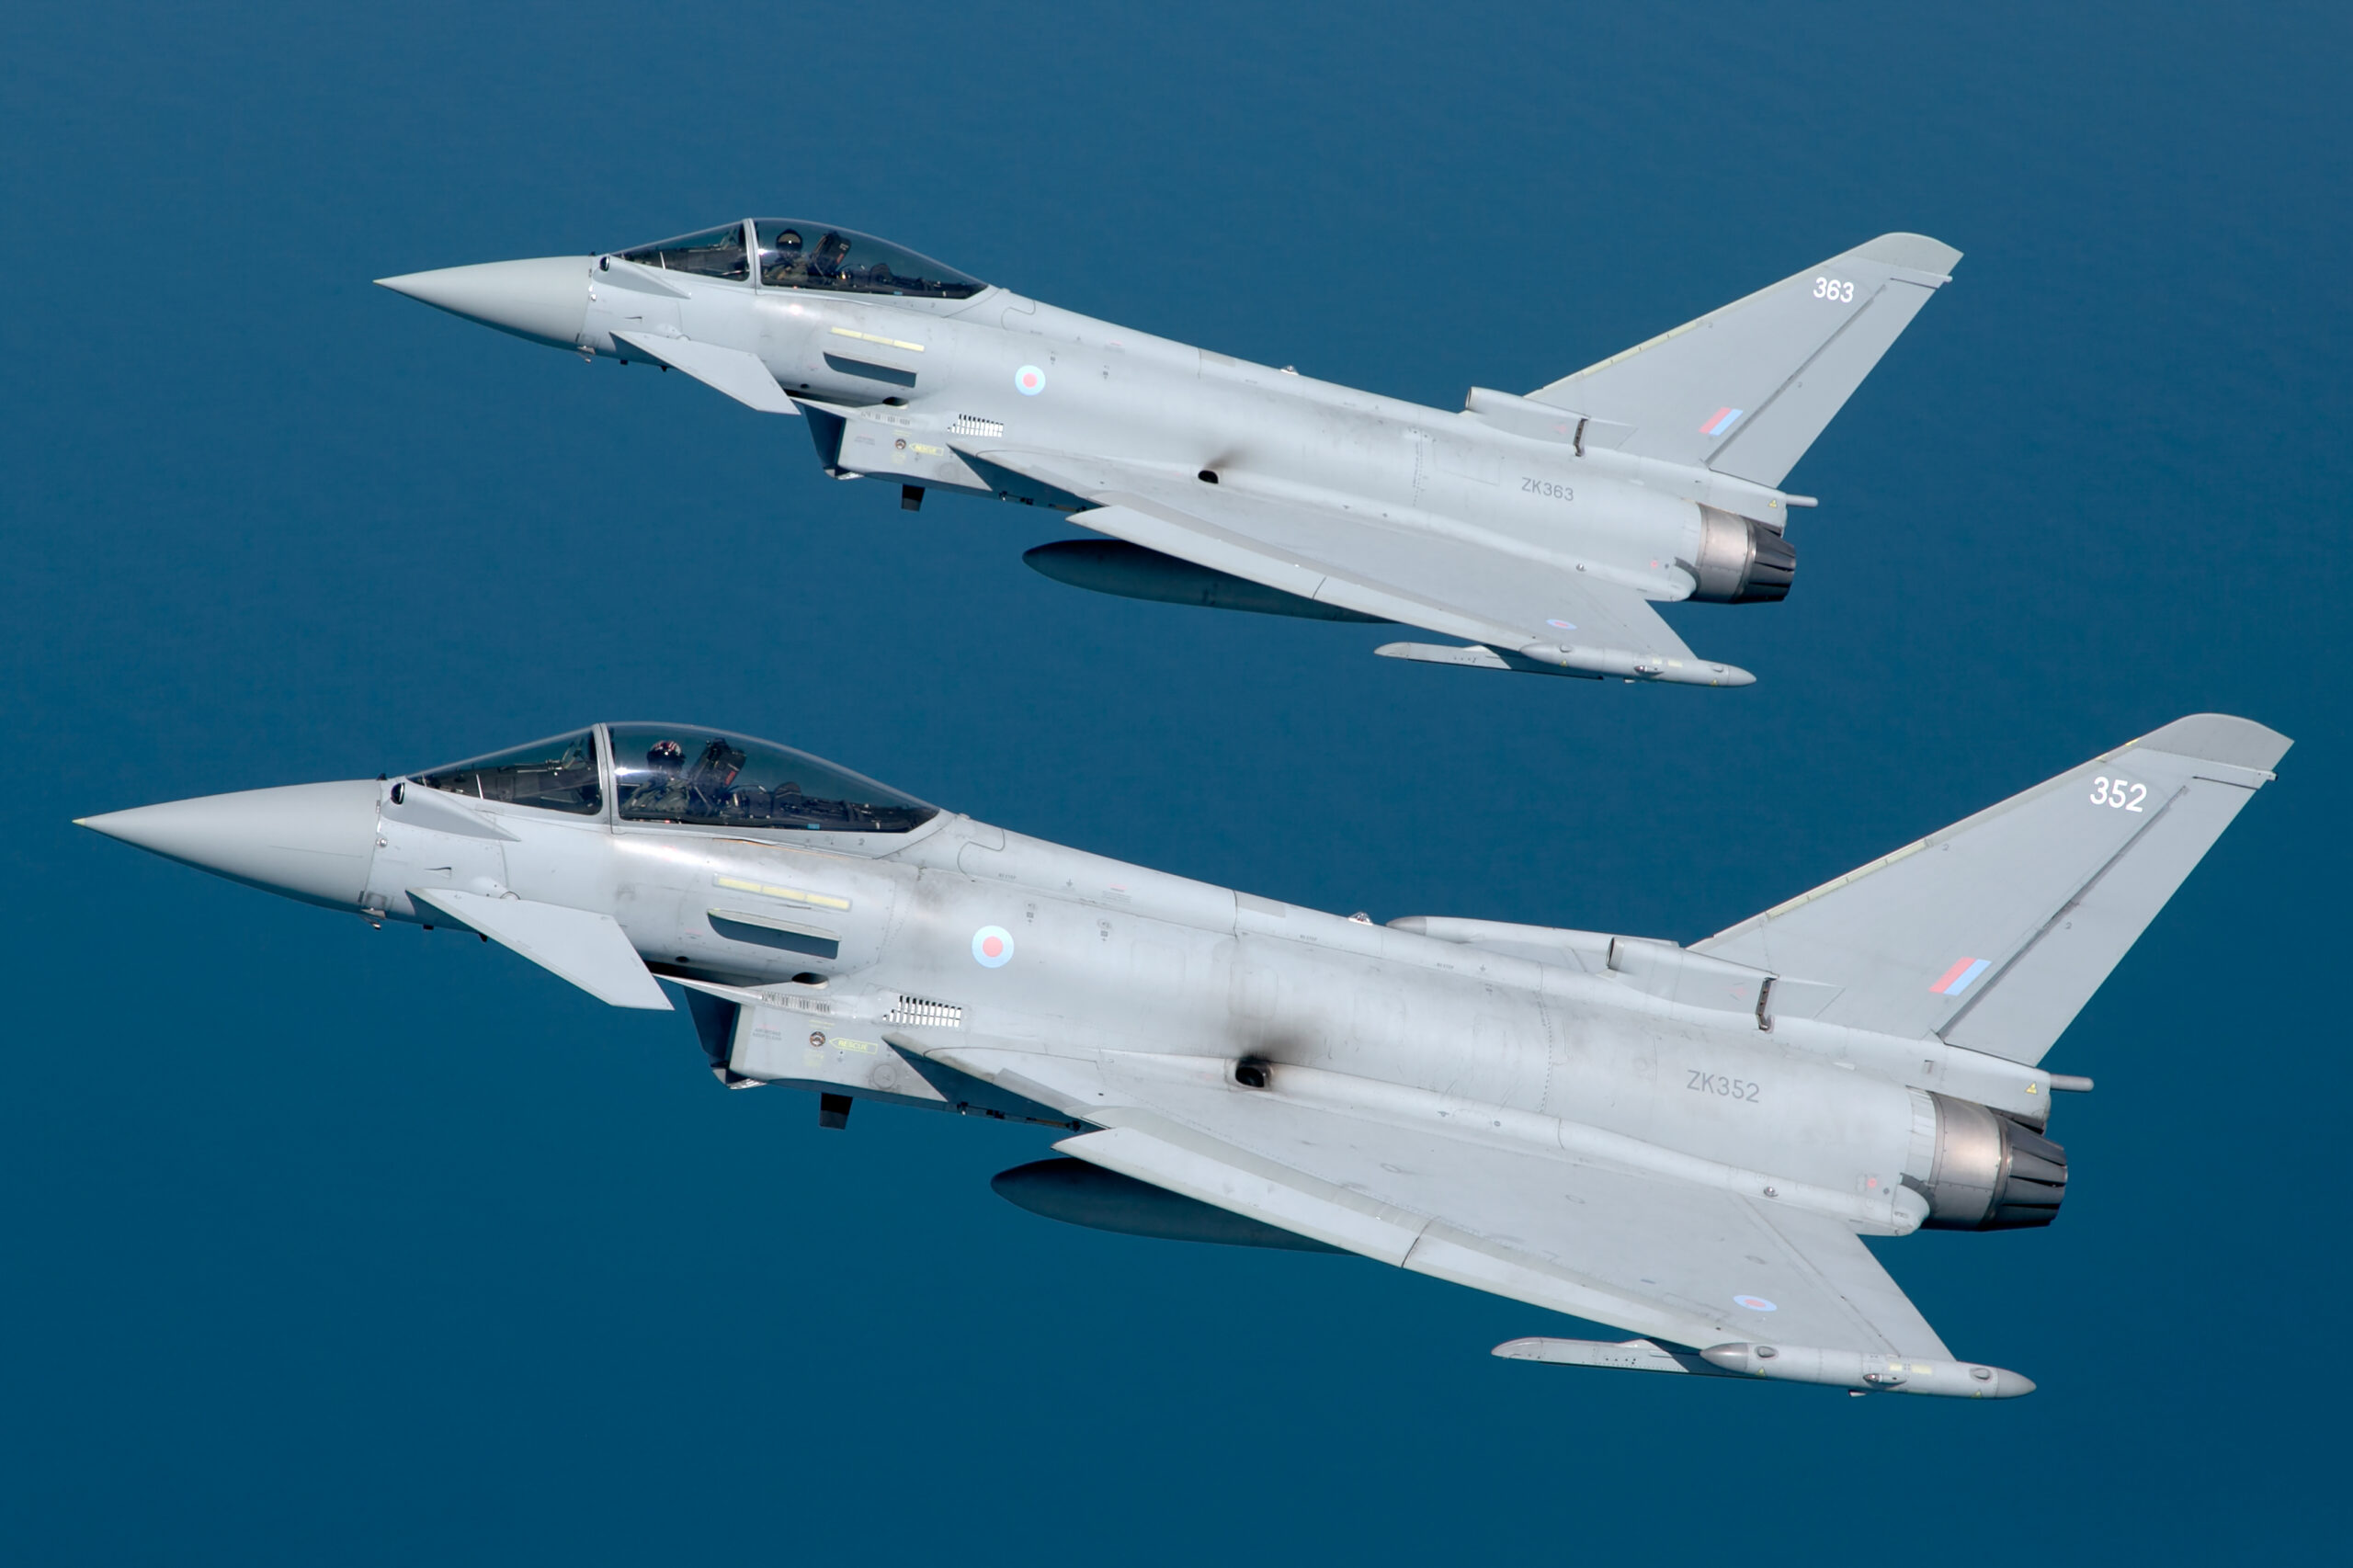
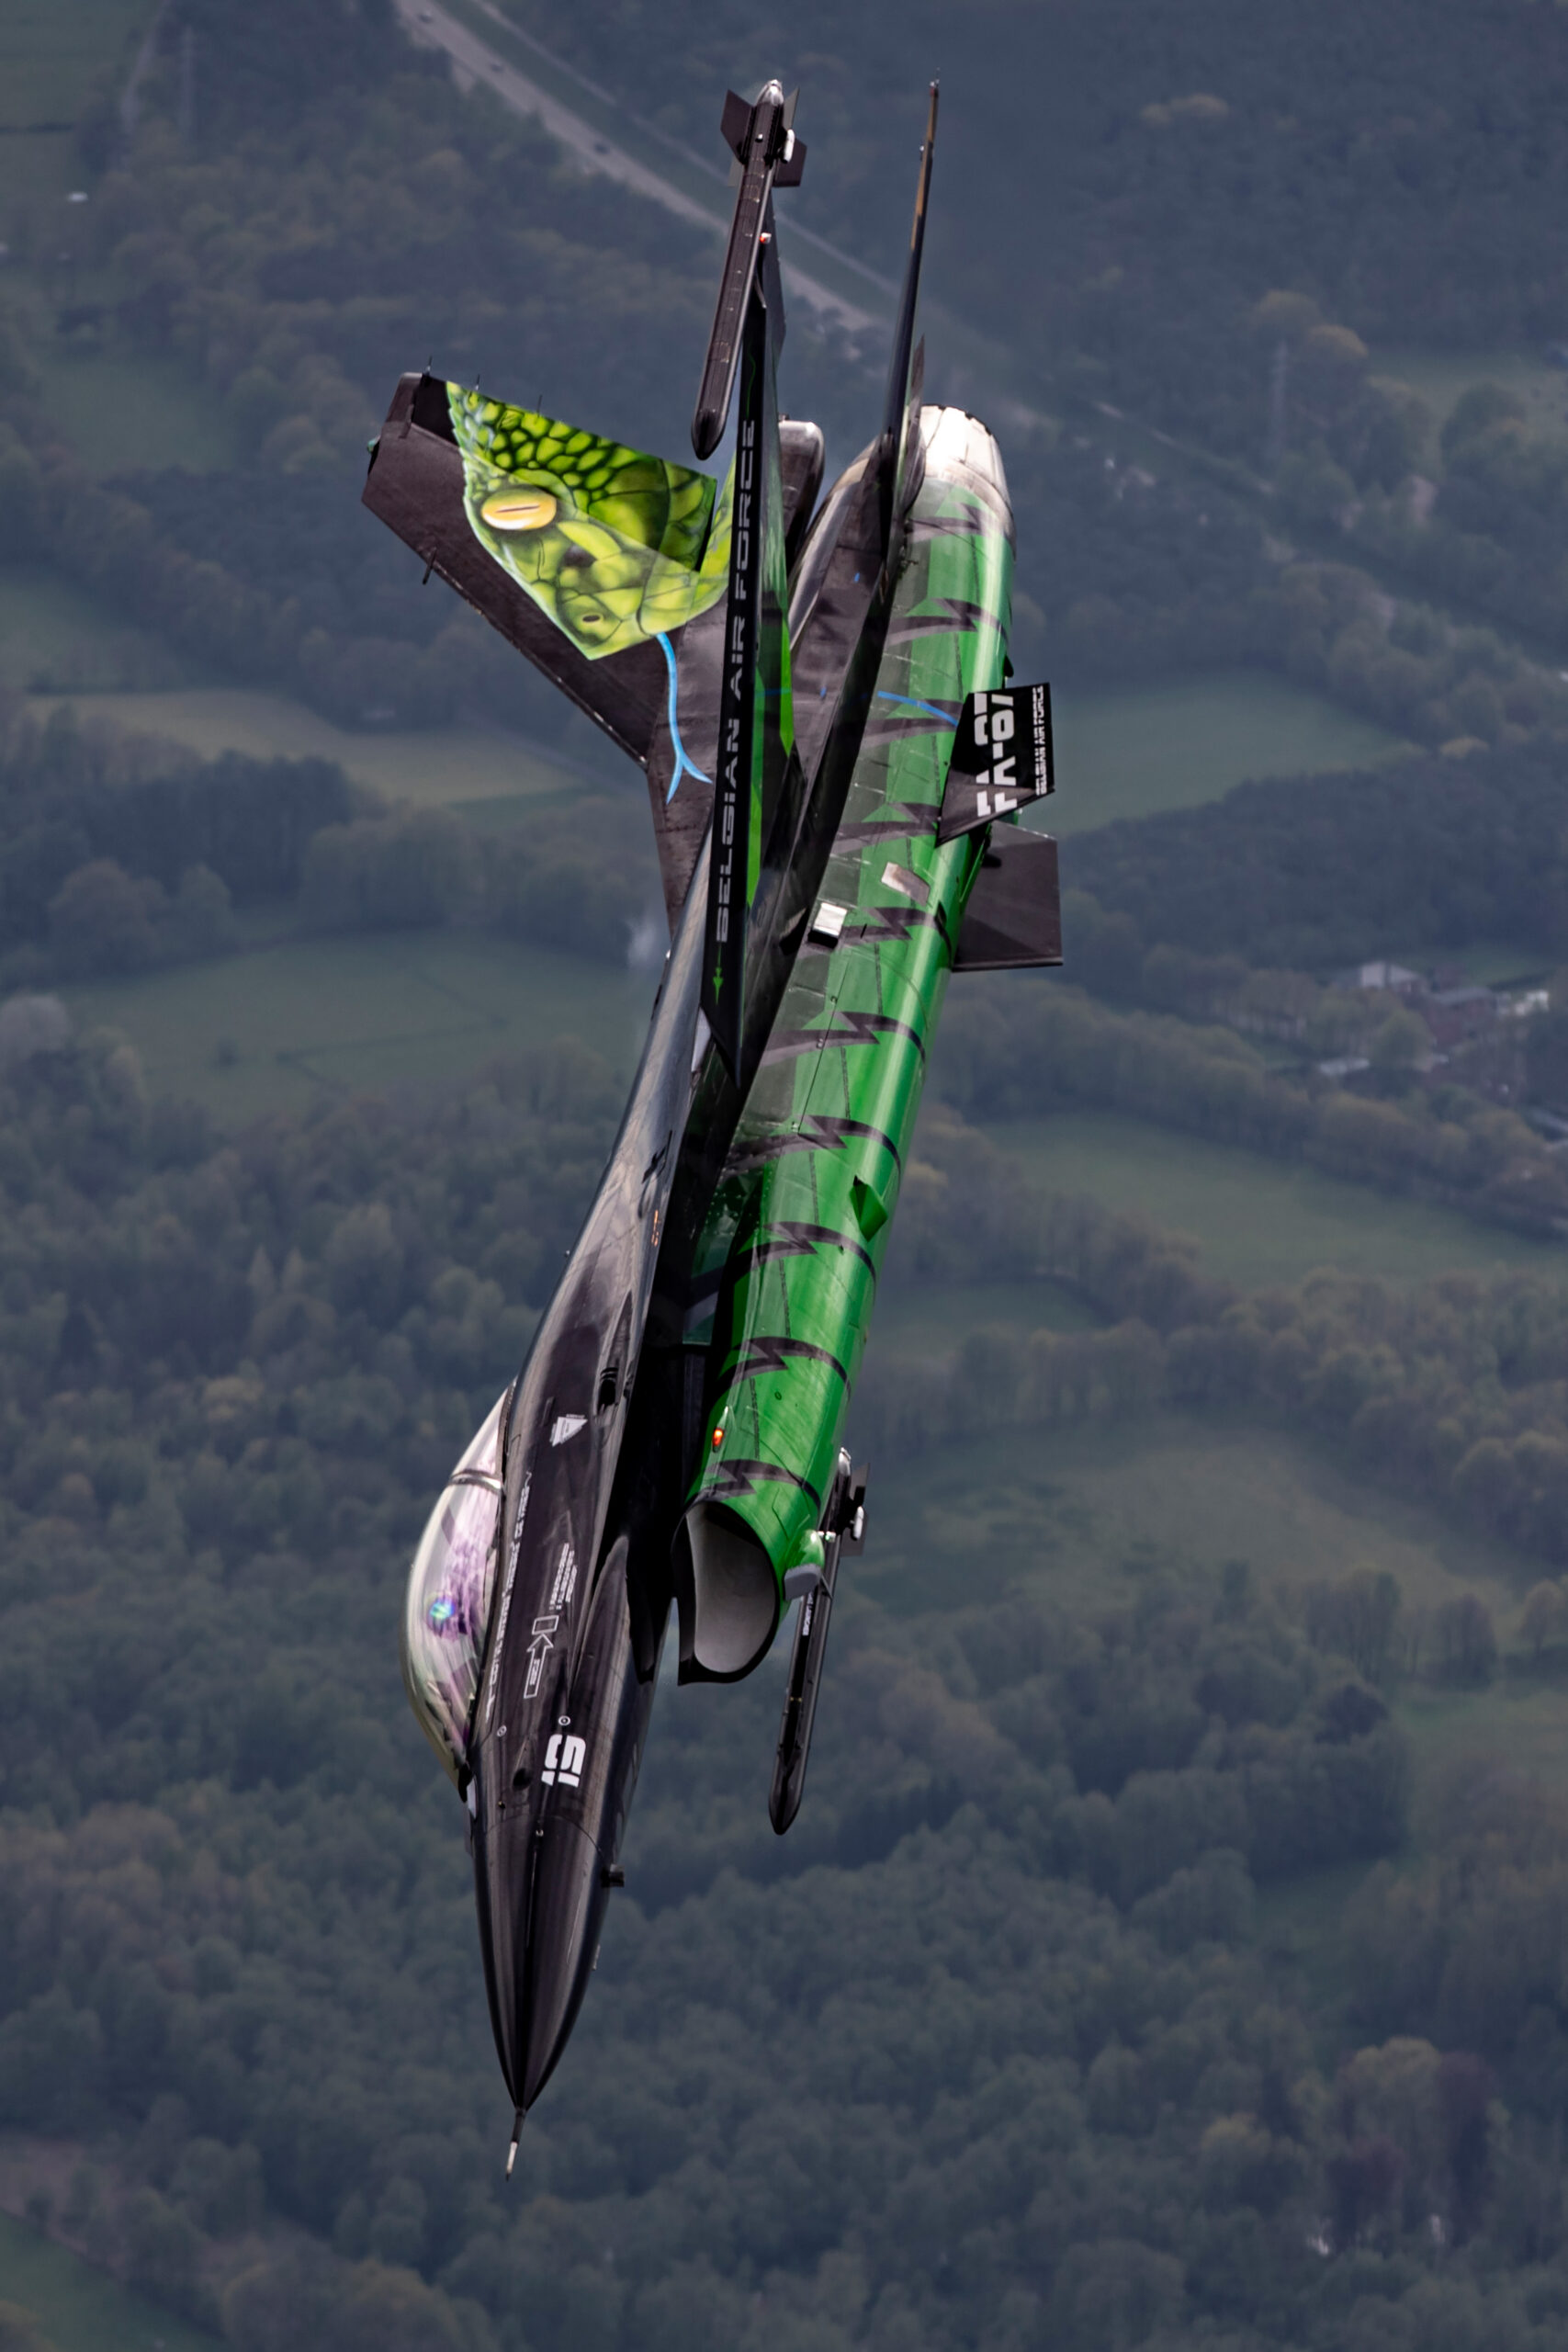
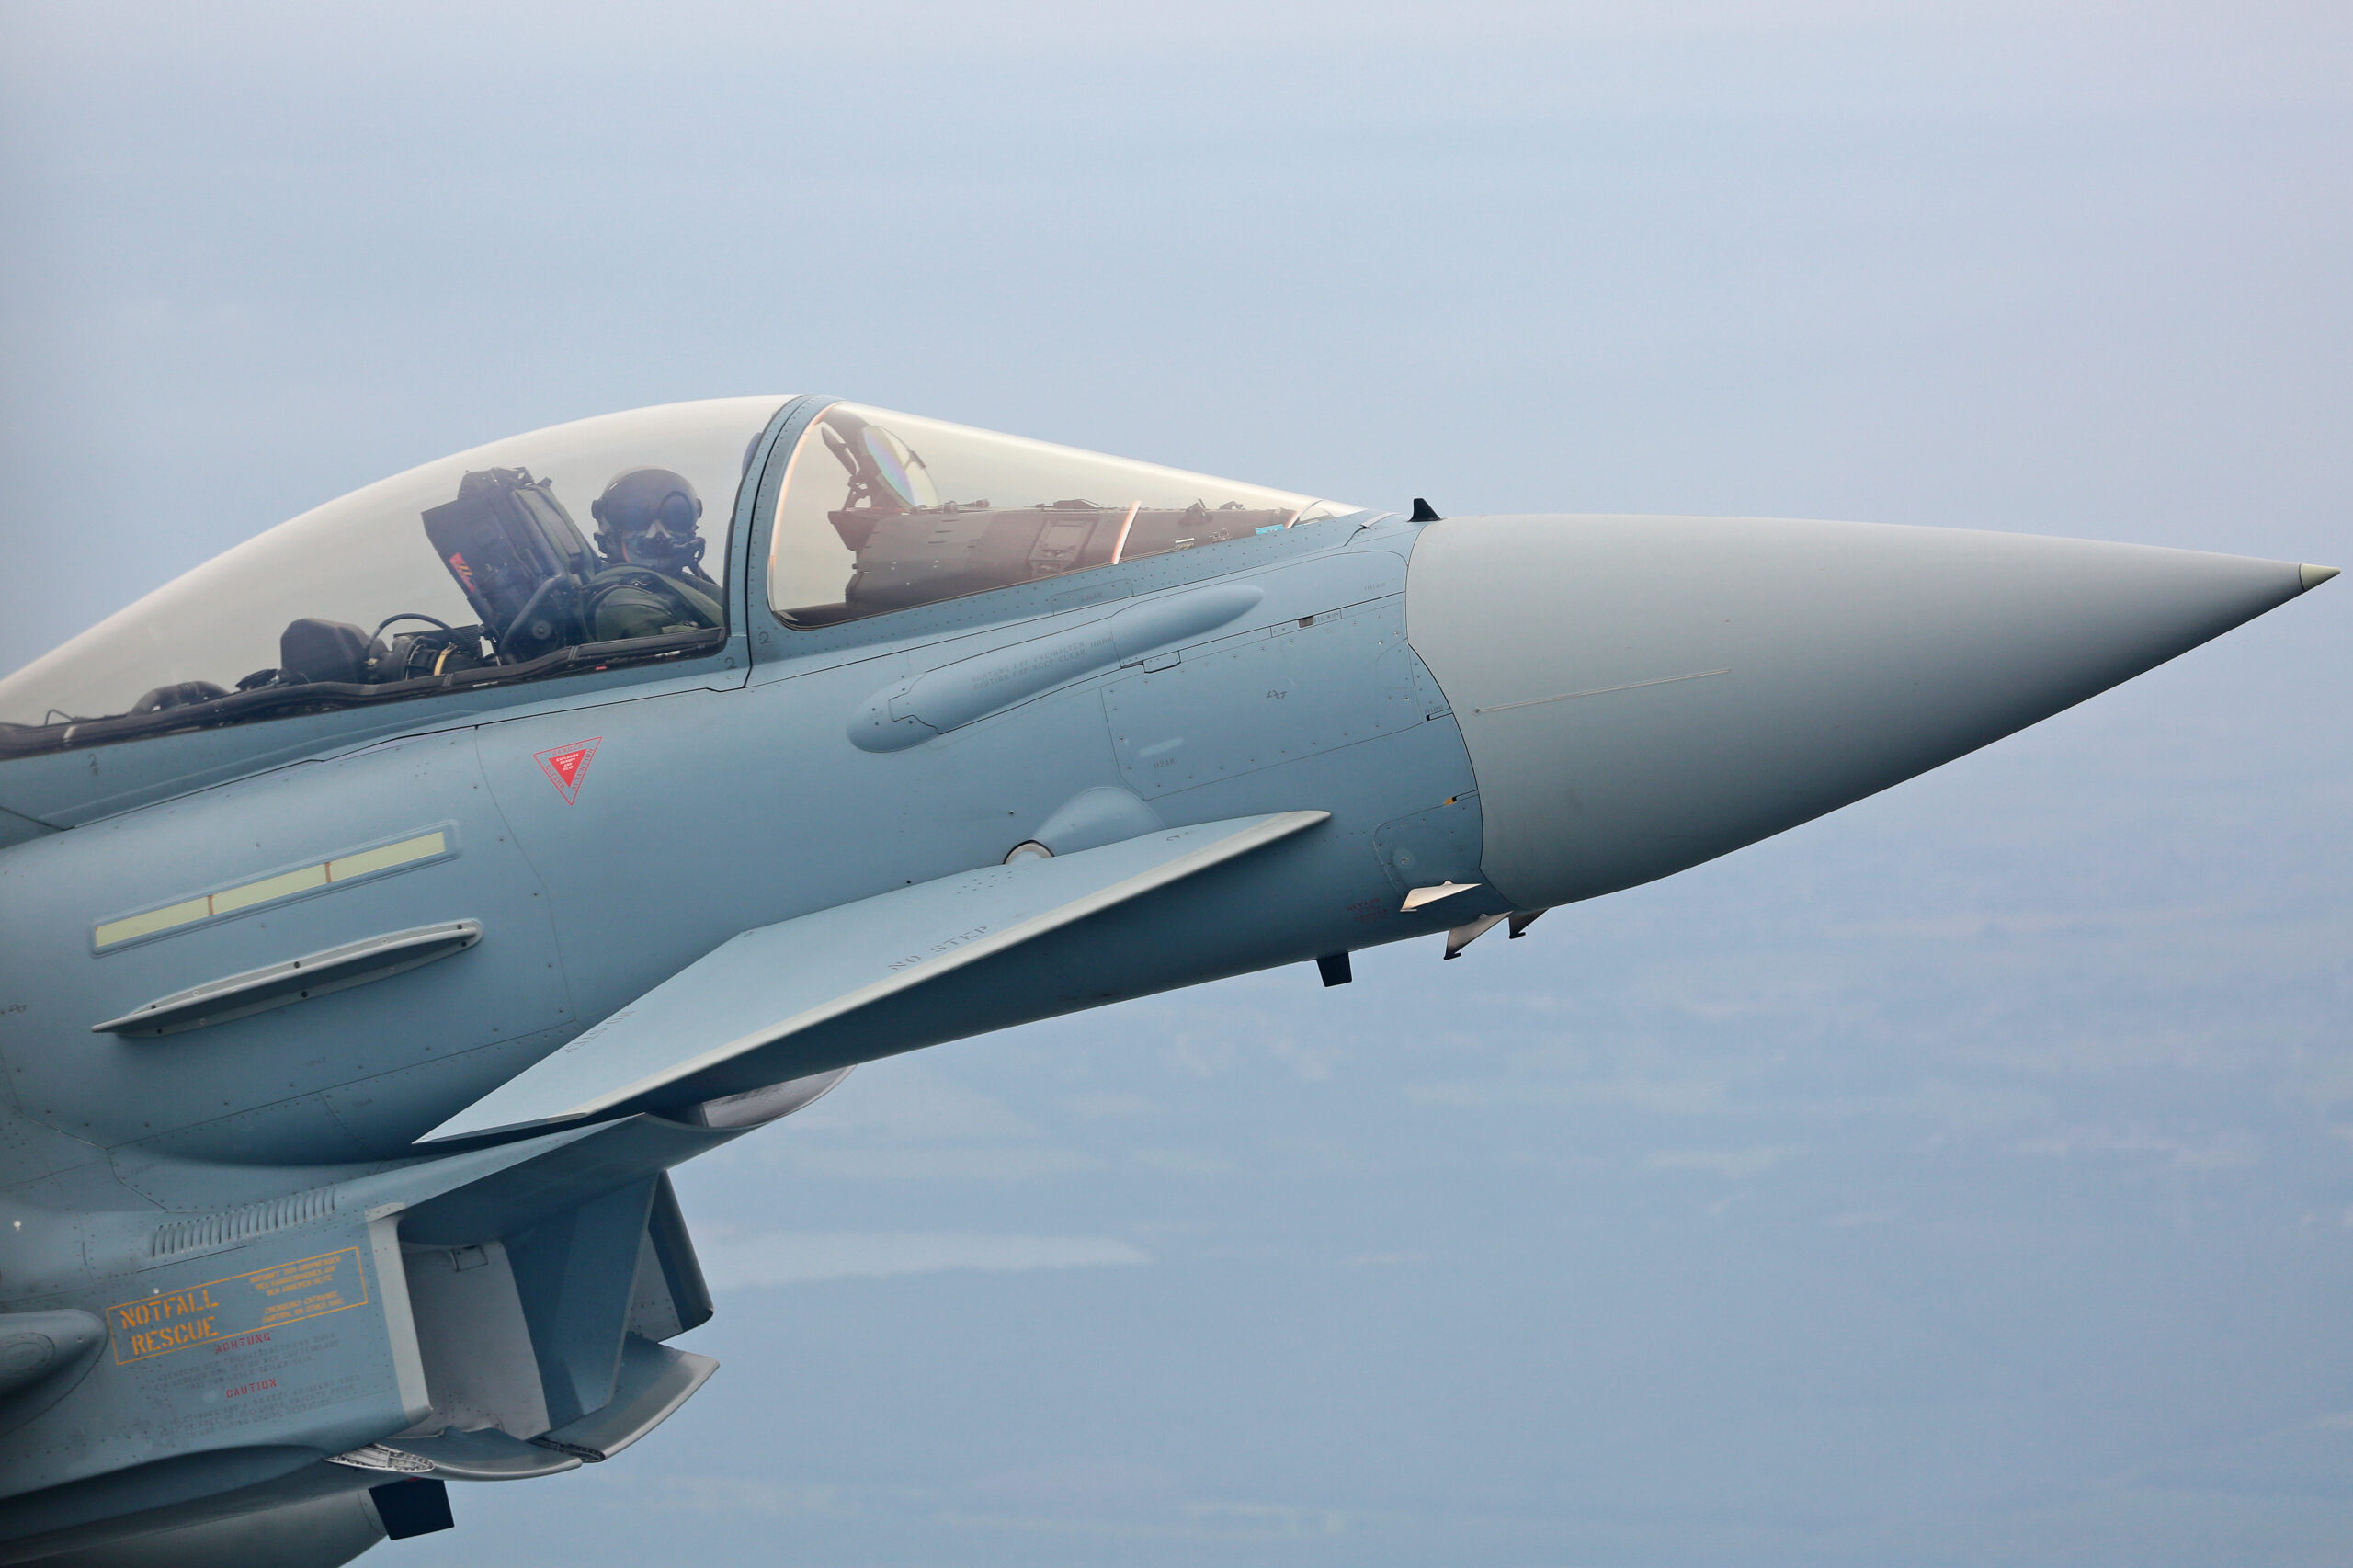
Jets are the discipline that punishes hesitation. A Typhoon in a flat pass at display speed crosses your field of view in seconds, and a Rafale pulling into the vertical gives you one burst before it is a dot. The good news is that jets are also the most forgiving subject for settings, because there is no propeller to blur: your only job is to freeze the airframe and keep it sharp.
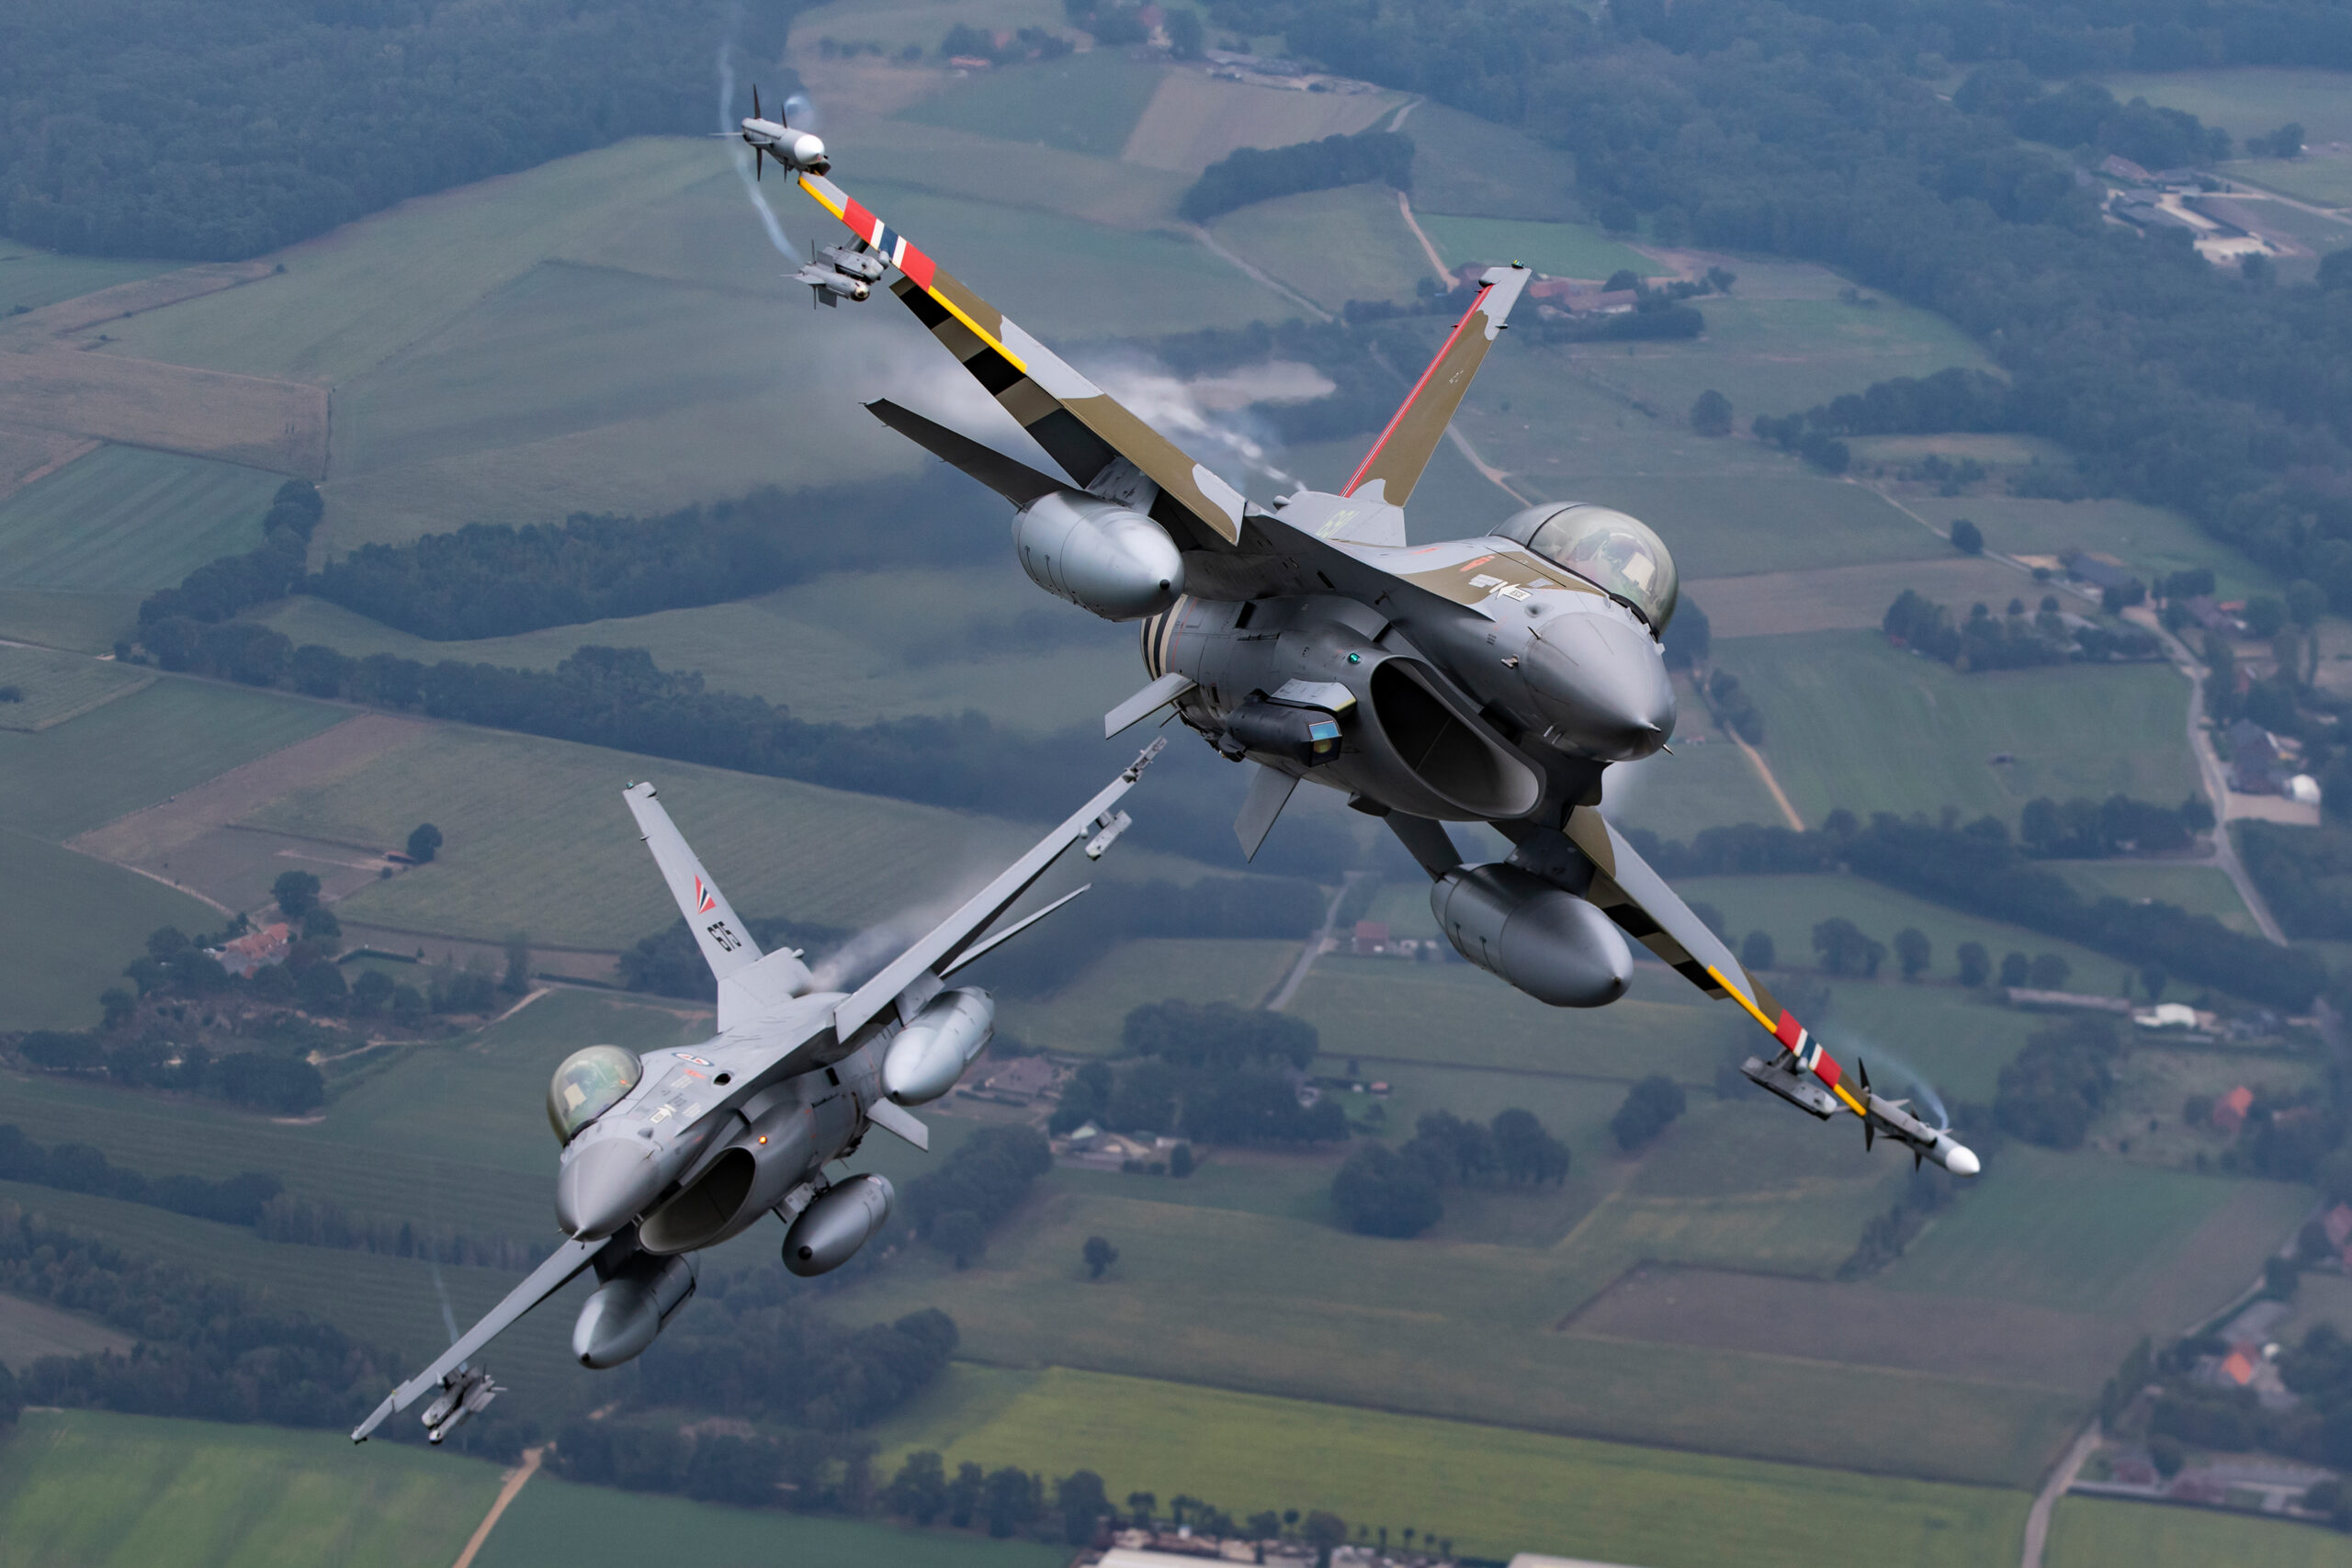
Start at 1/1000s. If the jet is crossing at distance and your panning is smooth, this is comfortably enough. Go to 1/1600s or 1/2000s for head-on arrivals, topside banking passes close in, and anything involving the vertical, because closure speed, the rate the aircraft changes distance and angle relative to you, is what actually blurs frames, not raw airspeed. Aperture sits at f/5.6 to f/8: most telephotos are sharpest a stop or so down from wide open, and you gain a little depth of field insurance for the tracking system. Let auto ISO do its work. On a bright day it will sit at base; under cloud it will climb, and modern sensors handle 1600 without complaint.
Vapour changes the calculation in your favour. On humid days a hard-turning jet drags cloud off its wing roots and spine, and those bursts are the frames of the day. Nothing about your settings needs to change, but your anticipation does: vapour appears at maximum g, so watch for the turn tightening and start the burst before the pull, not after it. The full technique, including how to track through the pull, is in our guide to photographing fast jets.
Propeller aircraft and warbirds
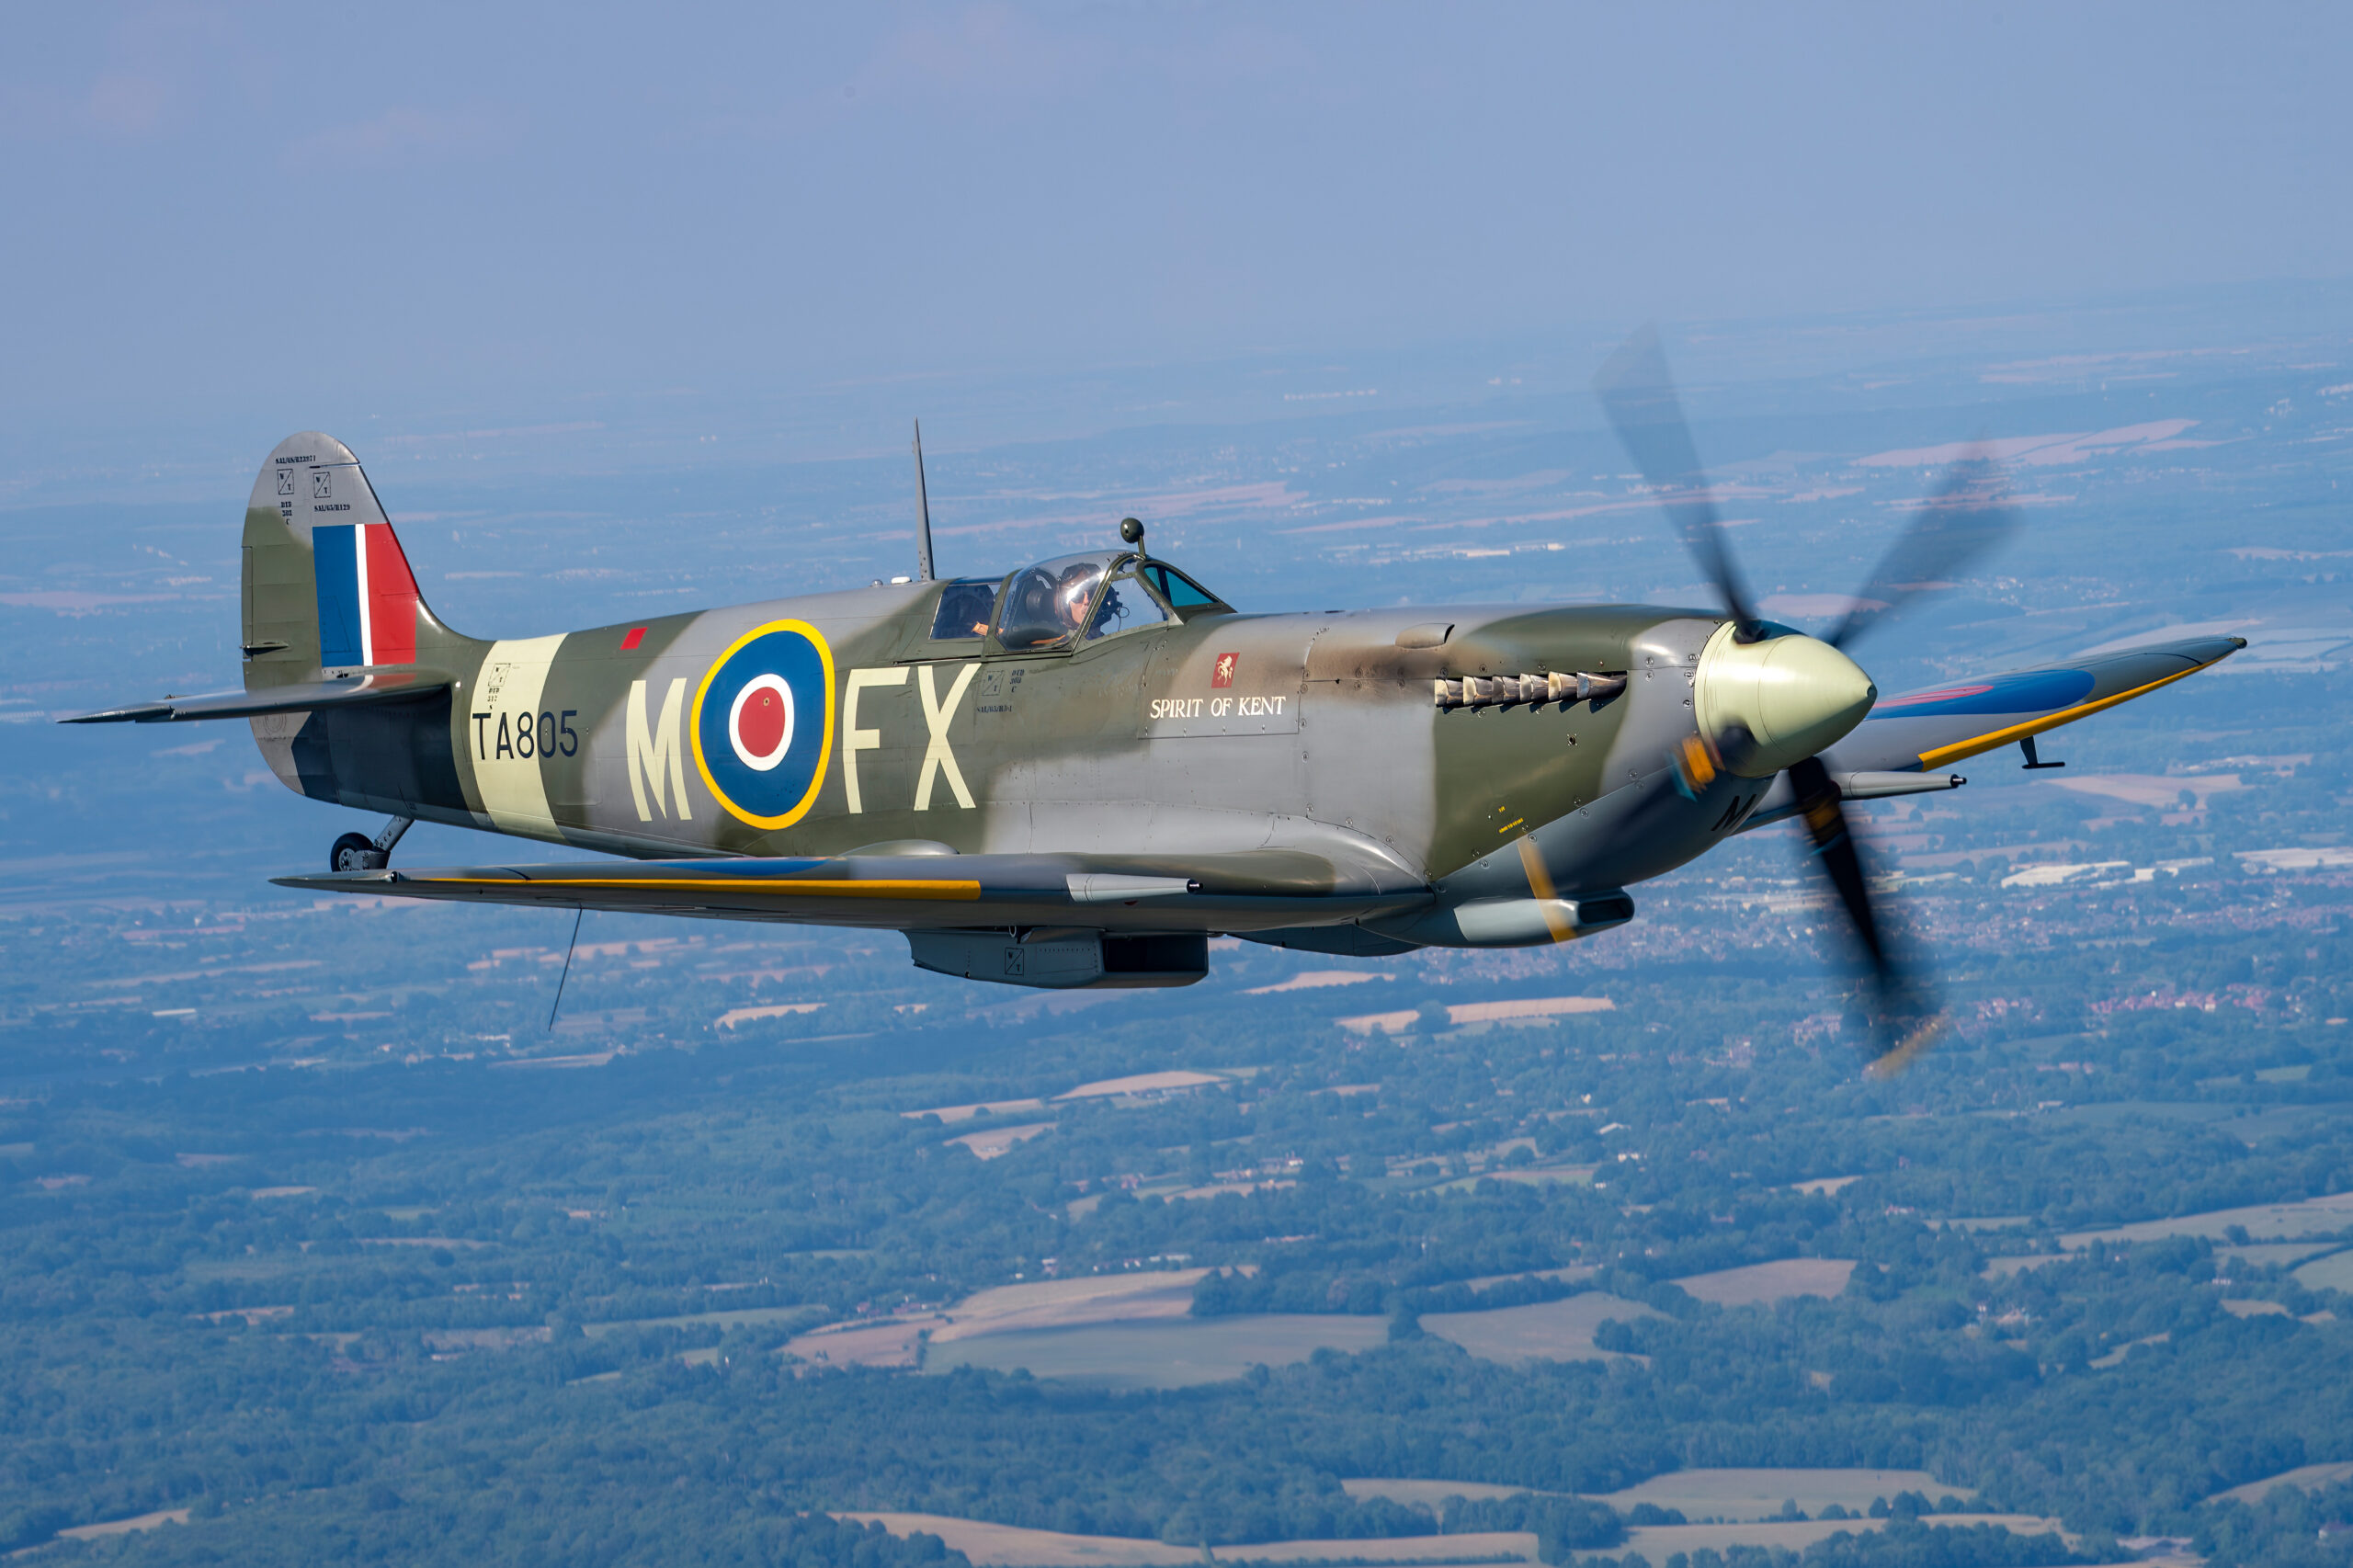
A frozen propeller is the fastest way to make a flying aircraft look like a plastic model on a shelf. The disc has to turn, which means your shutter has to slow down, and everything difficult about photographing props flows from that single fact.
The numbers: at 1/250s you get visible blade arcs on most piston types, a safe and respectable result. At 1/160s the arcs lengthen and the image starts to feel alive. At 1/125s and below you approach the full disc, the most attractive rendering and the hardest to hold sharp, because now every millimetre of panning error and every vibration through your arms shows in the airframe. Drop your keeper expectations accordingly: a 1 in 10 hit rate at 1/100s on a fast crossing Mustang is not failure, it is normal. Stop the aperture down to f/8 or f/11 to burn off the surplus light at base ISO, or fit a polariser, which costs you around a stop and a half and deepens the sky as a bonus.
Radials and inline engines reward slightly different treatment. A big radial like a Sea Fury’s Centaurus turns a five-blade disc that fills with blur quickly, while a two-blade trainer needs a slower shutter for the same visual effect. Watch the aircraft for one circuit before committing. The complete shutter table by type is in our prop blur guide.
Helicopters
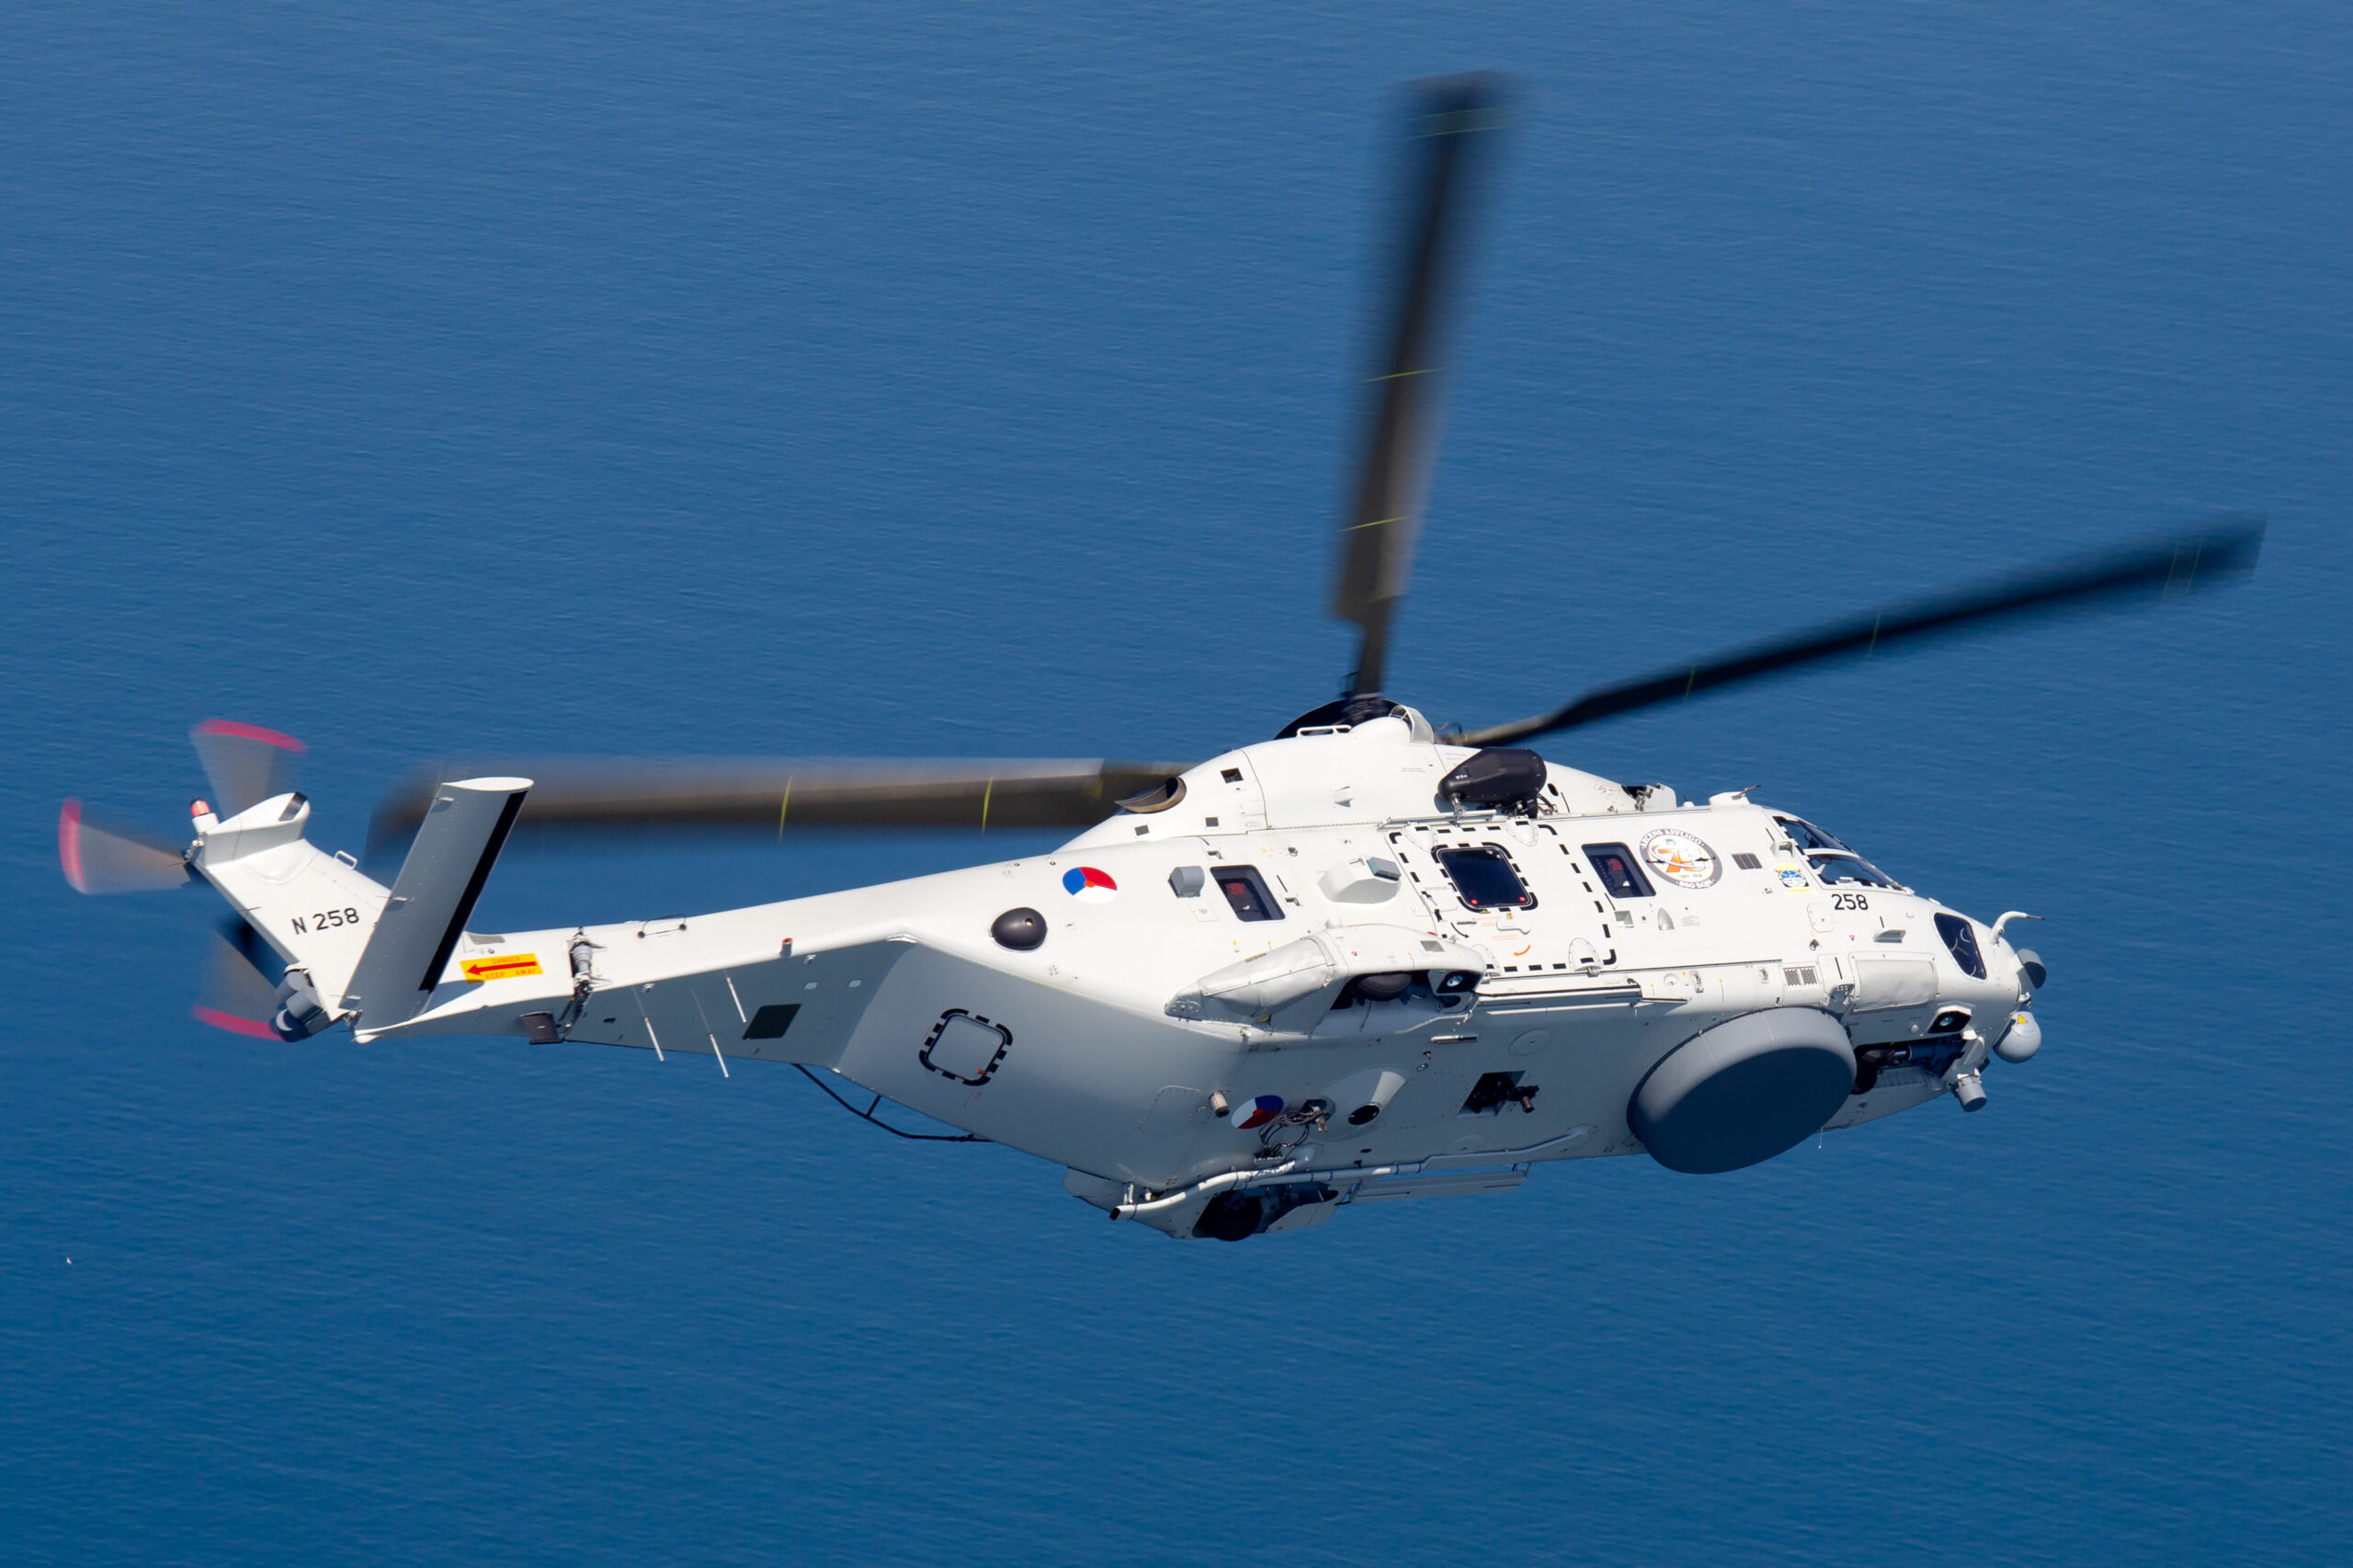
Helicopters are propeller logic taken to the extreme. The main rotor turns far slower than a propeller, so shutter speeds that blur a Spitfire’s prop will freeze a Chinook’s blades solid, and frozen rotors look worse than frozen props because the disc is so large that the stopped blades dominate the frame.
Work between 1/100s and 1/200s as your standard bracket, and treat 1/250s as the absolute ceiling for anything where the rotor matters. In a hover you can push down to 1/60s, because the airframe is nearly stationary and your panning load disappears; this is where full glorious rotor discs come from. Tail rotors turn much faster than mains, so they take care of themselves. As with props, stop down to f/8 to f/11 and hold base ISO in daylight.
The trap with helicopters is the hover itself. It looks static but is not: the airframe bobs and weaves constantly, and at 1/100s that movement blurs the fuselage while you congratulate yourself on the rotor. Time your bursts for the steadiest moments and take more frames than feels necessary. Displays with flare releases and running landings are covered, with settings per manoeuvre, in our helicopter photography guide.
Display teams and aerobatics
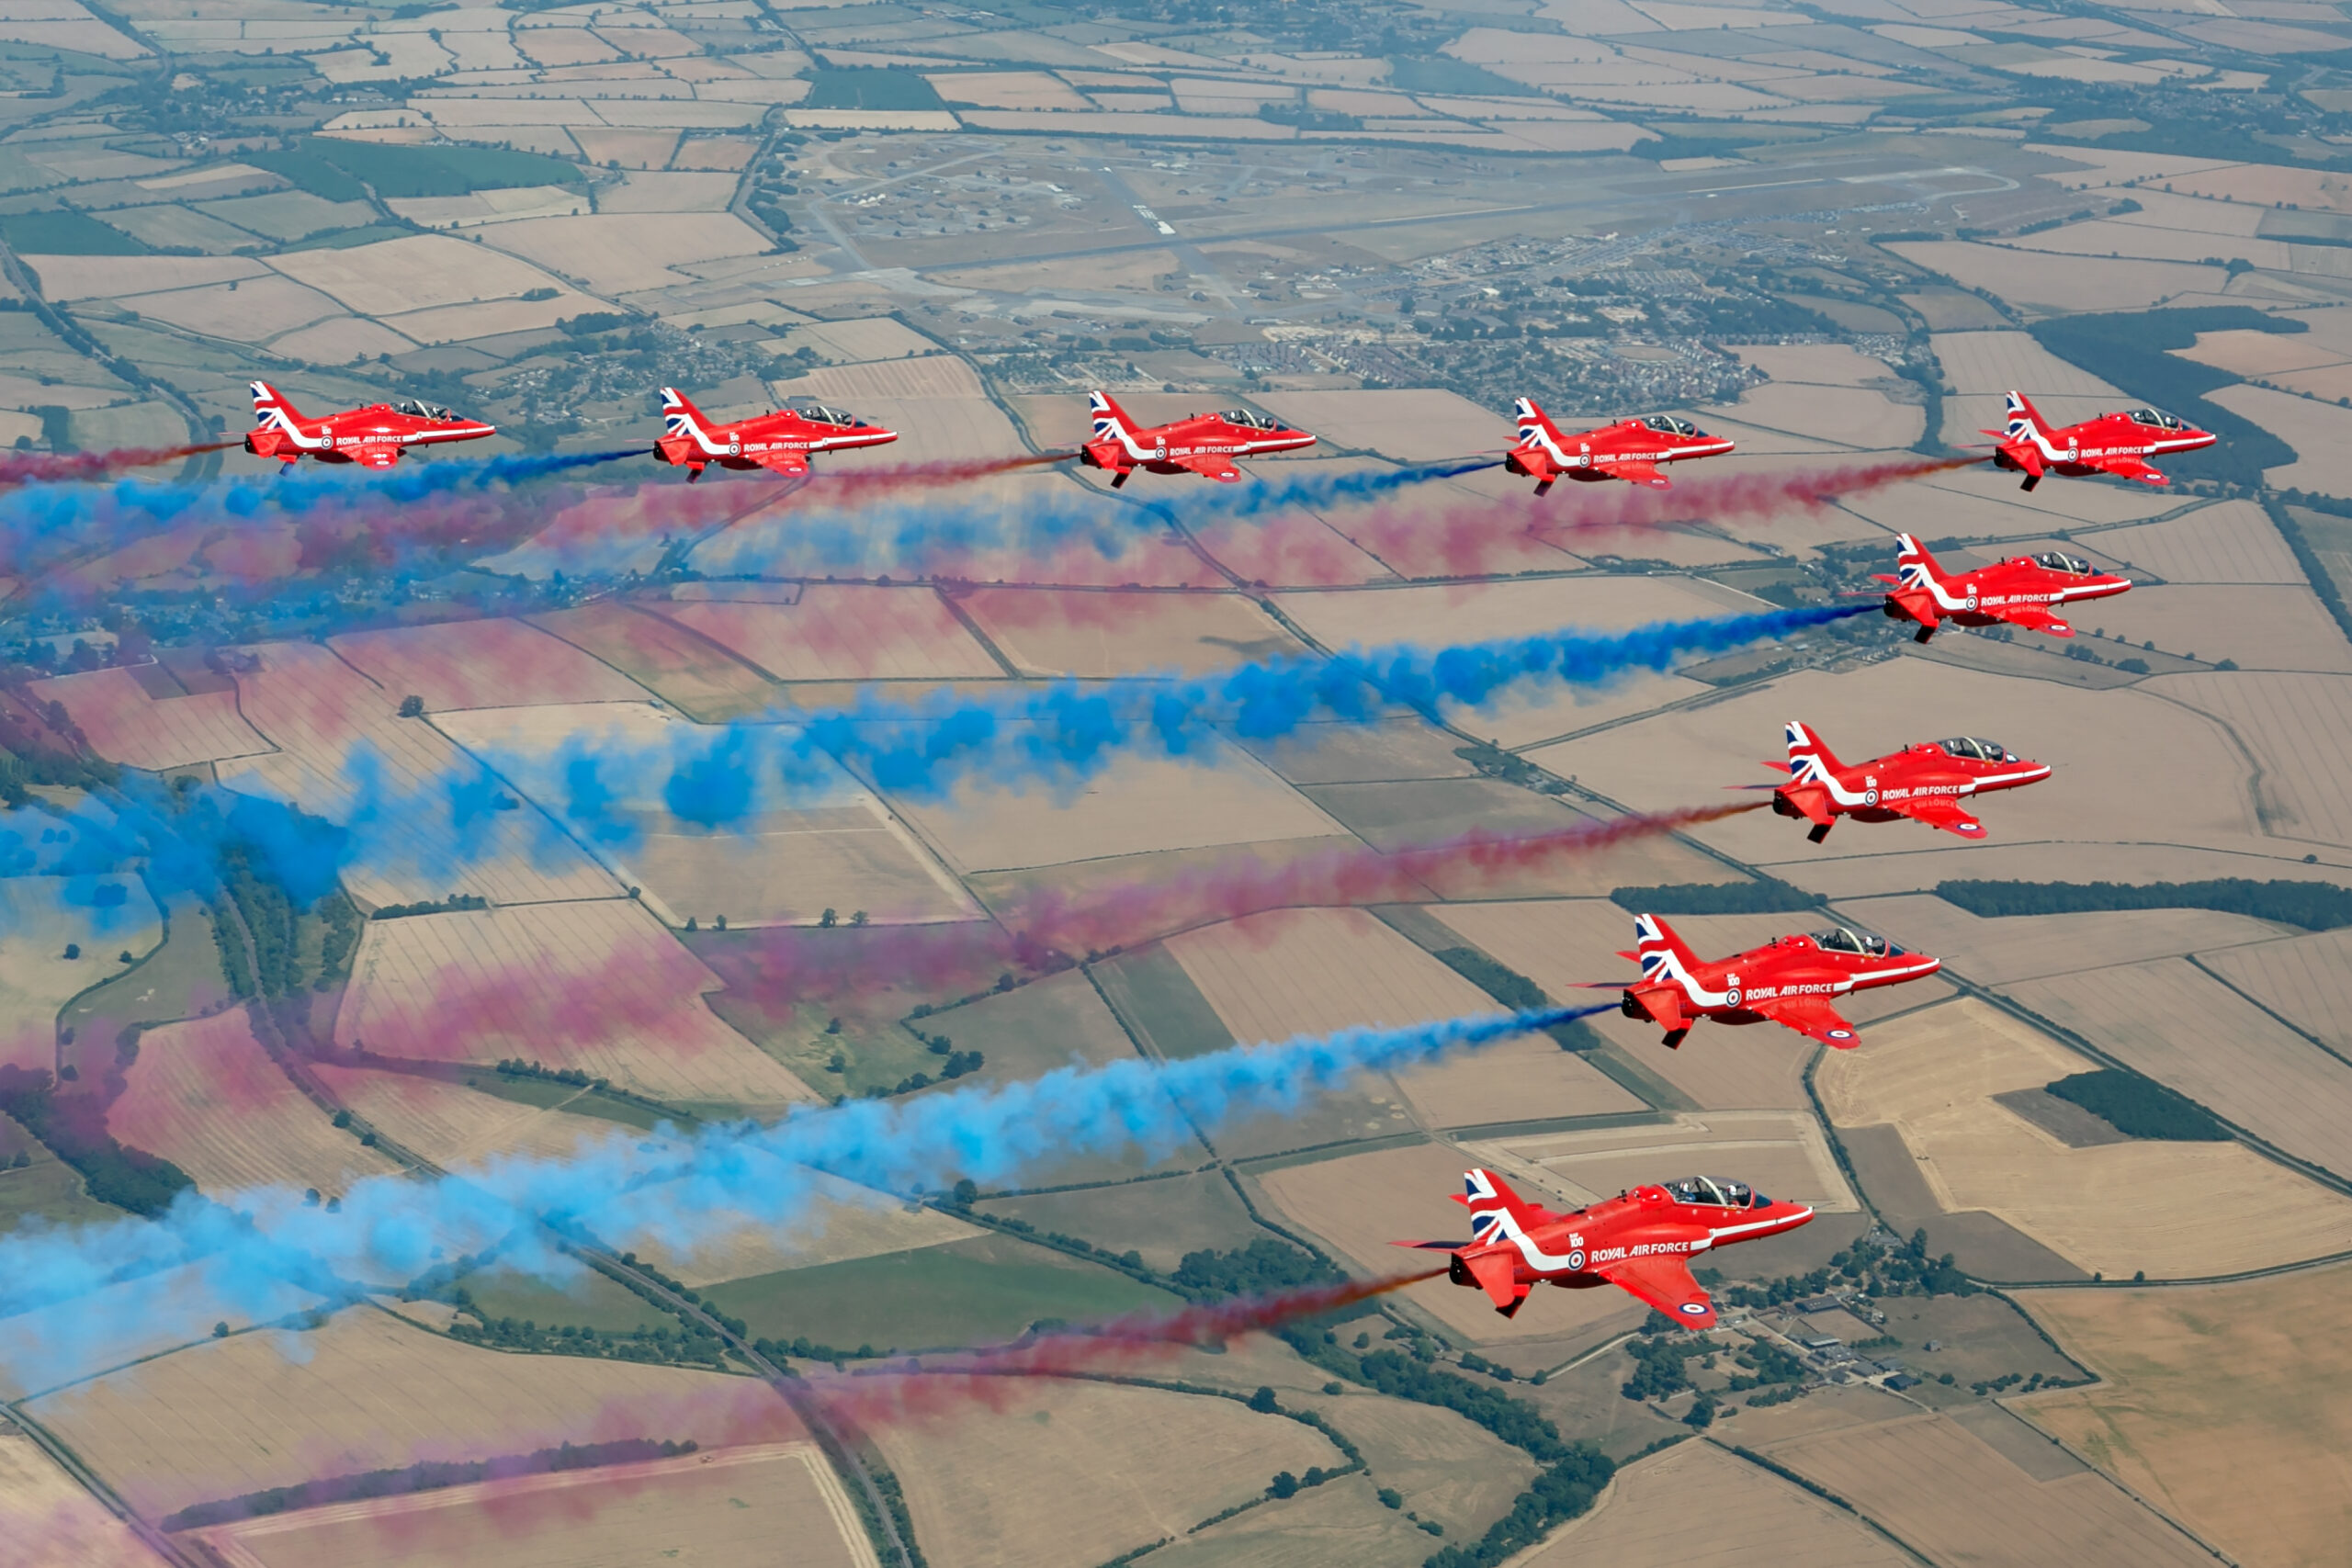
Formation display photography is about geometry more than speed. Nine Hawks in a diamond move as one object, and your job is to render every aircraft in the shape sharp, which makes aperture the interesting setting for once. At typical display distances f/8 gives you enough depth of field to carry the whole formation; wider than f/5.6 and the far side of a big formation can soften.
Shutter speed stays high, 1/1000s to 1/1600s, because smoke, crossing breaks and opposition passes all involve genuine jet speeds. For teams flying turboprops or piston types, drop into the prop rules from the section above and accept the harder panning. Put the autofocus zone on the lead aircraft and let depth of field hold the rest; tracking systems can wander between formation members if you give them the whole shape to choose from.
The moments that sell formation images are the transitions: the bend of a loop, the instant of the break, the crossover in an opposition pass. Learn the display sequence from the commentary or from watching the first day, and be on the burst before the moment arrives. Full positioning advice is in our formation flying guide and the Red Arrows guide.
Airliners, transports and heavies
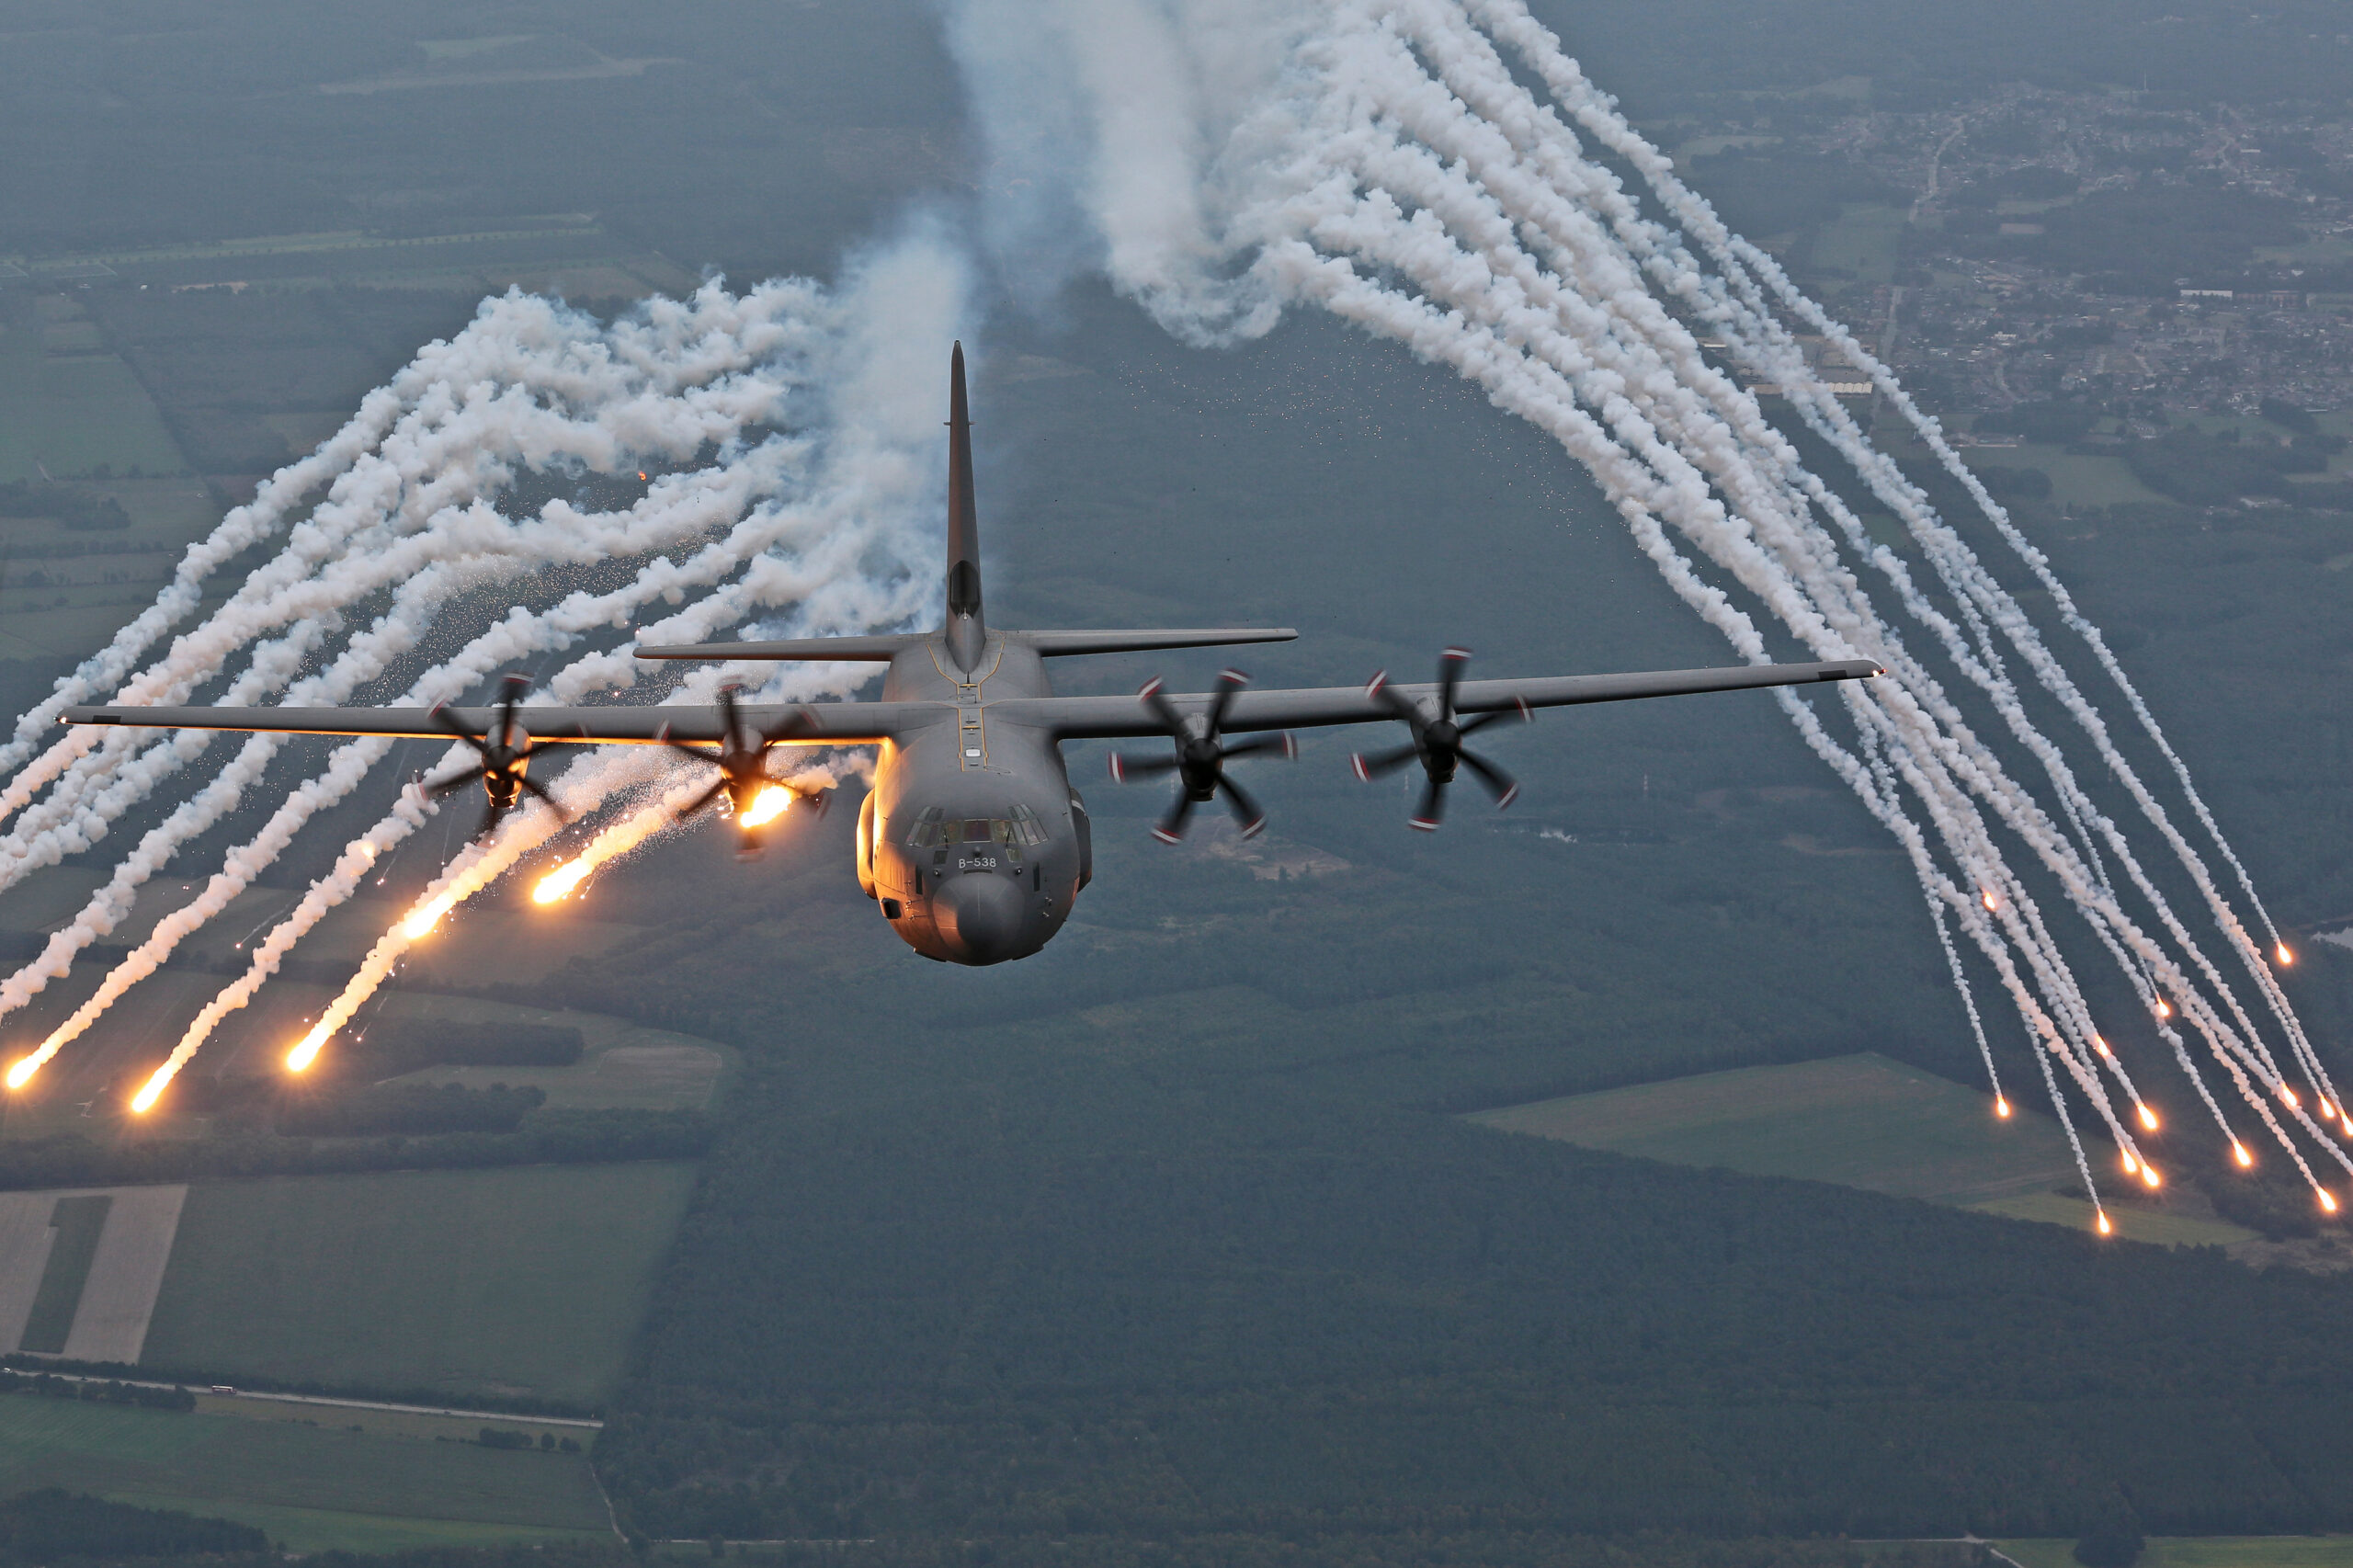
Big aircraft move deceptively slowly across your frame, which makes them the easiest airborne subject on this page and the best place for a beginner to build confidence. A C-17 on approach or an A400M in a display gives you time to compose, time to correct, and a subject large enough that autofocus rarely loses it.
Settings are relaxed by jet standards: 1/640s to 1/1000s covers turbofan types, f/6.3 to f/8 keeps the long fuselage sharp nose to tail at an angle, and auto ISO handles the light. Turboprop transports are the exception that catches people out. A Hercules at 1/1000s has four frozen discs and looks wrong in exactly the way a frozen Spitfire does, so treat a C-130 or an Atlas as a propeller subject: 1/250s or slower, with all the panning discipline that implies.
With heavies, composition does the work settings cannot. Fill the frame with the nose-on mass of the thing, use heat haze behind engines deliberately or avoid it ruthlessly (our heat haze guide explains when it is fatal), and look for the moments that show scale: tandem with a tiny fighter escort, flare releases, gear travelling. Airliner-specific advice, including working liveries and light at airports, is in our airliner photography guide.
Static displays and ground shots
The static park is where settings stop being the problem and seeing becomes it. Nothing here moves, so any shutter speed you can handhold works, and the numbers in the table (1/250s, f/8 to f/11, base ISO, single-point AF-S) are simply the sharpest, cleanest way to record what you choose to frame.
Choose ruthlessly. The default static photograph, a whole airframe from ten metres with a crowd threaded through the undercarriage, is the least interesting image at any airshow. Go early or stay late for clean backgrounds, get low to put canopies against sky instead of catering vans, and spend time on details: stencilling, intakes, weathering, the crew ladder against the morning sun. A wide-angle under the nose of a heavy exaggerates presence in a way a telephoto never will; a 300mm across the park compresses a line of tails into a pattern.
Overcast days, the ones photographers curse at the crowdline, are gifts on statics: soft, even light with no hard canopy shadows. Save your fence-line and apron ideas for them. Our composition guide covers the visual rules in depth.
Low light and night
Aviation photography does not stop when the sun drops. Dusk launches, night shoots and pyrotechnic finales are some of the most rewarding material in the calendar, and they need a completely different settings mindset from daylight work.
For dusk flying, afterburner departures and sunset displays, hold a usable shutter speed (1/500s for jets, slower as ever for props) and let ISO climb as far as your camera stays acceptable, which on current bodies is a long way. Expose for the airframe and accept a bright flame and a rich sky; do not let the meter average everything into grey mush. For true night work on the ground, the rules invert: tripod, base ISO, apertures around f/5.6 to f/8, exposures from fractions of a second to several seconds, manual focus set on a bright edge with magnified live view, and stabilisation switched off once the camera is on legs.
Pyrotechnics and flare walls reward a small experiment budget: start around two seconds at f/8, review, and adjust the exposure time to taste as the burn length changes the light. The full workflow, including timings for wall-of-fire finales, is in our night airshow guide and its quieter sibling, the golden hour guide.
Autofocus setup
Autofocus is where camera menus intimidate people out of good results, so here is the entire setup in one paragraph. Continuous autofocus (AF-C or AI Servo), always, for anything airborne. A zone or expanded-area pattern in the middle of the frame for most flying subjects, because it tolerates panning error while resisting the background. Subject detection set to aircraft (or vehicles/aeroplane on some brands) if your body has it, with the caveat that detection can hunt on head-on views and tiny distant targets, so know how to drop back to a plain zone instantly. Back-button focus if you are ready for it: separating focus from the shutter release means you never lose a burst to the camera deciding to refocus on sky.
Two settings deserve special mention. Tracking sensitivity (the menu that decides how long the camera clings to a subject when something crosses it) should sit on the sticky side, because display lines put smoke, other aircraft and crowd furniture between you and the subject constantly. And release priority should favour the shutter firing over focus confirmation in burst mode; at 1/1000s with a zone on the subject, frames marginally out are rare, and the burst you did not get is worse than the soft frame you can delete. Every menu name, brand by brand, is decoded in our autofocus and settings guide.
Exposure and metering
More aviation photographs die to exposure than to focus. The reason is the sky: your meter sees a frame dominated by bright cloud or open blue, exposes for it, and delivers a silhouette where an aircraft should be. Every metering decision at an airshow is a negotiation between the subject and the sky behind it.
The working method: use evaluative or matrix metering as the base, then drive it with exposure compensation by background. Aircraft against blue sky needs little or no correction. Against bright overcast, dial in +1 to +2 stops, and check the histogram rather than the preview image, because a gloomy rear screen in bright sunlight lies. Dark topsides against dark ground on a banking pass may need the compensation removed or reversed. If the light is constant, full manual exposure set for the aircraft and left alone beats any automatic mode, because the exposure stops changing every time the background does.
Watch the highlight alert for white airframes; display smoke and polished metal clip before anything else. And remember the sun’s position across the day when you plan where to stand: front-lit is safe, side-lit is dramatic, and backlit is either a disaster or the best frame of the season, depending on whether you chose it. The full method, including spot metering edge cases, is in our metering for bright skies guide, with the creative flip side in the golden hour guide.
The weather playbook
British airshow weather writes half your settings for you, so plan by forecast rather than hope. Bright sun is the easy case the master table assumes: base ISO, full shutter speed choice, and your only enemies are harsh midday shadows and heat haze off the crowd and concrete. Work the display ends for side light, plan prop passes for the morning, and treat the hour before the gates shut as the best light of the day.
Bright overcast is the deceptive one. The light is soft and flattering, but a white sky is a metering trap and a compositional void, so add the exposure compensation from the metering section, favour tighter crops that exclude the sky, and remember the static park loves exactly this light. Under heavy grey, the question becomes ISO tolerance: hold the shutter speeds the subject demands, let ISO climb, and plan to spend time in the noise reduction workflow from our sharpening and noise guide. Do not slow the shutter to rescue ISO on jets; a clean blurry frame is still a blurry frame.
Rain, wind and storm light are opportunities wearing bad clothes. Rain polishes aprons into mirrors, spray off a runway doubles the drama of every landing, and the sun breaking under a storm cell gives you the most theatrical backdrops the hobby offers. Protect the gear, keep a cloth on the front element between passes, and stay out longer than the fair-weather crowd; the frames that win competitions come from the days people went home early. The complete wet weather method is in our low light and weather-adjacent guides, with storm-specific advice coming to the calendar soon.
Takeoff, landing and taxi
Displays get the attention, but the movements before and after them fill portfolios. Each has its own settings logic. On takeoff, jets rotate at the point of maximum drama: burner, vapour off the intakes on humid days, and heat haze boiling behind the jetpipe. Shoot at 1/1000s or faster from a position that puts the rotation point square-on, and accept the haze behind the aircraft as part of the picture, or exploit it deliberately as texture. Prop types lifting off want the usual 1/250s and slower, and the moment the tail comes up on a taildragger warbird is worth the whole wait.
Landings offer touchdown smoke, spoilers, reverse thrust spray in the wet, and on carriers-turned-airshows like Yeovilton, the arrestor kit. Freeze jets at 1/1000s, but consider 1/500s for heavies to keep a little life in the fans. Position matters more than settings: know the runway in use and the wind before you commit to an end. Taxiing aircraft are the sleeper subject, close enough for detail, slow enough for perfect technique, and canopy-open pilots wave more often than you would think. Work at 1/250s or below for anything with a propeller even on the ground, because a taxiing warbird with a frozen prop looks exactly as wrong as a flying one. Fence-line taxiway positions and the etiquette that keeps them available are covered in our shooting through fences guide and the plane spotting guide.
Memory cards, burst and buffer
Settings advice means nothing if the camera stops taking pictures during the break. Burst shooting at an airshow generates data at a rate that exposes every weak card and small buffer, so this section is short and blunt.
Shoot the fastest cards your camera accepts, not the cheapest that fit. A buffer that clears quickly is the difference between catching the crossover and watching it while the write light blinks. Set the burst rate to the camera’s sensible middle option rather than its absolute maximum unless the moment demands it: 3,000 near-identical frames of a display is a culling problem you inflicted on yourself, and our editing workflow guide exists partly because of days like that. Carry at least double the card capacity you think you need, swap cards at natural breaks rather than mid-display, and never format in a hurry between acts.
Battery discipline follows the same logic: continuous autofocus and long bursts eat power, mirrorless bodies more so. Start the day on a full battery, keep two charged spares in a pocket that is not the camera bag, and swap at lunch whether the indicator demands it or not.
Where to stand: the display line and the sun
No setting on this page compensates for standing in the wrong place. Display flying happens along a fixed display line parallel to the crowd, with minimum separation distances set by the regulator, in the UK through the CAA’s CAP 403 rules for flying displays. You cannot change how close the aircraft come, but you choose where along that line you stand, and that choice decides what the aircraft are doing when they are nearest to you.
The centre of the crowdline gets the flat, fast, side-on passes and the axis of most formation shapes. The ends of the line get the turns: aircraft arriving, banking topsides as they reposition, and the entry and exit of every loop and break. Photographers who want banked, top-surface, full-planform frames migrate to the ends; photographers who want symmetry and smoke stay central. Neither is wrong, but a whole day spent in one spot produces one kind of picture, which is why the common mistakes section tells you to move between acts.
Then add the sun. A south-facing crowdline means backlit displays through the middle of the day and warm front light only early and late, which changes what is worth shooting at noon (statics, details, backlit smoke experiments) versus four o’clock (everything). Check the display axis and the sun’s arc when you plan the day; the RIAT guide and our best UK airshows guide map this for the major venues, and the organisers’ own showground maps, like those on the Royal International Air Tattoo site, tell you the crowdline orientation before you ever arrive.
The night before checklist
Every experienced airshow photographer has a version of this list, usually written after the day it would have saved. Run it the evening before, not at 6am.
Charge every battery, and pack the charger anyway. Format cards in the camera after confirming yesterday’s frames are backed up. Set the camera to your daylight defaults now (1/1000s, f/8, auto ISO, AF-C, zone area, burst) so the first pass of the day does not catch you on last night’s tripod settings. Clean the front element and check for sensor dust with a quick f/16 sky frame. Pack the polariser for props, plus rain covers, because British airshow weather needs no introduction. Check the flying programme and note the display times of your priority acts. Confirm sunrise and sunset directions against the display line so you know which end of the crowdline wins in the afternoon. Then check the practical layer that has nothing to do with cameras: tickets, parking pass, water, hat, sunscreen and ear protection. The full packing logic, item by item, is in our airshow packing guide and the planning end is covered in the airshow planning guide.
Common mistakes and quick fixes
These are the faults we see most in other people’s airshow galleries, each with its one-line fix.
Frozen propellers everywhere. The shutter never came down from jet speeds. Fix: build the 1/250s-and-below habit the moment anything with a prop taxis out, and drill it with our prop blur guide.
Sharp aircraft, grey silhouette. The sky won the metering negotiation. Fix: +1 to +2 stops of compensation against bright cloud, and check the histogram after the first pass, not the last one.
Soft frames at fast shutter speeds. Usually heat haze across the runway rather than technique; no shutter speed fixes distorted air. Fix: shoot higher passes, get closer to the display line, and read the heat haze guide before blaming the lens.
The tracking system chose the wrong aircraft. Whole-frame auto areas love the wingman. Fix: use a zone you place yourself, on the lead, every time.
Buffer full at the moment of the break. Maximum burst rate on slow cards. Fix: faster cards, moderate burst rate, and fire disciplined short bursts around the moments, not through them.
A day of identical crowdline side-on frames. Settings were fine; the position never changed. Fix: move along the line between acts, shoot the ends of the display axis for banking topsides, and build a shot list the night before.
When the faults in your gallery are none of the above, the next gains come from deliberate practice, and panning drills are the highest-return hour you can spend; the routines in our fast jets guide transfer to every subject on this page. And once the keepers are on the card, licensing them properly is its own craft: see our licences page for how we handle it, or browse the full galleries for what these settings produce on real working days.
Lenses and support at a glance
This page is about settings, but three equipment decisions change which settings are available to you, so they earn a short section. First, focal length: 400mm on a full frame body (or 300mm on APS-C) is the working minimum for display flying, and the popular 100-400mm and 150-600mm zooms cover almost everything an airshow offers. What matters for your settings is the long end’s maximum aperture, because an f/6.3 zoom under grey cloud pushes ISO harder than an f/4 prime ever will. Our lens guide ranks the current options, and the budget telephoto guide proves the entry price is lower than people fear.
Second, teleconverters: a 1.4x costs you a stop of light and a little autofocus speed, which on a bright day is nearly free reach and on a dull day is a real tax. Decide by the forecast, not habit; the trade-offs are measured in our teleconverter guide. Third, support: handholding wins for flying displays because panning freedom beats stability, while a monopod earns its place on long static days and with the heaviest lenses. The full argument is in the monopod guide, and stabilisation switched to its panning mode splits the difference for most people, most days.
Frequently asked questions
What is the best shutter speed for photographing jets?
Start at 1/1000s for jets crossing at display distance and raise it to between 1/1600s and 1/2000s for head-on passes, close topside breaks and vertical manoeuvres, where closure speed is highest. There is no propeller to blur on a jet, so there is no penalty for speed beyond the ISO the light forces on you. If frames are still soft at these speeds, the cause is usually panning technique or heat haze rather than the shutter.
What shutter speed should I use for propeller aircraft?
Use 1/250s for safe, visible blade arcs, 1/160s for longer arcs with a reasonable keeper rate, and 1/125s or slower for a full propeller disc. The slower you go, the more frames you lose to panning error, so accept a lower hit rate as part of the deal. Helicopters need slower still: work between 1/100s and 1/200s, because main rotors turn far more slowly than propellers.
What aperture is best for airshow photography?
Between f/5.6 and f/8 for most flying subjects, because telephoto lenses are sharpest a stop or so down from wide open and the extra depth of field helps the autofocus system. Use f/8 for formations so the whole shape stays sharp, and f/8 to f/11 on propeller subjects, where the surplus light from a slow shutter has to go somewhere at base ISO.
Should I use auto ISO at an airshow?
Yes, for anything airborne in daylight. Manual mode with auto ISO lets you fix the two settings that matter creatively, shutter speed and aperture, while the camera rides the light for you. Set a sensible ceiling, around 3200 on current bodies, and keep exposure compensation on a dial you can reach, because you will use it constantly against bright sky.
What autofocus mode is best for aircraft?
Continuous autofocus (AF-C or AI Servo) with a zone or expanded-area pattern for everything that flies, and single-point AF-S only for statics. Subject detection helps when your camera offers it, but learn to drop back to a plain zone for head-on views and distant specks, where detection can hunt. Back-button focus is worth learning once the basics are comfortable.
Do I need to shoot RAW at airshows?
Yes. Aircraft against bright sky is one of the highest dynamic range situations in photography, and RAW keeps the highlight and shadow detail that JPEG discards at capture. RAW files also survive white balance corrections and heavier editing without falling apart. The cost is card space and a slower buffer, both of which are solved by buying faster, larger cards.
Why do my aircraft photos come out dark against the sky?
Because the meter exposed for the bright sky that fills most of the frame, not the comparatively small dark aircraft in front of it. Add +1 to +2 stops of exposure compensation when shooting against bright overcast, check the histogram rather than the rear screen, and consider full manual exposure when the light is steady, so the background stops driving the exposure.
What is a realistic keeper rate for slow shutter speed panning?
Lower than most people expect. At 1/125s on a fast crossing propeller aircraft, one sharp frame in ten is respectable, and even experienced shooters accept single-figure percentages at 1/60s. Keeper rate rises with practice, with distance (further subjects pan more slowly), and with stabilised lenses set to their panning mode. Judge sessions by the best frames, not the deletion count.
What is a safe all-round setting if I only have seconds to react?
Shutter priority at 1/1000 second with auto ISO and continuous autofocus will get a usable frame of almost any jet, and it is a sensible default to leave on the camera between subjects. It will freeze propellers, so drop to 1/200 or slower the moment a piston or turboprop type appears.
Should I shoot in RAW or JPEG at an airshow?
RAW, if your card and buffer allow it. Airshow light changes constantly and RAW gives you the latitude to fix exposure and white balance afterwards without damaging the file. If you are shooting long bursts and filling the buffer, RAW plus a smaller JPEG, or a faster card, is the usual compromise.
What metering mode is best for aircraft against the sky?
Evaluative or matrix metering works for most of the day, but it will underexpose a dark aircraft against bright cloud. Either dial in positive exposure compensation, often plus one to plus two stops, or switch to spot metering and read from the aircraft itself. The histogram is the reliable check.
How many frames per second do I actually need?
Less than most people assume. Anything from about 8 frames per second upwards is plenty for display flying, and higher rates mainly give you more near-identical frames to cull. Autofocus accuracy and buffer depth matter far more to your keeper rate than raw burst speed.
