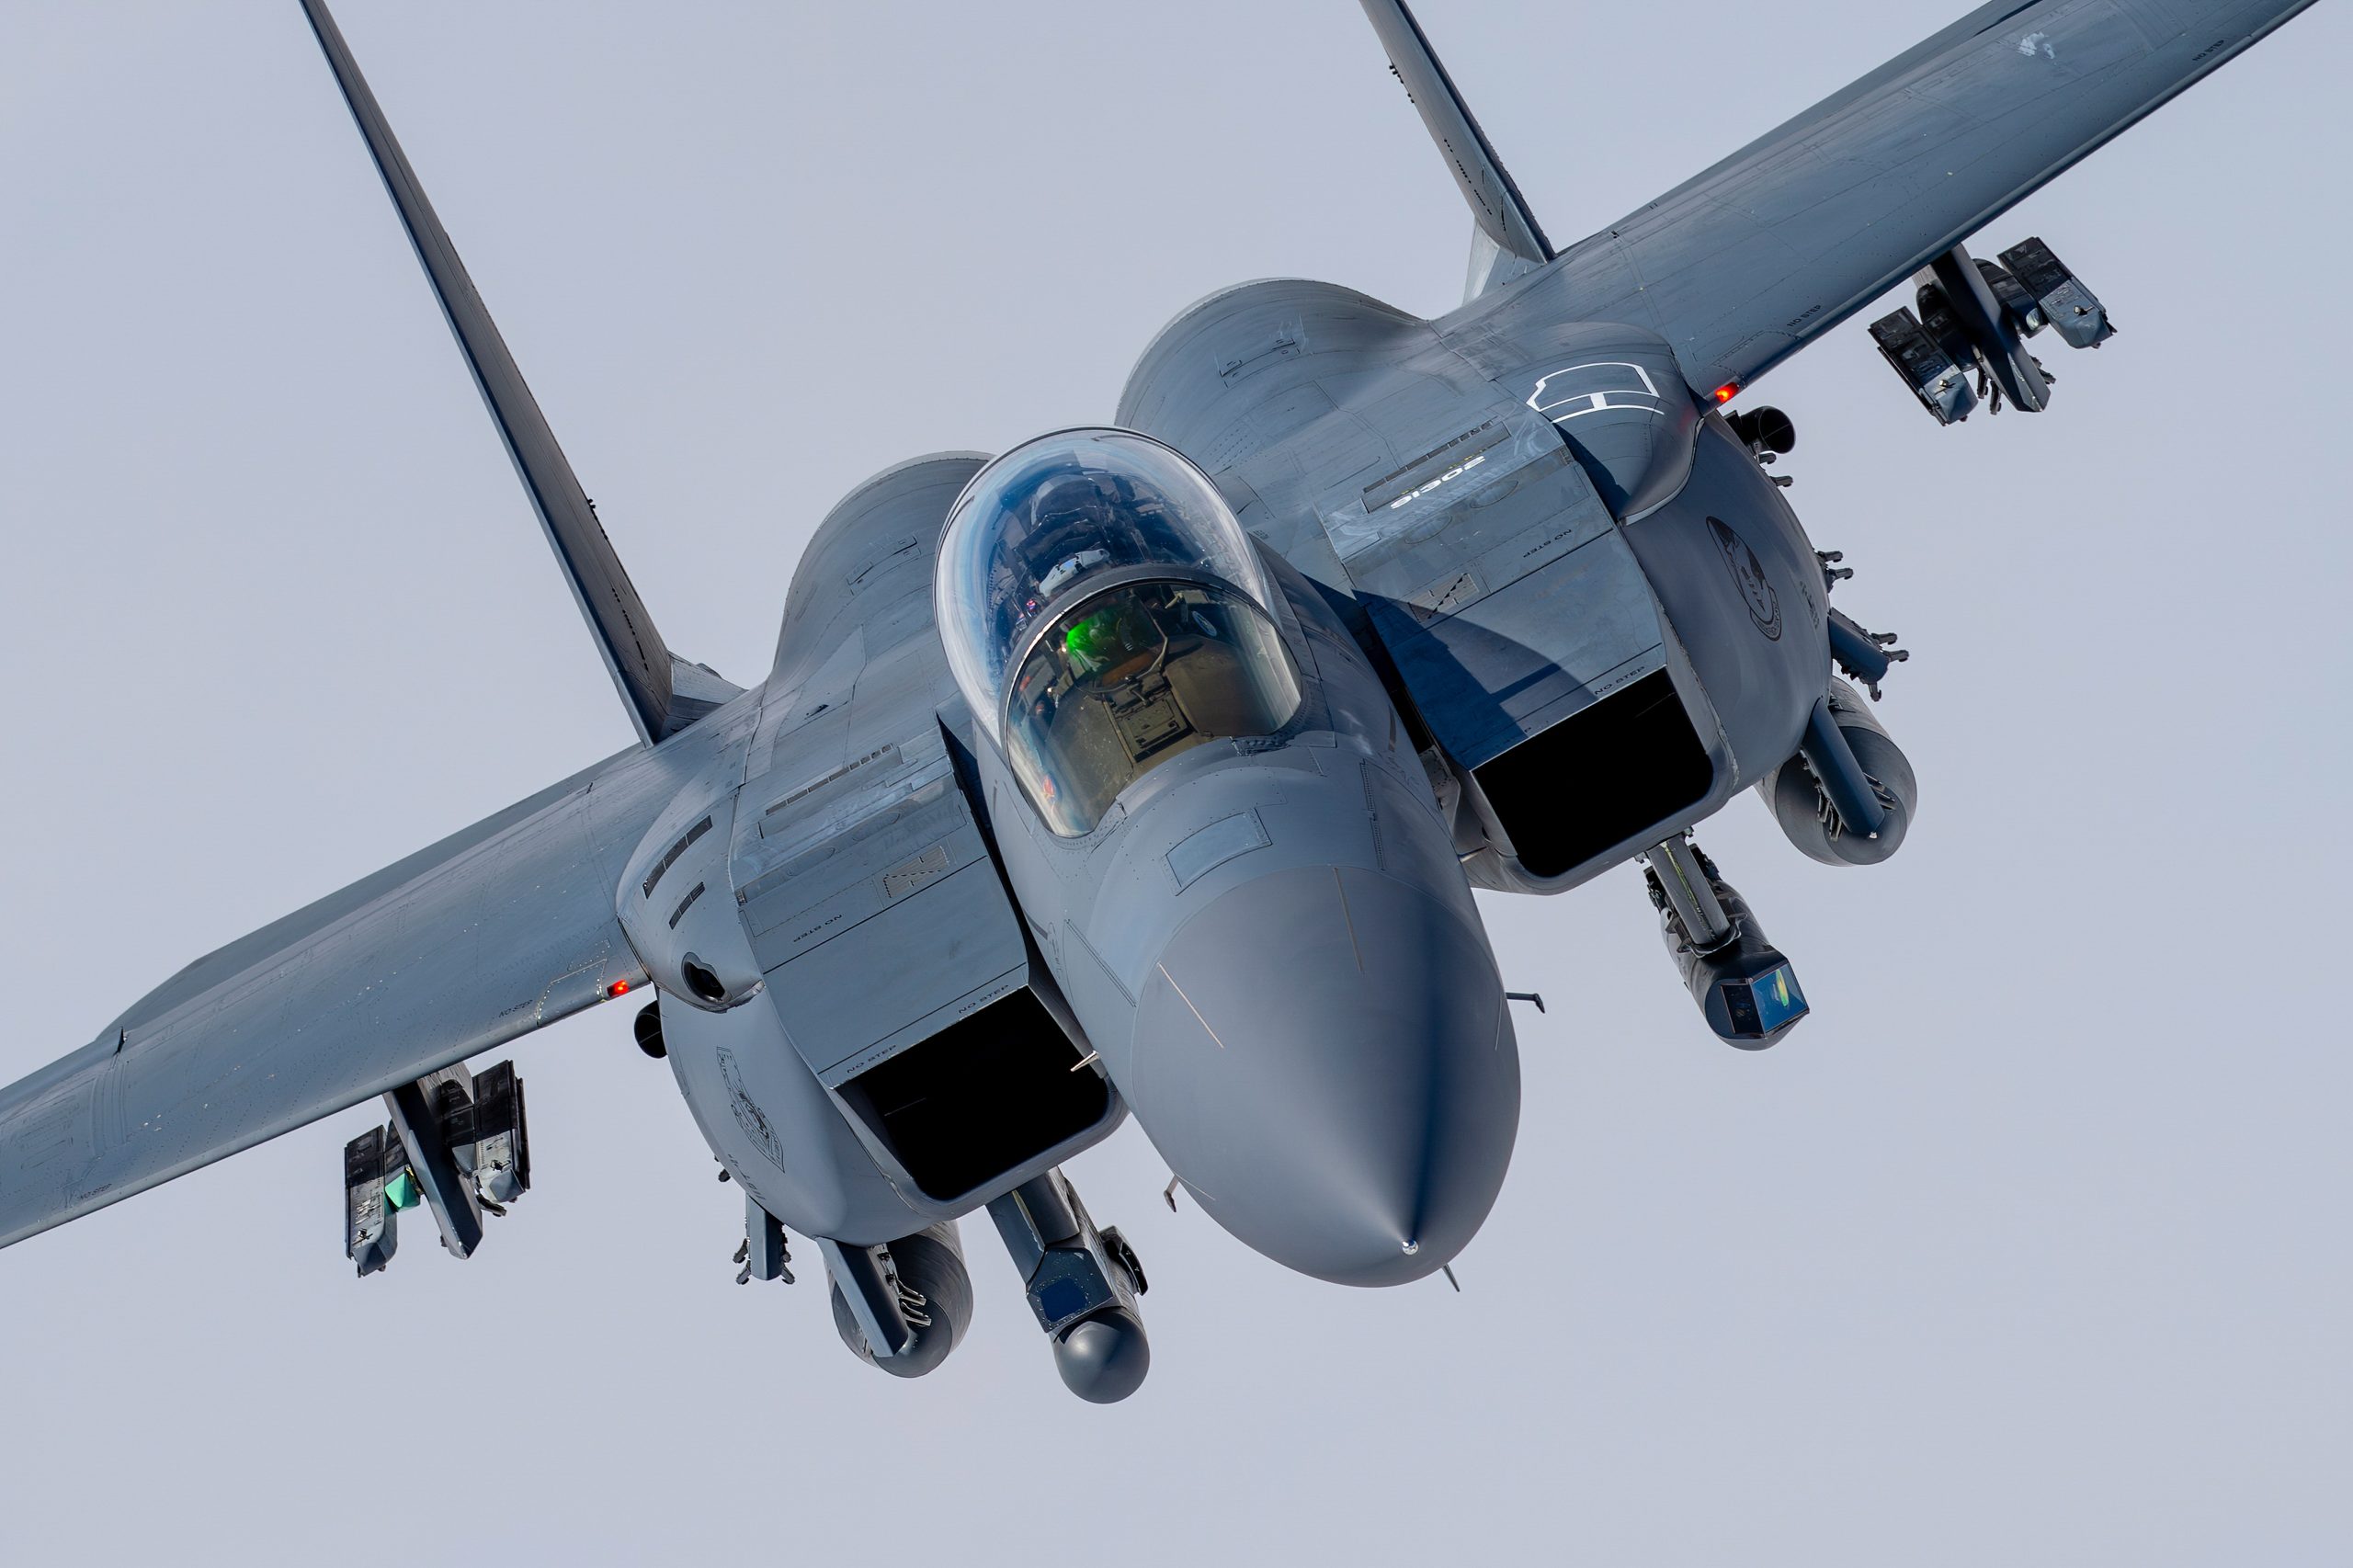
Culling three thousand airshow frames down to a portfolio-ready set is a two-hour job if you work in passes rather than agonising over one photo at a time. Do a fast reject pass on the obvious failures, a technical pass at 100 per cent for focus and sharpness, then a final pass to pick the single best frame from each burst. This guide sets out the exact workflow, the software that makes it quick, and the decisions that separate a keeper from a delete.
A busy display day on a fast lens produces a frightening number of files. Shoot a jet demo at 20 frames a second and a single seven-minute slot can leave you with 800 raws. Add the Red Arrows, a couple of warbird pairs, a few solo props and the flypasts, and three thousand frames by close of play is normal. The photographs are already taken. What decides whether the day was a success is what you do next, at the desk, with a cup of tea and a plan.
What this guide covers
- Why culling is the real skill
- Before you start: ingest and back up
- The multi-pass system
- Pass one: the fast reject
- Pass two: focus and sharpness at 100 per cent
- Pass three: choosing between near-identical frames
- Software: Photo Mechanic, Lightroom and FastRawViewer
- A rating and colour label system that scales
- Culling formation and sequence shots
- Keywording and the handoff to editing
- Common culling mistakes
- A worked example: 3,000 to 60 in two hours
- Culling at a glance
- Culling for different destinations
- Frequently asked questions
Why culling is the real skill
Anyone can hold the shutter down. The photographers whose work you actually remember are ruthless about what they show. A tight edit of forty images from a show says more about a shooter than a gallery of four hundred, because every frame in the small set has earned its place. Editors, picture buyers and print customers do not reward volume. They reward the one frame where the light, the bank angle and the sharpness all landed together.
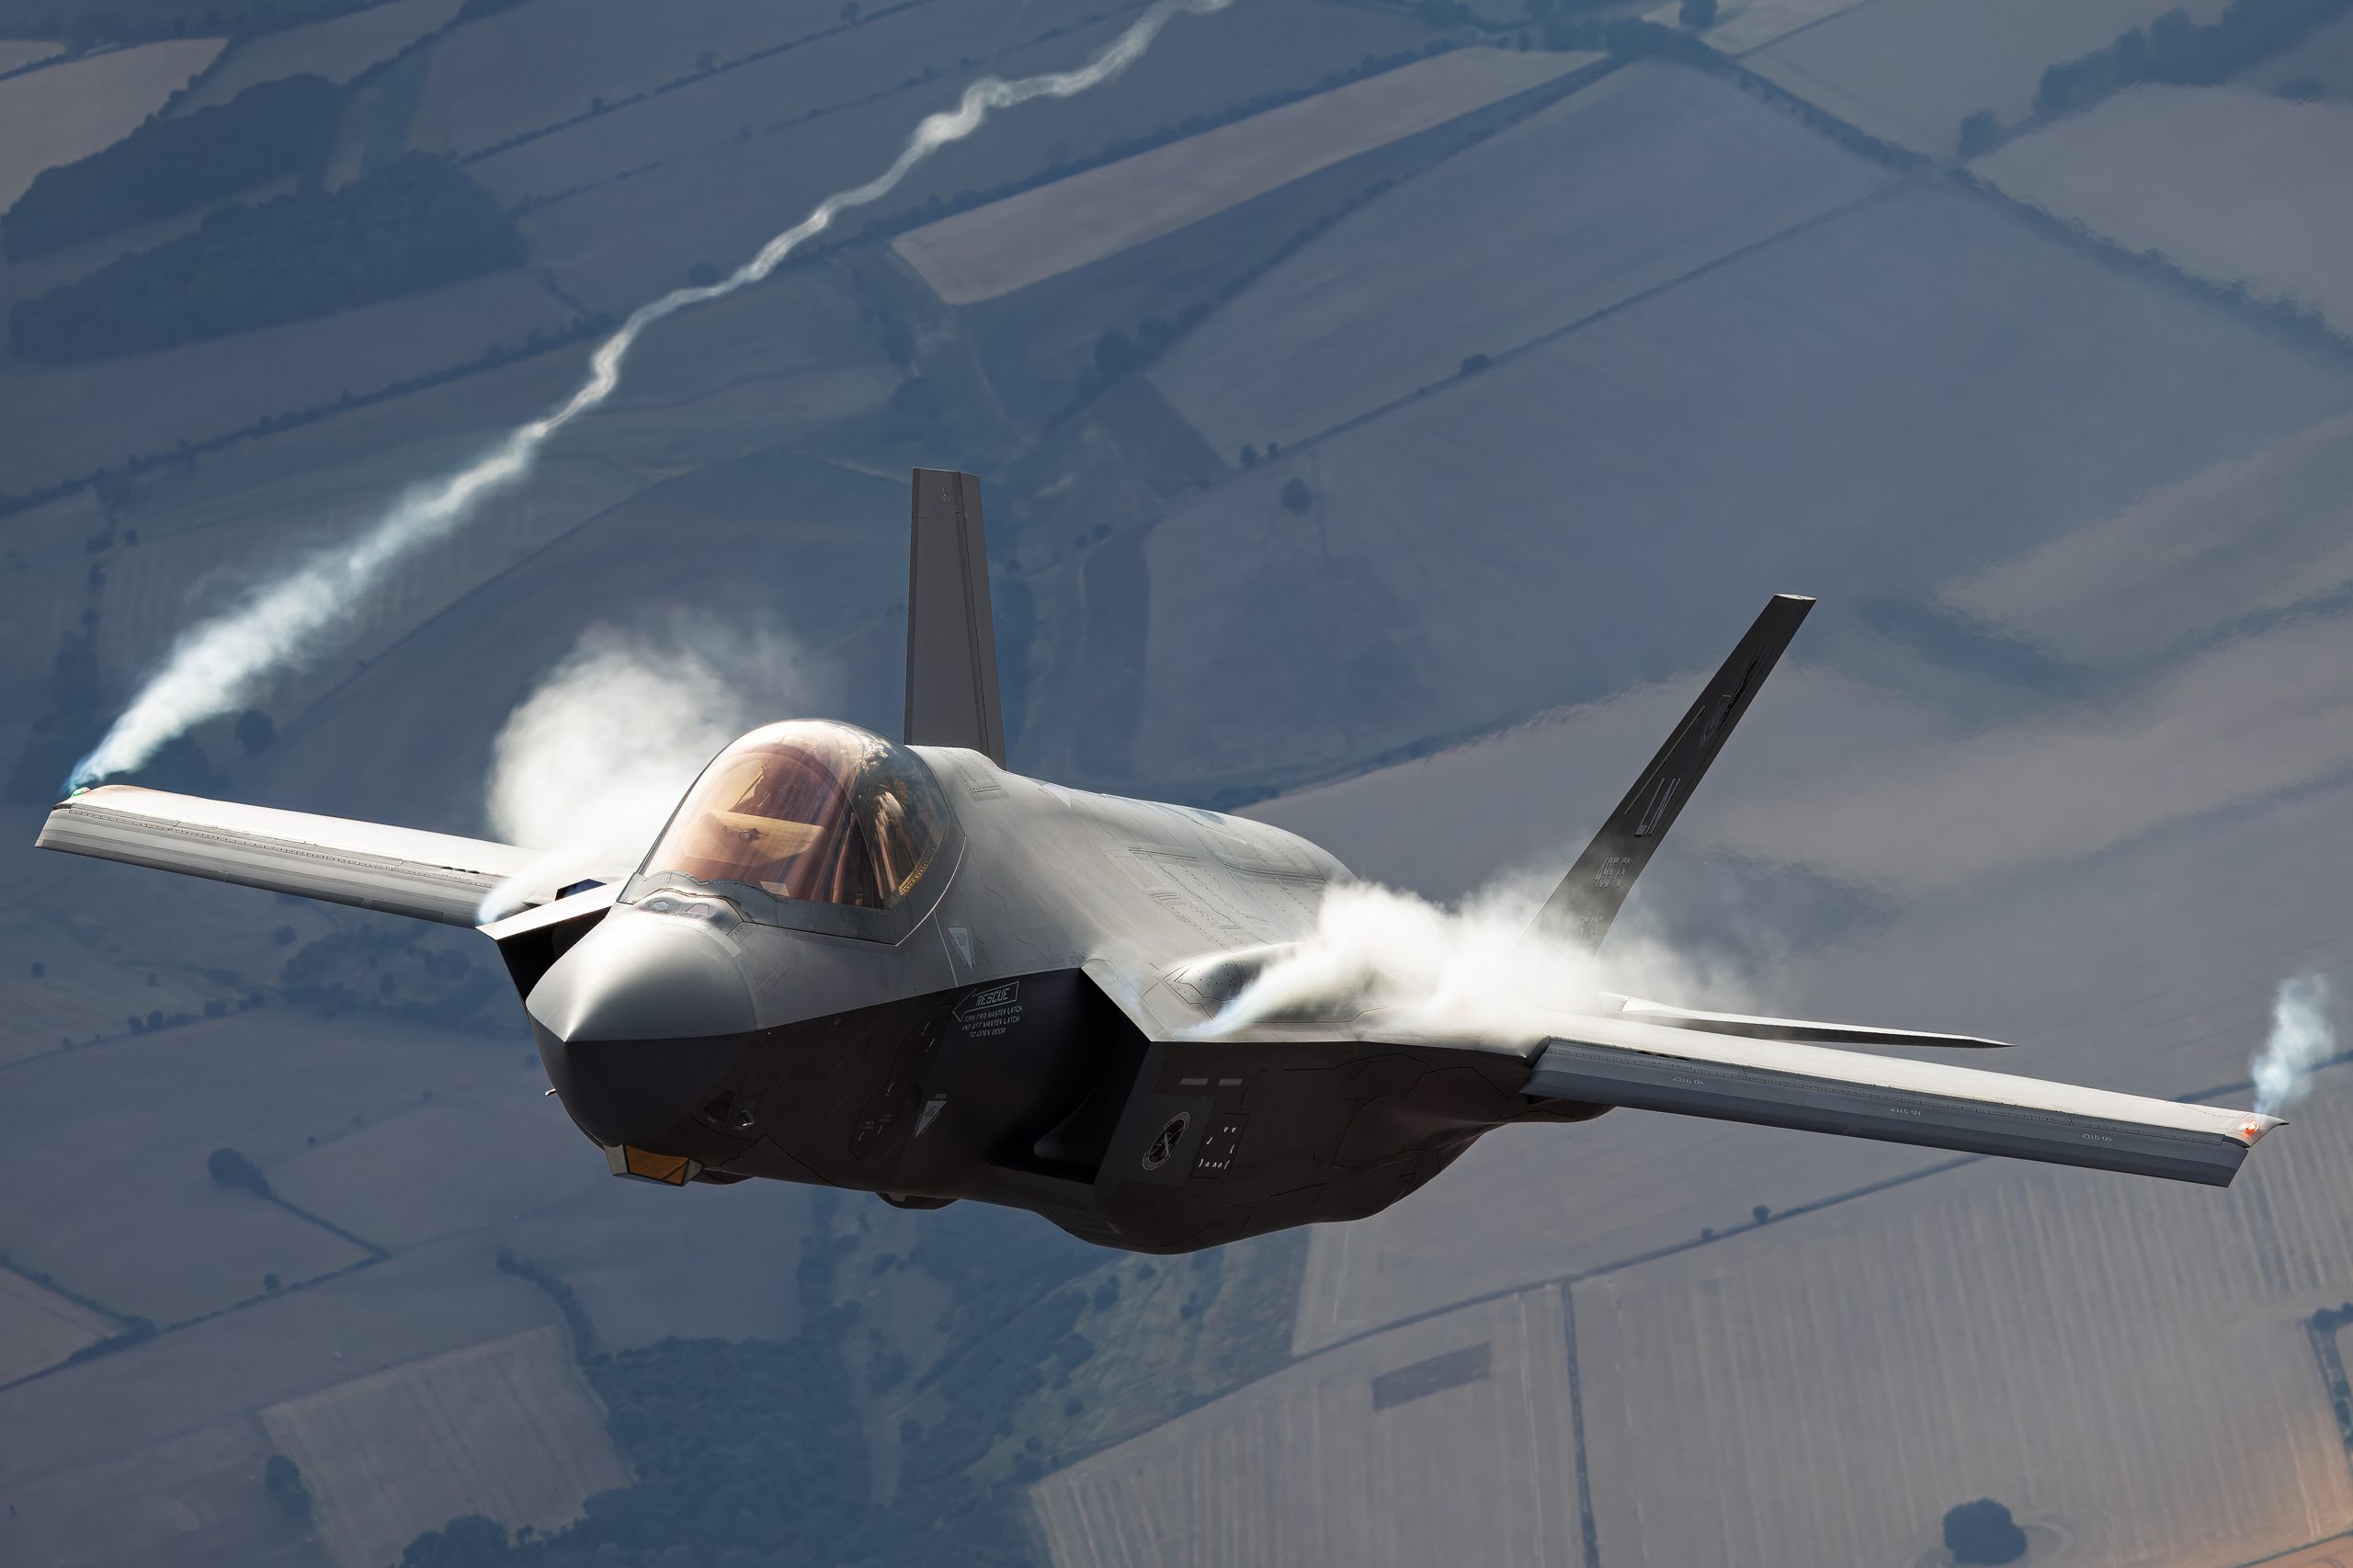
There is a discipline point here as well. A hard drive full of unculled shoots is a hard drive you never look at again. The frames blur together, the good ones hide among the ordinary, and the whole archive loses value. Culling on the day, or the morning after at the latest, keeps the collection alive and searchable. It also makes you a better photographer, because sitting with your own misses teaches you exactly why they missed: the panning that stuttered, the focus point that drifted to the tailplane, the shutter speed that was a stop too slow for the prop.
The goal is not to keep the most frames. It is to find the best ones quickly, discard the rest without regret, and hand a clean set to your editing and keywording stage. Everything below serves that.
Before you start: ingest and back up
Culling begins before you rate a single frame. Get the files off the cards and onto storage in a way you trust, because the fastest way to ruin a good day is to delete an original you cannot get back. Copy, do not move, and verify the copy before you format anything.
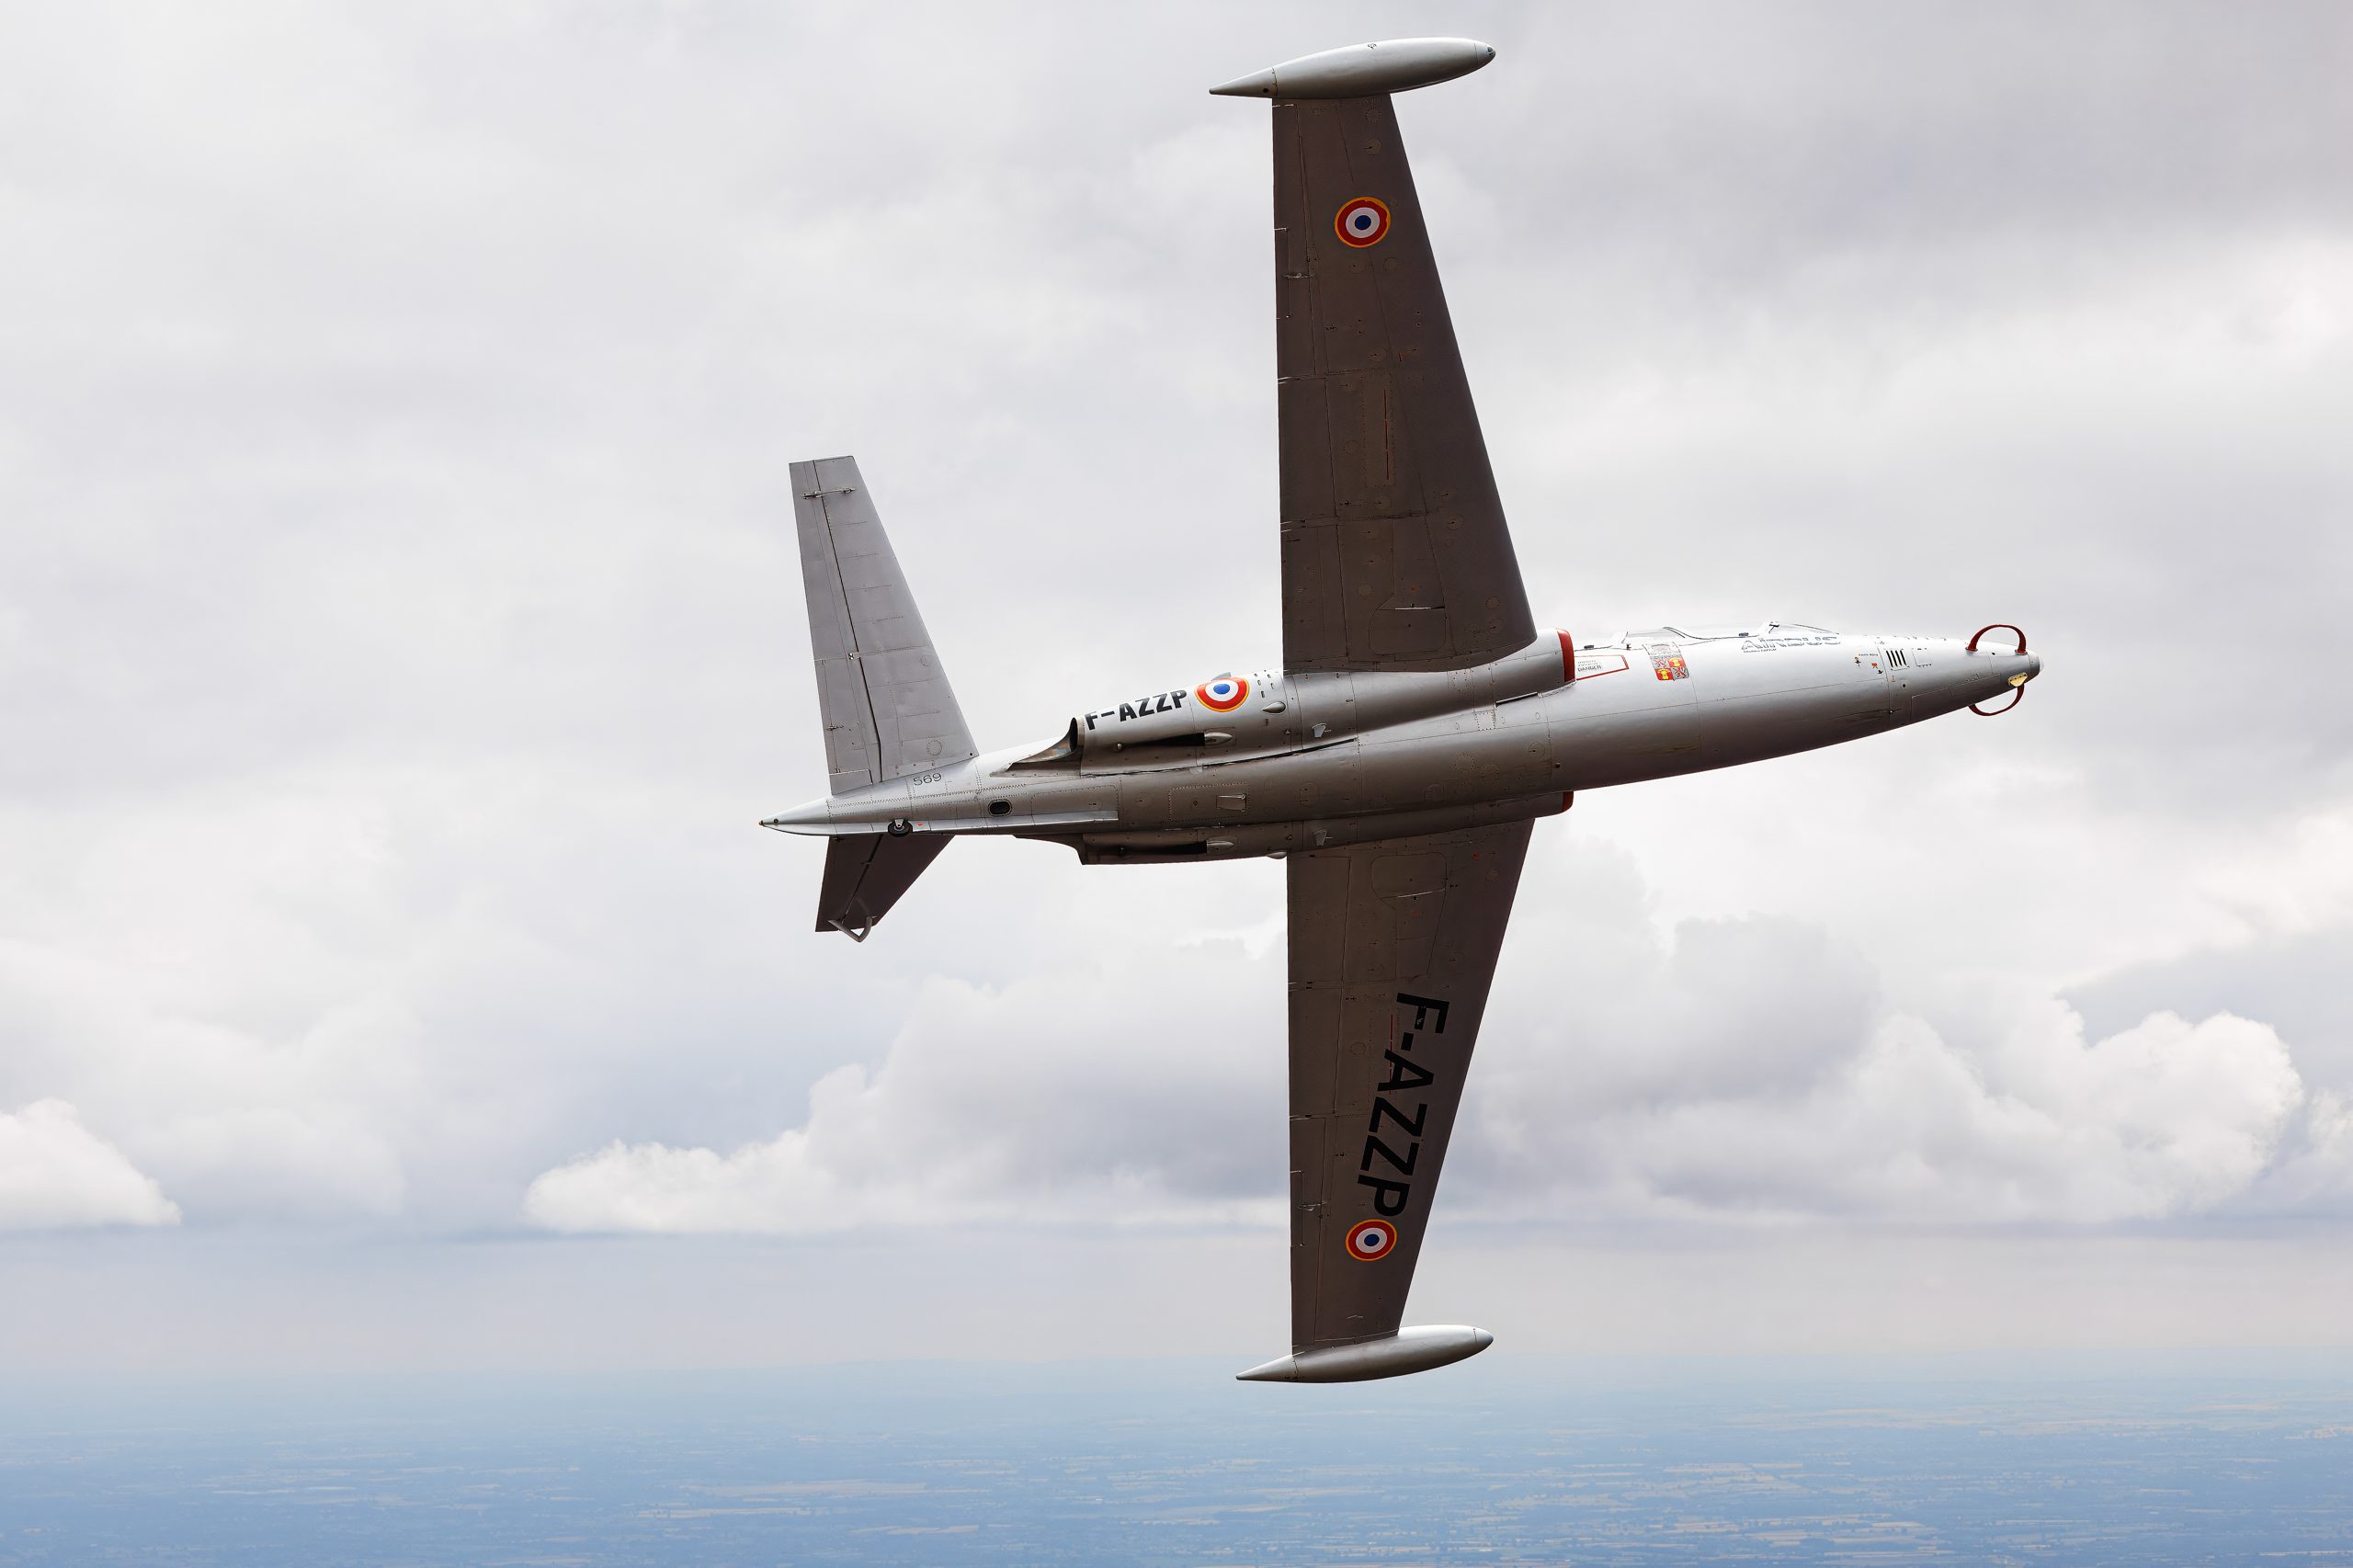
A dedicated ingest tool earns its place immediately. Photo Mechanic copies from card to two destinations at once, renames on the way in and applies a baseline metadata template with your name, copyright and the show. If you prefer to stay inside Lightroom Classic, its import dialogue does the same job more slowly, with a second copy written to a backup folder. Either way you want two copies on two physical drives before the cards go back in the bag. Only then do you format in-camera, never on the computer.
Rename with a scheme you will still understand in five years. A pattern such as show-date-sequence, for example riat-20250718-0001, sorts cleanly and never collides with the next shoot. Keep the raws in a folder named for the event. Resist the temptation to start editing now. Ingest, back up, walk away for five minutes, then come back and cull with fresh eyes.
The multi-pass system
The single biggest mistake is trying to make every decision at once: is it sharp, is it well composed, is it better than the frame before, should I keyword it. That is exhausting and slow. Break the job into passes, each asking one simple question, and the whole thing speeds up because your brain is only doing one type of work at a time.
Three passes handle almost any shoot. The first is a fast reject that removes the clear failures. The second is a technical check at full magnification for focus and sharpness. The third compares the survivors within each burst and keeps the single best. A short fourth pass adds star ratings or colour labels so your editing stage knows where to start. You can run all four in well under two hours on three thousand frames once the routine is second nature.
Pass one: the fast reject
Open the folder full-screen, one image at a time, and move through it quickly. You are not choosing keepers yet. You are only removing the frames that could never make the cut, and you should be able to judge most of them in under a second. Hold the arrow key and let the rejects fall away.
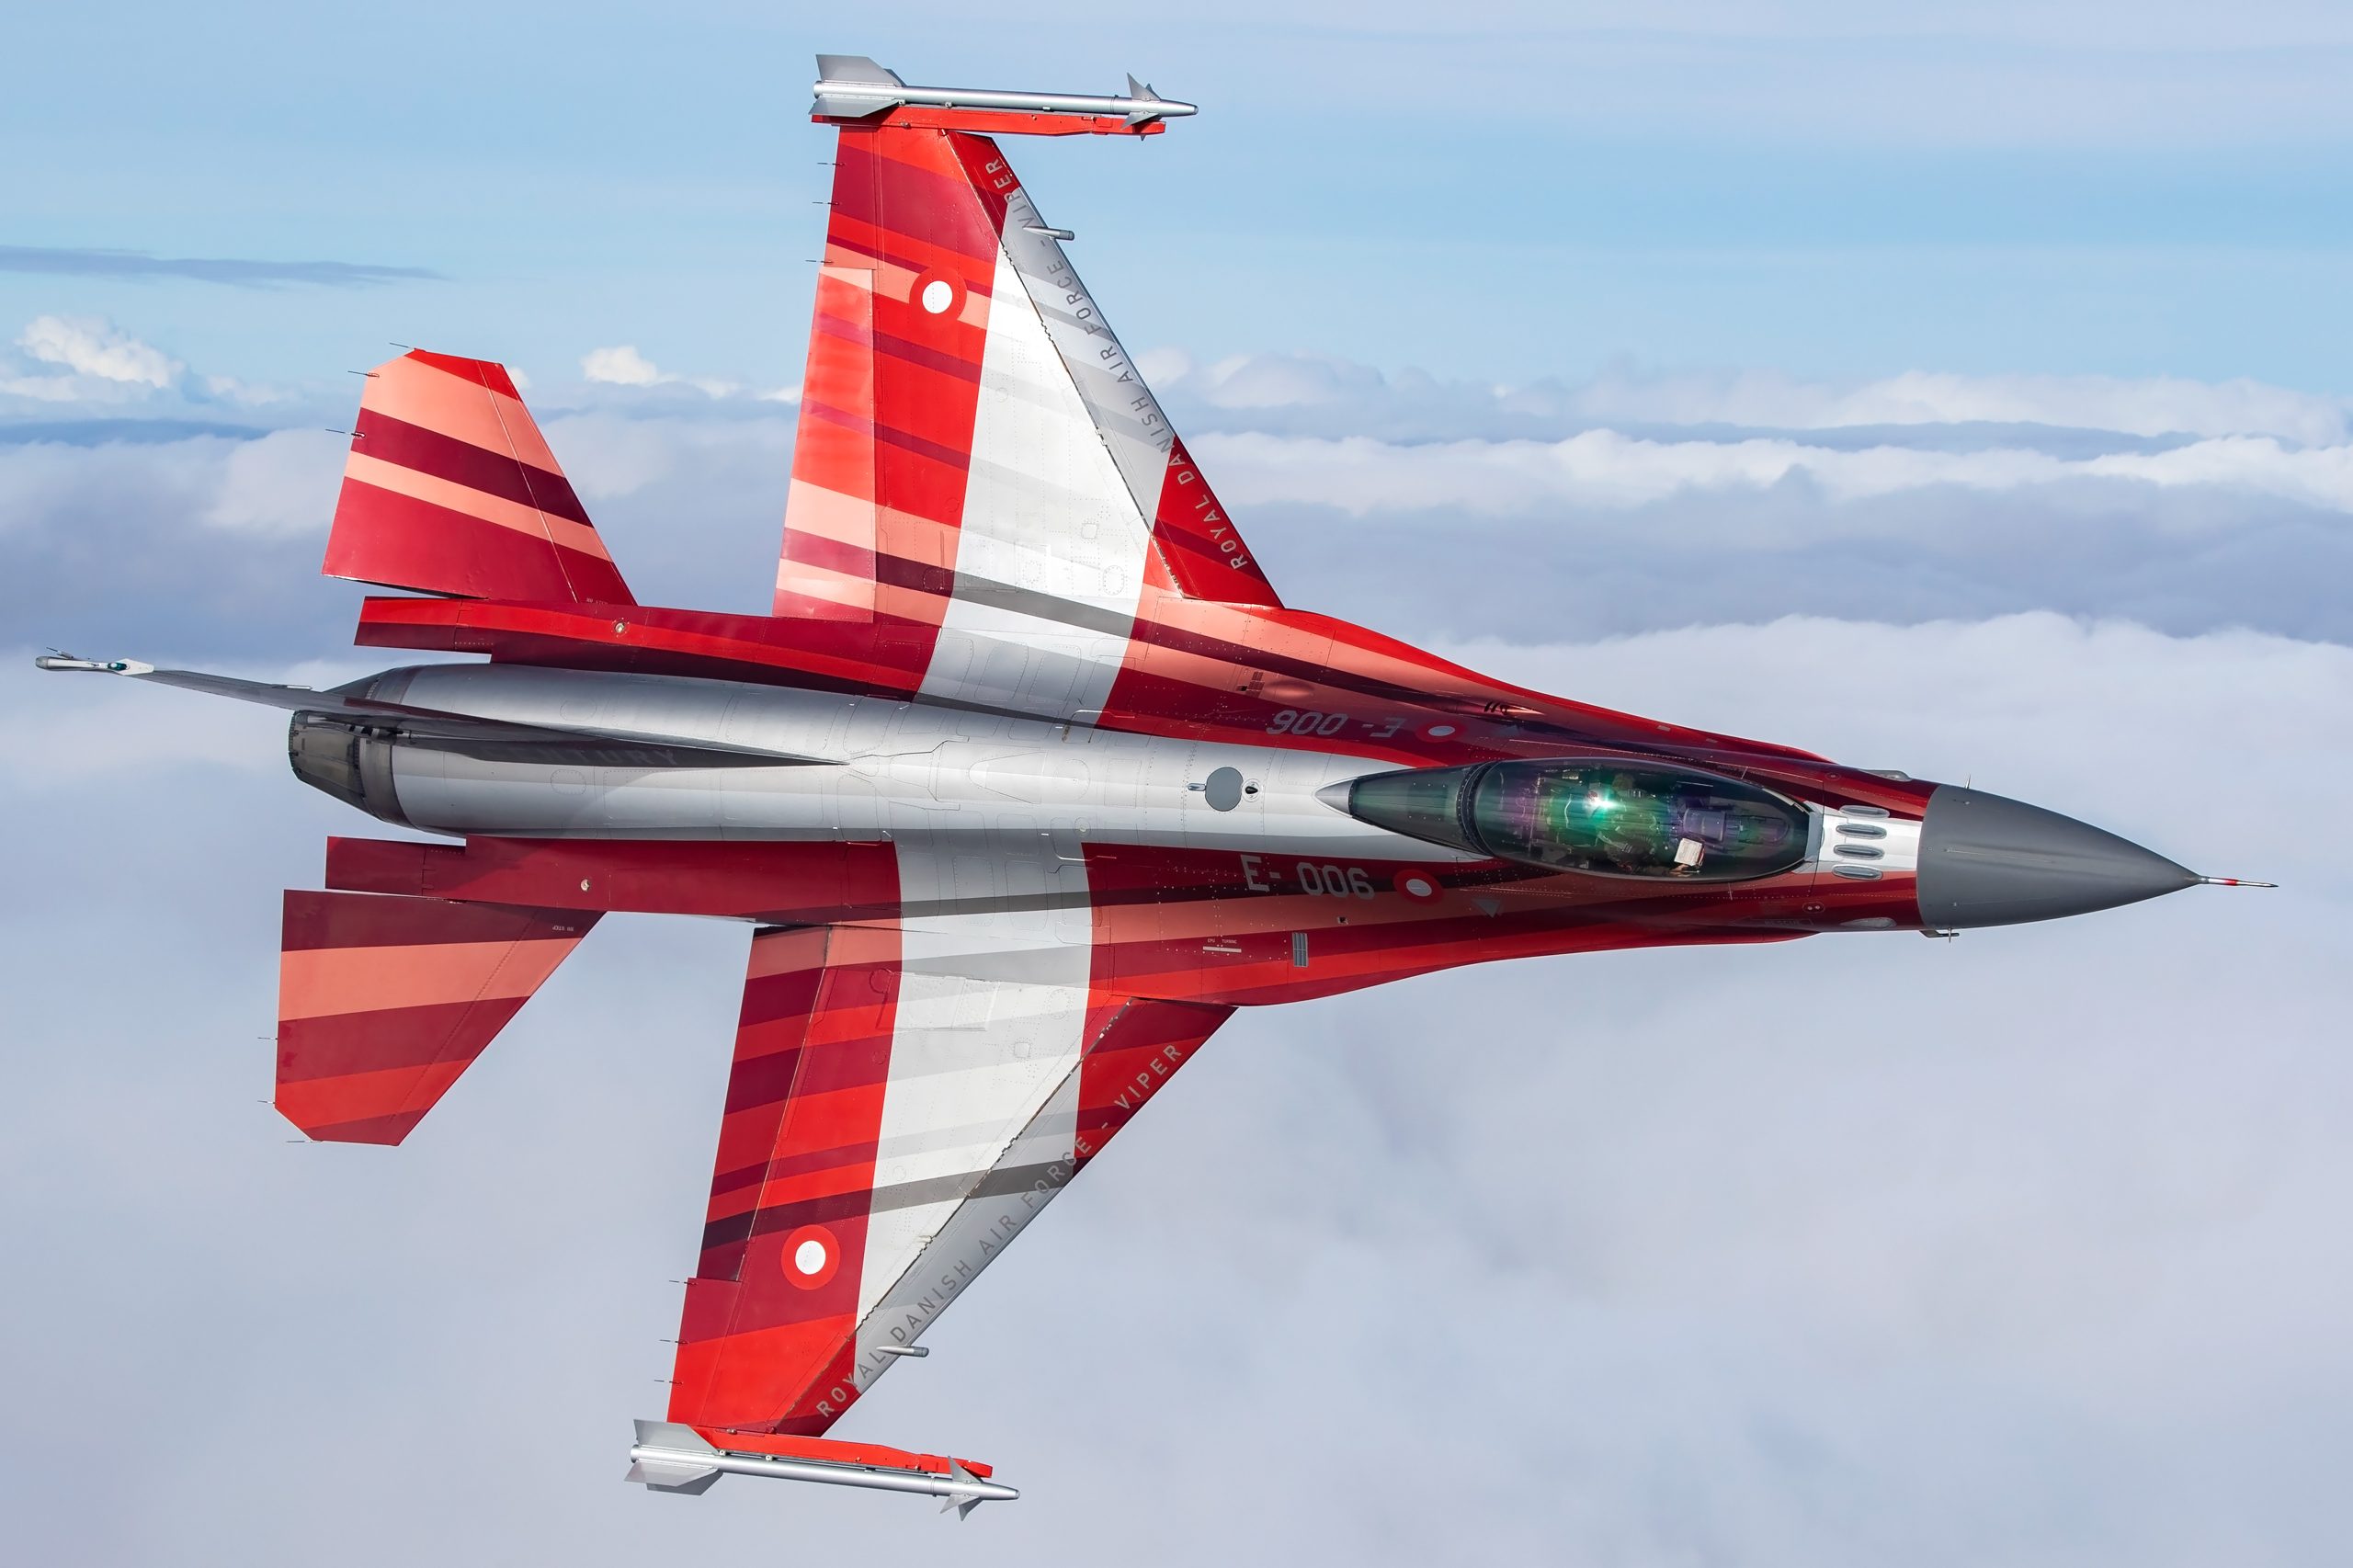
Reject anything with an obvious, unfixable fault. Aircraft half out of frame. A wingtip or tailplane clipped by the edge. Gross motion blur from a panning stutter. Frames where you were clearly still finding the subject at the start of a burst, or trailing off at the end. A telegraph pole, crowd-line barrier or another photographer’s monopod growing out of the fuselage. None of these are worth a second look, so do not give them one.
Two habits keep this pass honest. First, use the reject flag rather than deleting outright. In both Photo Mechanic and Lightroom the X key tags a frame as rejected without removing it, so a slip of the finger costs nothing and you can review the rejects in a batch before they go. Second, do not zoom in. Pass one is about the whole frame at fit-to-screen size. Focus checks come later, and zooming now will bog you down on the very frames you are about to bin anyway.
Expect to lose between a third and a half of the shoot here. Three thousand frames often becomes seventeen or eighteen hundred by the end of pass one, and it should take twenty minutes, not two hours. If you find yourself hesitating, flag the frame as a maybe and move on. Hesitation is a pass-three problem.
Pass two: focus and sharpness at 100 per cent
Now the survivors get the hard technical test. This is the pass that zooms in, because at fit-to-screen a slightly soft frame and a critically sharp one look identical, and the difference only shows at pixel level. Set your viewer to 100 per cent and check the point that matters.
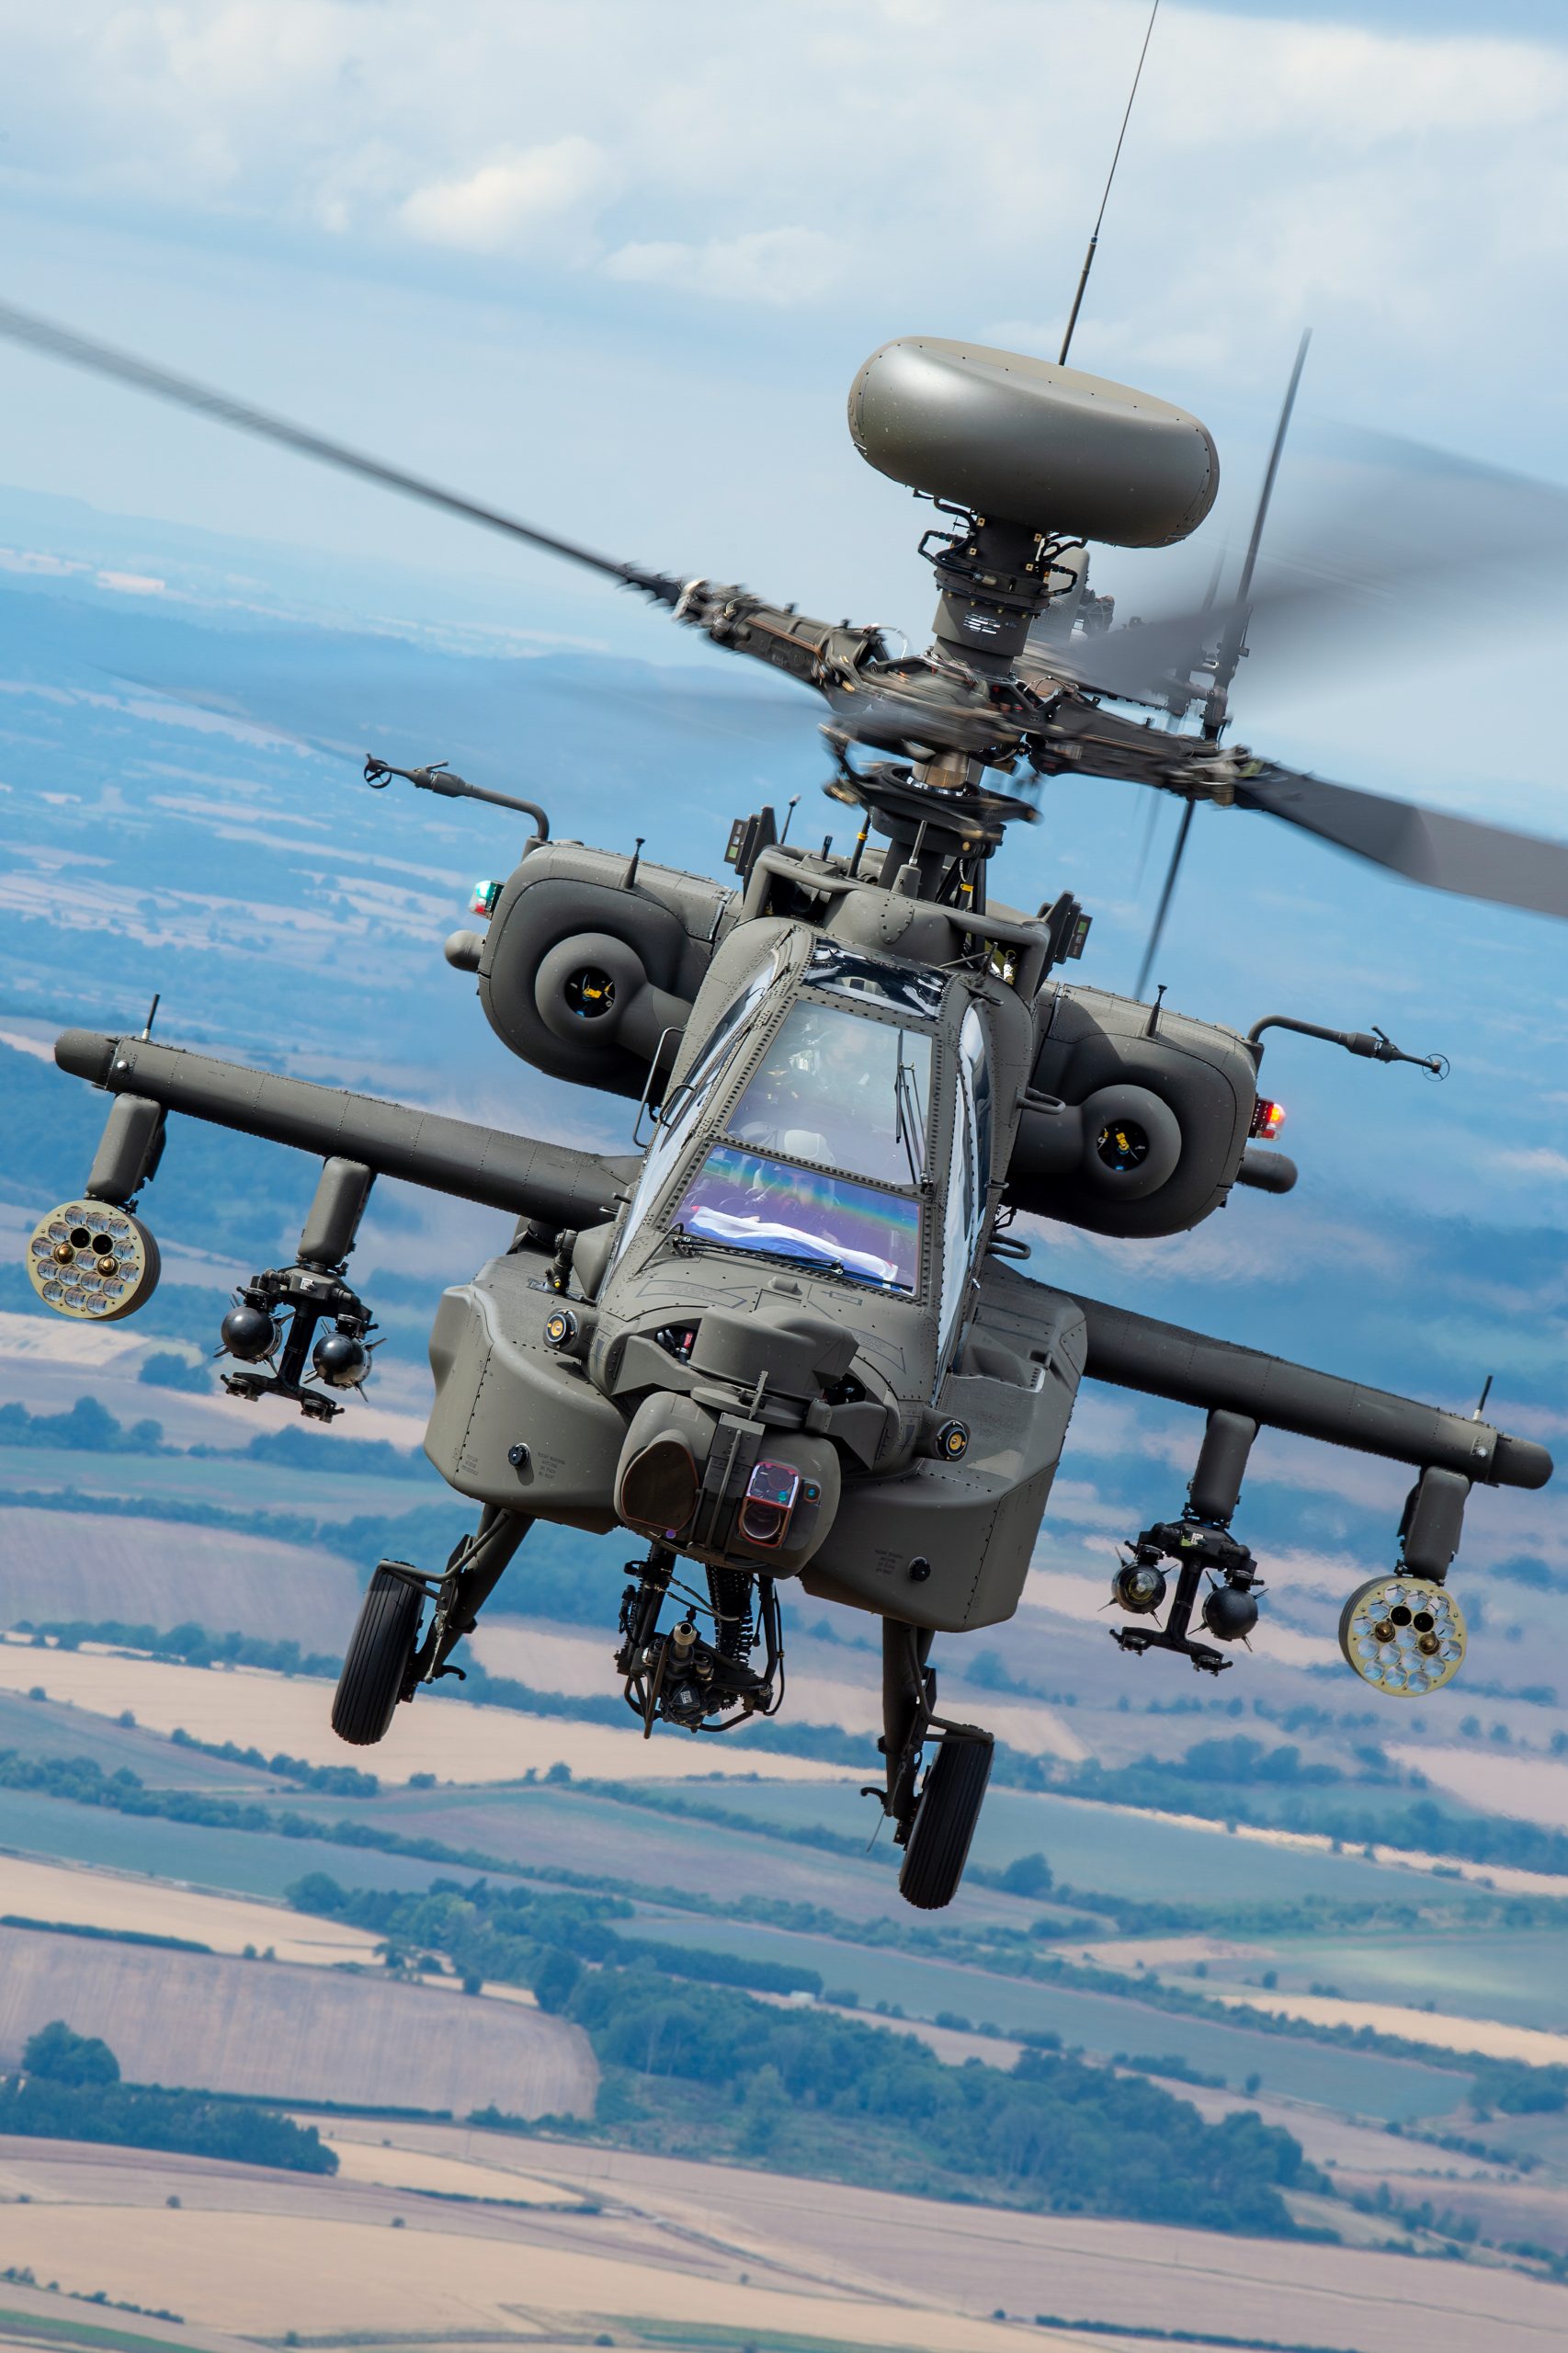
For a fast jet, the focus should sit on the cockpit and the leading edge of the wing. For a propeller aircraft, the engine cowling and the pilot. For a head-on pass, the radome or nose. Zoom to the critical point, not the centre of the frame, because autofocus does not always put the sharpness where you wanted it. A jet that is tack sharp on the tailplane but soft on the nose is a miss, however good it looks small.
Judge sharpness against the shot you were trying to make, not an impossible standard. A panned prop shot at 1/125 will never be sharp from spinner to tail, and it is not meant to be. What matters is that the cockpit and fuselage are crisp while the propeller arcs into blur. Reject the frames where the part that should be sharp is not, and keep the ones where it is. Motion blur in the right place is a keeper. Camera shake or missed focus anywhere on the aircraft is a delete.
Be systematic about bursts. If you fired eighteen frames of a topside pass, you do not need to zoom into all eighteen. Check the two or three best-composed ones from pass one, find the sharpest, and reject the rest of that burst. This is where the pass system pays off: you are only doing careful work on frames that have already earned it.
Pass three: choosing between near-identical frames
This is the pass that hurts, because now you are separating good frames from other good frames. You have a burst of a dozen sharp, well-composed shots of the same pass and you are allowed to keep one, maybe two. This is where an edit is won or lost, and where most people keep too many.
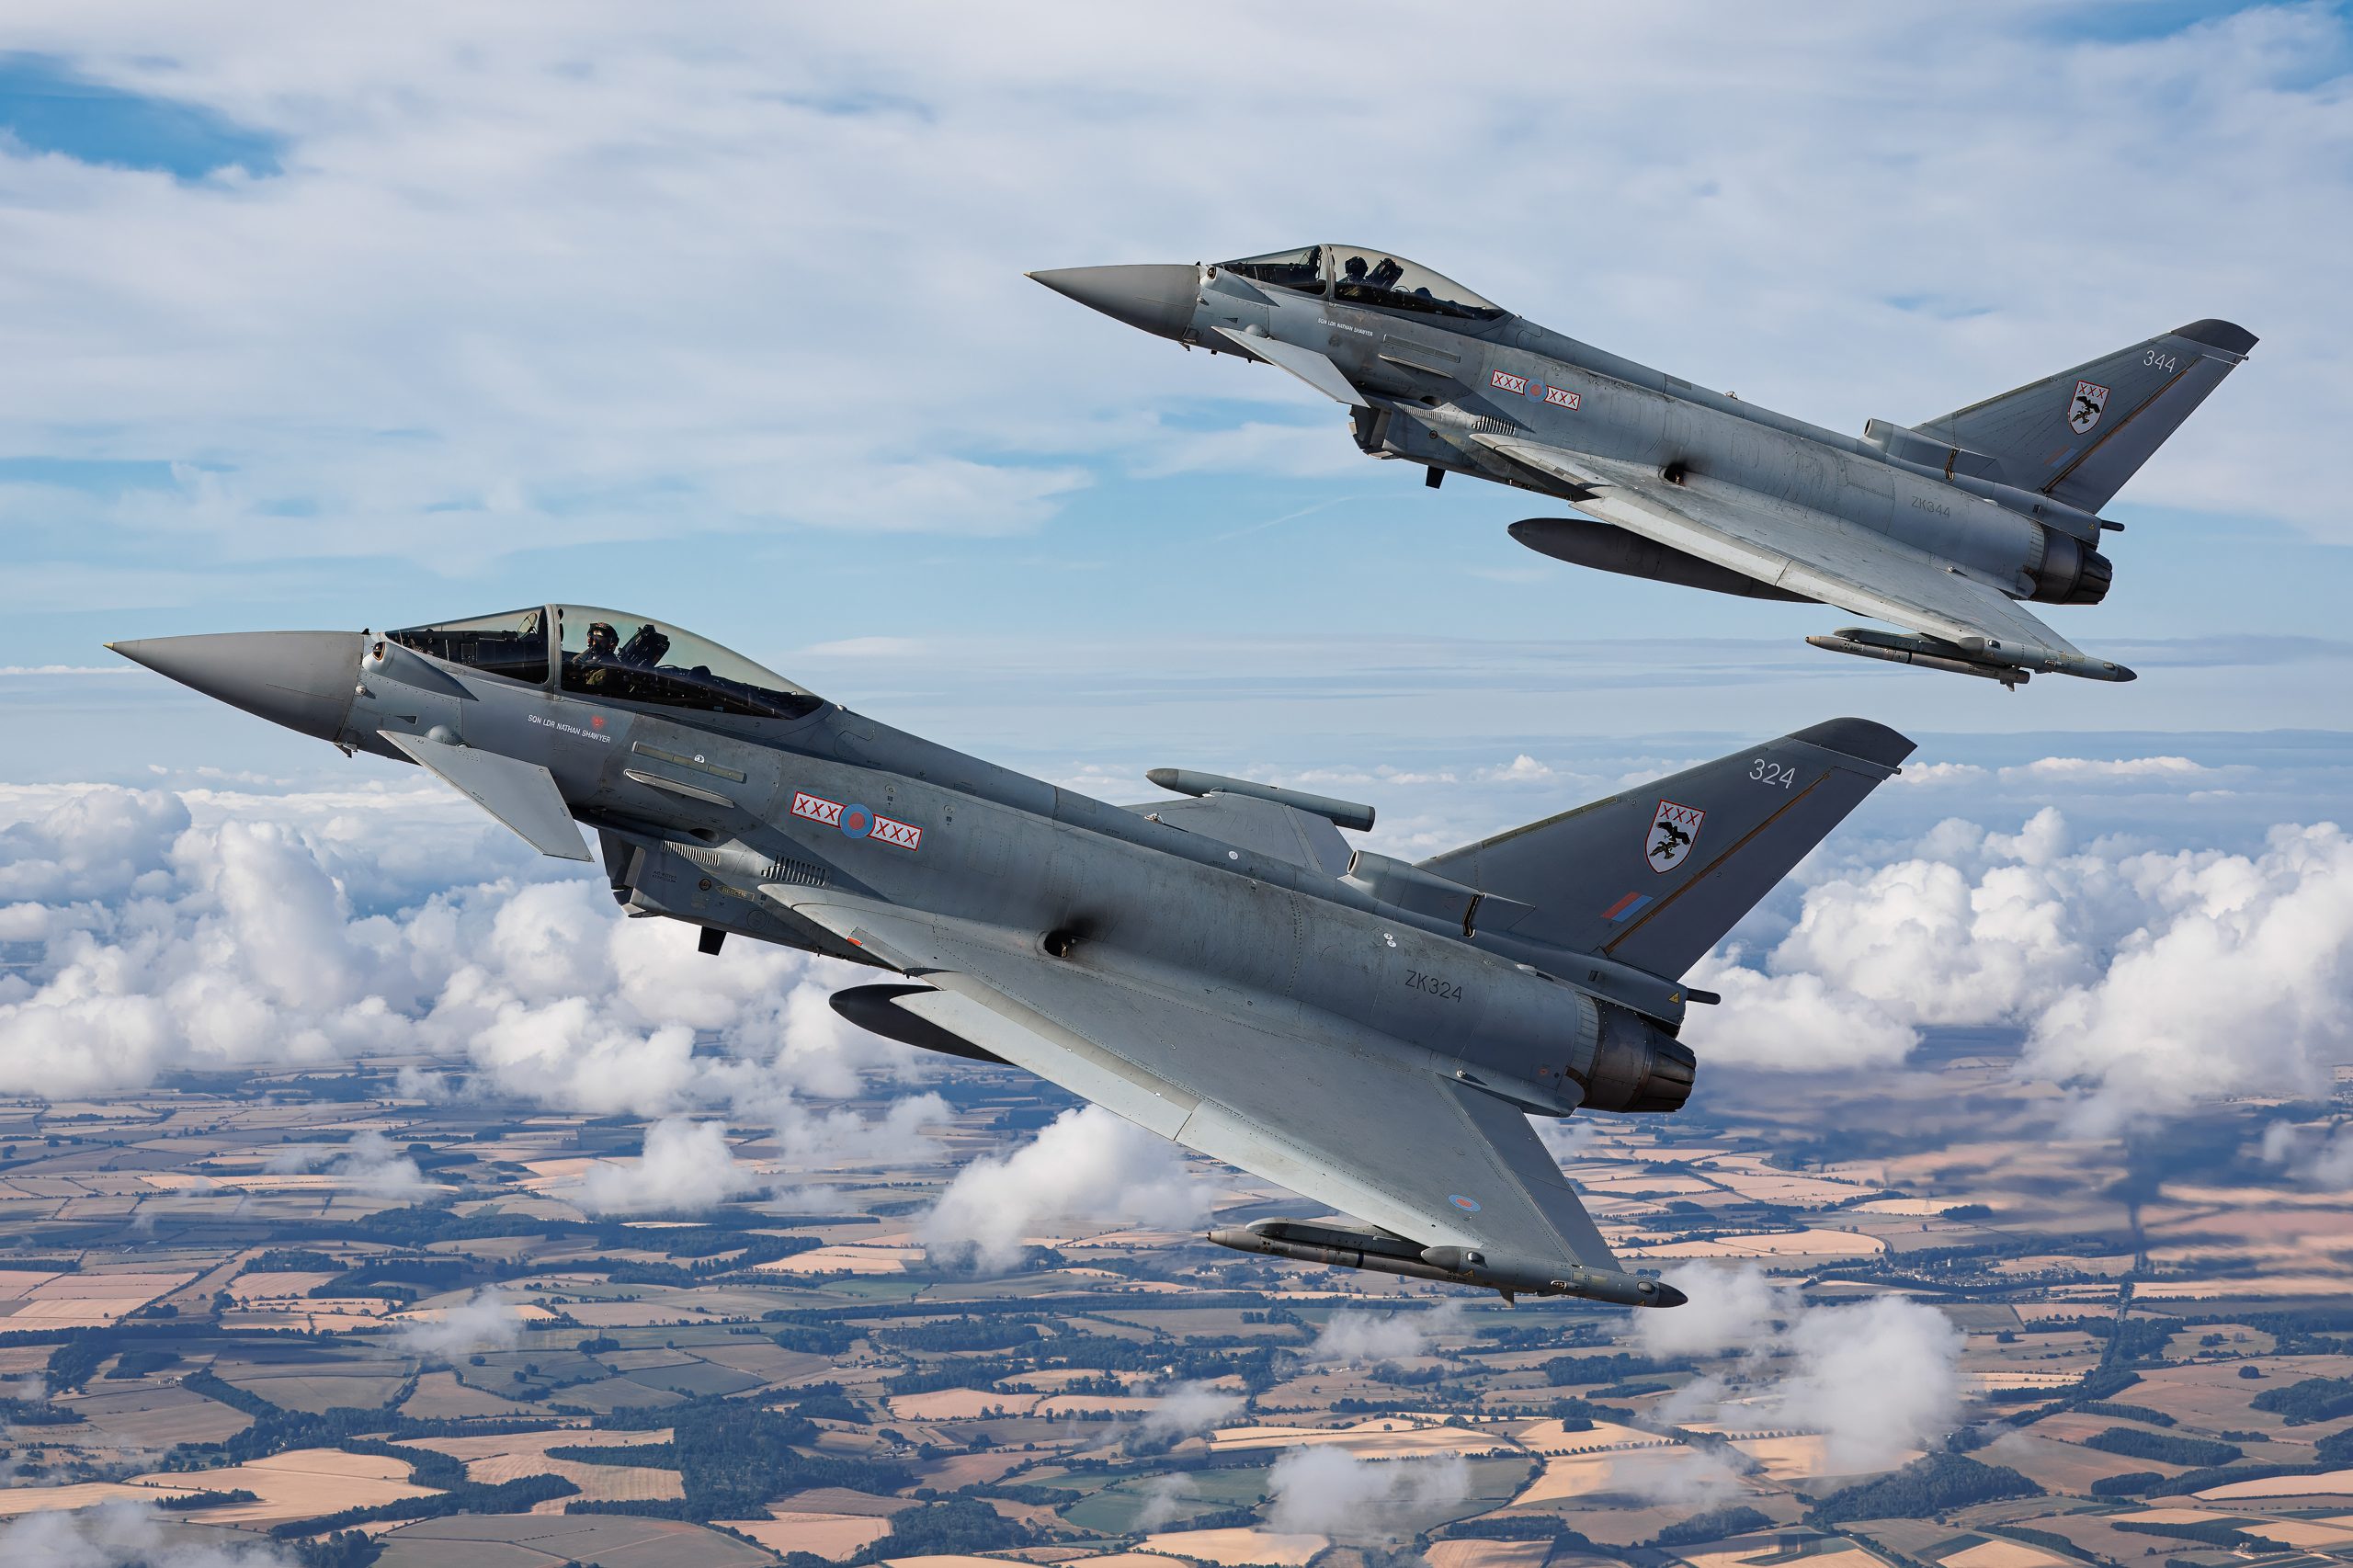
Compare frames side by side, not one after another. Both Photo Mechanic and Lightroom let you select several frames and view them together, and the differences jump out instantly when they sit next to each other. Look for the frame with the best wing position, the cleanest attitude, the tightest formation spacing, the moment the afterburner lit or the vapour peaked. In a banking pass, the keeper is usually the frame at the very top of the bank where you see the most upper surface. In a formation, it is the frame where no aircraft overlaps another and the spacing looks deliberate.
Small things decide it. A heat-haze shimmer over one frame and not the next. A puff of exhaust smoke that spoils the line of the fuselage. The pilot’s head turned towards the camera in one frame and away in another. A gear door caught mid-cycle. When two frames are really equal, keep the one with the better background, because a clean sky or a distant horizon beats a cluttered treeline every time. When you truly cannot separate two, keep both and decide at the editing stage. Do not keep five.
By the end of pass three the shoot has collapsed dramatically. Those seventeen hundred survivors from pass one are now perhaps eighty to a hundred and twenty frames, each one a genuine keeper. That is the set you will edit, keyword and show.
Software: Photo Mechanic, Lightroom and FastRawViewer
You can cull in any raw browser, but the right tool turns a slow chore into a fast one. The single biggest speed gain in aviation culling comes from a browser that shows the full-resolution embedded JPEG preview the instant you press the arrow key, with no lag while a raw engine renders.
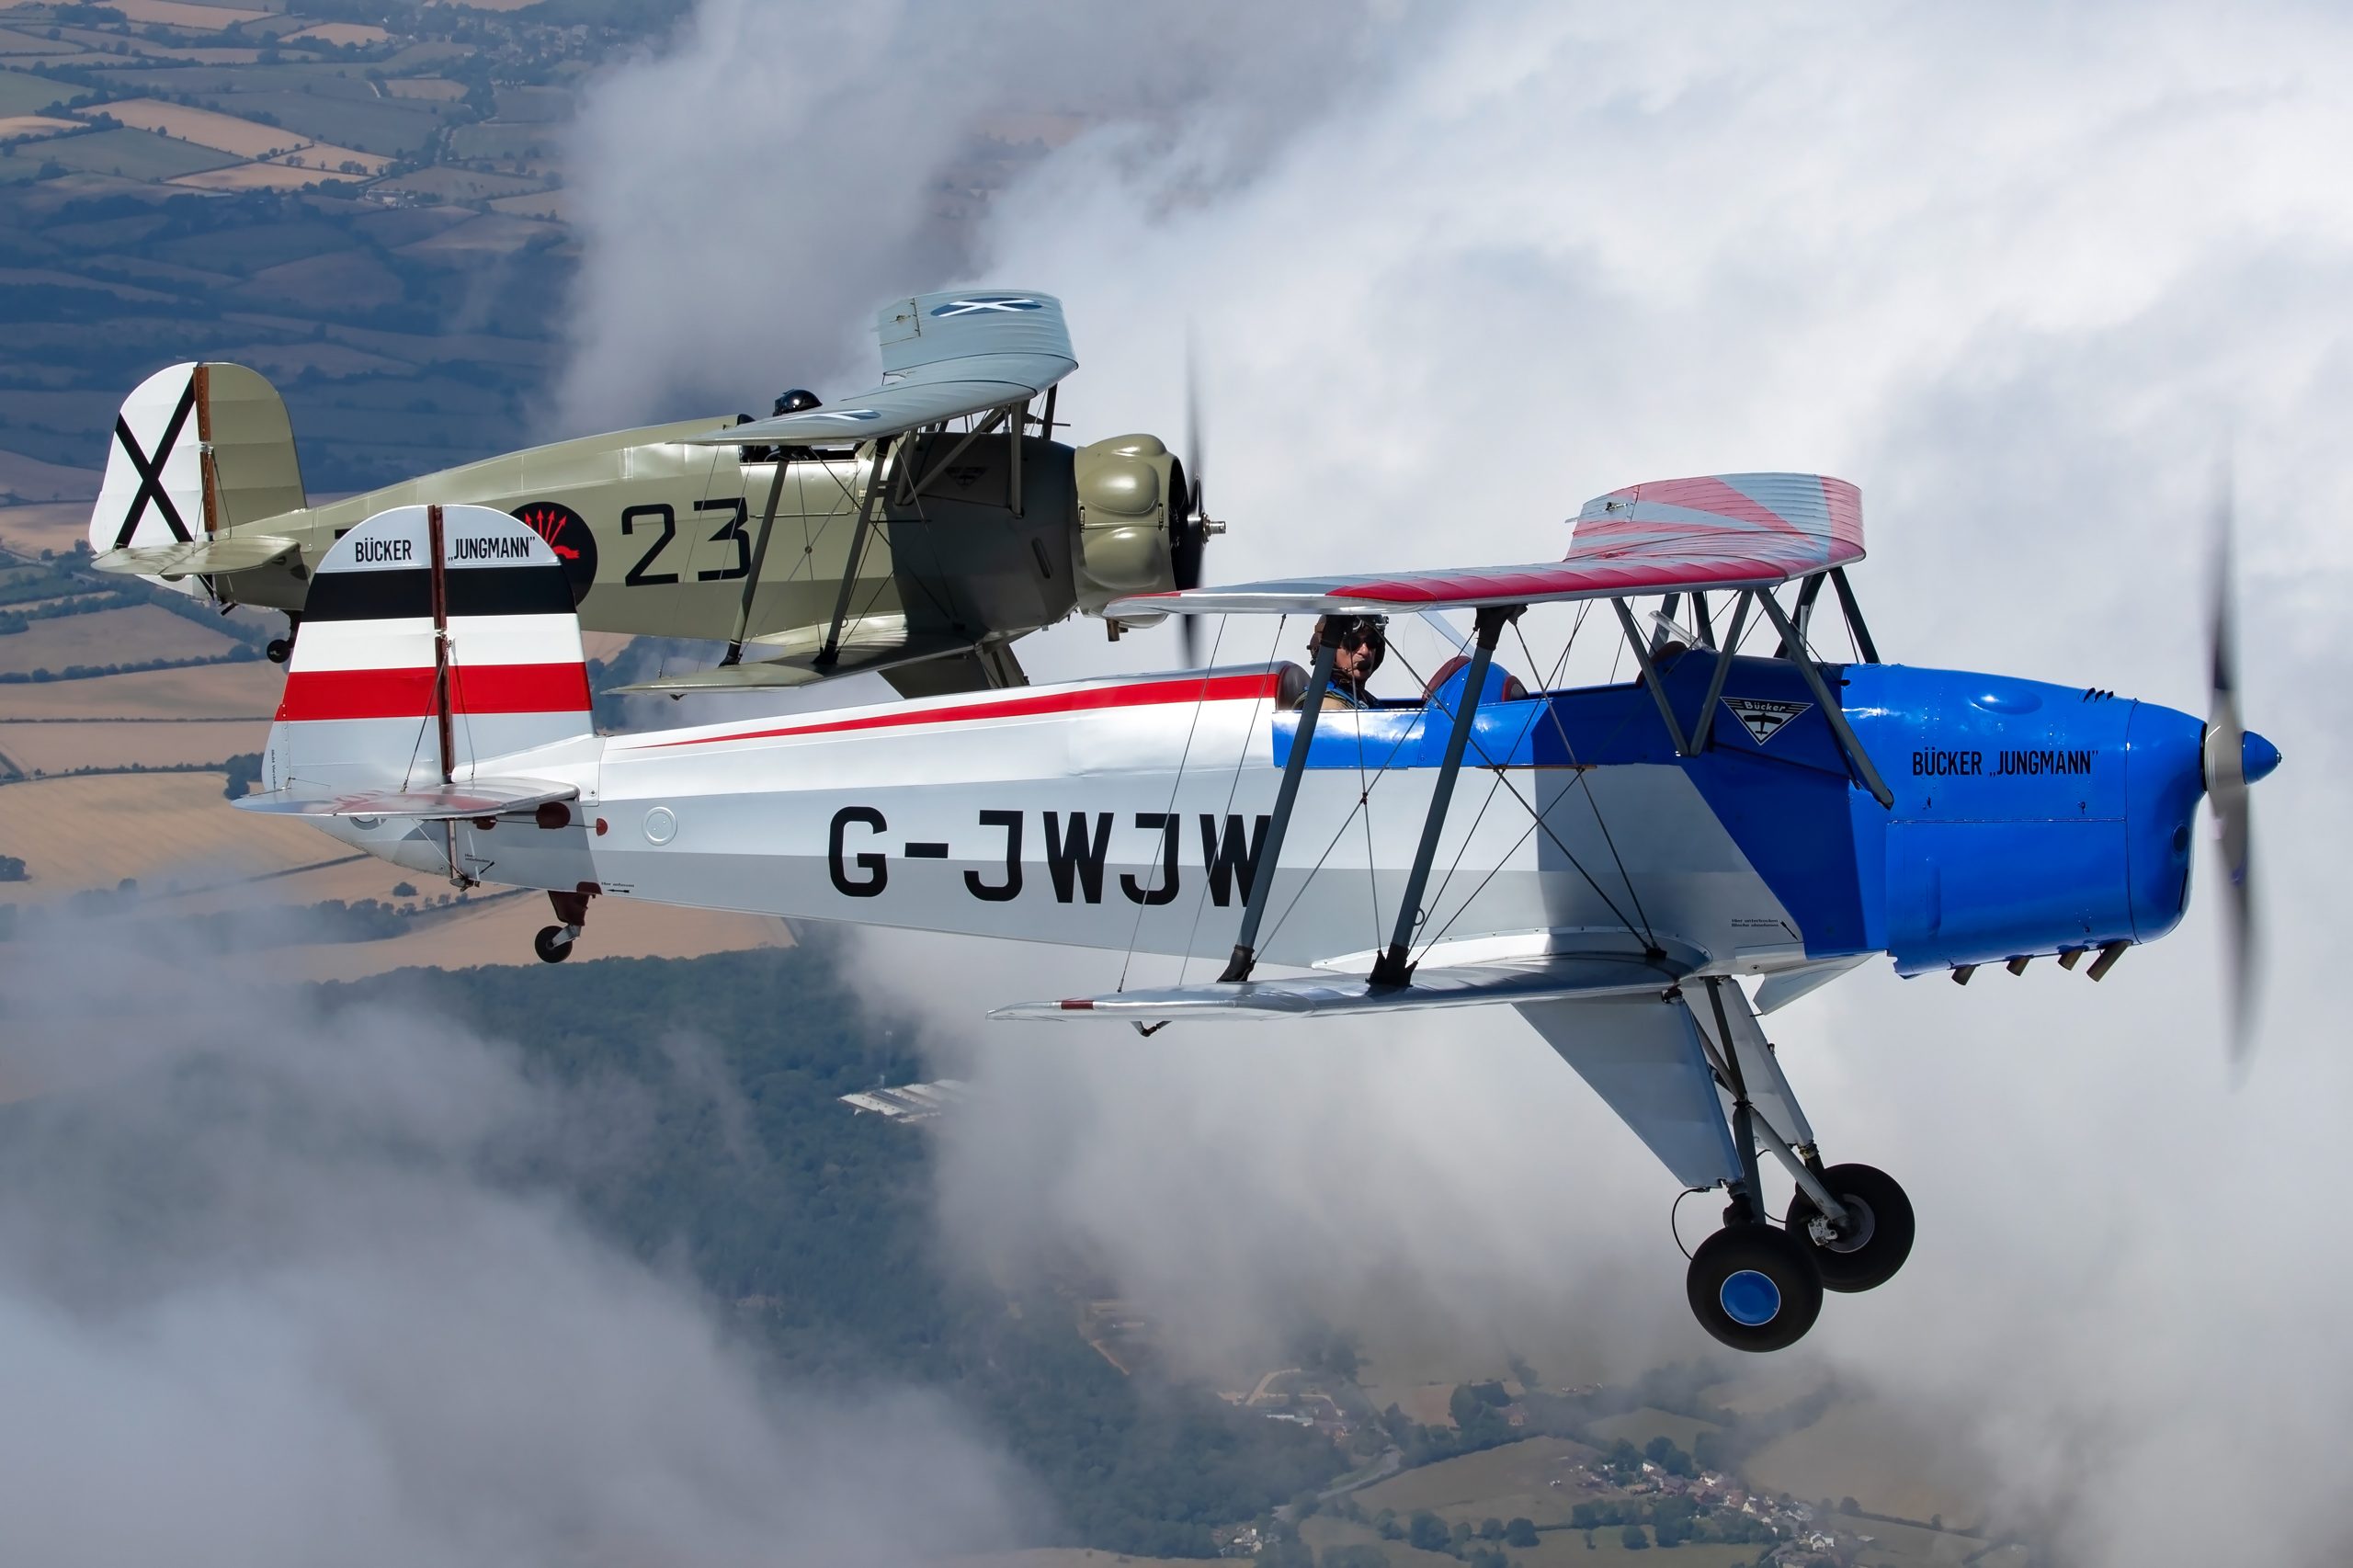
Photo Mechanic is the professional standard for exactly this reason. It reads the camera’s embedded preview and displays it with effectively zero delay, so you can rip through thousands of frames as fast as you can tap the keyboard. It tags, renames, ingests and writes metadata, then hands the selected raws to Lightroom or Camera Raw for editing. It does not develop raws itself, and that is the point: it is a culling and ingest specialist, and nothing browses faster.
Lightroom Classic does everything in one place, which is convenient, but browsing raws is slower unless you build 1:1 previews on import, and building those previews on three thousand frames takes time and disk space up front. The trade is real: pay the preview cost at import and Lightroom culls acceptably, or cull in Photo Mechanic first and only import the keepers. Most high-volume aviation shooters do the latter.
FastRawViewer sits between the two. It is cheaper than Photo Mechanic, shows the actual raw data rather than the embedded JPEG, and displays focus peaking and a proper raw histogram, which helps when you need to judge exposure and focus precisely before committing. For photographers who care about squeezing the technical pass, it is a strong and affordable choice. Whichever you pick, learn the keyboard shortcuts. Culling with a mouse is culling with the handbrake on.
A rating and colour label system that scales
Ratings only help if they mean the same thing every time. Invent a system once, write it down, and never change it, because the value of a star rating is that a search for it returns the same class of image across every shoot you have ever done. A system that drifts is worse than none.
A simple and durable scheme uses stars for quality and colour labels for status. One star is a record shot, technically fine and worth keeping for reference or stock but not a portfolio image. Three stars is a strong frame you would happily show. Five stars is a portfolio or print image, the best of the day. Most keepers are one to three stars, and five stars should be rare enough to mean something. Colour labels then track workflow: red for to-edit, yellow for editing in progress, green for finished and keyworded, purple for licensed or delivered.
The reason to separate quality from status is that they answer different questions. Stars answer how good is this frame. Colours answer what still needs doing to it. Keep them apart and you can find every five-star frame that has not yet been edited in a single search, which is exactly the query you want the week before a print fair or a stock upload. Apply stars in pass three or a quick fourth pass, apply colours as you work, and let the catalogue do the remembering.
Culling formation and sequence shots
Formations and multi-ship passes need their own rules because the thing you are judging is the relationship between aircraft, not just one airframe. A frame can be tack sharp and still fail because the jets are badly spaced or one has drifted out of the pattern.
For a display team, the keeper is the frame where the formation reads as the shape it is meant to be. A Diamond Nine should look like a diamond, with even spacing and no aircraft masking another. Shoot the whole manoeuvre in a burst and cull for the single frame where the geometry is cleanest, usually as the formation crosses the display centre and presents its planform to the crowd line. Smoke helps you here: the frame where the trails are straight and parallel almost always beats the one where they have started to spread or kink.
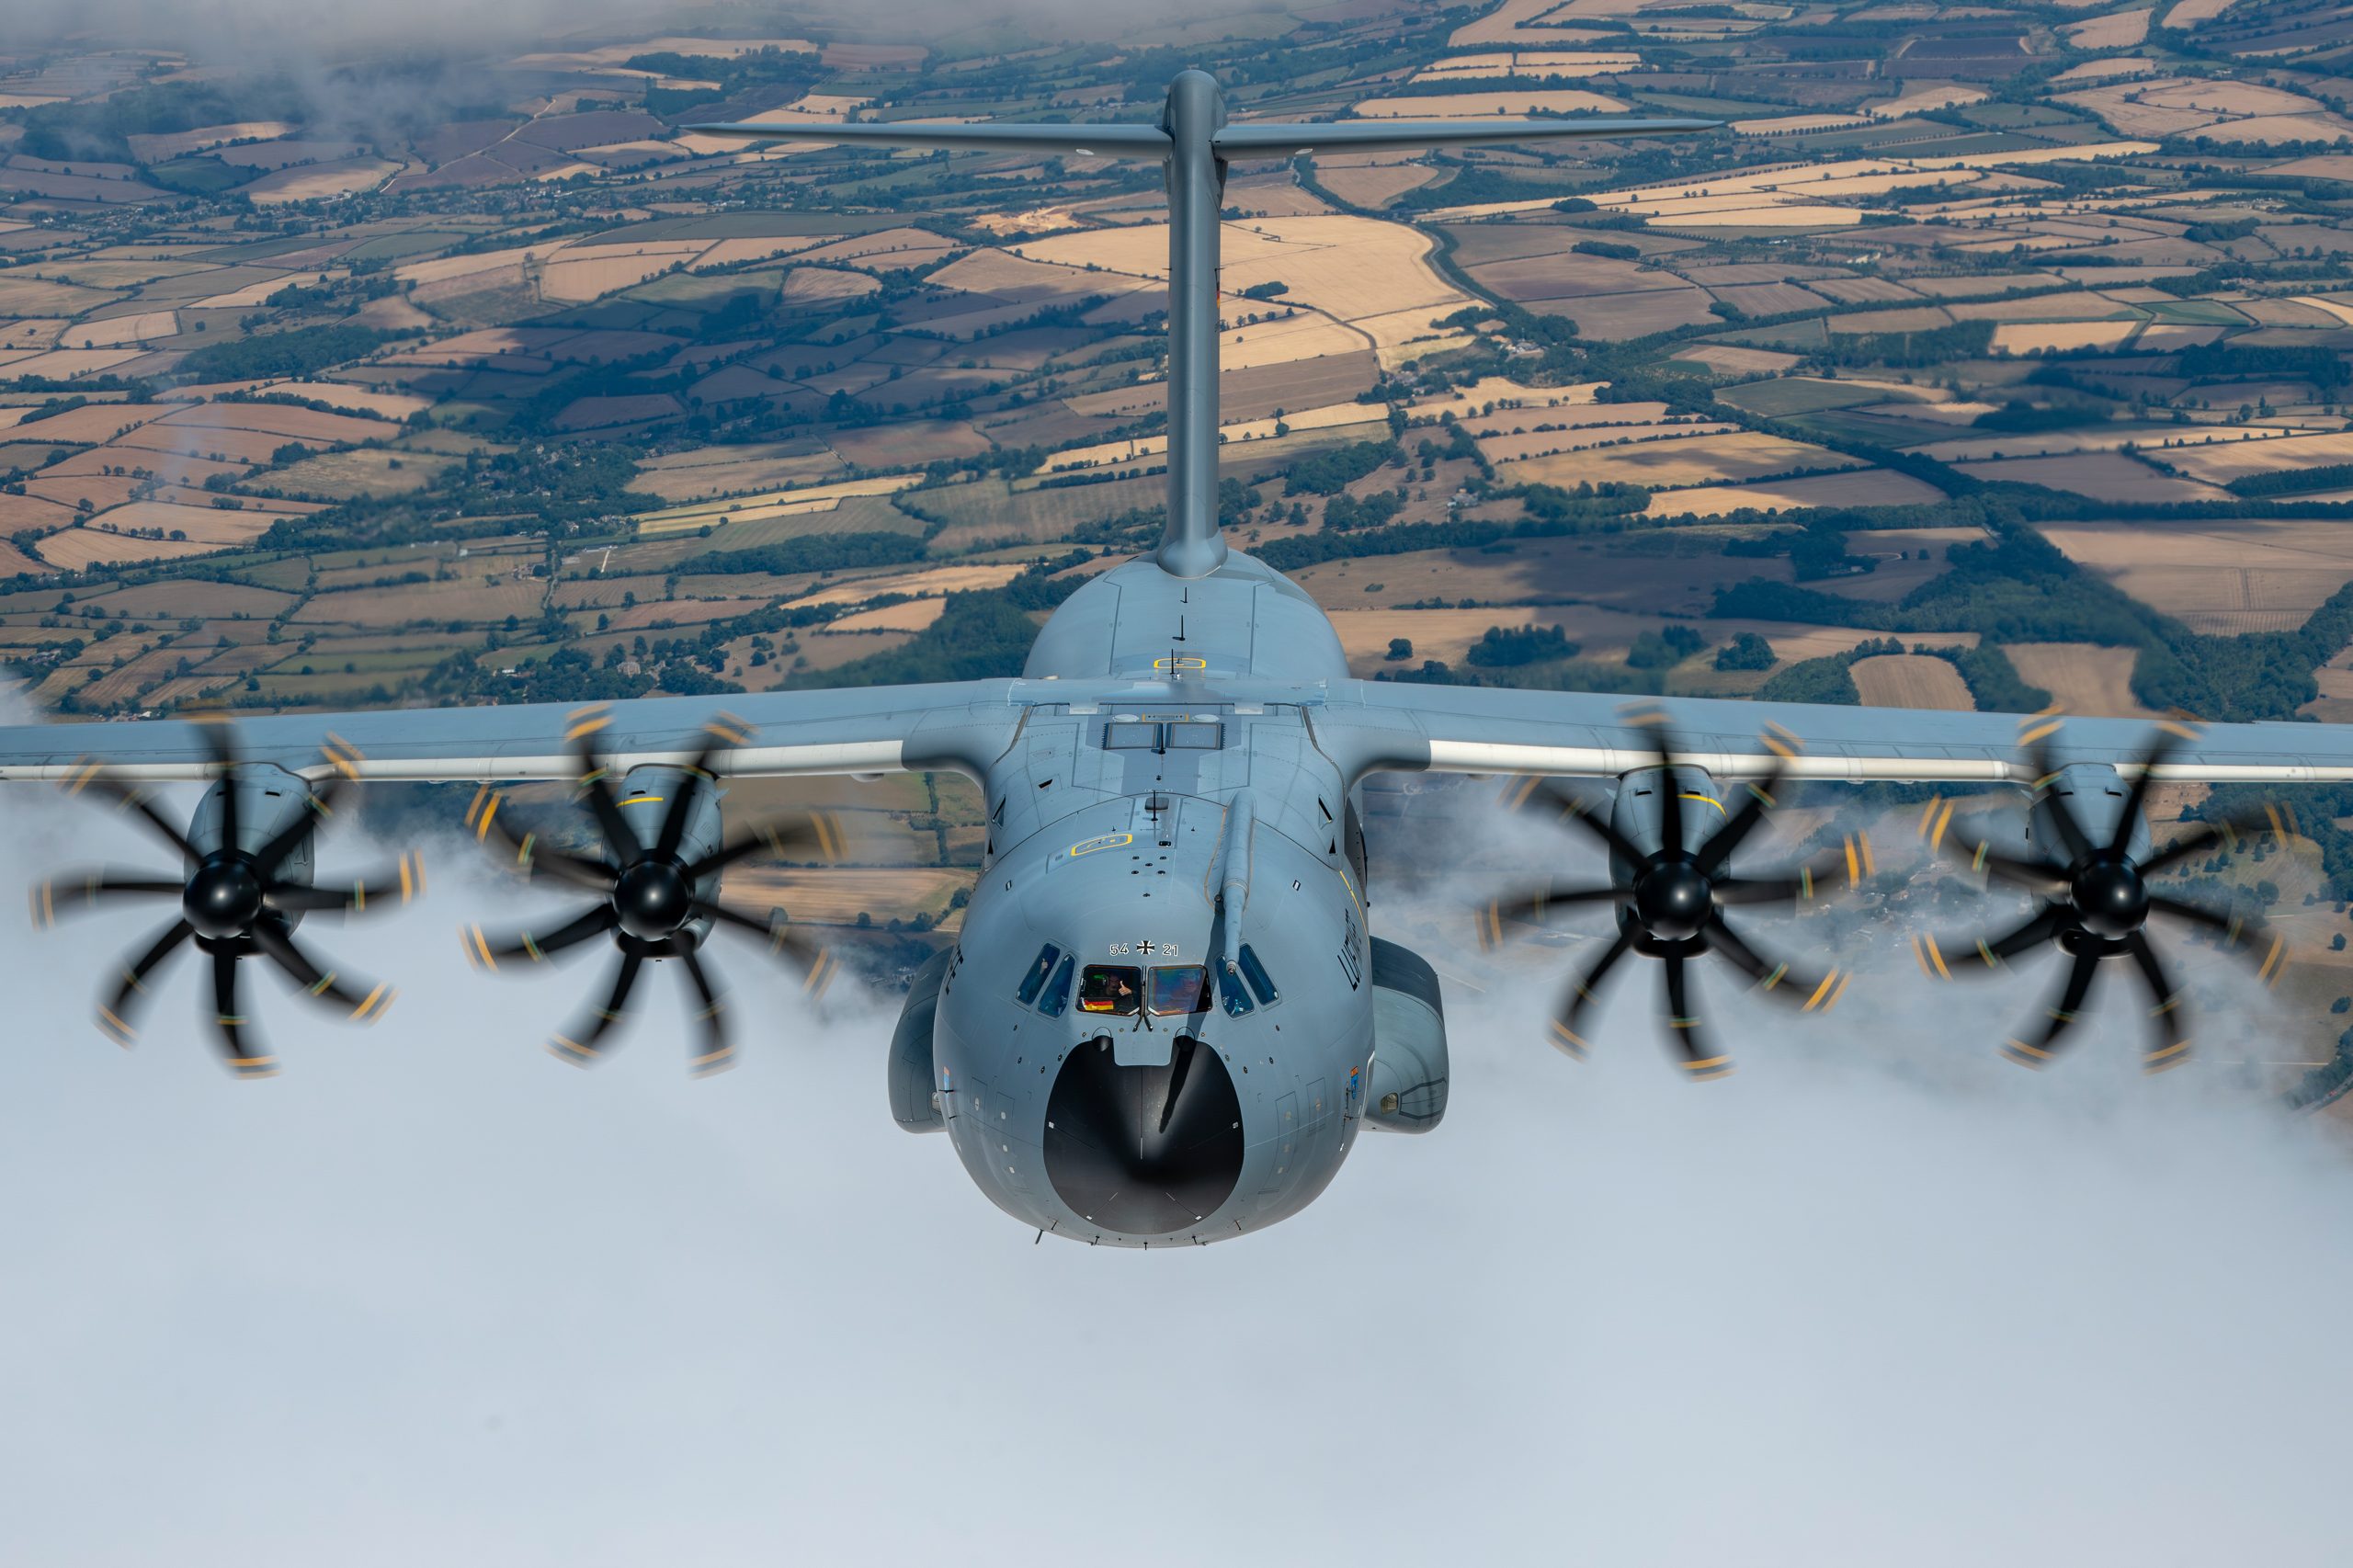
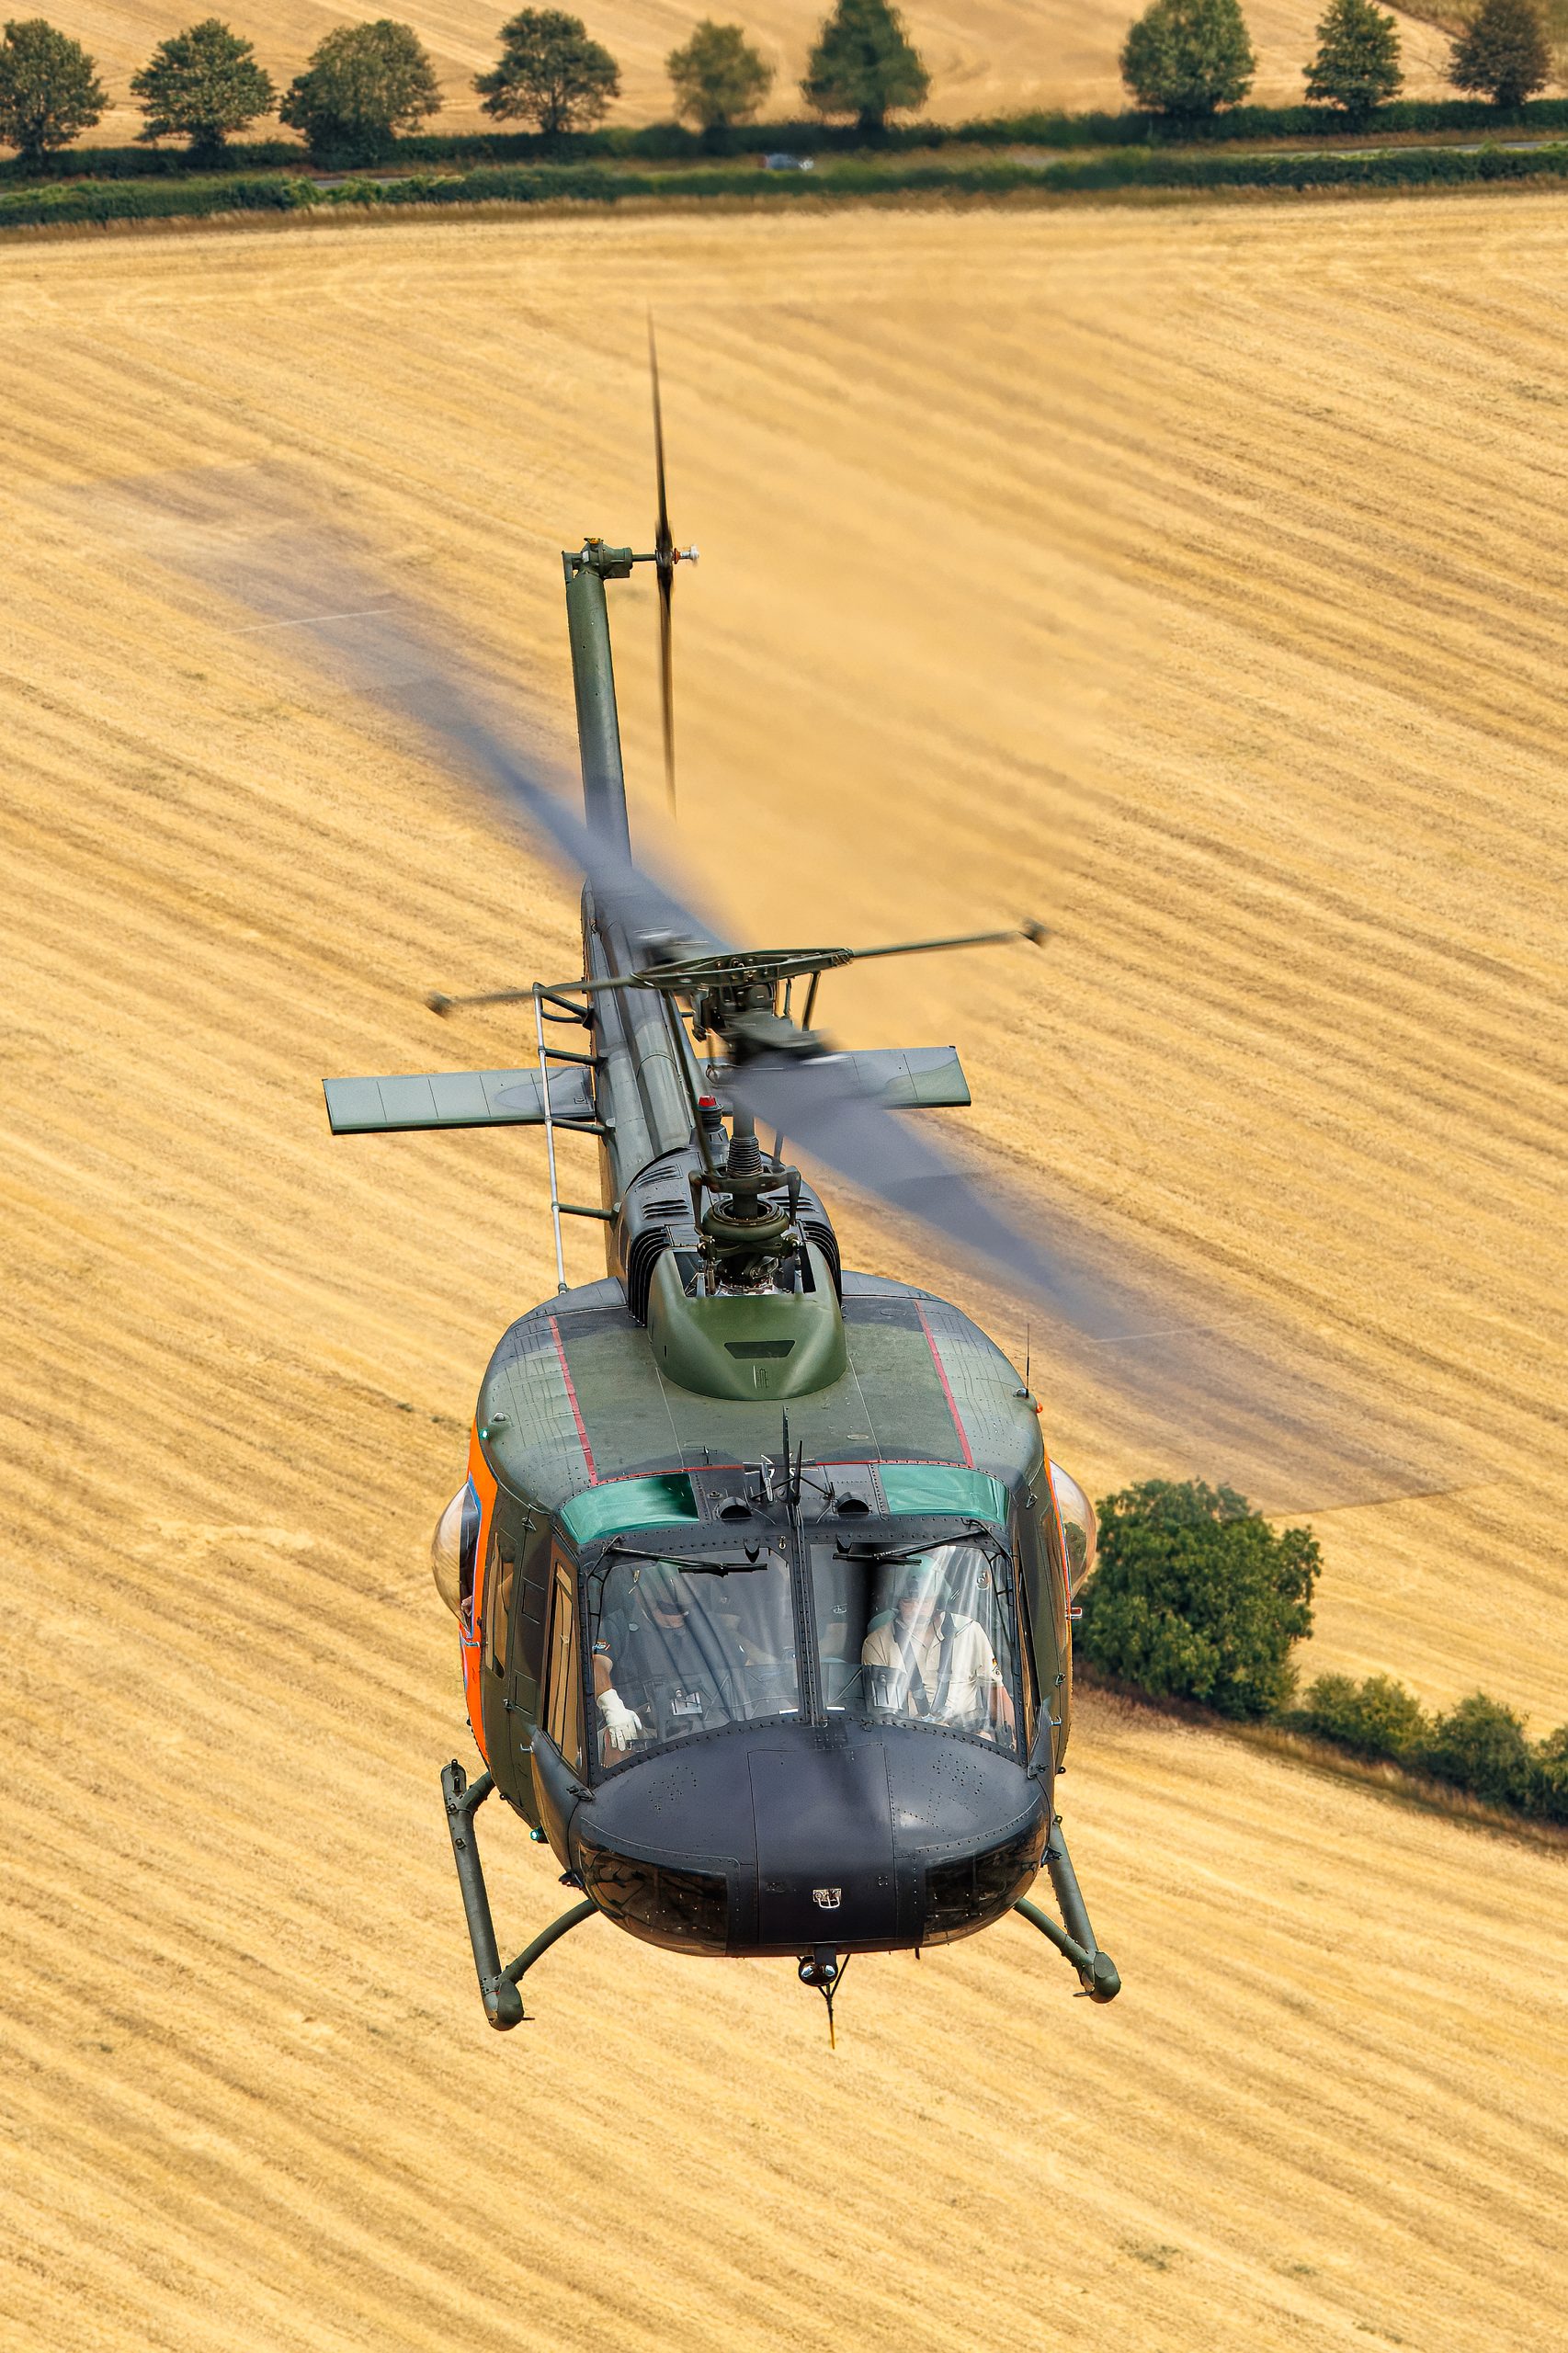
For propeller aircraft, add the propeller disc to your checklist. At the right shutter speed a turning prop reads as a full, even arc, and that is what you keep. Too fast a shutter freezes the blades into an ugly, static crucifix and kills the sense of power, so those frames go even if they are pin sharp. On a four-engined type such as a transport or a heavy bomber, check that all the discs are even, because one frozen prop among three blurred ones looks like a mistake, which it is.
Sequences, such as a topside followed by a gear-down pass, are worth keeping as a small set rather than a single frame when they tell a story an editor or a magazine could use across a spread. Flag the two or three that carry the narrative and reject the in-between frames. The skill is knowing when you are choosing one hero shot and when you are choosing a short sequence, and not confusing the two.
Keywording and the handoff to editing
A culled set is only useful if you can find it again, and that means keywording before the memory of the day fades. The best time to keyword is immediately after culling, while you still know that the F-16 in the special scheme was the Danish display jet and the biplane was flown by the visiting team. Leave it a month and you will be squinting at serials trying to remember.
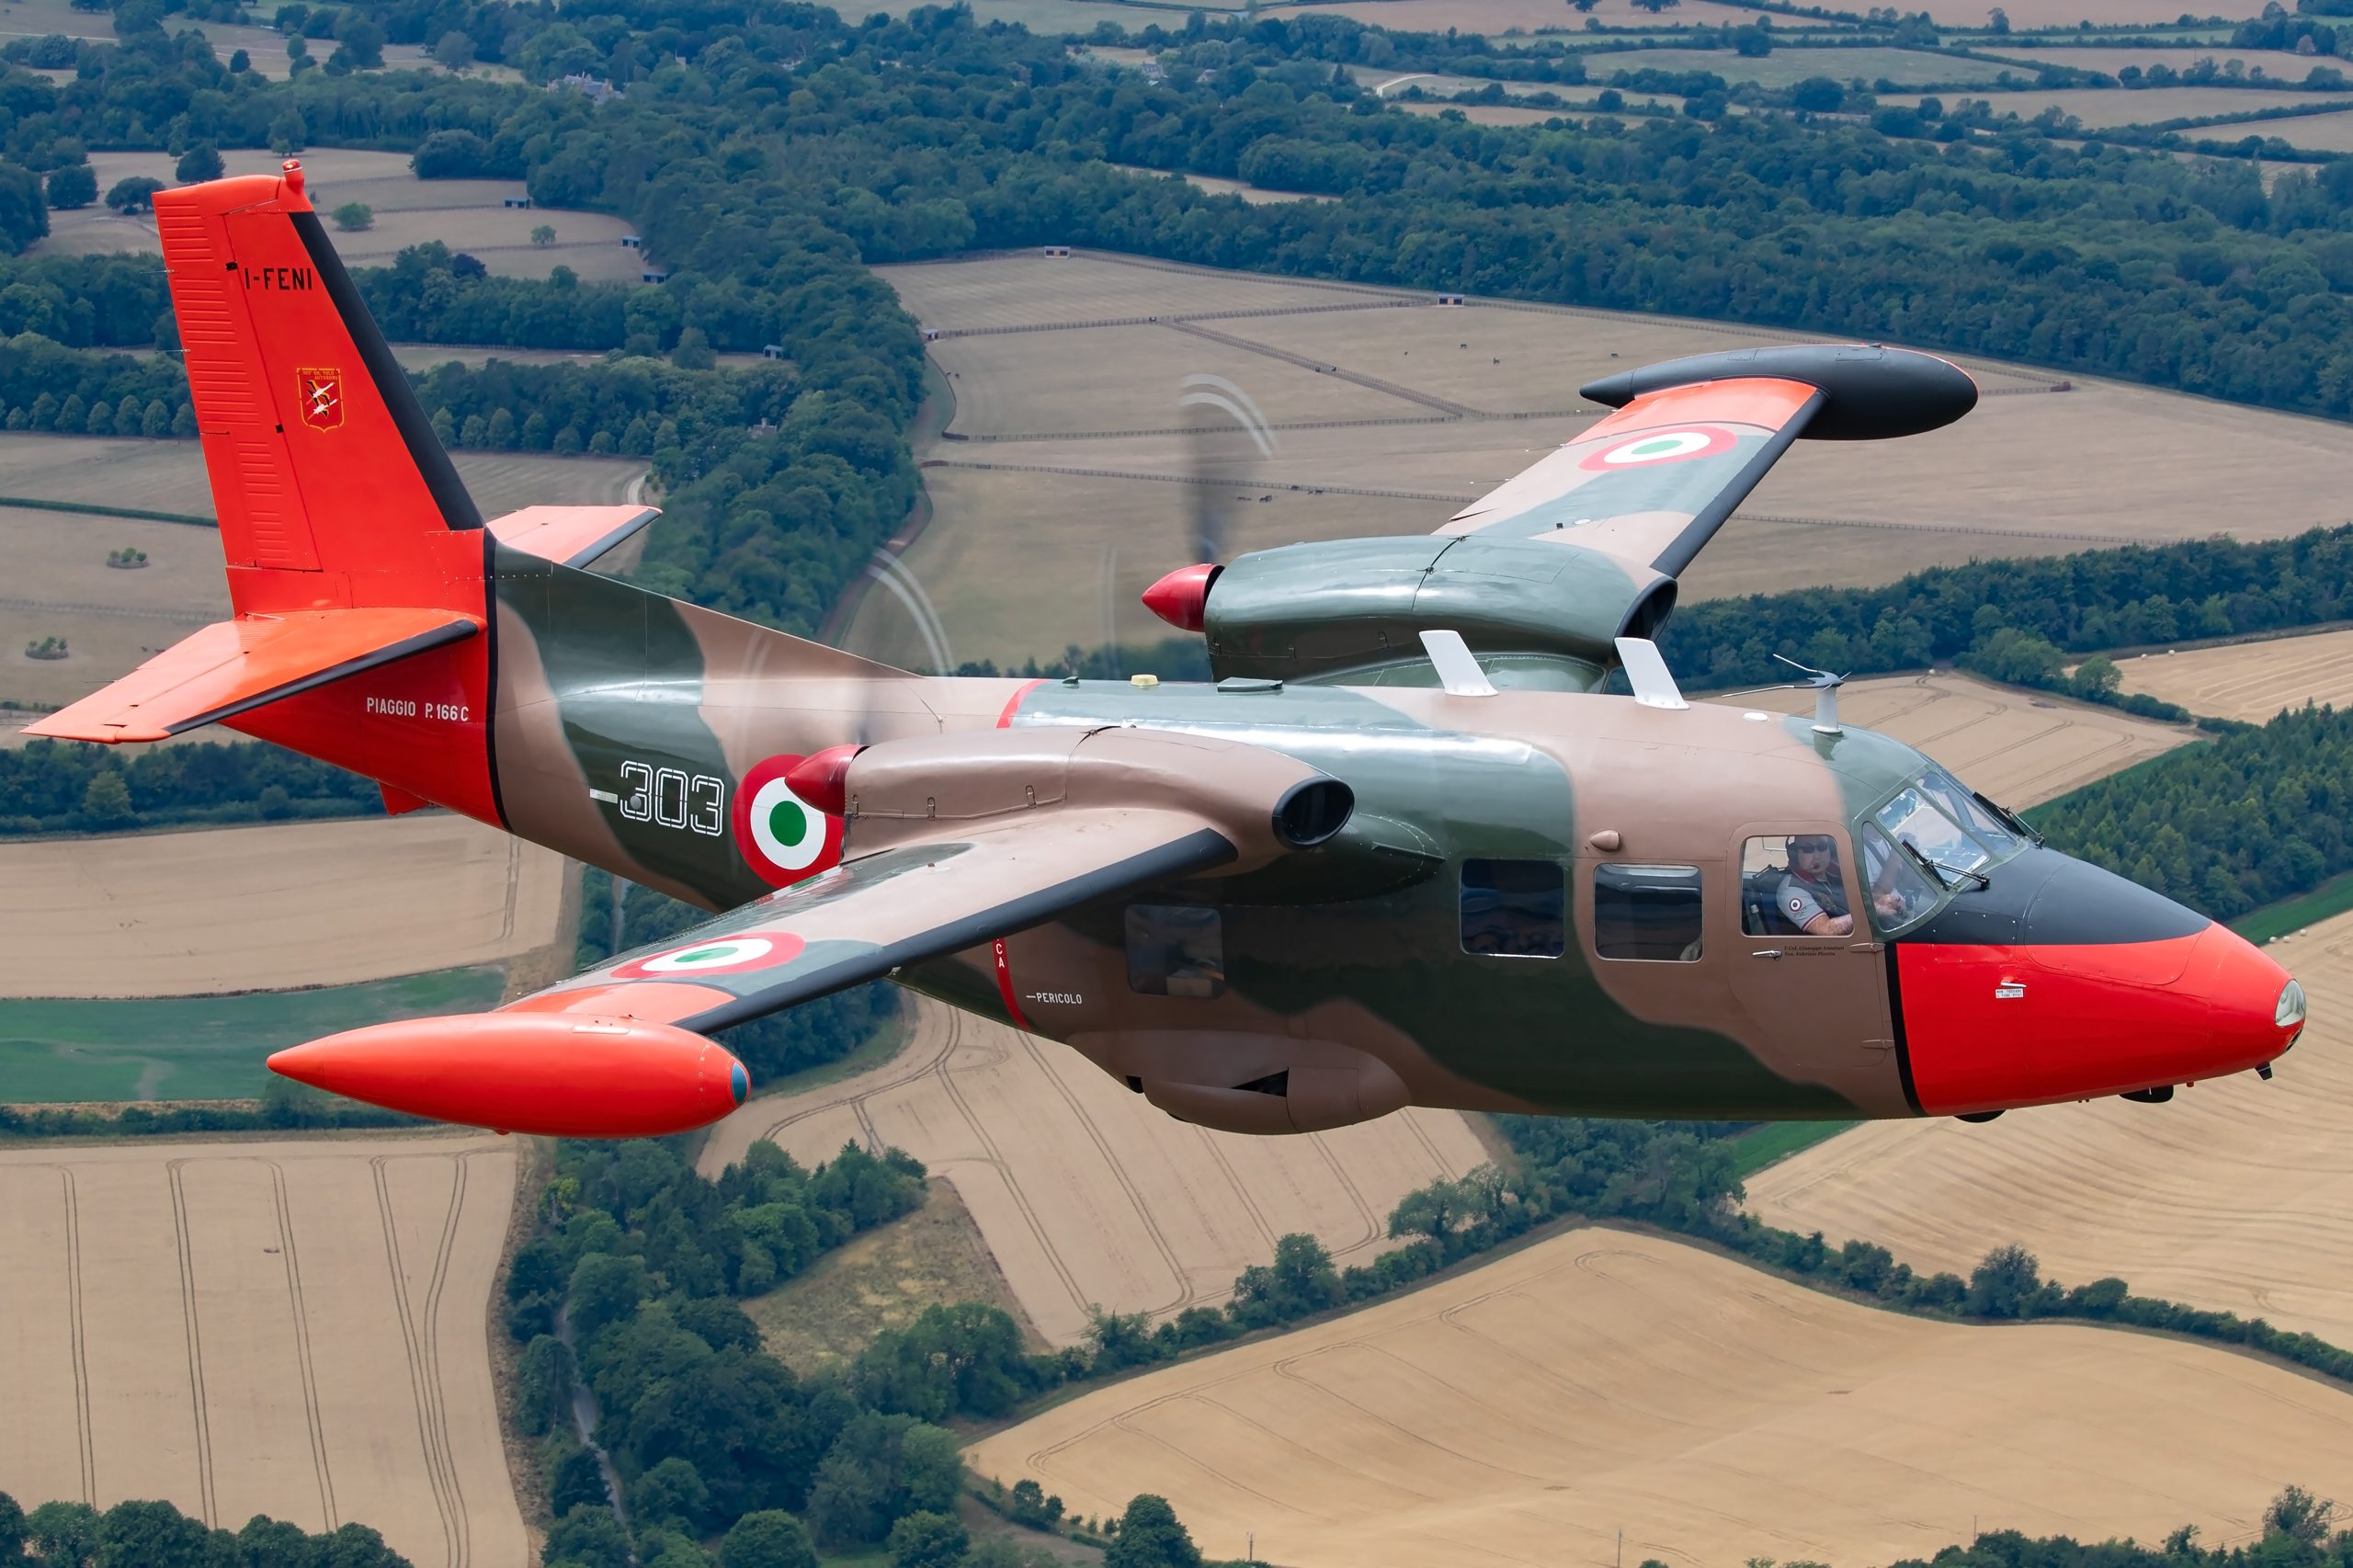
Keyword in layers. Start with what the aircraft is: type, manufacturer, variant, operator and registration or serial. Add the context: the show, the location, the year, and terms such as air-to-air, formation, topside or display. Finish with the descriptive and commercial terms a buyer might type, such as military, training, aerobatic or the team name. A metadata template applied on ingest handles your name, copyright and contact details automatically, so you are only adding the frame-specific terms by hand.
Get the identification right. A wrong registration or a misnamed variant is worse than no keyword at all, because it surfaces the image for the wrong search and undermines trust in the whole set. If you are unsure, check the serial against your notes or a reliable database before you commit it. Accuracy here is the difference between a stock library that sells and one that gets images rejected.
Once the keepers are rated and keyworded, the handoff to editing is clean. Filter to your red to-edit label, work through the raws in Lightroom or your editor of choice, and move each to green as it is finished. Our practical Lightroom workflow for aviation photos picks up exactly here, and the companion guide to keywording aviation photos for stock goes deeper on building a keyword list that sells. For the sharpening stage that follows, see our notes on noise reduction and sharpening for long-lens shots.
Common culling mistakes
Most culling problems are habits, not knowledge gaps. Once you know what to watch for they are easy to break, and doing so will speed up every shoot you cull from here on.
The first and biggest is keeping too much. If your edit of a single show runs to two hundred frames you have not culled, you have filed. Be honest about near-duplicates and keep the best one. The second is culling while tired or straight after a long drive home, when everything looks soft and you bin frames you would keep with fresh eyes. Ingest and back up on the night, cull in the morning. The third is culling too small on a laptop screen in bright daylight, where you cannot see the shadow detail or judge sharpness. Cull on a decent, colour-calibrated monitor in controlled light.
The fourth is deleting instead of flagging, which turns a slip of the finger into a lost original. Always flag, review the rejects as a batch, then delete. The fifth is emotional attachment: the frame of the aircraft you waited all day for, that is not actually sharp. The camera does not care how long you waited. If it missed, it missed, and keeping it does not change that. The sixth is skipping keywording because the day is over and you are tired. That is the frame you will never find when a buyer asks for it.
A worked example: 3,000 to 60 in two hours
Here is how the system plays out on a real day’s take from a major show. The numbers are typical rather than exact, but the shape of the reduction and the timings are what you should aim for once the routine is habit.
You come home with 3,000 raws across a dozen display slots and a scattering of arrivals and departures. On the night you ingest to two drives in Photo Mechanic, apply your copyright and show template, rename to the show-date-sequence pattern and verify the backup. Total hands-on time, twenty minutes, most of it waiting for the copy. Then you stop.
Next morning, pass one. Full screen, arrow key, reject flag on everything with a clipped wing, a fumbled pan or an aircraft still entering the frame. Twenty-five minutes later the 3,000 is down to about 1,700 and the rejects are sitting in a batch you glance over once and delete. Pass two, the technical check at 100 per cent on the survivors, focusing on the cockpit and leading edge for jets and the cowling and prop arc for props. Forty minutes, and the 1,700 becomes roughly 400 as soft frames and missed-focus bursts fall away. Pass three, comparing within bursts and keeping the single best of each pass, side by side. Thirty-five minutes, and 400 becomes about 90 genuine keepers.
A short fourth pass adds stars: most of the 90 are one to three stars, six or seven are five-star portfolio frames. You keyword the set while the day is fresh, thirty minutes, and label the best red for editing. Two hours and ten minutes after you sat down, you have a clean, rated, keyworded set of ninety images, six of them really special, and a folder of 2,900 rejects you will never miss. That is a good day’s culling, and it is entirely repeatable.
Culling at a glance
The table below summarises the workflow as a quick reference you can pin above the desk. Times assume roughly three thousand frames and a fast browser.
| Stage | Question you ask | Tool and view | Typical time | Frames remaining |
|---|---|---|---|---|
| Ingest and back up | Are two verified copies safe? | Photo Mechanic or Lightroom import, copy to two drives | 20 min | 3,000 |
| Pass one: reject | Is this an unfixable failure? | Full screen, fit to screen, X to flag | 25 min | ~1,700 |
| Pass two: technical | Is the right part critically sharp? | 100 per cent zoom on the focus point | 40 min | ~400 |
| Pass three: bursts | Which single frame wins this pass? | Side-by-side compare | 35 min | ~90 |
| Pass four: rate and keyword | How good, and what needs doing? | Stars, colour labels, metadata | 30 min | ~90 rated |
Culling for different destinations
The same shoot often needs more than one edit, because a frame that is perfect for a print fair is not always the one a picture desk wants, and neither is the one that performs on social media. Rather than culling once and hoping, it pays to keep the destination in mind and let it shape the final selection from your keepers.
For stock and editorial licensing, breadth and accuracy matter as much as drama. Picture libraries want clean, correctly identified frames of as many types and registrations as possible, including the honest record shots, because a buyer searching for a specific serial or an uncommon variant needs a match more than they need art. Keyword these thoroughly and do not discard a sharp, well-exposed frame just because it is not spectacular. For print and portfolio, the opposite applies: keep only the very best, the frames with the light, the moment and the impact to hold a wall, and be merciless. A print edit of a whole season might be twenty images.
For social media and club competition, a different frame again may win, because those audiences respond to peak action, dramatic light and unusual angles, and reward the topside with full vapour or the low, gear-down pass against a dark sky. The practical answer is to build one master set of rated, keyworded keepers, then draw destination-specific selections from it using colour labels or collections. Cull once to find the keepers, then curate as many times as you have outputs. That way the work of the technical passes is done only once, and every downstream use starts from the same clean, trustworthy foundation. For turning that curated set into a body of work that sells, our guide to building an aviation photography portfolio is the natural next step, and you can see finished results across the Professional Aviation Photography galleries and the terms under which they are made available on the licences page.
Frequently asked questions
How long should it take to cull an airshow shoot?
With a fast browser and a pass-based routine, about two hours and ten minutes of culling for three thousand frames, plus twenty minutes of ingest and backup beforehand. The reject pass takes twenty-five minutes, the technical pass forty, the burst pass thirty-five, and rating plus keywording about thirty. The first few times will be slower while the habits form, but the times drop quickly once the routine is second nature.
What is the best software for culling aviation photos?
Photo Mechanic is the professional standard because it shows the camera’s embedded preview instantly, letting you browse thousands of raws with no lag. Lightroom Classic can cull acceptably if you build one-to-one previews on import, and FastRawViewer is a strong, cheaper option that shows real raw data with focus peaking. Many high-volume shooters cull in Photo Mechanic and only import the keepers into Lightroom.
How many frames should I keep from one airshow?
Aim for a reduction of roughly thirty to one. From three thousand frames, around ninety genuine keepers is healthy, with perhaps five to seven true portfolio images. If your edit runs to several hundred, you have filed rather than culled. Keeping the single best frame from each burst is the discipline that gets you there.
Should I delete rejected frames or just flag them?
Flag them first, then delete as a batch. Both Photo Mechanic and Lightroom let you tag a frame as rejected with the X key without removing it, so a mistaken keystroke costs nothing. Review the flagged rejects once as a group, confirm there is nothing you want to rescue, and only then delete. Never delete originals one at a time during a fast pass.
How do I choose between near-identical frames in a burst?
Compare them side by side rather than one after another, and look for the best aircraft attitude, the cleanest formation spacing, the peak of the bank, or the moment vapour or afterburner lit. Small differences decide it: a turned pilot’s head, a cleaner background, a straighter smoke trail. When two frames really tie, keep the one with the better background and, if you still cannot separate them, keep both and decide when editing.
What should be sharp in an aviation photo when I check focus?
Check the part that carries the image, not the centre of the frame. For a fast jet that is the cockpit and the leading edge of the wing; for a propeller aircraft the engine cowling and pilot; for a head-on pass the nose or radome. Judge sharpness against the shot you intended: a panned prop shot is meant to have a blurred propeller and a sharp fuselage, so blur in the right place is a keeper.
Do I need a two-pass or three-pass system?
Three passes handle almost any shoot: a fast reject of clear failures, a technical check for focus and sharpness at full magnification, then a comparison within each burst to keep the single best frame. A short fourth pass adds ratings and keywords. Splitting the work so each pass asks one simple question is what makes culling fast, because your brain is only doing one kind of judgement at a time.
When is the best time to cull and keyword?
Ingest and back up on the night, then cull the next morning with fresh eyes, because culling tired makes everything look soft and leads to good frames being binned. Keyword immediately after culling while you still remember which aircraft was which. Leaving keywording for weeks means squinting at serials trying to reconstruct the day, and identification errors creep in.
How should I rate and label my keepers?
Separate quality from status. Use stars for quality: one star for a record shot, three for a strong frame you would show, five for a portfolio or print image. Use colour labels for workflow status: red to edit, yellow in progress, green finished and keyworded. Keeping the two systems apart lets you find, for example, every five-star frame not yet edited in a single search.
How do I cull propeller and formation shots?
For propellers, check the disc: keep frames where the arc is full and even, and reject those where too fast a shutter froze the blades into a static cross, even if they are sharp. For formations, keep the frame where the shape reads cleanly with even spacing and no aircraft masking another, usually as the formation crosses display centre. Straight, parallel smoke trails beat spreading or kinked ones.
What are the most common culling mistakes?
Keeping too much, culling while tired, working too small on a laptop in bright light, deleting instead of flagging, emotional attachment to an unsharp frame of an aircraft you waited all day for, and skipping keywording because the day is over. Each is a habit rather than a knowledge gap, and breaking them speeds up every shoot you cull afterwards.
Should I keep record shots that are not portfolio quality?
Yes, within reason. A technically clean, correctly identified frame of an uncommon type has real value to a picture library or an editor even if it is not dramatic, so rate it one star and keyword it properly. The frames to bin are the near-duplicates and the technical failures, not the honest, sharp record shots of aircraft you may not see again.
