Heat haze in aviation photography is the wavy, shimmering softness you get when light from a distant aircraft passes through layers of air at different temperatures, and the practical fix is to shorten the distance to your subject, shoot through cooler and steadier air, and pick the moments when the shimmer settles rather than trying to rescue the frame afterwards. On a hot airshow afternoon it is the single biggest reason sharp-looking jets turn to mush on the back of the camera, and it catches out photographers who have done everything else right.
You can nail focus, hold a clean pan and expose perfectly, then find at 100 per cent that the aircraft looks like it is melting. That is not your lens, your autofocus or your technique failing. It is the atmosphere between you and the aeroplane. This guide explains what heat haze is, why long lenses make it so much worse, and the field craft that separates a usable frame from a write-off. It is written for the way aviation photographers actually work: long focal lengths, distant subjects, hot open airfields and no way to move the aircraft closer.
What this guide covers
- What heat haze actually is
- Why long lenses make heat haze worse
- When and where heat haze strikes
- Spotting heat haze before it ruins the shot
- Field tactics to beat heat haze
- Camera settings that help
- Shooting position and timing
- A worked example: a hot airshow afternoon
- Can you fix heat haze in editing?
- When heat haze becomes a creative choice
- Common mistakes to avoid
- Heat haze quick reference
- Frequently asked questions
What heat haze actually is
Heat haze is refraction. Light bends when it passes from one medium into another of a different density, and warm air is less dense than cool air. When the sun heats the ground, the ground heats the thin layer of air just above it, and that warm air rises in irregular pockets and rolls through the cooler air around it. Each pocket has a slightly different refractive index, so as the light from an aircraft travels toward your lens it is bent this way and that by every parcel of air it crosses. The result is a moving, boiling distortion that smears fine detail and gives distant subjects a wavering, underwater look.
The important word is moving. Heat haze is not a fixed blur like a smeared filter. It shifts many times a second as the air churns, which is why two frames taken a fraction of a second apart can look completely different. One can be soft mush and the next noticeably crisper. That randomness is bad news because it robs you of consistency, but it is also the crack of light that lets you win: if you shoot enough frames, some will catch a calmer instant when the air momentarily lines up.
Photographers use several names for the same family of effects. Heat haze, heat shimmer, thermal distortion and atmospheric turbulence all describe light bent by uneven air. A mirage is the extreme version, where the bending is strong enough to flip an image and create the shimmering pool of false water you see on a hot road. In aviation work you rarely get a full mirage, but you get its milder cousins all the time, and they are enough to soften a jet beyond rescue.
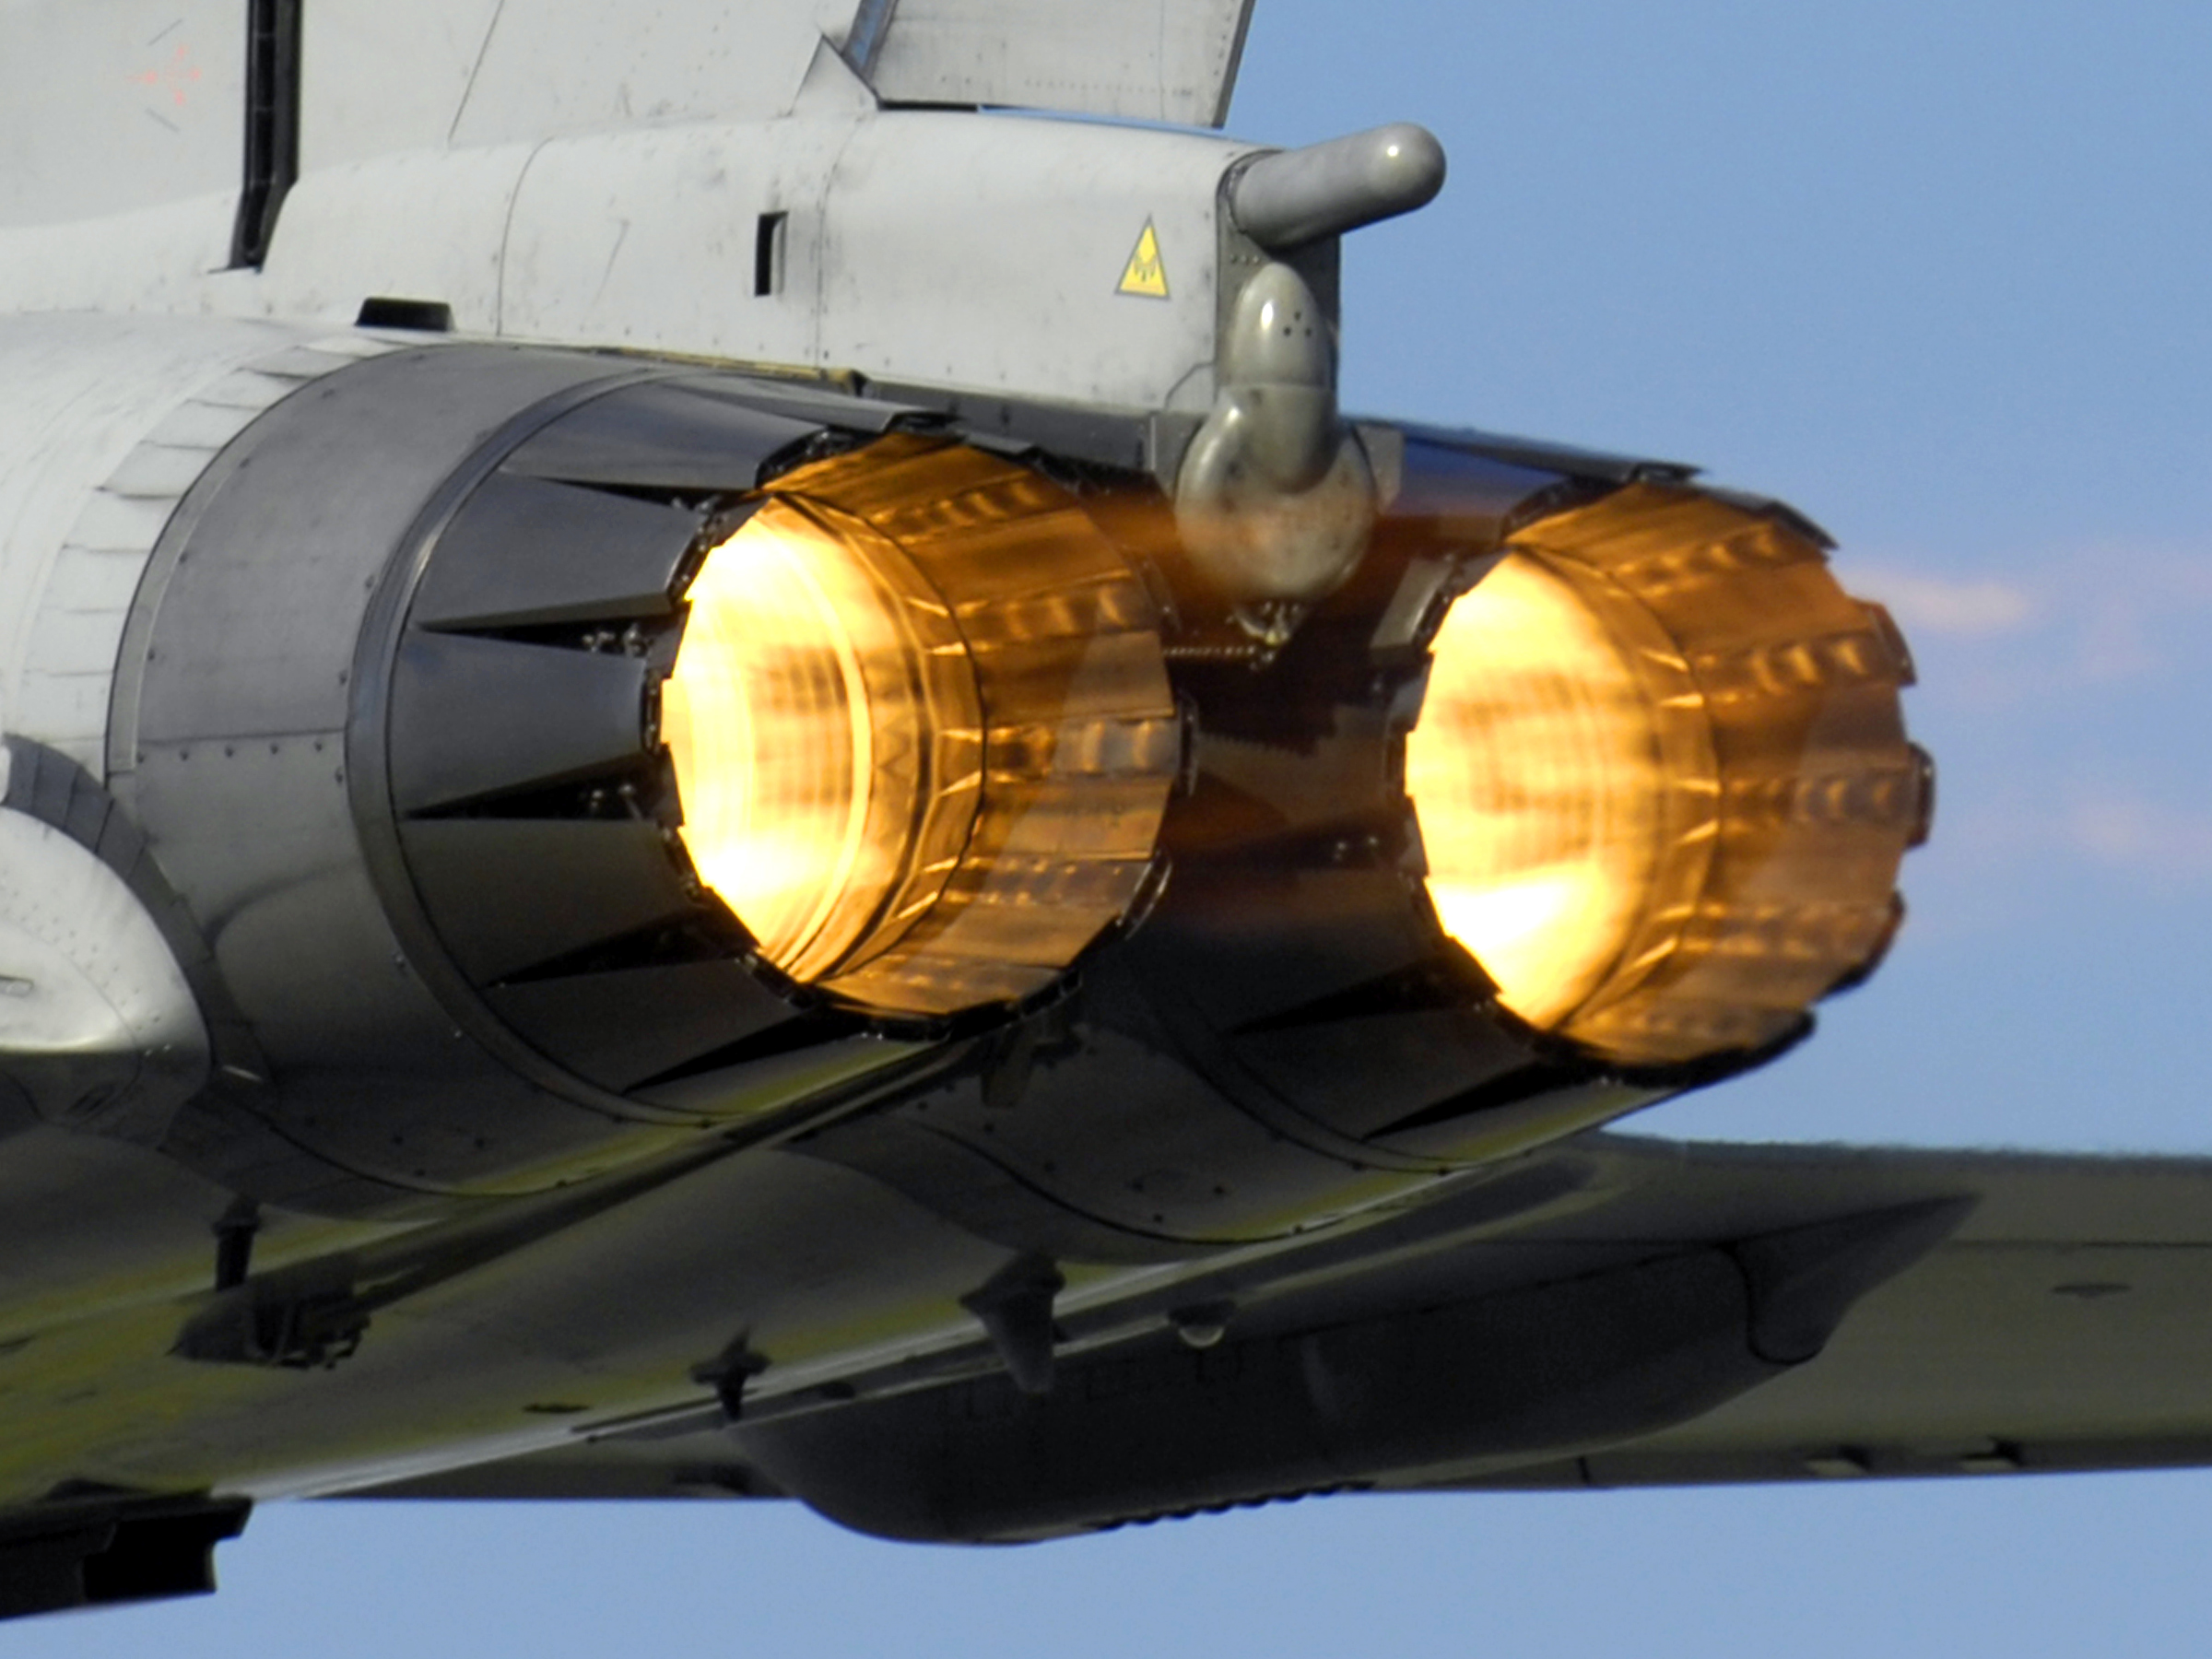
It helps to separate two sources. The first is the general atmosphere: kilometres of summer air between you and a high or distant aircraft, warmed unevenly by the ground below. The second is local and violent: the exhaust of a running jet engine, or the hot tarmac immediately in front of you. Both bend light, but they behave differently and you fight them in different ways. Engine exhaust is a searing, fast, tightly concentrated column right at the aircraft, and there is almost nothing you can do about it except wait for the aircraft to move clear of its own plume. Ground-level atmospheric haze builds up over the whole light path and is something you can plan around.
Why long lenses make heat haze worse
Aviation photography lives at 400mm, 500mm, 600mm and beyond, and that is exactly why heat haze hurts us more than most other photographers. A long lens does two things at once, and both amplify the problem. It magnifies the subject, and it magnifies everything in the air column in front of the subject. The distortion that would be an invisible wobble to your naked eye becomes a churning mess when blown up by a 600mm lens onto a high-resolution sensor.
Magnification is only half of it. The other half is distance. The further away the aircraft, the more disturbed air its light has to cross before it reaches you, and the effects stack up along the whole path. A jet taxiing 800 metres away across a hot runway is being seen through a very long tube of boiling air. The same jet a hundred metres away, banking against clean sky, might show almost no haze at all because the light has crossed far less warm air and, crucially, is coming down at an angle rather than skimming along the hot ground.
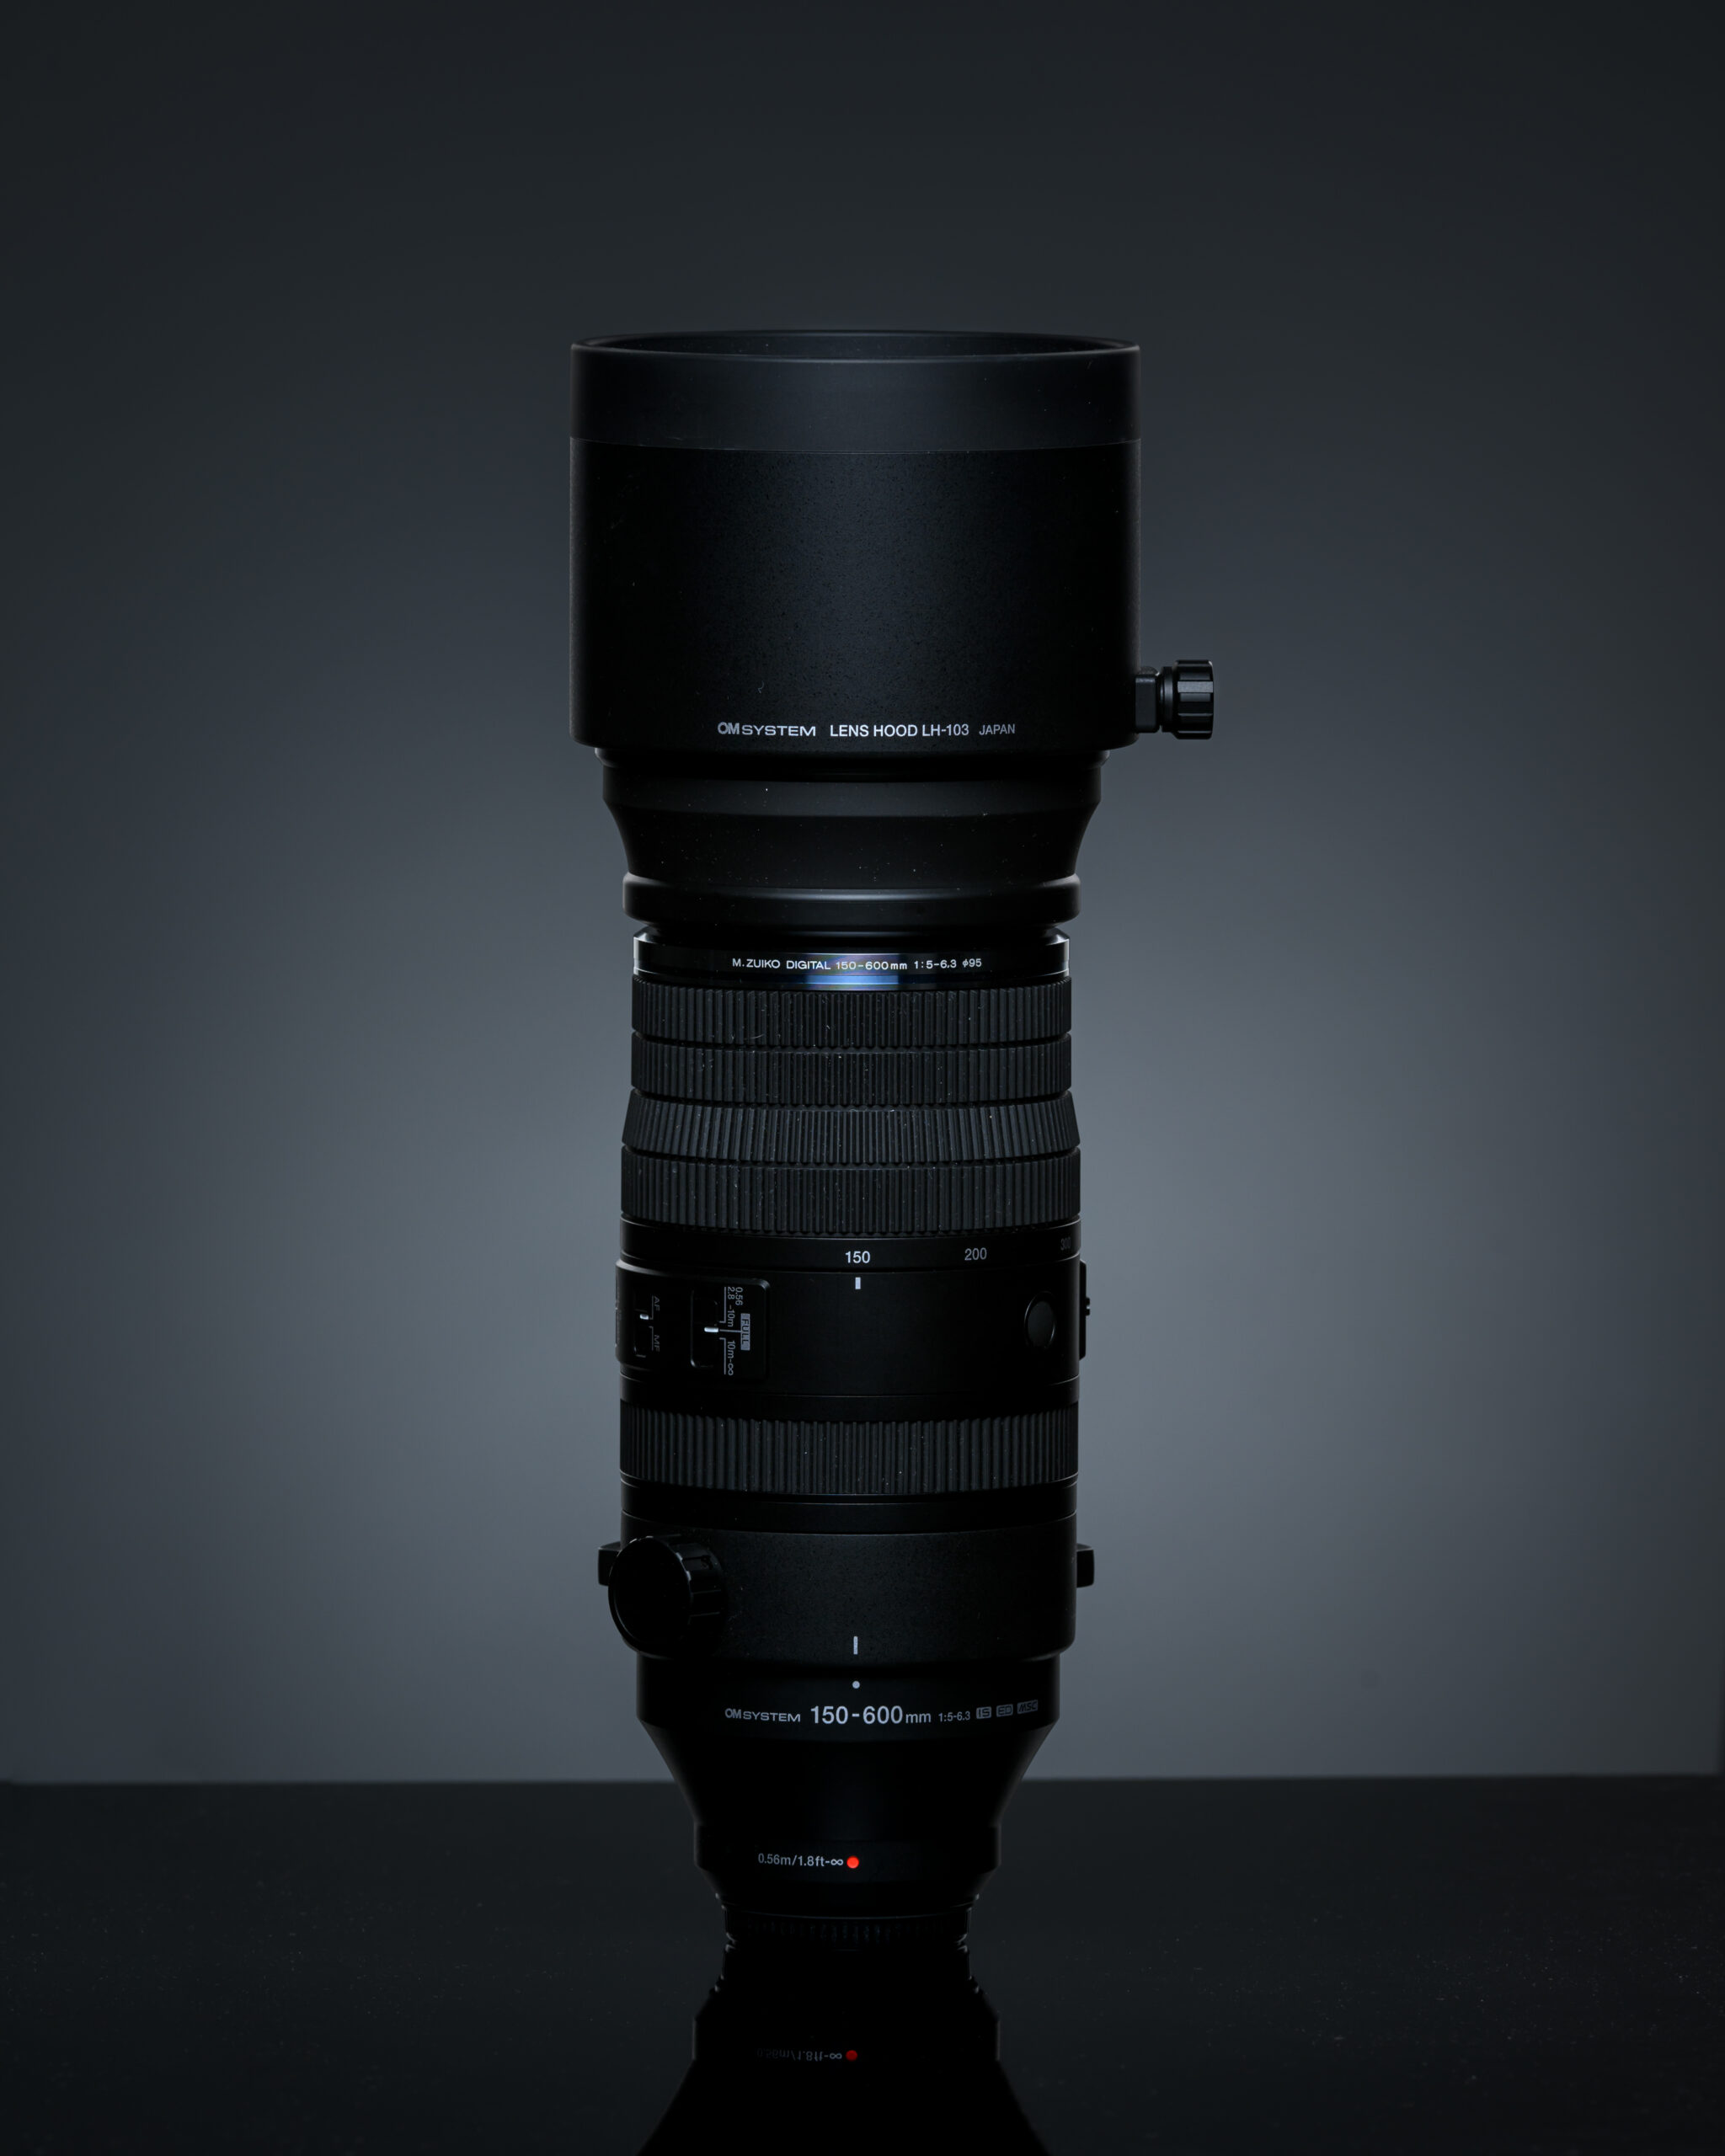
There is a hard truth in this that is worth accepting early. No lens is immune. A more expensive telephoto resolves more detail in clean conditions, but it cannot see through boiling air any better than a cheap one, because the distortion happens outside the lens entirely. Spending money on glass does not buy you a way past heat haze. Understanding the atmosphere does. This is the rare situation where the photographer with the modest kit and good field craft beats the photographer with the exotic lens and none.
Teleconverters make the trade-off sharper still. A 1.4x or 2x converter pushes your reach up but magnifies the haze along with the subject, and it does so at the exact moment you are most tempted to reach for extra focal length, which is when the aircraft is far away and the air between you is at its worst. If you are struggling with shimmer, taking the converter off and cropping later often gives a cleaner result than adding reach you cannot use.
When and where heat haze strikes
Heat haze is not purely a summer problem, though summer is when most aviation photographers meet it. What matters is the temperature difference between the ground and the air, not the absolute temperature. A cold, bright winter morning with frost on the grass and low sun warming dark tarmac can produce surprising shimmer over a runway, because the contrast between the hot surface and the cold air is large. Equally, a warm but overcast day with no direct sun on the ground can be remarkably clean, because nothing is heating the surface strongly enough to set the air boiling.
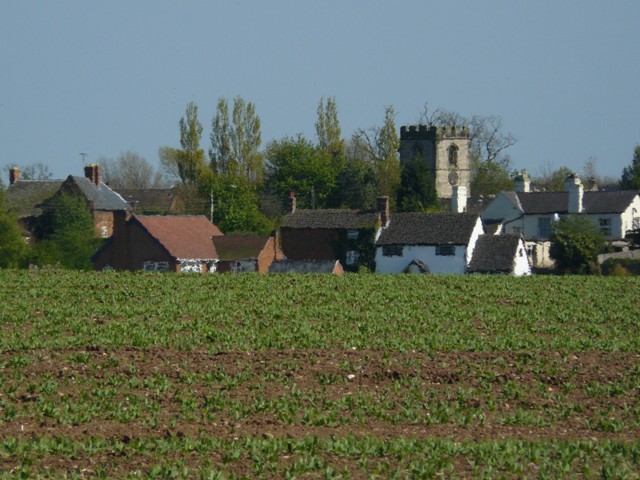
The surface under the light path is the biggest single factor. Tarmac, concrete and dry bare earth soak up sunlight and radiate heat fiercely, so any shot taken low across a runway, a taxiway or a hard-standing is asking for trouble. Grass is much kinder because it holds moisture and stays cooler. Water is kinder still. This is why coastal and seafront displays, where the aircraft are flown out over the sea, often stay crisp long after an inland show has descended into shimmer. The catch is the transition zone: air moving off cool water onto warm land, or vice versa, creates swirling mixed layers that can be worse than either surface alone.
Time of day drives the daily cycle. Early morning, before the sun has had hours to bake the ground, is usually the cleanest window of the day. Haze builds through the late morning, peaks in the early to middle afternoon when the ground is hottest, and eases again toward evening as the surface cools. Unfortunately, the flying display at most airshows runs straight through the worst of it, from late morning to late afternoon, so you are shooting into the teeth of the problem for hours. Knowing the cycle at least tells you when to expect your best static and taxi shots: get them early.
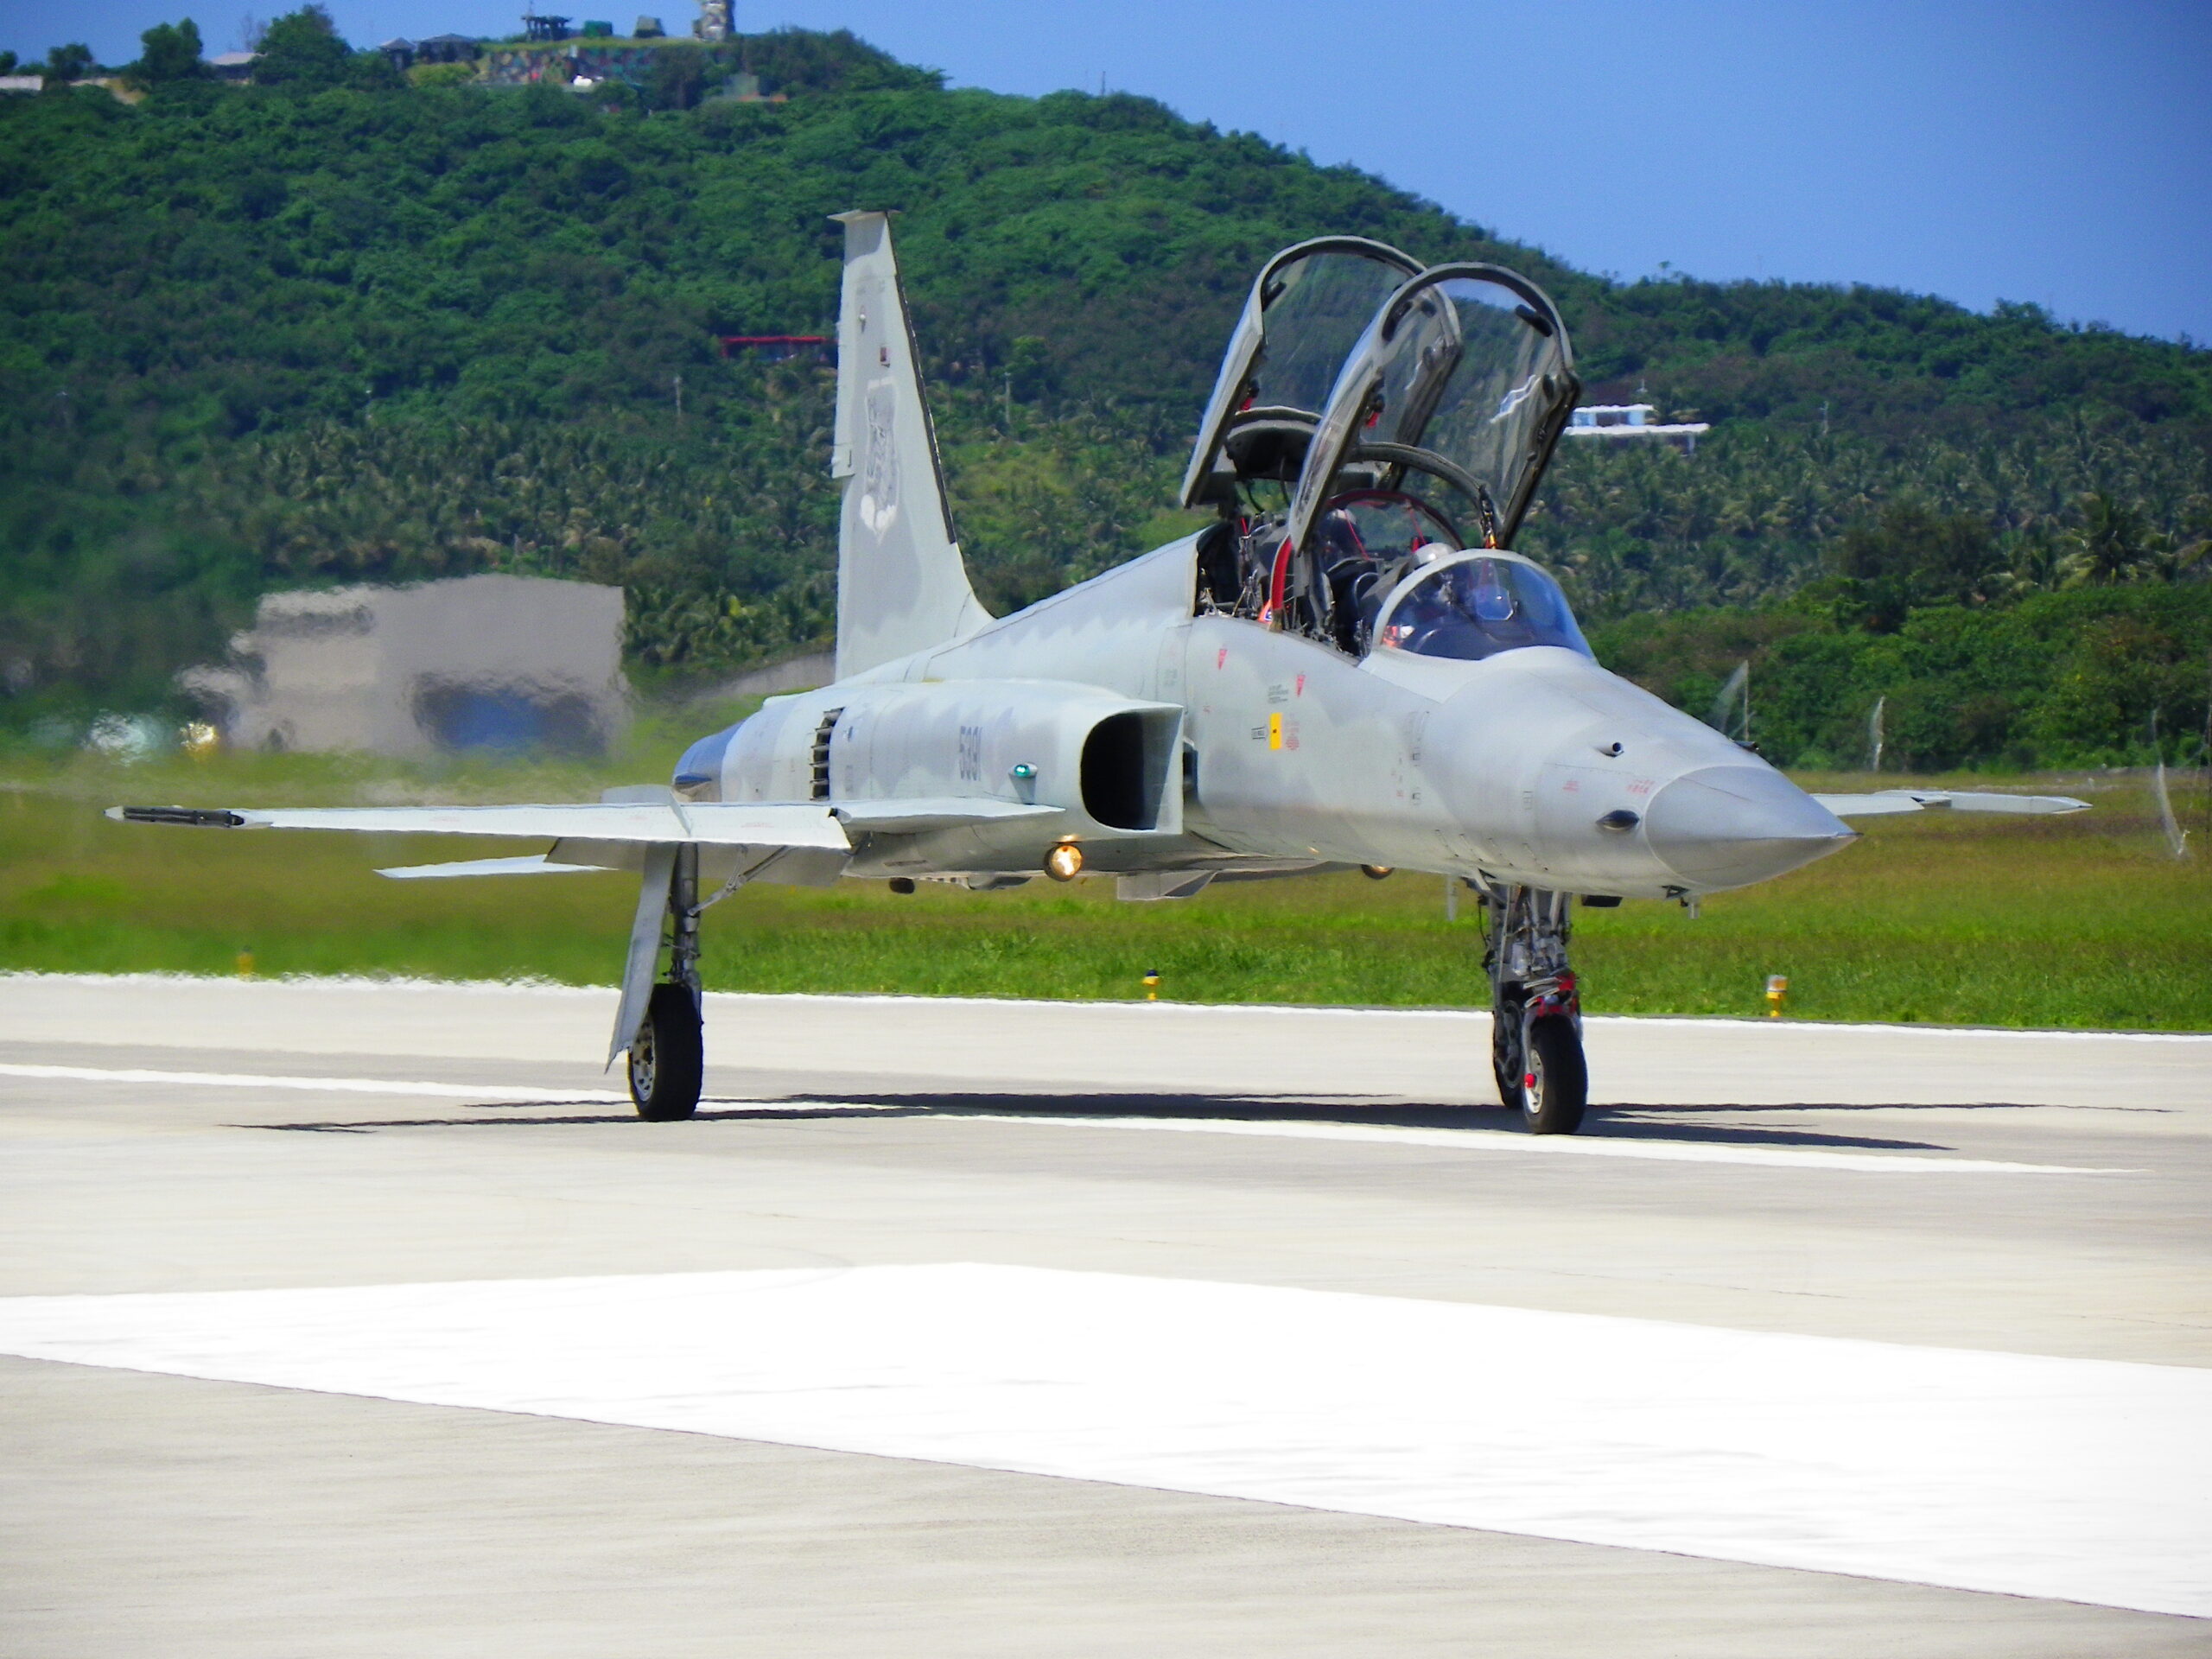
Angle to the ground is the factor people forget. Light travelling parallel to a hot surface passes through the maximum amount of disturbed air, which is why a taxi shot across a runway is the worst case. Light coming down from an aircraft high against the sky crosses far less warm air and mostly avoids the boiling layer near the ground altogether. That is why the same afternoon can give you a ruined taxi shot and a pin-sharp topside pass minutes apart. The aircraft in the sky is being seen through clean air, the one on the ground through a furnace.
Put those factors together and a simple hierarchy emerges. Worst: a distant subject, low to the ground, seen along hot tarmac, in the early afternoon, through a teleconverter. Best: a near subject, high against the sky, over grass or water, in the early morning, at native focal length. Most real shots sit somewhere between, and your job is to nudge as many factors as you can toward the good end.
Not every warm place is a problem. Our San Diego guide covers a Californian airport where the average high runs from 65F to 76F across the whole year and shimmer is a minor consideration rather than a season to plan around, which is worth knowing before you write off the whole state in August. Sometimes the only factor left to move is the calendar. Our guide to photographing at Palm Springs makes that case for a desert airport where the average July high is 106F, and where the honest advice is to come in a different month rather than to try a different technique.
Spotting heat haze before it ruins the shot
The photographers who beat heat haze are the ones who see it coming, because heat haze is largely invisible until you look for it. The naked eye is very good at ignoring it. Your brain smooths out the wobble the same way it ignores the blind spot in your vision, so a scene can look perfectly clear while your lens is recording chaos. The trick is to stop trusting your eyes and start trusting magnification.
Use your longest lens as a heat-haze detector. Point it at a distant static aircraft, a runway sign, a hangar edge or any hard line near ground level and watch the live view or viewfinder at full magnification. If the edges are boiling and rippling, you are in haze, and anything you shoot at that distance and height will be soft. Do this every so often through the day so you know, at any moment, how bad the air is and how far out it is safe to shoot. It takes five seconds and saves you a card full of disappointments.
Learn the look of it on the back of the camera too. Heat haze softness is different from motion blur and different from missed focus. Missed focus is uniformly soft with the plane of focus somewhere else in the frame. Motion blur shows directional streaking. Heat haze gives a mushy, wavering, slightly rippled texture across the whole subject, often with fine edges that look like they are dissolving. Once you have seen it a few times you will recognise it instantly, and that recognition tells you to change something rather than keep firing.
Field tactics to beat heat haze
Because the distortion happens in the air and not in your camera, the winning moves are almost all about the light path rather than the settings. Change what the light travels through, and you change the result. Here are the tactics that make the biggest difference, roughly in order of how much they help.
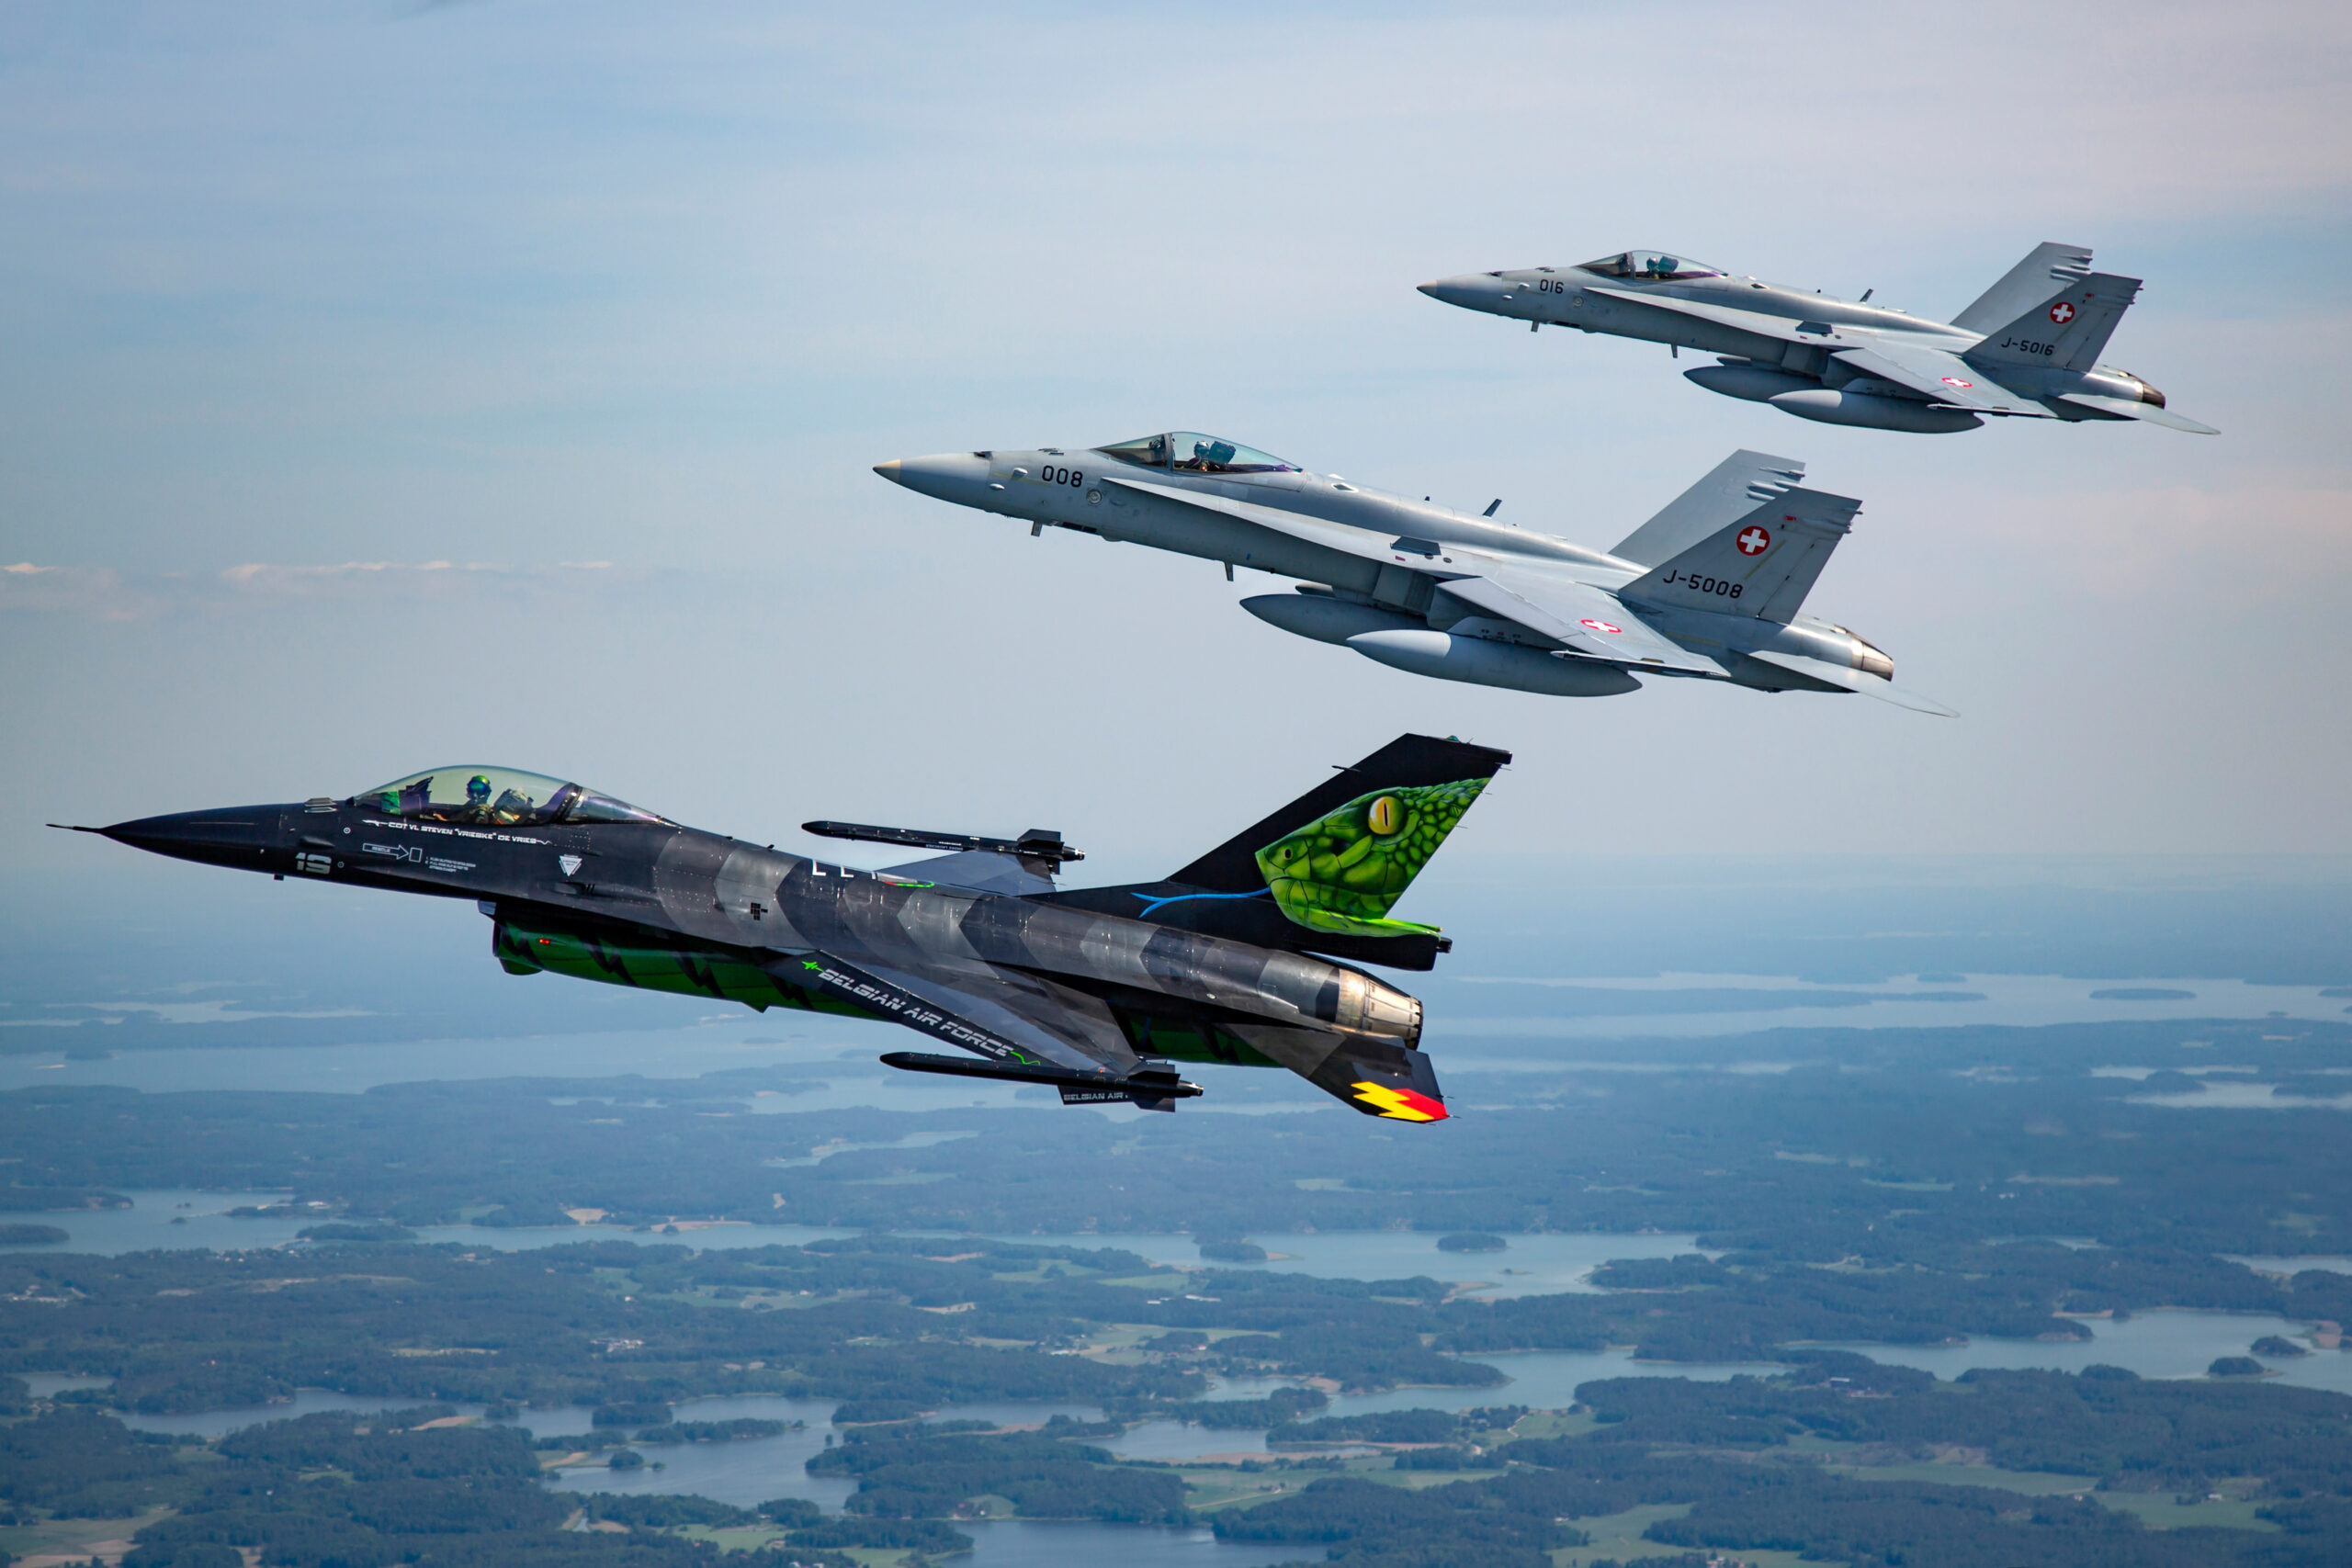
Get closer, or shoot subjects that come to you
Distance is the master variable. Halving the distance to an aircraft roughly halves the column of disturbed air its light has to cross, and the improvement is often dramatic. You usually cannot move at an airshow, but you can choose what you shoot. Favour aircraft on the near side of the display line over ones parked or flying far away. Prioritise the topside and banking passes that bring jets in close over subjects lingering at the far end of the runway. If a static aircraft is hopelessly far across a hot apron, accept that it is a lost cause in the afternoon and come back for it early the next morning.
Shoot up, not along
Whenever you have a choice, photograph the aircraft against sky rather than against the ground. Light coming down through clean air is far less disturbed than light skimming along a hot surface. This is why airborne shots so often survive an afternoon that destroys taxi shots. When you must shoot something on the ground, look for any elevation you can gain. Even standing on a step or a small bank so your line of sight crosses less of the hot layer near the surface can help.
Wait for the calm frames and shoot bursts
Heat haze pulses. The air is not uniformly bad; it churns through better and worse moments several times a second. If you fire a burst of ten or fifteen frames of a static or slow-moving subject, some will land in a calmer instant when the shimmer briefly settles. This is the single most reliable rescue for a subject you cannot get closer to. Shoot generously, then cull hard later and keep only the sharpest frame from each burst. It is a numbers game, and the photographer who takes forty frames of a distant static will beat the one who takes four.
Read the surface and pick your gap
If there is grass between you and the aircraft rather than tarmac, use it. Position so that as much of your light path as possible crosses cooler ground. At a coastal show, favour the passes flown out over the water. On a mixed site, a few steps left or right can change whether you are shooting across the hot runway or across the grass verge beside it, and that can be the difference between soft and sharp.
Let the engine plume clear
The violent shimmer directly behind a running jet, and the boil above an idling one, is engine heat, and no amount of technique sees through it. The answer is timing. Wait until the aircraft has moved forward of its own exhaust wash, or catch it in a phase where the plume is not between you and the parts you want sharp. On a departing jet, the nose and cockpit are usually clear even when the tail is swimming in its own heat. Compose for the clean part.
Time the day around the haze
Treat the early morning as premium time for anything on the ground. Static aircraft, line-ups, taxi shots and detail work are all far cleaner before the sun has cooked the tarmac. Bank those shots first. Save the airborne display work, which suffers least, for the middle of the day when the ground-level haze is at its worst but the aircraft are up in clean air. Planning your day around the daily haze cycle costs nothing and improves your keeper rate more than any gear upgrade.
Camera settings that help
Settings will not defeat heat haze, because the problem is not in the camera, but a few choices stack the odds in your favour and stop you making a soft situation worse. Think of these as marginal gains that matter when you are already fighting the air.
Shoot fast and shoot a lot. A high frame rate gives you more chances to catch a calm instant, so use continuous high drive for distant subjects. Keep the shutter speed really fast, because a slow shutter simply averages more of the moving distortion into a permanent smear. For a static or taxiing aircraft in haze, 1/1000 of a second or faster freezes each individual moment of the shimmer so that at least the calm frames are truly sharp. For airborne subjects your normal action speeds, from around 1/500 for props to catch some blur through to 1/1250 and beyond for jets, already do the job.
Do not stop down chasing depth of field you do not need. A distant aircraft is effectively at infinity, so a wide-open or near-wide aperture is fine and lets you keep the shutter speed up and the ISO down. Extra depth of field does nothing to cut haze and only forces a slower shutter or higher ISO, both of which cost you sharpness elsewhere. Use continuous autofocus and a tracking area suited to the subject, but understand that in heavy haze the autofocus system is trying to lock onto a target that is physically wobbling, so some hunting is the atmosphere’s fault, not the camera’s.
Turn off any in-camera processing that guesses at detail it cannot see. Heavy in-camera sharpening applied to a JPEG of a hazy subject just crunches the mush into crunchy mush. Shoot raw so you make those decisions later with the full frame in front of you, and so you can pick the best frame from a burst before committing to any sharpening at all.
Shooting position and timing
Where you stand decides how much hot air you are shooting through, so choosing your spot is a heat-haze decision as much as a light and background decision. On arrival, look at what lies between the crowd line and the display line. If it is a wide expanse of concrete or tarmac baking in the sun, expect heavy shimmer on anything low, and plan to concentrate on airborne subjects from that position. If there is grass, or better still water, in front of you, you have a cleaner light path and can be more ambitious with ground and low passes.
Sun position matters twice over. It drives the heating that causes the haze, and it sets your light. A spot that puts the sun behind you gives you clean front light on the aircraft, but it also means the ground in front of you is in full sun and radiating heat. There is no perfect answer, only a trade-off to make consciously. At a show that runs into the evening, the last hour is often the golden window in every sense: the light softens and warms, and the ground-level haze eases as the surface cools, so late passes can be both beautiful and sharp.
Height helps more than people expect. Even a modest raised bank, a grass mound or a step lets your line of sight cross the boiling near-surface layer at a steeper angle and clear it sooner. Some seasoned photographers deliberately seek slightly elevated ground precisely for this reason. It will not save a shot of a jet a kilometre away, but it takes the edge off, and small gains add up.
Think about the phase of flight you are shooting, not just the aircraft. A departing jet is clean at the nose and swimming in heat at the tail. A landing aircraft is coming toward you and getting closer, so the light path is shrinking frame by frame; the last moments before touchdown, when it is nearest, are often the sharpest. A holding or taxiing aircraft at distance is the hardest case of all, static in the worst air. Match your effort to the odds, and do not waste a hundred frames on the subject the atmosphere has already beaten.
A worked example: a hot airshow afternoon
Picture a typical inland summer show. You arrive at eight in the morning to a cool, still airfield. This is your clean window, so you work the static park first while the tarmac is cold, getting the sharp, detailed line-up and three-quarter shots that would be impossible by two in the afternoon. You point your long lens at a distant hangar edge and it is rock steady, confirming the air is calm.
By late morning the sun is high, the concrete is warming and your heat-haze check across the runway now shows a boiling edge on anything more than a few hundred metres out. You stop shooting distant statics and switch your attention upward, ready for the flying display. The first fast jet run comes in low and close on your side of the line, banking against clean sky, and it is tack sharp because the light never went near the hot ground. A second aircraft holds at the far end of the runway, low and distant, and every frame of it is soft. You accept that and do not force it.
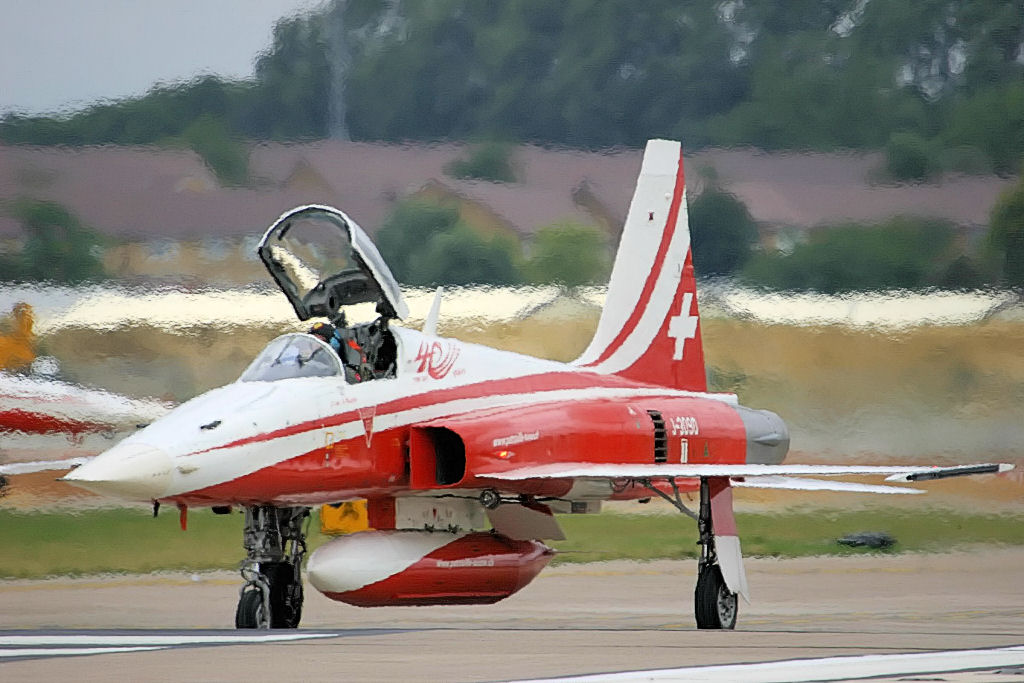
Through the early afternoon, the peak haze hours, you lean entirely on the airborne work and shoot bursts of anything that comes in close and high. When a display team runs a distant formation pass, you fire long bursts and accept that you are keeping maybe one frame in five, the ones that landed in a calmer instant. You leave the far-end statics alone; you already have them from the morning.
As the display winds down toward evening, the light warms and the ground begins to cool. Your heat-haze check across the runway is noticeably cleaner than it was at two o’clock. Now you go back for the low taxi shots and the shutdown line-up you could not get earlier, catching the last aircraft returning to the static park in soft evening light and steadier air. You leave with the sharp statics banked at dawn, the clean airborne work from the middle of the day, and the atmospheric taxi shots from dusk, having simply matched each subject to the hour when the air suited it.
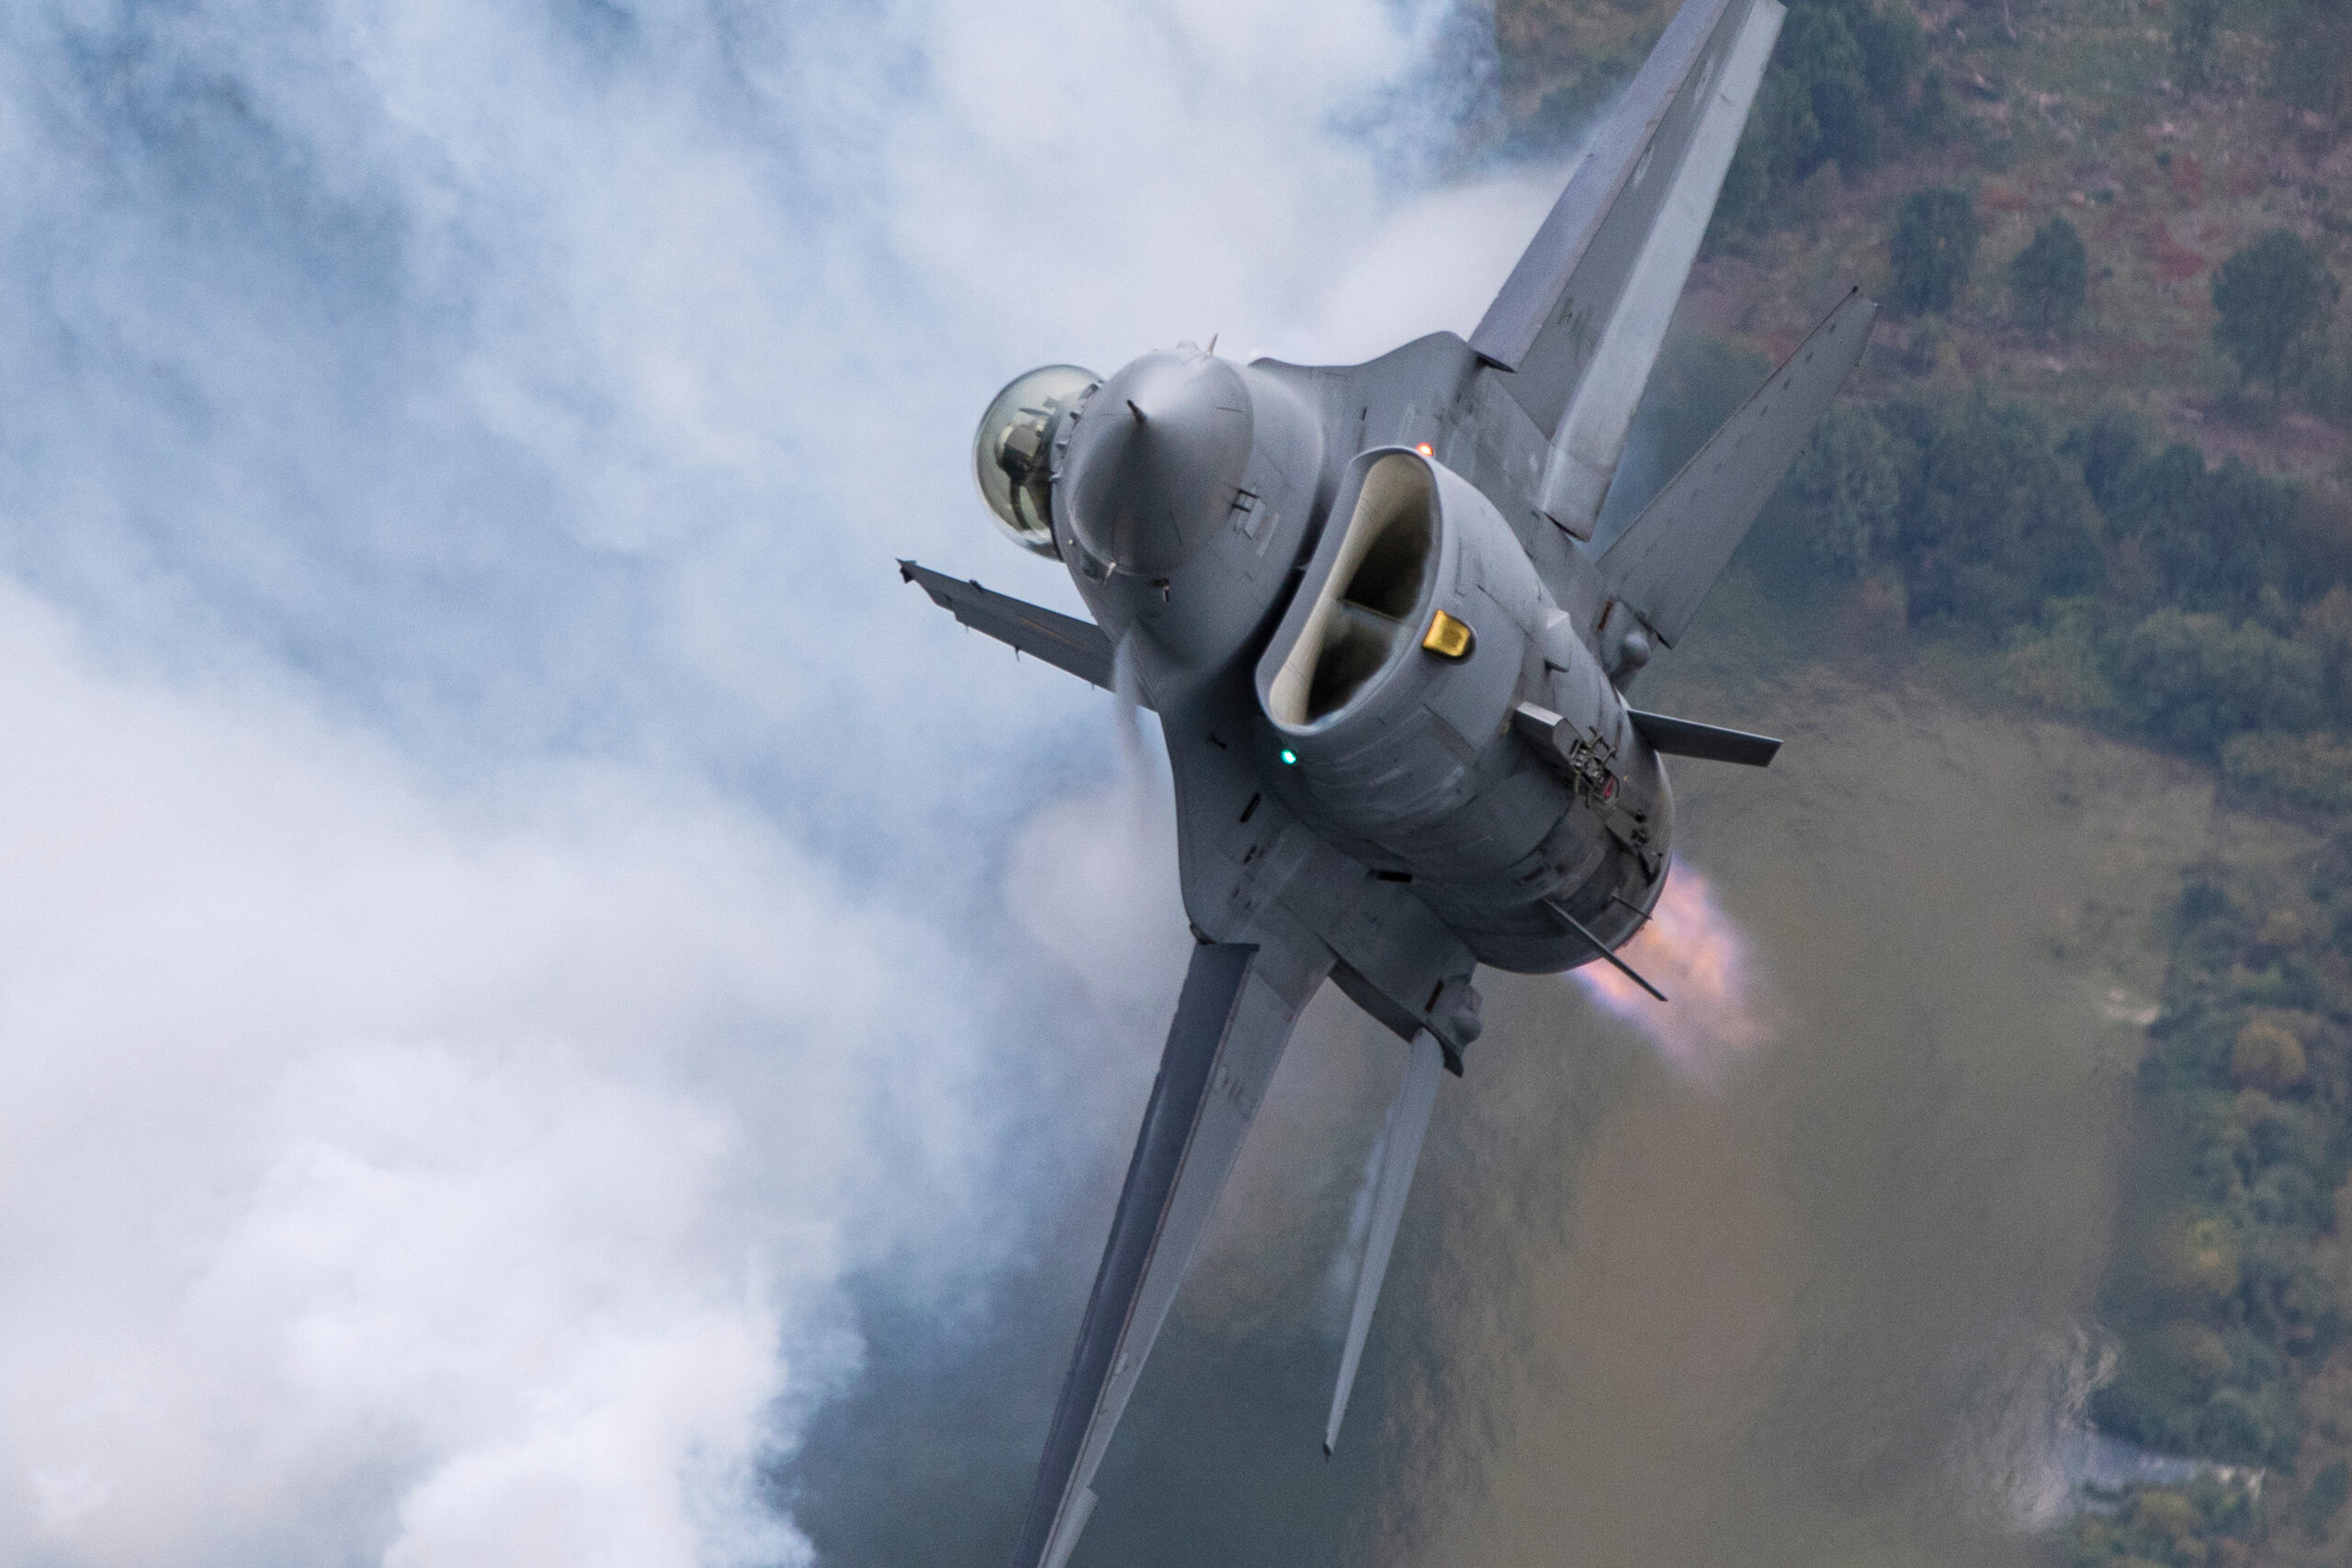
Can you fix heat haze in editing?
The honest answer is mostly no, and it is important to be realistic about this so you put your effort where it counts, which is in the field. Heat haze destroys detail that was never recorded in the first place. Once the light has been scrambled by the air, the fine edges of the aircraft simply are not in the file, and no slider brings back information that the sensor never received. This is fundamentally different from noise or a slightly missed focus, where some usable detail exists to be recovered.
Sharpening does not help and usually hurts. Pushing a sharpening slider on a hazy frame raises the contrast of the mush and the noise, giving you a crunchy, artificial look without adding any real detail. The same goes for clarity and texture sliders. They make the softness more obvious, not less. If you have read our guide to noise reduction and sharpening for long-lens shots, the same principle applies here in reverse: sharpening amplifies what is in the file, and if what is in the file is scrambled, that is what you amplify.
Modern AI tools change the picture only slightly. Programs such as Topaz Photo AI, which since a change in September 2025 is sold on a subscription rather than a one-off licence, and the AI denoise and enhance features built into Lightroom and other editors, can make a mildly hazy frame look a little cleaner. They do it by inventing plausible detail, not by recovering real detail, so on a lightly affected shot the result can be acceptable and on a badly affected one it looks smeared and false, sometimes adding strange artefacts to panel lines and markings. For a stock or client image where accuracy matters, be very cautious about passing off invented detail as real, and read our Lightroom workflow guide for a sensible, honest processing order. The only genuine fix for heat haze is to not record it in the first place.
When heat haze becomes a creative choice
Not every hazy frame is a failure. There are times when the shimmer tells the story, and leaning into it produces a stronger image than fighting it. A jet lifting off in a wall of afterburner heat, the air tearing apart behind it, is a picture about power and violence, and a clinically sharp version would say less. The distortion is the subject. Photographed deliberately, with the clean nose set against the boiling exhaust, engine heat becomes a feature rather than a fault.
The same is true of the mood of a baking airfield. A distant aircraft wavering in the haze over a shimmering runway can convey the heat of the day in a way a sharp frame never could, especially in a wider, more environmental composition where the aircraft is one element in a scene rather than the whole point. The key is intent. If you choose the shimmer, compose for it, keep something in the frame really sharp for the eye to rest on, and present it as a deliberate atmospheric image. That is very different from a portrait shot you meant to be crisp and which the air softened by accident.
Backlighting pairs well with this approach. A low sun behind a heat-hazed subject picks out the rising air and the exhaust distortion as glowing, textured light, and turns a technical problem into a graphic one. If you are drawn to this, our notes on photographing fast jets cover the timing and panning that let you catch a departing jet at the exact moment its heat is most dramatic.
Common mistakes to avoid
Most heat-haze disappointments come down to a handful of avoidable errors. Recognising them is half the cure.
Trusting your eyes instead of your lens. The naked eye smooths out shimmer, so a scene can look clear while the lens records chaos. Photographers who do not check at magnification keep shooting distant subjects in bad air and only discover the problem at home. Check the air with your longest lens through the day.
Blaming the gear. When shots come back soft, it is tempting to suspect the lens, the autofocus or the technique, and to waste money and worry chasing a fix that is not there. If the softness is a wavering, boiling mush on distant low subjects on a hot day, it is heat haze, and no gear change touches it.
Forcing the impossible shot. Burning a hundred frames on a jet a kilometre away across hot tarmac in the early afternoon is time you could spend on the near, high passes that will actually be sharp. Read the odds and spend your frames where they pay off.
Shooting statics in the worst heat. Leaving the static park until the middle of the afternoon, when the tarmac is at its hottest, guarantees soft detail shots. Do ground subjects early or late, not at the peak.
Slowing the shutter in haze. A slow shutter averages more of the moving distortion into a fixed smear. For subjects sitting in shimmer, keep the shutter fast so the calm frames are really frozen.
Sharpening the mush. Reaching for the sharpening, clarity and texture sliders on a hazy frame makes the softness cruder, not cleaner. If the detail is not in the file, no slider adds it.
Ignoring the surface and the angle. Standing where your light path skims a long stretch of hot concrete, when a few steps would cross grass instead, throws away an easy win. Read the ground and shoot up rather than along wherever you can.
Heat haze quick reference
This table sums up the conditions that drive heat haze and what to do about each. Use it to plan a hot day and to decide, in the moment, whether a shot is worth the frames.
| Factor | Makes haze worse | Makes haze better | What to do |
|---|---|---|---|
| Distance to subject | Far away | Close | Favour near-side and closing subjects; give up on very distant ones |
| Angle to ground | Skimming along the surface | Up against the sky | Shoot airborne passes; gain height for ground shots |
| Surface under the path | Tarmac, concrete, dry earth | Grass, water | Position so the light crosses cooler ground |
| Time of day | Early to mid afternoon | Early morning, late evening | Bank ground shots at dawn and dusk |
| Focal length and TCs | Very long, teleconverter fitted | Native focal length | Drop the converter and crop when haze is heavy |
| Shutter speed | Slow, averaging the shimmer | Fast, freezing each instant | 1/1000s or faster for static subjects in haze |
| Frames taken | A few | Long bursts | Shoot generously, keep the calmest frame |
| Engine plume | Exhaust between you and subject | Aircraft clear of its wash | Time the shot; compose for the clean part |
None of these is a magic switch. Heat haze is a matter of odds, and every factor you push toward the better column raises your keeper rate. Stack enough of them and even a fierce afternoon yields sharp frames. For more on the settings side of hot-weather shooting, see our guide to the best lenses for aviation photography, and browse the Piemags aviation galleries to see how sharp distant subjects can be when the air cooperates. If you want to use any image commercially, the licensing page sets out the options.
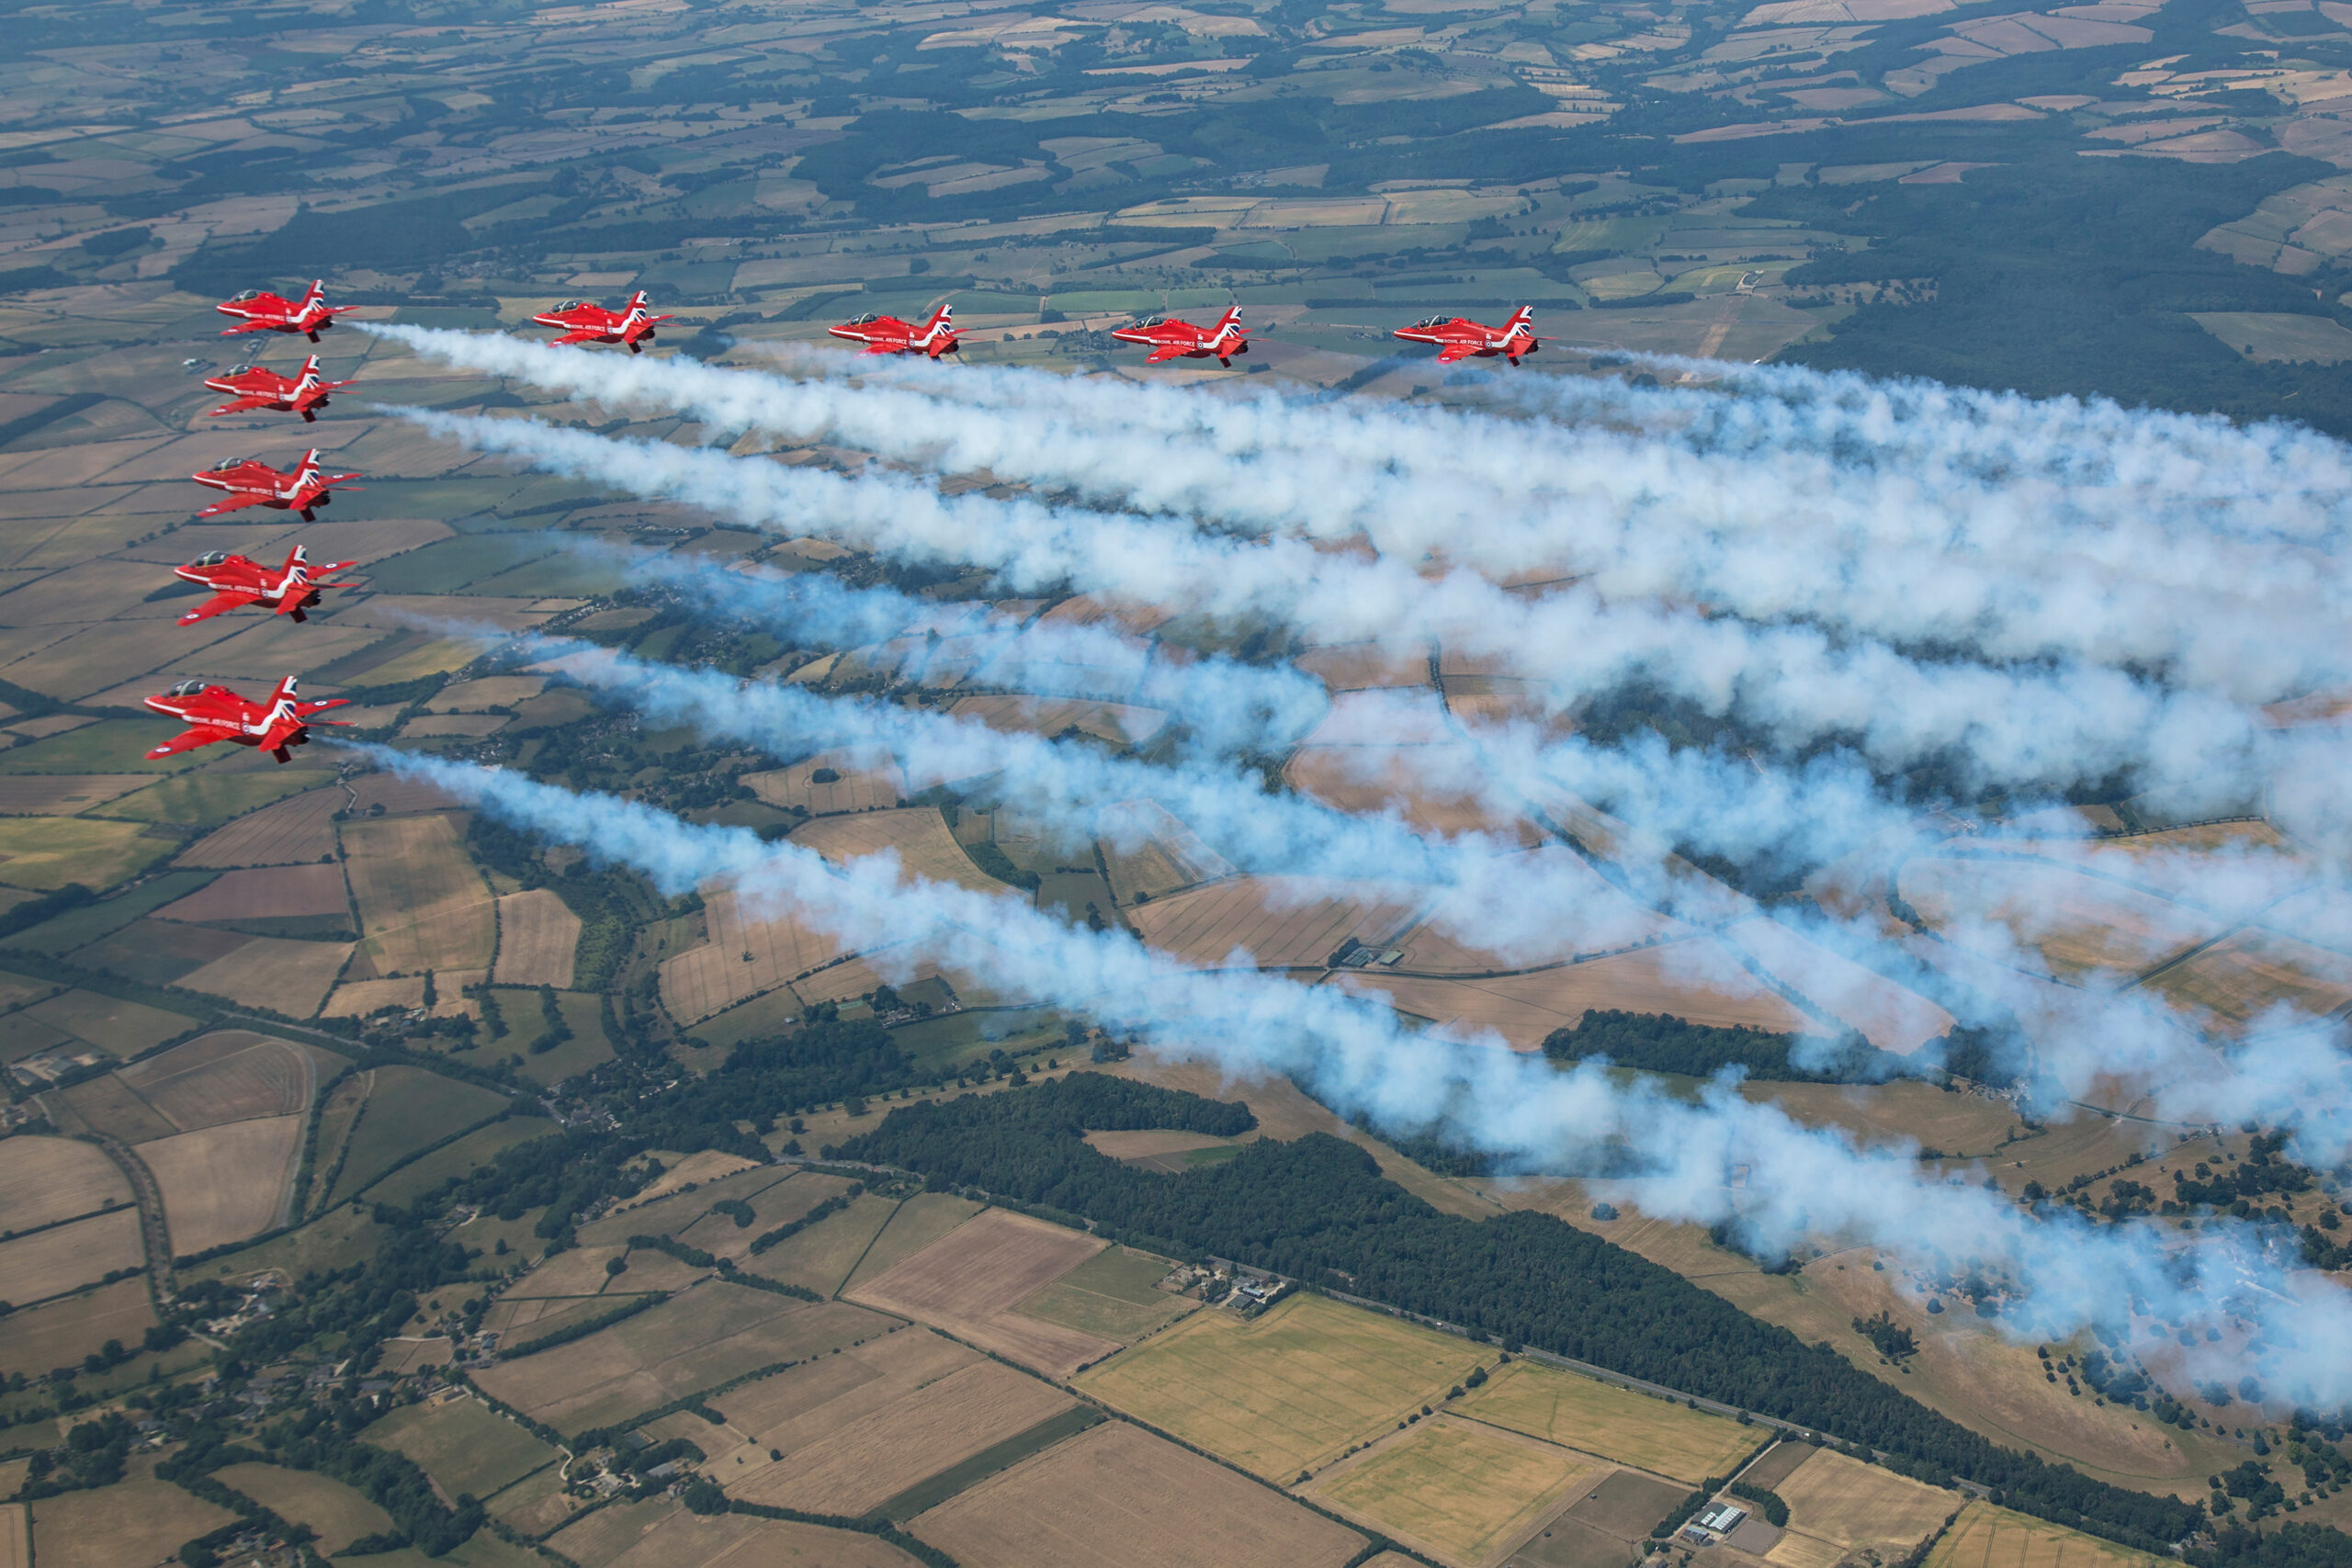
Sea haze behaves differently again: it is suspended water droplets and salt aerosol rather than rising air, so it removes contrast evenly instead of shimmering. That, and the rest of the over-water problem, is covered in the guide to seafront airshow photography.
Frequently asked questions
What causes heat haze in photography?
Heat haze is caused by light refracting as it passes through layers of air at different temperatures. Warm air is less dense than cool air and bends light differently, so when the ground heats the air above it, rising pockets of warm air scramble the light travelling from a distant subject to your lens. The result is a moving, shimmering softness that is worst over hot surfaces and at long distances.
How do I reduce heat haze in aviation photos?
The most effective steps all shorten or clean the light path rather than change camera settings. Get closer or shoot subjects that come to you, photograph aircraft up against the sky rather than along a hot runway, favour light paths over grass or water instead of tarmac, and shoot ground subjects in the early morning or late evening when the surface is cool. Firing long bursts also helps, because the air pulses and some frames land in a calmer instant.
Does a more expensive lens cut through heat haze?
No. The distortion happens in the air outside the lens, so no lens can see through it. A better lens resolves more detail in clean conditions but records the same boiling air as a cheap one. This is why field craft beats gear for heat haze, and why a teleconverter, which magnifies the haze along with the subject, often makes distant hot-weather shots worse rather than better.
Can you fix heat haze in Lightroom or Photoshop?
Mostly no. Heat haze destroys fine detail before it reaches the sensor, so there is nothing in the file to recover, and sharpening only makes the softness cruder. AI tools such as Topaz Photo AI or Lightroom enhance can make a mildly hazy frame look a little cleaner, but they do it by inventing plausible detail rather than restoring real detail, which is a problem for any image that has to be accurate. The only genuine fix is to avoid recording heat haze in the first place.
What time of day is worst for heat haze?
The early to middle afternoon is usually worst, because the ground has had hours of sun to heat the air above it. Haze builds through the late morning, peaks in the early afternoon and eases toward evening as the surface cools. Early morning, before the ground is hot, is normally the cleanest window, so it is the best time for static, taxi and detail shots.
Does heat haze only happen in summer?
No. What matters is the temperature difference between the ground and the air, not the absolute temperature. A cold, bright winter morning with low sun warming dark tarmac can produce noticeable shimmer over a runway, while a warm but overcast day with no direct sun on the ground can be surprisingly clean. Summer is simply when the strong ground heating that drives haze is most common.
Why are my airborne shots sharp but my taxi shots soft on the same day?
Because of the angle of the light path. An aircraft high against the sky is seen through clean air, while one taxiing on the ground is seen through light skimming along hot tarmac, which crosses the maximum amount of disturbed air. The same afternoon can therefore give a pin-sharp topside pass and a ruined taxi shot minutes apart. Shooting up rather than along is one of the most reliable ways to beat haze.
What shutter speed should I use in heat haze?
Keep it fast. A slow shutter averages more of the moving distortion into a permanent smear, whereas a fast shutter freezes each individual moment so the calmer frames are really sharp. For a static or taxiing aircraft sitting in shimmer, 1/1000 of a second or faster is a sensible floor. For airborne subjects your usual action speeds already do the job.
What exactly causes heat haze in aviation photos?
Heat haze is refraction. Air of different temperatures has slightly different densities, so light bends unevenly as it passes through rising warm air. Over a hot runway or behind a running jet engine that shimmer sits between your lens and the aircraft, and no amount of sharpening recovers the detail it scrambles.
Does a shorter lens reduce heat haze?
Effectively yes, because heat haze gets worse the more air you shoot through and the more you magnify it. A tighter crop from a shorter lens on a closer subject usually beats a long lens reaching across a hot airfield. Moving position to shorten the distance is more effective than any setting change.
Can heat haze be fixed in editing?
Not really. Heat haze destroys detail rather than merely softening it, so sharpening only amplifies the mush and adds artefacts. Contrast, clarity and texture sliders make the softness cruder rather than cleaner, so the plain answer is that hazed frames are best culled and the effort spent on the ones shot in better air.
Does shooting from higher ground help with heat haze?
It can help a great deal. Heat haze is worst in the layer of air closest to a hot surface, so raising your shooting position or choosing a subject higher in the sky means the light passes through less of that disturbed layer. This is why aircraft in the air are usually cleaner than aircraft taxiing across the same hot apron.
Heat haze is one of the few problems in aviation photography that no amount of money solves, and one of the most satisfying to beat, because beating it is pure craft. Read the air, match each subject to the hour that suits it, shoot up rather than along, and let the atmosphere hand you the calm frames rather than trying to force the ones it has already spoiled.
Not every shimmer behind a jet is heat haze. For the difference between refractive haze, exhaust and genuine condensation, see our guide to photographing aircraft vapour.
