The raw file that comes out of your camera at an airshow is not the photograph. It is the ingredients. Long lenses, hazy air, bright skies and dark airframes conspire to make aviation raws look flat, grey and slightly disappointing, and the difference between a shot that sits unloved on a hard drive and one that earns a place in a portfolio is usually twenty minutes of disciplined editing. This guide sets out a complete, repeatable Lightroom workflow for aviation photography, from import to export.
It is written around Lightroom Classic because that is what most high-volume aviation shooters use, but nearly everything applies to the cloud version of Lightroom too. The aim is not to teach every slider. It is to give you an order of operations that works, aviation-specific fixes for aviation-specific problems, and habits that let you turn a 2,000-frame display day into a tight set of finished images in an evening rather than a week.
What this guide covers
- Why aviation photos need a different edit
- Setting up Lightroom for aviation work
- Importing and organising your shoot
- Culling an airshow shoot
- The core Develop workflow
- Fixing aviation-specific problems
- Masking for aircraft
- Colour, liveries and skies
- Noise reduction and sharpening basics
- Cropping and straightening
- Presets, sync and batch editing
- Export settings that work
- A worked example, from raw to final
- Common editing mistakes
- Frequently asked questions
Why aviation photos need a different edit
Generic editing tutorials assume a portrait or a landscape: a subject a few metres away, a controlled tonal range, a modest frame count. Aviation photography breaks all three assumptions, and your workflow needs to reflect that.
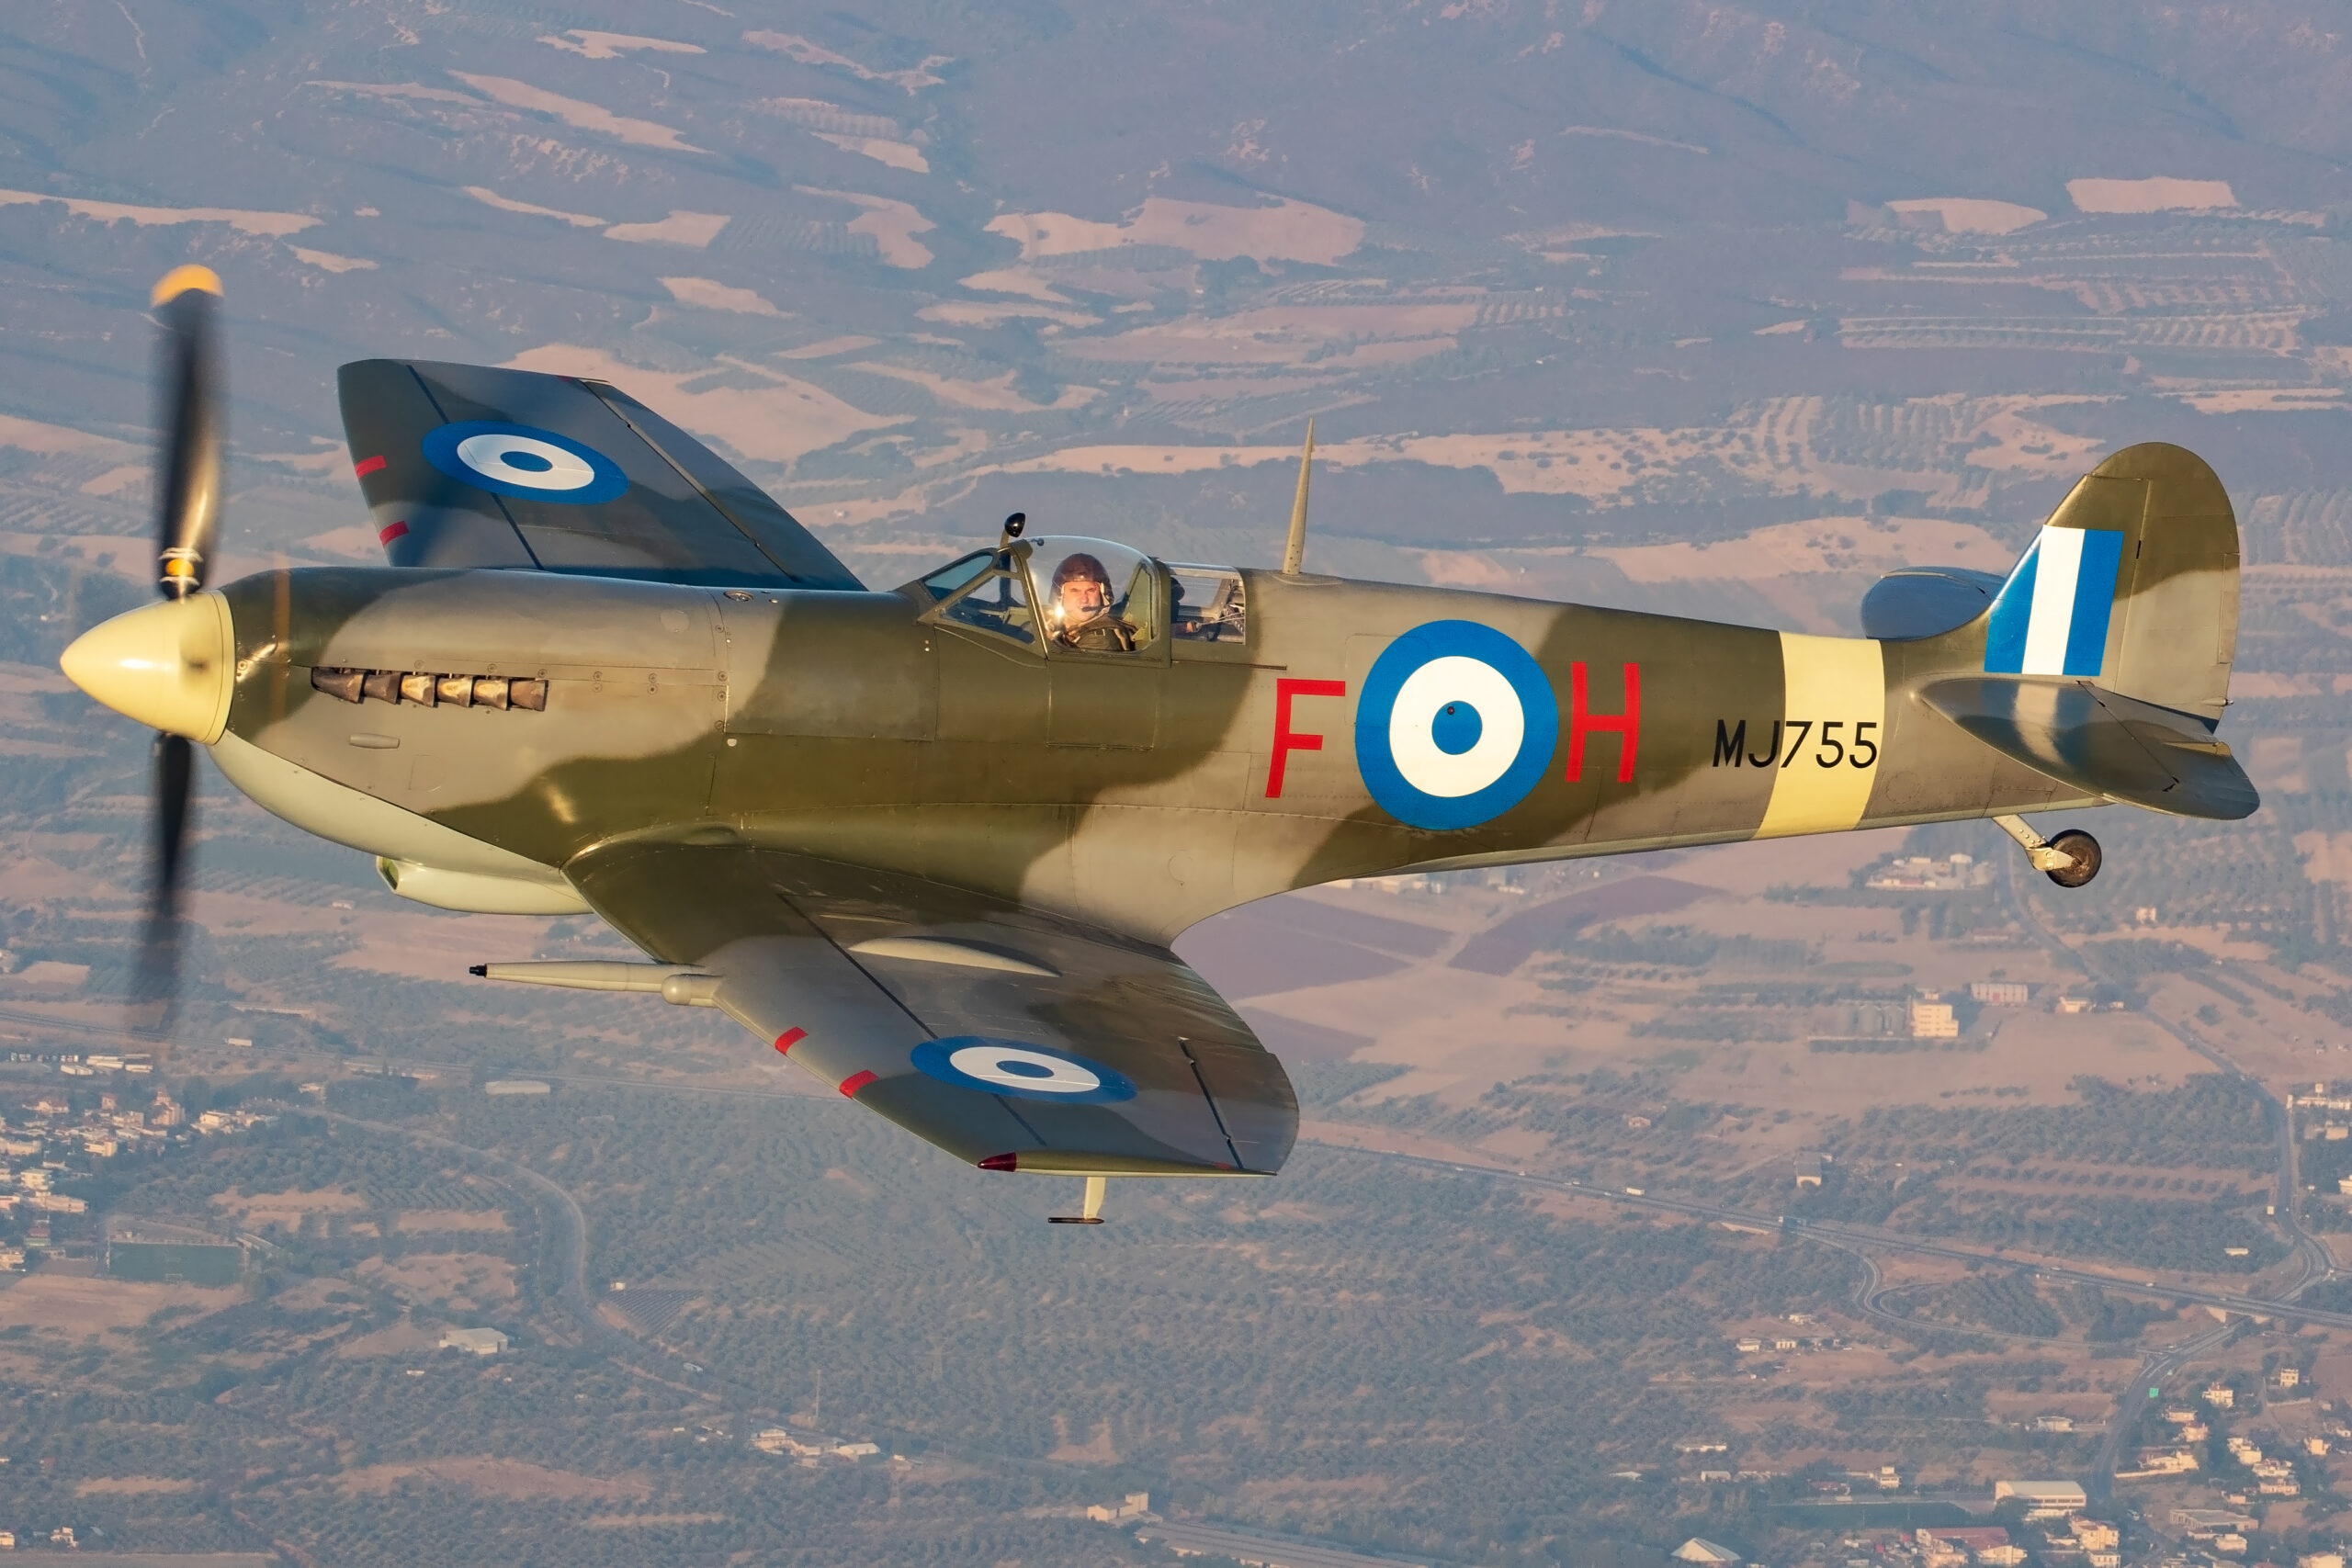
First, you are shooting through hundreds or thousands of metres of atmosphere with a long lens. Every one of those metres adds haze, scatters light and lowers contrast. A Typhoon photographed at 400mm from the crowd line never comes out of the camera looking crisp. The raw file records a slightly milky, low-contrast image, and a large part of aviation editing is plainly reversing what the air did to your photograph without overcooking it.
Second, the tonal range is brutal. Aircraft are commonly photographed against the brightest thing in the scene, the sky, while the airframe itself may be dark grey, olive drab or in shadow on its underside. Cameras meter for the sky and let the aircraft go dark, or you exposed for the aircraft and the sky is close to blown. Either way, aviation edits lean heavily on highlight recovery, shadow lifting and local adjustments in a way a well-lit portrait never does.
Third, volume. A display day at 15 frames per second produces thousands of files. If your workflow involves lovingly hand-editing every frame, you will drown. The skill is a fast, ruthless cull followed by batch development of sequences, with individual attention reserved for the handful of frames that deserve it.
Finally, aviation photographers often shoot with one eye on licensing and stock, where honest processing matters. Editorial aviation images need to stay truthful: tonal correction, colour correction, noise reduction and dust removal are fine, but adding or removing content is usually not. A workflow that keeps your edits clean and reversible protects the commercial value of your archive.
Setting up Lightroom for aviation work
Ten minutes of setup saves hours across a season. These choices matter most for high-volume shooters.
One catalogue, sensible structure
Use a single Lightroom Classic catalogue for all your aviation work rather than one per event. Lightroom handles catalogues with hundreds of thousands of images comfortably, and a single catalogue means one search finds every Spitfire you have ever photographed. Keep the catalogue file on your fastest internal drive, ideally an SSD, even if the photos themselves live on larger external drives. The catalogue is a database, and database speed is what makes Lightroom feel quick or slow.
Preview strategy
Culling is where most aviation editing time goes, and previews decide how fast it feels. Building 1:1 previews on import takes time up front but means zero waiting when you zoom to check sharpness on frame after frame. For a 2,000-frame day, set the import to build 1:1 previews, make a cup of tea, and cull at full speed afterwards. If disk space is tight, let Lightroom discard 1:1 previews after 30 days; by then the cull is long done.
Performance settings
In Preferences, under Performance, make sure GPU acceleration is enabled for both display and image processing, since masking and Denoise lean on the graphics card heavily. Raise the Camera Raw cache to 20GB or more if you have the space. If you are on an Apple silicon Mac, keep Lightroom updated: the June 2026 release moved Denoise processing onto the Neural Engine and it is dramatically faster than it was even a year ago.
Calibrate the monitor, or none of this means anything
Every judgement further down this page assumes your screen is telling you the truth. White balance, exposure, the decision that a grey jet actually looks grey: all of it is made against whatever your monitor is showing, and monitors drift. The symptom is prints that come back darker than you expected and files that look wrong on somebody else’s machine, which is a problem if you send images to a magazine or a picture desk.
A hardware calibrator such as the Calibrite Display Pro HL hangs on the screen, measures a series of known colour patches and builds a profile that the operating system then applies. It takes about five minutes and you repeat it every month or so. The usual starting point for photographic work is a D65 white point and a screen brightness somewhere around 100 to 120 candelas per square metre, judged in a room with the curtains shut rather than in full sun. Software calibration by eye is better than nothing, but it cannot measure, so it cannot tell you how far the screen has drifted.
Importing and organising your shoot
Organisation is dull right up until you need one specific frame of one specific aircraft three years later. Then it is everything. The system below is boring and it works.
Get the files off the card quickly
A two thousand frame day is a lot of data and how you move it matters more than people expect. Importing through the camera’s own USB socket works, but on many bodies it is the slower route and it flattens the battery while you wait. A dedicated card reader matched to your card type, UHS-II for SD or a CFexpress reader if your camera takes those, keeps the camera free and lets you carry on shooting a second card while the first one copies. Import onto a fast portable SSD rather than a spinning disc if you can, because the same speed that makes the ingest quick also makes building previews and culling quick.
Folders by date and event
Import into a folder structure of year, then date plus event, for example 2026, then 2026-07-18 RIAT Friday. Resist the temptation to organise folders by aircraft type; that is what keywords and collections are for. Dates never change, aircraft categorisations do.
Do the cheap work at import
The import dialog can apply work to every frame for free. Use it. Apply a develop preset containing lens corrections, chromatic aberration removal and your preferred camera profile so every image lands with the basics done. Add shared keywords at import, the event, the airfield, the country, since they apply to everything in the shoot. Leave per-aircraft keywords for later, after the cull, so you only keyword the keepers.
Back up before you cull
Tick the option to make a second copy on import to a different drive. A display you travelled hours for is not repeatable. Only format the memory card once the images exist in two places. It is also worth renaming files on import to a pattern like date plus original number, which guarantees unique filenames across your whole archive and saves pain when agencies or clients refer to files by name.
Culling an airshow shoot
The cull is the highest-value hour in the whole workflow. Editing 50 good frames well beats editing 500 mediocre ones badly, and every frame you reject is minutes of your life returned to you.
First pass: flags, fast
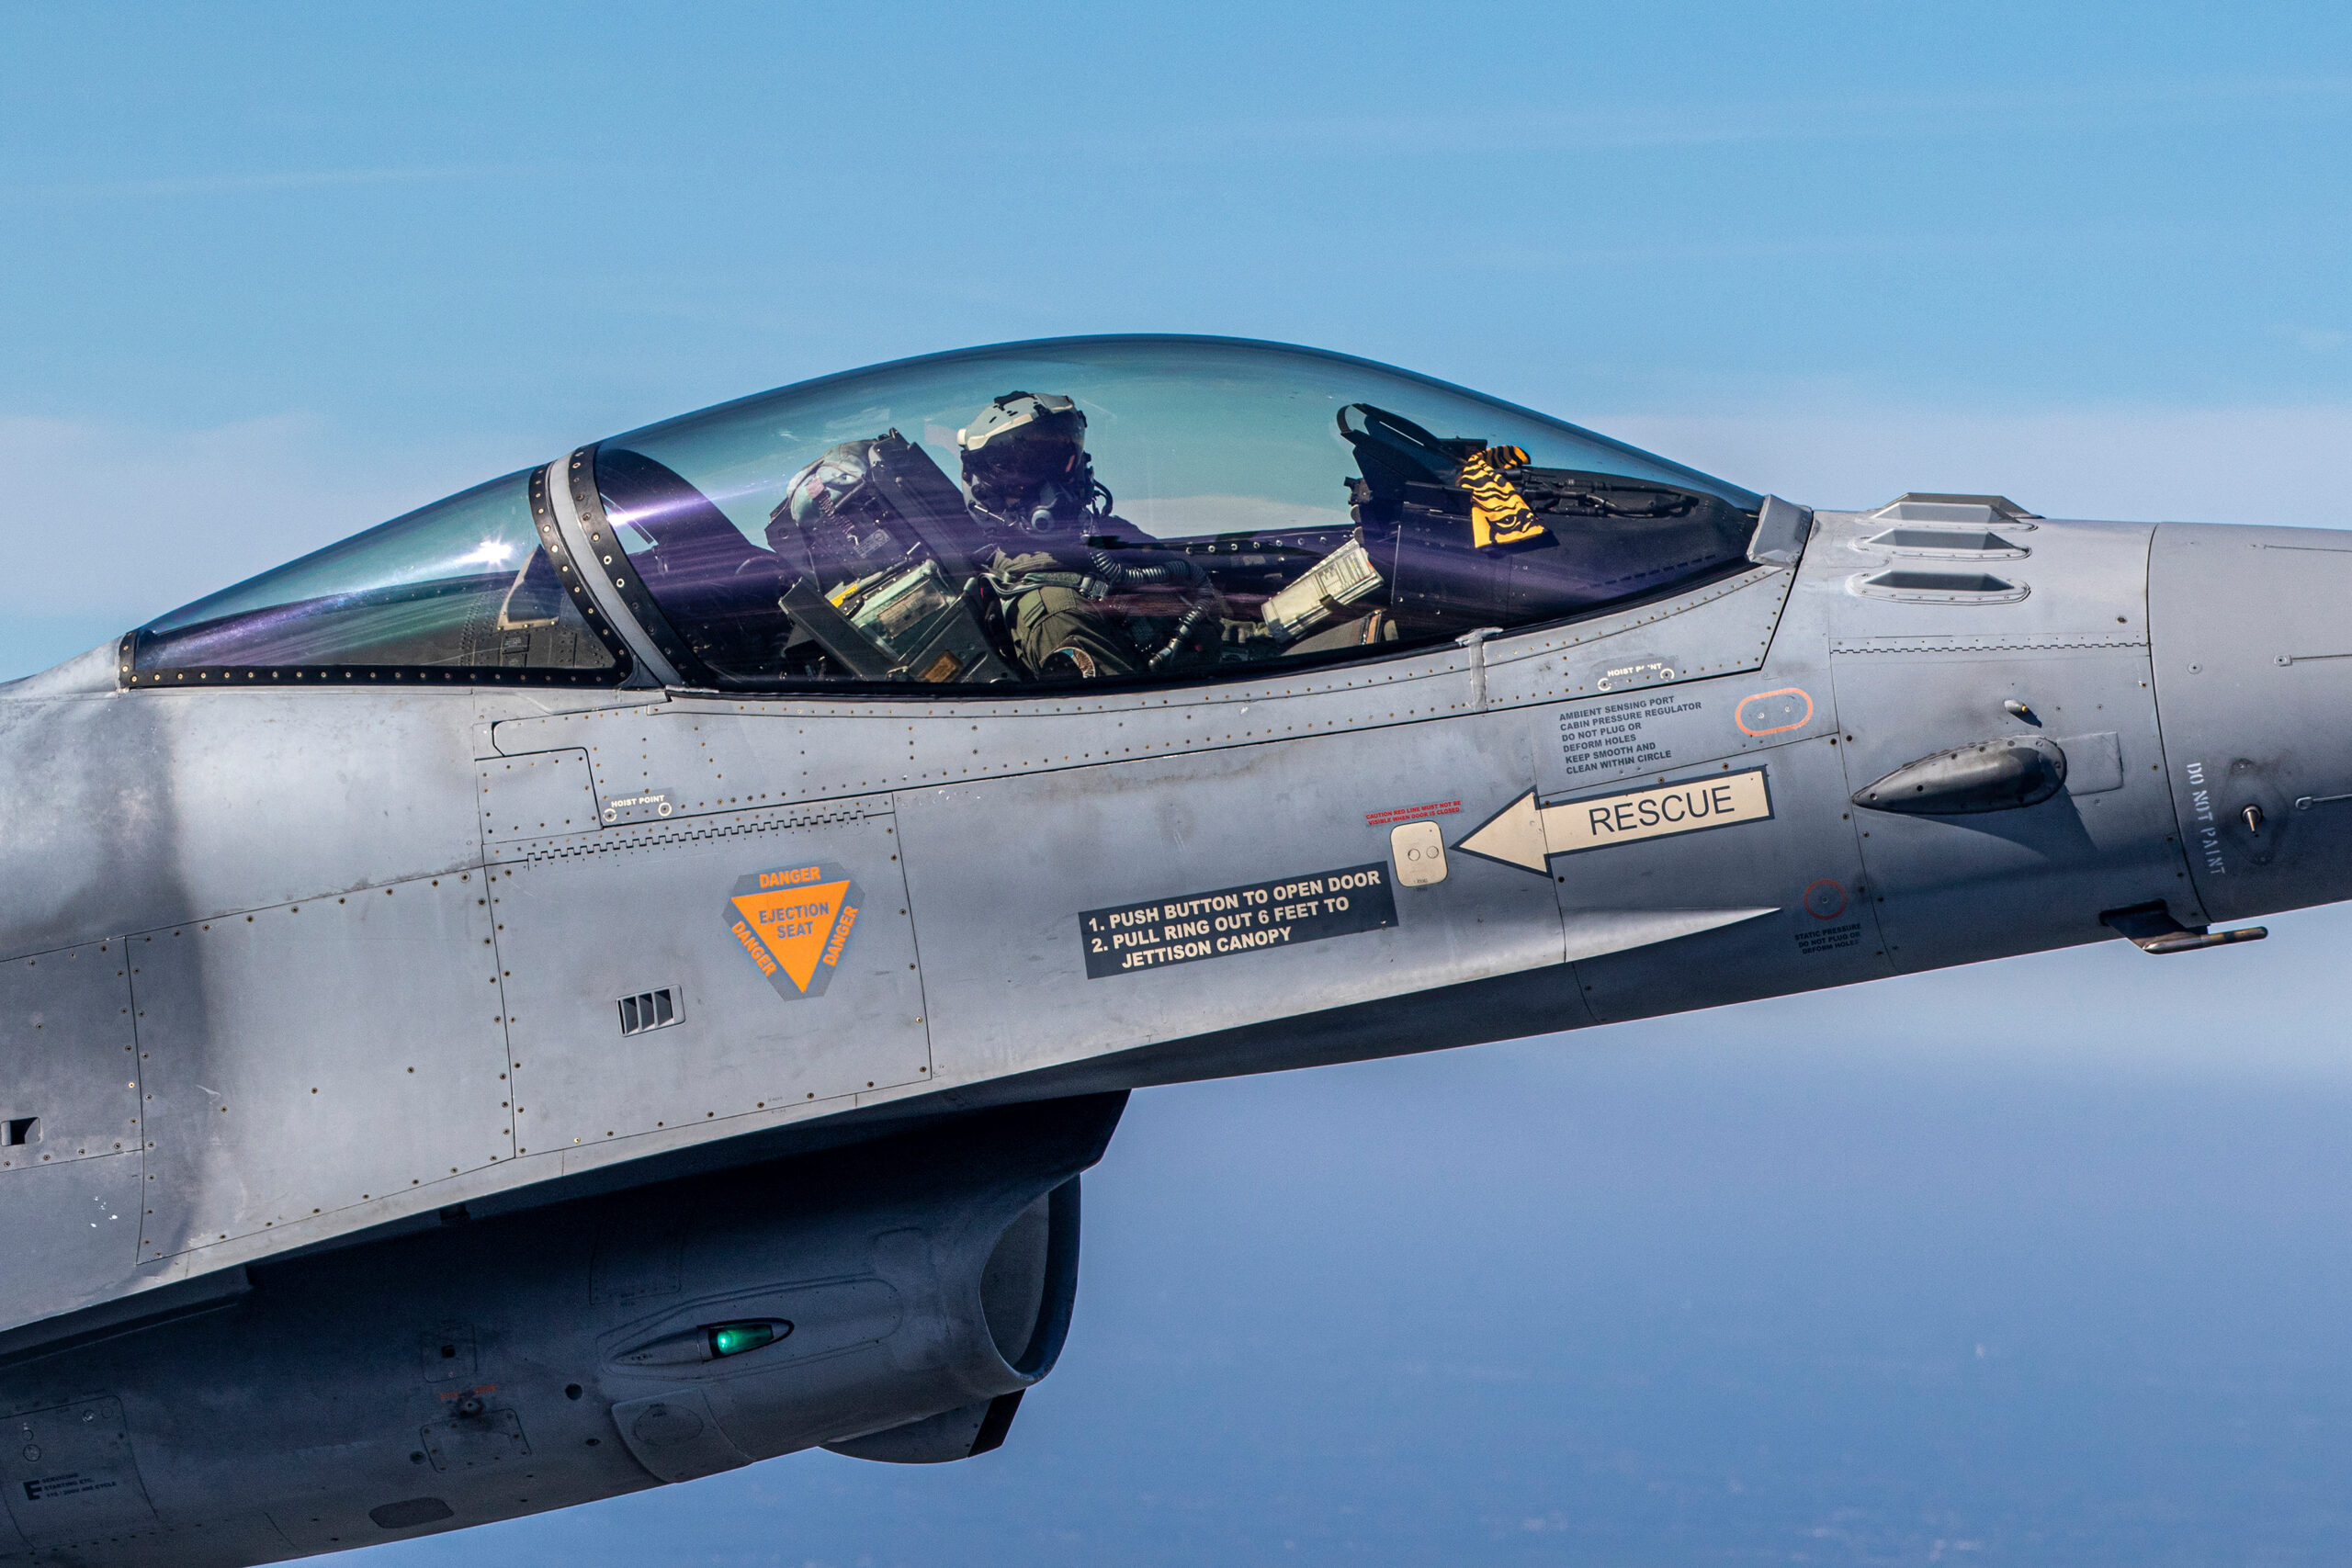
Work in the Library module in Loupe view, images sized to fit. Turn on Caps Lock so Lightroom auto-advances after each decision, then work through with P for pick and X for reject. Be honest and quick: obvious misses, soft frames, clipped wingtips and the weak middles of bursts all get X. Do not zoom on this pass and do not agonise. You are sorting, not judging. A practised first pass runs at one to two seconds per frame.
Second pass: sharpness at 100%
Filter to picks only, zoom to 100%, and check critical sharpness on each. On aircraft, judge sharpness where the eye goes: the cockpit, the nose markings, the pilot if visible. A frame that is sharp on the tail but soft on the canopy is a reject at portfolio level. For propeller aircraft, this is also where you confirm the prop disc: a lovely full arc with a soft airframe loses to a slightly shorter arc that is critically sharp.
Choosing between near-identical frames
Bursts leave you with runs of similar frames. Select the run and use Survey view, N, to compare them side by side, removing the weakest until one remains. Prefer the frame with the better aspect, light angle and background, not just the sharpest. A topside pass with light on the canopy beats a flat side-on profile even if both are technically perfect. From 2,000 frames, expect 40 to 60 real keepers on a good day. If you are keeping 400, your cull is a filing exercise, not a cull.
Ratings and labels that mean something
Flags get you through the cull, but a large aviation archive benefits from one more layer. A simple scheme that works: three stars for solid keepers worth developing, four for the best of the day, five reserved for genuine portfolio candidates, of which most photographers shoot a handful a year. Colour labels can carry workflow state, for example yellow for needs masking work, green for finished, blue for submitted to an agency. The exact scheme matters less than using the same one for years, because ratings you trust let you pull a best-of set from a decade of shows in thirty seconds. Rate at cull time while the day is fresh in your mind, and be stingy; inflation makes the whole system worthless.
The core Develop workflow
Every keeper goes through the same steps in the same order. Order matters because later adjustments depend on earlier ones: there is no point fine-tuning a tone curve before you have set exposure, and no point judging colour before white balance is right. This is the sequence.
1. Profile and lens corrections
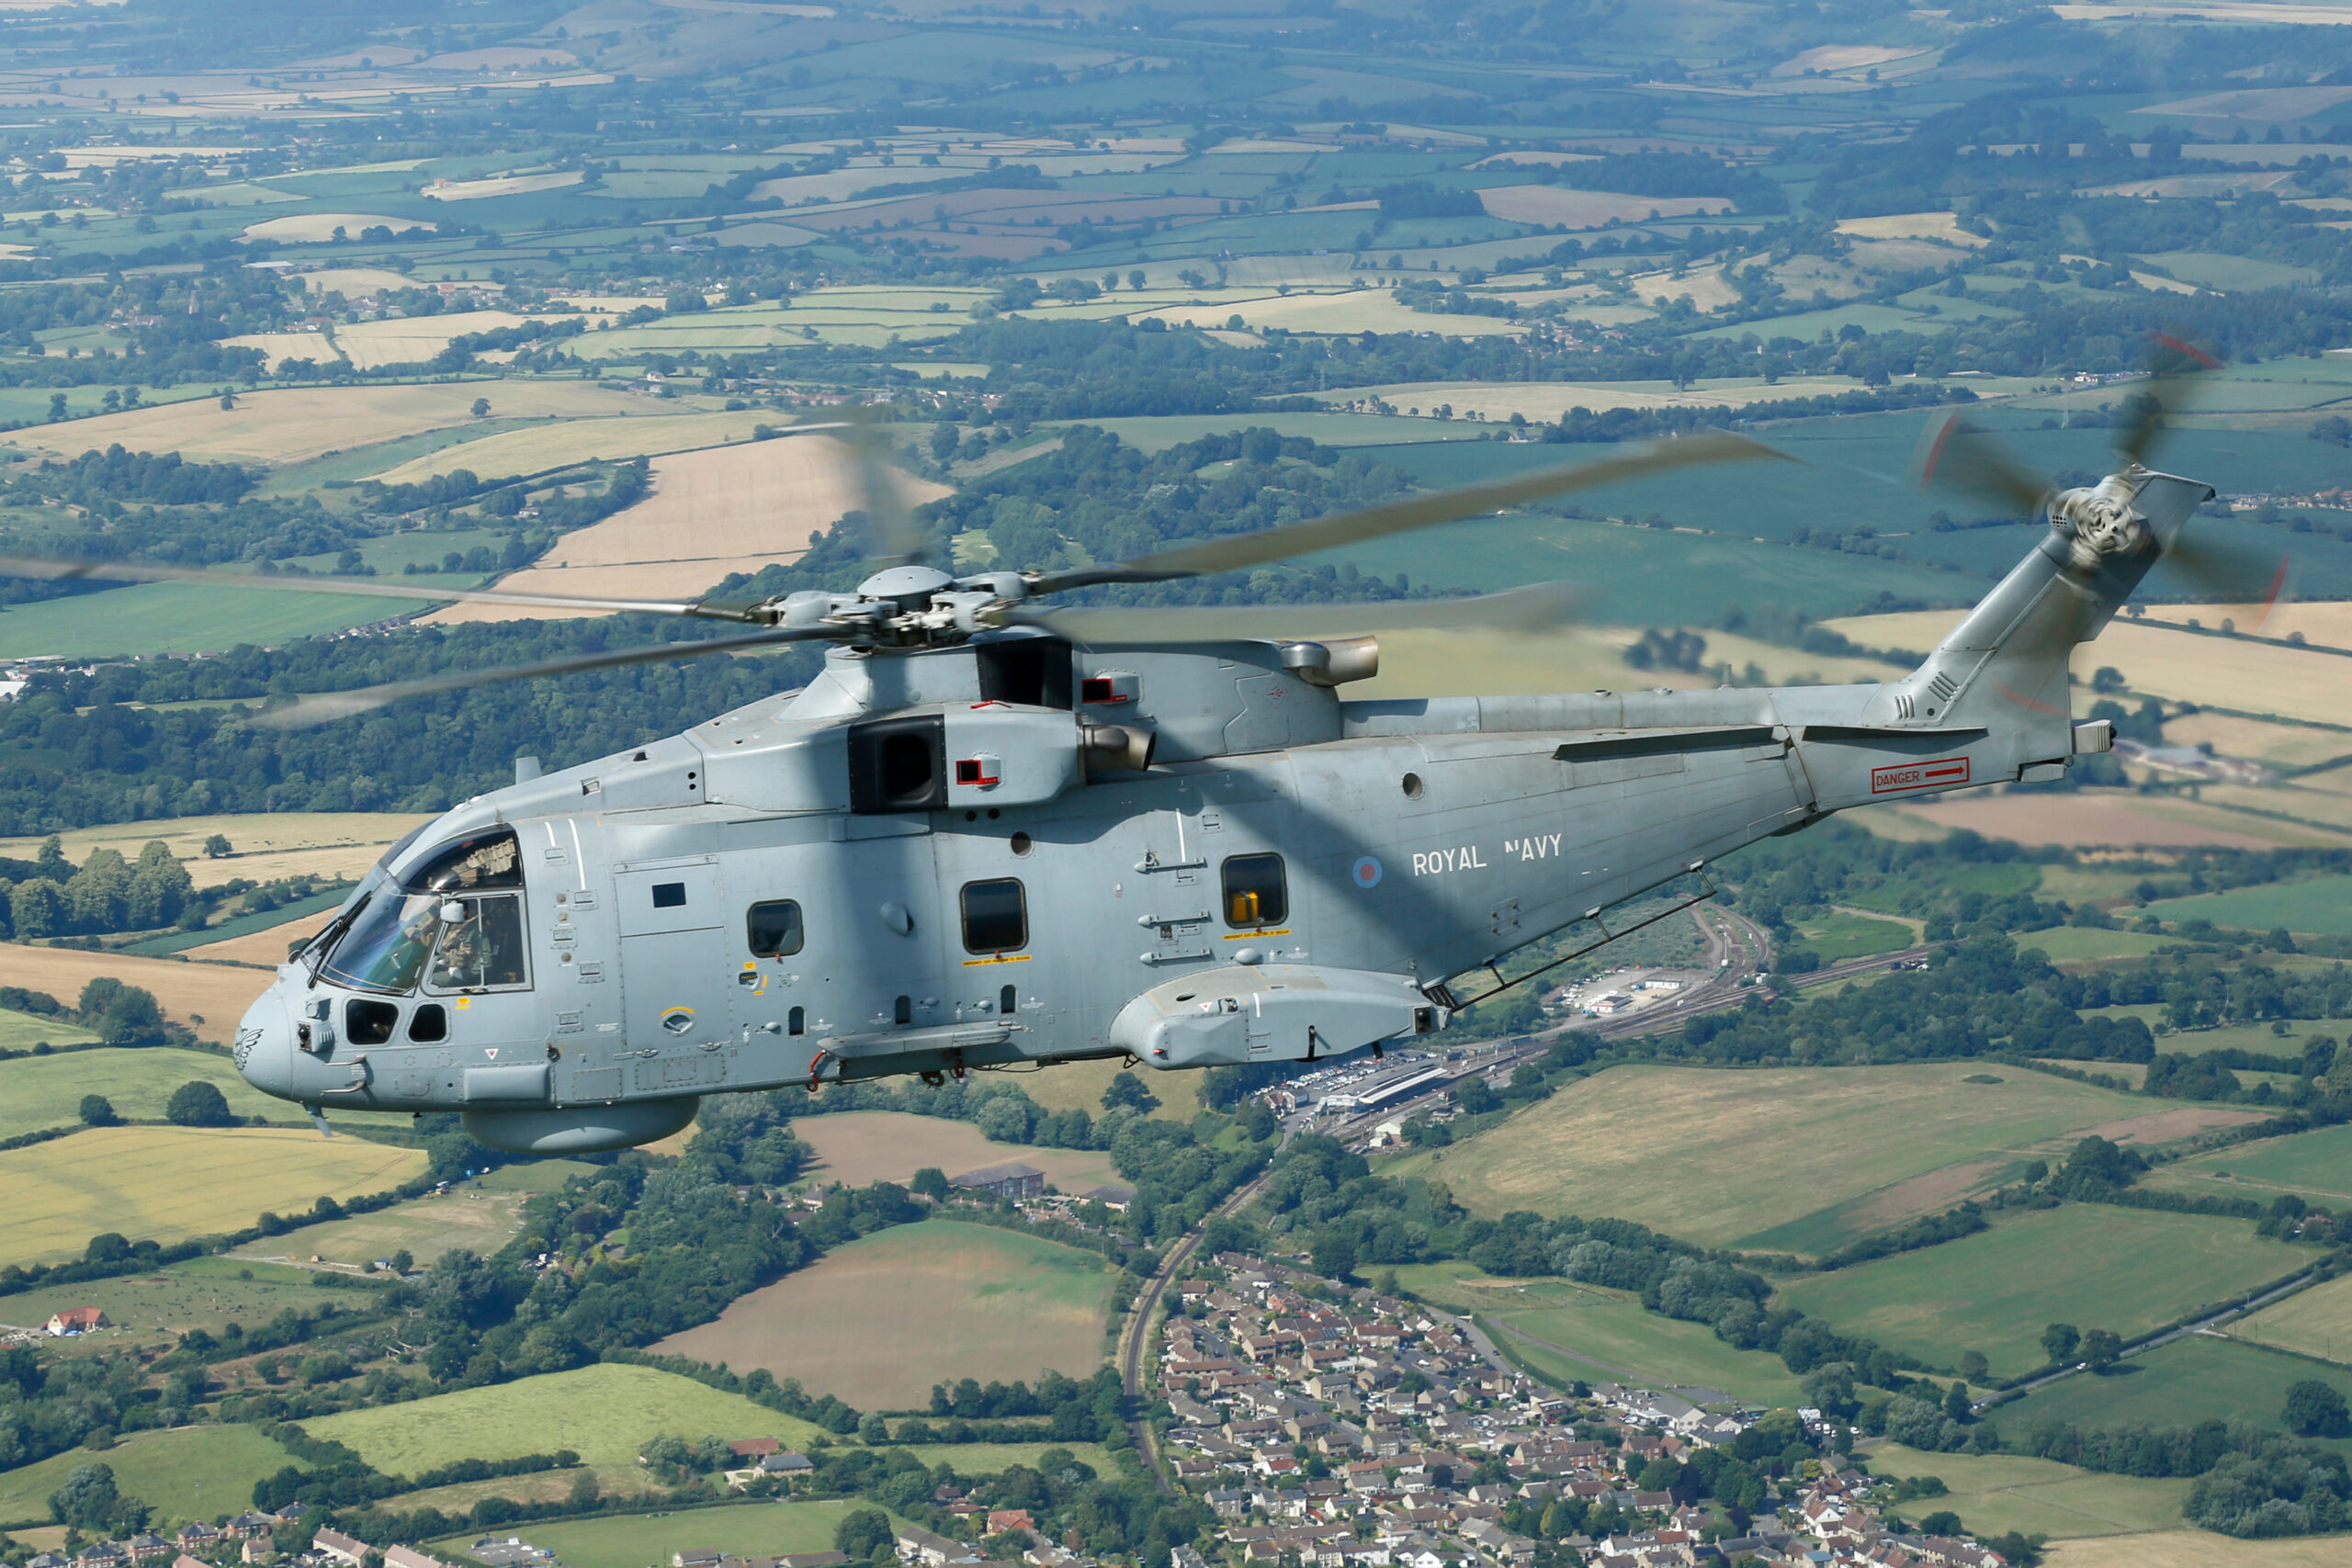
Start at the top of the Basic panel with the profile. Adobe Color is a safe default; Camera Standard or your camera maker’s equivalent often renders airframe greys and sky blues more faithfully. If you applied these at import via a preset, confirm rather than redo. Enable Remove Chromatic Aberration in the Lens Corrections panel if it is not already on, since long telephotos love to paint magenta and green fringes along high-contrast edges like wing leading edges against sky.
2. White balance
Shooting raw means white balance is a free choice now. As Shot is usually close on a sunny day. Under overcast, files tend cool and benefit from a nudge towards warm, perhaps 200 to 500 kelvin. Grey military jets are a gift here: they are really neutral, so if the airframe looks blue or green, your white balance is off. Click the eyedropper on a mid-grey panel and you are calibrated.
3. Global tone
Work Exposure first, judging the aircraft, not the sky. Then pull Highlights down, often a long way, minus 50 to minus 100, to bring sky texture and bright airframe panels back. Lift Shadows to open the underside, typically plus 30 to plus 60. Then set the end points: hold Alt or Option while dragging Whites up until the first sparkle of clipping appears on genuine speculars, and do the same with Blacks going down until intakes and gear bays just start to clip. This simple end-point stretch restores most of the contrast the atmosphere stole.
4. Presence, gently
Texture, Clarity and Dehaze are the sliders that separate a clean edit from an overcooked one. On a hazy long-lens shot, Dehaze at 5 to 15 and Clarity at 5 to 15 recover a surprising amount of bite. Beyond that, skies turn grainy and banded, and airframes develop a crunchy HDR look. Vibrance is safer than Saturation for liveries; plus 10 to 20 is usually plenty.
The table below gives honest starting points for common aviation situations. They are starting points, not answers; every file is different.
| Scenario | Highlights | Shadows | Whites / Blacks | Dehaze | Notes |
|---|---|---|---|---|---|
| Overcast airshow, grey sky | -60 to -90 | +40 to +60 | Set with clipping preview | +8 to +15 | Warm WB slightly; watch for sky banding |
| Bright sun, dark topside pass | -40 to -70 | +30 to +50 | Whites up carefully | 0 to +8 | Protect canopy speculars |
| Bare metal warbird in sun | -70 to -100 | +20 to +40 | Whites barely moved | 0 to +5 | Polished metal clips first; check per panel |
| Golden hour static or taxi | -30 to -50 | +20 to +40 | Gentle | 0 | Keep the warmth; do not neutralise WB |
| Night show, pyro and afterburner | -20 to -40 | +10 to +30 | Blacks stay rich | 0 | Noise reduction matters more than tone |
| Heavy heat haze | -40 | +30 | Modest | +5 max | Do not fight it with Texture; downsize instead |
Fixing aviation-specific problems
Some problems come up in aviation work constantly and rarely anywhere else. Here is what actually works for each.
Flat grey British skies
An overcast sky is a giant softbox, which is kind to airframes and cruel to backgrounds. After the global tone pass, add a Select Sky mask and work the sky alone: Highlights down, a touch of Dehaze, sometimes a small Exposure drop. The goal is texture, not drama. If the sky was featureless white, accept it; pushing a blown sky grey produces ugly banding and a dirty look. We covered the exposure side of this battle in detail in metering for bright skies, and a well-exposed raw makes this edit ten times easier.
Dark undersides on flypasts
Aircraft photographed from below are lit from above, so the side facing you is in shadow. Global shadow lifting helps but drags the whole image with it. Better: Select Subject, then lift Exposure a quarter to half a stop and Shadows plus 20 to 40 on the aircraft alone. It looks natural because it mimics what your eye did at the time, which adapted to the aircraft and ignored the sky.
Heat haze
The shimmer that ruins ground runs and distant taxi shots is refraction baked into the light before it reached your lens, and no slider removes it. What helps: modest Dehaze for the contrast loss, avoiding Texture and heavy sharpening which just sharpen the distortion, and exporting at a smaller size so the wobble drops below visibility. The real fix happens at the airfield, shooting earlier in the day, closer, or over grass rather than baking tarmac.
Sensor dust
Aviation photographers change lenses on windswept airfields and shoot at f/8 against bright skies, which is the perfect recipe for growing and then revealing dust spots. In the Remove tool, tick Visualize Spots and sweep the threshold slider; every spot lights up against the sky. Heal them on your hero frames, then sync the spot removal across the sequence, checking the sync did not paint over a wingtip on differently framed shots.
Masking for aircraft
Masking is where Lightroom editing stopped being a compromise. The AI selection tools handle aircraft remarkably well, and recent releases have improved edge detection around fine structures like undercarriage legs, aerials and propeller arcs. Three masks cover ninety percent of aviation needs.
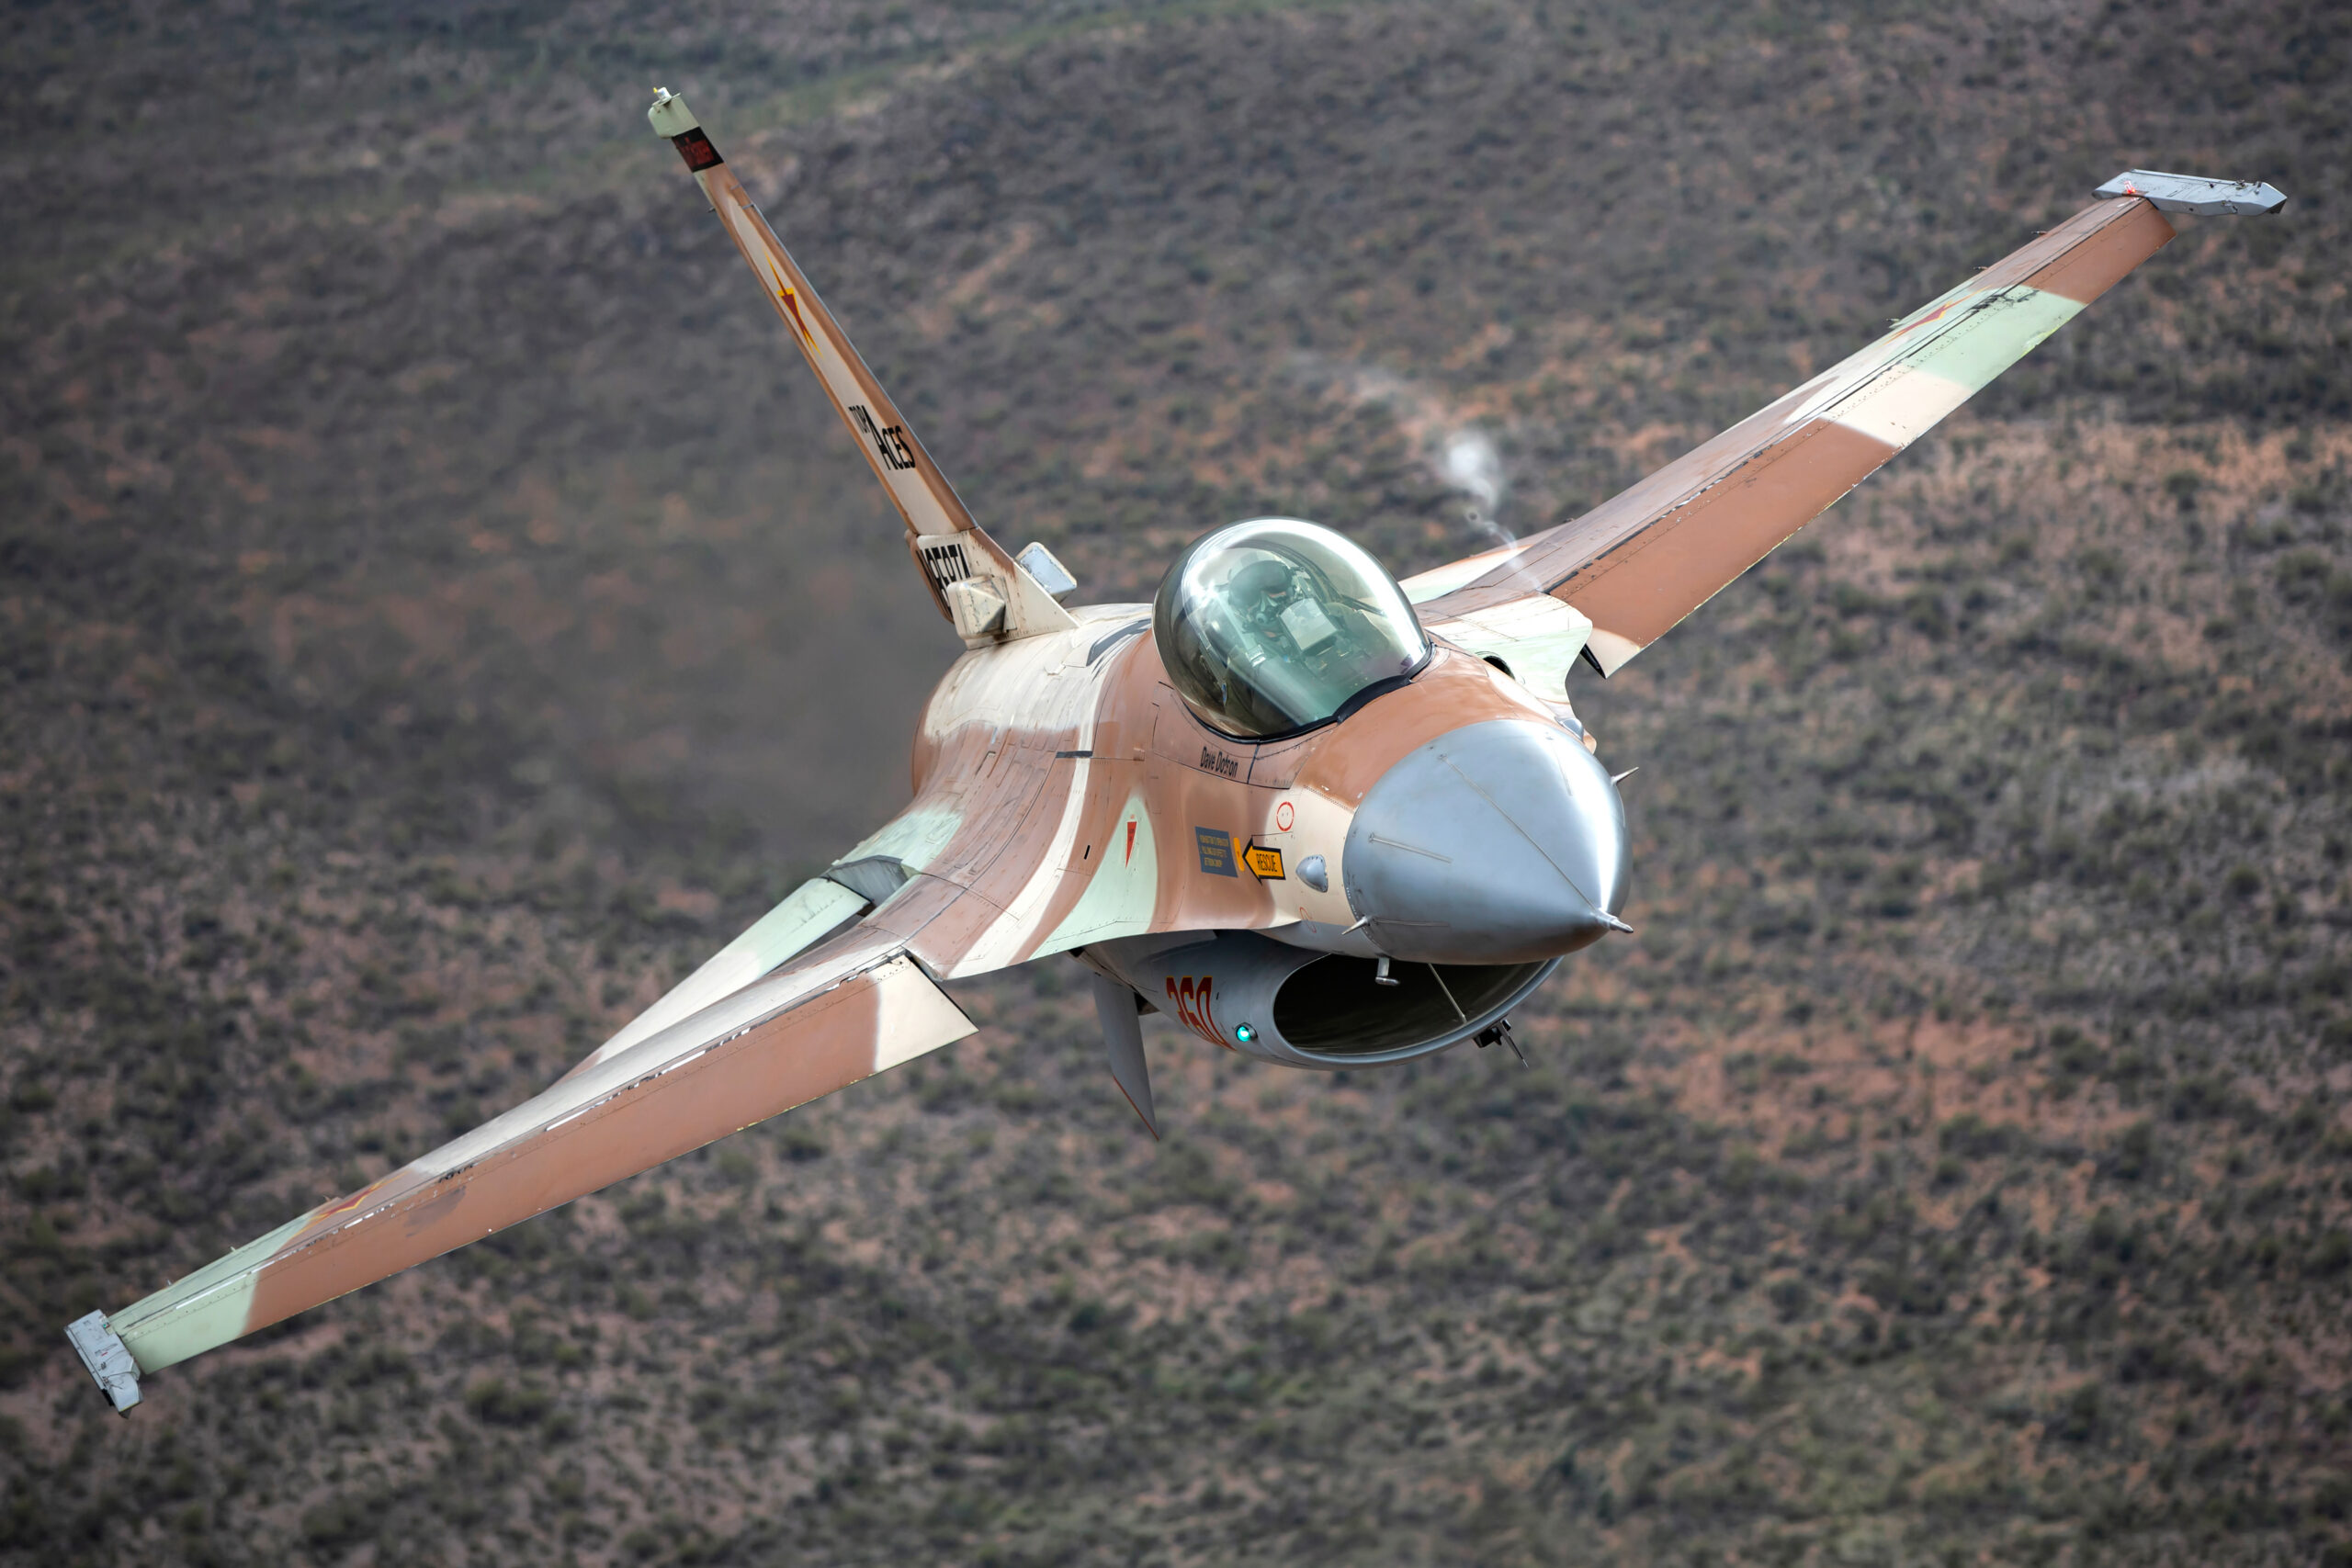
Select Subject: the aircraft mask
Click Select Subject and Lightroom finds the aircraft cleanly in most frames, including through prop discs. Use it to lift the airframe: a small Exposure increase, Shadows up, a touch of Texture to bring out panel detail. Check the mask overlay at the wingtips and tail, where thin surfaces sometimes drop out, and add to the mask with a brush if needed. On formation shots, Select Subject usually grabs all aircraft at once, which is normally what you want.
Select Sky: the background mask
Select Sky is nearly always accurate on aviation images because the horizon is either absent or clean. Use it to darken and enrich the sky slightly, which makes the aircraft advance from the background. Small moves: Exposure minus 0.2 to 0.4, Highlights down, maybe Saturation plus 5 to 10 on a blue day. If you want the classic deep-blue-sky look, do it here rather than with global saturation, and stop before the sky looks polarised from an angle that could not produce it.
Radial and linear gradients
A soft radial mask over the cockpit with a small Exposure and Clarity lift draws the eye to exactly where you want it, the same trick portrait editors use on faces. Linear gradients still earn their keep darkening the empty top of a sky or lifting a foreground of grass at a static display. Masks can also intersect: a Select Sky mask intersected with a linear gradient affects only the upper sky, which is a clean way to add depth without touching the horizon haze.
Local noise and sharpness
Every mask carries its own Sharpness and Noise sliders, and they solve an old aviation dilemma: skies show noise first, airframes need detail most. Add slight negative Sharpness and a touch of Noise smoothing to the sky mask, and positive Sharpness to the subject mask, and each part of the frame gets what it needs.
Colour, liveries and skies
Aviation colour is about restraint and accuracy. Display teams, airlines and air arms chose their colours carefully, and viewers who know the aircraft will notice when the red is wrong.
Getting liveries right
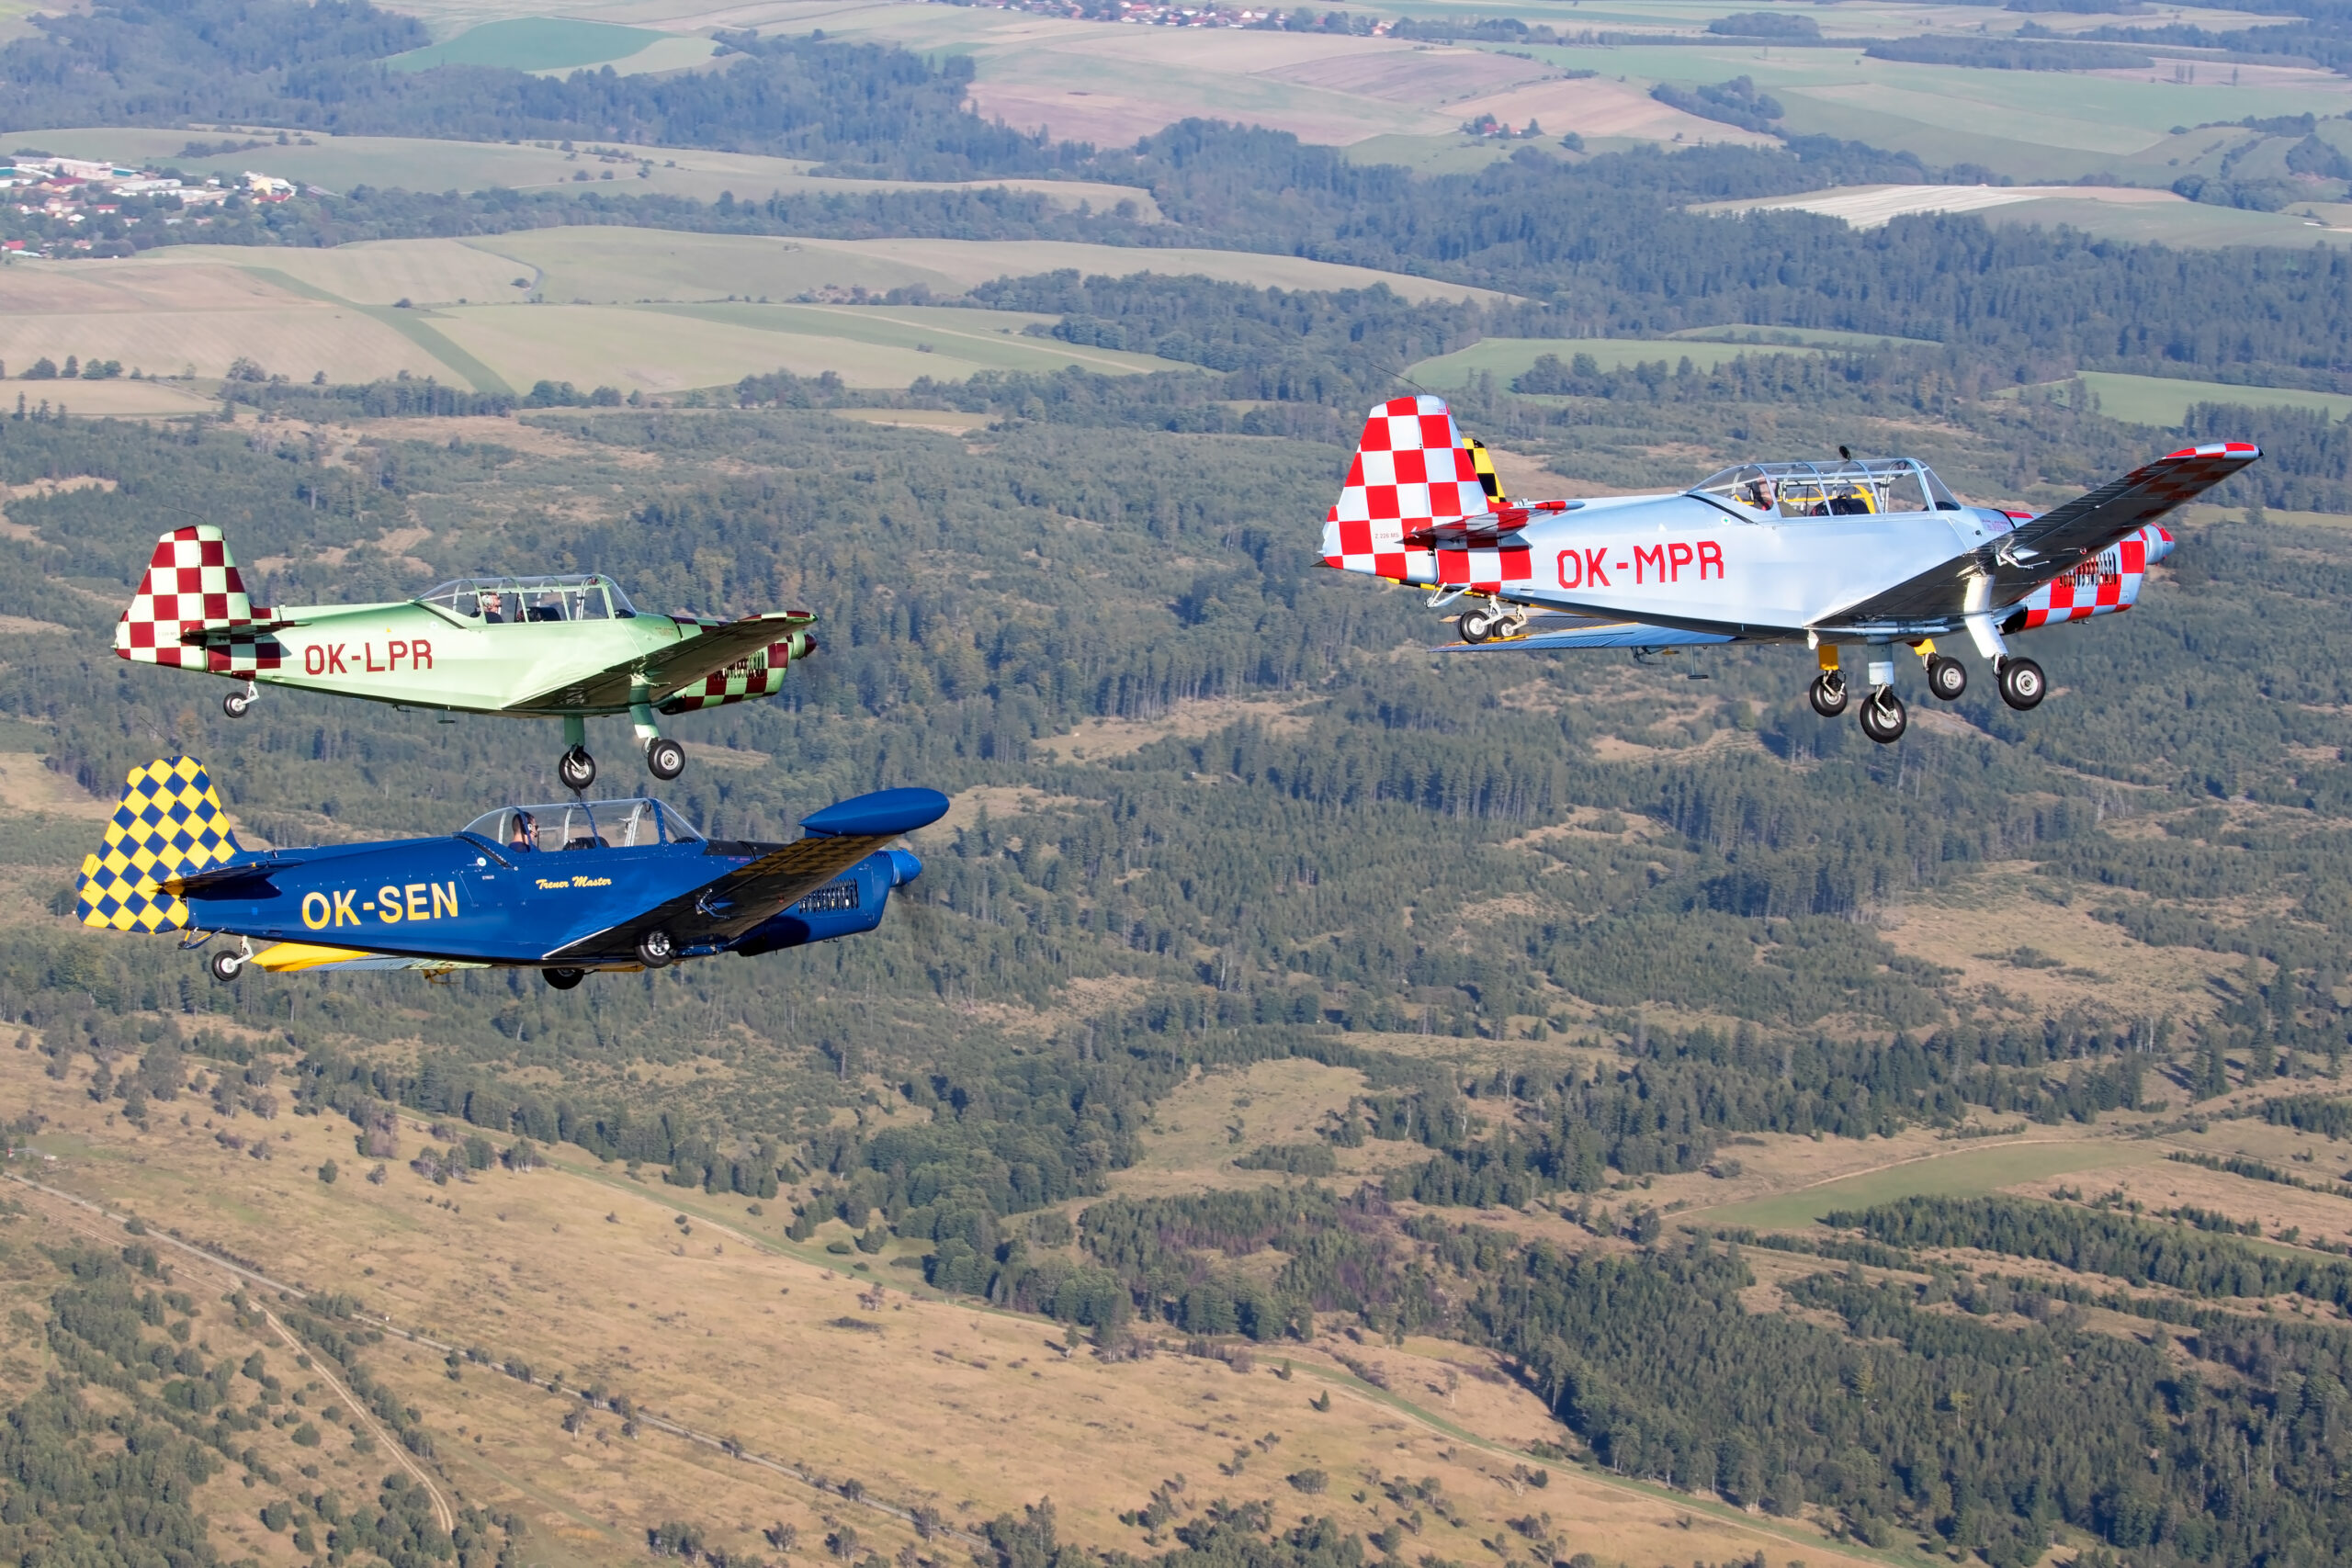
Strong reds, the Red Arrows being the obvious example, saturate and clip before anything else in the frame. If the red looks like a paint spill with no panel detail, pull the red channel down in the HSL panel: Saturation minus 5 to 15 and Luminance up slightly restores the detail. The same logic applies to airline liveries with saturated brand colours. Vibrance already treats saturated colours gently, which is another reason to prefer it over Saturation.
Military greys are a calibration target
Modern fast jets in low-visibility grey schemes are effectively flying grey cards. If a Typhoon looks blue, the image is cool; if it looks green, something has gone wrong in the HSL panel. Trust the airframe over your memory of the day.
Warm light is the point
Golden hour aviation images live or die on their warmth, and the most common mistake is neutralising it with an auto white balance correction. If you shot a warbird at sunset, the yellow-orange cast is the photograph. Keep the white balance warm and use the HSL orange and yellow channels to fine-tune rather than removing the light you waited all day for. There is much more on shooting in that light in our golden hour guide.
Noise reduction and sharpening basics
Aviation files need more of both than most genres: high ISOs from fast shutter speeds and teleconverters mean noise, and distance-flattened detail rewards careful sharpening. The order matters, so deal with noise first, then sharpen what remains.
When to reach for AI Denoise
For files at ISO 3200 and above, or any night show work, AI Denoise is in a different league from the manual sliders. It works on raw files, and since a 2025 update it applies non-destructively without writing a separate DNG copy, with an Amount around 30 to 50 usually cleans the sky completely while keeping rivet lines and stencilling intact. It is computationally heavy, so run it as a batch on your final selects rather than everything, and note that recent updates have sped it up considerably on Apple silicon Macs. Night displays are where this tool pays for the subscription; our night airshow guide covers the shooting half of that equation.
Manual noise reduction for everything else
For daylight files at moderate ISO, manual Luminance noise reduction at 10 to 25 is enough, mostly to quiet the sky. Colour noise reduction defaults are fine and rarely need touching on current cameras. Resist going past 40 on Luminance globally; that is how airframes turn to plastic.
Sharpening that survives inspection
In the Detail panel, an Amount of 40 to 70 with Radius 1.0 and Detail around 25 suits detailed airframes. The crucial slider is Masking: hold Alt or Option while dragging and the preview shows white where sharpening applies. Push it until the sky goes black and only the aircraft edges stay white, typically 60 to 80. You get a crisp aircraft and a clean, unsharpened sky in one move. Remember this is capture sharpening for the file; output sharpening for a specific print or screen size happens separately at export, and the two should not be confused.
Cropping and straightening
Cropping is the last compositional decision you get to make, and with aviation subjects it carries real technical constraints, because you are often cropping a long-lens image that has already spent its resolution budget.
Straighten first
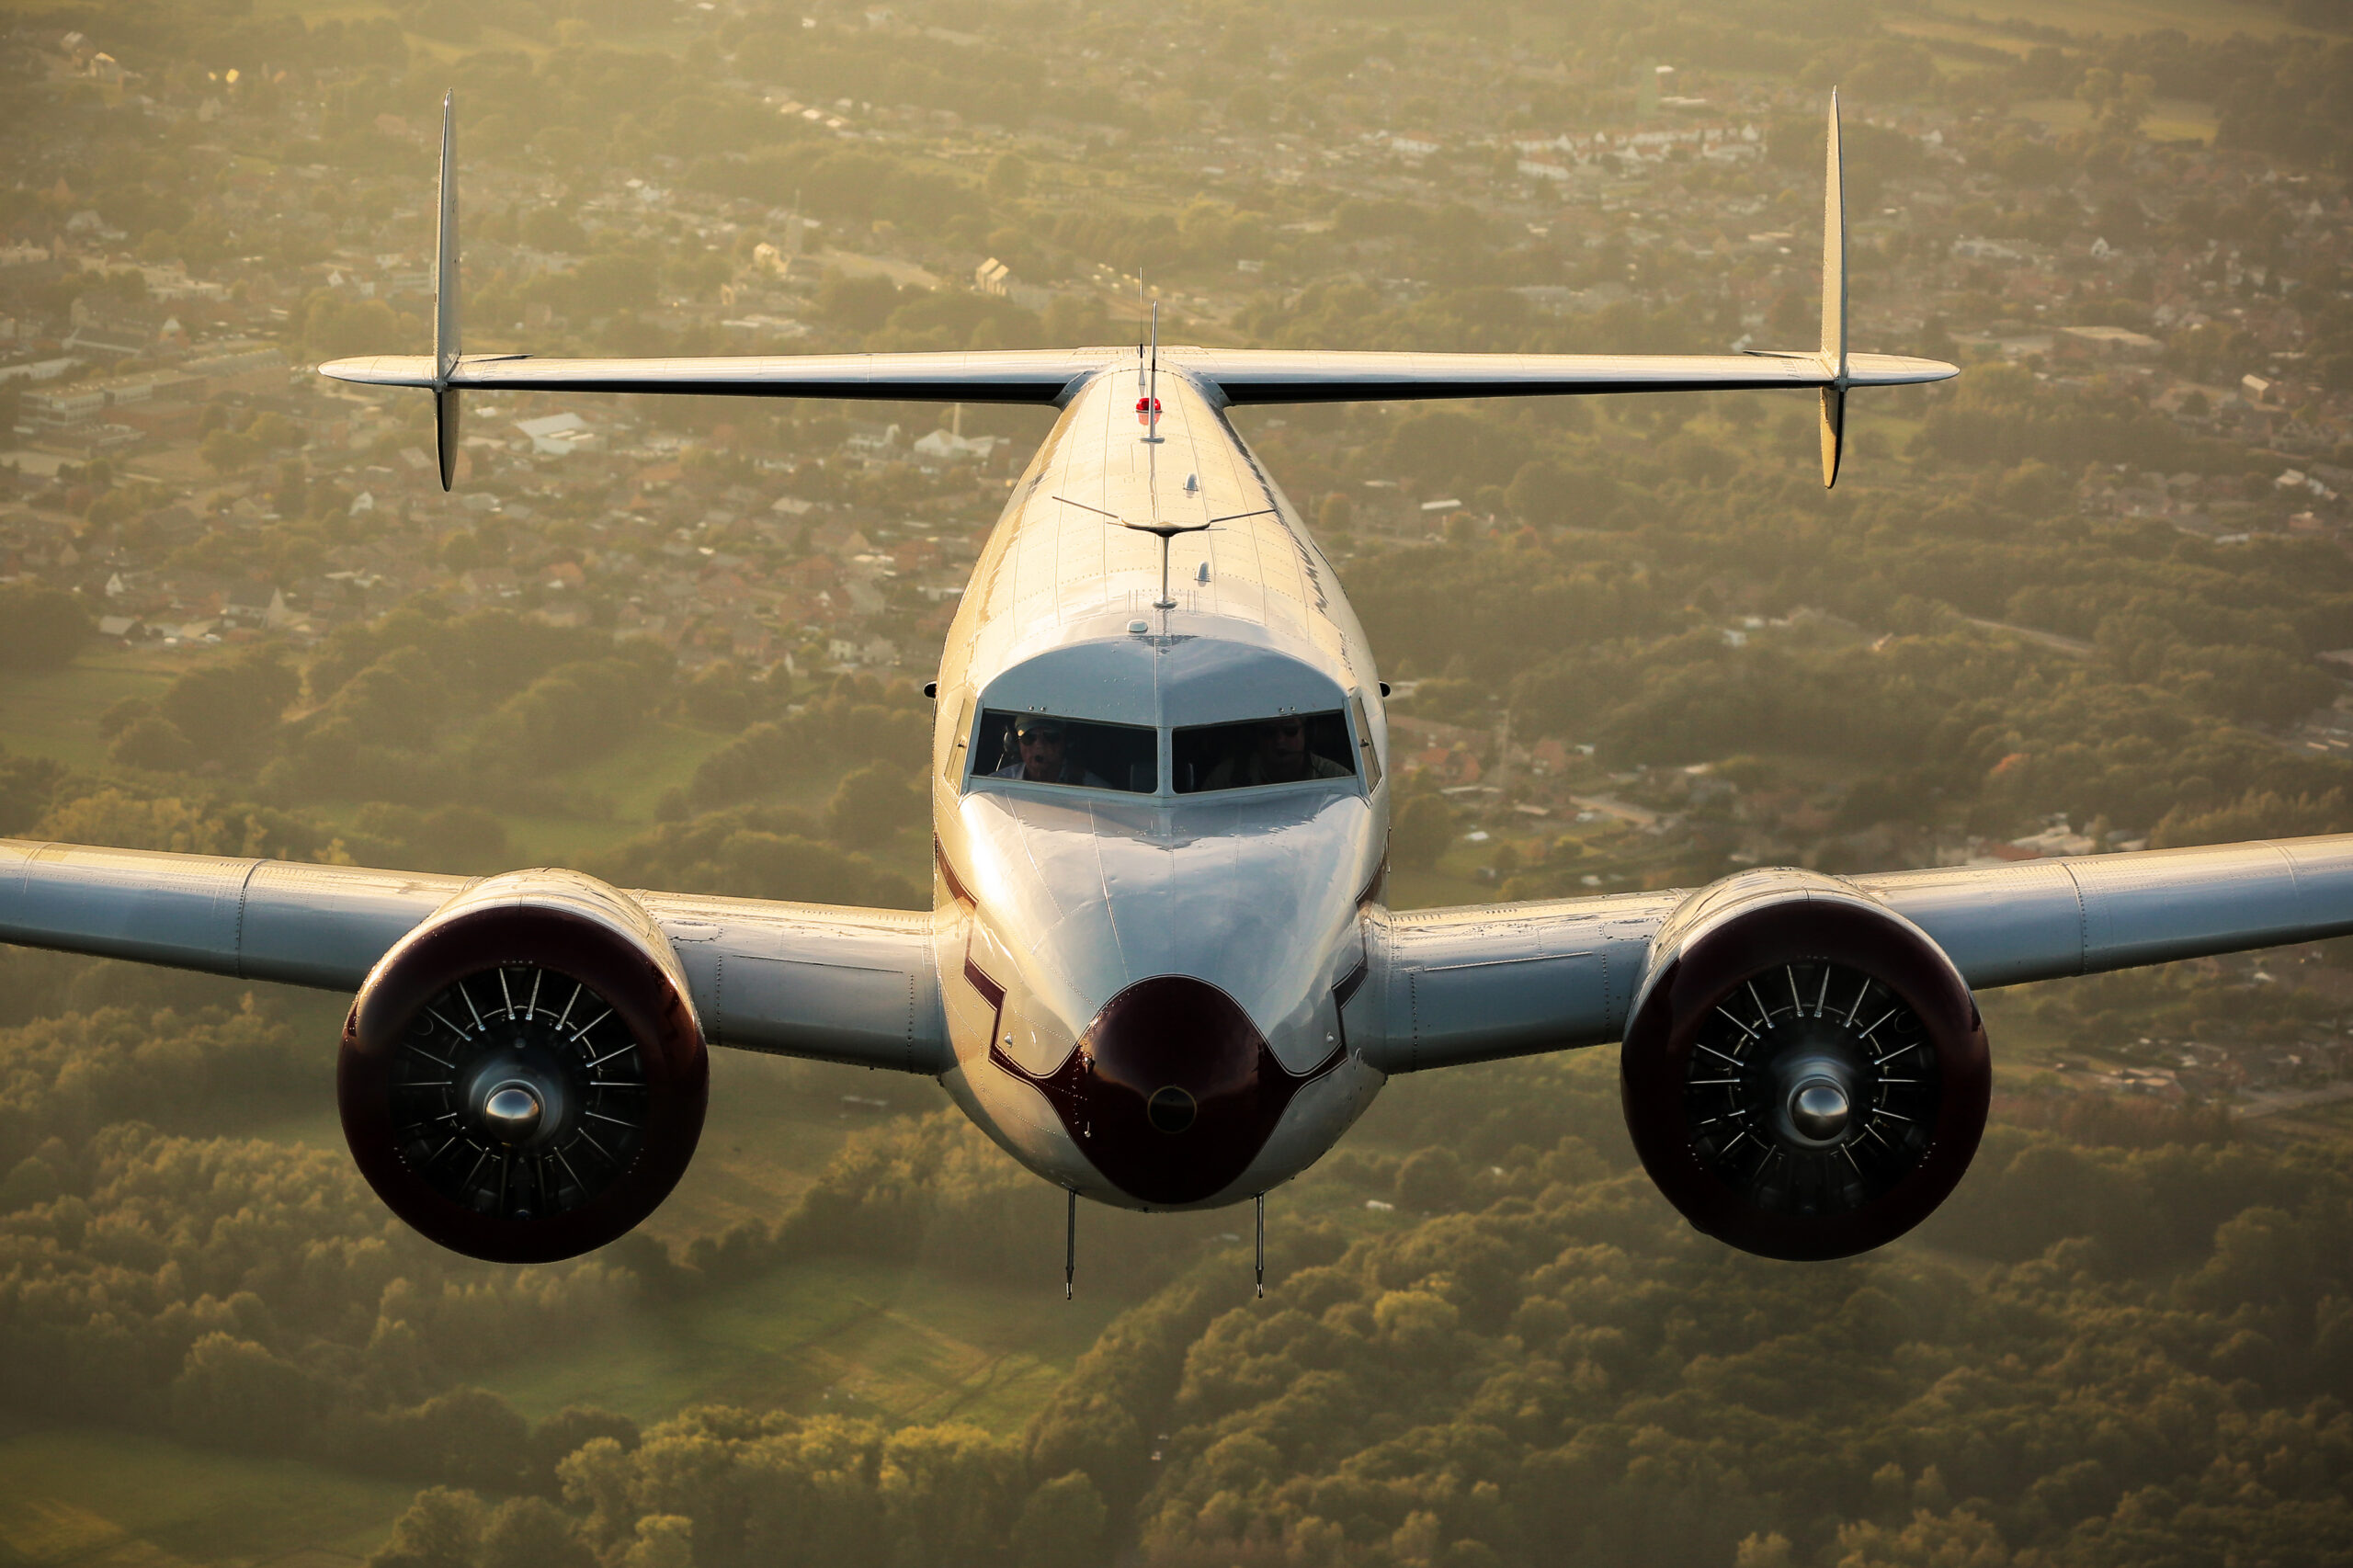
A tilted horizon or a leaning hangar line undermines an otherwise strong image instantly. Use the Angle tool in the Crop panel and drag along the horizon or a structural line. For pure sky shots with no horizon, level against the aircraft itself only when it was really in level flight; a banking jet should stay banked.
Crop with intent, not to rescue
Keep lead room in front of the aircraft, place it off centre, and let the crop strengthen the composition you shot rather than invent a new one. If you find yourself cropping away more than half the frame to make a distant speck fill the picture, the shot was not close enough, and no amount of enlargement will make it portfolio grade. As a working rule, a crop that keeps 50 percent or more of the original pixels will survive web use and most print sizes; past that, inspect at 100 percent and be honest. The compositional principles behind these decisions are covered properly in our composition guide.
Aspect ratios
The native 3:2 suits most side profiles. 16:9 flatters formation shots and low passes, where the subject is wide and the sky above is dead space. Square crops occasionally work for head-on shots. Stock buyers value flexibility, so for licensing work keep the crop loose and let the buyer crop to their layout.
Presets, sync and batch editing
The difference between an evening and a week of editing is almost entirely batch technique. You shot sequences under identical light; edit them as sequences, not as individuals.
Build presets from your own edits
When you finish an edit that pleases you, save it as a preset with only the transferable settings ticked: tone, presence, HSL, detail, but never exposure, crop or masks. A personal library of five or six presets, overcast fast jet, sunny warbird, grey military, golden hour, night show, covers most days out and lands every new shoot 80 percent done. Presets built from your own files, your camera and your conditions beat anything you can buy.
Sync across a pass
Edit the best frame of a sequence fully, select the rest of the sequence, and hit Sync, unticking crop and local masks. Every frame from that pass inherits the look in one action. Auto Sync goes one step further, applying your slider moves to every selected image live; it is powerful and dangerous in equal measure, so switch it off the moment you finish, before it silently edits half your catalogue.
Virtual copies for versions
Need a mono version, a 16:9 crop for a header and the full-frame master? Virtual copies give you all three from one raw with no duplicated files. For airshow reports where a set needs a consistent look, virtual copies also let you test a grade across ten frames before committing.
Export settings that work
Exports are where good edits go to die, usually through oversized files, wrong colour spaces or double sharpening. Set up export presets once for each destination and stop thinking about it.
| Destination | Format | Size | Quality | Colour space | Output sharpening |
|---|---|---|---|---|---|
| Web and social | JPEG | 2048px long edge | 80 | sRGB | Screen, Standard |
| Blog embed | JPEG | 1600px long edge | 76 | sRGB | Screen, Standard |
| Print (lab) | JPEG or TIFF | Full resolution | 100 / n-a | sRGB or lab profile | Glossy or Matte, Standard |
| Stock and licensing | JPEG | Full resolution | 90 to 100 | sRGB | None or Low |
| Archive master | TIFF or DNG | Full resolution | Lossless | ProPhoto or Adobe RGB | None |
For licensing submissions, keep the file clean: no watermarks, no borders, minimal compression, and metadata intact, since agencies read your embedded captions and keywords. If you are building towards selling your work, it is worth understanding how licences are structured; our main site explains the difference between rights-managed and royalty-free on the licences page.
Before files leave Lightroom for an agency, give the metadata the same care as the pixels. Fill in the caption field with the aircraft type, operator, location and date, since that text travels inside the file and becomes the searchable description a picture editor sees. Aviation buyers search for registrations and display team names, so include them. Keywording a large aviation archive properly is a craft of its own that deserves a separate guide, but even a dozen accurate keywords per keeper puts you ahead of most submissions.
One habit worth adopting immediately: never export over your only copy, and never sharpen twice. If the file had Screen sharpening applied for web, do not upload it to a print lab. Go back to the raw and export again with the right recipe. Exports are disposable; the catalogue edit is the master.
A worked example, from raw to final
Theory is easier to absorb attached to a real edit, so here is one, step by step. The frame: a Typhoon in a hard topside turn at an overcast Fairford, shot at 400mm, 1/1600s, f/5.6, ISO 800. Out of camera it is everything this guide warns about. The sky is a flat pale grey, the jet is dark and slightly cool, atmosphere has drained the contrast, and there are two dust spots in the sky.
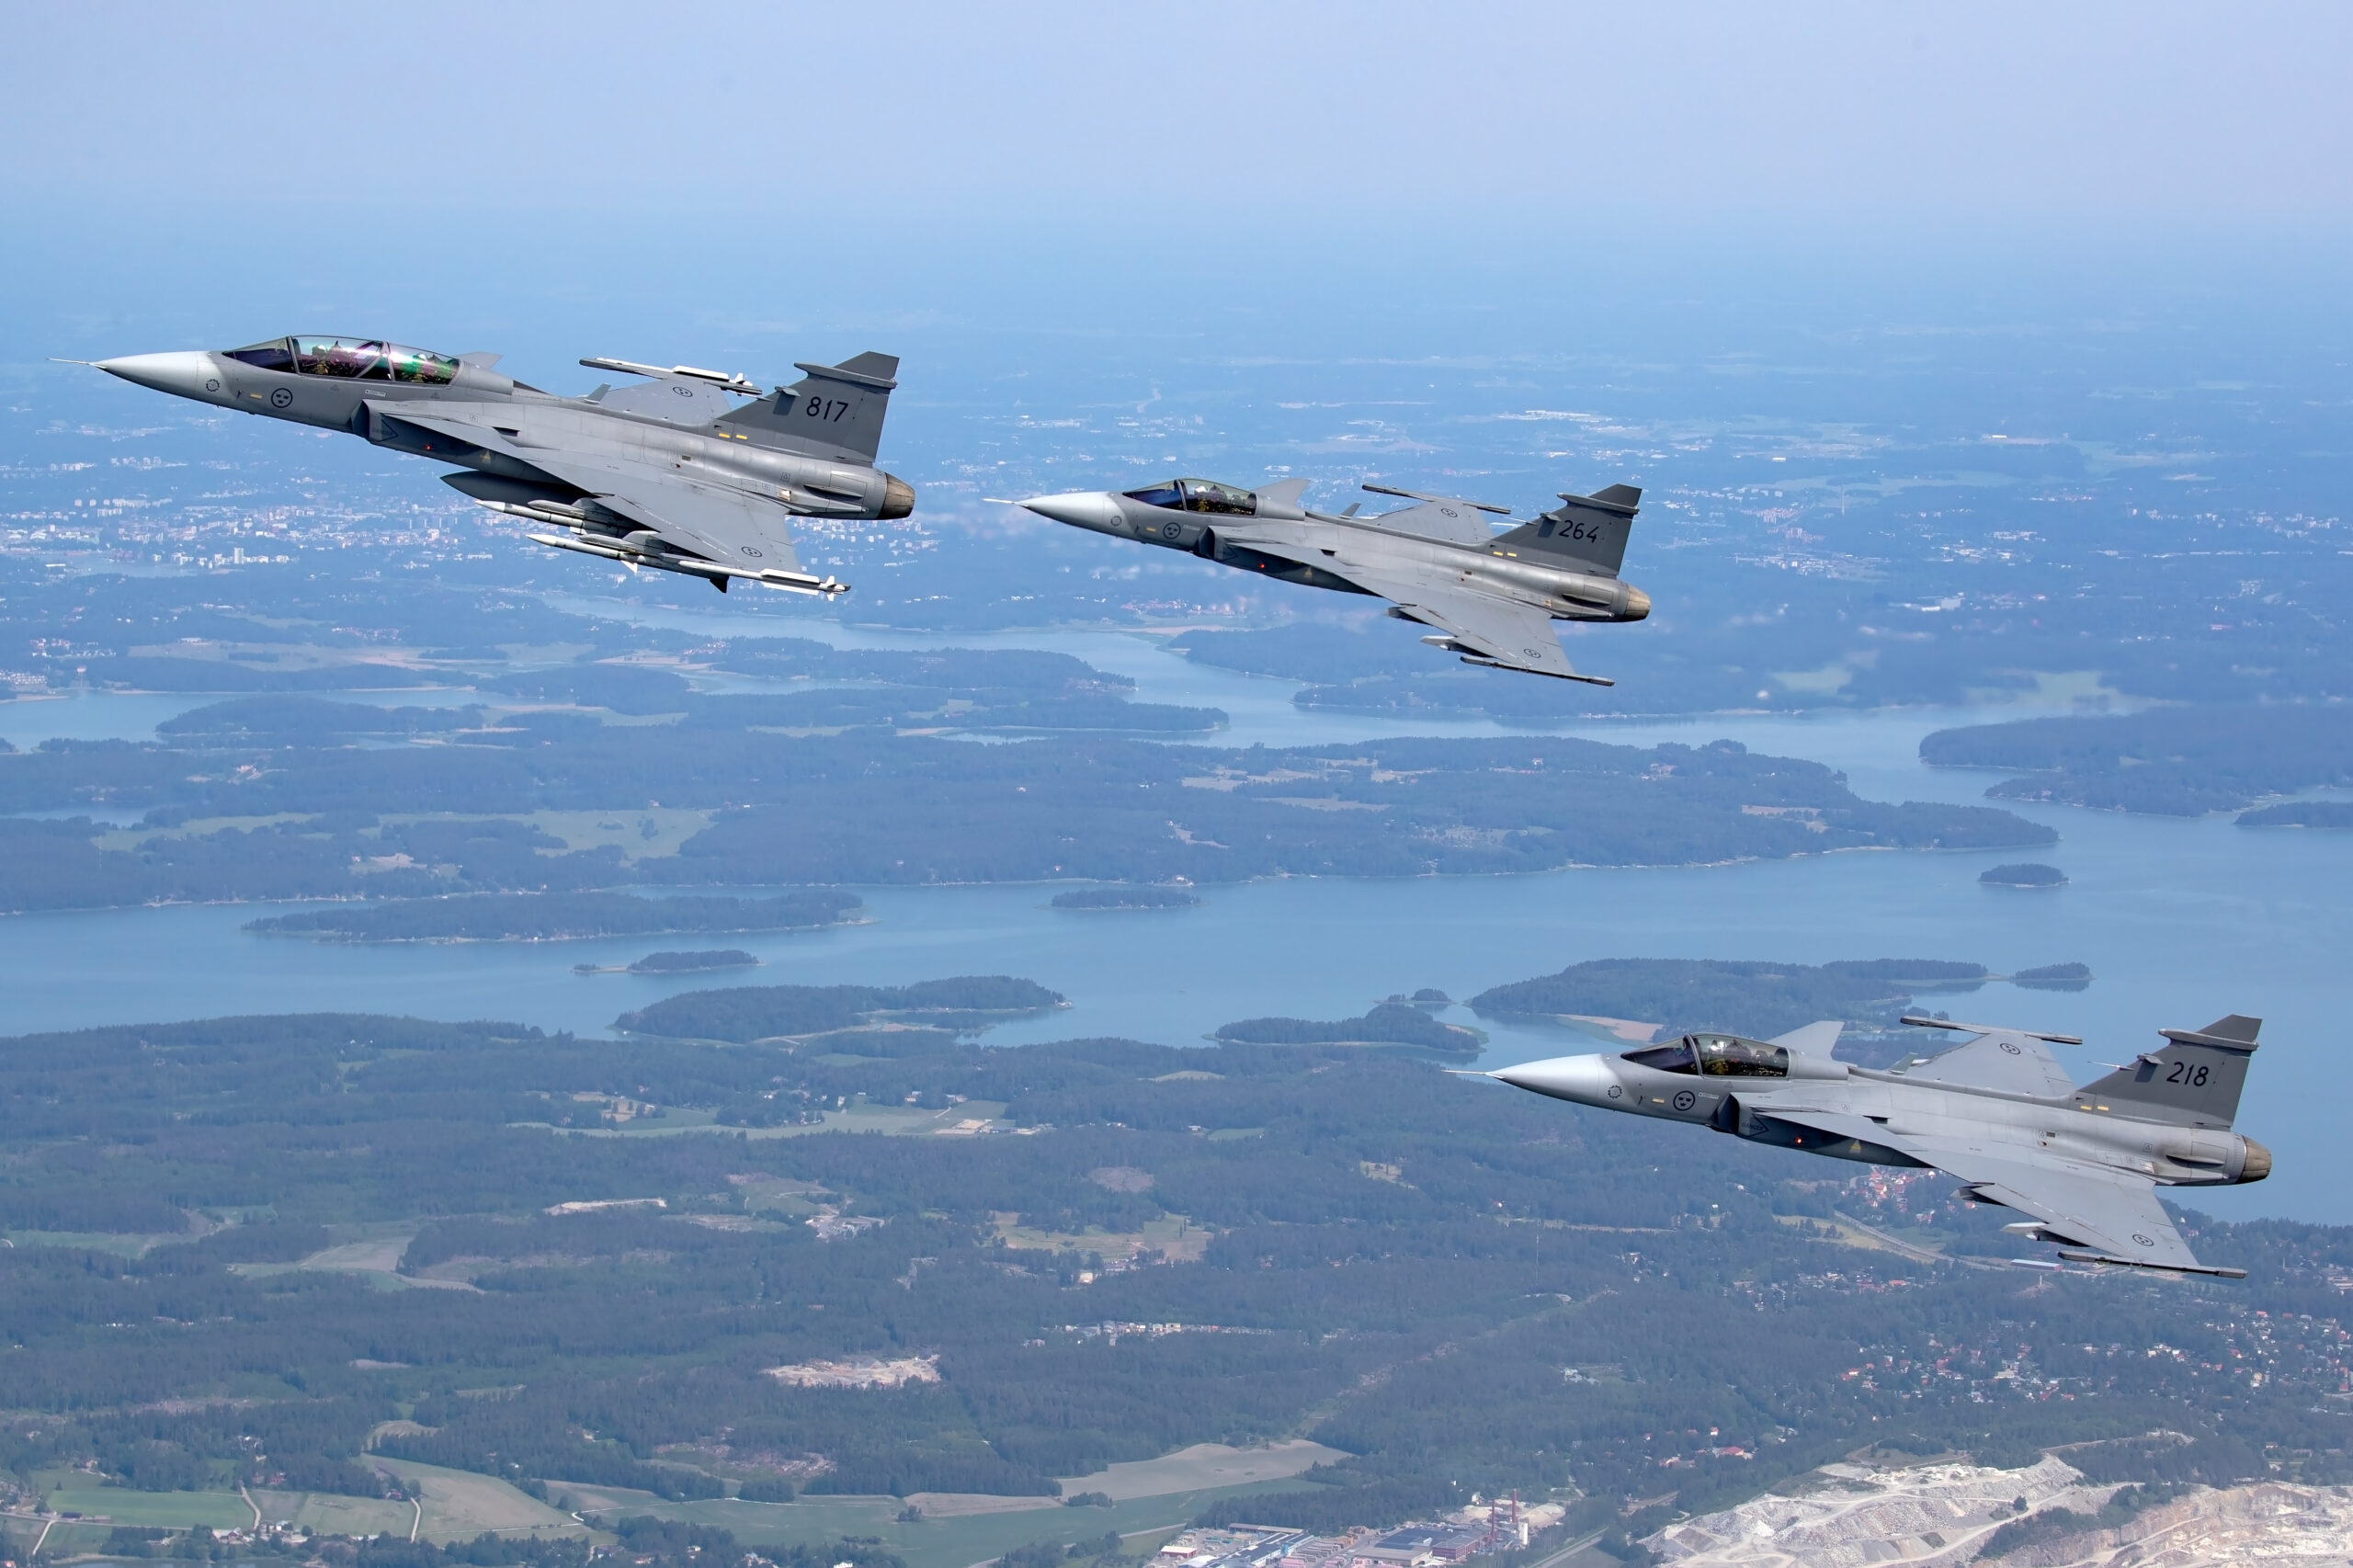
Step one, foundations. Profile set to Camera Standard, lens corrections and chromatic aberration removal confirmed from the import preset. White balance warmed by 300K, which removes the blue cast from the grey airframe immediately.
Step two, global tone. Exposure plus 0.25 judged on the airframe. Highlights minus 75 brings faint cloud texture back into the sky. Shadows plus 45 opens the intake and wing shadow. Whites plus 20 and Blacks minus 12, both set with the clipping preview held down. The image already looks like the day felt.
Step three, presence. Dehaze plus 10 and Clarity plus 10 claw back the air between lens and jet. Vibrance plus 12. Nothing else.
Step four, masks. Select Subject, Exposure plus 0.3, Shadows plus 25, Texture plus 15 on the jet, which lifts it off the background and brings the panel lines up. Select Sky, Exposure minus 0.2, Dehaze plus 8, which turns featureless white into soft grey texture. A radial over the cockpit, Exposure plus 0.15, Clarity plus 10, pulls the eye to the pilot.
Step five, detail. The two dust spots are healed with Visualize Spots confirming the sky is otherwise clean. Manual Luminance noise reduction at 15 for the sky. Sharpening Amount 55, Radius 1.0, Detail 25, Masking 70, checked at 100 percent on the canopy.
Step six, crop. Straightened a half degree against the horizon line of cloud, then a mild crop from 3:2 to place the jet on the left third, turning into space on the right, keeping 78 percent of the pixels.
Total time: about six minutes, and the settings were then synced minus crop and masks across the eleven other keepers from the same pass in one click. That is the entire promise of this workflow: individual craft where it counts, batch efficiency everywhere else. The finished sets from days like this end up in the galleries on our main site, and almost every image there went through exactly these steps.
Common editing mistakes
Every aviation photographer’s early edits include most of these. Knowing them by name is the fastest way to stop.
The Dehaze crunch
Dehaze past about 20 gives images a gritty, grey-blue, over-processed signature that experienced viewers spot from across the room. If the image needs Dehaze 40 to look contrasty, the problem is elsewhere, usually end points not set or a really hazy day that wants embracing rather than fighting.
Halos
A bright glowing line along a fuselage against sky means too much Clarity, too much sharpening with too little Masking, or both. Halos are the single most common flaw in published aviation images. Zoom to the aircraft-sky boundary before export; if there is a glow, back off.
The impossible sky
A navy blue sky behind a subject lit by soft overcast light did not happen and looks it. Keep sky darkening consistent with the light on the airframe. Similarly, oversaturated global colour turns tarmac purple and faces orange long before the livery looks better.
Plastic airframes
Luminance noise reduction cranked to 60 plus melts rivets, panel lines and stencils into smooth plastic. Use AI Denoise at moderate amounts for really noisy files and tolerate a little grain in the rest. Grain is texture; mush is forever.
Crushed shadows and blown speculars
Pushing Blacks down for drama swallows intake and gear bay detail that took effort to expose in the first place. On bare metal, remember polished aluminium clips before anything else in the frame; if the wing is a white shape with no reflection detail, highlights went too far.
Editing everything identically
A preset applied blindly across a whole day flattens the difference between the golden hour pass and the midday one. Presets start the edit; they do not finish it. Ten seconds of white balance and exposure attention per sequence keeps a set looking like the day rather than like software.
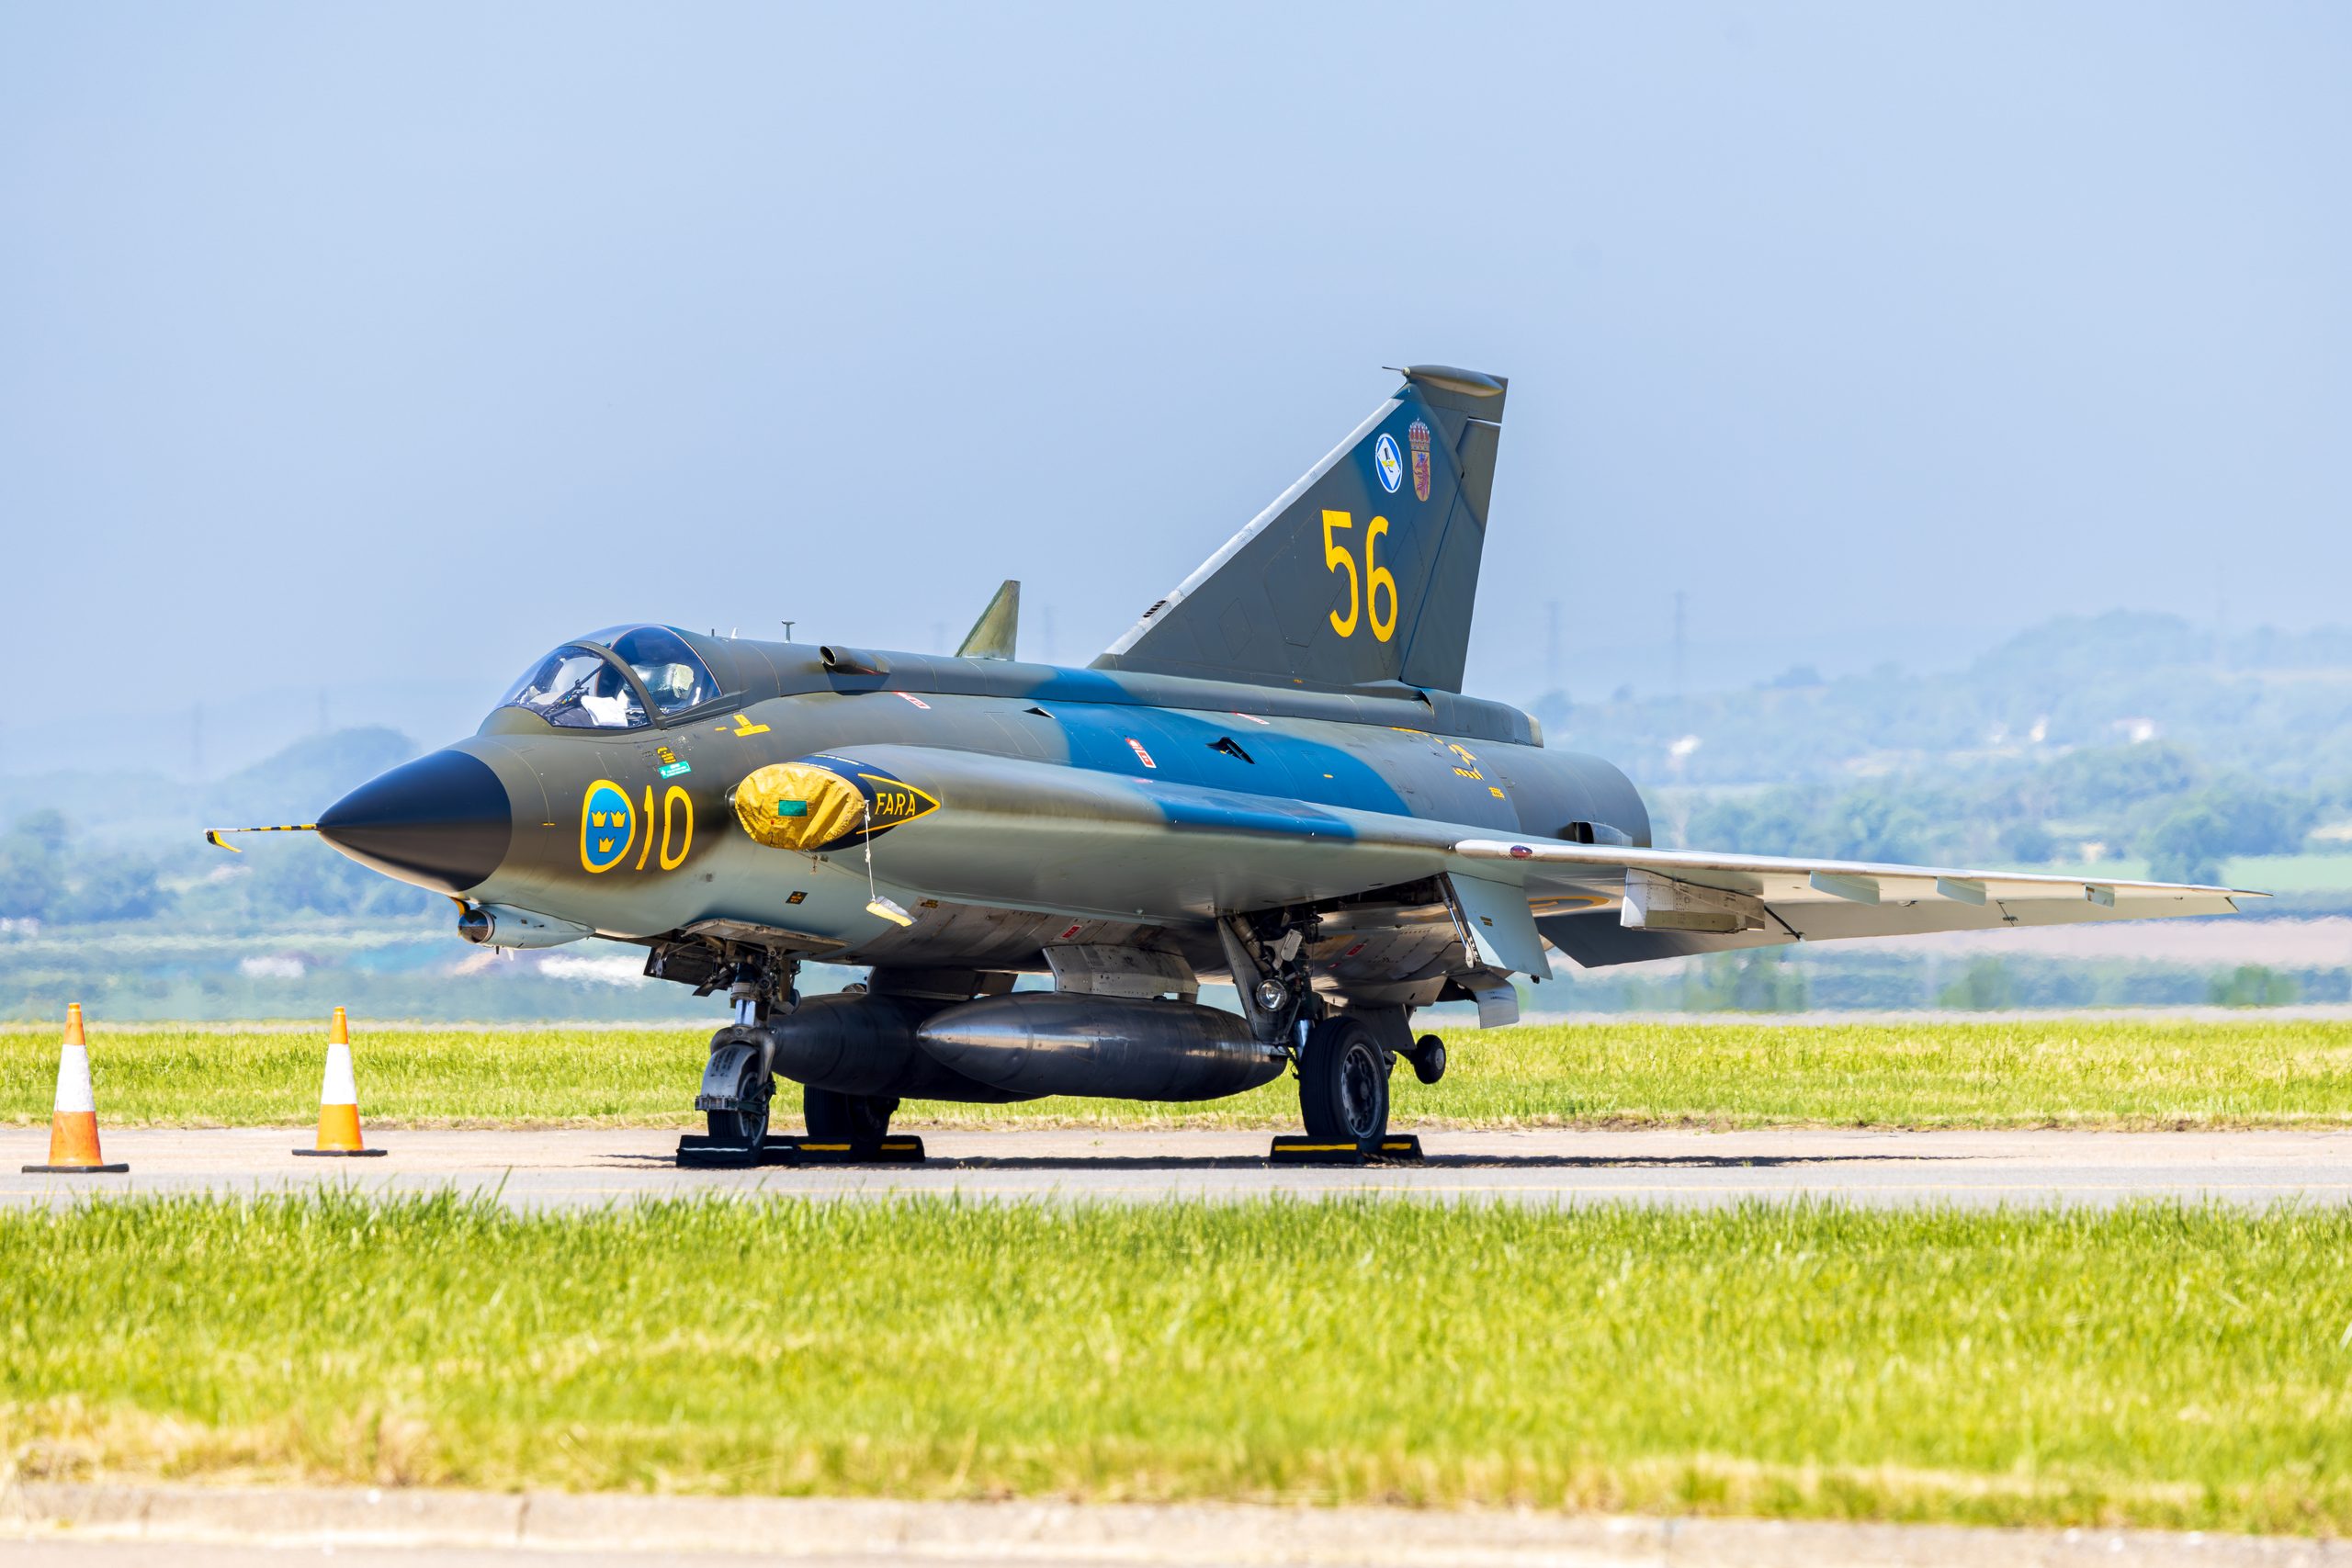
An edit that suits a print will not always suit a picture desk, which usually wants latitude left in the file. Our guide to licensing aviation photography covers what buyers expect to be delivered.
Frequently asked questions
Do I need Lightroom Classic, or will the cloud version of Lightroom do?
Either will edit an aviation photo well, since both share the same raw engine, profiles, masking tools and Denoise. Lightroom Classic remains the better fit for high-volume airshow work because its Library module handles local folders, fast culling with flags, batch renaming and watermark-free full-resolution export to disk without touching cloud storage. If you shoot a few hundred frames a month and like editing on a tablet, the cloud version is fine. If you come home from a display season with fifty thousand frames on local drives, Classic is the practical choice.
Should I shoot raw or JPEG for aviation photography?
Raw, almost without exception. Aviation scenes are high contrast, with bright skies and dark airframes in the same frame, and raw files give you several stops of recoverable highlight and shadow detail that JPEGs throw away. Raw also lets you set white balance after the fact, which matters when light changes through a display. The only common exception is shooting very long bursts where buffer depth matters more than editing headroom, and even then most current bodies clear raw bursts quickly enough.
What export size is best for sharing aviation photos online?
A JPEG resized to 2048 pixels on the long edge, quality around 80, in the sRGB colour space, with output sharpening set to Screen at Standard amount, works well for almost every website and social platform. It is large enough to look crisp on high-density displays but small enough to load fast. Keep a full-resolution master export separately for print or licensing, and never upsize a heavily cropped file for web use, since the softness shows immediately.
Why do my aircraft photos look soft after noise reduction?
Heavy luminance noise reduction smooths away exactly the detail that makes an airframe read as sharp: panel lines, rivets, stencilling and canopy framing. If a photo looks plastic after editing, back the luminance slider off and accept a little grain, or use AI Denoise at a moderate amount instead, since it separates noise from detail far better than the manual slider. Also check that you have not stacked global sharpening on top of local sharpening, which exaggerates halos and makes softness more obvious by contrast.
How long should it take to edit an airshow shoot?
As a rough benchmark, culling 2,000 frames takes an hour or so once you are practised, and developing the 40 to 60 keepers takes another one to two hours using sync and presets. A single hero image might get ten minutes of individual attention with masks. If you are spending five minutes on every one of hundreds of frames, the fix is a harder cull and better batch habits, not faster editing.
Is it acceptable to remove distractions from aviation photos sold as stock?
It depends on the licence and the agency. Editorial stock, which covers most airshow and military subjects, generally must not have content added or removed beyond sensor dust, so cloning out a bird, a cable or a distant aircraft can get an image rejected or worse. Commercial stock is more permissive. Check each agency’s rules, and when in doubt do the honest minimum: dust spotting, tonal and colour correction, cropping and noise reduction.
How do I remove chromatic aberration and purple fringing on aircraft edges in Lightroom?
Tick Remove Chromatic Aberration in the Lens Corrections panel first, which clears most of the magenta and green fringing that long telephotos throw along wing edges against a bright sky. Anything left over responds to the Defringe eyedropper in the Manual tab, where you click directly on the coloured edge and let Lightroom target that hue. Zoom to 100 percent along a high-contrast leading edge to judge it, since fringing is invisible at fit-to-screen size.
What is the best way to fix a slightly underexposed aircraft without wrecking the sky?
Do it locally rather than globally, because lifting global exposure drags the sky up with the aircraft. Run Select Subject, then add around a quarter to half a stop of Exposure and lift Shadows on the airframe alone, which keeps the background where you set it. Lifting shadows on a raw file this way is clean up to a couple of stops, though you will start to see noise beyond that, so expose as well as you can in camera.
Should I sync white balance across a whole airshow sequence or set it per frame?
Sync it across a sequence shot under the same light, then spot-check the odd frame, because the light rarely changes within a single pass. Set white balance on the best frame, ideally by clicking the eyedropper on a neutral grey military panel, then include it in a Sync across the run. Only break the sequence and reset when the light really shifts, such as the sun going behind cloud or the pass moving from front to back light.
Final thoughts
A Lightroom workflow is not about knowing more sliders than the next photographer. It is about doing the same sensible things in the same order until they take no thought at all: back up and organise at import, cull hard, fix tone globally, fix problems locally, keep colour honest, denoise then sharpen, crop with intent, batch everything you can, and export the right recipe for the destination.
The photographers whose airshow sets appear online two days after the event, looking consistent and clean, are not editing faster than you. They are deciding faster, because the workflow decides for them. Set yours up once, run every shoot through it, and the hours you save go back into the part that matters: standing at the fence with a long lens, getting the frames worth editing in the first place.
Once you have a clean colour edit, it is worth learning how to convert aviation photos to black and white properly, using the black and white mix rather than a saturation slider.
Colour is a big part of a finished edit. For a deeper look at grading your images for a consistent, professional look across a whole set, see our guide to colour grading aviation photos.
Before any of this editing begins comes the cull. Our guide to a photo culling workflow for a full airshow shows how to take three thousand frames down to a clean, rated set in about two hours, ready to bring into Lightroom.
