
Photographing static aircraft well is mostly about beating three problems: crowds, clutter and flat light. Get low and shoot from a three-quarter angle, use a wide aperture or a careful position to clean up the background, move in for details when the whole aircraft will not work, and shoot in soft light rather than harsh midday sun. Do that and a parked aircraft on a busy flightline gives up images with as much life as anything in the air.
The static park is where most airshow photographers switch off, and it shows in their pictures. Row upon row of aircraft, roped off, surrounded by crowds, under a flat grey sky or a harsh noon sun, photographed flat side-on from standing height: it is the recipe for a boring image, and it is the way almost everyone shoots a static display. The good news is that a handful of deliberate choices turn those same aircraft into strong photographs, and none of them costs anything but a little thought and patience.
What this guide covers
- Why static aircraft are hard to shoot well
- Work the angles
- Clean up the background
- Get in close for details
- Use the light
- The crowd problem
- Gear and settings
- Cockpits and walk-throughs
- Composition and lead-in lines
- Processing static shots
- Weather and conditions
- Making a set from one aircraft
- Where to find the best static displays
- Static shots for stock and prints
- A static photography checklist
- Frequently asked questions
Why static aircraft are hard to shoot well
A parked aircraft ought to be easy. It is not moving, the light is not changing fast, and you have all the time you want. Yet the static park defeats more photographers than the flightline, because the very things that make it convenient also make it dull. The challenge is entirely one of seeing, not of technique.
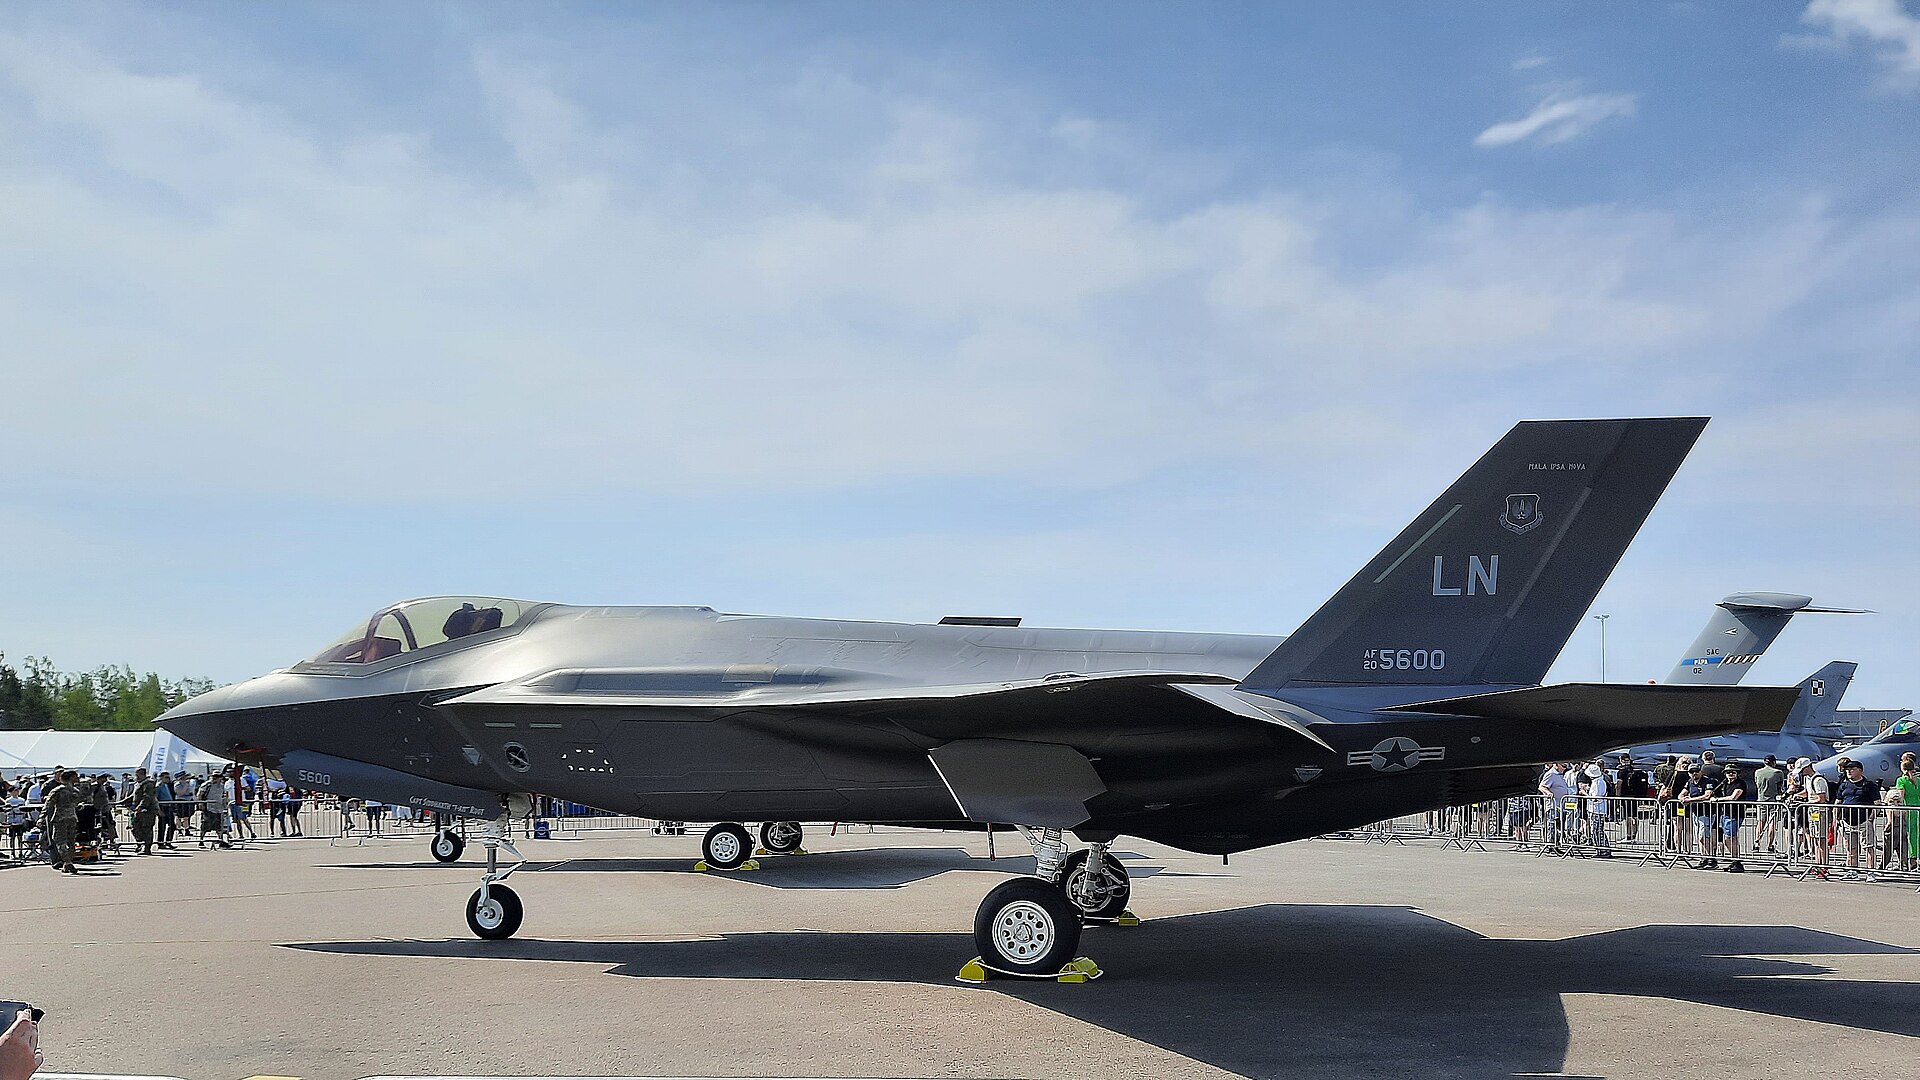
The problems are consistent. The aircraft are packed close together, so a clean shot of one includes bits of three others. They are roped off at a fixed distance, so you cannot always get the angle you want. They are surrounded by people, barriers, cones, ground equipment and signage. The light at the middle of a show day is often harsh and overhead, the worst possible light for a metal aircraft. And the instinct is to stand square to the side of the aircraft and shoot it flat, which is the least interesting view there is.
Every one of those problems has an answer, and the rest of this guide works through them. The key idea to hold onto is that a static aircraft rewards effort in a way a fast jet never lets you apply. You can move, wait, try ten angles, come back later for the light, and shoot the same aircraft twenty ways until one works. The photographers who come home with strong static shots are simply the ones who bothered to do that.
Work the angles
The single biggest improvement you can make to a static shot is to stop shooting from standing height, square to the side of the aircraft. That is the view everyone else takes and the eye finds least interesting. The moment you change your height and your angle, the same aircraft looks completely different.
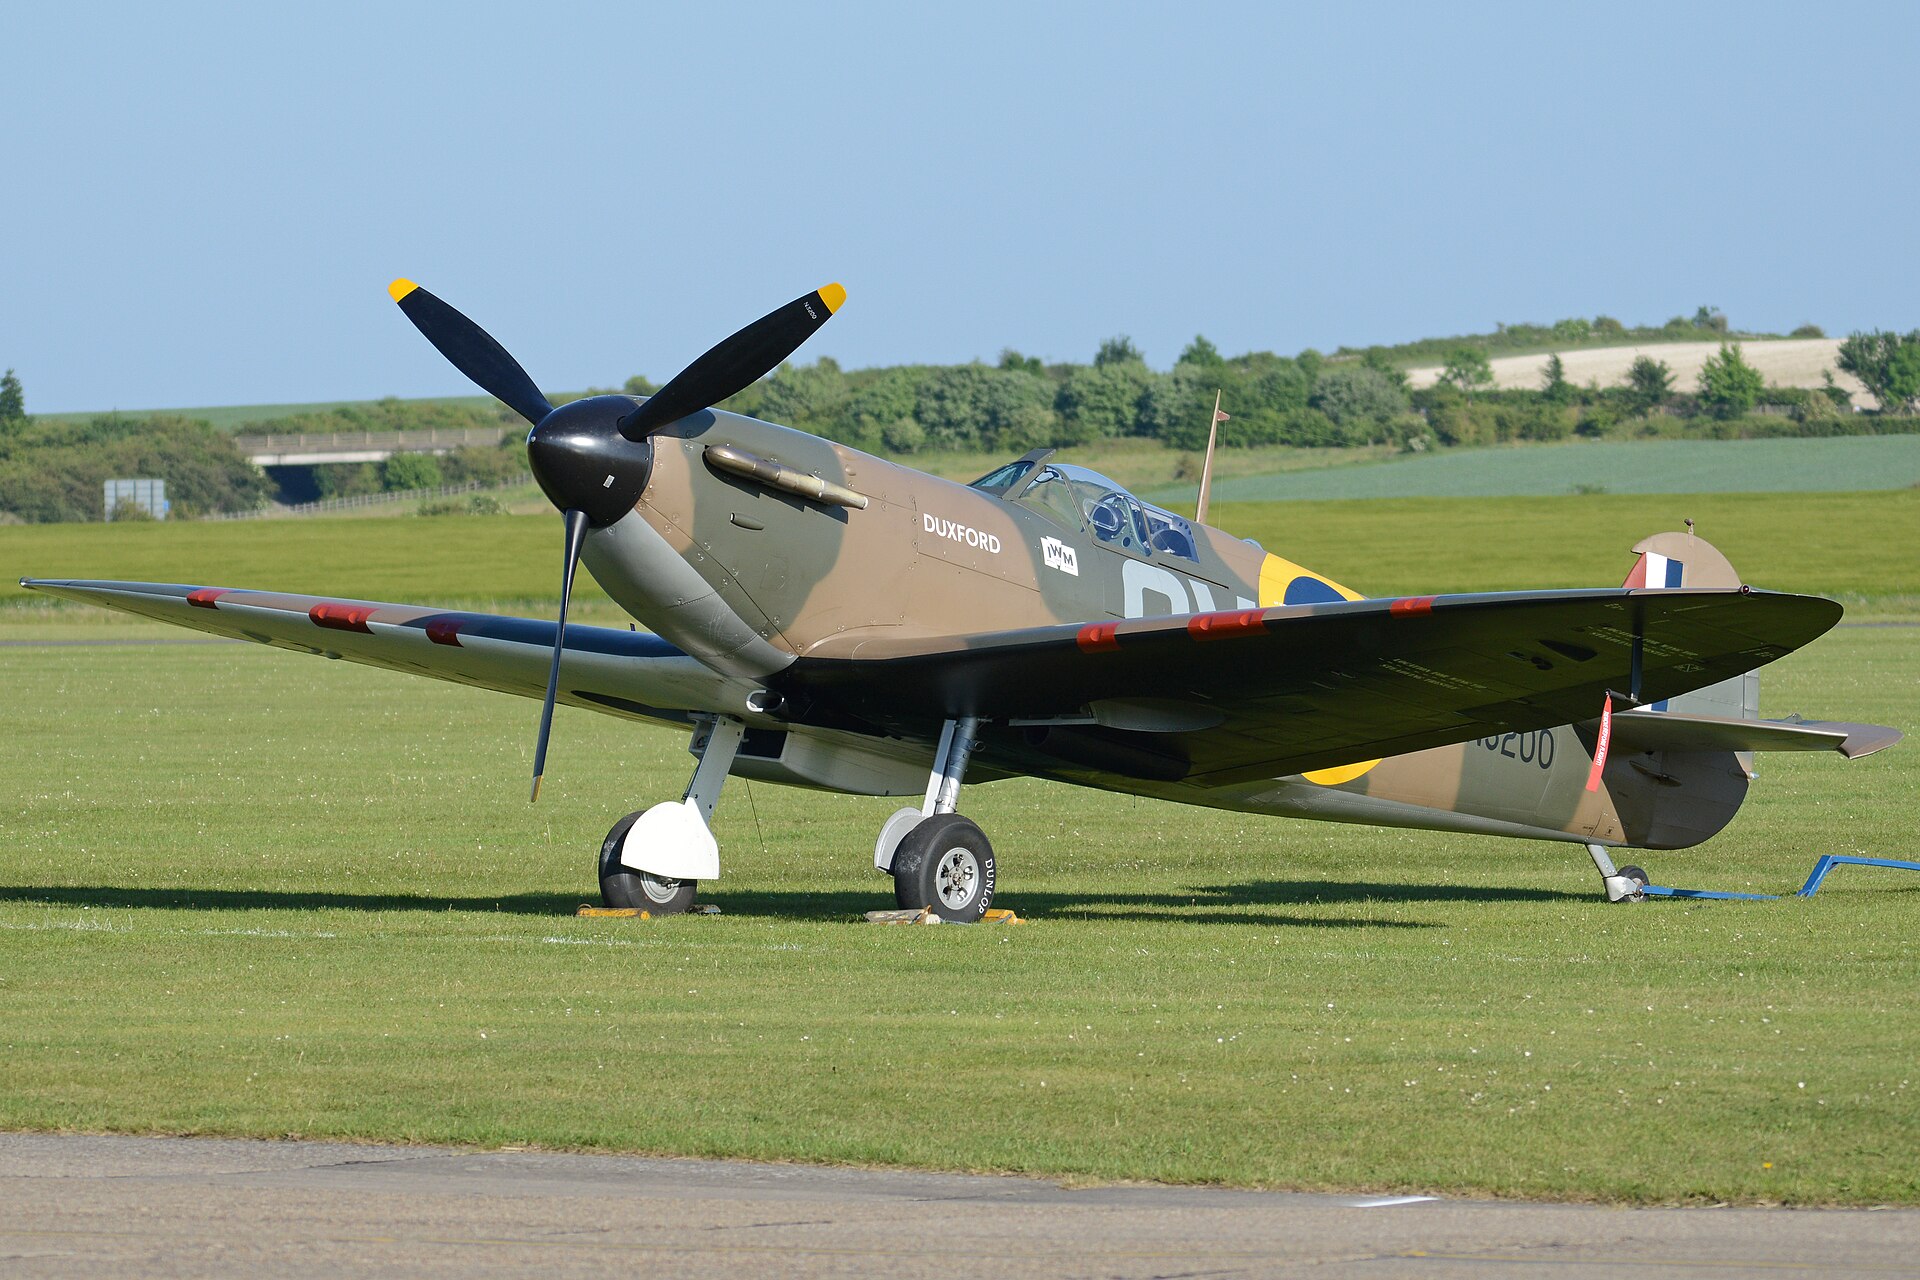
Get low. Kneeling, crouching or even lying down drops the camera towards the aircraft’s own level, which makes it loom over the viewer and puts clean sky behind it instead of the crowd. A low viewpoint at propeller height on a warbird, or at intake height on a jet, gives a parked aircraft the presence it has in the flesh. Then move around to a three-quarter view from the front, roughly forty-five degrees off the nose, which shows both the length of the fuselage and the shape of the front, and is far stronger than a flat side-on record.
Look for the angle that tells you what the aircraft is. A fast jet wants a low, purposeful front three-quarter that emphasises the intake and the nose. A big bomber or transport wants a viewpoint that conveys its size, often from close and low so it towers away from you. A biplane or a light aircraft can take a higher angle that shows the layout of the wings. Our Scottsdale guide is a worked example of ramp photography of this kind, including an aircraft under tow, which is half of what happens at an airport and almost nobody photographs. Try several, chimp the back of the camera to see which reads best, and commit to the strongest one rather than settling for the first. Focal length changes the character of the angle as much as your position does. A wide lens used close and low exaggerates the nose and makes a fighter look aggressive, though it stretches straight lines and must be handled with care. A short telephoto from further back compresses the aircraft, flattens the perspective and renders the proportions more naturally, which flatters an elegant airliner or a graceful biplane. Neither is right or wrong; they simply say different things, so choose the focal length for the story you want the aircraft to tell, not just for how much of it you can fit in.
Clean up the background
A cluttered background is what separates a snapshot from a photograph, and the static park is nothing but background clutter. Learning to see and control what is behind the aircraft is the most valuable habit you can build, because a clean background makes even an ordinary aircraft look deliberate and considered.
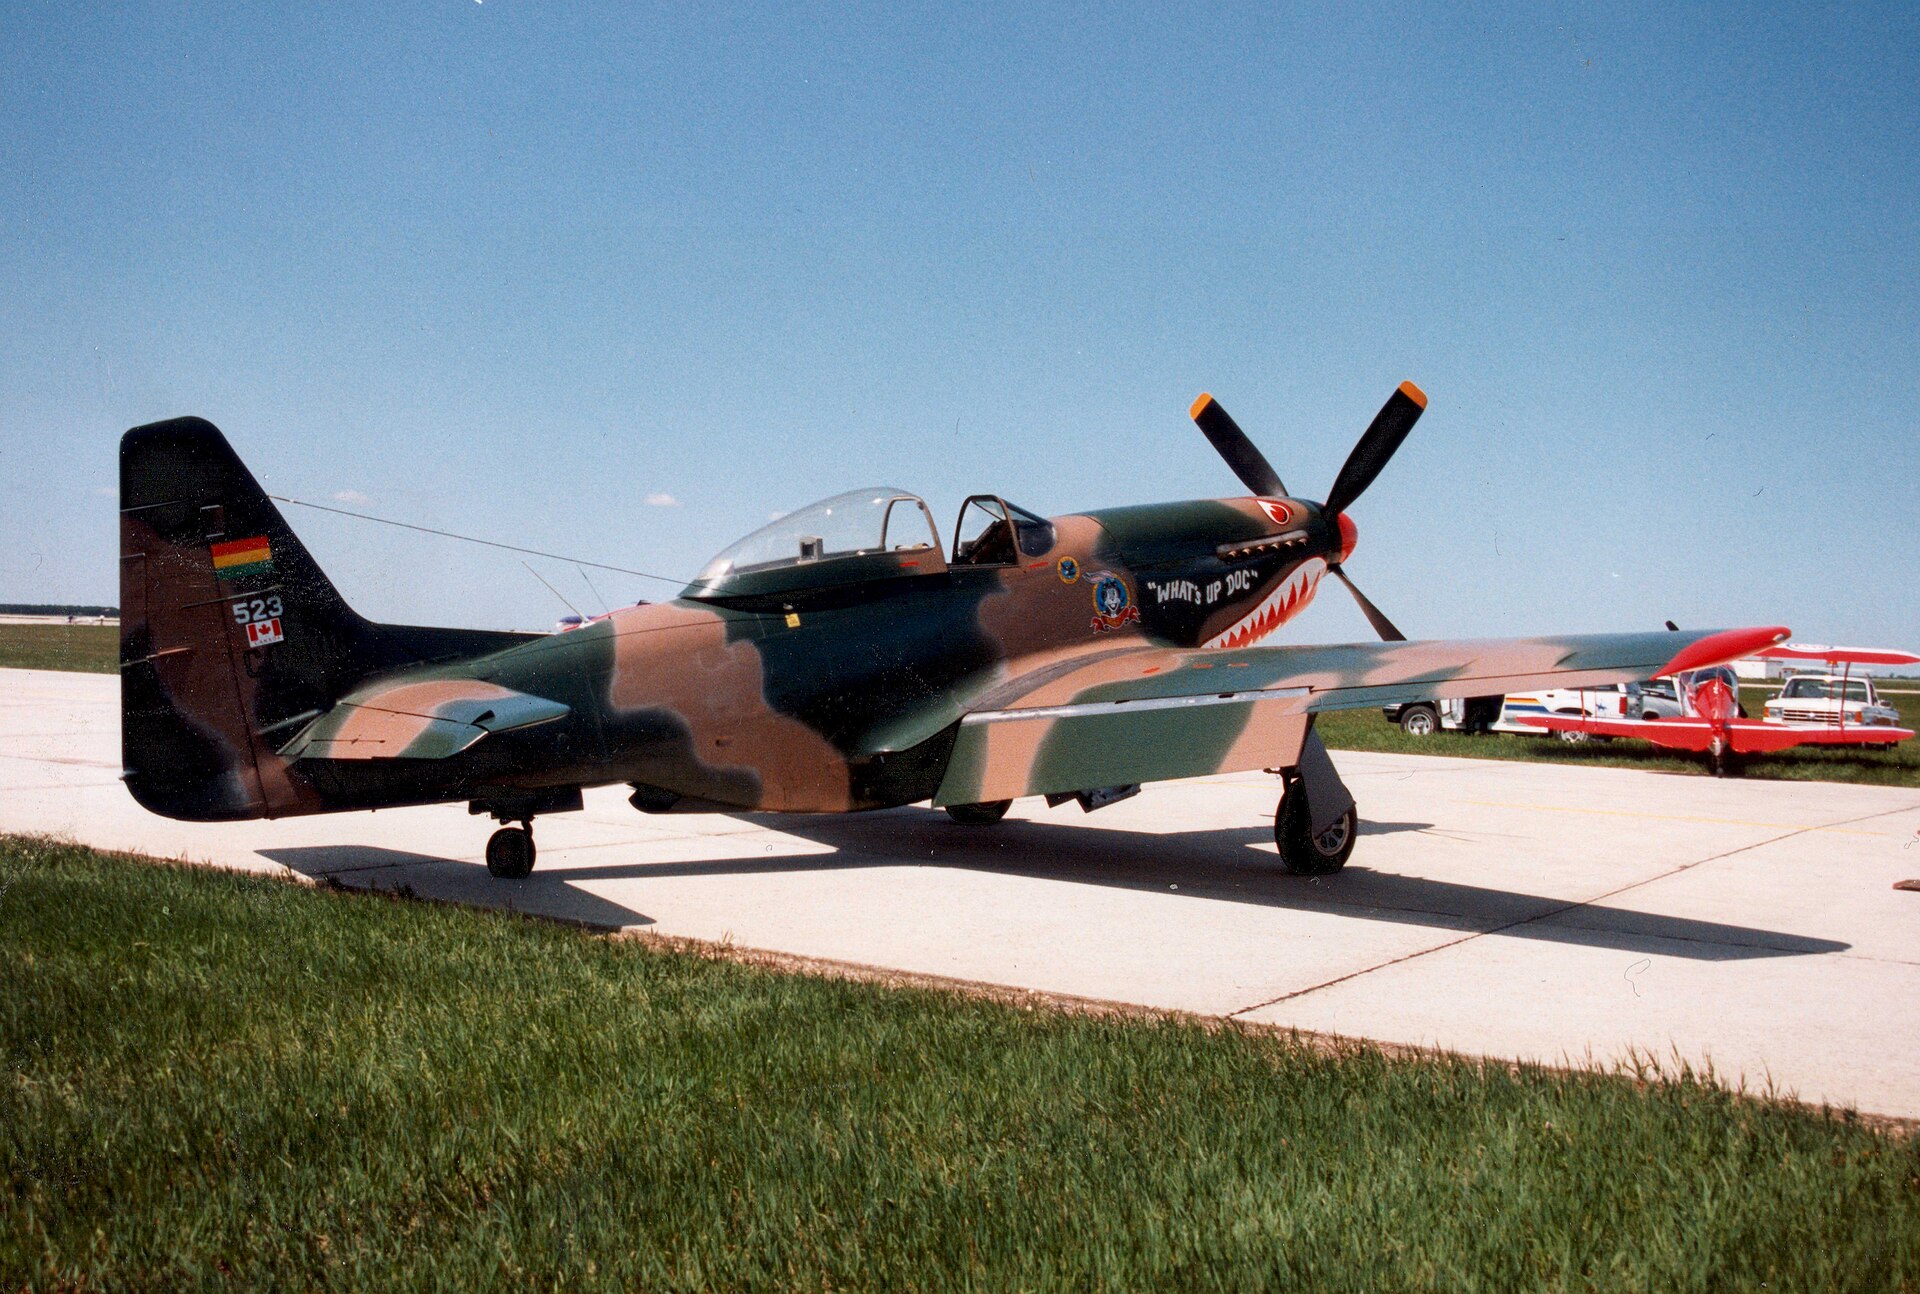
You have three tools. The first is position: move until the background behind the aircraft is the cleanest available, whether that is sky, grass, a plain hangar wall or a distant treeline rather than a jumble of other aircraft and people. A step to one side often transforms the frame. The second is aperture: a wide aperture such as f2.8 or f4 throws a busy background into soft blur, especially with a longer lens, so the aircraft separates from the mess behind it. The third is height, since getting low often swaps a cluttered horizon for clean sky.
Watch the foreground too. Barriers, ropes, cones, chocks and signs collect around a static aircraft, and they pull the eye. Shoot over or around them where you can, use a low angle to hide them behind the aircraft, or frame tight enough to exclude them. When you really cannot avoid the clutter, that is your cue to move in and shoot a detail instead, which sidesteps the problem entirely.
Get in close for details
When the whole aircraft will not work, because the background is hopeless or the light is wrong, the answer is almost always to move in. Details are the static photographer’s secret weapon, because a tight, graphic shot of one part of an aircraft fills the frame with a single strong subject and makes the surrounding chaos irrelevant.
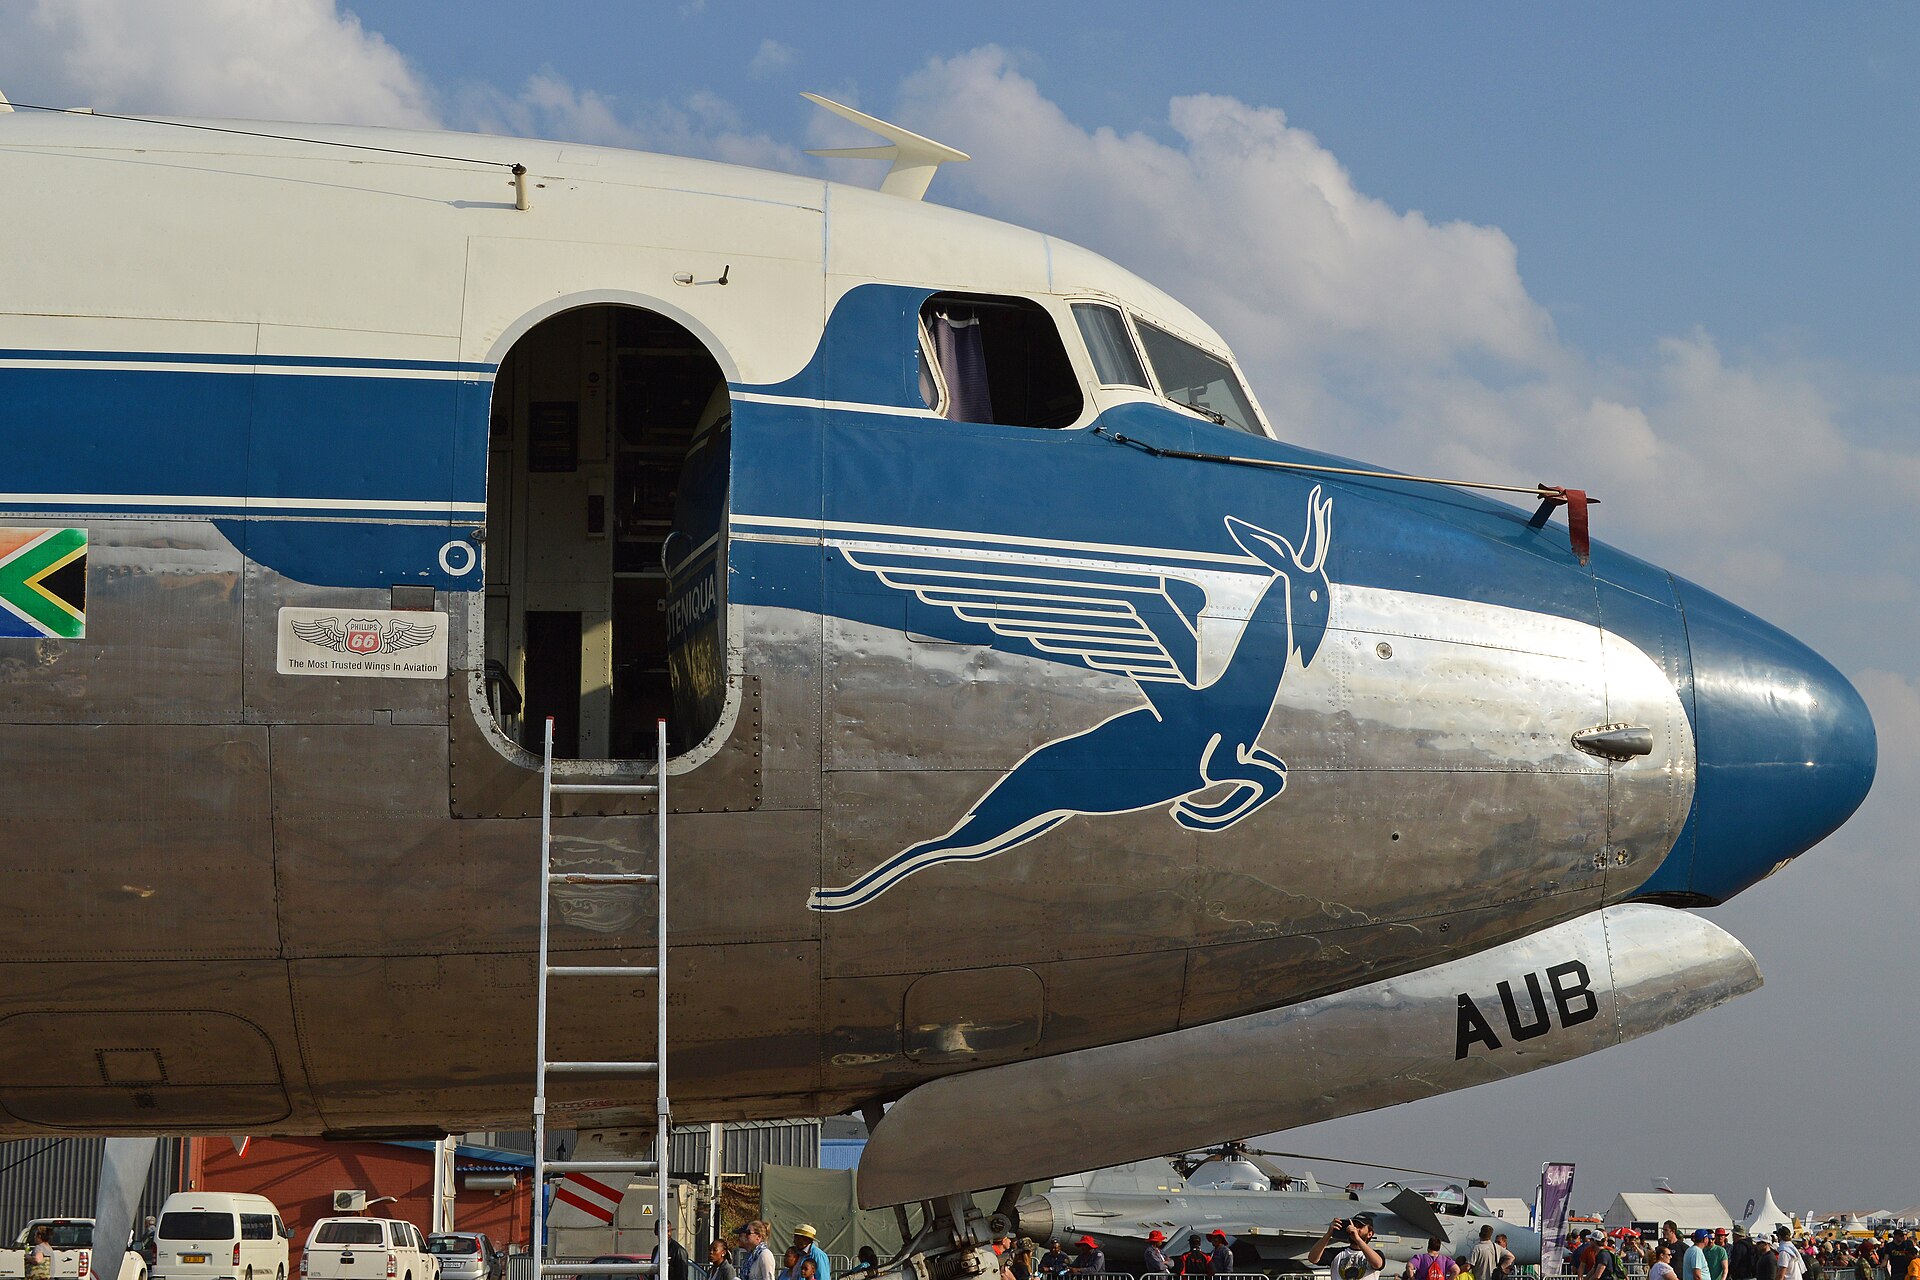
Look for the parts that carry the character of the aircraft. Nose art and squadron markings, the business end of an engine, the spinner and propeller blades, a row of rivets catching the light, worn paint and oil streaks, the muzzles of guns, undercarriage legs and wheels, cockpit stencils and the reflections in canopy glass all make strong images. A short telephoto in the 85mm to 135mm range is ideal, letting you isolate a detail cleanly from a distance and compress the perspective pleasingly.
Details also solve the crowd problem, because you can shoot over people’s heads at the top of a tail or the nose art high on a fuselage, where no amount of ground clutter intrudes. Make the detail graphic: fill the frame, get square to a flat surface such as nose art to keep it undistorted, and expose for the painted metal rather than the bright sky behind it. A strong detail shot often outperforms the wide record shot of the whole aircraft, and it is usually far easier to get.
Use the light
Light makes or breaks a static shot just as it does any photograph, and the static park gives you a particular problem: you cannot move the aircraft, so you have to move yourself and, if necessary, come back at a better time. The worst light is the harsh, contrasty overhead sun of the middle of a show day, which is exactly when most people shoot.
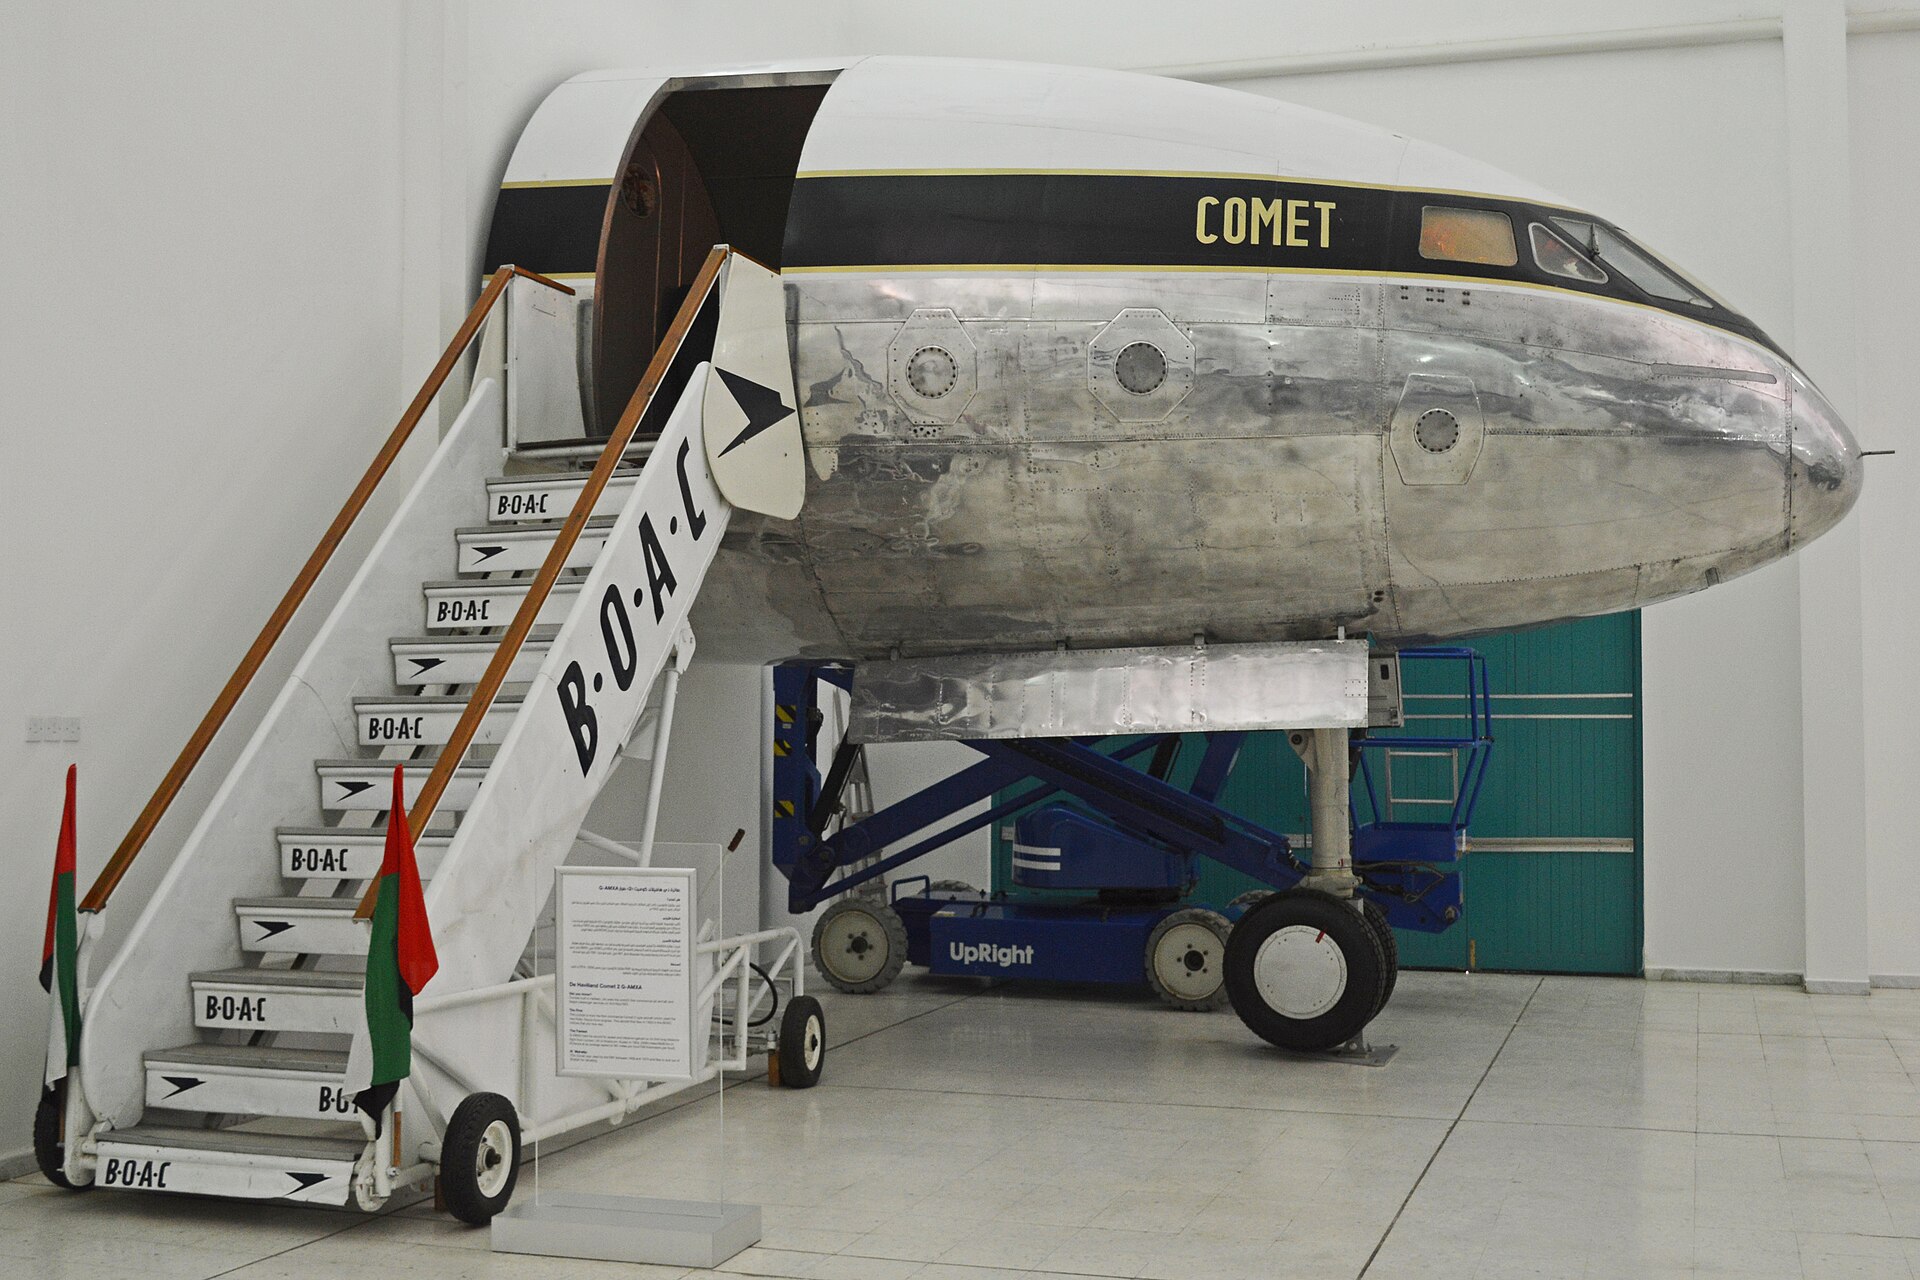
The best light for a static aircraft is the soft, warm, low light of early morning and late evening, the golden hour, which rakes across the fuselage, shows its shape and glows on polished metal. If the show allows early or late access, that is when to shoot the aircraft you care about. Overcast light is not the enemy it seems, either, because a bright cloudy sky is a giant softbox that removes harsh shadows and suits detail work and colour beautifully. It is only hard, high sun that really fights you.
Work with the direction of the light. Side lighting models the form of the aircraft and brings out texture. Backlighting can produce a striking rim-lit shape or a silhouette at dawn or dusk. Front lighting is flat and dull, so avoid shooting with the sun straight behind you. Aircraft displayed inside hangars or walk-through exhibits give you soft, directional light from the doors and windows, often more flattering than anything outside, so do not overlook them. Our guide to shooting aviation in golden light applies directly to the static park.
The crowd problem
Crowds are the defining difficulty of the static park, and there is no single trick that removes them. What works is a combination of timing, patience and technique, and the photographers who get clean static shots are usually the ones who put in the effort to be there when the crowds are not.
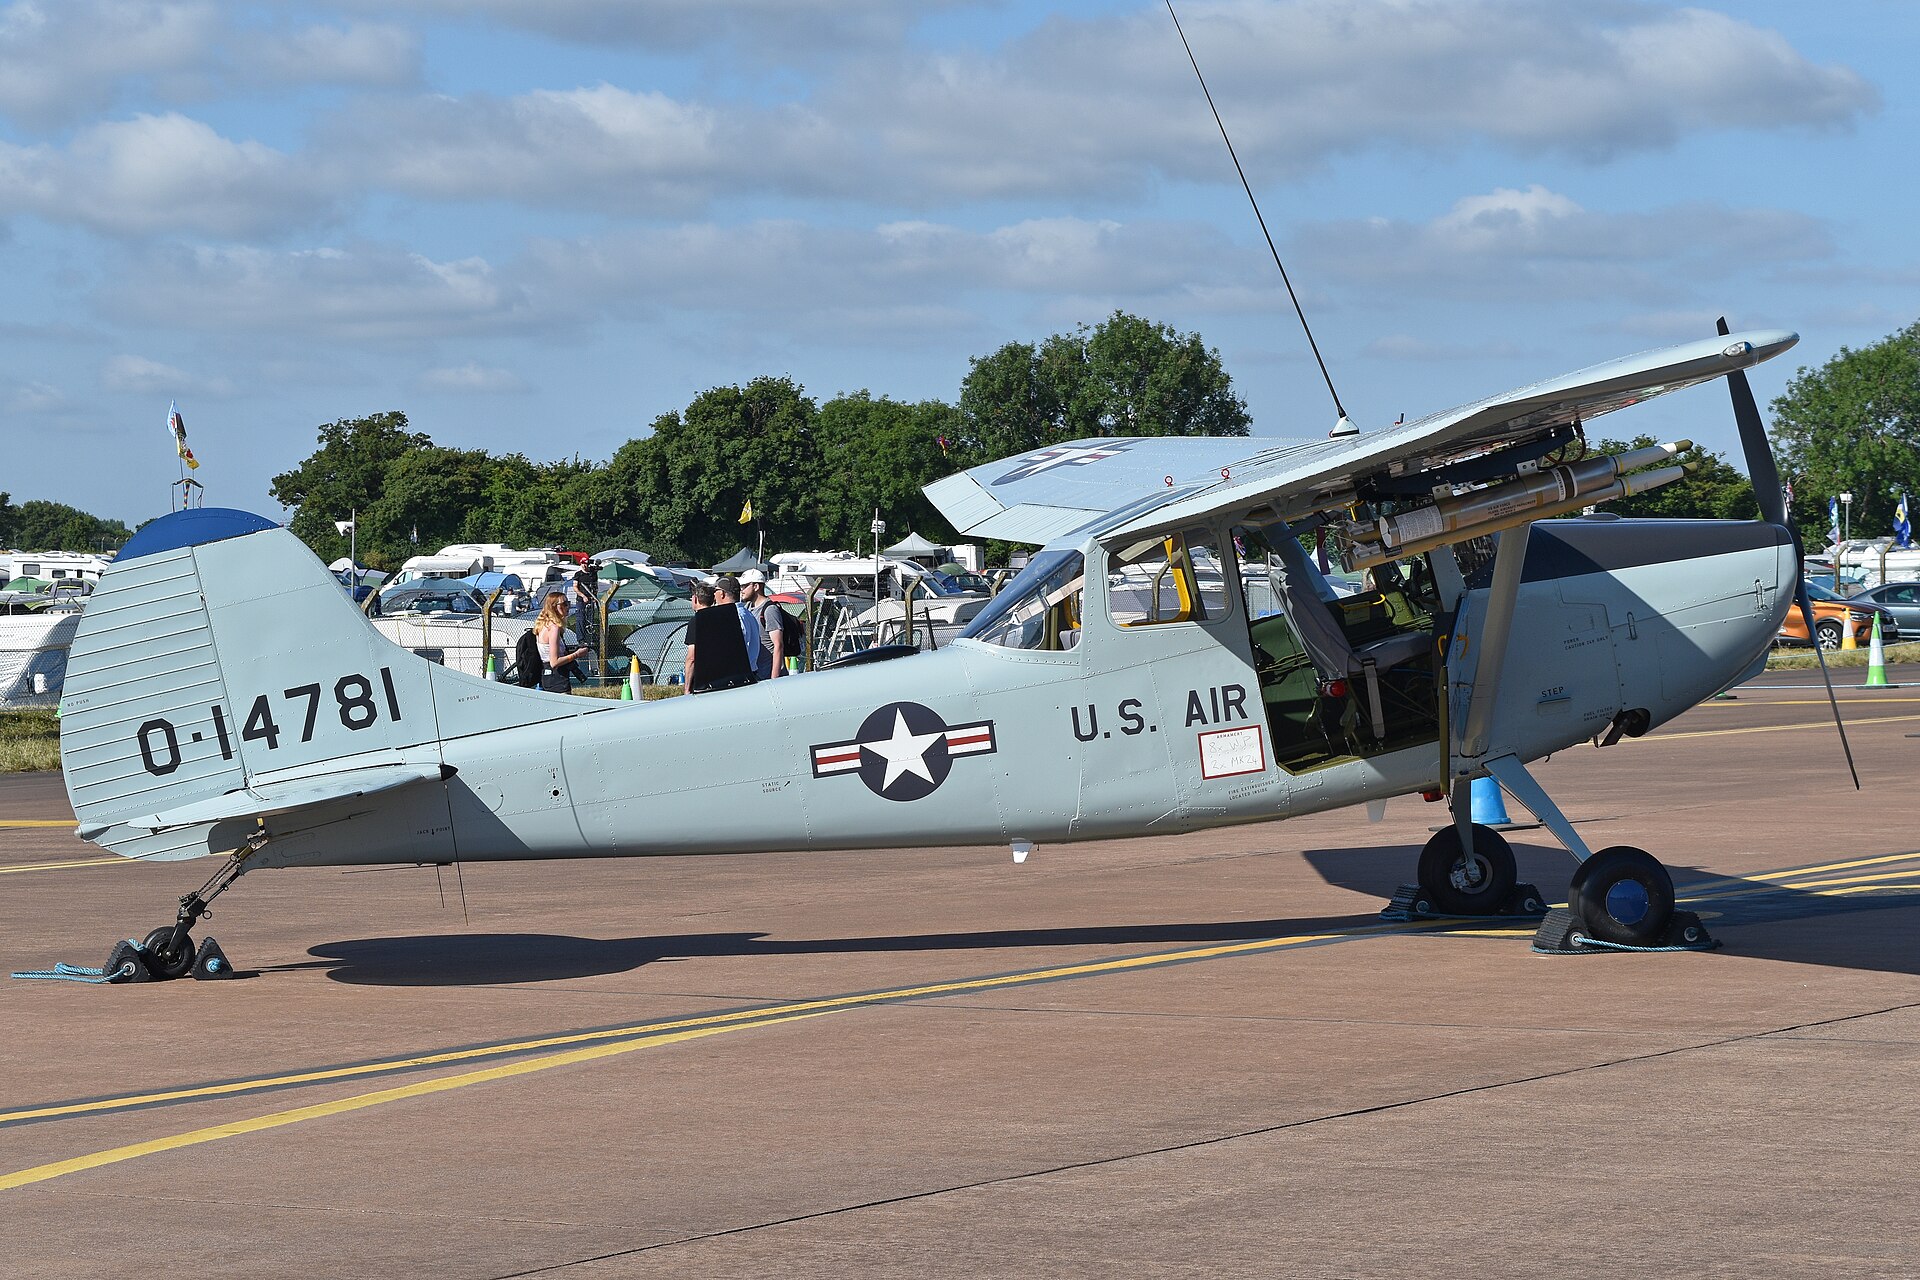
Timing is everything. The static park is emptiest at the very start of the day, before the crowds arrive, and at the very end, as they drift towards the flying. If a show offers early morning photography access, a photocall or a late session, take it, because an hour with the aircraft to yourself is worth a whole day fighting the crowds. Failing that, the lunchtime flying display pulls people away from the static line, leaving it briefly quieter.
When you cannot avoid people, use them or lose them. A low angle hides the crowd behind the aircraft. A wide aperture blurs them into an unobtrusive wash. A tight detail shot excludes them altogether. And a little patience pays off, because gaps open constantly as people move, so waiting thirty seconds for a clear moment often gets the frame that the impatient photographer never sees. Occasionally a person or two, well placed, actually helps, giving a sense of the aircraft’s scale, so do not always treat every human as a problem to be removed.
Gear and settings
Static work needs a different kit from the flightline, and in some ways a simpler one. You are not tracking fast movers, so the big telephoto can stay in the bag, and the lenses that matter are the ones that let you take in a whole aircraft up close and isolate details cleanly.
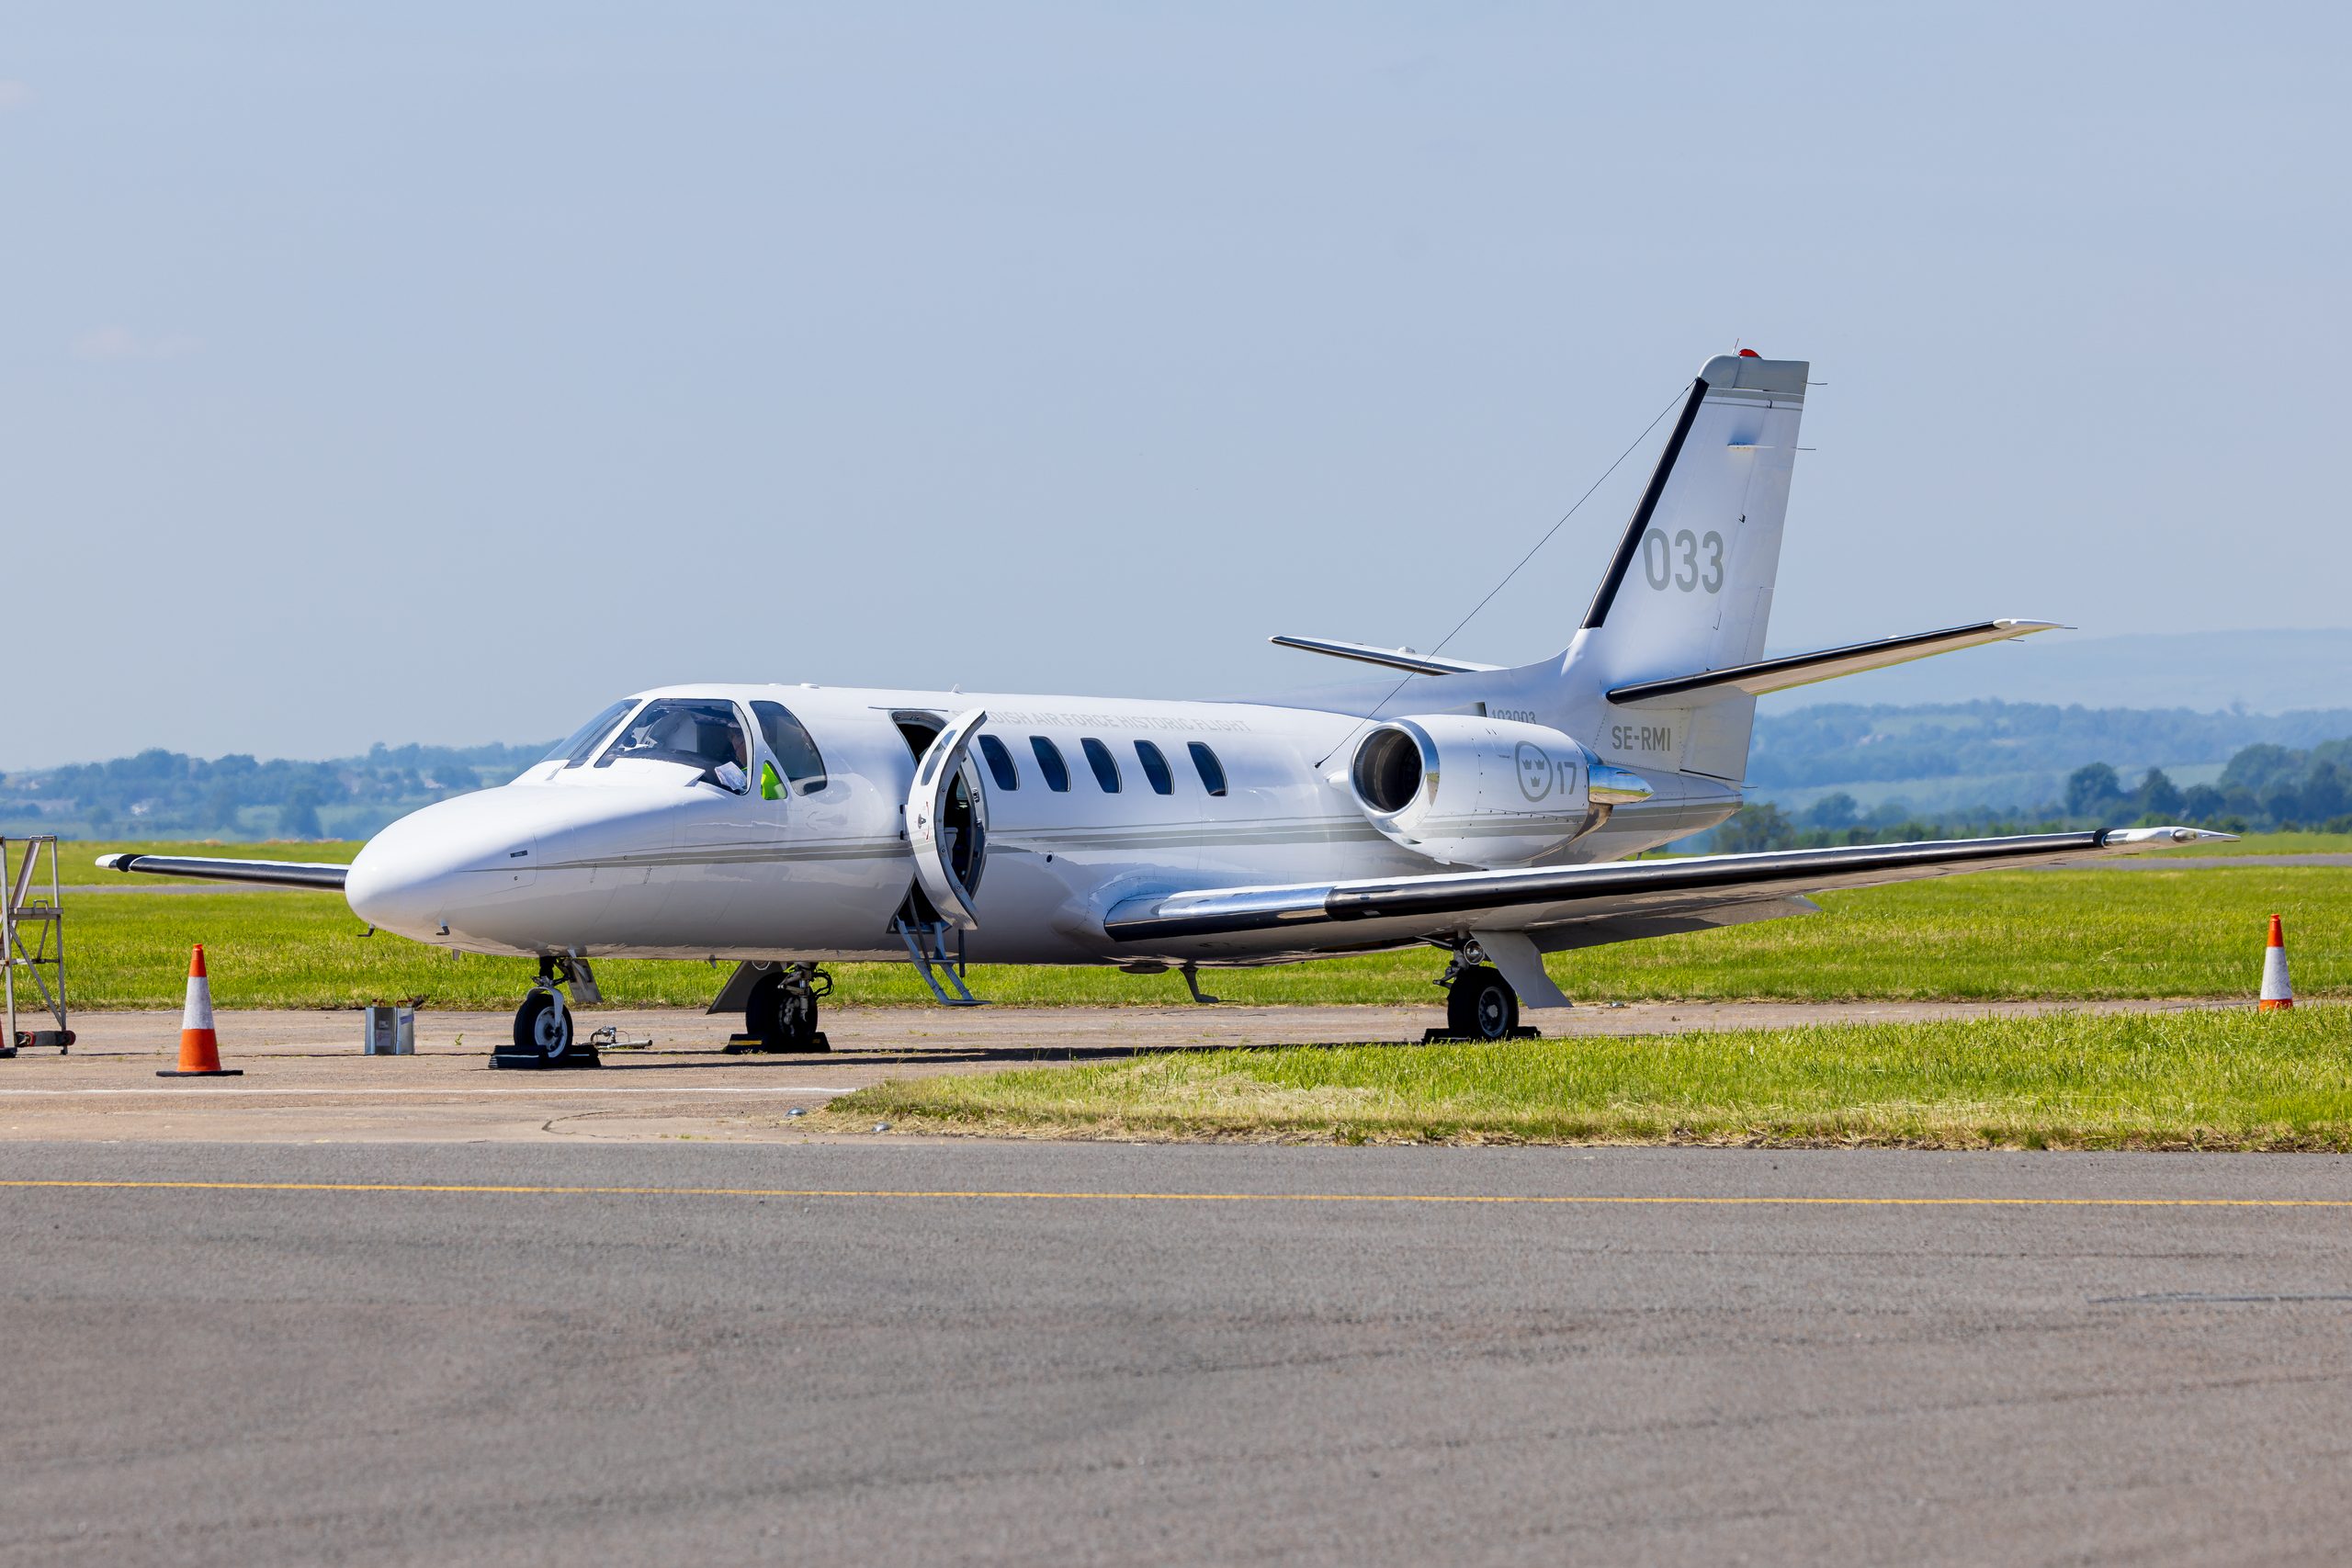
A wide to standard zoom, something like a 24-70mm, is the workhorse, taking in a whole aircraft from close range and handling the wider scene-setting shots. Add a short telephoto, a 70-200mm or similar, for details and for the background-blurring separation that a longer lens and wide aperture give. A polarising filter cuts glare and reflections off canopies and painted metal and deepens a blue sky, which is more useful on the ground than in the air. A wide-angle lens can produce dramatic close, low static shots but watch the distortion it introduces on straight fuselage lines.
For settings, work in aperture priority or manual at a low ISO, since nothing is moving and you can afford a slow shutter with the camera braced or on a monopod. Choose the aperture for the job: wide, around f2.8 to f4, to isolate the aircraft from a busy background, or stopped down to f8 or f11 when you want the whole airframe and a detailed setting sharp. Shoot raw so you can tame harsh light and fix the colour of mixed lighting later, and use the lowest ISO the light allows for the cleanest files.
Cockpits and walk-throughs
Many static aircraft are open, with steps up to the cockpit or hatches into the fuselage, and these access opportunities are a gift. A cockpit is a dense, detailed, human place, and a good cockpit shot tells you more about an aircraft than any exterior view.
Shoot the cockpit from just outside the sill with a wide or standard lens, keeping the camera level to avoid distorting the panel, and expose for the instruments rather than the bright sky beyond the canopy. If you can shade the canopy glass or wait for the aircraft to be turned out of direct sun, you will kill the reflections that ruin most cockpit shots. Look for the details too: a single dial, a control column with worn grips, a name stencilled on the coaming. Walk-through transports and bombers let you photograph interiors, gun positions and bomb bays that are normally hidden, so take the chance when it comes, because it rarely does on a flying aircraft.
Be quick and be considerate, because there is usually a queue behind you and often a crew member managing access. Have your settings ready before you climb the steps, take your frames efficiently, and move on. A little courtesy keeps the access open and the crew willing, and it is the mark of a photographer worth having around.
Composition and lead-in lines
All the ordinary rules of composition apply to a static aircraft, and the static park actually gives you more control over them than the flightline ever does, because you can move to place every element exactly where you want it. Use that control deliberately.
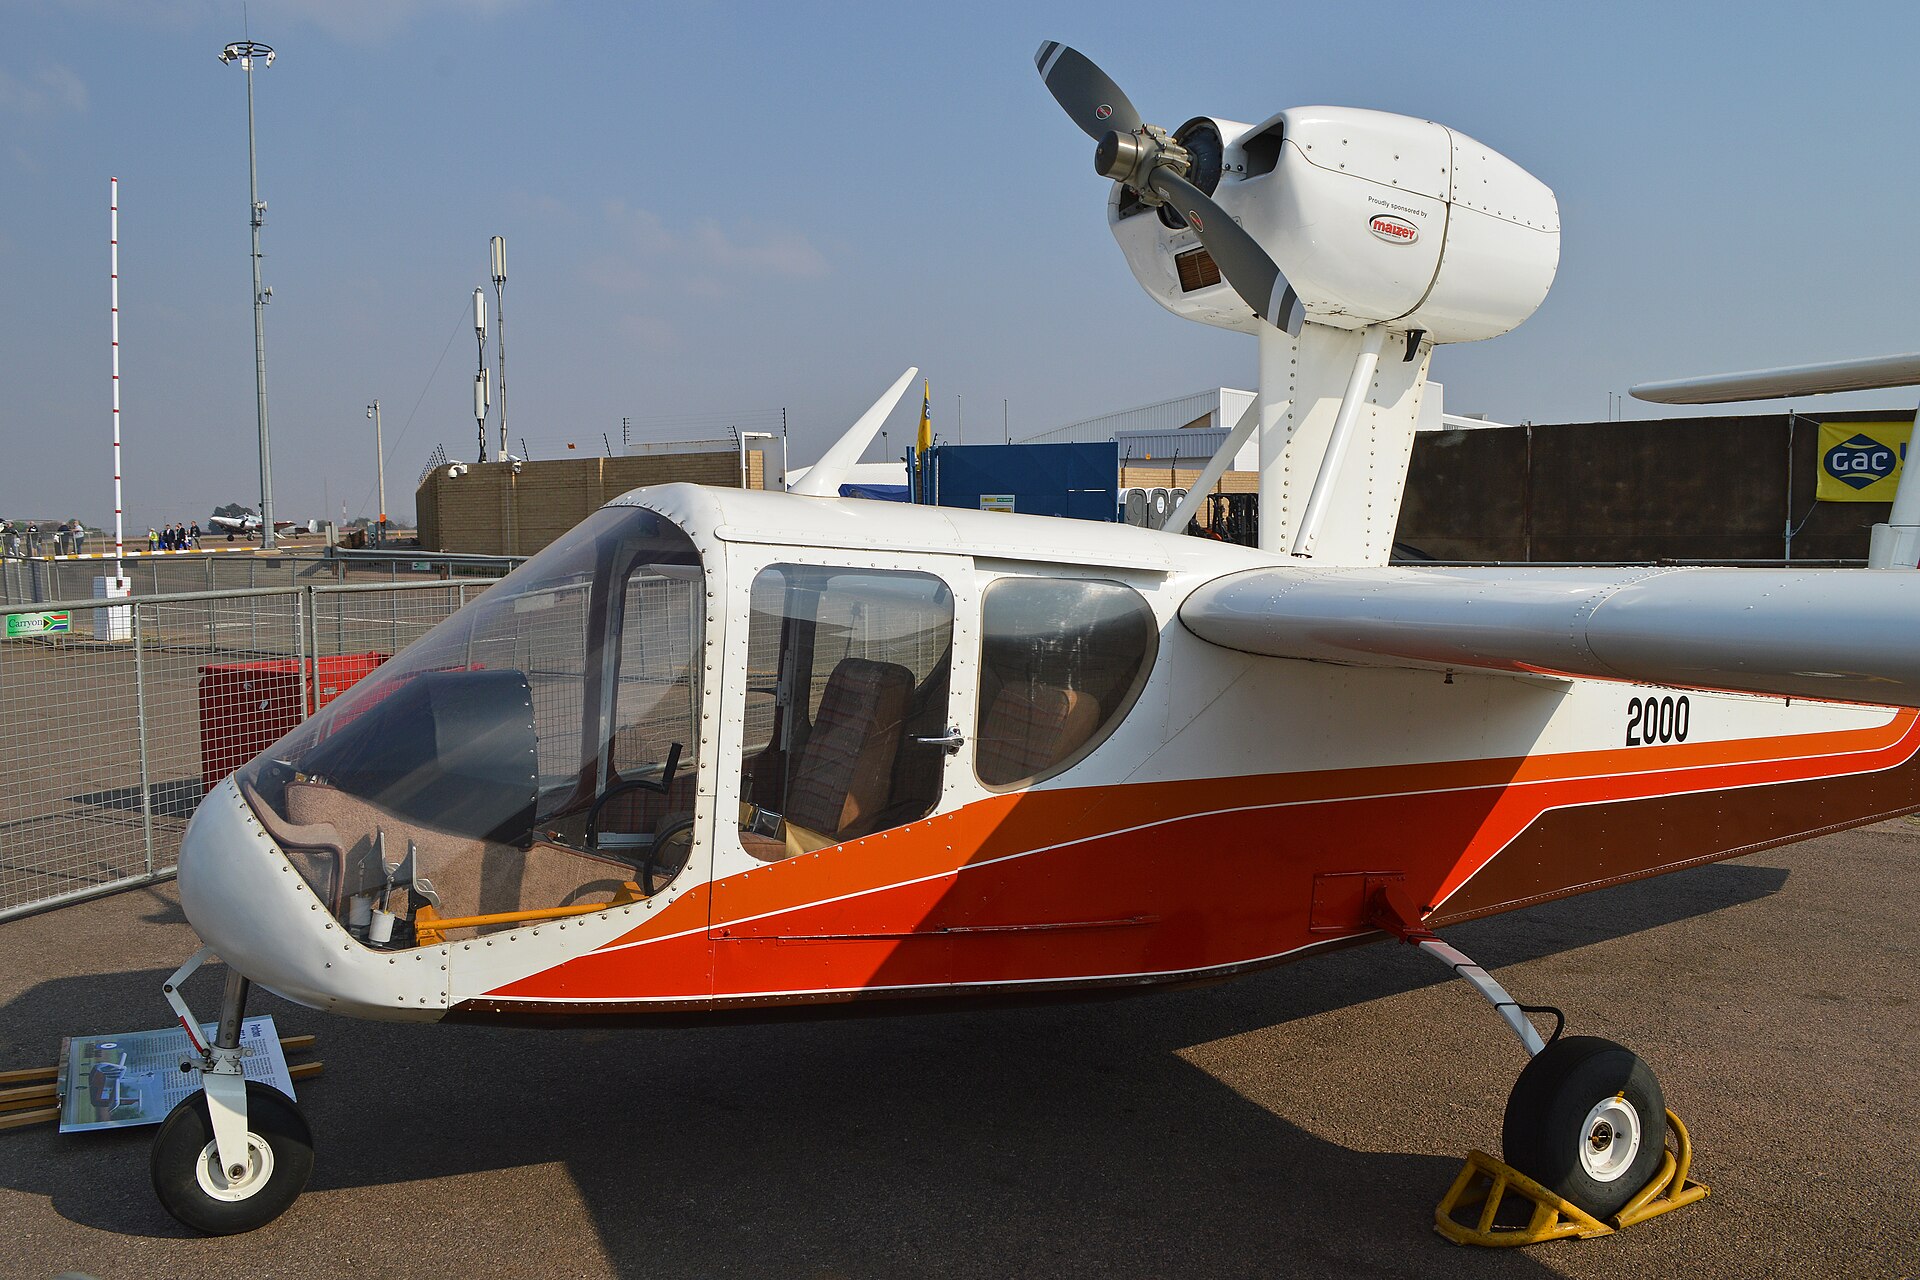
Look for lead-in lines: the sweep of a wing, the line of a fuselage, a row of aircraft receding into the distance, or the diagonal of an undercarriage leg, all of which draw the eye into the frame and towards the subject. Unusual angles beat the postcard side view every time, so shoot along a tail boom, up at a cockpit, through a propeller or between the wheels of an undercarriage. Fill the frame or leave deliberate space, but do it on purpose. And watch the edges of the frame for clipped wingtips, intruding tails and half-people, the small faults that spoil an otherwise clean static shot.
Think about what the picture is saying. A tight, low, front three-quarter of a fighter says power and aggression. A wide, low shot of a bomber says size and weight. A soft detail in warm light says age and history. Decide what you want the aircraft to say, then choose the angle, the light and the framing that says it, rather than simply recording that the aircraft was there. Our guide to composition for aviation photography covers the principles in depth, and they matter more, not less, when the subject is standing still.
Processing static shots
A static file needs a slightly different edit from an air-to-air frame, because the issues are harsh light, cluttered backgrounds and converging lines rather than sharpness and cropping. A calm, deliberate pass in your raw editor lifts a flat static capture into a clean image.
Start by taming the light: recover the highlights on bright metal, lift the shadows to reveal detail, and reduce harsh contrast from midday sun. Correct the white balance, especially for aircraft shot in mixed hangar light. Then clean up the frame: the healing and clone tools remove distracting cones, signs and stray people near the edges, within reason and honesty. Finally, straighten the geometry, because a wide lens used close produces converging verticals and leaning aircraft, and a small perspective correction makes the shot look considered rather than snatched. Do not overdo any of it; the aim is a clean, natural image, not an obviously manipulated one, and a frame that was thought about in the field always needs less work at the desk than one that was snatched without care.
Weather and conditions
The static park is at the mercy of the weather, and learning to work with whatever the day gives you separates the photographer who comes home with something from the one who gives up. Every kind of weather offers an opportunity if you look for it, and only a few conditions really defeat you.
Bright overcast is far better than it looks. A high, even cloud layer is a giant softbox that wraps the aircraft in soft light, kills harsh shadows, saturates colours and suits both whole-aircraft shots and details. Rain, once it stops, leaves wet aprons and airframes that gleam and reflect, and puddles that give you a foreground reflection of the aircraft if you get low. Dramatic skies with broken cloud and shafts of light can turn an ordinary static shot into something special, so watch the sky as much as the aircraft.
Only two conditions really fight you. Hard, high, cloudless midday sun is the worst, throwing ugly shadows and blowing out bright metal, and the answer is to shoot details or wait for the light to soften towards evening. Heavy, flat, dull grey overcast drains all life from a scene, and there the answer is again to move in close, work colour and detail, and rely on processing to add the contrast the sky has taken away. Whatever the weather, there is almost always a picture to be made if you adapt the subject and the approach to the light you have.
Making a set from one aircraft
The photographers who get the most from a static park do not take one picture of each aircraft and move on. They work a single aircraft properly, building a small set of images that together tell its story, and that habit is worth cultivating because it forces you to see beyond the obvious record shot.
For an aircraft you care about, aim to come away with a handful of complementary frames: a strong three-quarter establishing shot that shows the whole machine, a detail or two of the nose art, engine or markings, a cockpit shot if access allows, and an unusual angle that no one else will have. Together those frames give a magazine or a viewer a complete impression of the aircraft, and they give you options when you come to edit and share the work.
Working an aircraft this way also slows you down in a good way. Instead of snatching a single frame over the crowd, you walk around the aircraft, study the light on each side, look for the details, wait for gaps in the people, and think about what each angle says. That deliberate, patient approach is exactly what the static park rewards and the flightline never allows, and it is the surest route to static shots that stand out. It also feeds directly into building a coherent aviation photography portfolio.
Where to find the best static displays
Some shows offer far richer static parks than others, and knowing where to point your effort helps. In Britain, the Royal International Air Tattoo at RAF Fairford assembles one of the largest and most varied static displays in the world, with military aircraft from dozens of nations parked within reach of the camera, and it is a static photographer’s paradise given an early start.
Duxford, home to the Imperial War Museum’s flying collection, combines a permanent museum with airshows whose static and flightline aircraft are steeped in history, and it is one of the best places anywhere to photograph warbirds on the ground. Naval air days, base open days and the larger regional shows all put aircraft within close reach, and smaller fly-ins and vintage gatherings often give the cleanest access of all, with fewer crowds and aircraft parked on grass in attractive settings.
Wherever you go, the shows that reward the static photographer most are the ones that offer early access, a photocall or a quiet first hour, so it is always worth checking the programme and, where offered, paying for enthusiast or photographer tickets that grant time with the aircraft before the gates open. An hour alone with a static line in good light is worth more than a whole day fighting the crowds, and the shows that make that possible are the ones to seek out.
Static shots for stock and prints
There is a commercial reason to take the static park seriously as well as a creative one. Clean, well-lit, correctly identified static shots have real value, because they are exactly what picture libraries, magazines, modellers and enthusiasts come looking for, and the static park is often the only place to get a full, unobstructed record of a particular aircraft and its markings.
For stock and reference use, breadth and accuracy matter as much as artistry. A sharp, clean side-on and three-quarter of an aircraft, with its serial and markings clearly legible, is a really useful image even when it is not dramatic, so do not discard the record shots. Add detail frames of the markings, the tail code and any special scheme, and keyword everything accurately with type, operator, serial, base and event while the details are fresh. A wrong identification is worse than none, so check the serial before you commit it.
The best static images serve twice: the artful, low, golden-light three-quarters make prints and portfolio pieces, while the clean, accurate record shots earn their keep as stock and reference. Working the static park properly gives you both from the same visit. You can see finished aviation images across the Professional Aviation Photography galleries, with the terms for using them set out on the licences page, and our guide to photographing warbirds covers the flying side of the same aircraft.
A static photography checklist
The table below distils the guide into a quick reference to run through as you work a static line. None of it is difficult, but keeping it in mind is what separates a strong set of static shots from a folder of flat record snaps.
| Problem | What to do |
|---|---|
| Flat, boring view | Get low, shoot a front three-quarter, try unusual angles |
| Cluttered background | Change position, use a wide aperture, get low for clean sky |
| Crowds and barriers | Arrive early or stay late, shoot details over heads, be patient |
| Harsh midday sun | Come back at golden hour, use overcast as a softbox, shoot details |
| Whole aircraft will not work | Move in and shoot a strong detail instead |
| Converging lines | Fix perspective in processing; do not overdo it |
Frequently asked questions
How do I make static aircraft photos more interesting?
Stop shooting flat and side-on from standing height. Get low, shoot a front three-quarter view around forty-five degrees off the nose, clean up the background by changing position or using a wide aperture, and move in for details when the whole aircraft will not work. Shoot in soft morning or evening light rather than harsh midday sun. Those few choices transform an ordinary parked aircraft into a strong image.
What is the best angle for photographing a parked aircraft?
A low, front three-quarter view is the strongest general angle, because it shows both the length of the fuselage and the shape of the front while giving the aircraft presence. Getting the camera down to propeller or intake height also puts clean sky behind the aircraft instead of the crowd. Avoid the flat, square, side-on view from standing height, which is the least interesting angle and the one everyone else takes.
How do I deal with crowds at the static display?
Timing and technique. The static park is quietest at the very start and end of the day and during the main flying display, so shoot then if you can, and take any early-access or photocall session on offer. When people cannot be avoided, use a low angle to hide them behind the aircraft, a wide aperture to blur them, or a tight detail shot to exclude them, and be patient because gaps open constantly.
What lens should I use for static aircraft?
A wide to standard zoom such as a 24-70mm is the workhorse for whole-aircraft shots at close range, and a short telephoto around 70-200mm is ideal for isolating details and blurring cluttered backgrounds. A polariser helps cut glare off canopies and metal and deepens the sky. The big telephoto used on the flightline is rarely needed on the static park, so it can stay in the bag.
What camera settings work best for static aircraft?
Work in aperture priority or manual at a low ISO, since nothing is moving. Choose a wide aperture, around f2.8 to f4, to isolate the aircraft from a busy background, or stop down to f8 or f11 when you want the whole airframe and its setting sharp. Shoot raw so you can tame harsh light and correct mixed hangar lighting later, and use the lowest ISO the light allows for clean files.
How do I get a clean background at a busy static park?
Use three tools together. Change your position until the cleanest available background sits behind the aircraft, whether sky, grass or a plain wall. Use a wide aperture with a longer lens to blur a cluttered background into softness. And get low, which often swaps a messy horizon for clean sky. When none of that works, move in and shoot a detail, which removes the background problem entirely.
What time of day is best for photographing static aircraft?
The soft, warm light of early morning and late evening, the golden hour, is best, raking across the fuselage and glowing on metal. It also coincides with the quietest times on the static park. Harsh overhead midday sun is the worst light, so use it for details or come back later. A bright overcast sky acts as a giant softbox and suits detail and colour work well.
How do I photograph aircraft cockpits on static display?
Shoot from just outside the sill with a wide or standard lens, keep the camera level to avoid distorting the panel, and expose for the instruments rather than the bright sky beyond the canopy. Shade the glass or wait for the aircraft to be out of direct sun to kill reflections. Be quick and considerate, because there is usually a queue behind you and a crew member managing access.
Should I include people in static aircraft photos?
Usually you want to exclude them, using a low angle, a wide aperture or a tight crop. But a person or two, well placed, can actually help by giving a sense of the aircraft’s scale, which is otherwise hard to convey. The key is to decide deliberately: either remove people cleanly, or include them on purpose as a scale reference, rather than letting a random crowd clutter the frame by accident.
How do I photograph large aircraft on the ground?
Get close and low so the aircraft towers away from you, which conveys the size that a distant, level shot loses. A wide lens lets you take in the whole airframe from close range, and a low front three-quarter angle emphasises the scale of the nose and fuselage. Watch for converging verticals from the wide lens and correct them gently in processing, and look for a detail or a lead-in line to add interest.
Can I remove distracting objects from static photos in editing?
Yes, within reason and honesty. The healing and clone tools remove distracting cones, signs and stray people near the edges of the frame, and a small perspective correction straightens leaning aircraft from a wide lens. The aim is a clean, natural image, not an obviously manipulated one, so do not remove so much that the picture misrepresents the scene. Getting it right in camera by choosing your angle is always better than fixing it later.
Is a tripod or monopod useful for static aircraft?
A monopod can be handy for steadying a slow shutter at low ISO or for detail work with a longer lens, and it takes up little space in a crowded static park. A tripod is rarely necessary outdoors and is often awkward or restricted among crowds, though it can help for careful detail or low-light hangar work where allowed. For most static shooting, good handholding technique at a sensible shutter speed is enough.
