Long lenses are unforgiving. They magnify the aircraft, and they magnify everything wrong with the shot at the same time: the shake, the haze, the missed focus by a whisker, and above all the noise that creeps in when you crank the ISO to hold a fast shutter speed. Most aviation photographers spend serious money chasing sharpness in glass, then throw a good chunk of it away in the last ten minutes of the edit with heavy-handed noise reduction or careless sharpening.
This guide covers the whole chain: where noise and softness actually come from in long-lens aviation work, the processing order that preserves the most detail, exactly how to use Lightroom’s noise reduction and sharpening tools on aircraft, when the third-party AI tools earn their price, and how to sharpen differently for screen, print and stock. There are starting-point tables throughout and three worked examples near the end. Everything here applies whether you shoot a 150-600mm zoom on a crop body or a 600mm prime on a full-frame flagship. The problems are the same; only the budget differs.
What this guide covers
- Why long-lens shots need different treatment
- Where noise and softness come from
- Getting it right in camera first
- The right processing order
- Noise reduction in Lightroom
- AI denoise tools compared
- Capture sharpening: the Detail panel done properly
- Local sharpening and masking
- Dealing with haze-softened shots
- Output sharpening for screen, print and stock
- Three worked examples
- Common mistakes
- Frequently asked questions
Why long-lens shots need different treatment
Open a portrait shot at ISO 3200 and a 600mm airshow shot at ISO 3200 side by side and the airshow file will almost always look worse, even from the same camera. That is not bad luck. Long-lens aviation photography stacks several disadvantages on top of each other, and understanding them explains every recommendation in the rest of this guide.
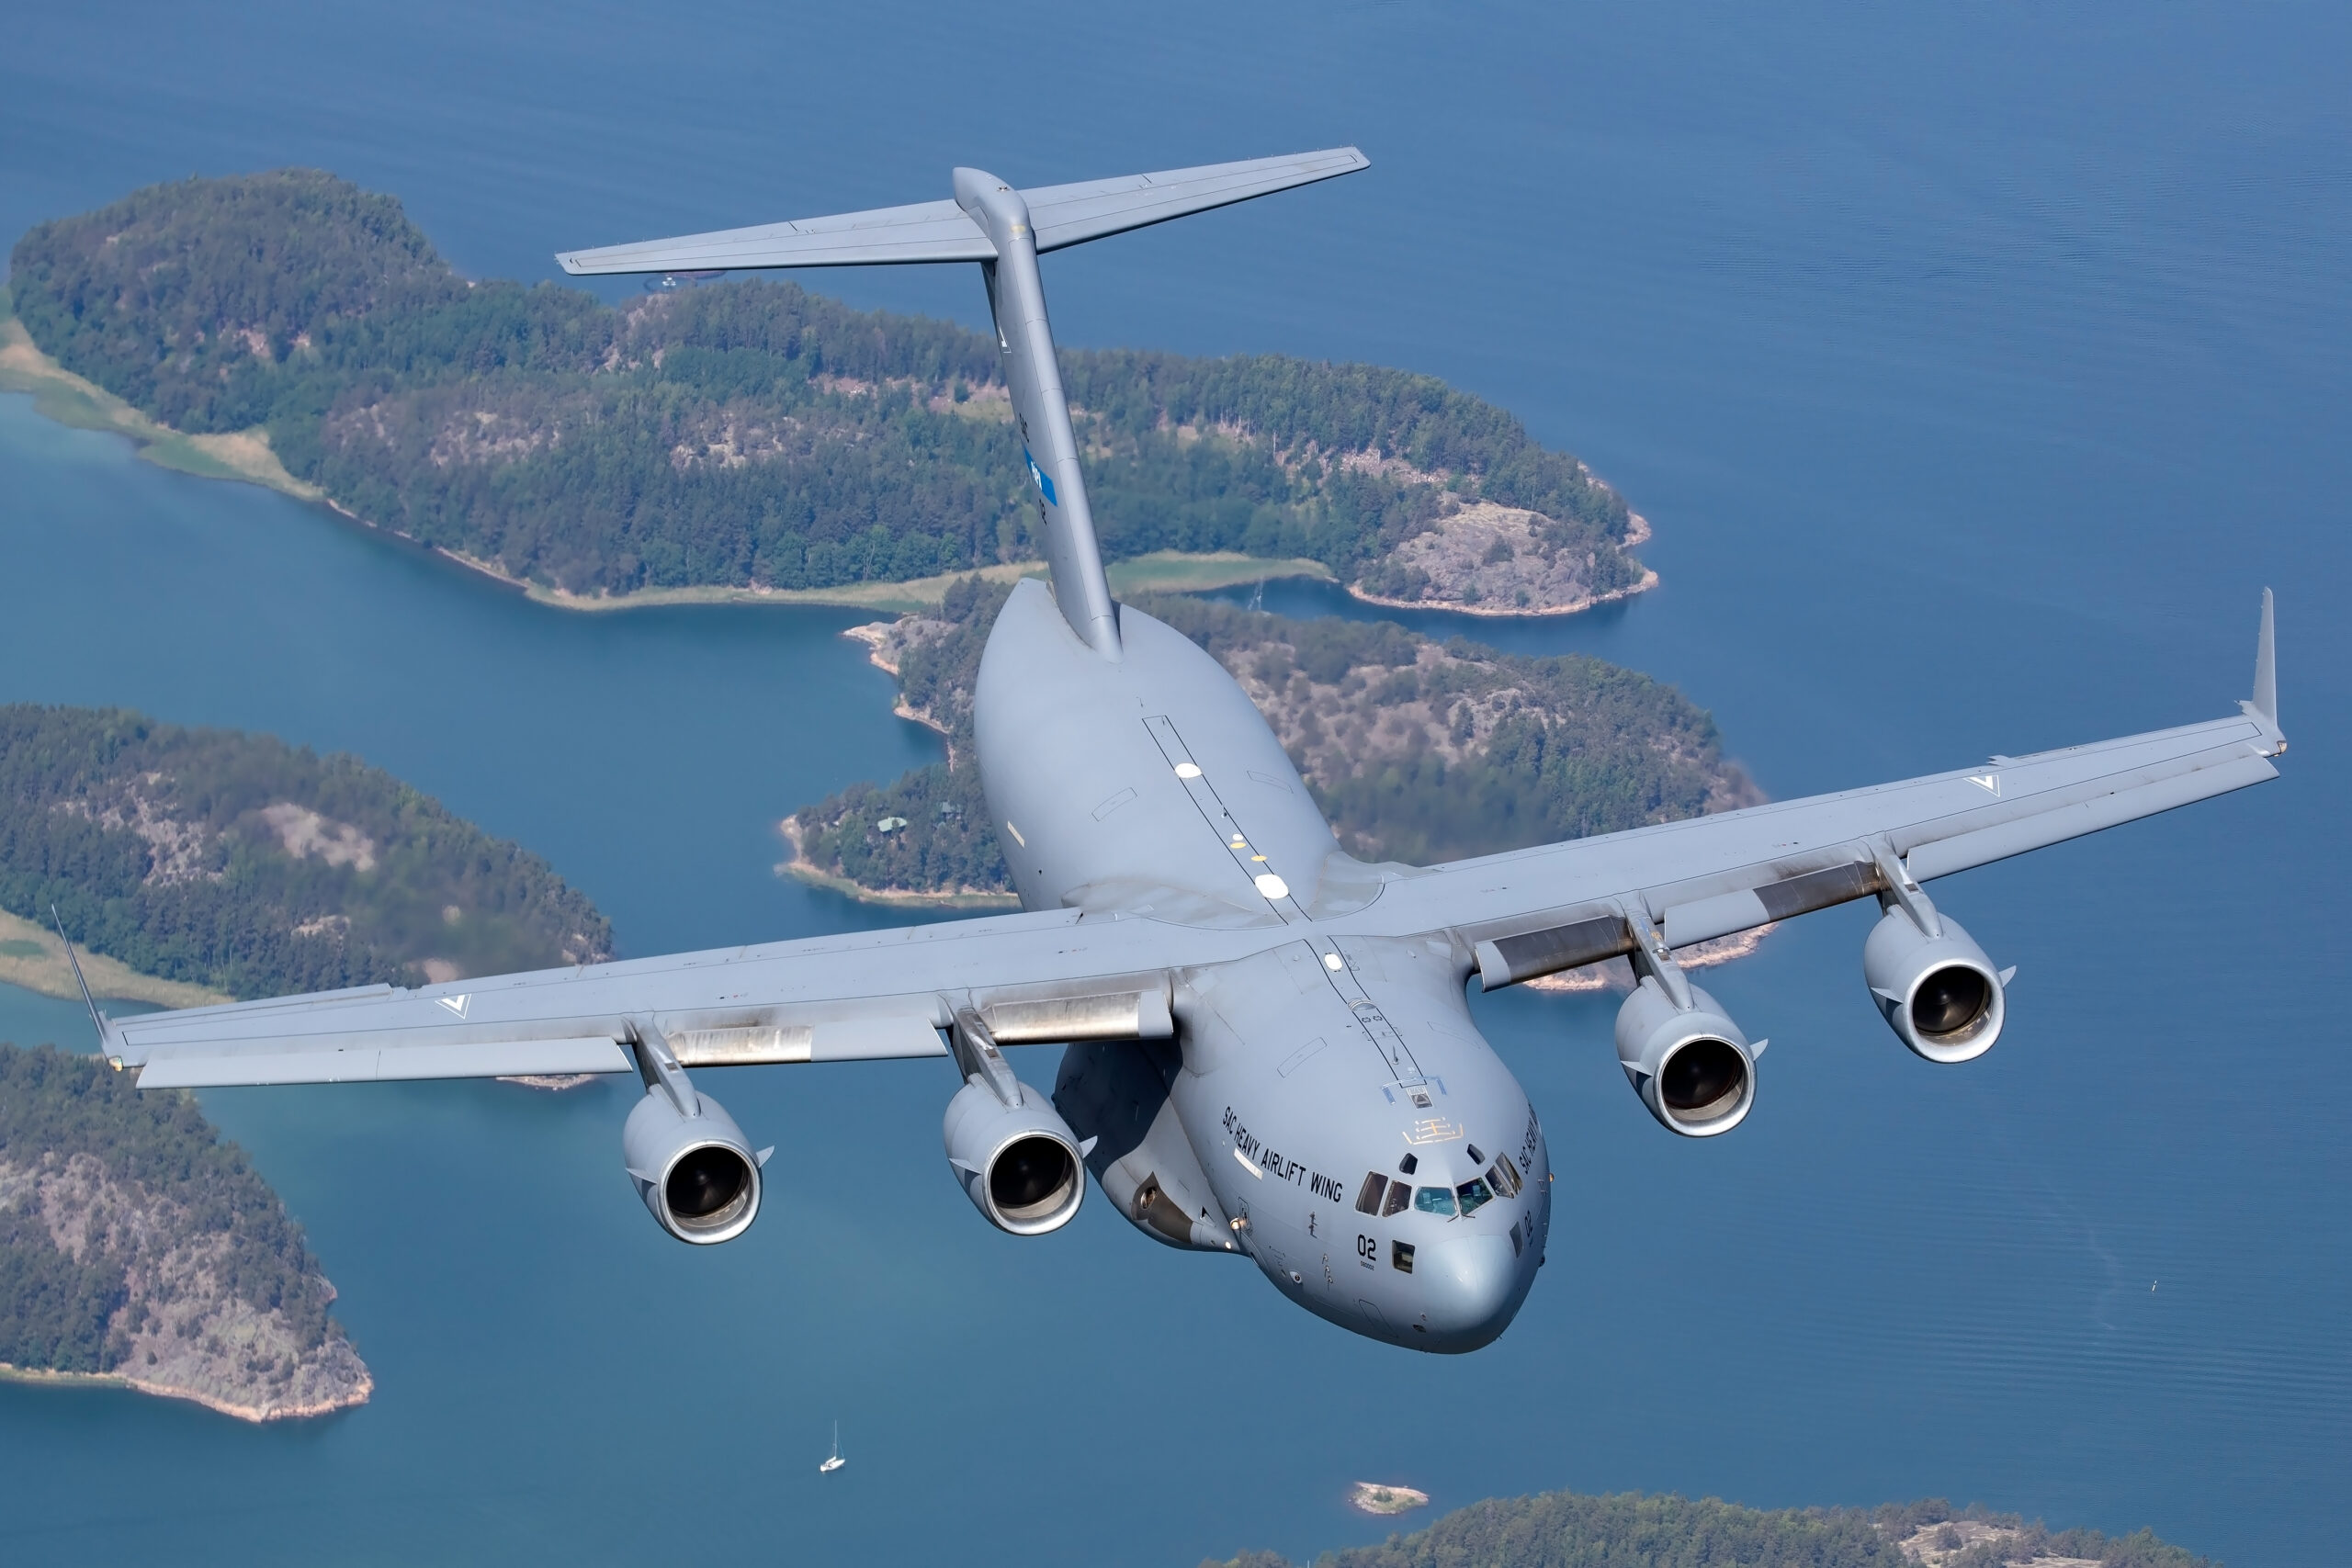
First, the subject is usually small in the frame even at 600mm, so you crop. A 50 percent crop doubles the magnification of every pixel, which means the noise you would never notice in a full-frame view is suddenly sitting right there in the sky next to the tailfin. Cropping does not add noise, but it removes the veil of distance that hides it.
Second, the background is sky. Smooth, gently graduated blue or grey is the single most revealing surface for luminance noise that exists in photography. The same grain that vanishes into grass, crowd or tarmac stands out immediately in a clean gradient. Aviation photographers are effectively shooting noise test charts all day.
Third, the shutter speed demands are brutal in both directions. Fast jets want 1/1600s or faster to freeze them, which pushes ISO up on anything but a bright day. Propeller aircraft want 1/125s to 1/250s for proper prop blur, which keeps ISO down but introduces motion softness from imperfect panning instead. Either way, something in the file needs rescuing later.
Fourth, the air itself degrades the image. Shooting at distance through hundreds of metres of atmosphere, often above sun-heated concrete, means heat shimmer and particulate haze soften detail before the light ever reaches your front element. No amount of processing recovers what the atmosphere took, and recognising which kind of softness you are looking at is half the skill of editing aviation photos.
Finally, long lenses themselves are often at their weakest exactly where we use them: wide open, at maximum focal length, sometimes with a teleconverter attached. A budget 150-600mm zoom at 600mm and f/6.3 is a marvel for the money, but it is not producing prime-lens micro-contrast, and the edit has to be sympathetic to that.
Where noise and softness come from
Before touching a slider it is worth being precise about what you are trying to remove, because noise and softness have different causes and different cures, and treating one as the other makes files worse.
The two kinds of noise
Luminance noise is variation in brightness between pixels that should be the same. It looks like film grain and lives most visibly in skies and shadow areas. Chroma noise is variation in colour: ugly magenta and green blotches that appear in deep shadows at high ISO. Chroma noise is the more destructive of the two visually, but also the easier to remove, because colour can be smoothed aggressively without the image looking soft. Luminance noise removal always costs some detail, which is why it needs a lighter touch.
The deeper truth about noise is that it is mostly a property of how much light you captured, not of the ISO number itself. A frame exposed generously at ISO 3200 will look cleaner after processing than a frame underexposed by two stops at ISO 800 and brightened later. Underexposure is the real enemy. Dark camouflage airframes against bright sky trick meters into underexposing the aircraft constantly, which is why so many aviation shots have noisy, muddy fuselages under clean skies. Our guide to metering for bright skies deals with getting this right at the taking stage.
The five sources of softness
Not all softness responds to sharpening, so diagnose before you treat. At 100 percent magnification, ask which of these you are looking at.
Missed focus shows one plane of the image sharp and the aircraft not. If the tailplane is crisp and the cockpit is not, the autofocus was fractionally behind. Sharpening cannot move the plane of focus; nothing fixes this.
Motion blur shows directional smearing, usually along the direction of flight, from a panning speed that did not quite match the aircraft. Small amounts respond a little to sharpening; obvious streaking does not.
Atmospheric softening, including heat haze, shows detail that is mushy everywhere with no sharp plane anywhere, often with visible shimmer distortion along edges. Sharpening makes it look like crisp mush. Texture and Clarity help mildly; badly affected frames are write-offs.
Diffraction softening appears when you stop down too far, beyond about f/11 on full frame or f/8 on high-density crop sensors. It is a gentle, even veiling that actually responds quite well to capture sharpening, which is fortunate, but it is better avoided by not stopping down past the lens’s sweet spot in the first place.
Lens character is the residual softness of the optic itself at a given aperture and focal length, and it is the most treatable of all. This is what capture sharpening exists for. A 150-600mm zoom shot wide open at the long end has plenty of real detail that just needs its edge contrast restored.
Why cropping makes both worse
Noise and sharpness are judged at output magnification, not at sensor level. Crop to 50 percent of the frame and view at the same screen size, and you have doubled the apparent size of both the noise grain and any blur. This is why the same settings that produce a lovely full-frame image produce a disappointing heavy crop, and why heavy croppers should be the most disciplined photographers on the airfield about exposure and shutter speed. If you find yourself cropping past about a third of the frame routinely, the honest answer is more reach, and our budget telephoto lens guide covers the affordable ways to get it.
Getting it right in camera first
Every minute spent on capture technique saves ten in the edit. Three habits make more difference to your finished files than any software purchase.
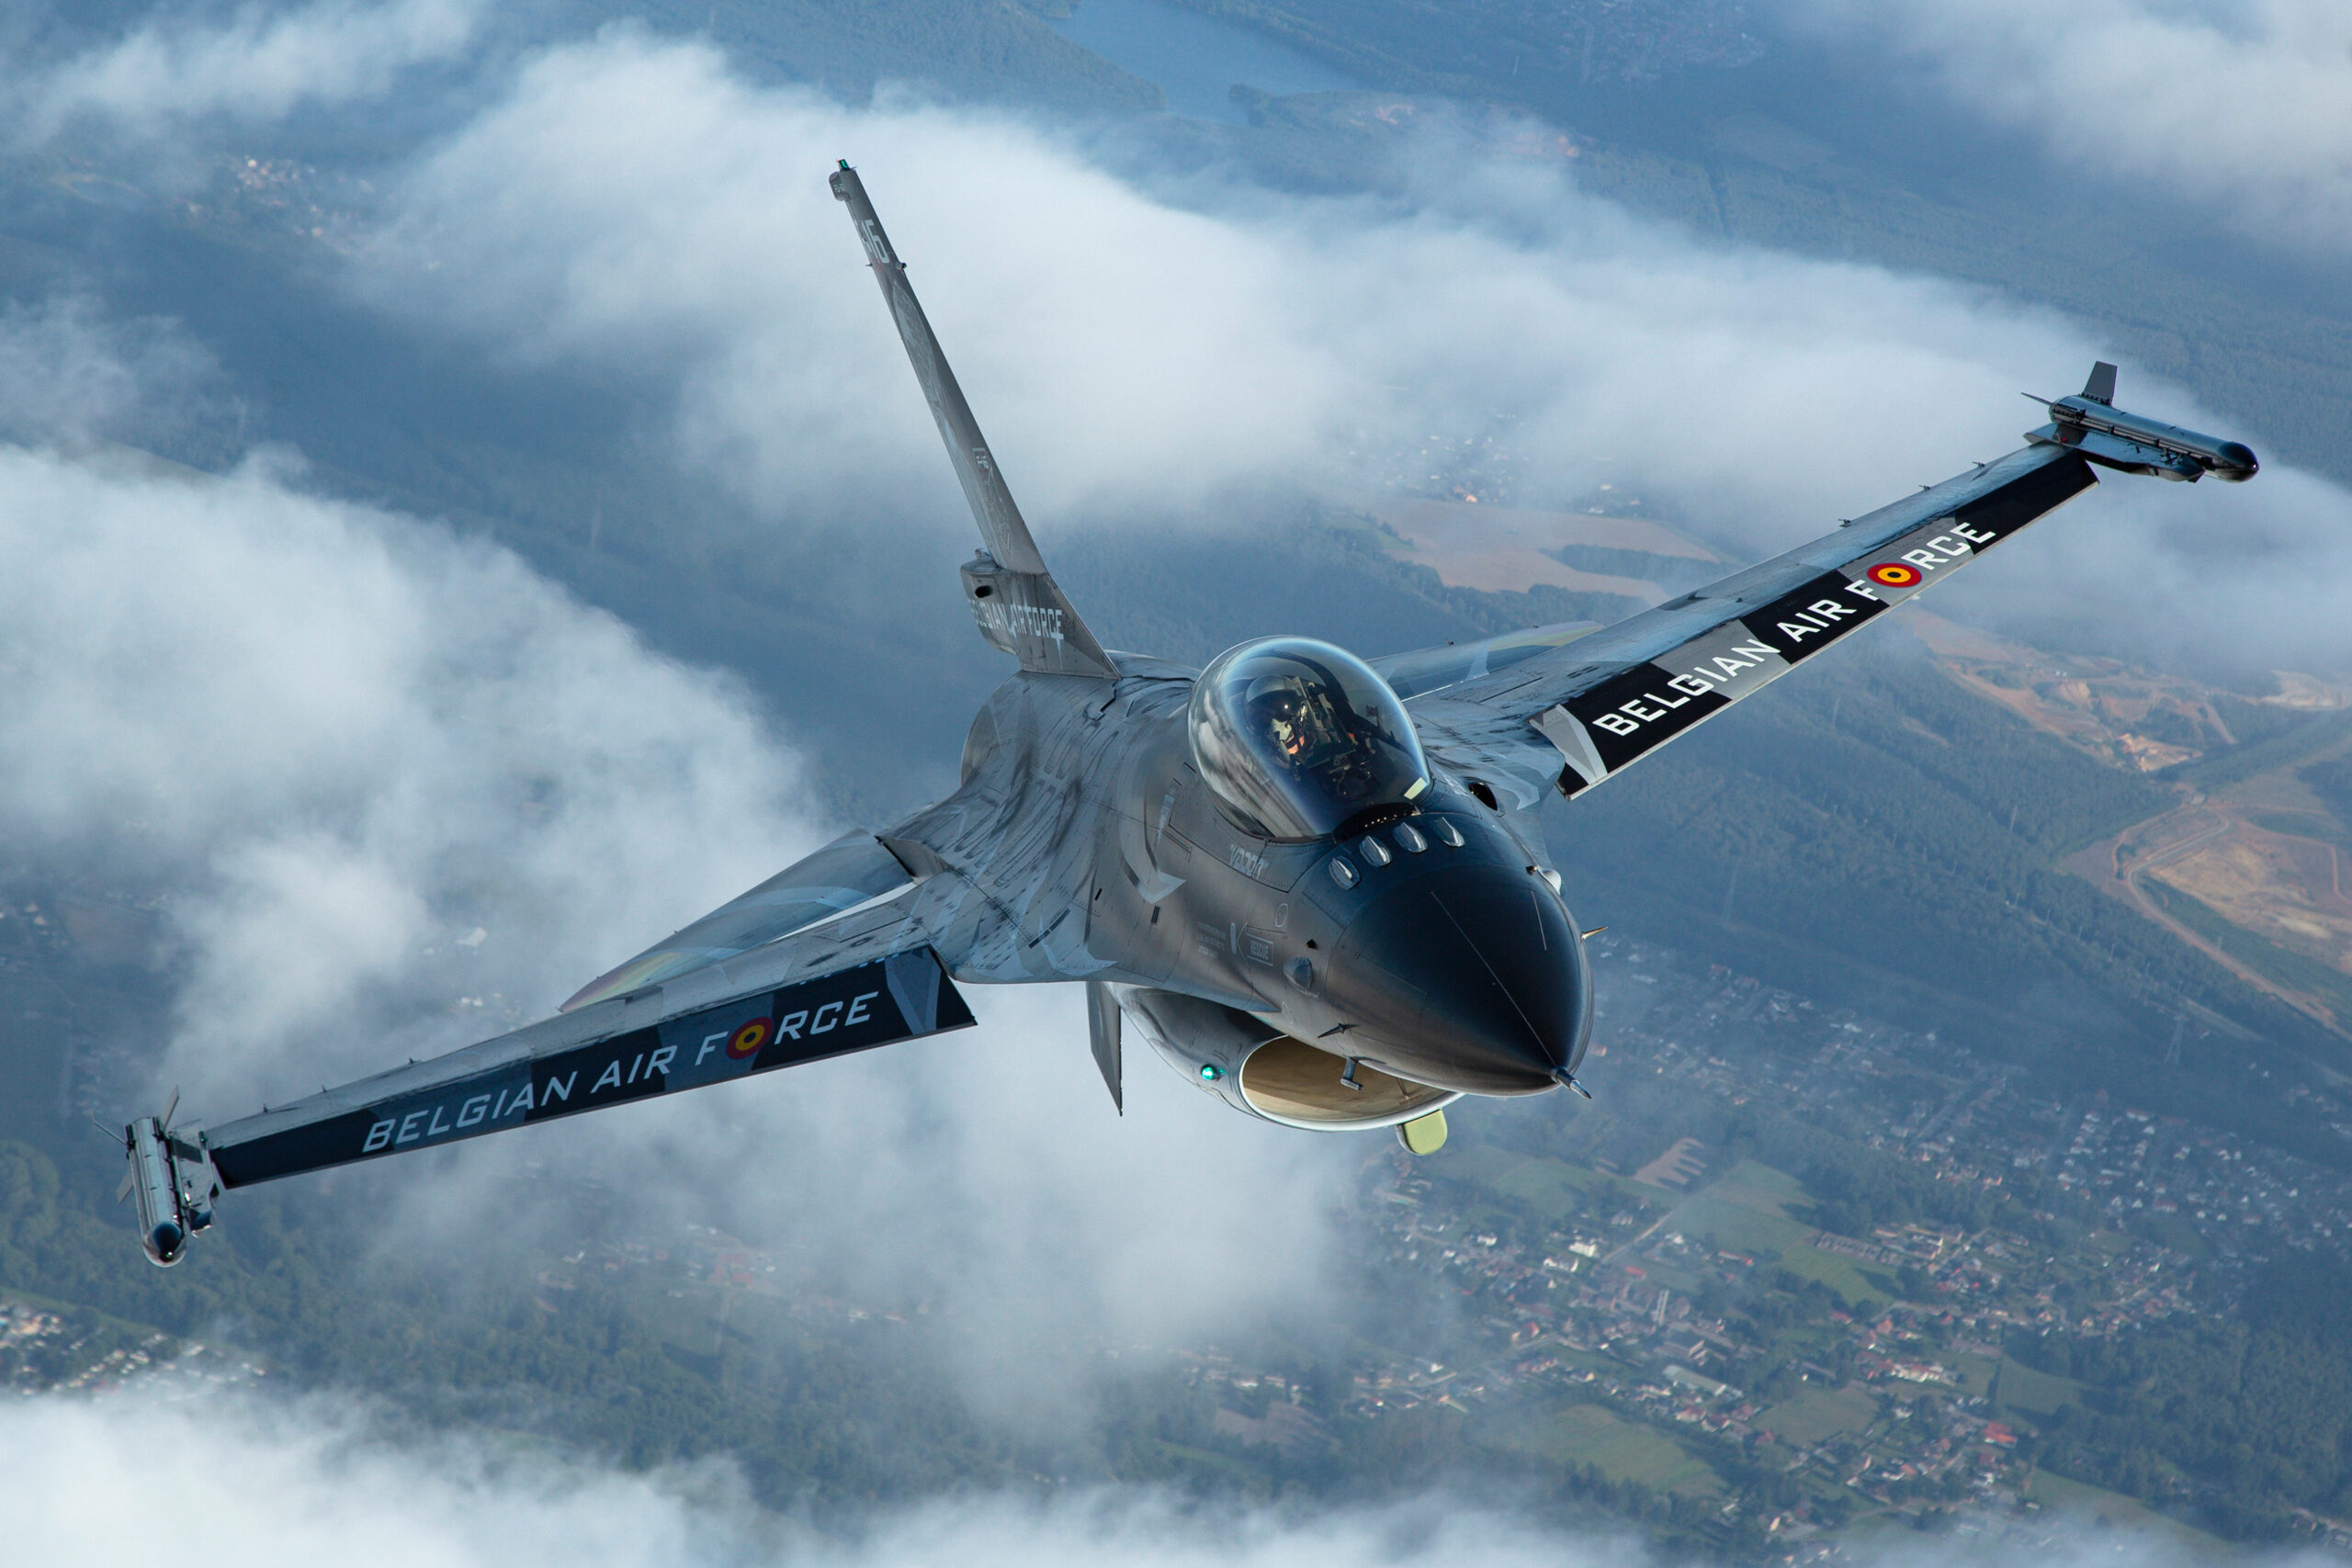
Expose for the airframe, not the sky
The meter wants to protect the bright sky, and the result is an underexposed aircraft whose shadows you then lift in processing, dragging noise up with them. Bias exposure towards the airframe: add positive exposure compensation against bright sky, typically between +2/3 and +1 2/3 stops depending on how dark the aircraft is, and accept a bright sky as the price. Check the histogram and highlight warnings rather than trusting the rear screen. A raw file holds around a stop of recoverable highlight detail, so a slightly hot sky comes back easily; noise dragged out of crushed shadows does not go away cleanly, even with modern AI denoise.
Choose the ISO trade plainly
For fast jets, take the ISO hit. A sharp frame at ISO 3200 is usable; a blurred frame at ISO 400 is not, and modern denoise tools have made high ISO far less costly than a missed shutter speed. For props and rotors, work the other way: keep the shutter slow for blade blur, keep ISO at base, and rely on panning technique rather than software. The full decision framework is in our airshow camera settings quick reference.
Shoot raw
This entire guide assumes raw capture. JPEG applies the camera’s own noise reduction and sharpening, baked in, before you ever see the file, and it locks you out of the best denoise tools entirely: Lightroom’s Denoise works only on raw files. If card space worries you at a 3,000-frame airshow, buy bigger cards rather than dropping to JPEG. Storage is cheaper than lost images.
The right processing order
Order matters more in noise reduction and sharpening than anywhere else in the edit, because each step changes what the next step has to work on. The sequence that preserves the most detail runs like this.
First, denoise, using an AI tool on the raw file. AI denoise operates best on the untouched sensor data. Doing it first also means every later judgement about tone, contrast and sharpening is made on the clean file rather than on noise you are about to remove.
Second, do your global tonal and colour work: exposure, white balance, highlights and shadows, the whole develop pass. If you edit in Lightroom this all lives comfortably after Denoise, whose result is stored as part of the same non-destructive edit.
Third, capture sharpening in the Detail panel: modest, masked, and judged at 100 percent. Its job is only to restore the edge contrast the sensor’s filter stack and the lens softened. It is not the sharpening that makes the image pop; that comes later and locally.
Fourth, local corrections: extra sharpening or Texture on the airframe via a subject mask, extra noise smoothing on the sky if needed. This is where aviation files diverge from generic workflows, and it is covered in its own section below.
Fifth and last, output sharpening at export, sized for the destination. This is applied to the resized image, which is why it must be last; sharpening applied at full resolution is largely destroyed by downsizing.
Why not sharpen first and denoise later? Because sharpening amplifies noise along with detail, and the noise reduction then has to work harder, smearing the halos the sharpener just created. Every pass of each tool degrades something; running them in the wrong order forces a second, stronger pass. Once through each, in the right order, is the aim.
This sequence slots into the wider develop workflow, culling and organisation covered in our practical Lightroom workflow for aviation photos, which is the companion piece to this guide.
Noise reduction in Lightroom
Lightroom Classic and the cloud version now offer two distinct systems: the AI Denoise feature, and the traditional manual sliders. They are different tools for different situations, and knowing which to reach for saves both time and detail.
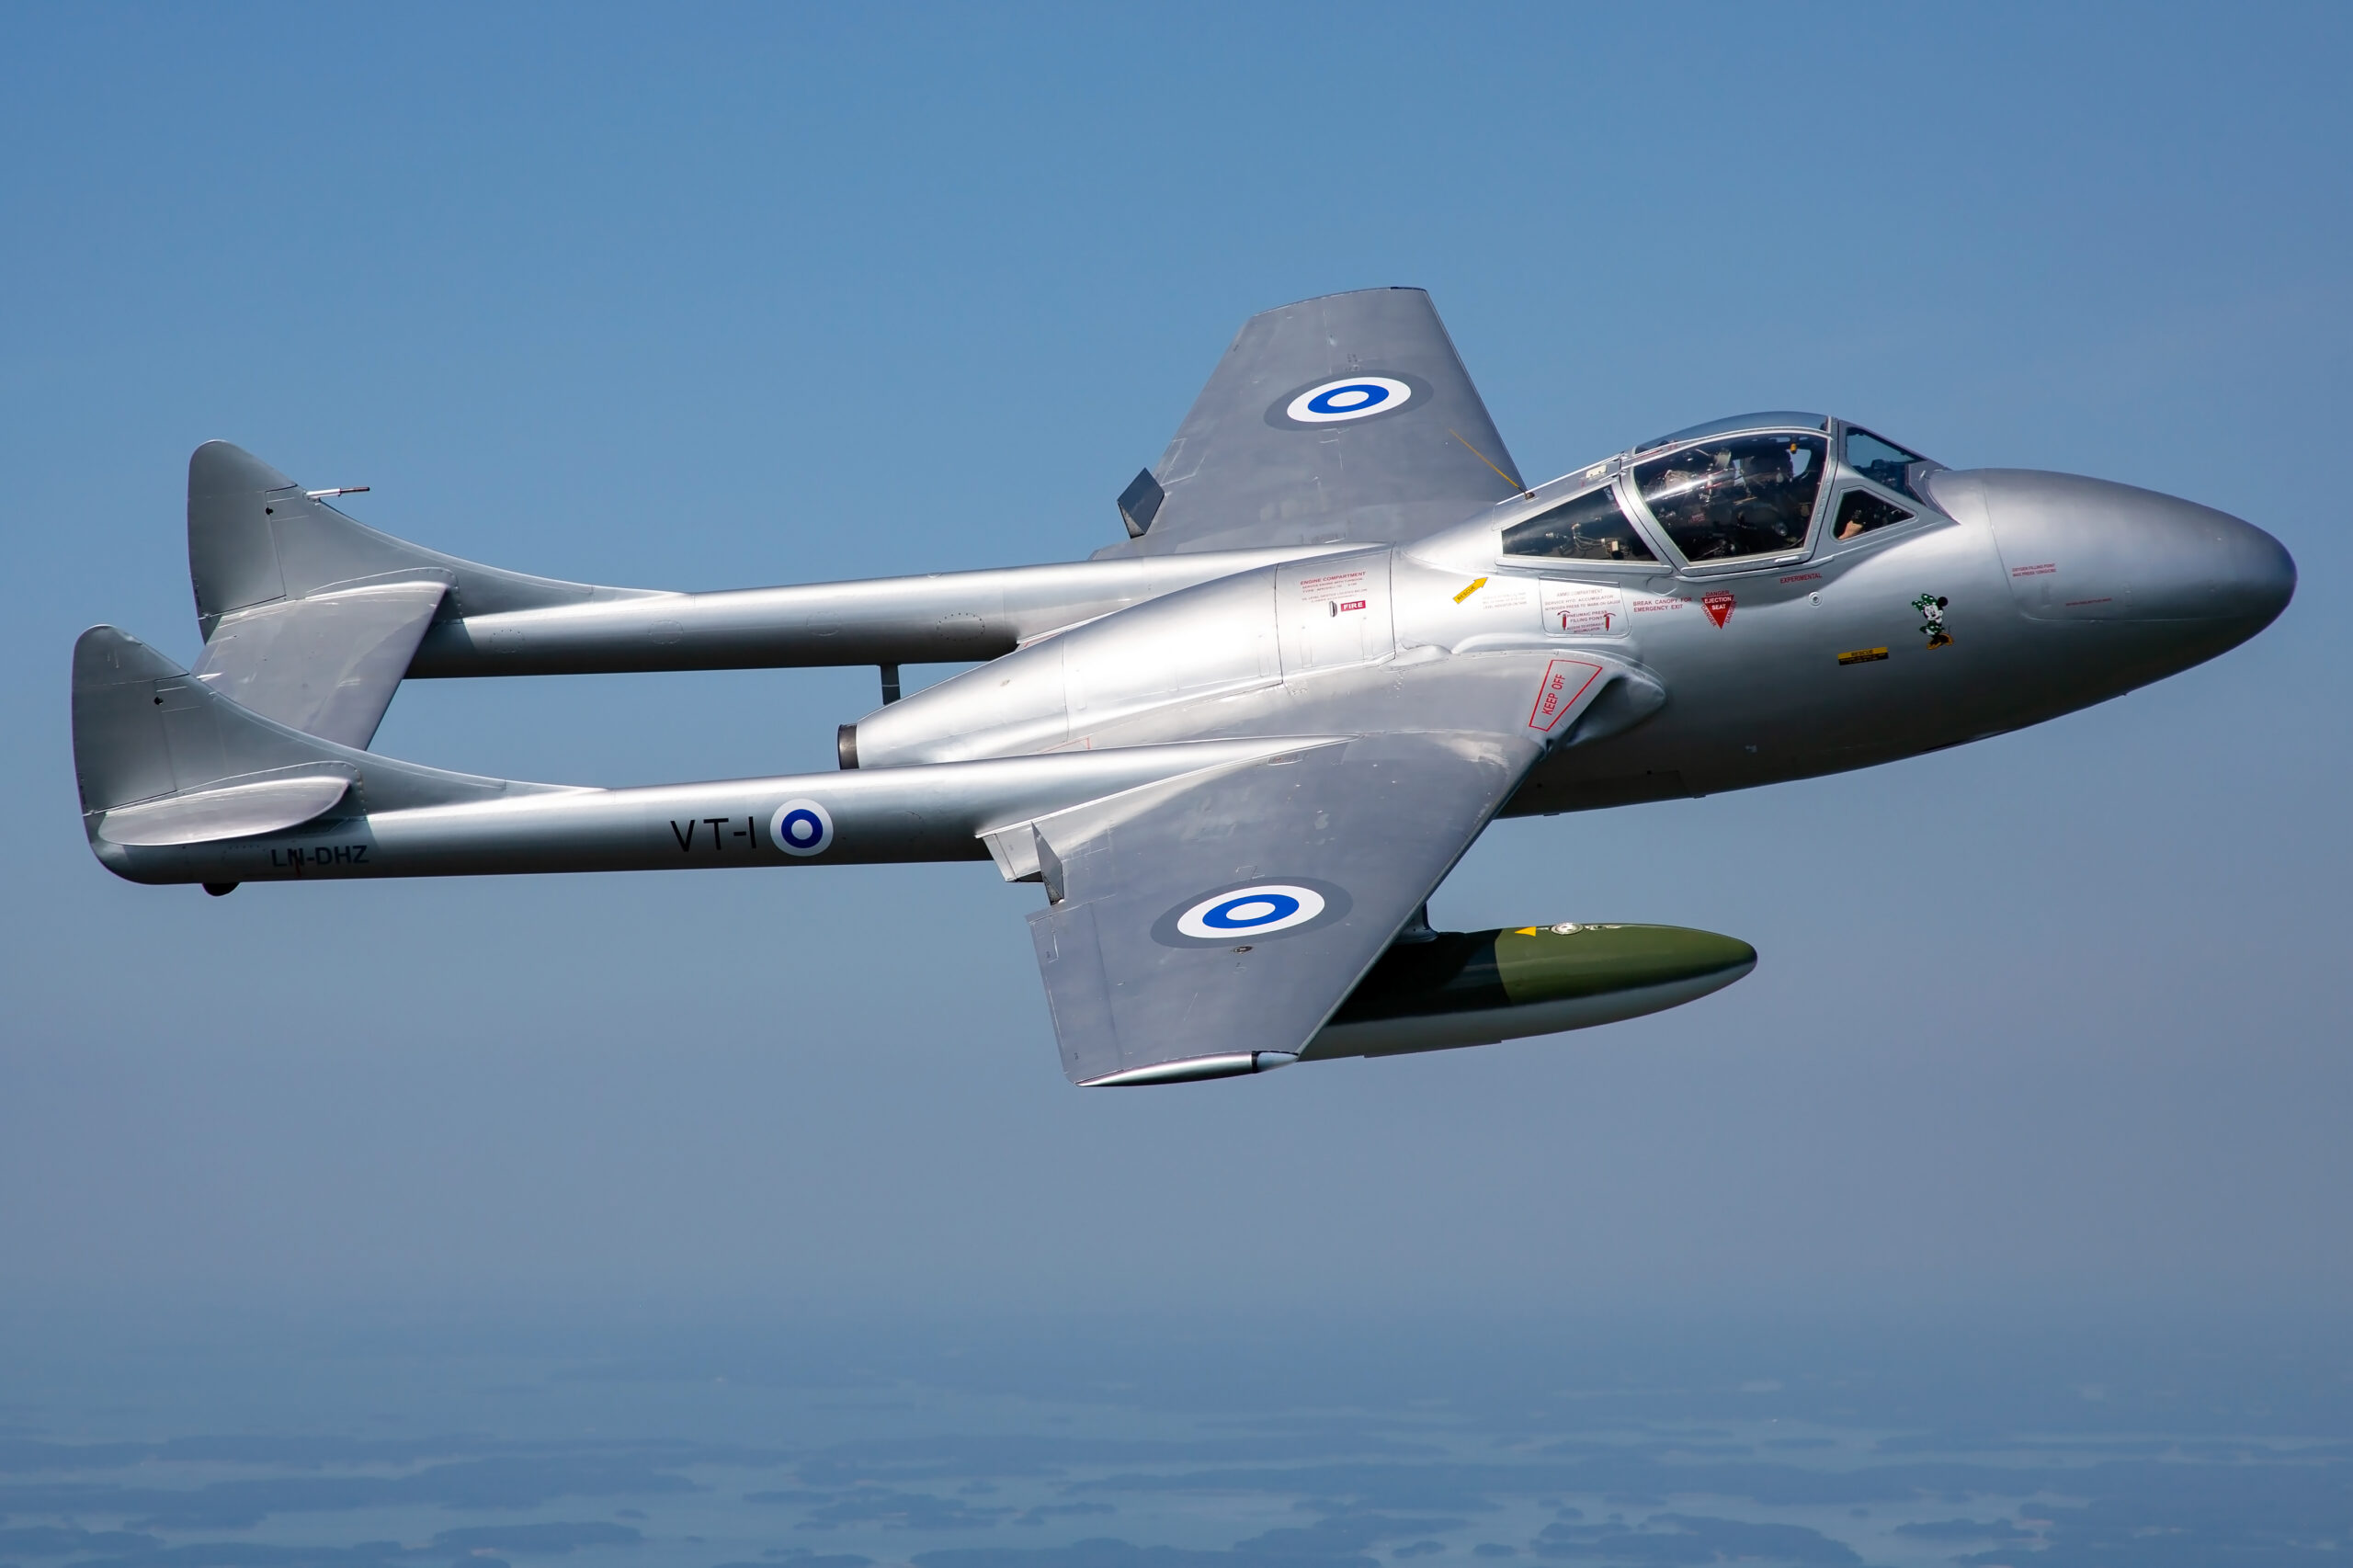
Denoise: the default choice for high ISO raws
Denoise lives in the Detail panel and works on raw files only. It uses a machine-learning model to rebuild the image from the mosaiced sensor data, and on high ISO aviation files the results are remarkable: skies smooth out while rivet lines, stencilling and panel gaps survive in a way the old sliders never managed. Since the mid-2025 releases the result is stored non-destructively alongside your other edits rather than as a separate DNG file, and processing runs in the background, so batch-denoising a set of selects no longer locks up the catalogue.
Usage is simple: one Amount slider, default 50. For most airshow files between ISO 1600 and 6400, somewhere between 30 and 55 is right. Push past 70 and skies turn plasticky while fine detail like antenna wires and pitot tubes starts to look painted. Judge at 100 percent on both a sky area and a detailed part of the airframe before committing to a batch setting.
When is it worth running? As a working rule: always above ISO 3200, usually above ISO 1600, rarely below ISO 800 unless you lifted deep shadows. At base ISO on a well-exposed file it does nothing useful and costs processing time.
The manual sliders: for JPEGs, TIFFs and light touches
The Luminance and Color sliders remain available and still matter. They are your only option on non-raw files, they apply instantly with no processing wait, and at low strengths they are sometimes all a file needs.
Luminance smooths brightness noise; its Detail slider decides how much fine structure survives (higher preserves more but leaves more noise) and Contrast preserves larger tonal structure at the cost of smoothness. For a mildly noisy sky, Luminance 15 to 25 with Detail left at 50 is a sensible light touch. Color removes chroma blotches and its default of 25 already does most of the work on modern cameras; raise it only if magenta and green speckling survives in shadows.
The classic mistake is using Luminance as a global smoothing blanket at 50 or more. That produces the waxy, detail-free look that screams over-processing. If a file seems to need that much, it needs AI Denoise or it needed better exposure.
| Situation | Typical ISO | Recommended approach | Starting values |
|---|---|---|---|
| Sunny day, jets, well exposed | 100 to 400 | None, or Color slider only | Color 25 (default) |
| Bright overcast, jets | 800 to 1600 | Denoise if shadows lifted, else light manual | Denoise 30, or Luminance 15 |
| Dull day or evening, fast shutter | 3200 to 6400 | Denoise, always | Denoise 40 to 55 |
| Night display, pyrotechnics | 6400 and up | Denoise, consider DxO for the best frames | Denoise 50 to 65 |
| Prop aircraft at base ISO, slow shutter | 100 to 200 | None needed | Leave defaults |
| JPEG or TIFF from any source | Any | Manual sliders only | Luminance 15 to 30, Color 25 |
How much is too much
The test is always the same: at 100 percent, does the sky look like smooth tone or like plastic sheeting, and does the airframe still show its smallest real details? Rivets, panel lines, stencil lettering, the texture of exhaust staining: these are the canaries. When they start to blur into the surrounding metal, back off. A faint remnant of grain is not a flaw; it reads as texture and keeps the image looking photographic. Fully liquefied skies with crunchy sharpened aircraft in them are the most recognisable processing failure in aviation photography.
AI denoise tools compared
Three tools dominate the conversation: Lightroom’s built-in Denoise, DxO’s PureRAW, and Topaz Photo. All three produce results that would have seemed impossible a decade ago, and the differences now lie at the margins. Here is an honest view of where each fits for aviation work.
Lightroom Denoise
The default answer, because it is already in the subscription you are likely paying for, it is fully integrated into a non-destructive workflow, and on typical airshow files at ISO 1600 to 6400 it gets you 90 percent or more of what the paid alternatives achieve. Its weaknesses: raw files only, and on extreme ISO files or older sensors the specialist tools still pull ahead visibly.
DxO PureRAW and DeepPRIME
DxO’s DeepPRIME processing has led this field for years, and its current XD-series models remain the benchmark for extreme ISO work. PureRAW runs as a pre-processor: it takes your raw files, applies denoising, demosaicing and DxO’s excellent per-lens optical corrections in one pass, and hands a cleaned linear DNG to Lightroom for normal editing. For aviation shooters the lens corrections are a quiet bonus, because the popular 150-600mm class zooms benefit noticeably from DxO’s distortion and sharpness modules. A new licence costs roughly £110, with cheaper upgrades, and there is a fully functional free trial. It earns its price if you regularly shoot night airshows, twilight arrivals, or anything else that lives above ISO 6400. For sunny-day RIAT sets, it is a luxury.
Topaz Photo
Topaz consolidated its old DeNoise and Sharpen products into a single application, with Gigapixel remaining a separate standalone, now sold by subscription. Its denoising is excellent and its upscaling remains the best available, which matters if you crop savagely and still want a printable file. The caution for aviation use is its enthusiasm: the automatic pipeline tends towards aggressive processing, and its sharpening models can invent texture on things like blurred propeller discs and motion-blurred backgrounds, which must stay soft. If you use it, drive it manually, mask its sharpening away from anything that is supposed to be blurred, and inspect every output at 100 percent.
The honest recommendation
Start with Lightroom Denoise and learn its limits on your own camera. If your worst regular files, not your average ones, still disappoint, trial DxO against them. Treat Topaz as a specialist rescue and upscaling tool rather than a routine step. And whichever tool you use, watch AI artefacts on the aviation-specific traps: fine aerials and pitot probes, canopy framing, rotor and prop blur that must remain blur, and distant formation aircraft that a model can mistake for noise and erase. Machine-learning denoisers are trained mostly on ordinary subjects, and aircraft details are exactly the kind of fine, unusual structure where they occasionally guess wrong.
Capture sharpening: the Detail panel done properly
Capture sharpening compensates for the softness introduced by the sensor’s filter stack, the demosaicing process and the lens. Every raw file needs some. Lightroom applies a default of 40 with a radius of 1.0, which is a reasonable general-purpose figure and a mediocre aviation one. The four sliders deserve to be understood individually.
Amount
The strength of the effect, 0 to 150. For detailed airframes shot on decent glass, 40 to 70 is the working range. Files from AI denoise arrive very clean and take sharpening well; haze-softened or high ISO files without denoise need restraint because sharpening amplifies whatever grain remains.
Radius
How wide a band around each edge gets the contrast boost, 0.5 to 3.0. This is the slider most people never touch and the one that matters most for aircraft. Airframe detail is fine detail: panel lines, rivets, stencils, aerial wires. Fine detail wants a small radius, 0.7 to 1.0. Large radii produce the thick, glowing halos along fuselage edges against sky that make an image look processed from across the room. If you remember one thing from this section: aviation files almost never want radius above 1.0.
Detail
Controls how much the sharpening targets fine texture versus just strong edges, 0 to 100, default 25. Raising it towards 50 brings out surface texture like rivet fields and weathering beautifully on clean low-ISO files, but it also amplifies noise fast. On denoised files you can afford 30 to 50; on noisy files leave it at 25 or below.
Masking
The most valuable slider in the panel for aviation. It restricts sharpening to edges, protecting smooth areas, which in our case means the sky. Hold Alt (Option on Mac) while dragging: the preview goes black and white, and everything black receives no sharpening. Raise the value until the sky is solidly black and only the aircraft’s edges and details remain white, typically 60 to 85 for an aircraft against open sky. This single habit eliminates the commonest aviation sharpening fault, which is crunchy, noise-textured skies.
Use the Alt-key preview on Amount and Radius too; seeing the effect in isolation makes over-processing obvious in a way the normal preview hides. And always judge sharpening zoomed to 100 percent. Fit-to-screen view lies about both sharpness and halos.
| Situation | Amount | Radius | Detail | Masking |
|---|---|---|---|---|
| Clean low-ISO file, aircraft against sky | 55 | 0.8 | 35 | 70 |
| Denoised high-ISO file | 50 | 0.9 | 30 | 65 |
| Noisy file, no AI denoise available | 35 | 1.0 | 15 | 80 |
| Mild haze softening | 45 | 1.2 | 20 | 70 |
| Ground shots with detailed backgrounds | 45 | 0.9 | 30 | 40 |
| Heavy crop (more than 50 percent) | 40 | 0.8 | 25 | 75 |
These are starting points, not commandments. Every camera and lens pairing has its own character, and ten minutes spent finding your own baseline on a typical file, then saving it as a preset or default, pays off across thousands of frames.
Local sharpening and masking
Global settings are a compromise between what the aircraft needs and what the sky tolerates. Local adjustments remove the compromise, and Lightroom’s masking tools have made this almost effortless.
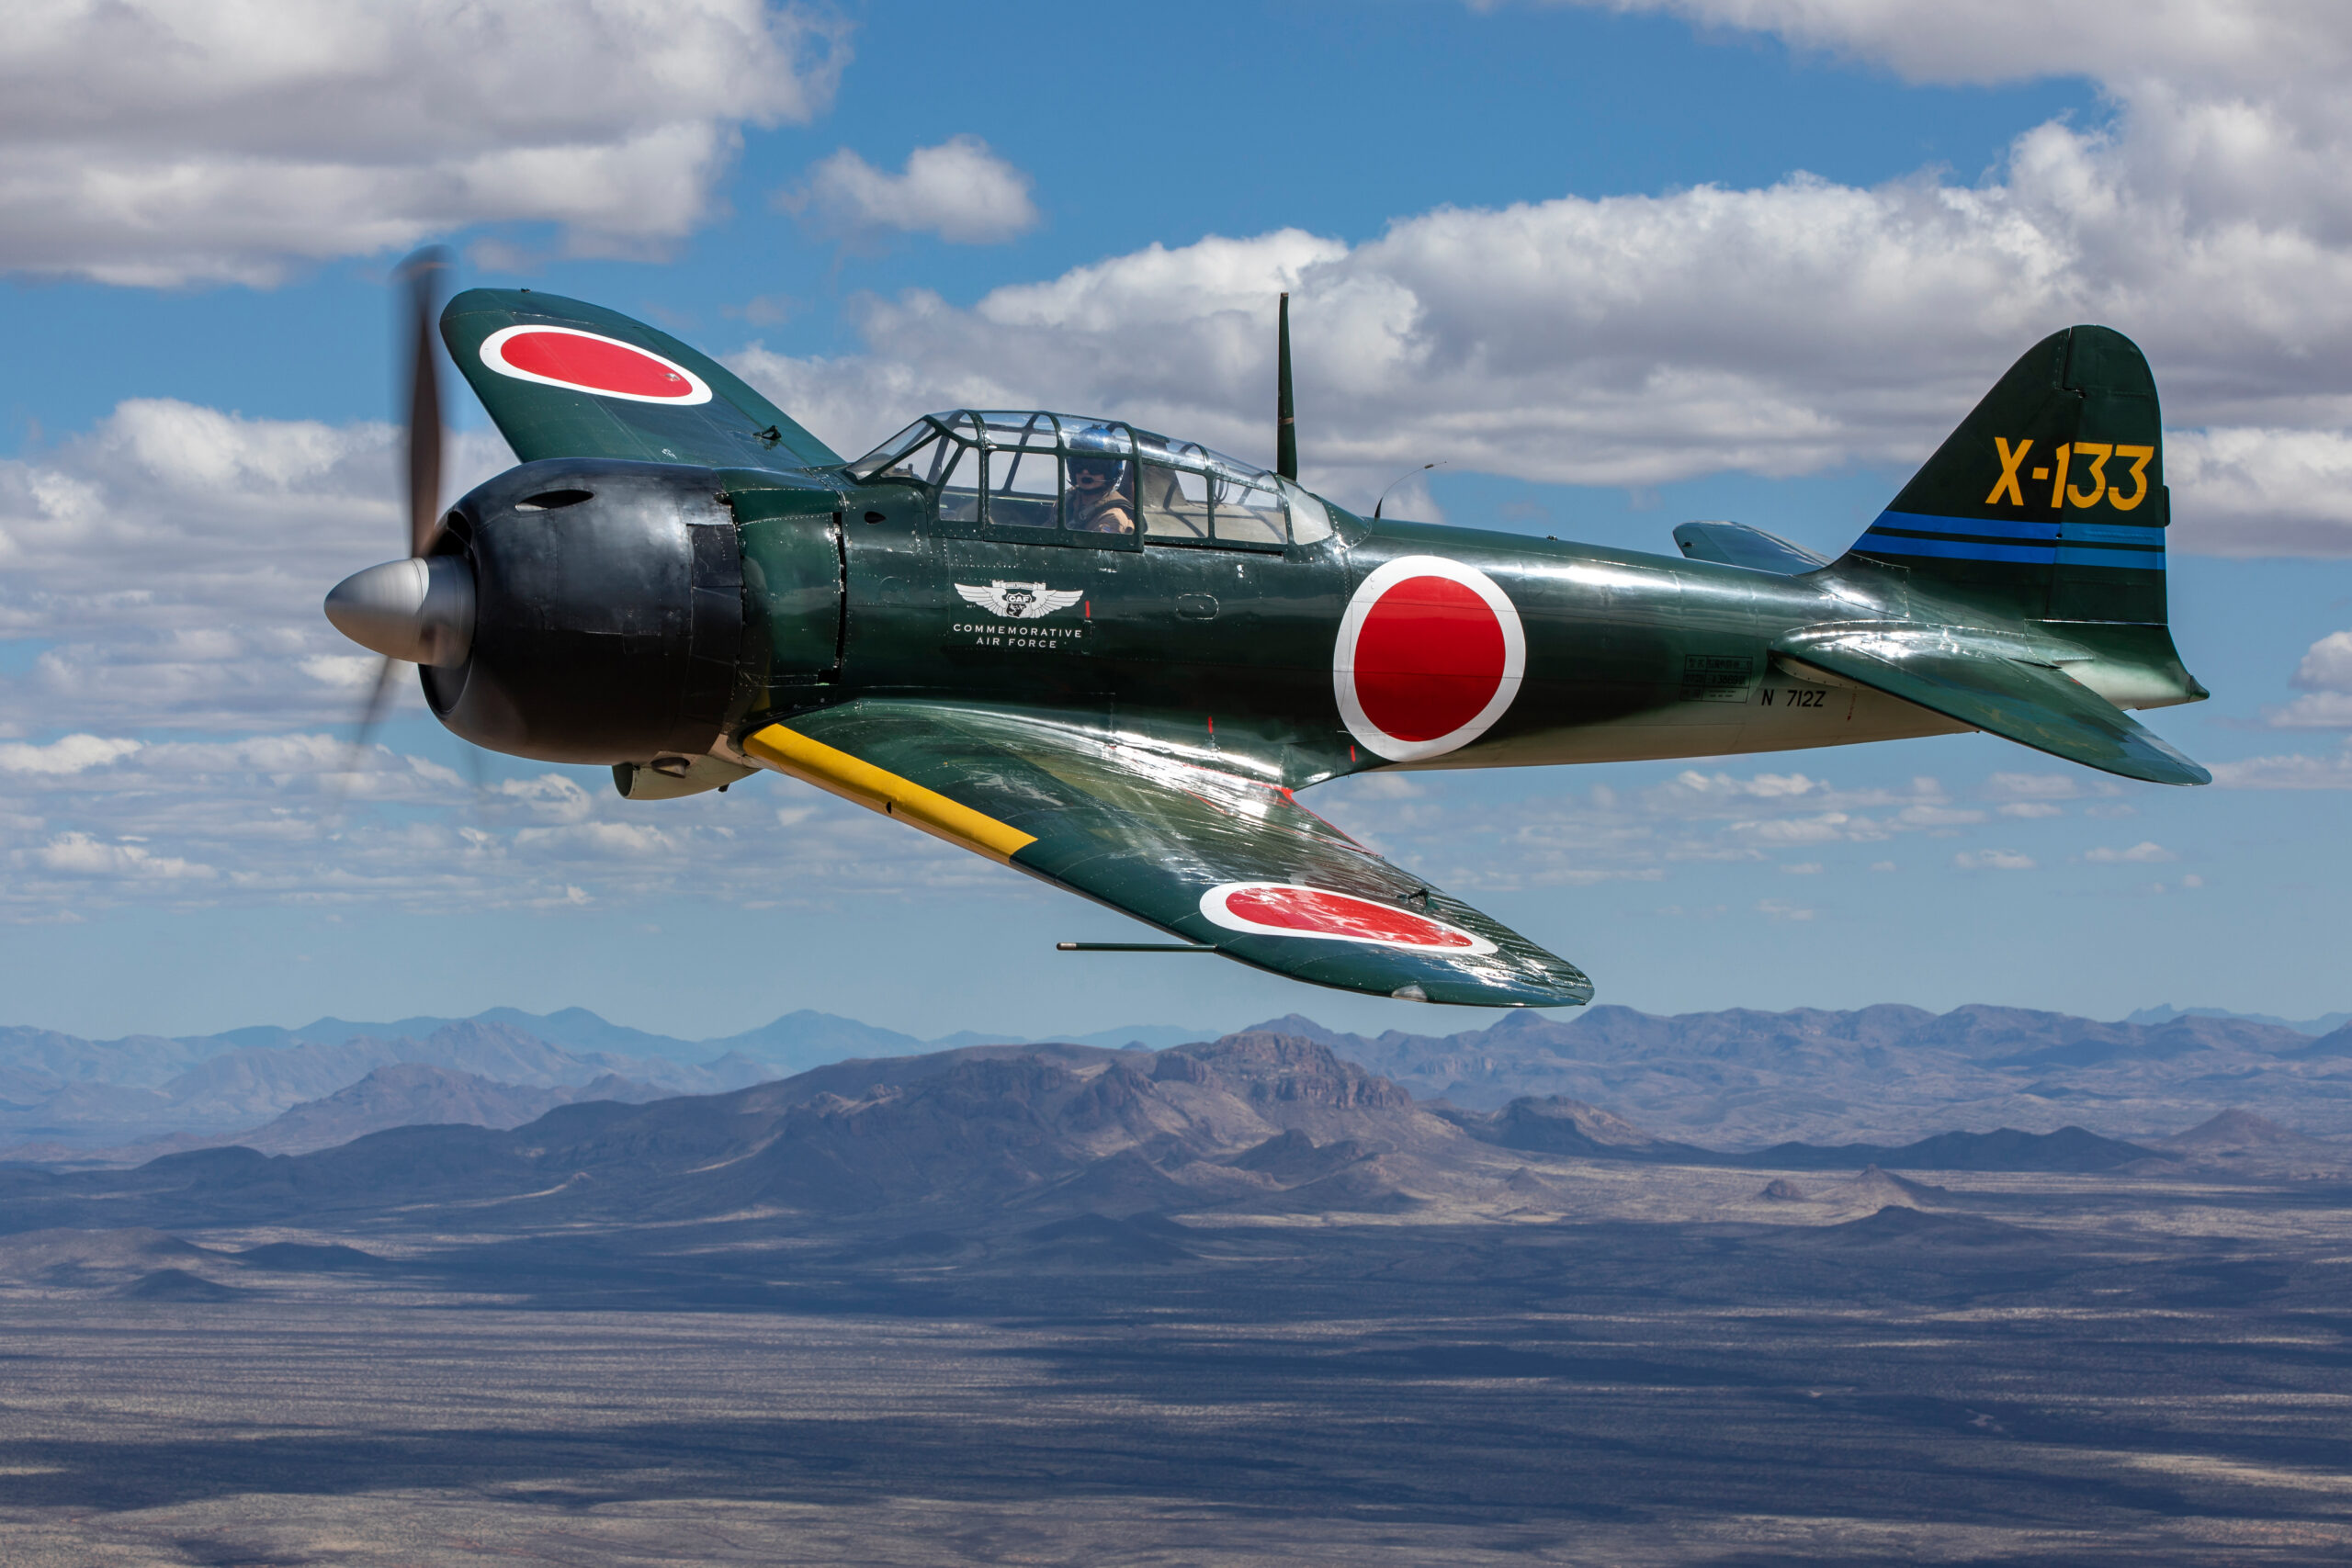
Sharpen the aircraft, not the frame
Create a mask with Select Subject, which identifies aircraft against sky reliably, and add modest extra Sharpness (10 to 25) and Texture (5 to 20) inside it. Texture is particularly effective on airframes: it lifts surface detail like weathering, stencils and panel shading without the edge halos that sharpening risks. This is the pop that people try and fail to achieve with global sliders.
Smooth the sky, not the aircraft
Invert that mask, or use Select Sky, and apply extra Noise (the localised noise reduction slider) if the sky still shows grain after your global pass. Small negative Texture in the sky can also help a stubborn one. Because this smoothing never touches the airframe, you can be more generous than any global setting would allow.
Watch the mask edges
At 100 percent, check the boundary along the fuselage and especially around fiddly structures: undercarriage legs, aerials, open canopies, prop discs. A sharpening mask that bleeds into the sky creates a subtle bright fringe along the aircraft; a smoothing mask that bleeds onto the airframe softens its outline. Lightroom’s automatic selections are good but not perfect, and thirty seconds with the brush tool subtracting or adding to the mask is often needed on portfolio frames.
If you finish in Photoshop
For images that go through Photoshop, the same logic applies with different tools. High Pass sharpening (duplicate layer, High Pass filter at 1 to 2 pixels, blend mode Overlay or Soft Light, masked to the airframe) remains a controllable, halo-resistant method, and Smart Sharpen with its shadow and highlight fade controls is more refined than Unsharp Mask. But for most aviation workflows Lightroom’s masked adjustments now do everything necessary without a round trip.
Dealing with haze-softened shots
Some softness is not in the lens or the file but in the air, and it needs different tools.
Know what you can and cannot recover
Heat shimmer, the wobbling distortion above hot runways and behind jet exhaust, destroys information. Edges arrive at the sensor already scrambled, and no slider unscrambles them. If a shot shimmers at 100 percent, spend no time on it; the fix was standing somewhere else, shooting earlier in the day, or catching the aircraft higher in its display. Distance haze is kinder: it lowers contrast and mutes colour but leaves edges largely intact, and contrast tools recover a surprising amount.
The contrast toolkit, in order of subtlety
Texture boosts the finest scale of local contrast and is the closest thing to sharpening-without-halos; plus 10 to 30 on a hazy airframe restores apparent bite. Clarity works at a coarser scale and adds punch fast, but overdone it creates grey halos around the aircraft and an HDR-ish grunge; keep it under about 20 for natural results. Dehaze is the heavy machinery, rebuilding contrast across the whole tonal range; it is effective on distance haze but shifts colour towards blue and saturates skies, so follow it with white balance and saturation corrections. On a hazy file, reach for them in that order and stop as soon as the image looks honest.
Sharpening hazy files
Slightly increase radius (1.1 to 1.3) and reduce Detail, because there is no fine detail left to enhance, only medium-scale structure. Keep Amount moderate. The aim is a believable rendition of a hazy day, not a counterfeit of a clear one; viewers forgive atmospheric softness far more readily than processing artefacts.
Output sharpening for screen, print and stock
The final sharpening pass belongs at export, applied to the resized file, tuned to the destination. Lightroom’s export sharpening (Screen, Matte or Glossy paper, at Low, Standard or High) implements this correctly and automatically, which is why the workflow saves it for last.
Screen and social media
Downsizing to web resolution destroys detail and, helpfully, hides noise; a file that looks borderline at 100 percent often looks pristine at 2048 pixels. Resize yourself rather than letting the platform do it, then let export sharpening work on the final pixels. Screen sharpening at Standard suits most web use; High can suit heavily downsized images where fine detail has been averaged away.
Prints need more sharpening than looks right on screen, because ink spreads into paper and viewing distances are greater. Matte papers absorb more and need more (Matte, Standard or High); glossy and lustre papers hold detail better (Glossy, Standard). If a print will be viewed close, in an album or portfolio, err lower; a big wall print viewed from two metres tolerates and benefits from more. Test prints beat theory every time.
Stock and licensing
Stock is the destination that punishes over-processing hardest. Reviewers and picture buyers inspect at 100 percent, and halos, waxy noise reduction and crunchy artefacts are routine technical rejection reasons. Export full resolution with capture sharpening done properly, local sharpening modest, and output sharpening at Screen Standard or none. Buyers can add sharpening for their final use; they cannot remove yours. The same discipline applies to files submitted for licensing through our own aviation image licensing programme, where files are supplied at full resolution for reproduction at sizes we cannot predict in advance.
| Destination | Resize to | Sharpen for | Level |
|---|---|---|---|
| Instagram post | 1080px wide | Screen | Standard |
| Website or blog | 2048px long edge | Screen | Standard |
| Forum or community critique | 1600px long edge | Screen | Standard |
| Stock or licensing submission | Full resolution | Screen | Low or none |
| Inkjet print, lustre or glossy | Native or 300ppi | Glossy | Standard |
| Inkjet print, matte or fine art | Native or 300ppi | Matte | Standard to High |
Three worked examples
Three files, three different problems, three different treatments. These mirror the commonest situations in a season’s shooting.
Example one: fast jet, bright day, heavy crop
A Typhoon at ISO 200, 1/2000s, sharp out of camera, but the aircraft occupies a quarter of the frame and the final composition is a 60 percent crop. Noise is minimal, so no denoise pass. The problem is that cropping has magnified the file to the point where default sharpening looks weak and any over-sharpening will be obvious. Treatment: capture sharpening Amount 45, Radius 0.8, Detail 30, Masking 75 to keep the sky silent. Subject mask with Texture +15 to bring up panel detail. Export for web at 2048 pixels with Screen Standard, where the downsize from even a heavy crop still concentrates detail nicely. The discipline here is resisting the urge to sharpen the crop into false crispness; a clean modest result beats a crunchy one.
Example two: warbird prop, dull sky, slow shutter
A Spitfire at ISO 400, 1/200s for prop blur, against flat grey overcast. The frame is slightly soft from panning motion, the sky is featureless, and the airframe sits dark against bright cloud after the meter did its worst. Treatment: exposure and shadow lift on the airframe first, which drags up some noise in the underside shadows; Denoise at 30 cleans it. Capture sharpening Amount 50, Radius 0.9, Masking 70. The prop disc must stay soft: if any local sharpening is used, mask it off the propeller arc. Subject mask with Texture +20 compensates for the flat light. Grey-sky shots live or die on airframe micro-contrast, because there is nothing else in the frame to look at.
Example three: night display, ISO 8000
A pyrotechnic sequence at ISO 8000, 1/250s, deliberately underexposed to hold the flare highlights, shadows lifted three stops in the edit. This is the file that justifies the AI tools. Lightroom Denoise at 60 as the first step transforms it; for a portfolio or licensing frame, a pass through DxO’s DeepPRIME is worth comparing. Capture sharpening stays gentle, Amount 35, Detail 15, Masking 85, because even after denoise the reconstructed detail is delicate. No local sharpening in the sky, where smoke and darkness must stay smooth. Judge the result at sensible output sizes rather than 100 percent; an ISO 8000 night shot that looks good at A3 is a success regardless of how its pixels look under a microscope.
Common mistakes
After the tools, the traps. These are the errors that appear over and over in shared aviation work, roughly in order of frequency.
Sharpening the noise. Global sharpening with Masking at zero on a high ISO file gives every pixel of sky grain a crisp outline. It is the fastest way to make a decent file look terrible, and the Masking slider exists precisely to prevent it.
The plastic sky. Luminance noise reduction pushed until the sky is a smooth vinyl sheet, with the aircraft floating in it like a sticker. Modern denoise makes this less common than it was, but over-driven AI denoise produces its own version. Leave a whisper of grain; it reads as air.
Halos along the fuselage. Radius too large, Amount too high, or Clarity doing sharpening’s job. A white or dark glow separating aircraft from sky is visible at thumbnail size once you know to look, and picture editors always know to look.
Sharpening what should be soft. Crisp propeller discs, sharpened rotor blur, textured motion-blurred backgrounds behind a panned subject. Blur that you worked to create photographically deserves protecting in the edit. Mask sharpening away from every intentionally soft area.
One global recipe for every file. The settings that suit a clean ISO 100 prime-lens file are wrong for a hazy ISO 5000 crop. Presets are starting points; the Detail panel is a per-image decision that takes fifteen seconds once the sliders are familiar.
Editing to the 100 percent view. Pixel-level inspection is for diagnosis, not for judging the photograph. Plenty of images that look imperfect at 100 percent look superb at every size a human will actually view them. Fix what shows at output size; forgive what does not.
Frequently asked questions
Should I apply noise reduction before or after sharpening?
Noise reduction first, always. Sharpening amplifies whatever is in the file, and if noise is still present it gets amplified along with real detail. Run AI denoise on the raw at the start, edit, apply capture sharpening, and save output sharpening for export. Sharpening first forces the noise reduction to smear the edges you just enhanced, and you lose detail twice.
Does Lightroom’s AI Denoise work on JPEGs?
No. Denoise works only on raw files, because it rebuilds the image from the mosaiced sensor data before demosaicing. JPEGs and TIFFs are limited to the manual Luminance and Color sliders, which are far less capable. This is one of the strongest practical arguments for shooting raw at an airshow.
How much sharpening is safe for stock submissions?
Less than you think. Reviewers inspect at 100 percent, and halos or crunchy skies are among the commonest technical rejection reasons. Modest capture sharpening with strong masking, restrained local work, and Low or no export sharpening at full resolution. A slightly soft file can be sharpened by the buyer; an oversharpened one is ruined for good.
Is DxO PureRAW or Topaz worth it over Lightroom’s built-in Denoise?
For most aviation work, Lightroom’s Denoise is now good enough that a separate purchase is hard to justify. DxO’s DeepPRIME still leads on very high ISO files and adds excellent lens corrections, so it earns its keep for regular night shooters. Topaz remains the upscaling champion for heavy croppers. Run the free trials on your own worst files before spending anything.
Why do my photos look soft on Instagram even after sharpening?
Because the platform resizes and recompresses everything. Sharpening applied at full resolution largely disappears when a third party scales the image down. Export at the display size yourself, 1080 pixels wide for a standard post, with Screen Standard output sharpening applied to those final pixels.
Can sharpening fix heat haze?
No. Haze destroys detail before it reaches the sensor, so there is nothing in the file to enhance; sharpening hazy shots produces crisp-edged mush. Texture and Clarity restore some bite to mildly affected frames, but a badly shimmered file cannot be rescued. The cure is positional and temporal: avoid shooting across hot surfaces and catch subjects higher in their display.
Noise reduction and sharpening are where a season of good fieldcraft either survives the edit or does not. Handled in the right order, with masking doing the selective work and every judgement made at an honest magnification, they are also the quickest wins available in aviation post-processing: twenty minutes learning the Detail panel properly will improve every image you process from now on. If you want to see where the standard sits, our aviation photography galleries show finished files that have been through exactly the workflow described here.
Sharpening and noise control matter just as much in monochrome. See our guide to black and white aviation photography for how contrast, grain and toning finish a mono frame.
Sharpening is the last technical step, but colour comes first. For how to grade your photos for a consistent look before you sharpen and export, see our guide to colour grading aviation photos.
