
To photograph aircraft at an airshow, switch to continuous autofocus, freeze jets with a shutter speed of 1/1000 second or faster, slow down to around 1/125 to 1/250 second so propellers blur into a disc, and pan smoothly with every pass. That is the heart of it, and this practical, end to end guide covers the rest: the camera settings, shutter speeds, ISO, lenses, panning technique and on-the-day field craft that actually work on the flight line, from your first show to advanced display work.
Airshows are one of the most rewarding and one of the most frustrating subjects in photography. The light changes constantly, the aircraft move at wildly different speeds, the action is often directly overhead or against a blinding sky, and you usually get one pass to capture a manoeuvre before it is gone. The difference between a wall of throwaway frames and a folder full of keepers is rarely the camera. It is understanding a handful of core principles and then drilling them until they become automatic.
This guide walks through everything from the gear and the settings to the field craft, the rules that shape a UK flying display, and the post processing. It is written for digital cameras, both mirrorless and DSLR, and it assumes you want to come home with images you are proud to print and share. Work through it once before your next show, then come back and use the relevant sections as a reference.
What this guide covers
- Choosing your camera and lens
- The exposure triangle for moving aircraft
- Shutter speed for jets: freezing the action
- Shutter speed for propellers and helicopters
- Aperture and ISO settings that hold up
- Shooting modes: aperture priority, shutter priority and manual
- Autofocus, tracking and back button focus
- Panning technique step by step
- Composition, light and storytelling
- Static aircraft on the ground
- The UK airshow day: tickets, enclosures and etiquette
- The display line and the rules that shape your pictures
- On the day: field craft and preparation
- Editing and post processing
- Common mistakes and how to fix them
- Final thoughts
- Frequently asked questions
Choosing your camera and lens
You do not need the most expensive equipment to shoot a great airshow, but a few capabilities matter more here than in almost any other genre. Reach, autofocus speed and burst rate are the three that consistently separate frustration from success.
The camera body
Any interchangeable lens camera made in the last several years is capable of strong airshow work. What you are looking for is fast, reliable continuous autofocus, a healthy frame rate so you can fire a short burst through a manoeuvre, and a buffer deep enough that the camera does not stall mid pass.
Crop sensor bodies, sometimes called APS C, give you an effective reach advantage because the smaller sensor crops into the lens image. A 300mm lens on a crop body frames roughly like a 450mm to 480mm lens on full frame, depending on the brand. For a photographer on a budget who needs maximum reach for distant aircraft, a crop body paired with a good telephoto is a smart combination. Cameras such as the Canon EOS R7 , the Nikon Z50 range and the Sony a6000 series are popular for exactly this reason.
Full frame bodies generally give cleaner high ISO performance and wider dynamic range, which helps on dull overcast days and in the low light of an evening display. Bodies with strong subject tracking autofocus, including the Sony a1, a9 and a7 IV families, the Canon EOS R5 and R6 Mark II, and the Nikon Z8 and Z9, have made fast jet work noticeably more forgiving than it was a decade ago. That said, plenty of working aviation photographers still shoot superb material on older DSLRs. The body is an enabler, not a magic button.
The lens: your most important decision
If you only upgrade one thing for airshows, make it the lens. Aircraft are far away and you almost always want more reach than you expect. As a starting point, treat 200mm as the bare minimum on full frame, with 300mm, 400mm or 600mm being progressively more useful. On a crop body, around 300mm is a sensible target because of the effective reach advantage.
A telephoto zoom is the most practical choice for the majority of shooters because a single fixed focal length will frequently give you too much or too little framing as an aircraft moves through its display. A zoom lets you pull back for a formation and push in for a topside pass without changing lenses in a dusty, fast moving environment. The most popular options in this category are well proven:
- The Sony FE 200-600mm f/5.6-6.3 G OSS , a long standing favourite among wildlife and aviation shooters for its reach and reliable stabilisation.
- The Canon RF 100-500mm f/4.5-7.1 L IS USM , which is lighter and more travel friendly while still offering serious reach.
- The Nikon Z 180-600mm f/5.6-6.3 VR , Nikon’s dedicated super telephoto zoom for the Z system, aimed squarely at wildlife, sports and aviation.
- Third party options such as the Sigma 150-600mm, the Sigma 60-600mm and the Tamron 150-600mm and 150-500mm, which deliver long reach at a lower price across multiple mounts.
Maximum aperture matters less than people assume for daytime flying displays, because you will usually be shooting at f/8 or so anyway. Image stabilisation, on the other hand, is a real help. It steadies your viewfinder so you can frame and pan smoothly, and it allows the slower shutter speeds that propeller work demands.
Want the specifics on glass? Our companion guide reviews the best lenses for aviation photography across every major system, from budget zooms to pro super-telephotos.
Supporting kit
A monopod takes the weight of a heavy lens off your arms during long days and steadies you for slower shutter speeds, while still letting you swing freely to follow a pass. A tripod is rarely useful for flying displays because it restricts your movement, though it can help for static aircraft at dawn or dusk. Bring more memory cards and more battery than you think you need. A burst heavy day of shooting devours both. A lens cloth, a rain cover and a hat or peaked cap to shade the rear screen round out a sensible kit.
The exposure triangle for moving aircraft
Everything in airshow photography comes back to three controls working together: shutter speed, aperture and ISO. They are linked. Change one and you have to compensate with another to keep the exposure correct. What makes aviation distinctive is that the shutter speed is not a free choice. It is dictated by the type of aircraft and the look you want, so you build the rest of your exposure around it.
That single idea reframes how you set up the camera. For a jet you decide the shutter speed first based on the need to freeze motion. For a propeller aircraft you decide the shutter speed first based on the amount of prop blur you want. Aperture and ISO then become the tools you use to reach a correct exposure at that chosen shutter speed. Get comfortable thinking in this order and the camera stops fighting you.
If you would rather have every number in this guide on a single page, our quick reference to the best camera settings for airshows condenses the lot into something you can read in the queue at the gate.
Shutter speed for jets: freezing the action
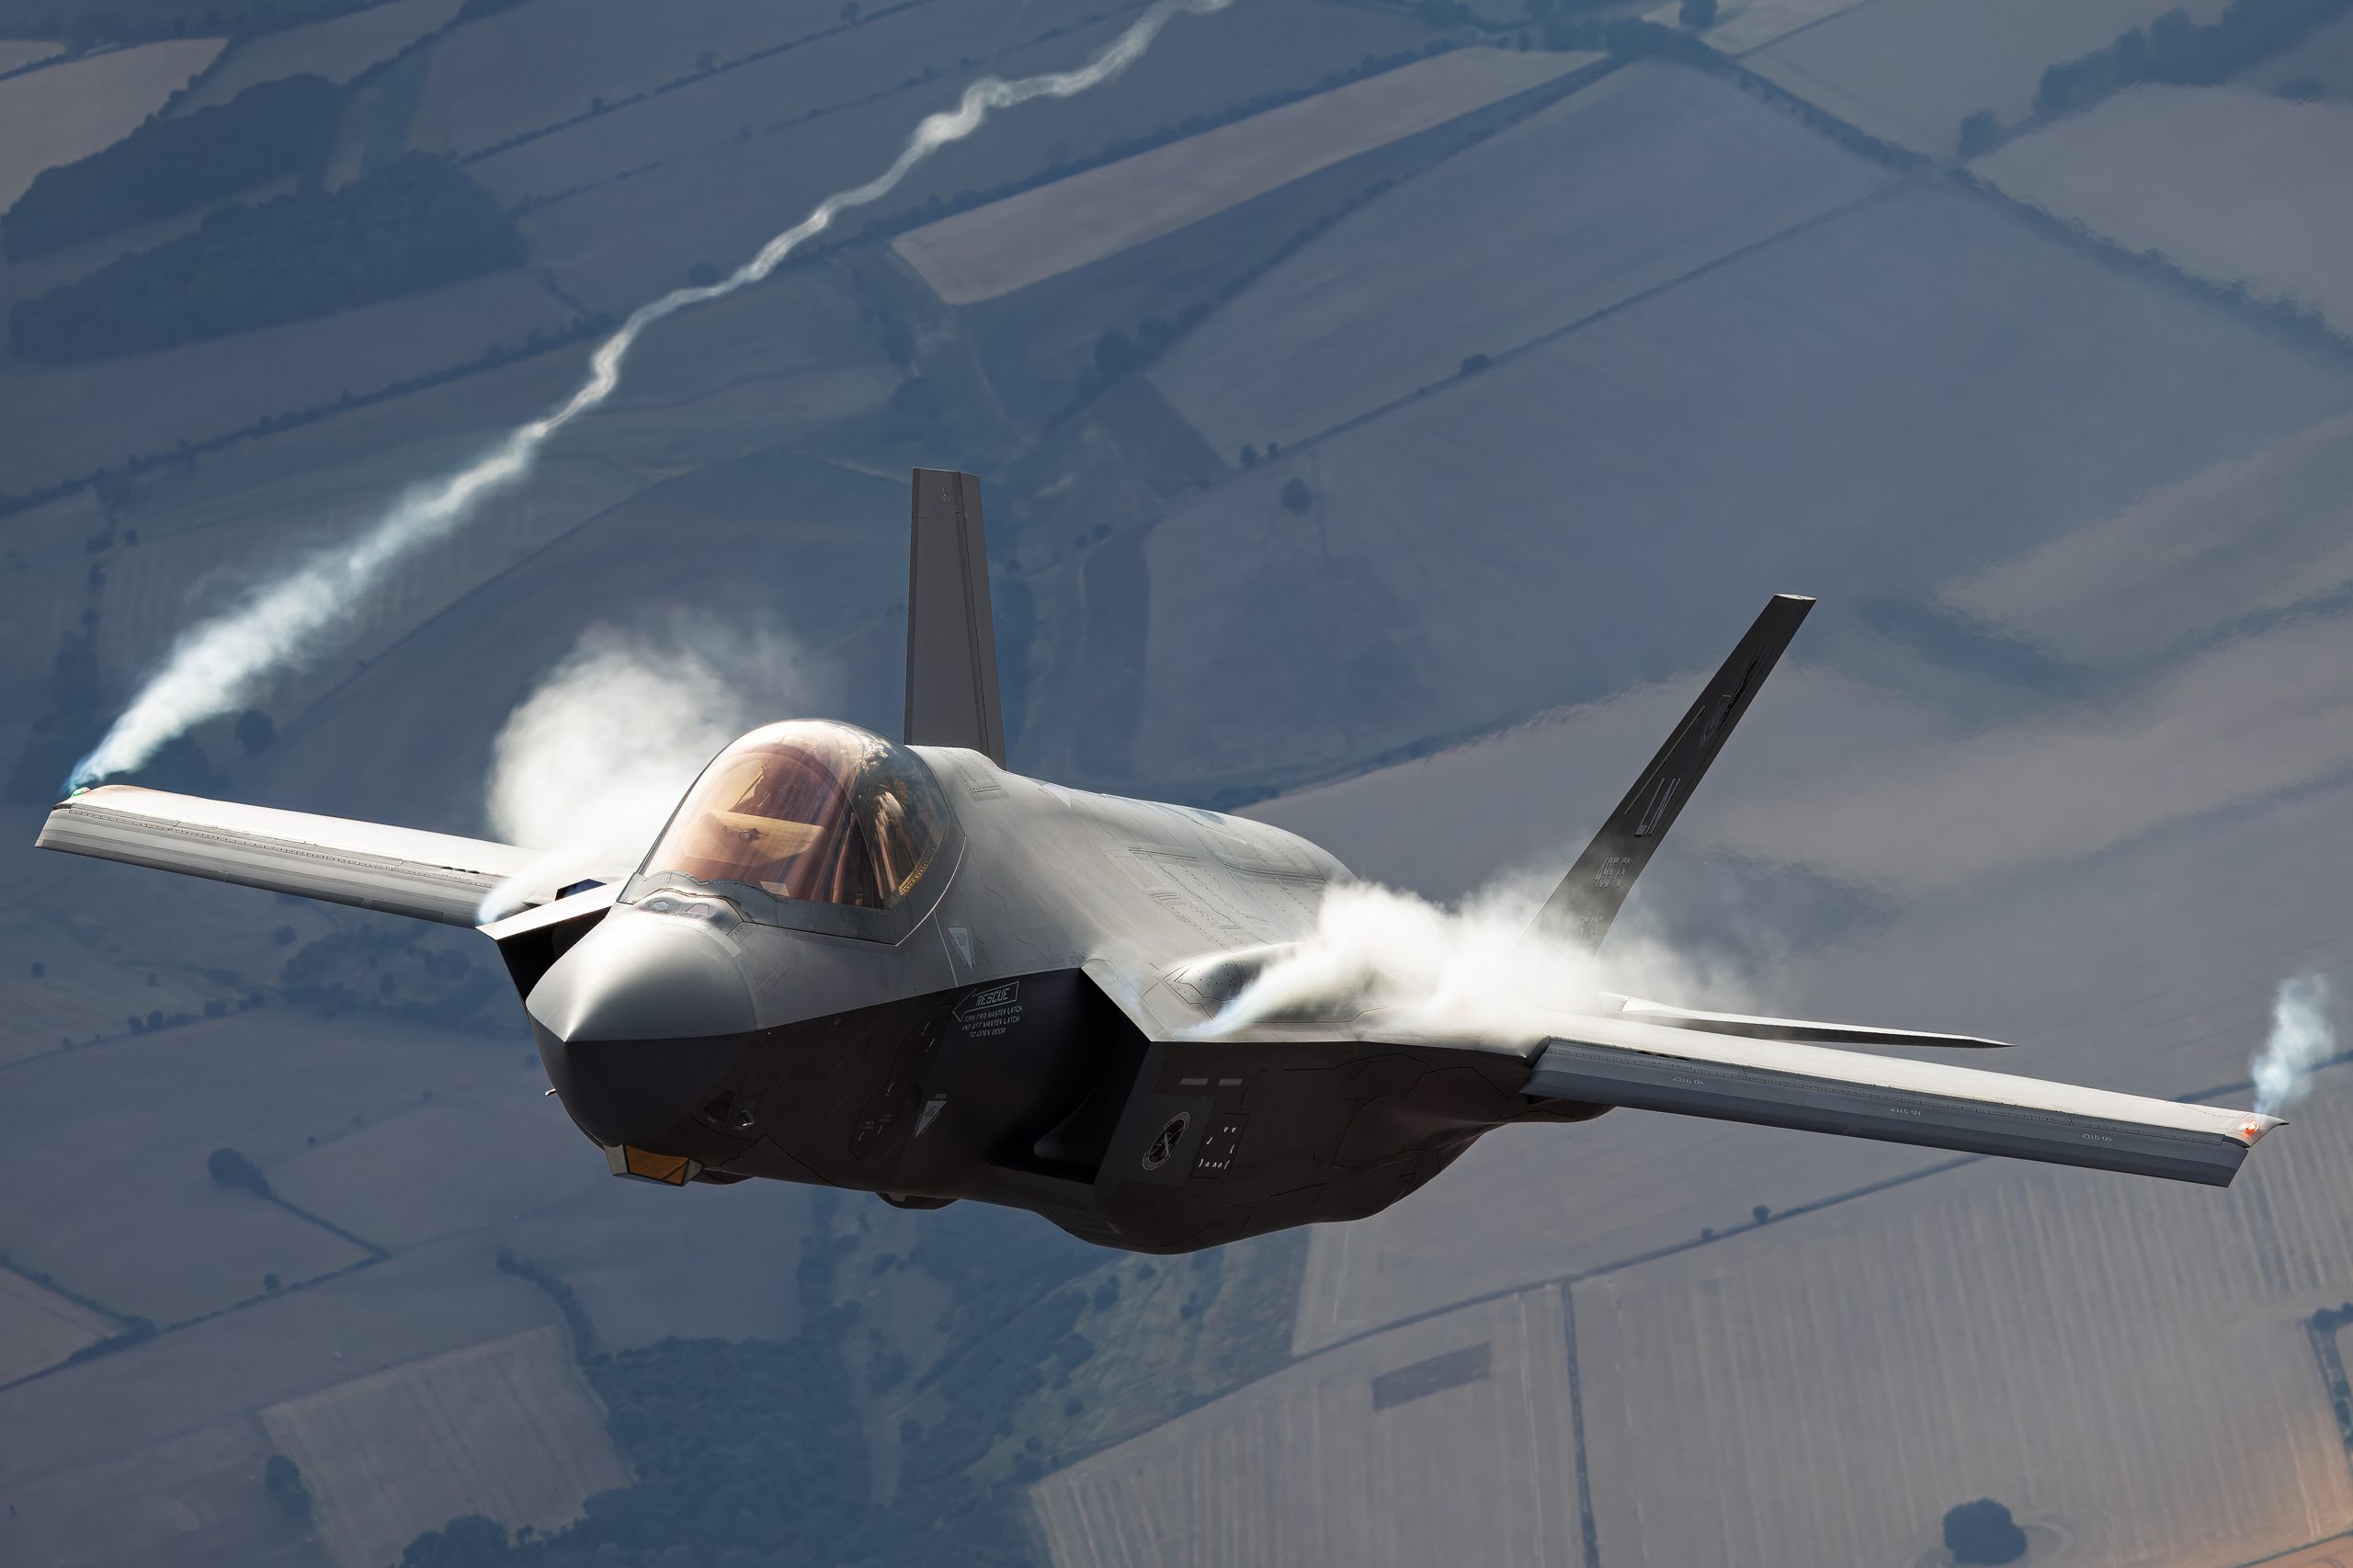
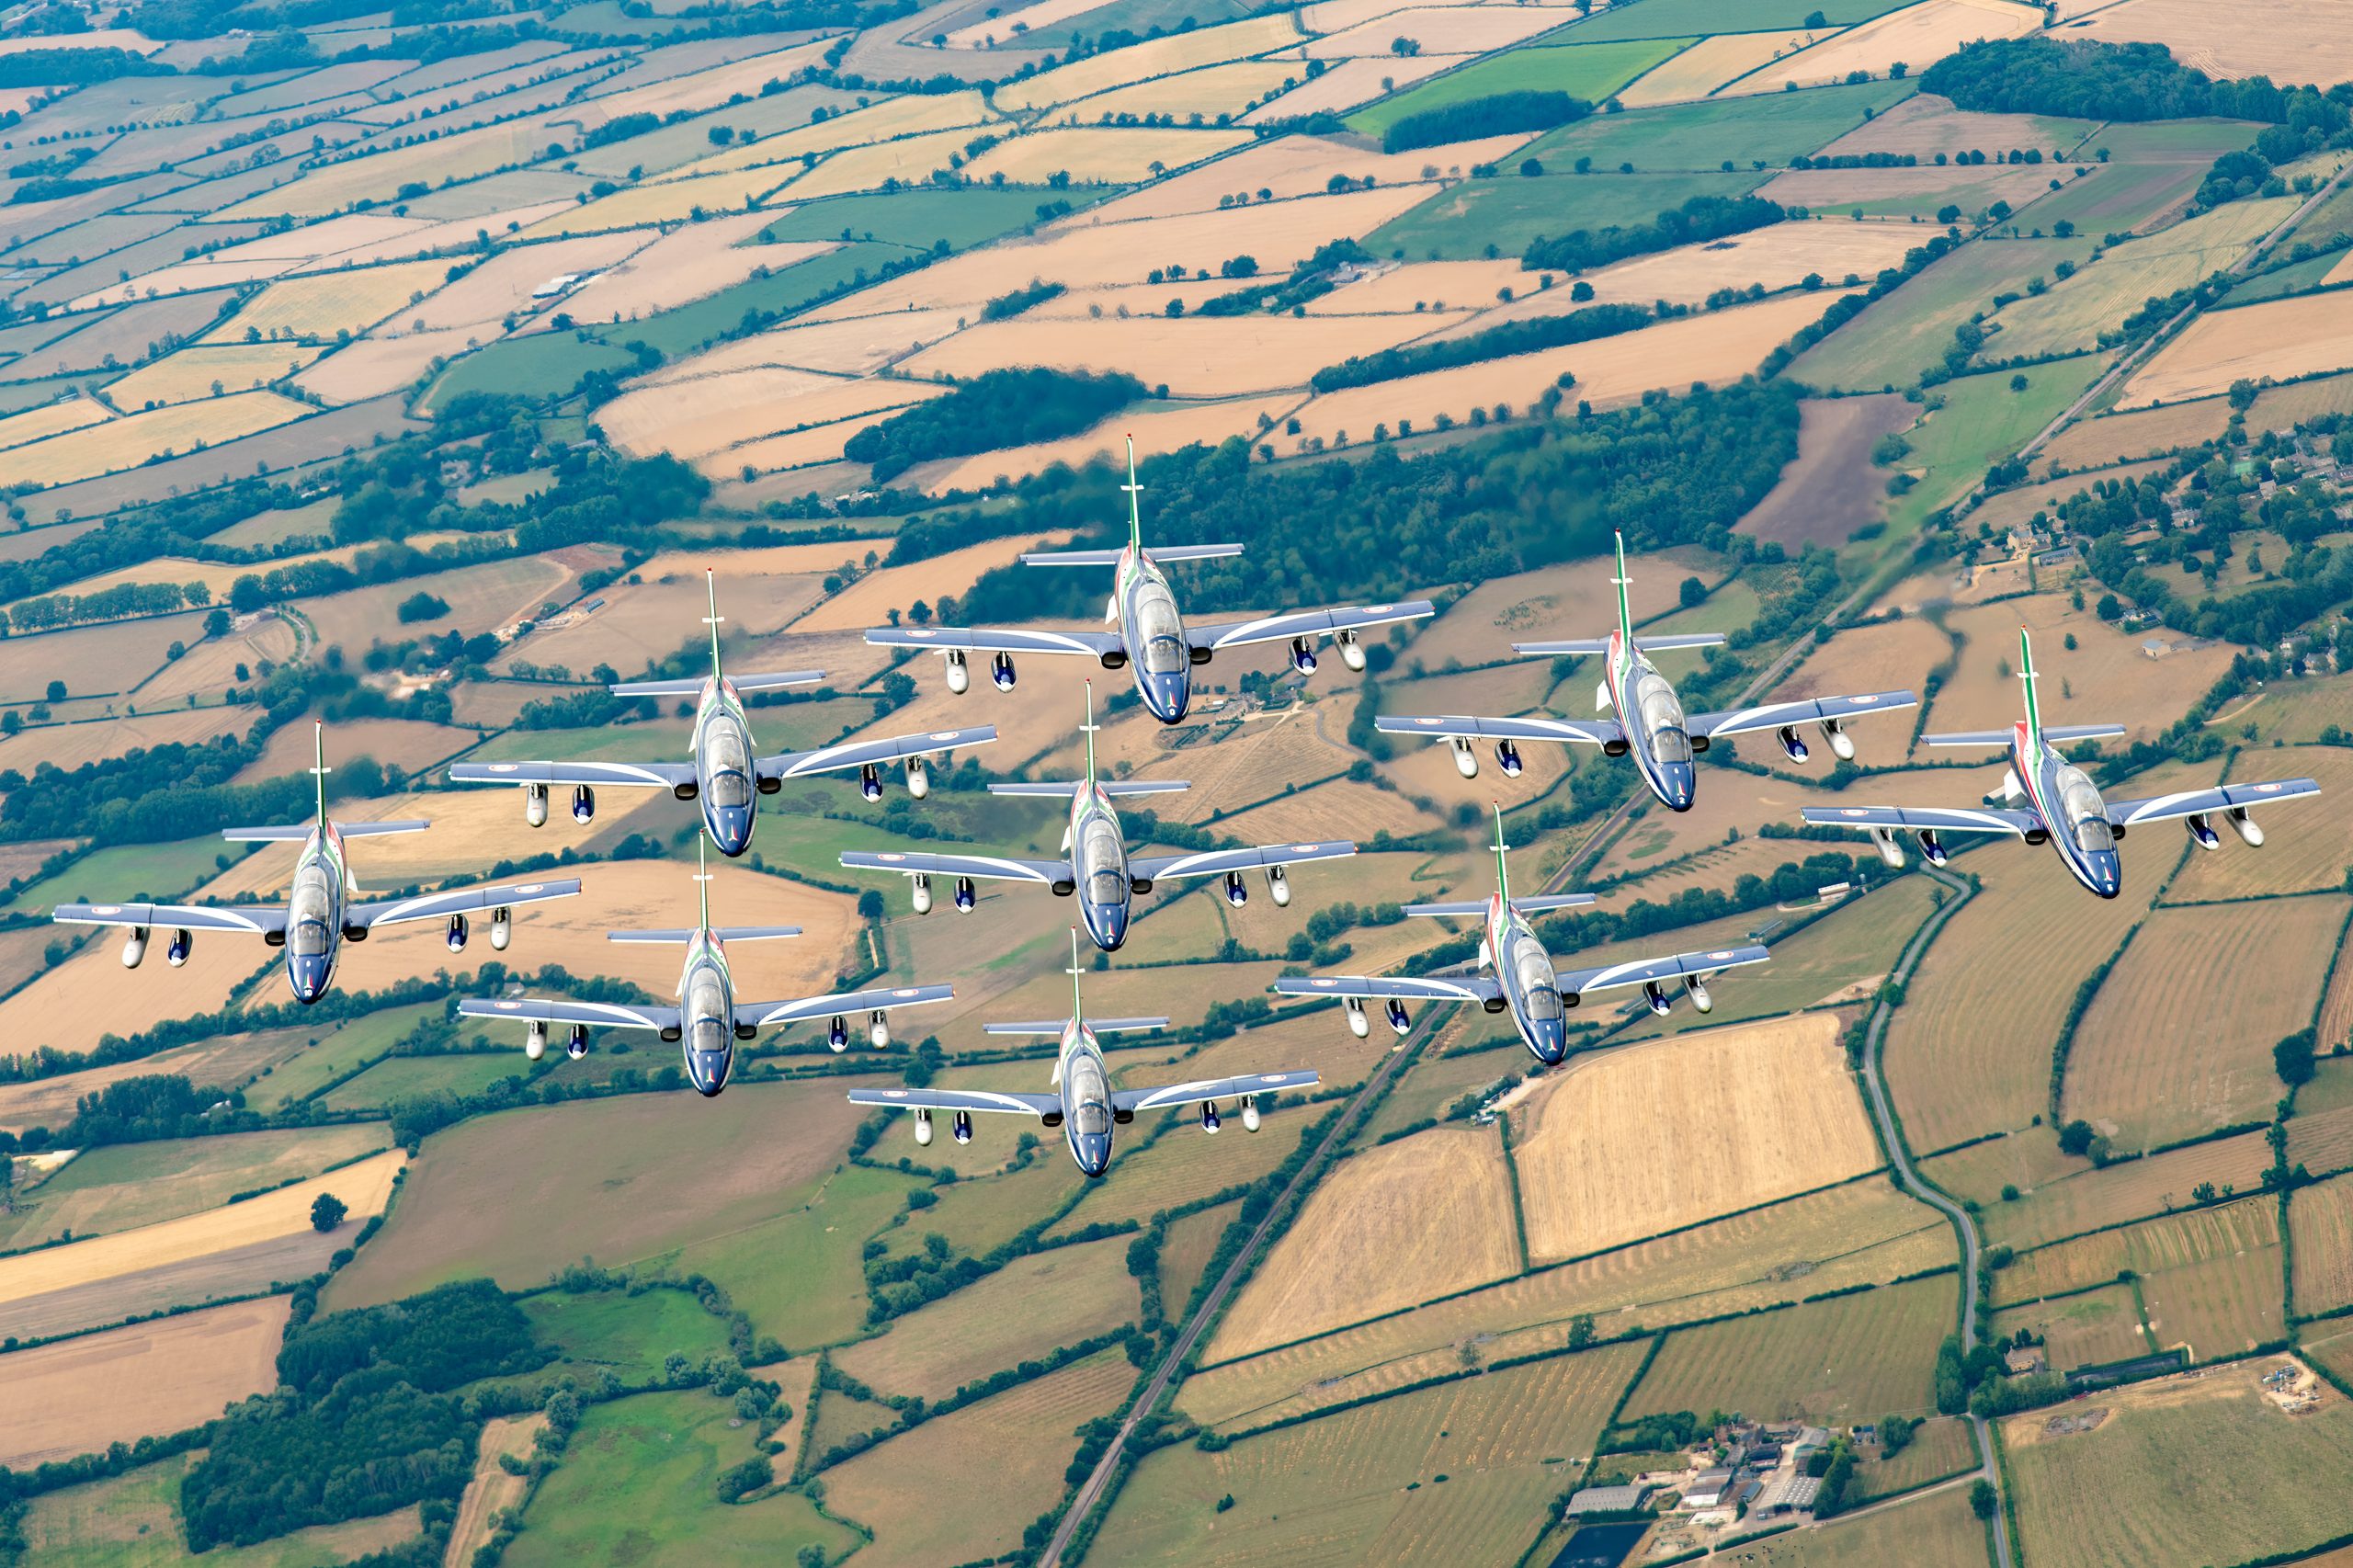
Fast jets move quickly across the sky and have no moving propeller to worry about, so the goal is simple: freeze the aircraft crisply. As a reliable baseline, use a shutter speed of at least 1/1000 second for jets. Many photographers push faster, to 1/1250, 1/1600 or 1/2000 second, when the light allows, to guarantee a sharp frame even during a fast, low pass or a tight turn.
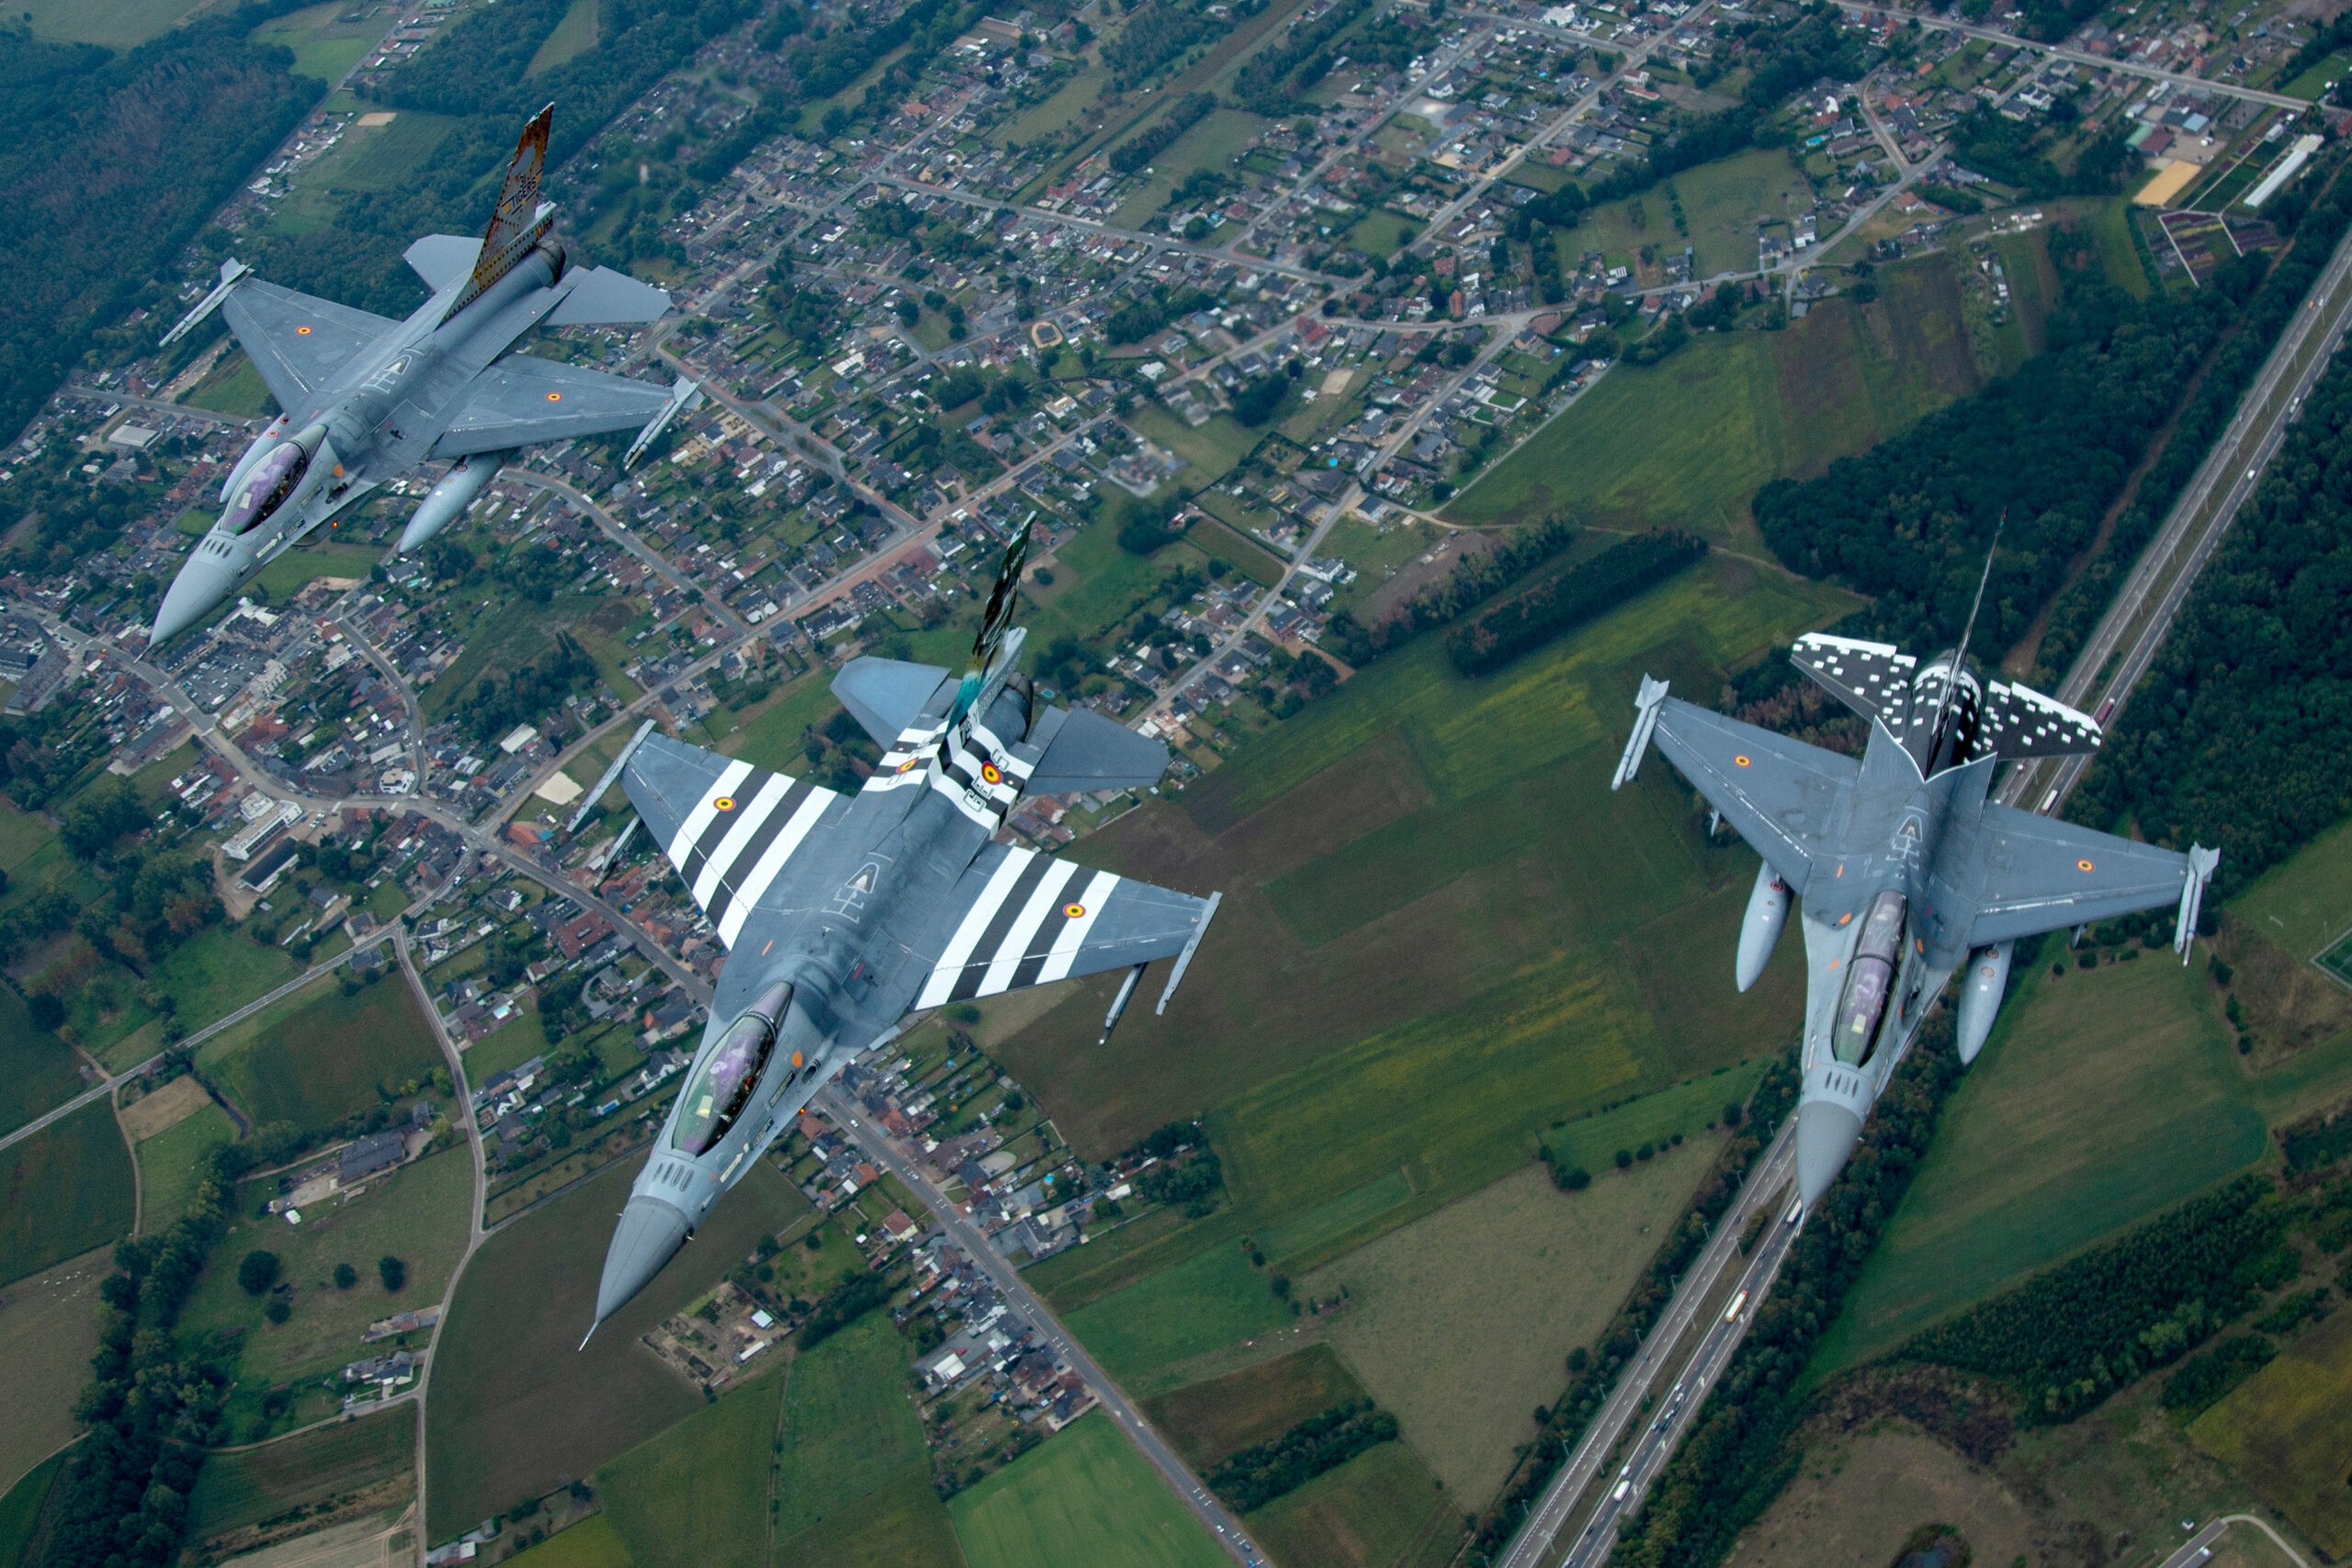
How fast you can realistically go depends on the available light, the maximum aperture of your lens and how high you are willing to push ISO. On a bright day this is easy. On a grey, overcast afternoon you may have to accept 1/1000 second and a higher ISO to hold a sharp frame. There is little benefit in going faster than you need, because every increase in shutter speed costs you light that you then have to recover with a wider aperture or higher ISO.
One important nuance: even with jets, you do not always want everything frozen. If an aircraft is using reheat or producing vapour off the wings in a high speed turn, a frozen frame can look static and lifeless. Some photographers deliberately drop to around 1/640 or 1/500 second for jets to keep a touch of movement and to allow a smooth panning blur in the background, which conveys speed far better than a clinically sharp frame against a plain sky. Start at 1/1000 to build confidence, then experiment downwards once you trust your panning.
| Subject | Suggested shutter speed | Why |
|---|---|---|
| Fast jet, freeze the action | 1/1000 to 1/2000 sec | Guarantees a sharp aircraft during fast passes and turns |
| Fast jet, with motion in the background | 1/500 to 1/640 sec | Adds a sense of speed through subtle panning blur |
| Jet team formation | 1/1000 sec or faster | Keeps every aircraft in the formation sharp |
Shutter speed for propellers and helicopters: the blur that brings a plane to life
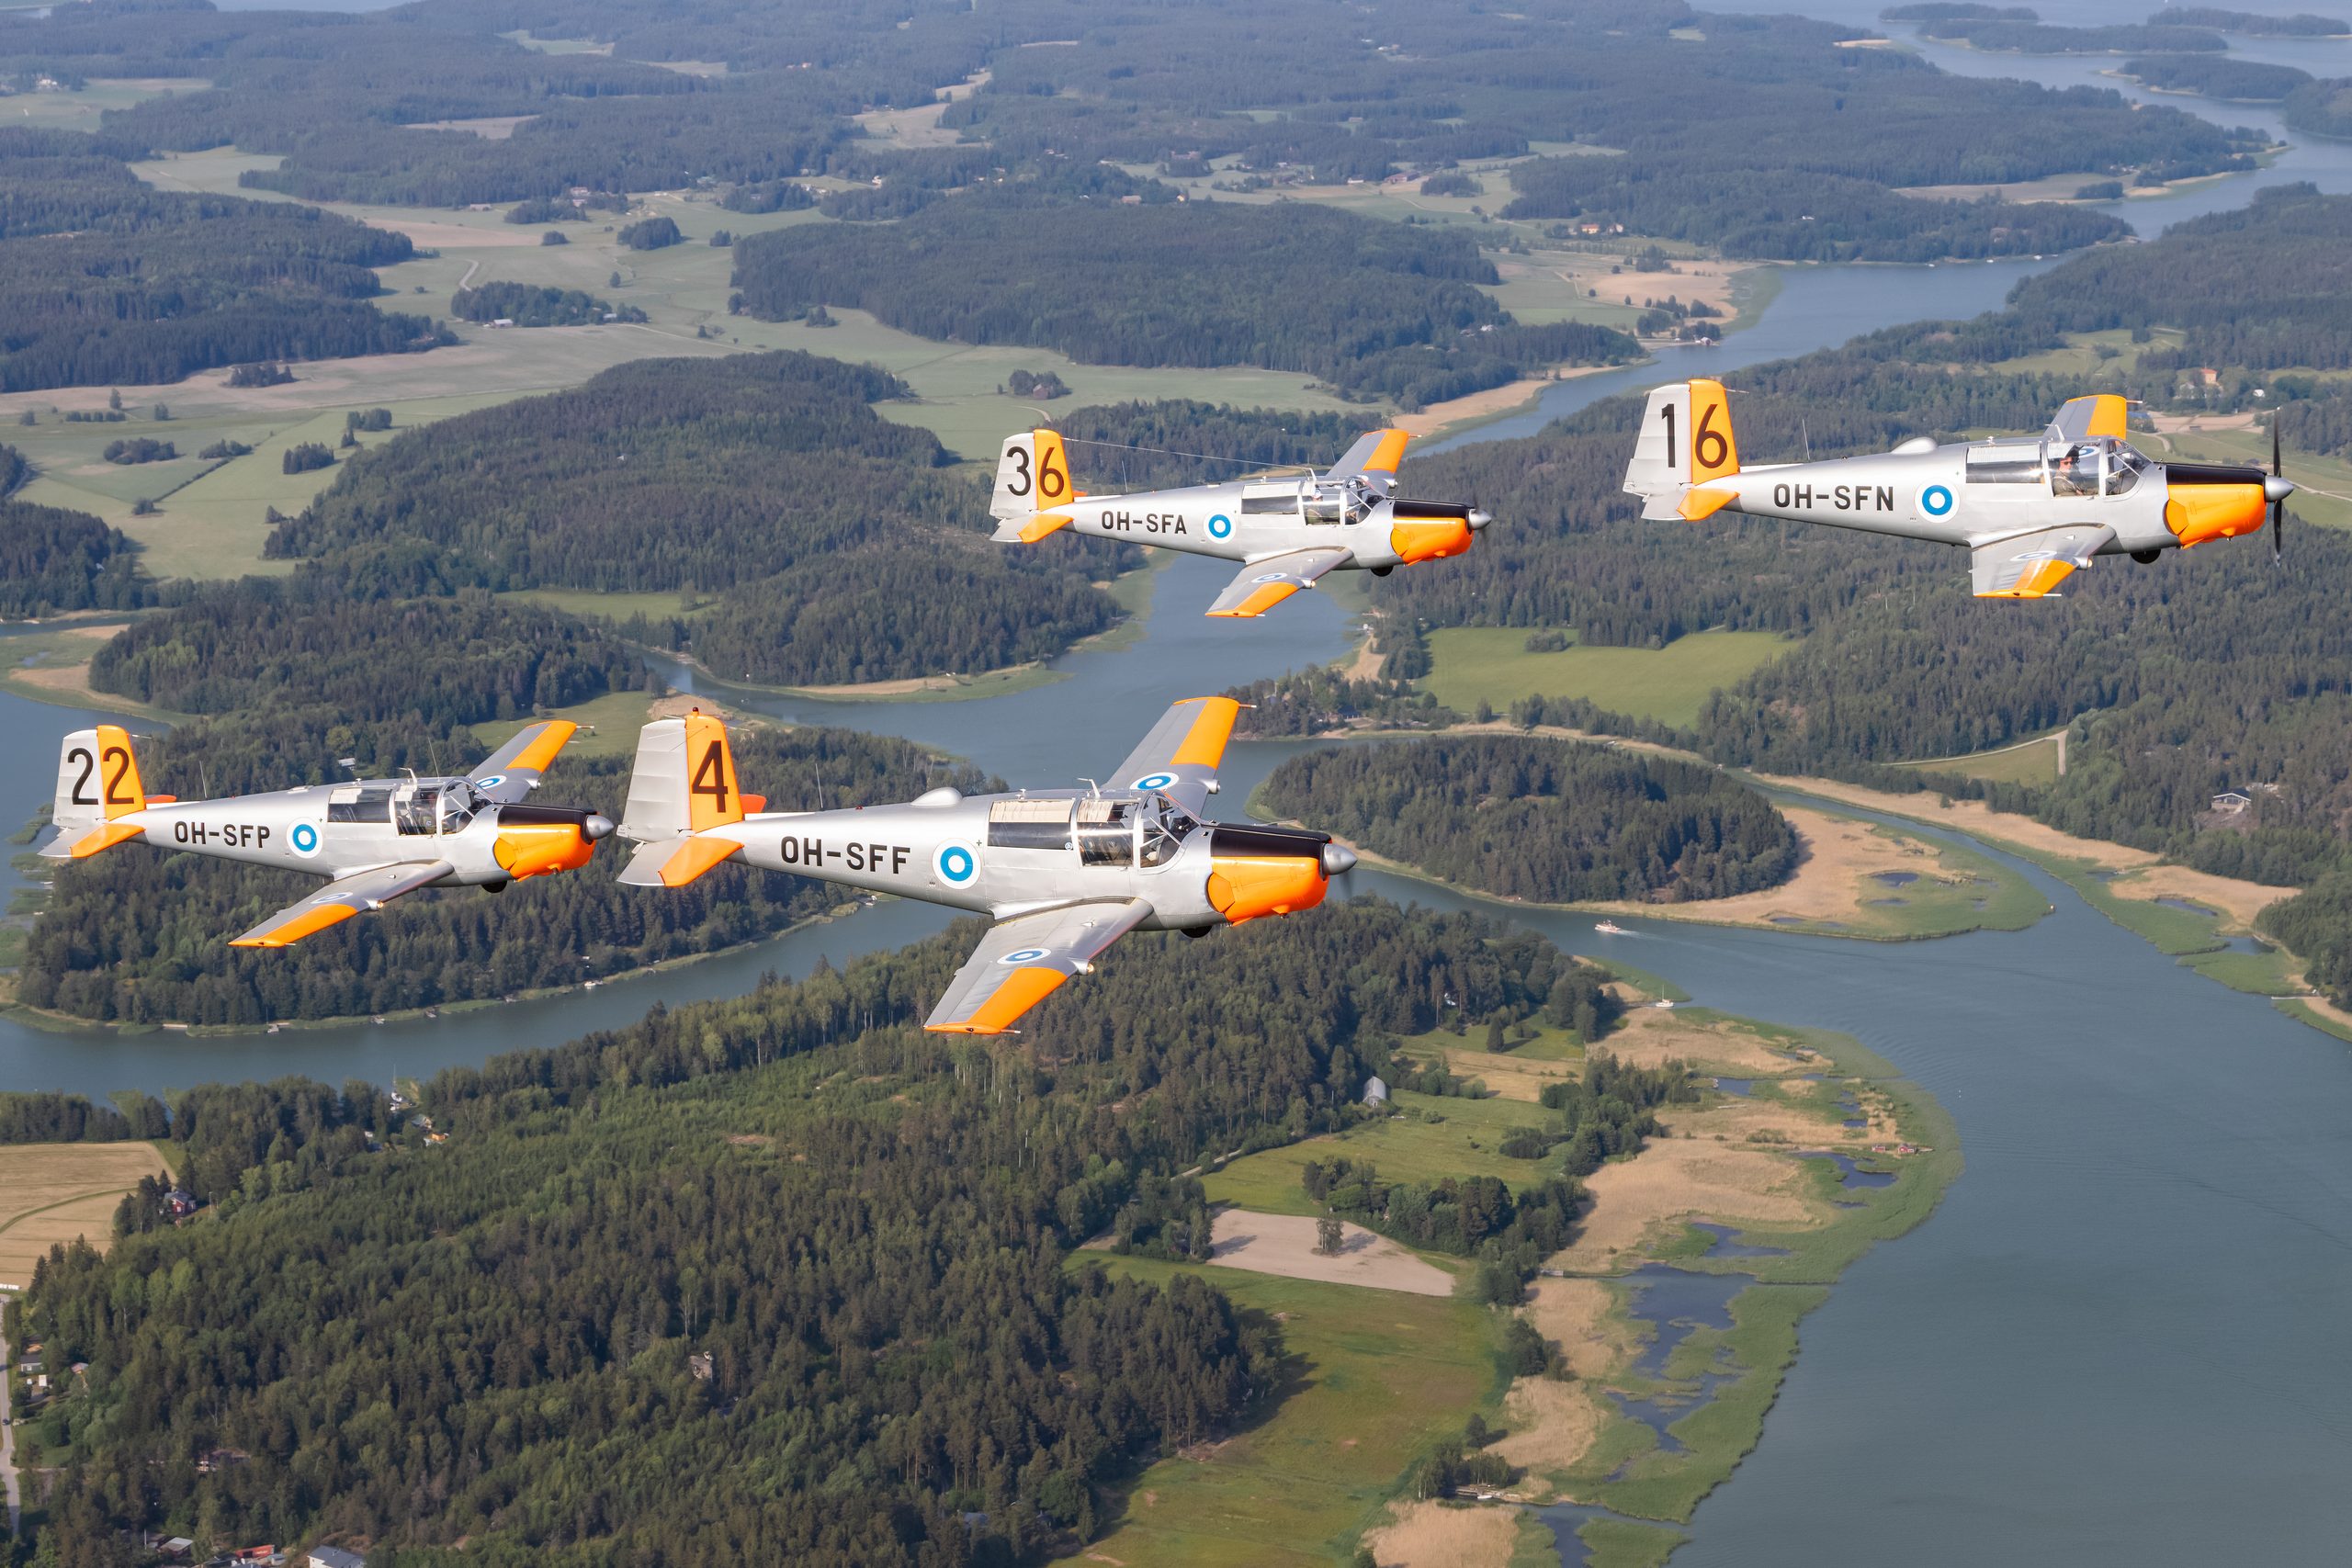
This is the single most important concept that separates aviation photographs that look right from those that look wrong, and it catches out almost every beginner. A propeller aircraft photographed at a very high shutter speed will have its propeller frozen solid, which makes the aircraft look as if it is parked in mid air or, worse, has a stopped engine and is about to fall out of the sky. The eye expects to see a spinning disc, and a frozen prop breaks that expectation.
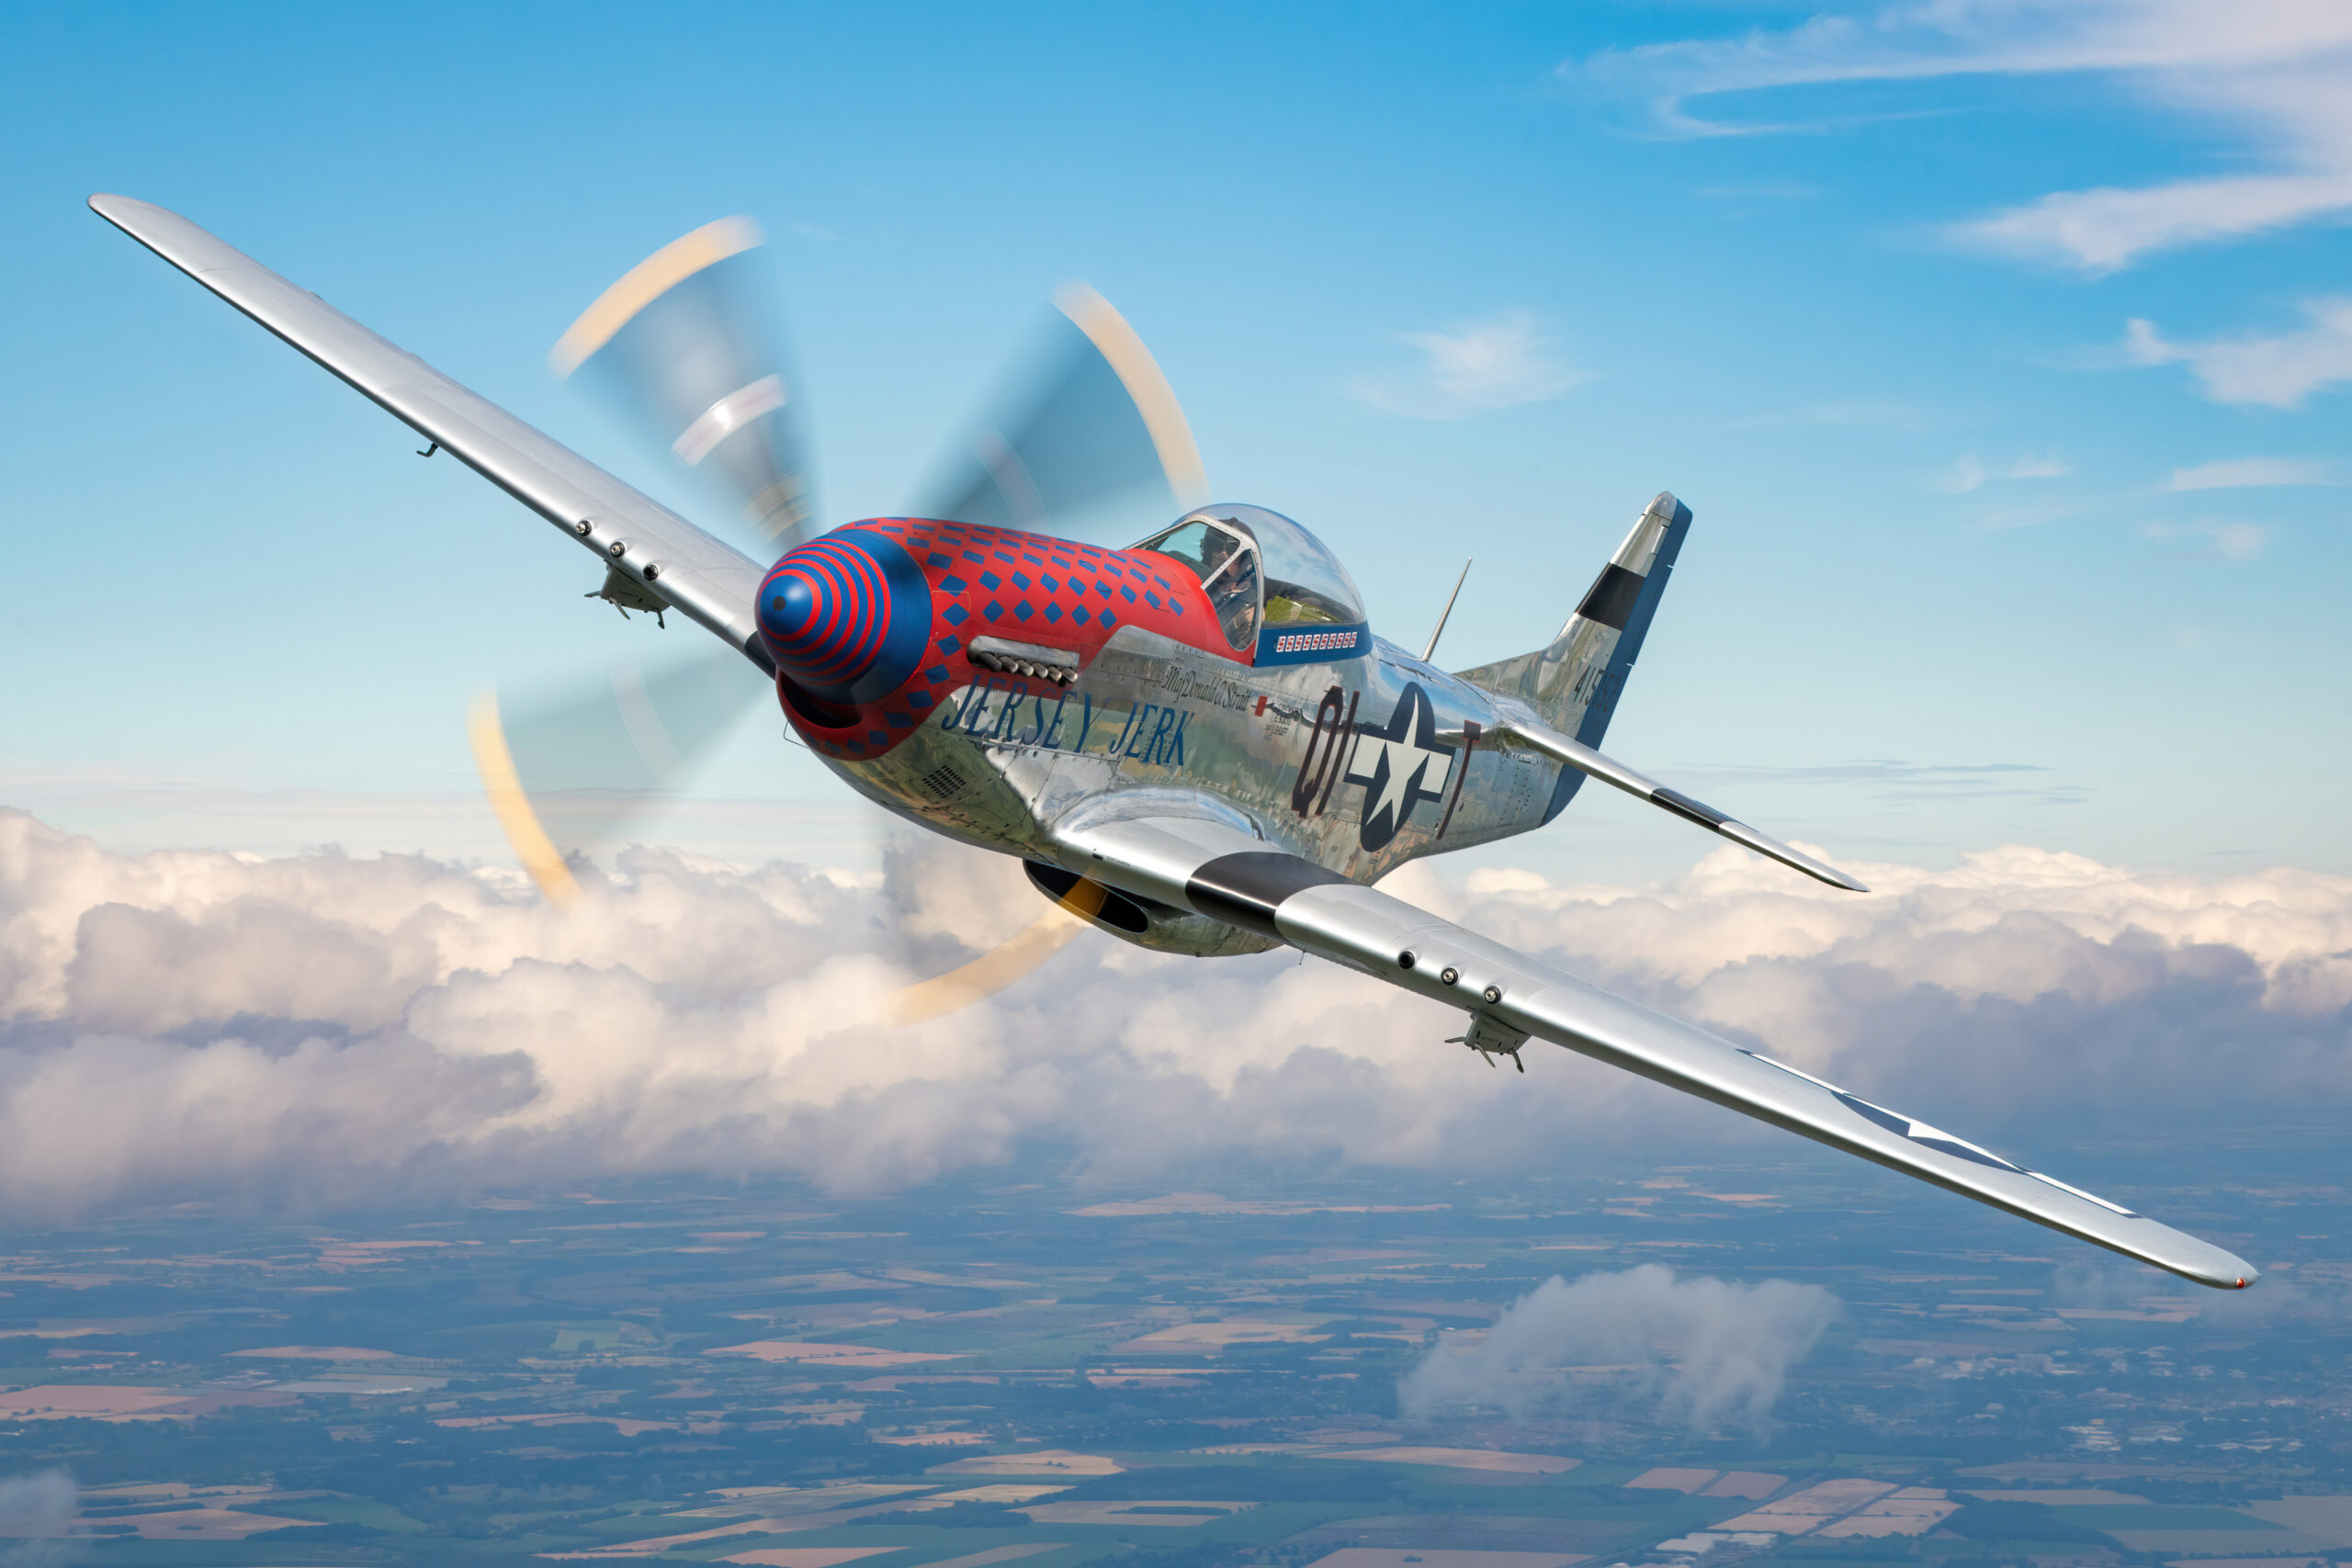
The fix is to slow down deliberately so the propeller blurs into an arc. For most propeller aircraft, a shutter speed in the region of 1/125 to 1/250 second gives a pleasing prop blur while still leaving you a fighting chance of a sharp airframe. If you want a fuller, more dramatic disc, you can drop further, to around 1/60 to 1/125 second, but the slower you go the harder it becomes to keep the body of the aircraft sharp, because any imperfection in your panning shows up immediately.
There is a balance to strike. Too fast and the prop freezes and the image looks dead. Too slow and your keeper rate collapses because camera and subject movement blur the whole aircraft. A practical progression is to start at 1/250 second, which forgives shaky technique, then work down towards 1/125 and 1/80 as your panning improves and you want more dramatic discs.
Helicopters follow exactly the same logic, and they are even less forgiving. A frozen rotor looks completely unnatural. Aim for a slow shutter speed that lets the main rotor blur into a full or near full disc, often around 1/125 second or slower, and be prepared for a lower hit rate. Patience and a steady pan are everything here.
| Subject | Suggested shutter speed | Result |
|---|---|---|
| Single engine prop, safe blur | 1/250 sec | Visible prop arc, forgiving of technique |
| Single engine prop, full disc | 1/80 to 1/125 sec | Dramatic blurred disc, demands good panning |
| Warbird or multi engine prop | 1/125 to 1/200 sec | Natural looking propeller motion |
| Helicopter rotor | 1/125 sec or slower | Blurred rotor disc, the look the eye expects |
Aperture and ISO settings that hold up
Aperture
For aircraft against the sky, depth of field is rarely a creative problem because the subject is far away and there is nothing behind it to throw out of focus. Your aperture choice is therefore driven mainly by sharpness and by the exposure you need at your chosen shutter speed. A good working range is f/5.6 to f/8. Many lenses reach their sharpest performance a little stopped down, often around f/8, and stopping down also buys you a slightly deeper plane of focus, which is helpful when tracking a fast aircraft where focus is never perfect.
On dull days you may need to open up towards the lens maximum aperture to gather light. That is fine. A slightly softer corner on a sky background is invisible, and a sharp aircraft at f/6.3 beats a noisy one at f/8. When light is plentiful you can sit comfortably at f/8 and enjoy the sweet spot of your lens.
ISO
ISO is the control you use to make everything else work. Once you have locked in a shutter speed for your subject and a sensible aperture for sharpness, ISO is what brings the exposure home. Modern cameras handle moderate and even high ISO values far better than older models, so do not be afraid of it. A sharp, slightly noisy image is always more useful than a clean, blurred one.
On a bright day you might shoot jets at ISO 100 to 400 without difficulty. As cloud rolls in or the light fails towards the end of the day, climbing to ISO 800, 1600 or beyond is completely reasonable, especially with a full frame body. A useful approach on changeable days is Auto ISO with a cap, which lets the camera raise sensitivity as the light drops while you concentrate on shutter speed and panning. Set a maximum ISO you are comfortable with so the camera never wanders into unusable noise.
Shooting modes: aperture priority, shutter priority and manual
There is no single correct mode, and experienced photographers disagree, which tells you that several approaches work. What matters is that you understand the trade off each one makes.
Shutter priority
Because shutter speed is the critical control in aviation, shutter priority is an intuitive starting point. You set the shutter speed for your subject, 1/1000 for a jet or 1/200 for a prop, and the camera selects the aperture. This guarantees you keep the prop blur or the frozen action you want. The risk is that in very bright or very dark conditions the camera may run out of aperture range, so keep an eye on the exposure readout.
Aperture priority
For jets specifically, aperture priority is a popular professional choice. You set f/5.6 to f/8 and let the camera manage shutter speed. In good light the camera will naturally select fast shutter speeds that freeze the jet, and you get to concentrate on framing. The danger is in poor light, where the camera may drop the shutter speed below your freezing threshold without you noticing, so this mode pairs well with a minimum shutter speed setting if your camera offers one.
Manual with Auto ISO
Many seasoned shooters settle on full manual control of shutter speed and aperture combined with Auto ISO. You dial in exactly the shutter speed and aperture the subject needs, and the camera floats the ISO to hold the exposure as the light changes. This gives you complete creative control over the two settings that define the look of the image while delegating the one setting that has the least creative consequence. It is the most robust approach on a day of shifting cloud, and it is well worth learning.
Autofocus, tracking and back button focus
An aircraft that is perfectly exposed but slightly out of focus is a failure, so autofocus deserves as much attention as your exposure settings.
Use continuous autofocus
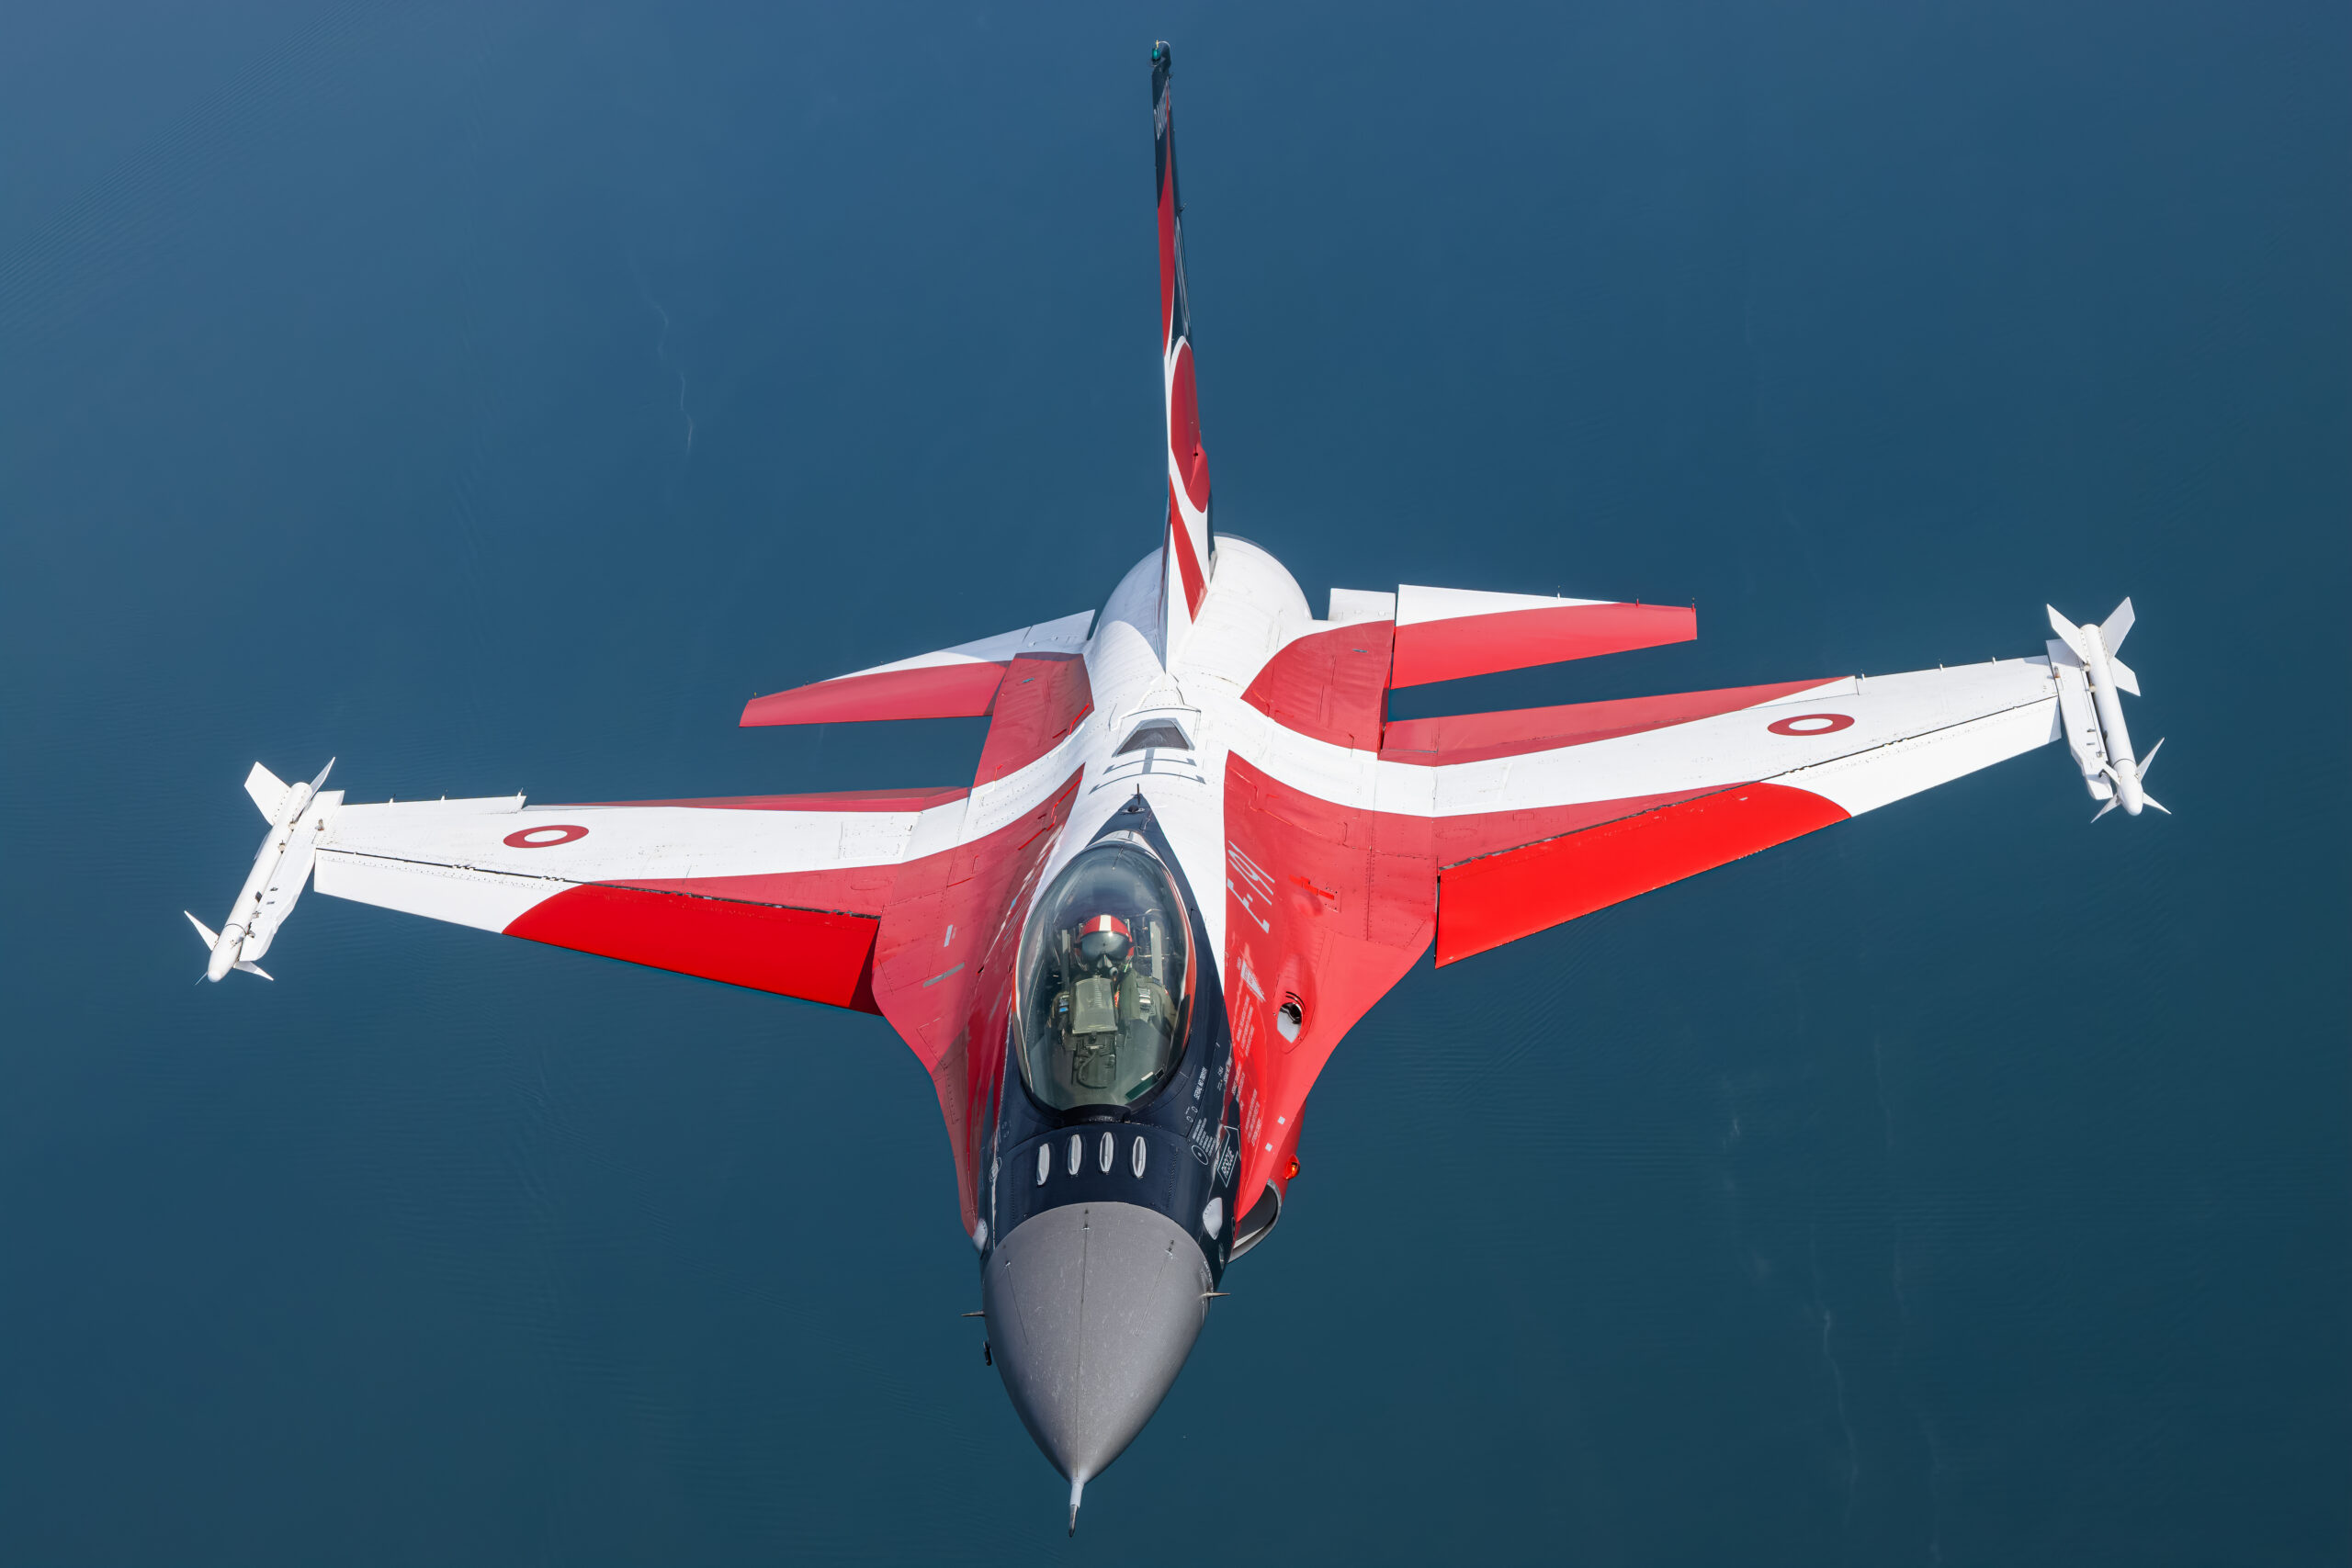
Always switch to continuous autofocus for flying displays. This mode is called AI Servo on Canon DSLRs, Servo AF on Canon mirrorless bodies, and AF-C on Nikon and Sony. In continuous mode the camera keeps refocusing for as long as autofocus is active, so it tracks the aircraft as it moves towards or away from you and across the frame. Single shot autofocus, which locks focus once and stops, is only useful for static aircraft on the ground.
Choosing an autofocus area
For a clean sky background, a wider tracking area or a zone of points helps the camera find and hold the aircraft, and modern subject detection that recognises aircraft makes this remarkably reliable. The moment the aircraft is against a cluttered background, trees, a crowd line, a hangar, that same wide area can jump to the wrong thing. In those situations switch to a smaller zone or a single, expandable point and place it deliberately on the aircraft, ideally on the cockpit or the engine intake. Centre point or small zone focusing usually gives the best balance of responsiveness and accuracy.
Back button focus
Back button focus is one of the highest value habits an aviation photographer can adopt. By default the shutter button both focuses and fires, which means every time you take a shot you risk the camera refocusing on the wrong moment. Back button focus moves the autofocus activation to a separate button on the rear of the camera, usually marked AF-ON, and removes it from the shutter button entirely.
The payoff is control. You hold the rear button to focus and track, and you press the shutter purely to capture frames, with no risk of the focus jumping at the instant you fire. It also lets you switch between continuous tracking and a locked focus on the fly: hold the button to track a moving aircraft, release it to lock focus on a static subject, all without changing a menu setting. It feels awkward for a day or two and then becomes second nature. For moving subjects in particular it is hard to go back once it clicks. We have published a full walkthrough of the setup, button by button for Canon, Nikon and Sony bodies, in our guide to back button focus for aviation photographers.
Burst mode and drive settings
Set your drive mode to continuous high so you can fire a short burst through the peak of a manoeuvre. The aim is not to spray and pray, but to give yourself two or three frames at the critical moment so you can choose the one where the wings, the attitude and the background all line up. Be disciplined: fire in short bursts at the moments that matter rather than holding the button down for an entire pass, which simply fills your card and your buffer.
Autofocus and settings deserve a guide of their own. For the full detail on AF modes, area settings, aircraft subject detection, tracking sensitivity, back button focus and complete camera setups for every subject, see our in depth guide to airshow camera settings and autofocus.
Panning technique step by step
Panning is the core physical skill of aviation photography. It is the act of swinging the camera smoothly to follow a moving aircraft, which keeps the aircraft sharp in the frame and, at slower shutter speeds, blurs the background into streaks that convey speed. It is also exactly what allows you to use the slow shutter speeds that propeller work demands. Good panning is learned through repetition, and these are the fundamentals.
Stand with your feet shoulder width apart and rotate from the waist and hips rather than swinging your arms. Think of your upper body as the moving part of a tripod head turning on a smooth axis. Pick up the aircraft early, before it reaches the part of the sky where you want to shoot, and begin tracking it smoothly. Keep the autofocus point on the same part of the aircraft, the cockpit is a good choice, and let your whole upper body rotate to follow.
Squeeze the shutter while you are still moving, not by stopping to take the shot. The single most common panning error is stopping the motion at the moment of the press, which jerks the camera and blurs the aircraft. Keep the swing flowing right through the burst and continue to follow the aircraft for a moment after you stop firing, in the same way a golfer follows through after striking the ball. That follow through keeps the motion smooth across the frames that matter.
For a sharp aircraft against a blurred background, a panning shutter speed between 1/60 and 1/250 second works well, with the exact value depending on the aircraft’s speed and your own steadiness. Slower speeds give more dramatic background blur but demand better technique and yield fewer keepers. Start towards the faster end of that range, build confidence, then push slower as your smoothness improves. Image stabilisation set to a panning mode, if your lens offers one, helps by correcting vertical shake while allowing the horizontal sweep.
Accept that panning is a numbers game when you are learning. Even experienced photographers expect a portion of slow shutter pans to miss. Review your hit rate, adjust your shutter speed, and try again on the next pass.
Composition, light and storytelling
Sharp focus and correct settings get you a technically competent image. Composition and light are what make it worth looking at twice.
Work with the light and the sun
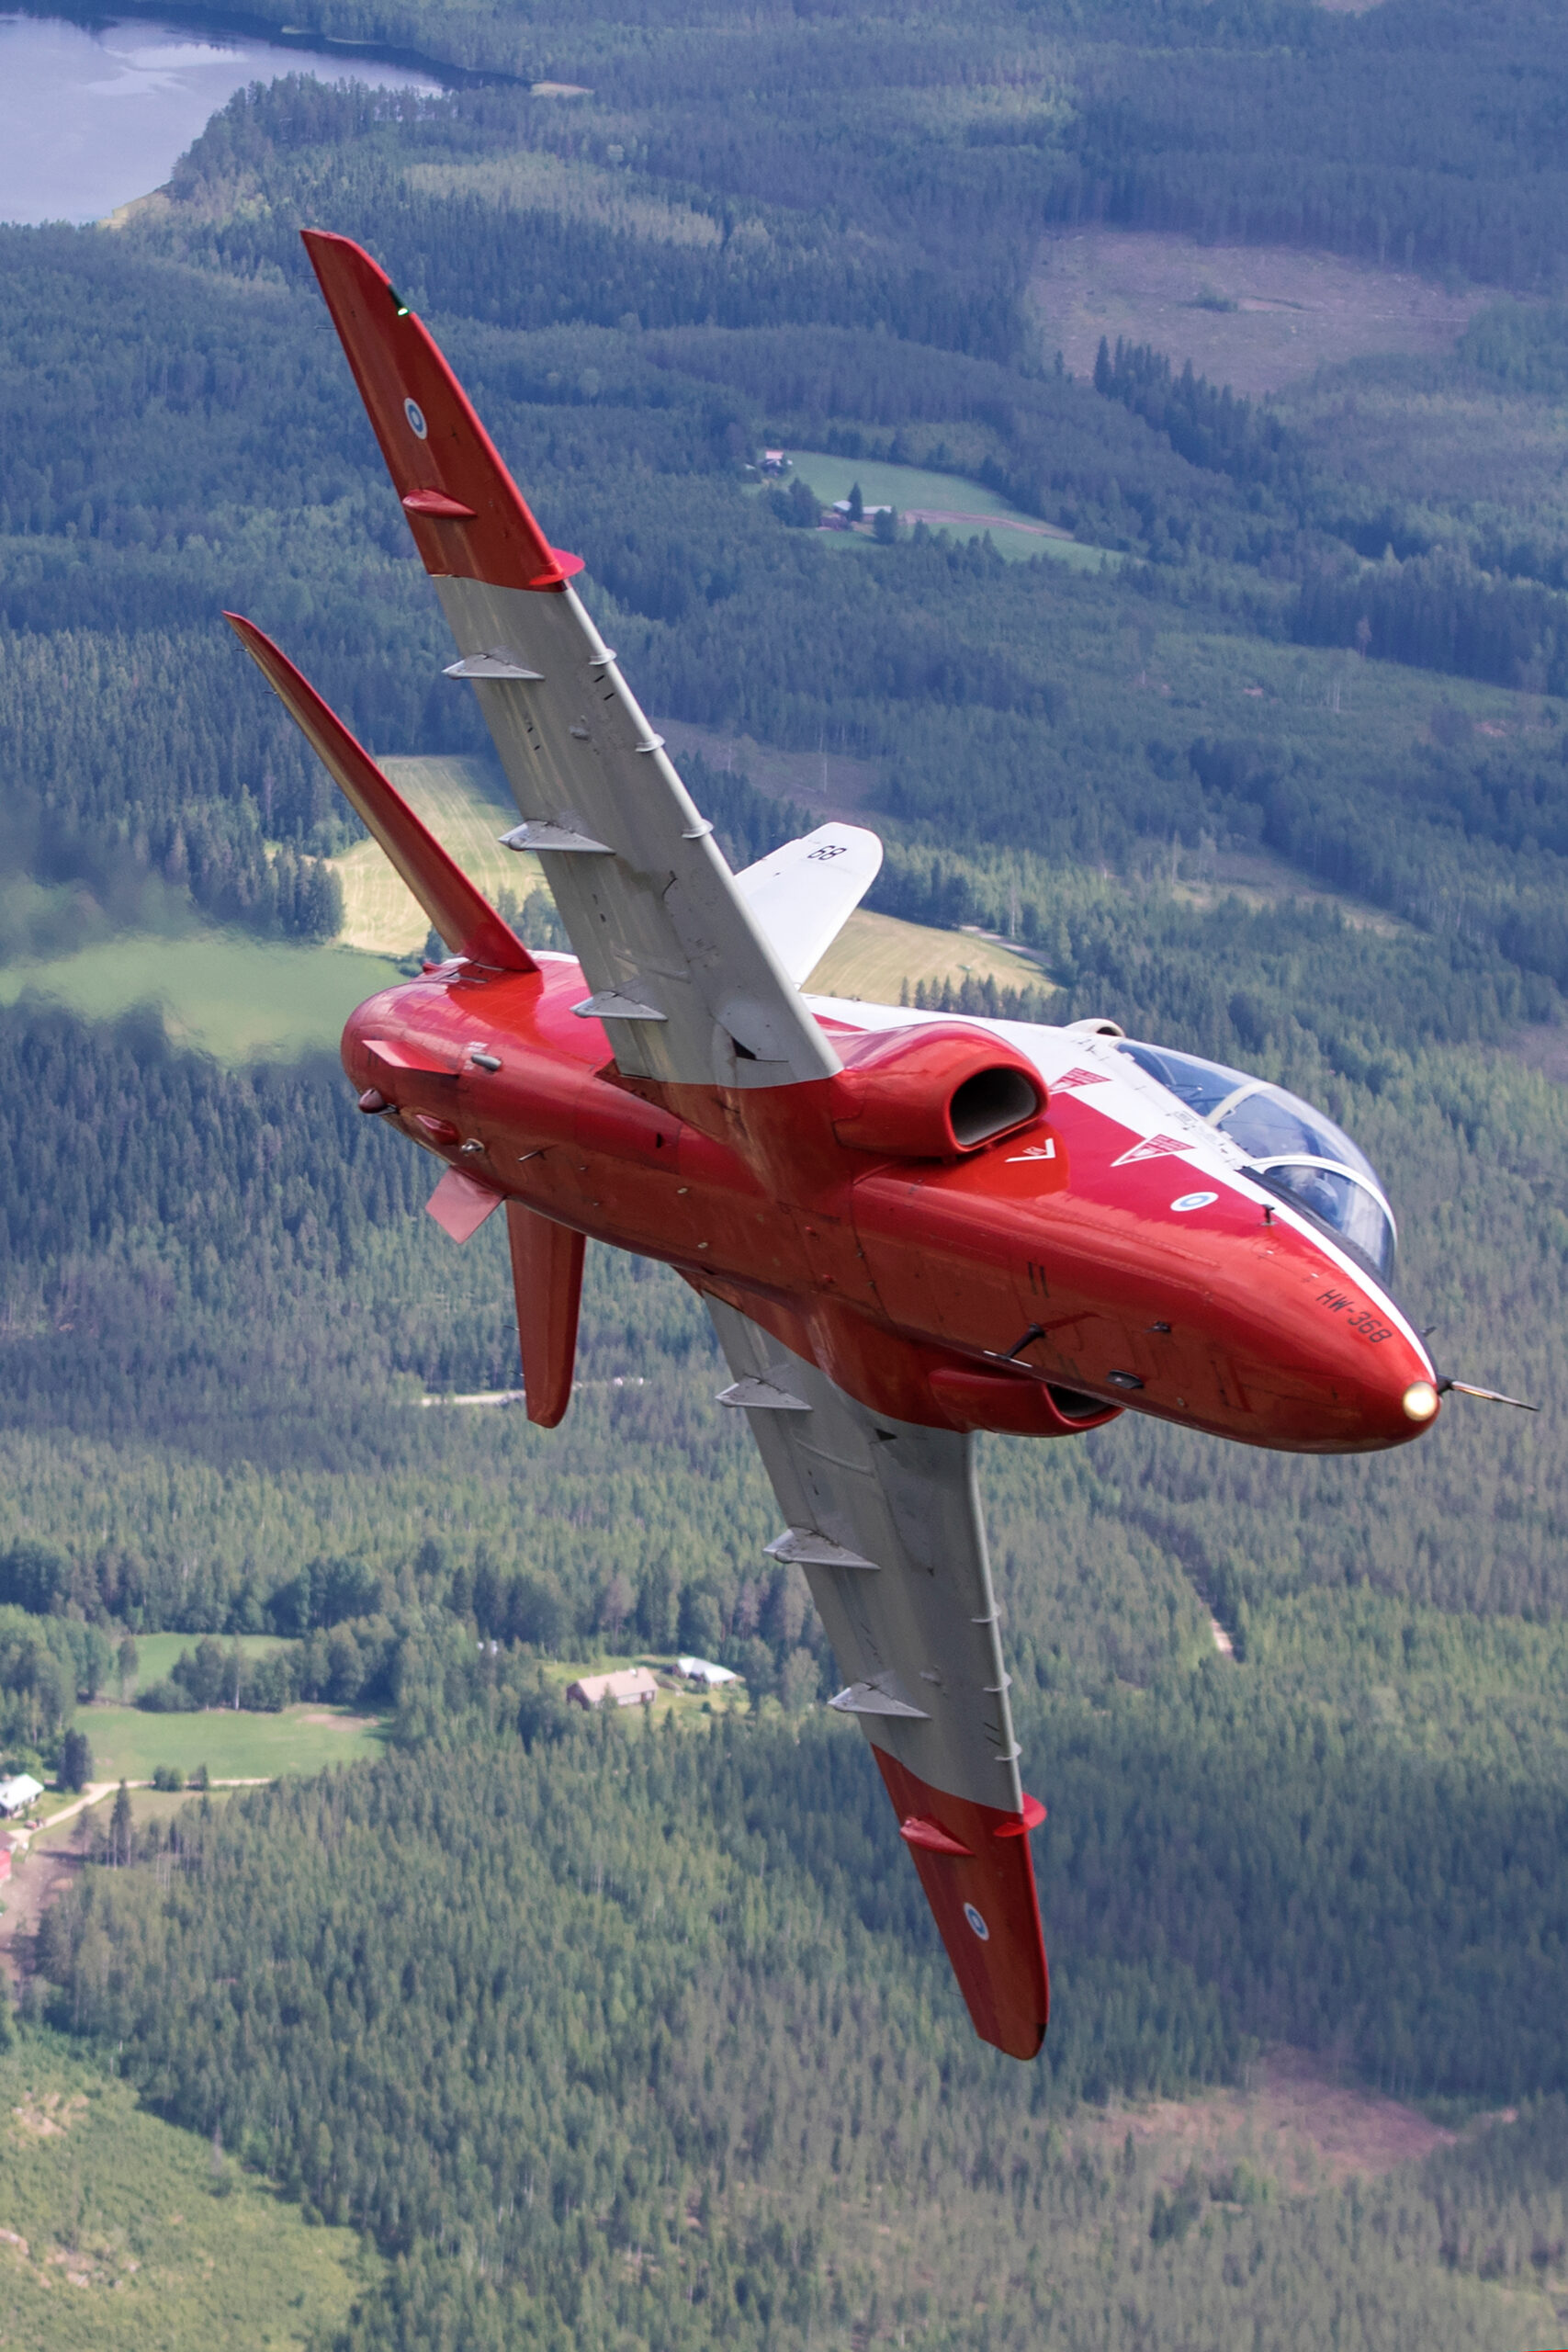
The direction of the light shapes everything. As a general rule you want the sun behind you or over your shoulder so that it falls on the side of the aircraft facing your camera, which lights the airframe evenly and brings out the markings. At many airshows the display line and crowd position are fixed, so it is worth checking in advance which way you will be facing and at what time of day, because the sun’s position relative to the display line changes the look of every photograph you take.
Backlighting, where the sun is behind the aircraft, is harder but can be spectacular for vapour, smoke and the glow of afterburner against a darker sky. It is a technique to reach for deliberately rather than a default. The hour after sunrise and the hour before sunset give the warmest, most directional light and the most dramatic skies, which is why arrivals days and evening displays often produce the strongest images of an event.
Planning the sun takes minutes with a sun position app such as PhotoPills or Sun Surveyor: drop a pin on the venue, scrub through the display hours and you can see exactly when the light crosses the display axis. In high summer the UK sun swings through a wide arc, so a crowd line that leaves you shooting into glare at two in the afternoon can be beautifully side lit by six, which is one reason evening shows reward photographers. Shuttleworth’s summer evening displays at Old Warden, for example, fly on into the last hours of daylight, the kind of low golden light you cannot get in the middle of the day.
Backgrounds and framing
A plain blue sky is clean but can be a little flat. Clouds add texture, depth and a sense of scale, and a dramatic sky can transform an ordinary pass into a memorable frame. Watch your background as carefully as your subject. A pass framed against cloud or a distant horizon tells a richer story than the same pass against featureless blue.
Give the aircraft room to fly into. Composing with more space ahead of the nose than behind the tail implies forward motion and feels natural, while an aircraft jammed against the leading edge of the frame feels cramped and about to leave. Avoid amputating wingtips or tails unless you are deliberately going for a tight, abstract crop. When a manoeuvre puts the aircraft small in a large sky, that negative space can itself be the composition, conveying scale and solitude, so do not feel you must fill the frame every time.
Capturing the moment
The strongest aviation images usually catch a specific moment rather than just a clean side on pass. Vapour streaming off the wings in a hard turn, the topside of an aircraft as it rolls and shows you its planform, the condensation cloud that forms over the wing in humid air, the smoke trails of a display team crossing, the gear coming up after a take-off. Learn the display sequences of the aircraft you are shooting, anticipate these moments, and be ready before they happen rather than reacting after.
Static aircraft on the ground
Flying displays get the attention, but the static park is where you can work more slowly and thoughtfully, and it is a great place for beginners to practise composition without the pressure of a fast pass.
On the ground you can switch to single shot autofocus and a smaller aperture, perhaps f/8 to f/11, to keep more of the aircraft sharp from nose to tail. Watch for distracting clutter: barriers, ropes, signage, other visitors and ground equipment all conspire to ruin a clean shot of a parked aircraft. Crouch low to make the aircraft look more imposing, isolate details such as nose art, engine intakes, cockpit instruments and weathered panels, and consider arriving early or staying late when the crowds thin and the light is kinder. A wide angle lens earns its place here for dramatic close perspectives that a telephoto cannot give you, so the static park is one of the few times you will want something shorter than your big zoom.
The UK airshow day: tickets, enclosures and etiquette
Everything in this guide so far happens after the first aircraft starts up. The hours around it matter almost as much, because where you stand, when you arrive and how the venue is organised decide which photographs are even possible. This section covers how a UK show day actually works from a photographer’s point of view. The full logistics, from confirming the show is on through tickets, parking, timings and choosing exactly where to stand, are covered step by step in our guide to planning an airshow photography day, so treat what follows as the working summary.
Tickets and enclosures
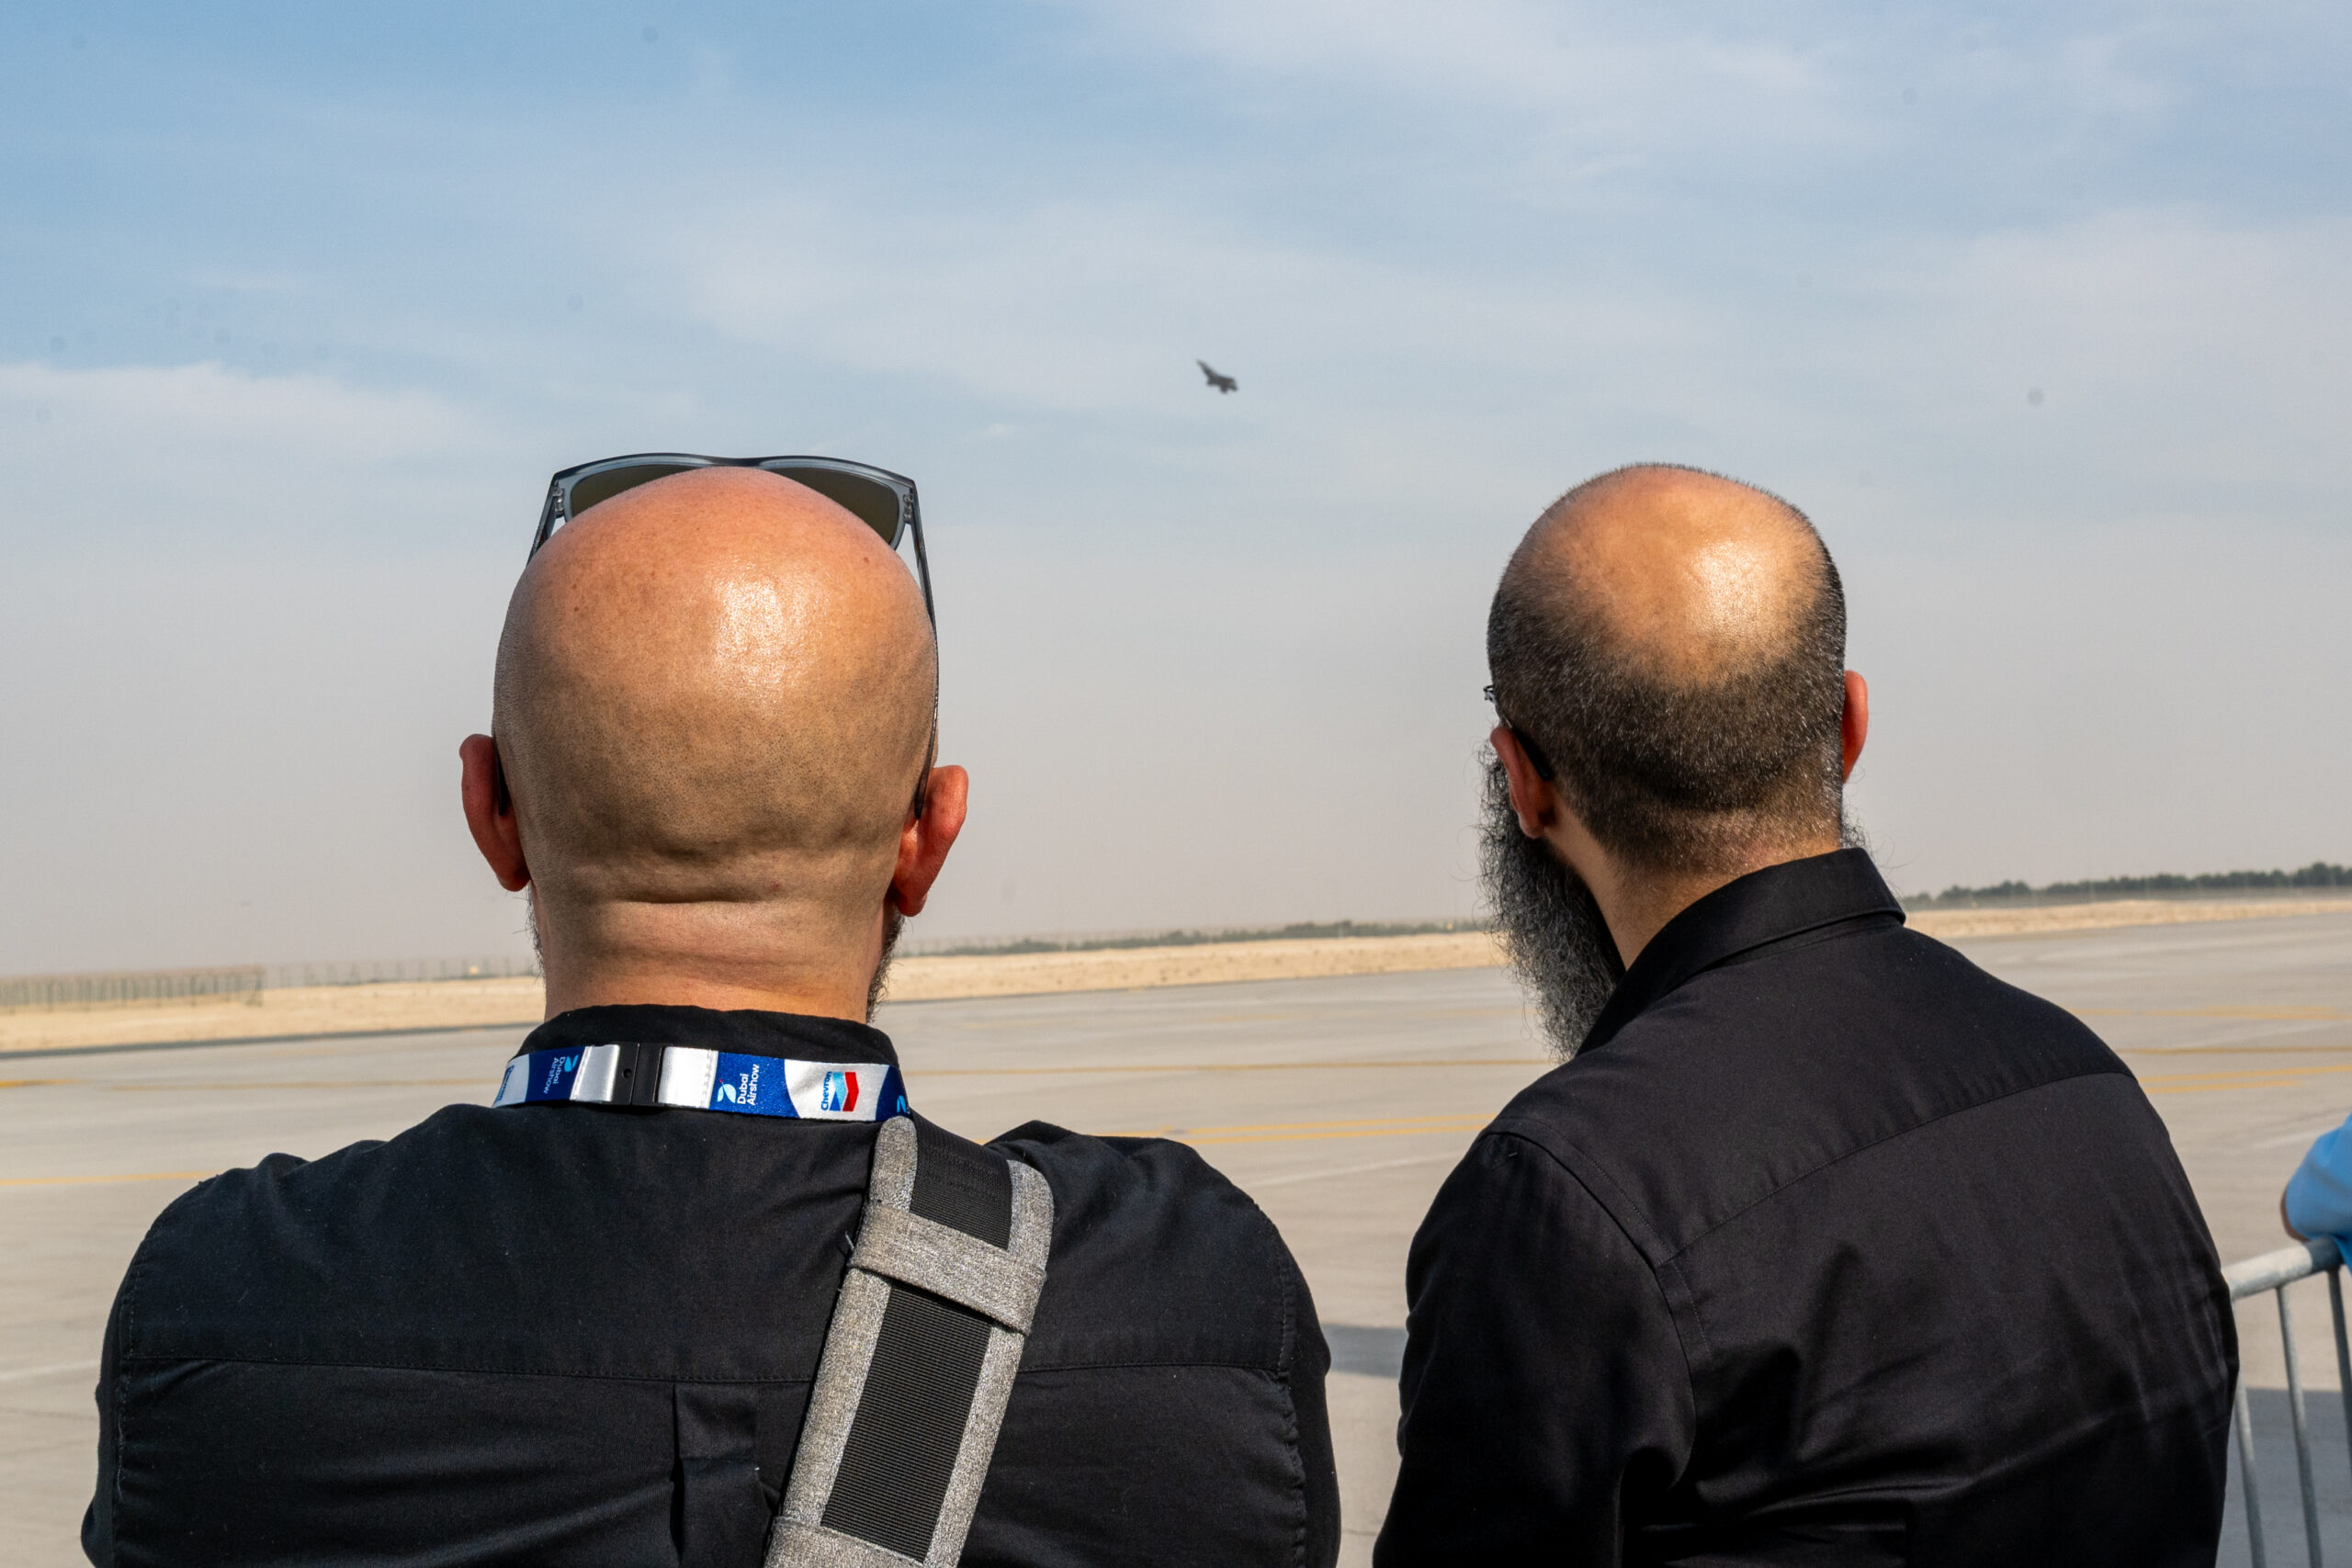
Most major UK shows have moved to advance tickets only. IWM Duxford sells every ticket and vehicle parking permit in advance through its website, with nothing available on the gate, and more events are adopting the same model every season, so never turn up on spec. Larger shows layer paid options on top of general admission. The Royal International Air Tattoo, the biggest example, sells general admission alongside a range of hospitality enclosures on the crowd line, a Friends of RIAT membership scheme aimed at regulars and enthusiasts, and Park and View tickets on ground outside the showground that cover the aircraft arrival and departure periods either side of the show itself.
Enclosures trade money for position, and whether that trade works for you depends on how you shoot. A grandstand or hospitality enclosure gives you a fixed, often raised spot with a clean view over heads, which is superb for formation work and for anyone who wants to settle in for the day. It also fixes your background and your sun angle from the first act to the last. General admission with an early arrival often serves a photographer better, because you can pick your place on the crowd line to suit the light, favour one end of the display axis for topside turns, and move during the day as the sun swings round.
Arrivals and departures days
At the big military shows, most participating aircraft fly in during the days before the public weekend and out again afterwards. These arrival and departure periods are quietly some of the best photography an event offers: aircraft in the circuit at lower speed and lower height, run and breaks, and a fraction of the crowd. Some organisers sell dedicated viewing tickets for them, RIAT’s Park and View being the established example, while at smaller venues the public footpaths and perimeter roads do the job. The same field craft applies, and the light on a quiet arrivals evening is often better than anything the show days deliver.
Updated July 2026: the defining news of the 2026 UK season is that RIAT26, due to run from 17 to 19 July at RAF Fairford, was cancelled by the organisers, who confirmed RIAT27 for 16 to 18 July 2027 with tickets already on sale. There is still plenty of season left to shoot: Shuttleworth’s seven show programme at Old Warden runs to 4 October, with the Flying Proms on 15 August, the Military Air Show on 29 August and the Race Day Air Show on 4 October, while IWM Duxford’s Battle of Britain Air Show on 12 and 13 September celebrates 90 years of the Spitfire before the Flying Finale closes Duxford’s flying season on 3 October. Remember that Duxford tickets and parking are advance purchase only. The current edition of the CAA display rulebook, CAP 403 Edition 23, was published in February 2026 and applies to every civil display you will attend this year.
Etiquette on the crowd line
Airshow crowds are good natured, and a few habits keep them that way. Claim the space you need and no more; a camera bag does not reserve two metres of rope. Watch your lens when you swing through a pan, because at 600mm it is easy to clip a neighbour’s head without noticing. Step ladders and tall chairs hard against the barrier block the view for everyone behind, so many organisers restrict them, and where they are tolerated the polite move is to set up at the back or at the far ends of the line. Leave the drone at home: flying displays operate under airspace restrictions and organisers prohibit them without exception. And listen to the commentary. Programme changes, cancellations and additions are announced there first, and a good commentator will tell you exactly which direction the next act is arriving from.
The display line and the rules that shape your pictures
Every civil flying display in the UK runs to a rulebook, and knowing its basics makes you a better photographer, because it tells you where the aircraft can and cannot go before the first act gets airborne. The rules live in CAP 403, the Civil Aviation Authority’s publication covering flying displays and special events, and three of its ideas shape every photograph you take from the crowd.
The first is the crowd line, the boundary of any area accessible to spectators, including the car parks. The second is the display line, the axis along which the aircraft fly, set parallel to the crowd. The third is the display datum, the point on which each display is centred, normally the centre point of the crowd. Displays are planned so that energy is directed along the line and away from spectators, and pilots must hold minimum lateral separation distances from the crowd line that depend on what they are flying and how fast.
| Aircraft and display type | Minimum separation |
|---|---|
| All aircraft, all displays (baseline) | 230 metres |
| Speed above 300 knots with velocity vector towards the crowd | 450 metres |
| Helicopters in non-aerobatic flight | 150 metres |
| Light, slow aircraft under 1,200 kg at 100 knots or less, non-aerobatic, below 200 feet | 75 metres |
Those numbers explain most of what you experience with a camera at a UK show. A fast jet can never be closer than 230 metres, and when it points anywhere near the crowd at speed it must be 450 metres out, which is why the reach of a 400mm to 600mm lens is not a luxury. Run the numbers and they are encouraging: at the 230 metre line, a 600mm lens on full frame frames a typical fighter almost edge to edge as it crosses the datum. The rules also explain why warbirds, helicopters and light display acts feel so much closer and fill the frame more easily, because slower, lighter aircraft are permitted to use the closer lines.
The structure behind the flying is worth knowing too. Each display is run by a Flying Display Director, the person accountable to the CAA for the safe conduct of the flying, supported at larger events by a Flying Control Committee of experienced display pilots and supervisors. Every display pilot holds a Display Authorisation that sets out what they may fly and to what limits. This framework was strengthened significantly after the Shoreham accident of August 2015, in which eleven people on the ground died; the CAA’s subsequent review of civil air display safety tightened risk assessment, oversight and pilot evaluation requirements across the board.
For the photographer, the practical payoff is anticipation. Because energy towards the crowd is restricted, genuine head-on shots are rare, and the moments when an aircraft shows you its topside come at the ends of the display line, as the pilot turns back towards the datum. Watch the turn-in points at either end of the axis rather than staring at crowd centre, and you will be tracking the aircraft before the best shape of the pass arrives.
On the day: field craft and preparation
Preparation makes the difference between a relaxed, productive day and a scramble. A little planning before you leave home pays off every time.
Check the running order and the forecast in advance. Knowing roughly when the fast jets, the display teams and the propeller acts are scheduled lets you plan your shutter speeds and your position rather than reacting on the fly. Study the sun’s direction relative to the crowd line so you know whether you will be shooting into the light at any point in the day. Charge every battery the night before and clear your memory cards so you start with the maximum buffer of both.
Arrive early to claim a good spot on the crowd line with a clean foreground and an unobstructed view of the display area. Think about your settings before each act rather than during it. When a propeller display is announced, drop your shutter speed and check it before the aircraft is airborne. When the jets are next, raise it back up. Building these transitions into a routine means you are never caught at 1/2000 second as a Spitfire taxis past with a frozen propeller.
Take hearing protection seriously rather than treating it as an afterthought. For context, the UK’s Control of Noise at Work Regulations 2005 require hearing protection to be provided in workplaces once daily exposure reaches 85 dB(A), and a fast jet in reheat running the crowd line is far louder than any level those rules are built around. One display will not deafen you, but noise induced hearing loss is cumulative and permanent, and a season of unprotected show days adds up. A pair of foam earplugs costs very little, lives in any camera bag and still lets you hear the commentary clearly; children should wear proper ear defenders as a matter of course.
Protect your gear and yourself. Airshows are long days, often with no shade. Sun cream, water, ear protection for the loud acts and a way to keep your equipment dry if the weather turns will all keep you shooting comfortably. Keep your lens front element clean, and be ready to swing your camera up quickly, because the best moments rarely wait.
Editing and post processing
Shooting in raw rather than JPEG gives you far more latitude to recover highlights in a bright sky, lift shadows on a shaded airframe and correct white balance after the fact. For a genre with such variable and often harsh light, that flexibility is well worth the larger files.
A sensible editing workflow starts with the basics: set the exposure and white balance, recover any blown highlights in the sky, and lift the shadows on the aircraft so the markings read clearly. Cropping is a legitimate and important tool in aviation work, because even with a long lens the aircraft is often smaller in the frame than you would like, so crop to strengthen the composition and to place the aircraft with room to fly into. Apply sharpening thoughtfully, and use noise reduction to clean up the higher ISO frames from duller parts of the day, where modern raw processing and software based denoising can rescue images that would once have been unusable.
Be honest in your editing. Straighten horizons, clean up sensor dust spots in the sky, and remove distracting elements, but resist the urge to over process. The most respected aviation images look believable. A natural prop blur, accurate colours and a sky that looks like a sky will always age better than a heavily manipulated frame.
Common mistakes and how to fix them
Most disappointing airshow images come down to a small number of repeated errors. Recognising them is half the battle.
Frozen propellers. The most common beginner mistake, caused by shooting prop aircraft at jet shutter speeds. Fix it by dropping to 1/125 to 1/250 second for props and checking your shutter speed before each propeller act.
Soft, blurred aircraft. Usually a panning fault, often from stopping the camera at the moment of the shot. Fix it by following through smoothly and, while you are learning, raising the shutter speed a little to improve your hit rate.
Out of focus frames against clutter. A wide autofocus area grabbing the background instead of the aircraft. Fix it by switching to a smaller zone or single point when the background is busy, and by using continuous autofocus throughout.
Underexposed dark aircraft against bright sky. The camera meters for the bright sky and renders the aircraft as a silhouette. Fix it by adding positive exposure compensation, by metering more carefully, or by shooting raw so you can lift the airframe in editing.
Not enough reach. Aircraft tiny in the frame because the lens is too short. There is no setting that fixes this on the day, so plan around it: get to a good position, crop in post, and prioritise a longer lens for your next upgrade.
Missing the moment. Settings still wrong from the previous act, or simply not being ready. Fix it by building a routine of resetting your settings between acts and by learning display sequences so you can anticipate the peak moments.
Final thoughts
Airshow photography rewards understanding over expense. Once you internalise that shutter speed is chosen for the subject, that jets must be frozen and propellers must blur, that continuous autofocus and a smooth pan do most of the heavy lifting, and that ISO is simply the tool that balances the exposure, the genre stops feeling like luck and starts feeling like a craft you control. Get the fundamentals right, learn to read the light and the display sequences, and put in the repetitions on the crowd line. The keepers will follow, and so will the images you are proud to print.
If you want to see where these techniques lead, the Piemags aviation archive galleries hold the results from the display seasons that shaped this guide, and every image there is available for editorial and commercial use through our licences page.
Now grab your gear, check the running order for your next show, and go and shoot.
A good airshow haul is worth more than a folder on a hard drive. Our guide to licensing aviation photography explains how editorial and commercial use differ, and what buyers expect to receive.
Frequently asked questions
What shutter speed should I use for jets at an airshow?
Use at least 1/1000 second to freeze a fast jet cleanly, and push to 1/1600 or 1/2000 second when the light allows. If you want to convey speed with a touch of background motion, drop to around 1/500 to 1/640 second and pan with the aircraft.
Why do my propeller planes look like they are parked in the air?
Because your shutter speed is too high and has frozen the propeller. The eye expects to see a spinning disc. Drop your shutter speed to roughly 1/125 to 1/250 second so the propeller blurs into an arc, which makes the aircraft look as if it is really flying.
What lens do I need for airshow photography?
A telephoto reaching at least 200mm on full frame, with 400mm to 600mm being far more useful. A telephoto zoom such as a 100-500mm, 180-600mm or 150-600mm is the most practical choice. On a crop sensor body you gain effective reach, so around 300mm is a good target.
Should I use aperture priority, shutter priority or manual?
All three work. Shutter priority is intuitive because shutter speed is the critical control. Aperture priority suits jets in good light. Many professionals use manual shutter speed and aperture with Auto ISO, which gives full creative control while the camera handles exposure as the light shifts.
What ISO should I shoot at?
As low as the light allows while keeping your chosen shutter speed. On bright days that may be ISO 100 to 400. On dull days or in the evening, ISO 800 to 1600 or higher is completely reasonable. Auto ISO with a sensible maximum is a great way to manage changing light.
What is back button focus and should I use it?
Back button focus moves autofocus activation from the shutter button to a separate button on the rear of the camera. It lets you track a moving aircraft continuously and fire the shutter without the focus jumping at the wrong moment. For moving subjects it is one of the most useful habits you can adopt.
How do I pan correctly?
Stand with a stable stance and rotate from the waist, pick up the aircraft early, keep the focus point on the same part of the airframe, squeeze the shutter while still moving, and follow through after the shot. Start at a panning shutter speed around 1/250 second and work slower as your technique improves.
Do I need to shoot in raw?
It is strongly recommended. Raw files give you far more room to recover a bright sky, lift a shaded airframe and correct colour and exposure after the fact, which matters a great deal in the variable light of an airshow.
How early should I arrive at an airshow to get a good position?
Arrive well before the flying starts, because the crowd line fills up and the best spots near display centre with a clean foreground go quickly. Getting there early lets you claim a place at the rope with an unobstructed view and no heads or flags creeping into the bottom of your frames. It also gives you time to work out the sun direction relative to the display line before the aircraft are airborne.
How do I photograph the static aircraft park effectively?
Work slowly and switch to single shot autofocus with a smaller aperture, around f/8 to f/11, to keep the aircraft sharp from nose to tail. Watch for clutter such as barriers, ropes, signage and other visitors, crouch low to make the aircraft look more imposing, and isolate details like nose art, intakes and weathered panels. Arrive early or stay late when the crowds thin and the light is kinder, and bring a wider lens, because the static park is one of the few times you will want something shorter than your big zoom.
How do I plan my position around the sun at an airshow?
Aim to keep the sun behind you or over your shoulder so it falls on the side of the aircraft facing your camera, lighting the airframe evenly and bringing out the markings. Because the display line and crowd position are usually fixed, check in advance which way you will be facing and at what time, since the sun moves through a long afternoon and can end up in your face. Backlighting is worth reaching for deliberately when you want vapour, smoke or afterburner to glow, but it is a choice rather than a default.
How far away are the aircraft at a UK airshow?
UK display rules in CAP 403 set minimum lateral separation between display aircraft and the crowd line: 230 metres as the baseline for all aircraft, 450 metres for aircraft above 300 knots pointing towards the crowd, and reduced lines of 150 metres for non-aerobatic helicopters and 75 metres for very light, slow aircraft. In practice most of a fast jet display happens well beyond the minimum, which is why 400mm to 600mm of reach matters so much.
The transports at a show deserve more than a snap between jet displays: our guide to photographing military transport aircraft and heavies covers the tactical demos, prop shutter speeds and arrival days in detail.
