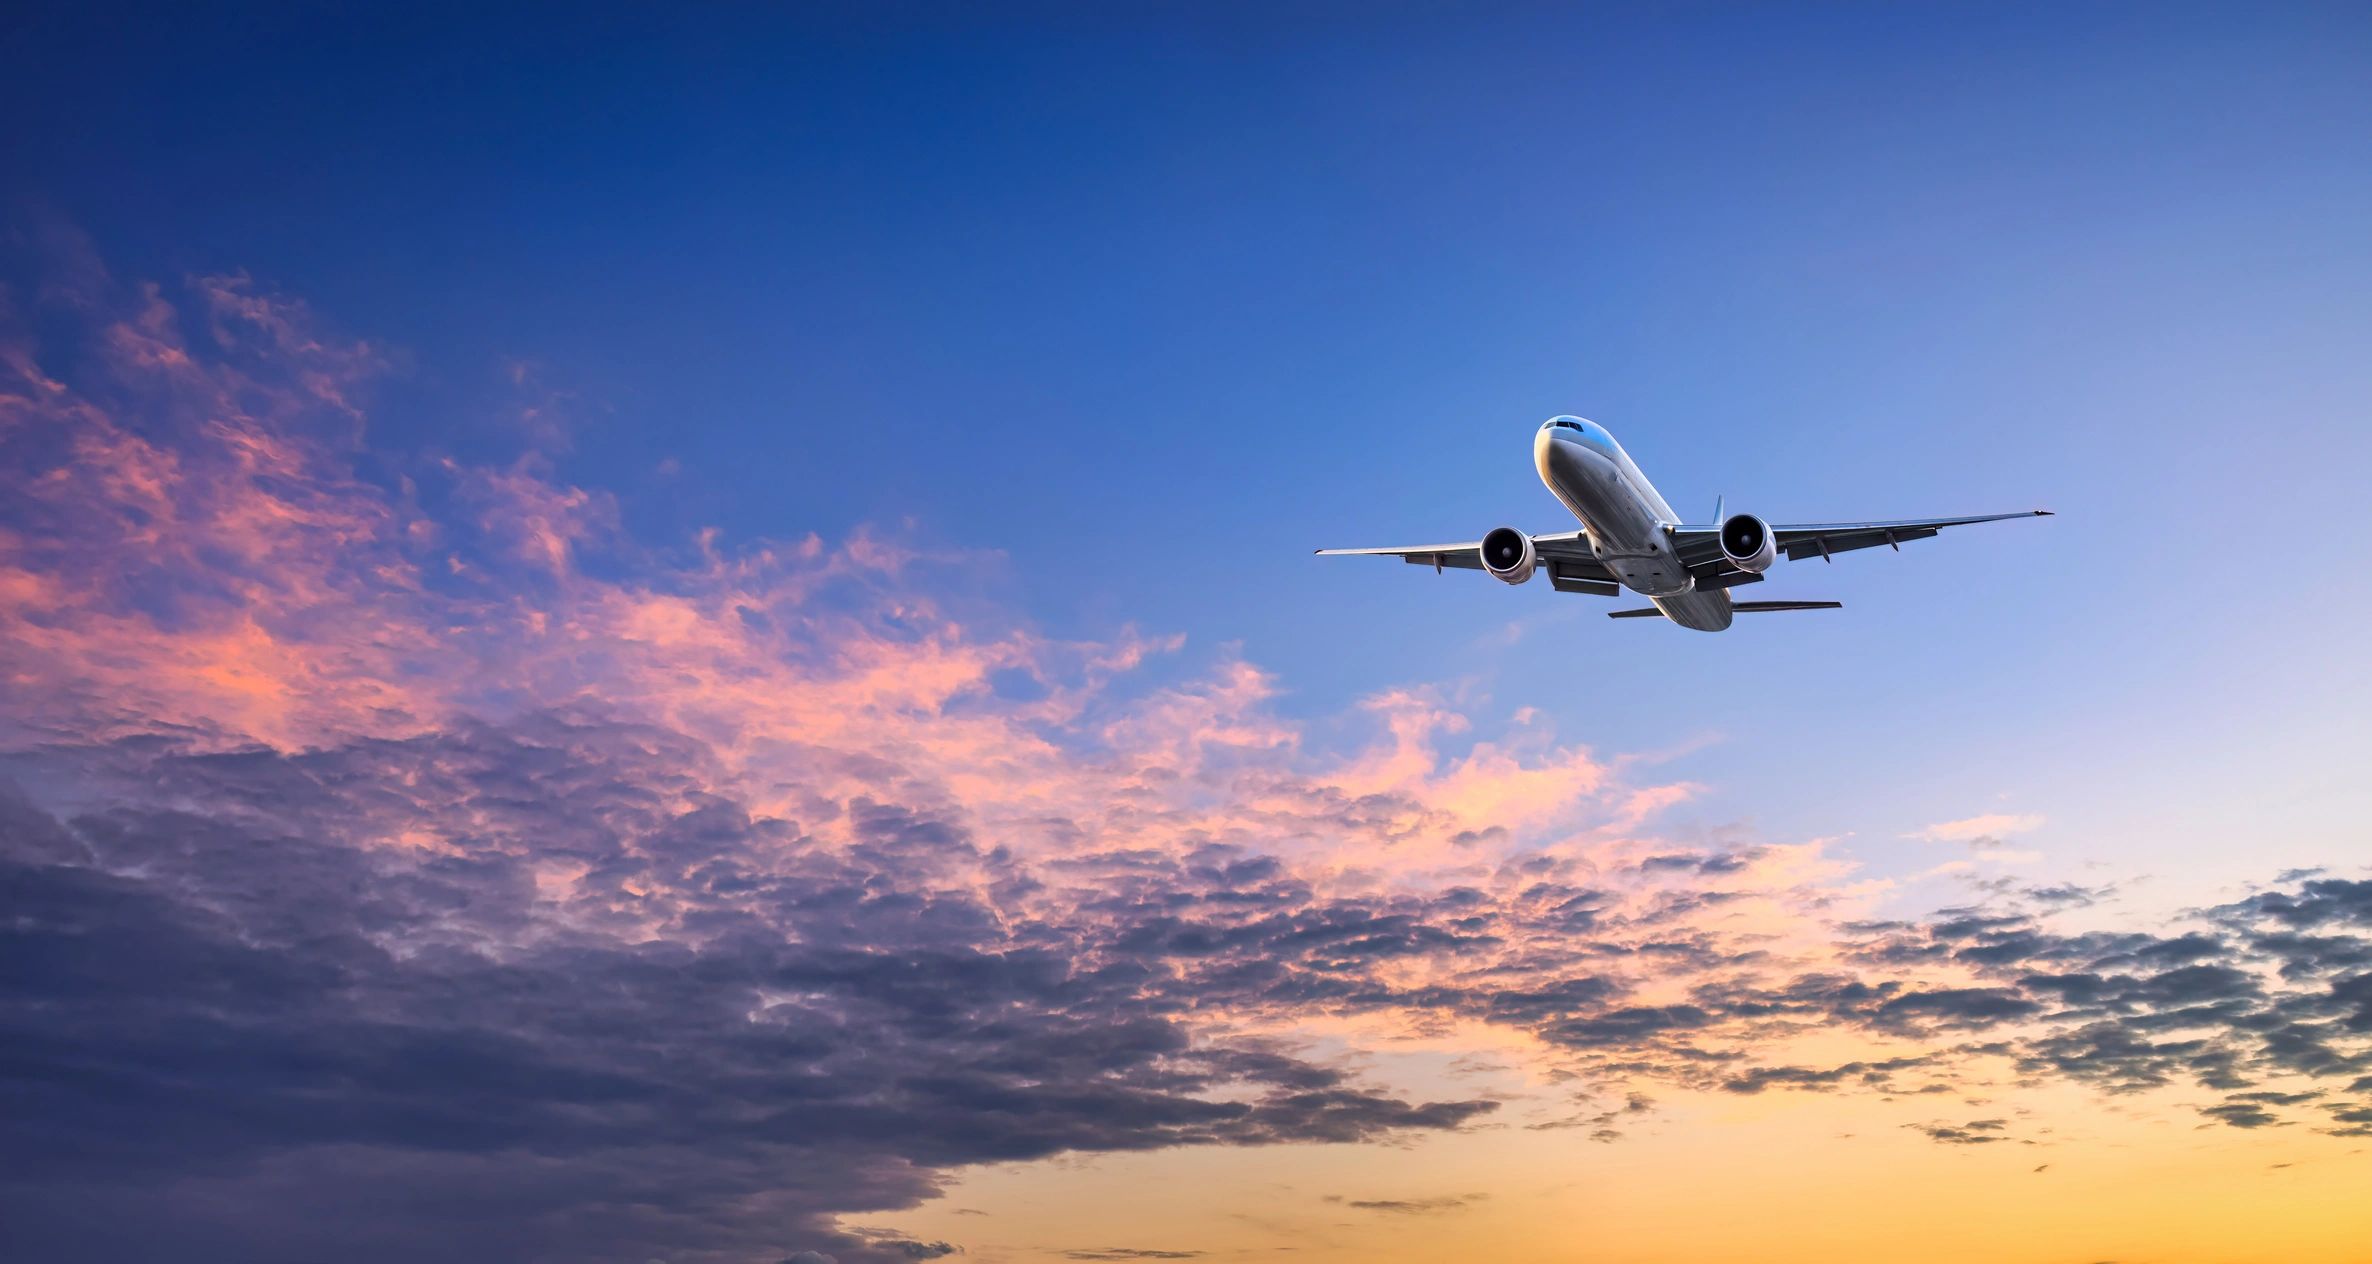
The hour before sunset is the best light an aviation photographer ever gets, and almost nobody stays for it. The big crowds have drifted to the car parks, the display has finished, and the last few aircraft are taxiing back or making a final pass into a sky that has turned gold. That is exactly when the pictures get good. Low sun rakes across a fuselage and finds every rivet and panel line. Polished metal catches fire. A propeller disc glows. Heat haze, the curse of the middle of the day, has gone. This is golden hour at the airfield, and learning to shoot in it will do more for your aviation photography than any new lens.
This guide covers the whole low-light window, from the warm light of golden hour through the deep colour of blue hour and into full dark for night shows and afterburners. It explains what the light is doing, how to plan for it, what to set on the camera, how to compose for it, and how to finish the files afterwards. The techniques work whether you are photographing a static Spitfire on the grass, a fast jet departing into the sunset, or an airliner rotating off the runway at the end of the day.
What this guide covers
- What golden hour and blue hour actually are
- Why low light suits aviation so well
- Planning: sun position, timing and the recce
- Camera settings for golden hour aviation
- Quick settings reference
- Working with the direction of light
- Silhouettes and shooting into the sun
- Props and rotors in low light
- Blue hour, night and afterburners
- Post-processing golden hour files
- Common mistakes
- Five scenarios, step by step
- Frequently asked questions
What golden hour and blue hour actually are
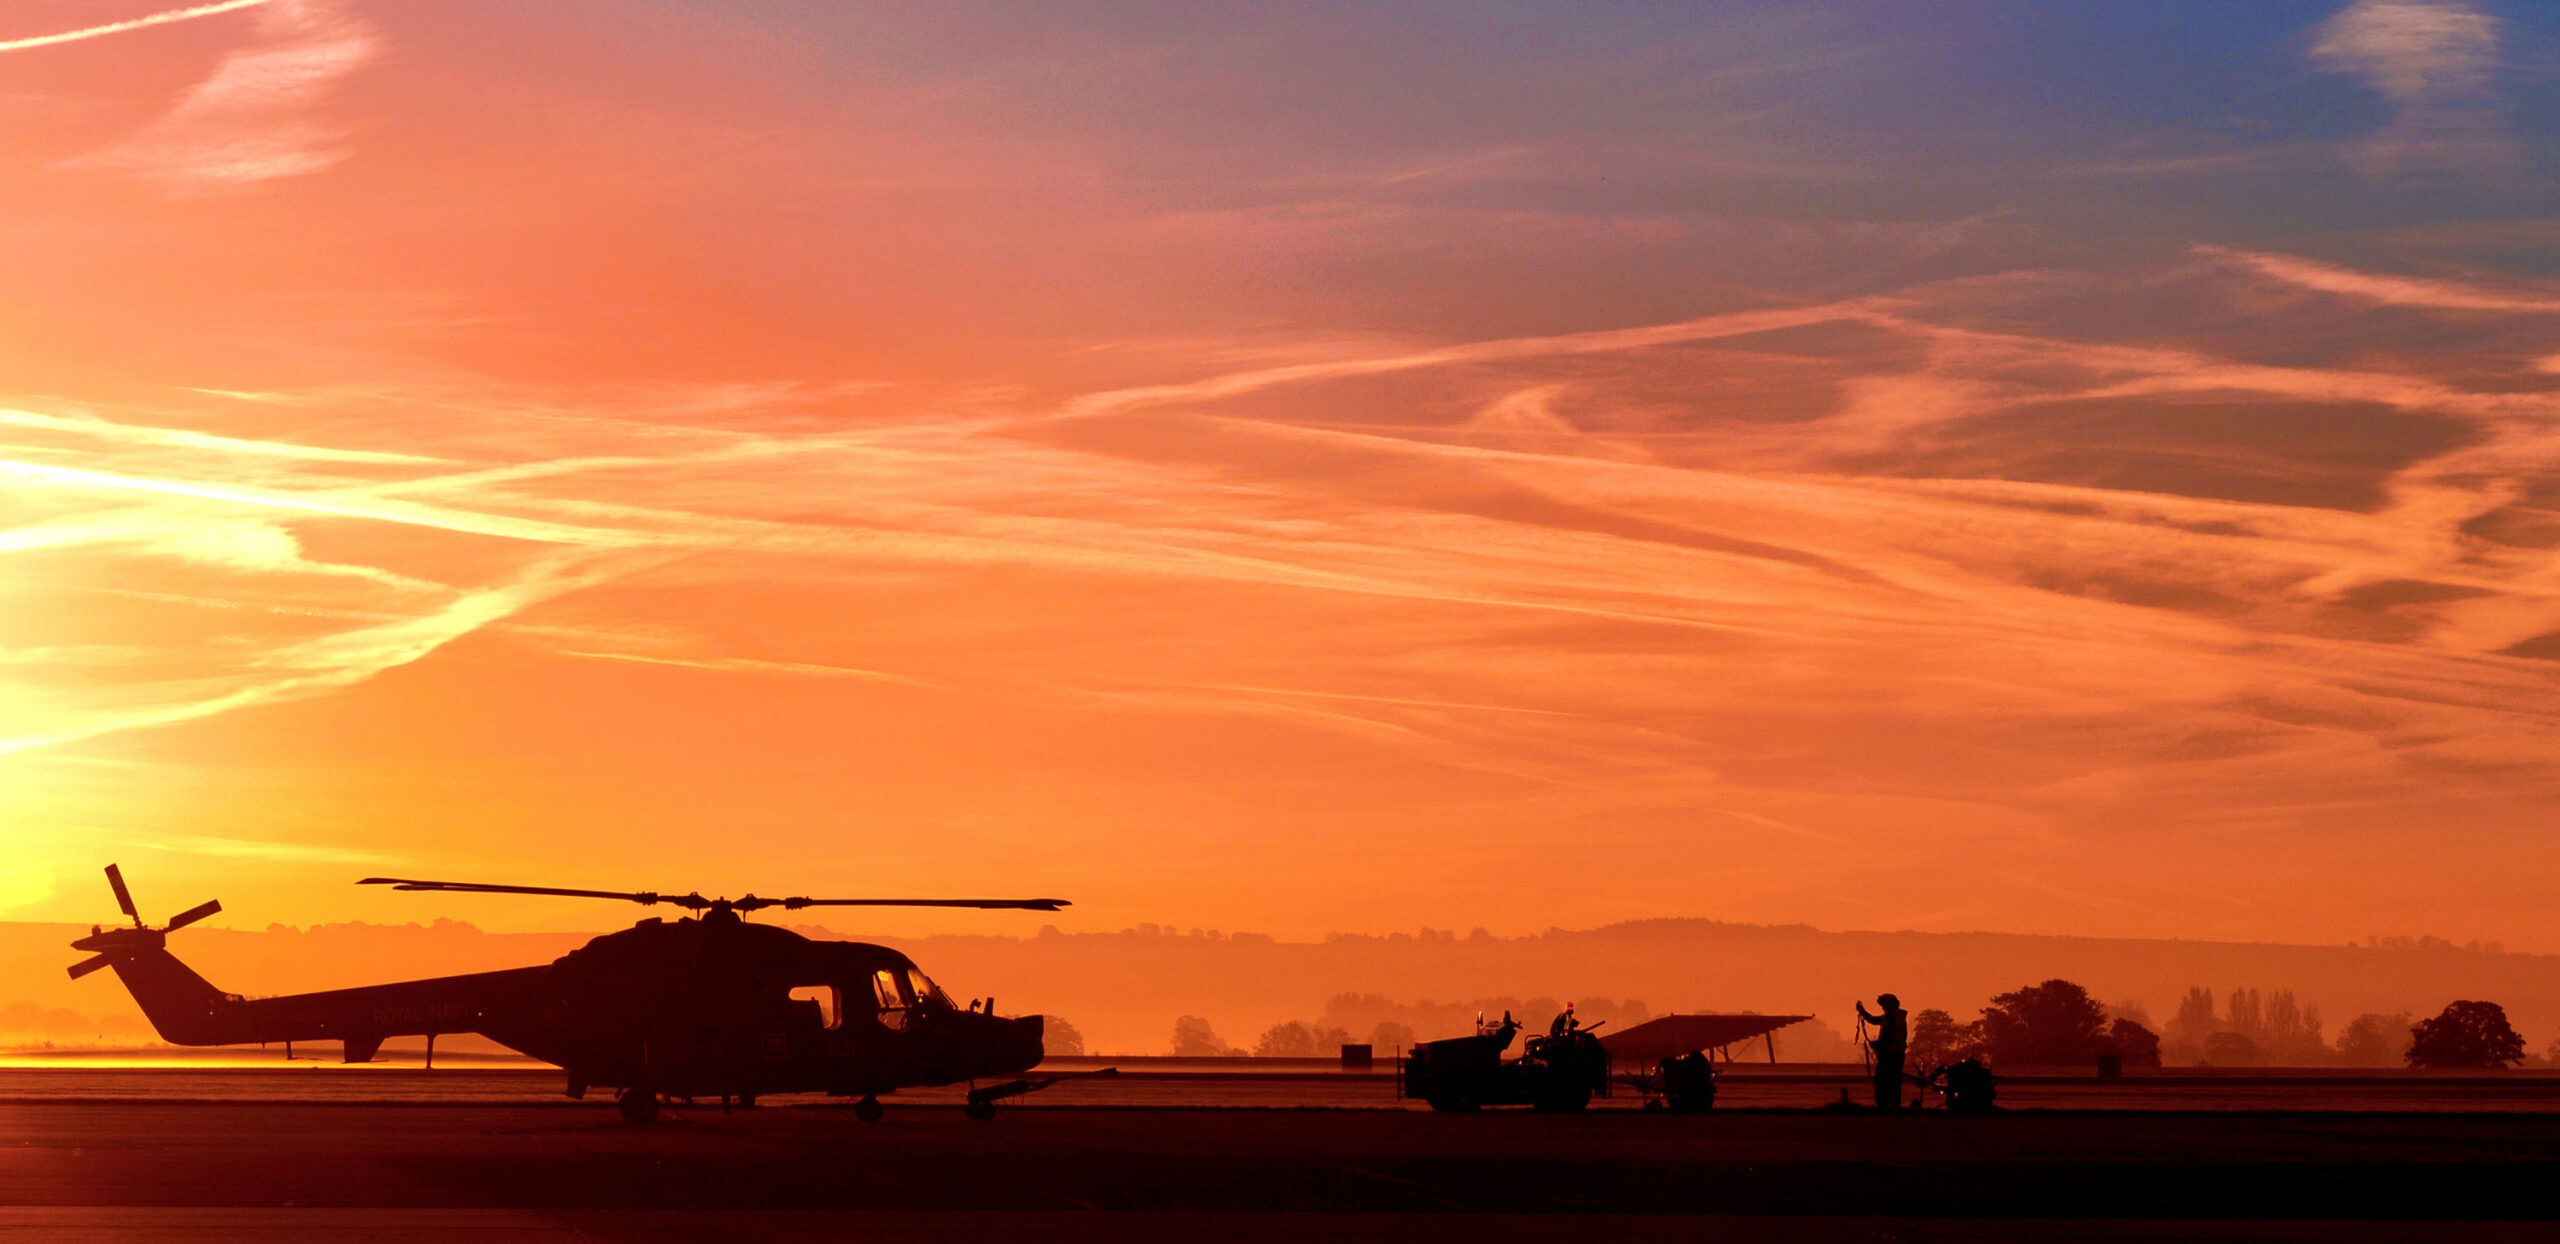
Golden hour is the period shortly after sunrise or before sunset when the sun sits low, roughly between the horizon and about six degrees above it. With the sun that low, its light passes through far more atmosphere than at midday. The atmosphere scatters away the shorter blue wavelengths and lets the longer warm ones through, so the light arrives soft, directional and golden, with long shadows and gentle contrast. The word hour is loose. The effect has no fixed length and depends on the season and how far north or south you are. In a British summer the warm light can stretch well over an hour because the sun sets at a shallow angle. In midwinter, or near the equator, it is far shorter.
Blue hour comes immediately after golden hour in the evening, and immediately before it in the morning. It is the part of civil twilight when the sun is just below the horizon, roughly four to six degrees down. There are no hard shadows because the sun has gone, and the sky takes on a deep, saturated blue while there is still enough light to work with. Civil twilight as a whole, the band from the horizon to six degrees below it, usually lasts around forty minutes or more in the UK, stretching longer still in high summer. For a photographer that gives a continuous run of changing light: warm and raking, then warm and soft, then cool and blue, then dark. Each phase wants a slightly different approach, and the trick is to keep shooting through all of it rather than packing up when the sun touches the horizon.
Two practical points follow from this. First, the good light is short and it only goes one way, so you cannot dither. Second, the exposure is changing every couple of minutes, faster as it gets darker, so you have to keep watching it. Both of those shape everything below.
Why low light suits aviation so well
Aircraft are made of curved metal, glass and painted panels, and low side light is the best way to show all three. At midday the sun is overhead, the light is flat and hard, shadows fall straight down, and a gloss-white airliner or a polished warbird turns into a featureless slab with blown highlights. Drop the sun to a few degrees above the horizon and everything changes. The light now skims along the surface rather than dropping onto it, so it picks out shape and detail: the line of a leading edge, the curve of a canopy, the rivet pattern on a wing, the bulge of an engine cowling. Form reads properly because there is a lit side and a shaded side.
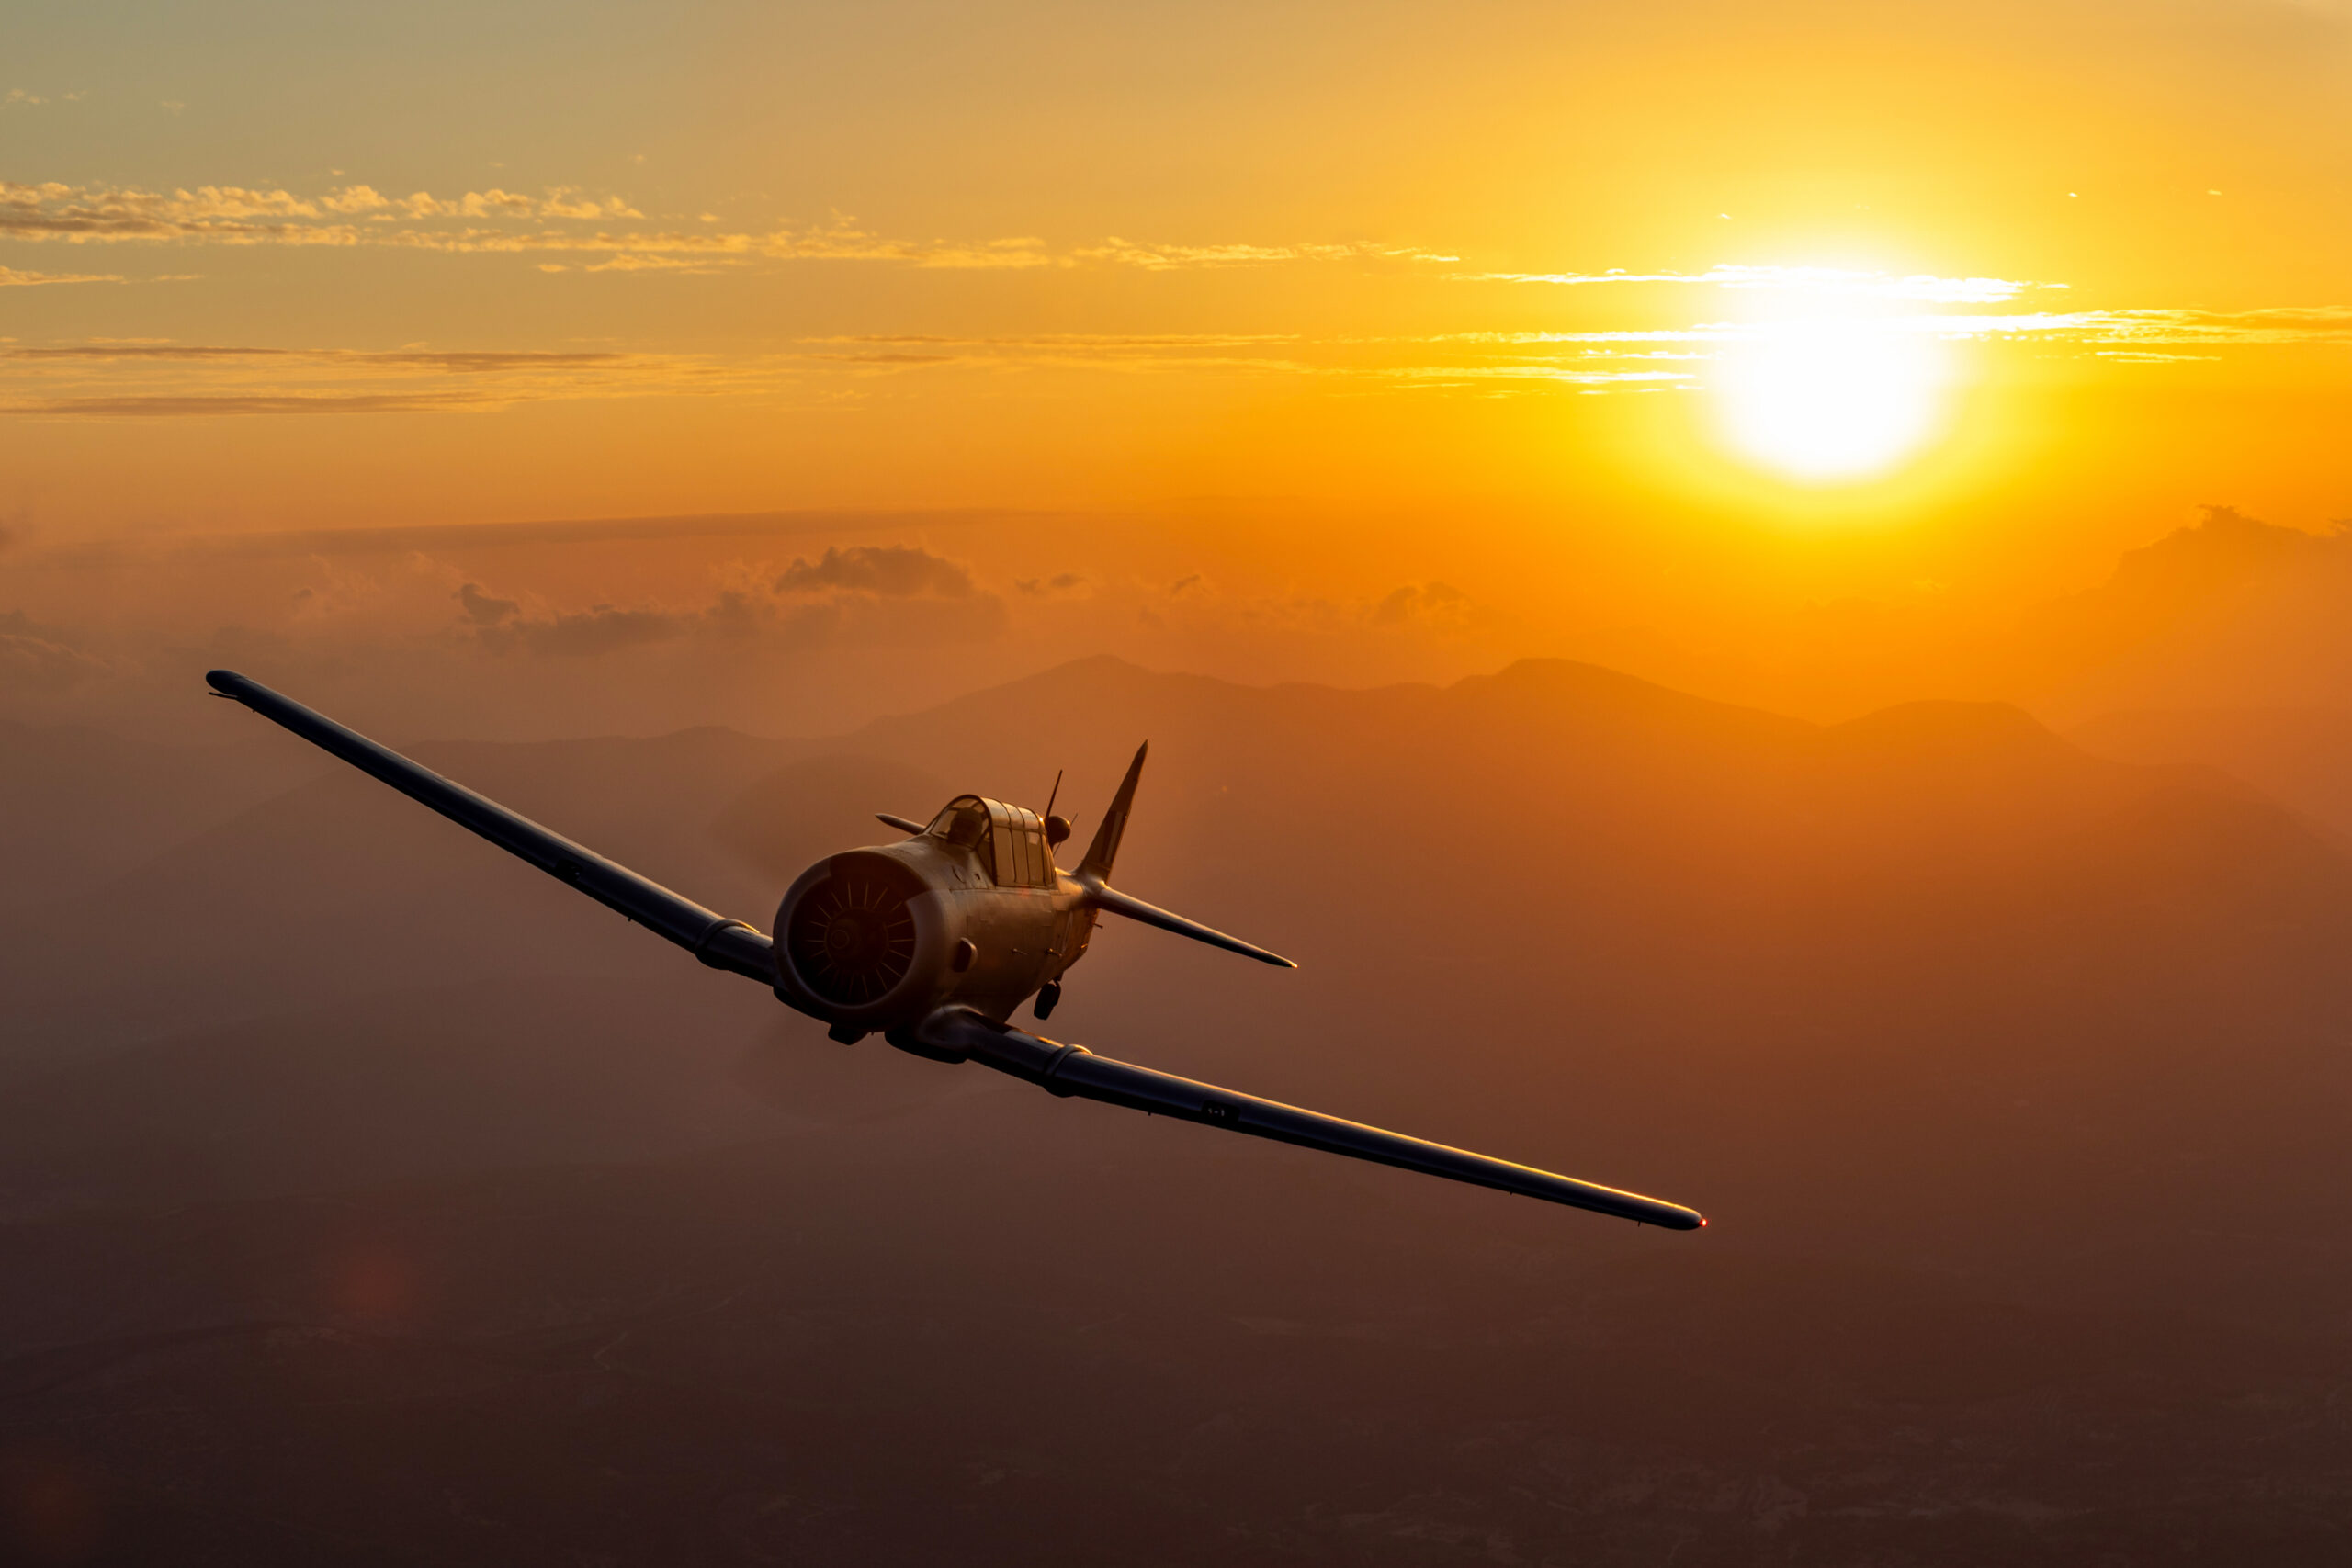
Colour improves too. The warm cast flatters bare metal and natural-metal warbirds especially, and it lifts muted greys and greens. A camouflaged jet that looks dull at noon takes on depth and richness near sunset. Polished aluminium, the hardest finish to photograph well, stops being a mirror of harsh white sky and instead reflects warm graded tones that follow the curve of the fuselage.
There is a technical bonus that matters a great deal in aviation: heat haze disappears. On a warm day, the shimmering air over tarmac and grass softens anything shot with a long lens, and at the focal lengths aviation demands, that haze can wreck an otherwise sharp frame. As the ground cools in the evening the haze settles, and detail that was mush at two in the afternoon snaps into clarity by seven. For anyone shooting departures down a runway or static aircraft across a wide apron with a big telephoto, the last hour of the day is often the only time the air is clean enough to get a critically sharp shot.
Finally, the sky itself becomes part of the picture. Midday haze gives a washed pale-blue or white backdrop with no interest. Golden hour and blue hour deliver graded colour, texture in the cloud, and at the right moment a band of orange under blue that turns a simple banking pass into something worth printing. The aircraft is still the subject, but now it has a stage.
The cost of all this is light, or rather the lack of it. You are trying to freeze a fast-moving subject in a fraction of the light you had an hour earlier. Everything in the settings section is about managing that trade-off without ruining sharpness. If you want the broader grounding in exposure for moving aircraft, our guide to the best camera settings for airshows sets out the baseline that this article then bends for low light.
Planning: sun position, timing and the recce
Golden hour rewards planning more than any other kind of aviation photography because you cannot ask the sun to wait. If you turn up and start working out where it will set, you have already lost half the light.
Know where the sun will be
Use a sun-position app or a planning tool before you go. PhotoPills, The Photographer’s Ephemeris and the various sun-tracker apps all show you the exact bearing of sunrise and sunset for any location and date, and they let you see how the light will fall across a particular runway or static line. The single most useful thing to establish is the sun’s compass bearing at the moment you want to shoot, because that tells you where to stand. As a rule you want the sun behind you or off to one side, so it lights the aircraft towards you. Shooting with the sun behind the aircraft gives a silhouette, which is a deliberate effect rather than a default.
Work out the geometry of the airfield
Aircraft do not move freely. They take off and land on fixed runways, taxi along fixed routes, and park on a static line that faces a fixed way. Combine the runway heading with the sunset bearing and you can predict, before you arrive, whether departures will be lit nicely or thrown into shadow, and which end of the static line will get the warm light first. At a show, the display line is usually set so the crowd has the sun behind them in the afternoon, which is good news, but by golden hour the geometry may have shifted enough that the best position is no longer the centre of the crowd line.
Time your arrival and your stamina
Plan to be in position with the right lens on at least thirty minutes before sunset, and resolve to stay until it is properly dark. The light is best in the last twenty minutes before the sun touches the horizon and for a surprising while after it has gone. Most people leave too early. The photographer who stays for blue hour, when the sky goes deep blue and the apron lights come on, often gets the best frame of the day with nobody else around.
Recce the foreground and the background
Low sun creates long shadows and strong backlight, so walk the spot in advance and look for clutter: fence posts, barriers, marshals, vehicles, signage. A clean background matters more in golden hour because the light draws the eye to everything, including the distractions. Where you can, find a position that puts a clean band of sky or distant treeline behind the aircraft rather than a crowd or a row of catering units.
Camera settings for golden hour aviation
The whole challenge of low-light aviation is this: you still need a fast enough shutter to freeze or control a moving aircraft, but you have far less light to do it with. Something has to give, and the skill is choosing what gives and by how much. Work in manual exposure or shutter priority with auto ISO so you keep direct control of the two settings that matter most, shutter speed and aperture, and let ISO float to cope with the fading light.
Aperture
Open up. In bright midday light you might stop a telephoto down to f8 for a margin of sharpness. In golden hour you usually cannot afford to. Most aviation long lenses are at their sharpest a stop or so from wide open, so f5.6 on an f4 lens, or f6.3 to f7.1 on a slower zoom, is a sensible working aperture that buys you light while staying crisp. As the light drops into blue hour you may end up wide open, at f4 or f5.6 or whatever your lens offers, and that is fine. Depth of field is rarely a problem with a distant aircraft and a long lens, because everything at that distance falls within focus anyway. Open the aperture before you reach for a higher ISO.
Shutter speed: the same rules, less margin
Golden hour does not change the physics of freezing an aircraft. A fast jet still needs a high shutter speed, somewhere from 1/1000 to 1/2000 of a second, to come out sharp on a banking pass. A propeller aircraft still needs a slower speed to keep the blades blurred into a disc rather than frozen into an unnatural stopped airscrew, which means roughly 1/125 to 1/250 for a piston warbird and slower still for an airliner turboprop or a helicopter. Those targets do not move just because the light has. What changes is your headroom. At noon you can set 1/1600 without thinking. At sunset, setting 1/1600 may push ISO higher than you want, so you choose the lowest shutter speed that still does the job and no lower. For a jet that might mean accepting 1/1000 instead of 1/2000. For a prop it actually helps you, because the slow shutter speed you want for blade blur also lets in more light. Golden hour and prop blur are natural partners. We cover the prop-speed trade-off in detail in the prop blur shutter speed guide, and the same numbers apply here, just with less light to play with.
ISO and the low-light trade-off
ISO is the release valve. Once the aperture is open and the shutter speed is as low as the subject allows, ISO takes up the slack as the light fades. Modern cameras handle high ISO far better than older ones, and a clean aircraft against a graded sky hides noise well, so do not be afraid of it. It is better to have a sharp, slightly noisy frame at ISO 3200 or 6400 than a clean blurred one at ISO 800. Auto ISO with a sensible ceiling is the easiest way to manage this: set the shutter and aperture you need, set a maximum ISO you are comfortable with, and let the camera ride the light down. Keep an eye on the ISO it is choosing so you know when you are reaching the limit of what the light and your camera can give, because that is the point at which you start losing shutter speed or accept more noise.
White balance: protect the gold
This is the one setting people get wrong in golden hour. Auto white balance is designed to neutralise colour casts, which is the opposite of what you want here. Left on auto, the camera sees all that lovely warm light and tries to cancel it, giving you a flat, grey rendering that throws away the whole reason you stayed out. Either set a fixed daylight white balance, around 5500 Kelvin, so the warmth is recorded as you saw it, or shoot raw and fix it later. Shooting raw is the better answer because it lets you set white balance precisely in editing with no quality loss, and golden-hour colour is worth getting exactly right. If you must judge by the back of the camera, set daylight rather than auto so the preview reflects the real warmth.
Metering and exposure compensation
Bright sky and a darker aircraft is a classic metering trap, and low sun makes it worse. Evaluative or matrix metering will often try to balance a bright sky and underexpose the aircraft into a near-silhouette, or, if the aircraft fills the frame, overexpose and blow the sky. The reliable fix is to meter for the part of the image you care about and use exposure compensation, or to work in manual and set the exposure off the aircraft directly. When the aircraft is lit and you want detail in it, expose for the aircraft and let the sky go where it goes. When you want a silhouette, do the opposite and expose for the bright sky so the aircraft falls into shadow. Decide which picture you are taking before you press the shutter. Watch the highlight warning and the histogram: a graded golden sky is easy to clip, and once the brightest part of the sky is pure white it cannot be recovered. Our fast jets guide goes deeper on exposing moving aircraft against a bright sky, which is the same problem you face here with less light.
Autofocus in low light
Autofocus systems work by detecting contrast, and as the light falls there is less contrast to detect, so focus slows and hunts more. A few habits keep the hit rate up. Use the lens’s focus limiter if it has one, so the lens does not rack through its whole range looking for a distant aircraft. Keep continuous autofocus on for anything moving. Put the focus point on the highest-contrast part of the aircraft, usually the engine intake, cockpit or a hard edge against the sky, rather than on a smooth painted panel. If the camera has subject or aircraft detection, it earns its keep in poor light, but be ready to fall back to a single point when the system loses the subject against a busy sky. For static aircraft at dusk, switch to single-shot AF and take your time, or focus manually with focus magnification, because there is no hurry and precision matters. The full method is in our airshow autofocus guide, and everything there still applies in low light, only with a little more patience.
Quick settings reference
These are sensible starting points for the low-light window, not fixed rules. Adjust to your light, your lens and your camera’s high-ISO ability. The shutter speeds are driven by the subject; the ISO is whatever the light forces once aperture and shutter are set.
| Subject and light | Shutter speed | Aperture | ISO approach | Notes |
|---|---|---|---|---|
| Fast jet, golden hour pass | 1/1000 to 1/1600 | f5.6 to f7.1 | Auto, ceiling 6400 | Drop to 1/1000 if ISO climbs too high; keep tracking smooth |
| Piston warbird, golden hour | 1/125 to 1/250 | f6.3 to f8 | Auto, ceiling 3200 | Slow speed gives prop blur and gathers light; pan carefully |
| Turboprop or airliner, dusk | 1/200 to 1/320 | f5.6 to f7.1 | Auto, ceiling 6400 | Enough blur on the disc, sharp fuselage; watch for shake |
| Helicopter, low light | 1/100 to 1/160 | f5.6 to f8 | Auto, ceiling 3200 | Slow enough for rotor blur; needs good panning technique |
| Static aircraft, golden hour | 1/250 plus | f7.1 to f11 | Low, 100 to 800 | On a tripod you can stop down and drop ISO right back |
| Static aircraft, blue hour | Seconds, on tripod | f8 to f11 | 100 to 400 | Long exposure; use a tripod and remote or self-timer |
| Silhouette into the sun | 1/2000 plus | f8 to f11 | 100 to 400 | Expose for the bright sky; the aircraft goes black by design |
| Afterburner or night pass | 1/640 to 1/1250 | f4 to f5.6 | Auto, ceiling 12800 | Meter for the flame, accept noise, freeze the shape |
The pattern to take away: open the aperture first, set the lowest shutter speed the subject allows, then let ISO carry the rest. For static work on a tripod the logic flips, because you can use long shutter speeds and pull ISO right down for clean files.
Working with the direction of light
Golden hour gives you one dominant light source very low to the ground, which means the direction you stand relative to the sun changes the picture completely. There are three useful relationships.
Front lighting: the safe, classic look
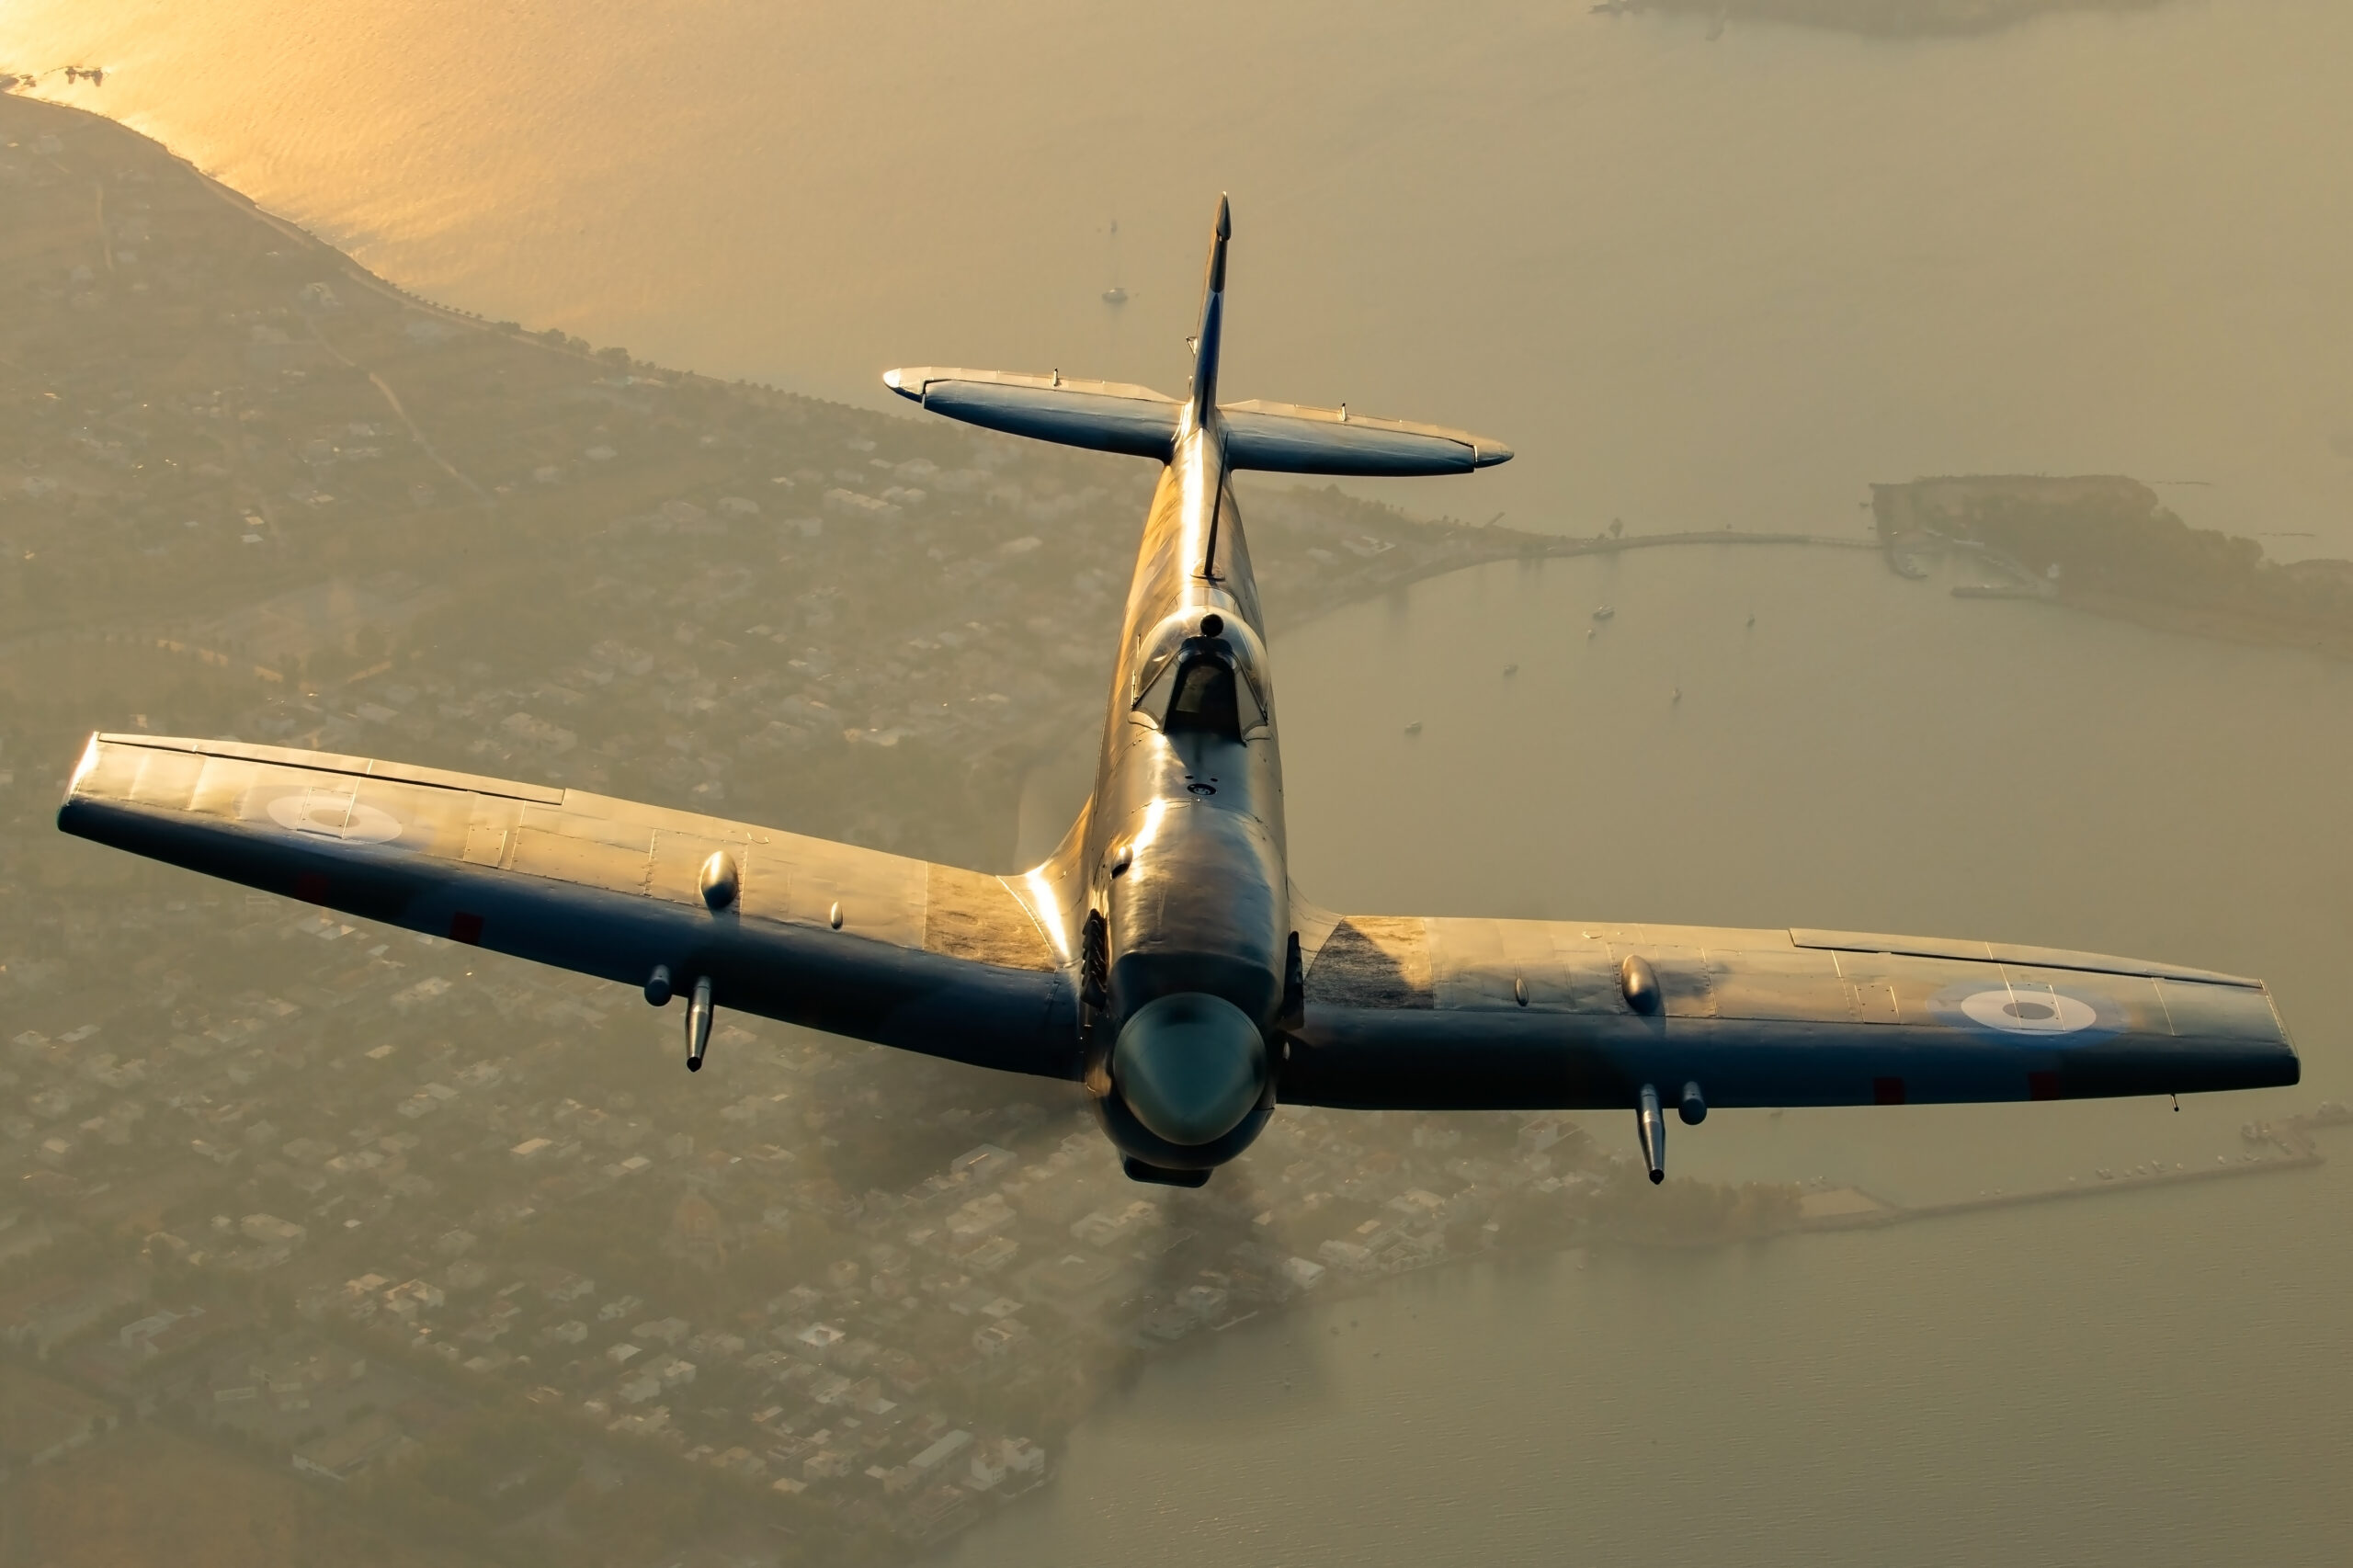
With the sun behind you and falling on the front or side of the aircraft towards the camera, you get even warm illumination across the airframe, rich colour and clean detail. This is the dependable golden-hour aviation shot, and for static aircraft and most flying passes it is what you aim for. Position yourself so the sun is over your shoulder and the aircraft is lit on the side that faces you. The only thing to watch is your own shadow creeping into the frame on static subjects when the sun is very low and right behind you.
Side lighting: shape and drama
Let the sun come from the side, roughly ninety degrees to your shooting direction, and the aircraft gets a clearly lit side and a shaded side. This is the most three-dimensional light of all. It models the form, throws texture across panel lines and rivets, and gives a warbird or an airliner real depth. Side light is superb for showing the sculptural quality of an aircraft, and it is worth moving position specifically to get it. The shaded side will go quite dark, so meter for the lit side and accept the shadow, or lift it a little in editing.
Back lighting: rim light and atmosphere
With the sun in front of you, behind the aircraft, you move towards silhouette, but just before full silhouette there is a beautiful zone where the sun rims the top edges of the aircraft with a bright golden line and lights up any exhaust smoke, spray or contrail. Backlight is how you get a glowing propeller disc, a halo around a canopy, or shafts of light through the smoke of a display. It is high-contrast and easy to get wrong, but when it works it is the most atmospheric light there is. Expose carefully, protect the highlights, and accept that the body of the aircraft will be dark.
Silhouettes and shooting into the sun
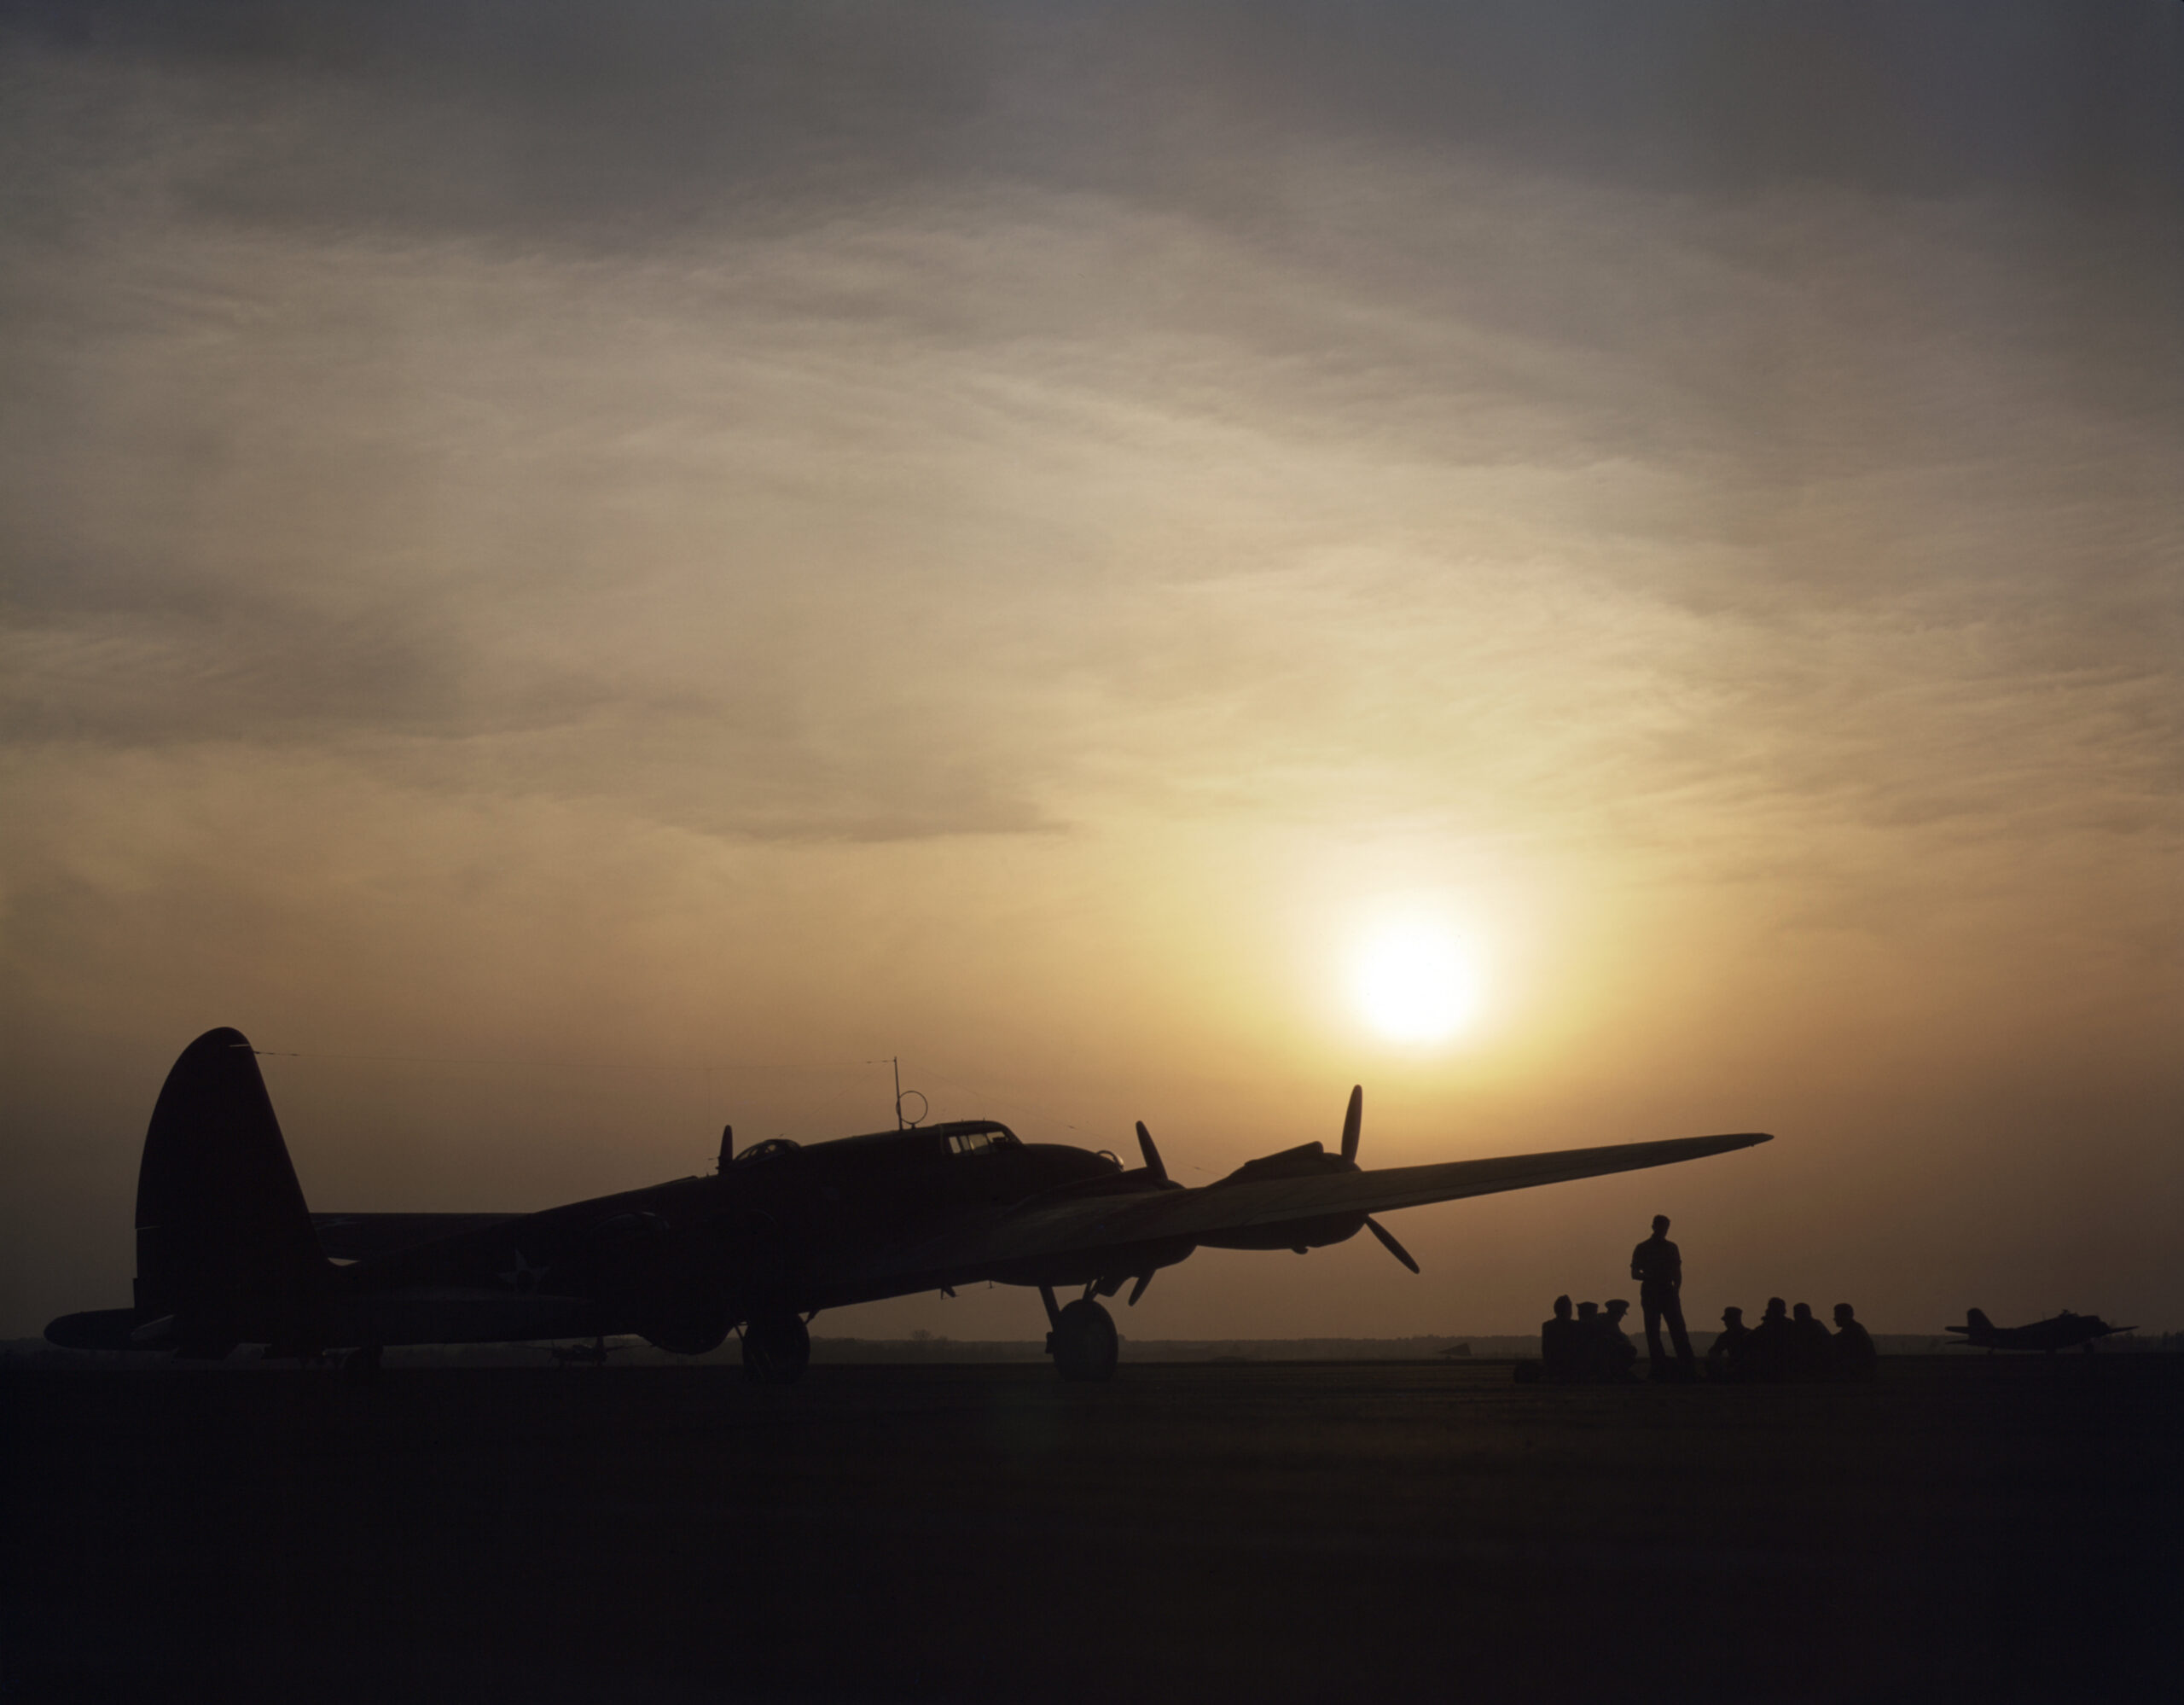
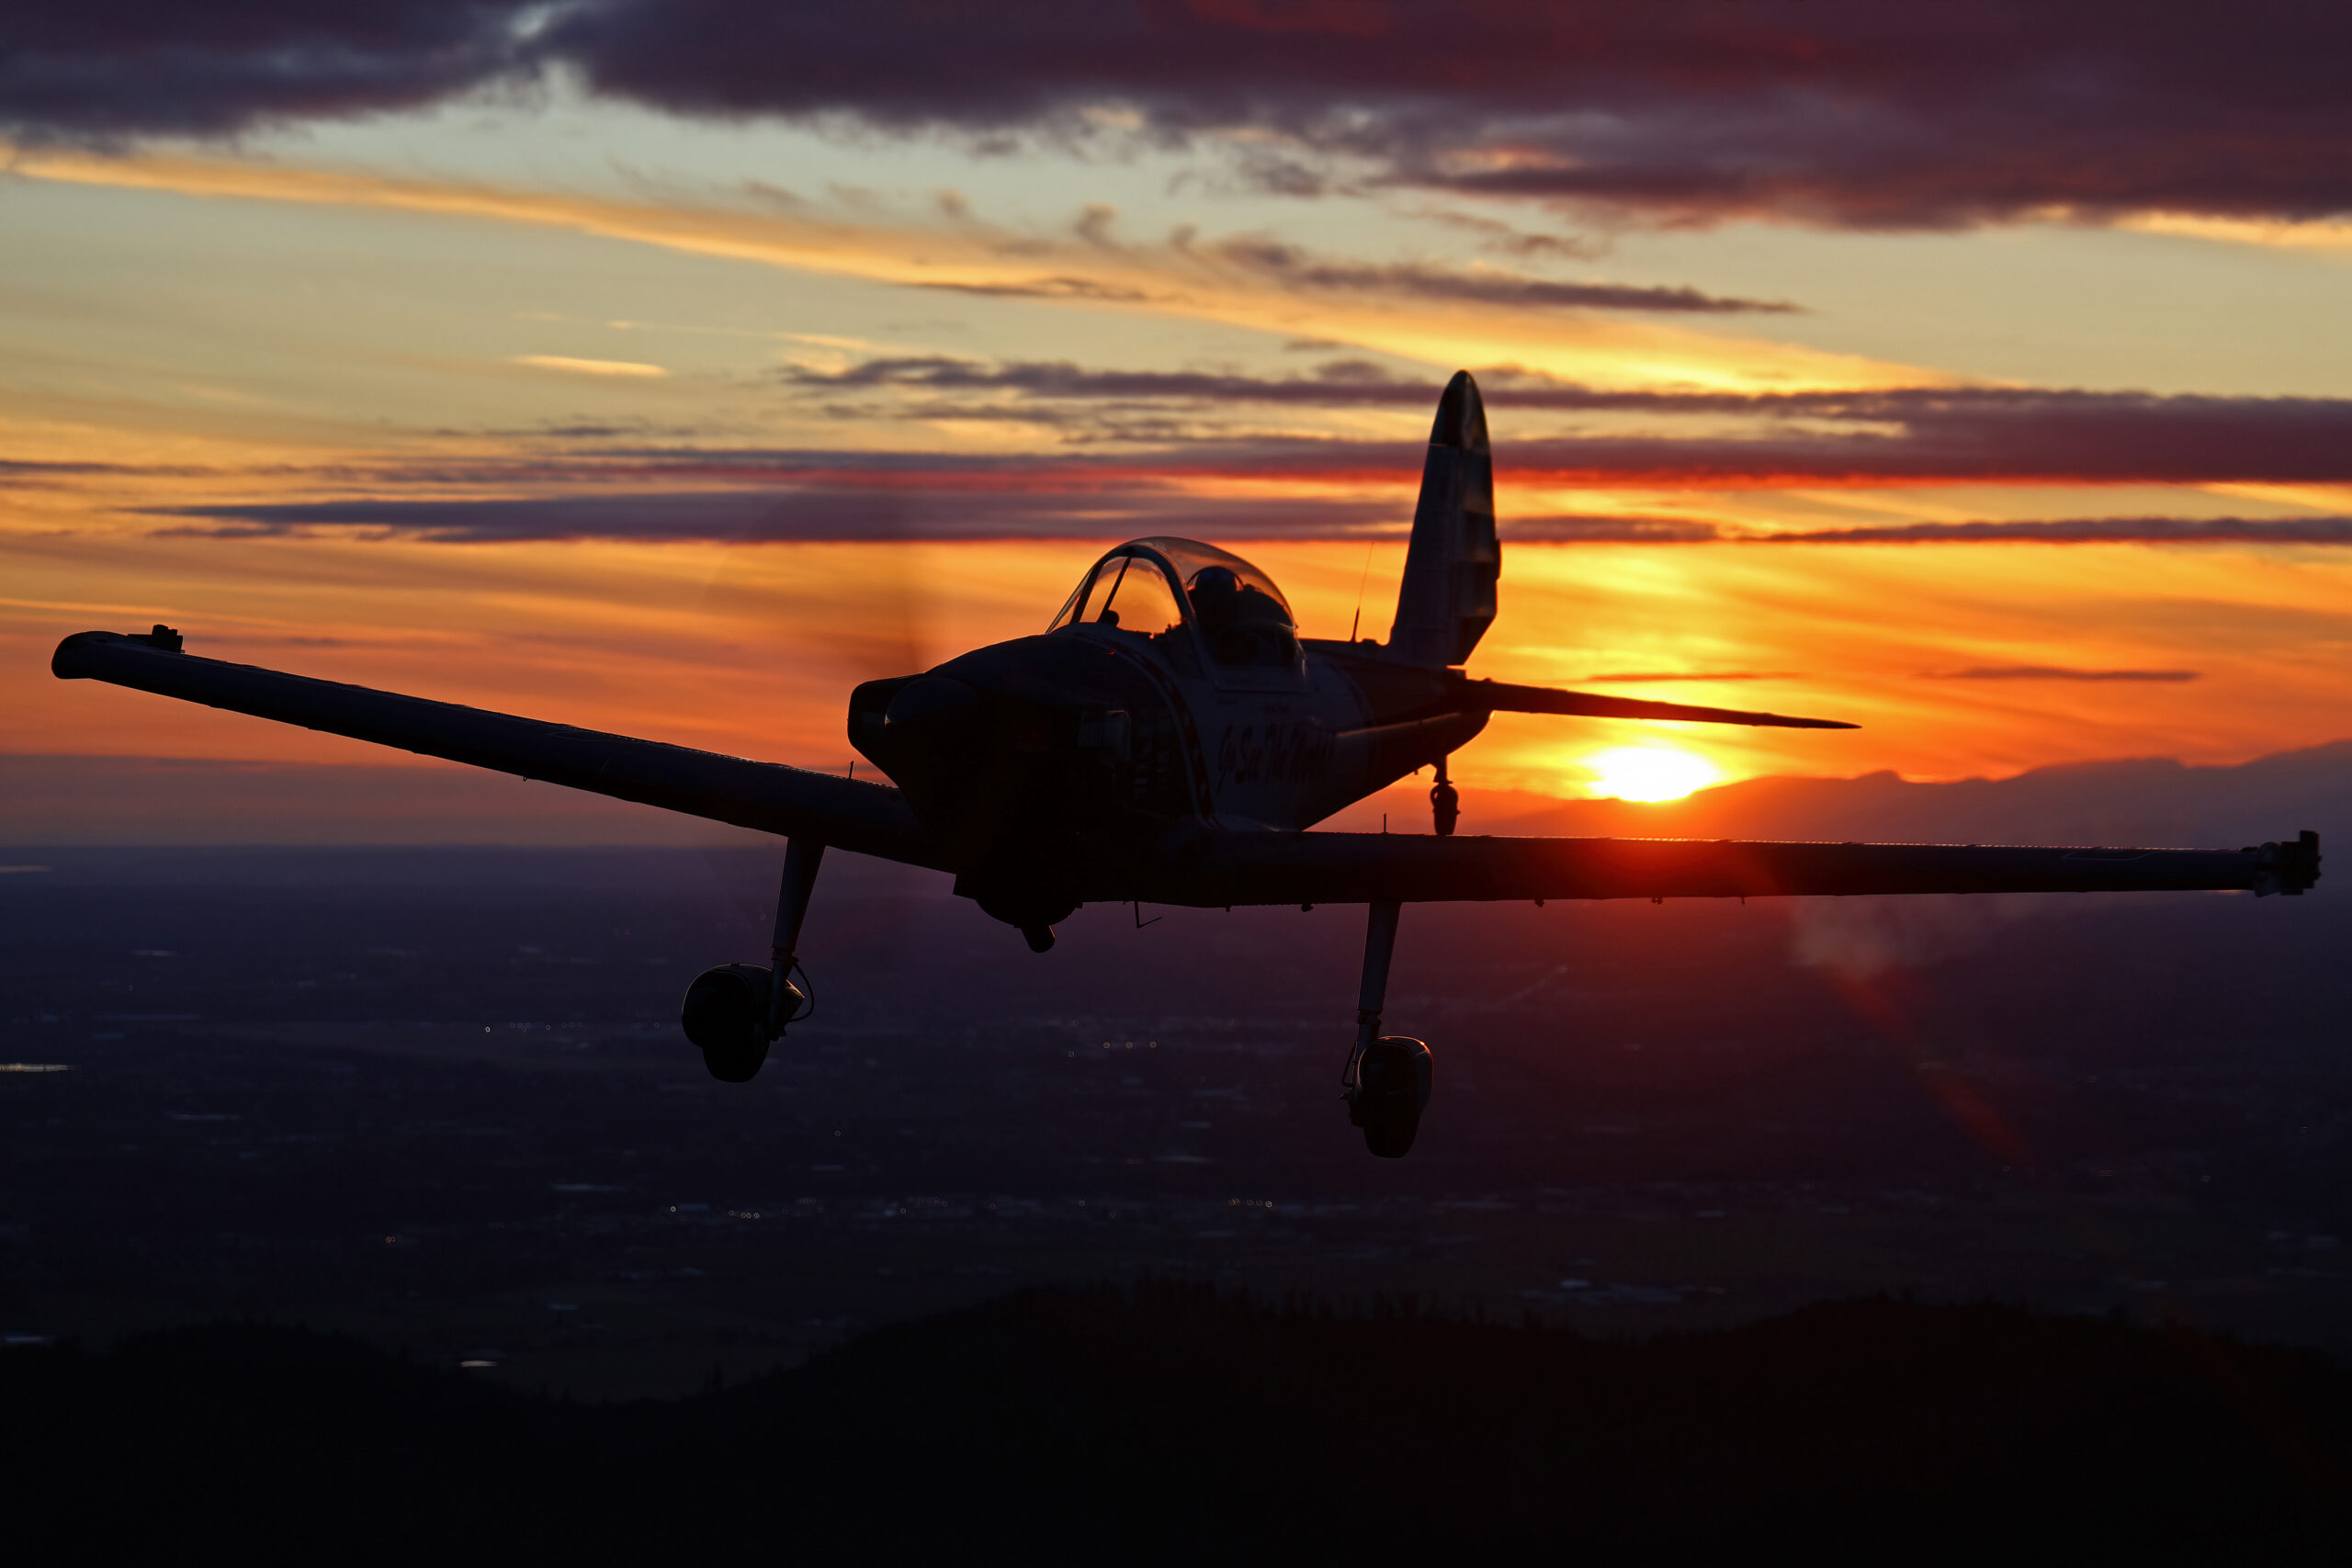
A clean silhouette is one of the strongest images aviation offers, and golden hour is the time to make it. The recipe is simple to state and takes practice to nail. Put the aircraft between you and the low sun or the brightest part of the sky, and expose for that bright background so the aircraft falls to black. The shape has to do all the work, so it must be instantly readable: a profile or near-profile view, wings and tail clearly separated, undercarriage and stores making a recognisable outline. A silhouette shot head-on is just a dark blob, so wait for the side-on moment.
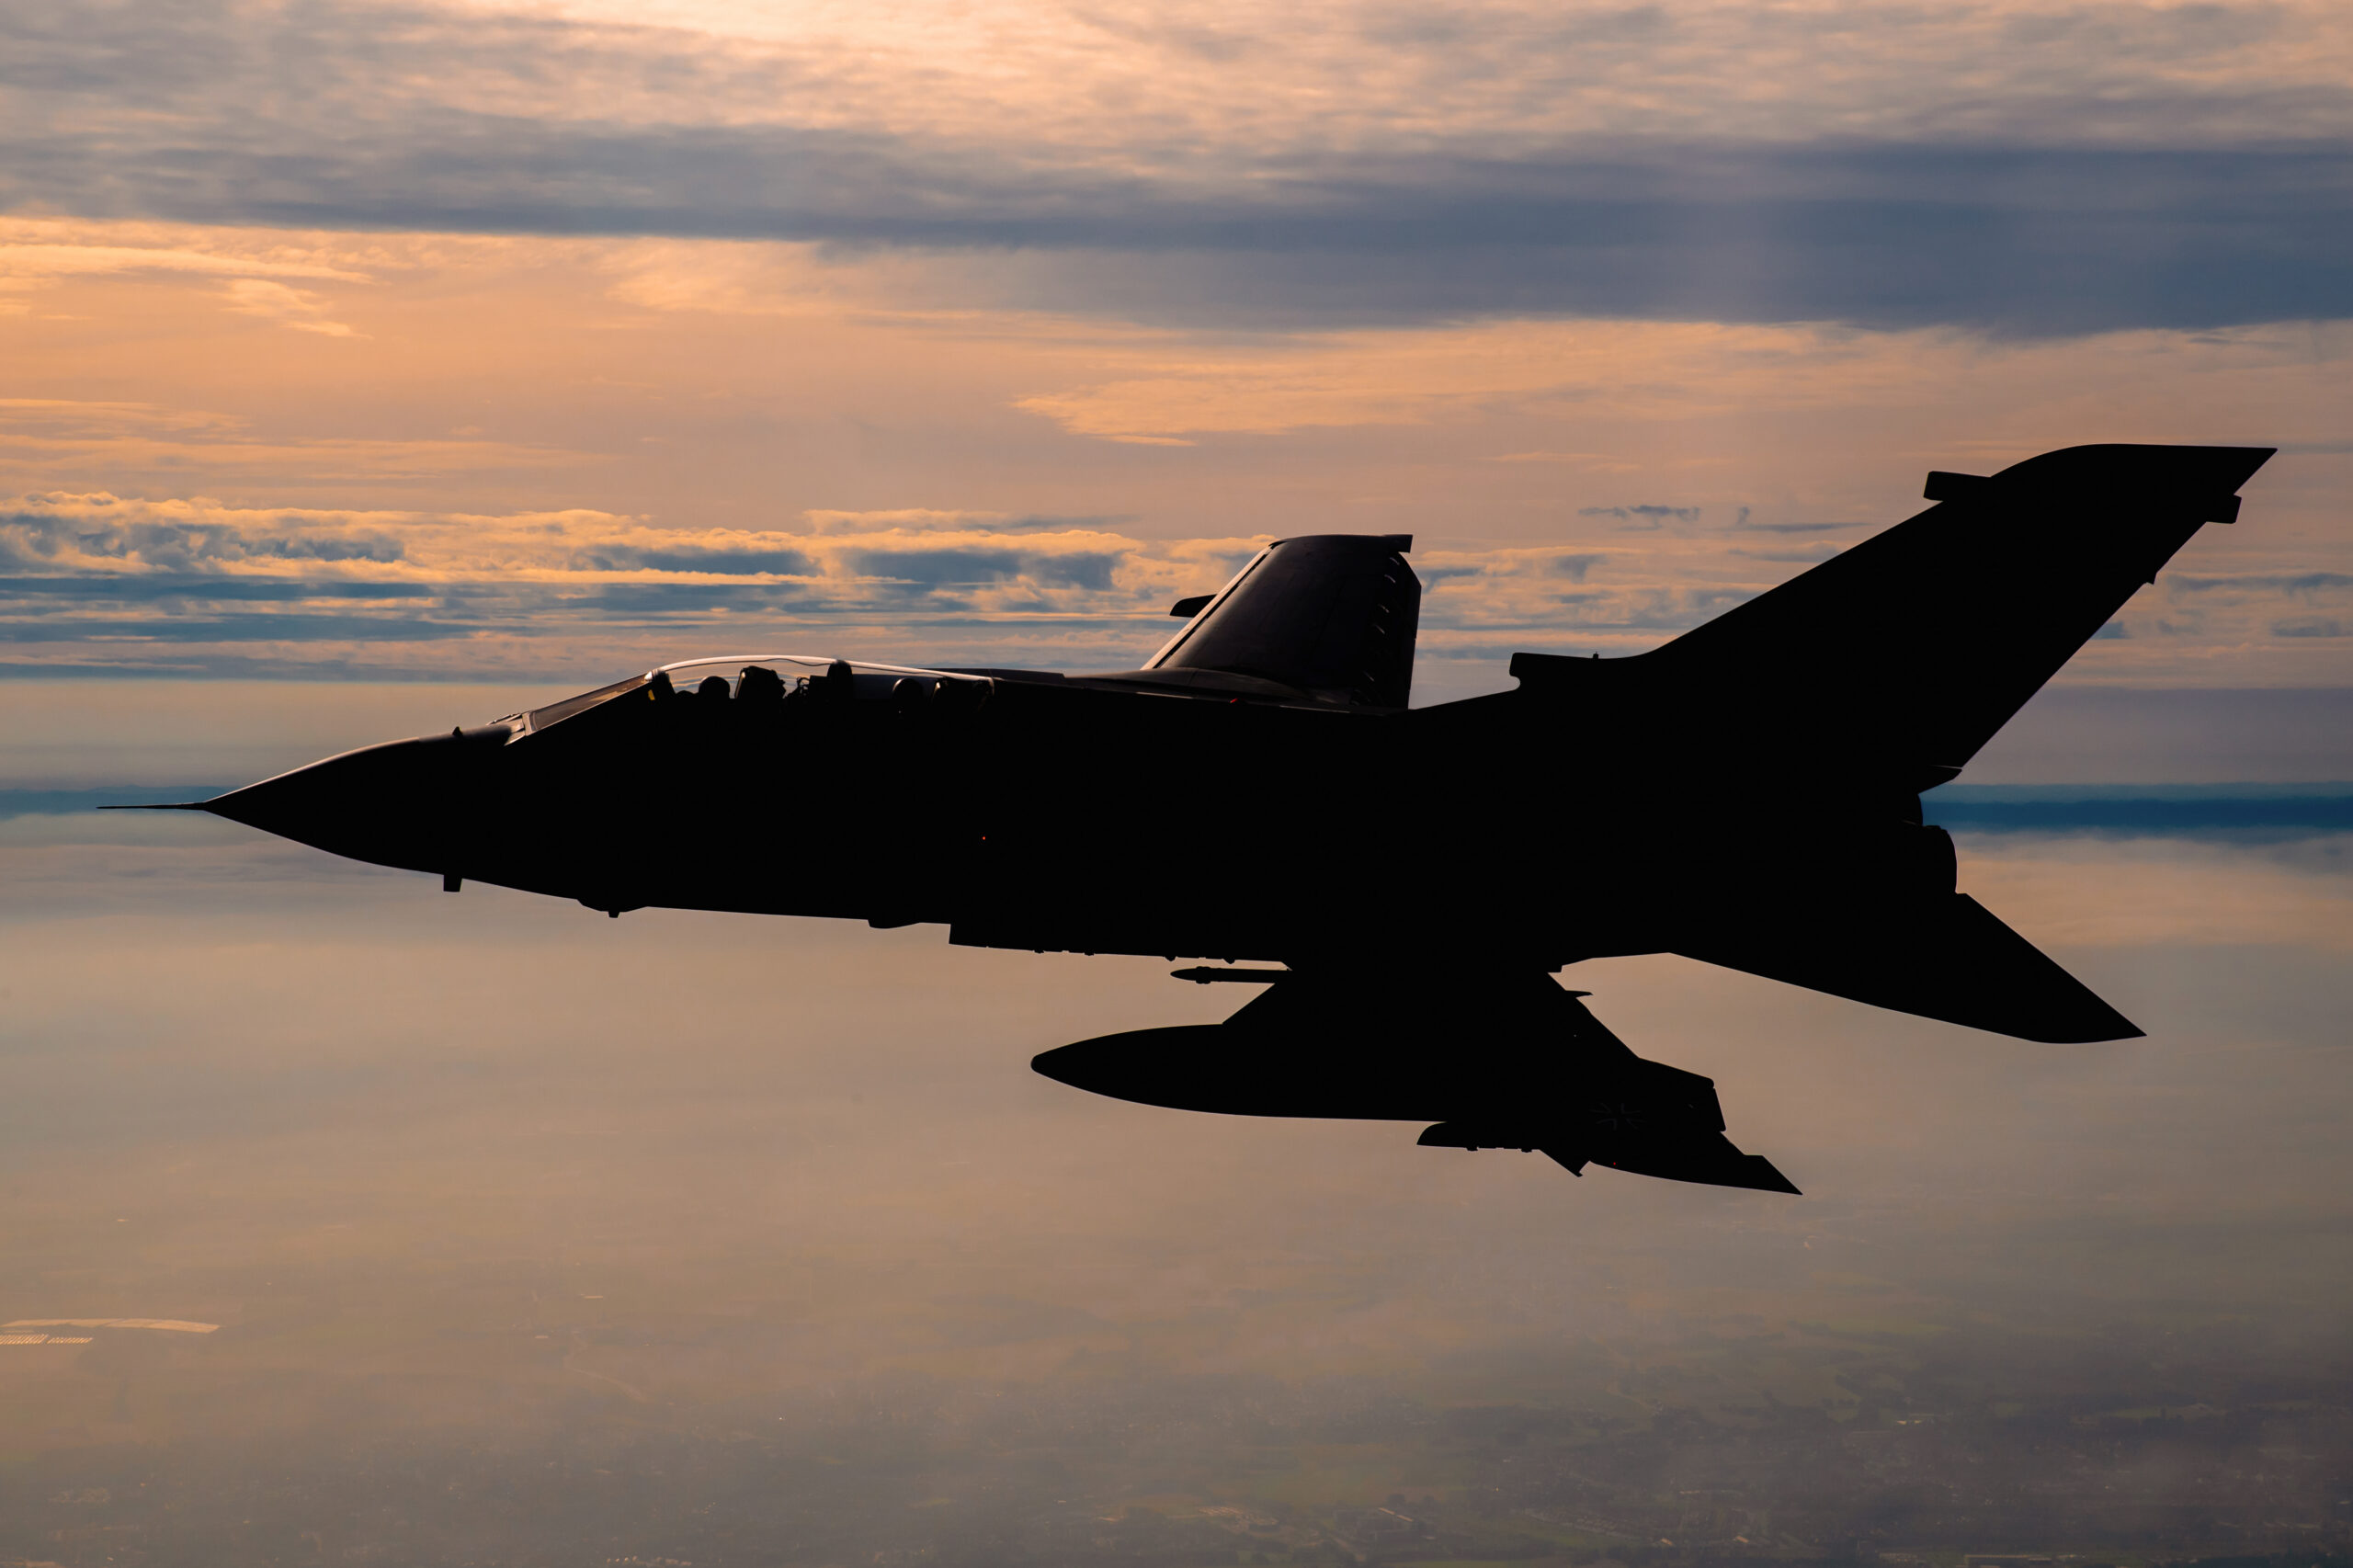
Set a low ISO and a small enough aperture to keep the sun’s disc from blooming too much, meter off the sky away from the sun itself, and dial in negative exposure compensation if you are in an automatic mode so the camera does not try to rescue the shadows. Watch the highlights around the sun, because a fully clipped white sun with no graduation looks harsh. Often the best silhouettes come a few minutes after the sun has dipped behind cloud or below the horizon, when the sky is a glowing orange wash without a searing point of light in it. A formation or a single warbird banking across that glow, rendered as a crisp black outline, is a print-worthy frame and one most people never stay late enough to take.
Two warnings. Never look at the sun through an optical viewfinder with a long lens, because the magnified sun can damage your eye. Use the rear screen or electronic viewfinder for composing into the sun. And be aware of lens flare: a low sun near the edge of the frame throws flare and veiling haze, so use a lens hood, keep the front element clean, and sometimes use a hand or a wing to shade the lens.
Props and rotors in low light
Propeller and rotor aircraft create a specific conflict in golden hour, and it is worth spelling out because it catches people. To make a piston engine or a helicopter look natural, you need motion in the blades, which means a slow shutter speed, often 1/125 to 1/250 for a warbird and slower for a helicopter rotor. A slow shutter speed in low light is a gift, because it also lets in more of the fading light. So far so good. The problem is that a slow shutter speed demands excellent panning technique, and any camera shake or imperfect tracking shows up as overall softness, not just blade blur. In fading light, with a heavy lens, that is harder to pull off.
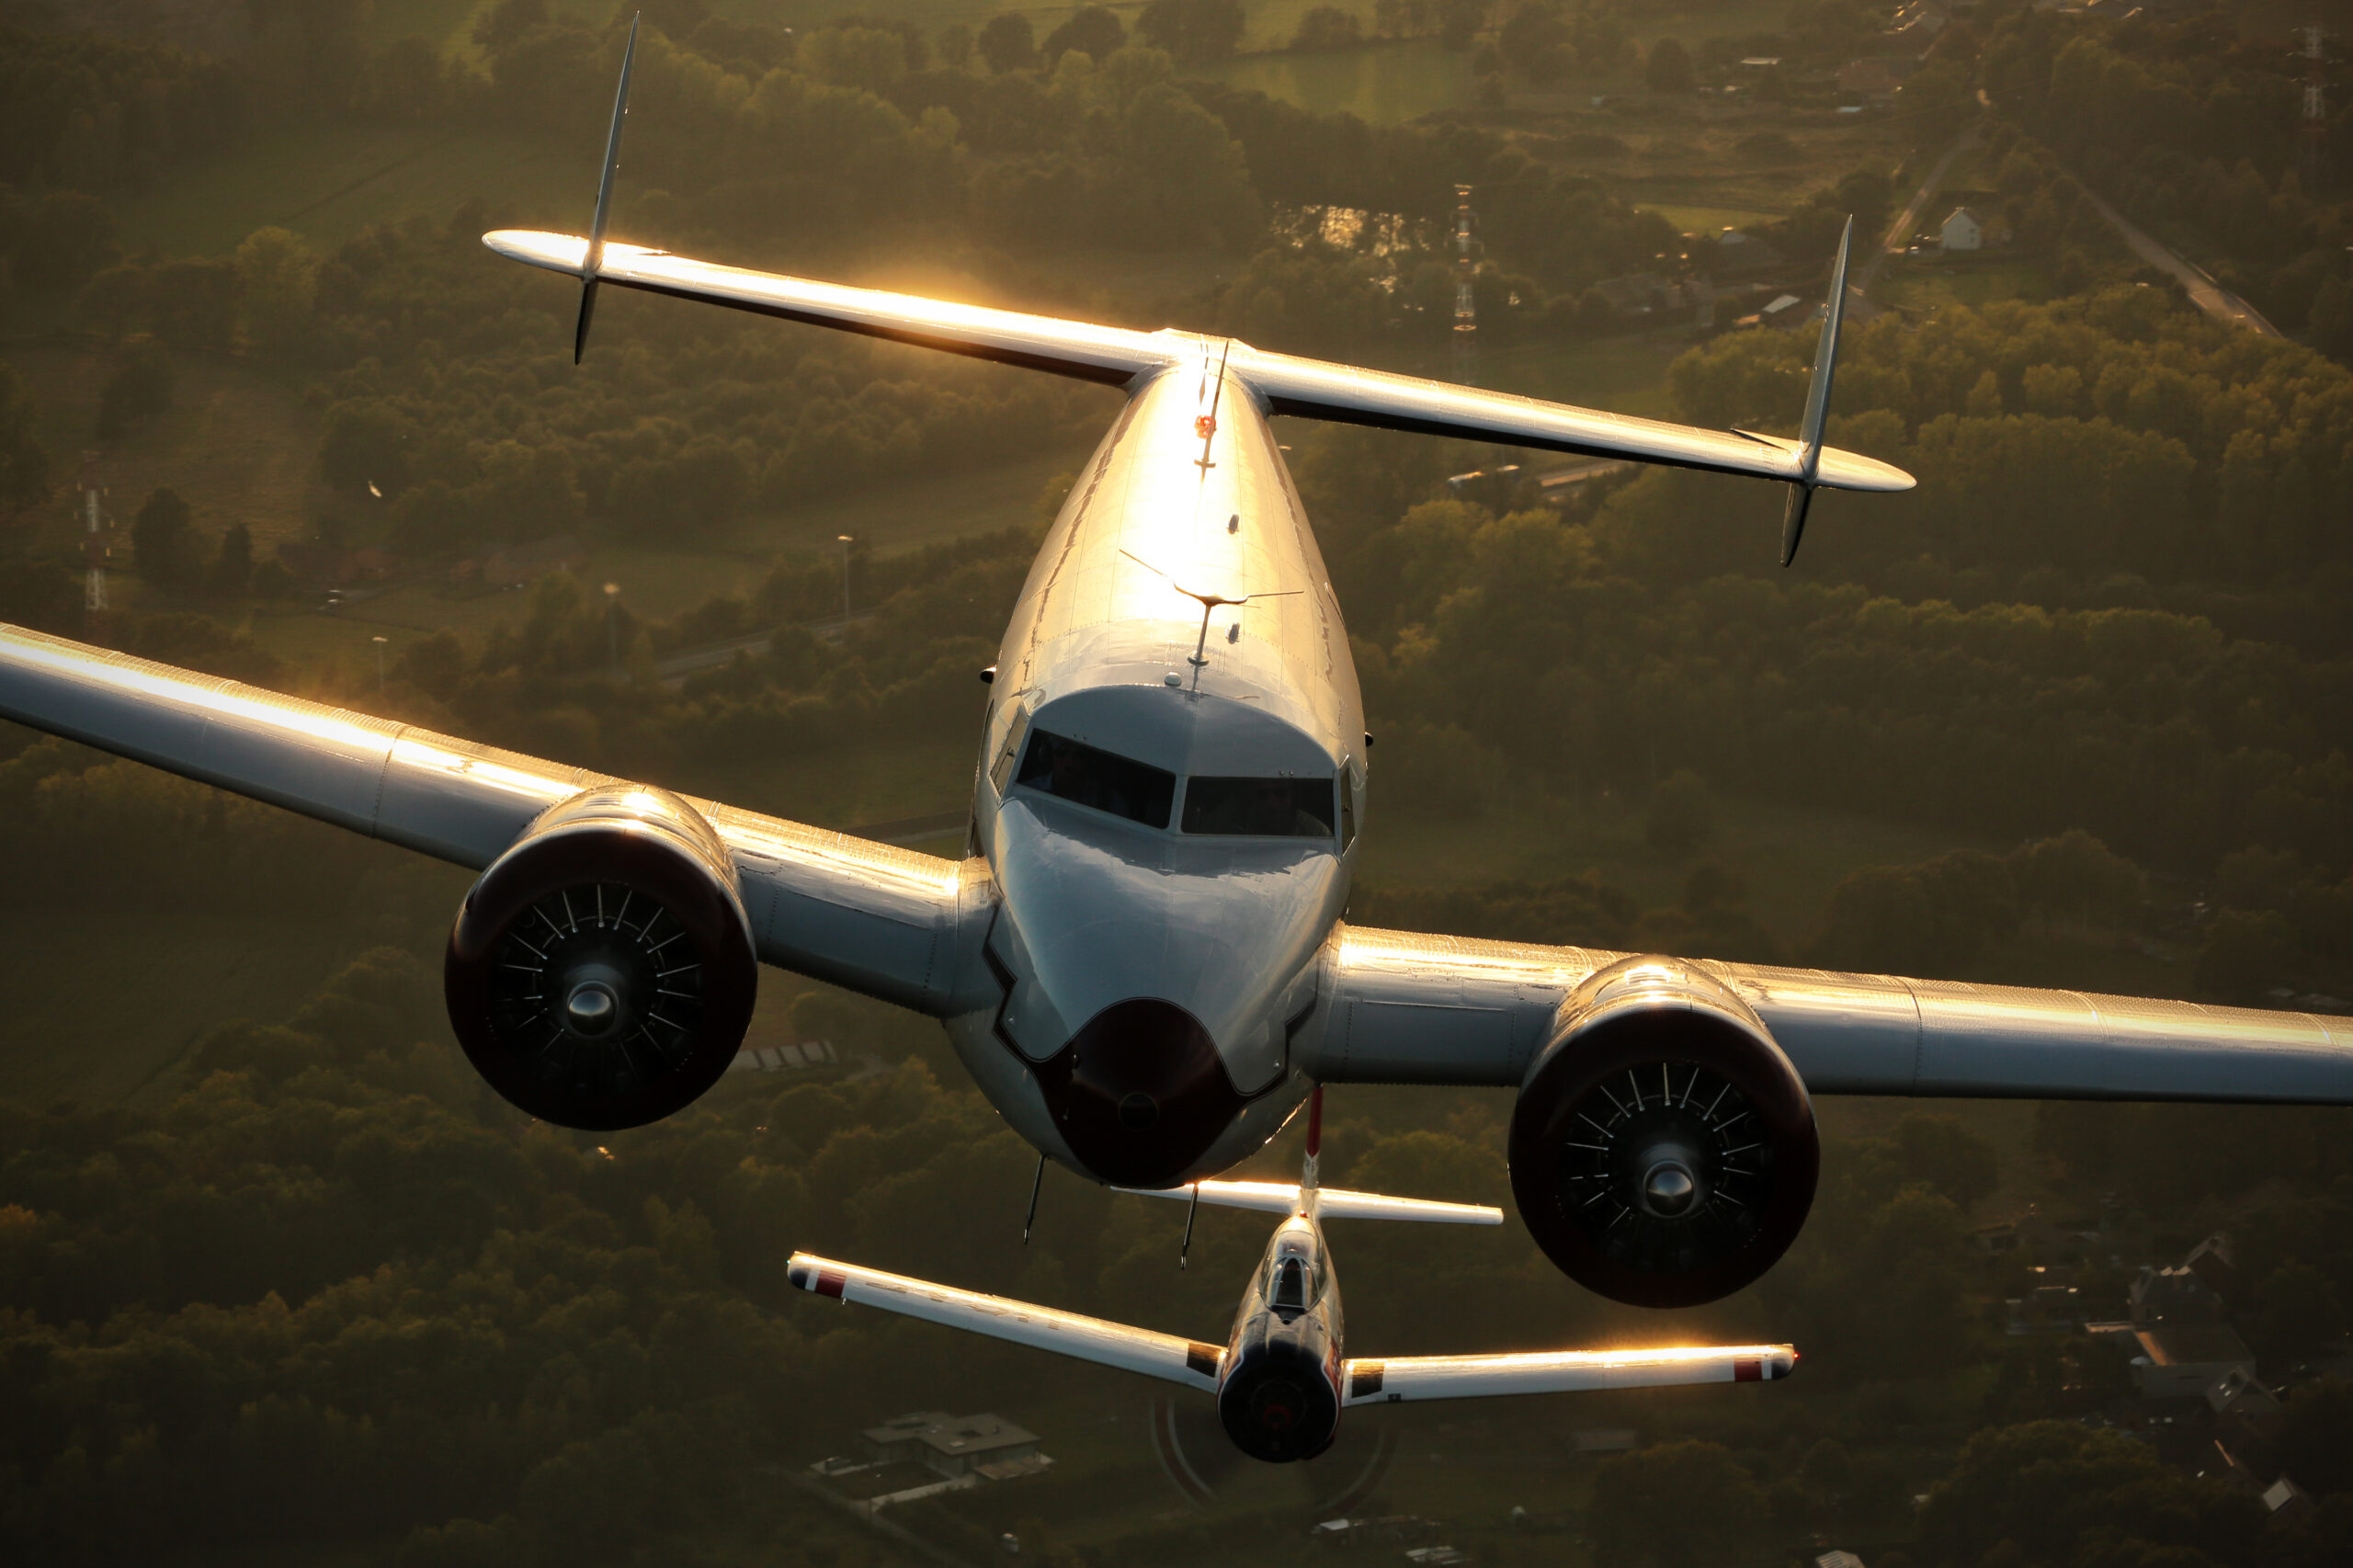
The answer is technique rather than a different setting. Brace properly, use a monopod if you have one, pan smoothly from the hips, and follow through after the shutter fires. Take many frames, because at slow shutter speeds the keeper rate drops and you are playing a percentages game. The reward is a warbird at sunset with a full golden propeller disc, lit from the side, which is one of the signature images of the genre. A frozen propeller in beautiful light just looks broken, so resist the urge to raise the shutter speed for safety. If you are new to this, the prop blur guide walks through the exact speeds for different aircraft, and golden hour simply applies those numbers in lower light. The same logic governs helicopters, where the long rotor blades need a slow shutter to blur into a disc.
Blue hour, night and afterburners
When the sun has gone, do not pack up. The light that follows is different but just as good, and far fewer photographers are still working.
Blue hour static work
Once the sky turns deep blue, static aircraft on a tripod come into their own. With the camera locked down you can use a long exposure, pull ISO right back to base for a clean file, and stop the lens down to f8 or f11 for sharpness across the airframe. A parked jet or warbird lit by the last of the sky, or by apron floodlights and its own navigation lights, against a rich blue backdrop is a classic end-of-day image. Use a remote release or the self-timer to avoid shake, and if there is any wind watch for vibration in the airframe and the tripod. Mixed lighting, blue sky and warm artificial light, gives lovely colour contrast, so do not over-correct the white balance in editing.
Night flying and afterburners
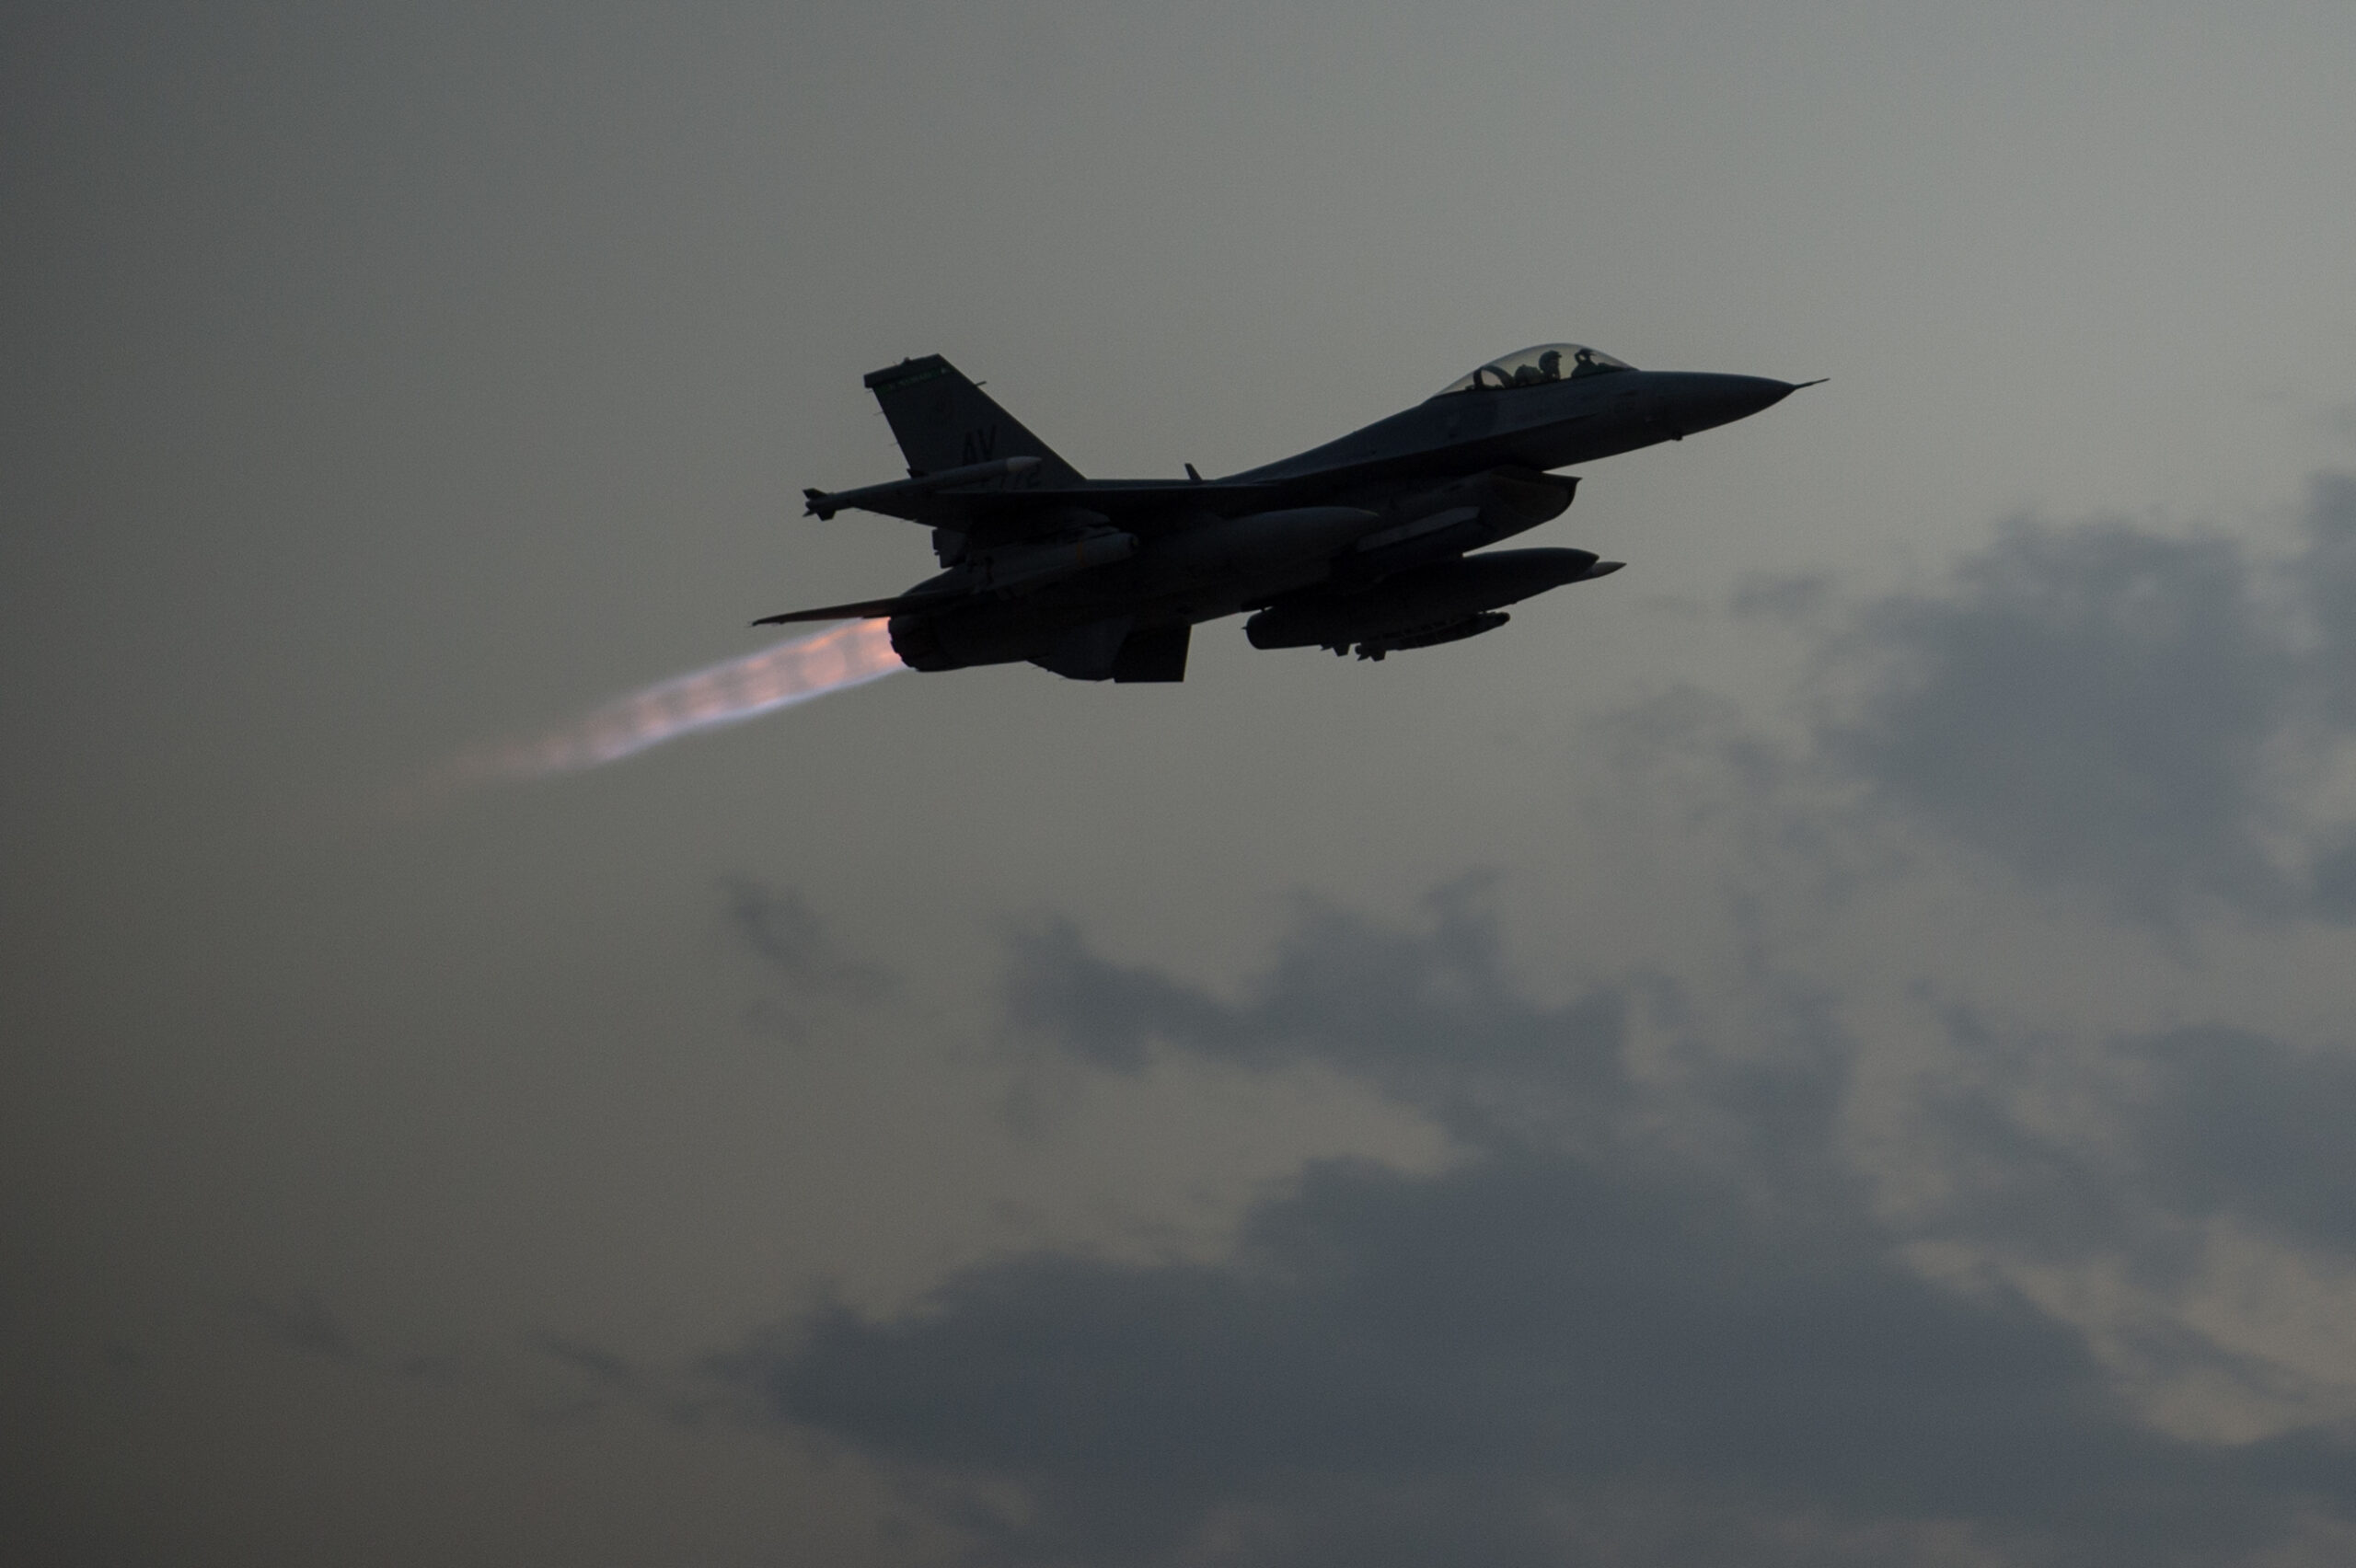
Twilight and night displays often include reheat passes, flares and pyrotechnics, and these need a different approach again. Here the bright element is the flame or the flare, and the sky is dark, so you meter for the bright part and let the surroundings go black. Keep the shutter speed high enough to hold the shape of the aircraft, often 1/640 to 1/1250, push ISO as high as you need, and open the aperture. Afterburner is bright, so it is more forgiving than it sounds, but the contrast is extreme and the autofocus will struggle, so prefocus where you expect the aircraft and be ready. A burner pass at dusk, with the flame lighting the underside of the jet and a band of colour still in the sky, is one of the most dramatic shots in aviation. Night pyrotechnic finales reward a slightly slower shutter to record the trails of the flares, balanced against keeping the aircraft sharp, so take a range of frames at different speeds.
The gear that helps after dark
A fast lens earns its money in this window, because an extra stop of maximum aperture is an extra stop of shutter speed or a stop less noise. A sturdy tripod transforms static blue-hour and night work. A monopod helps for slow handheld flying shots. None of it is essential to start, and a kit telephoto will get you golden hour shots tonight, but if you find yourself drawn to low light it is worth knowing where the upgrades pay off. Our lens guide covers what to look for, with low-light performance in mind.
Post-processing golden hour files
Golden hour files repay careful editing because the light is already doing most of the work and you only need to protect and gently enhance it. Shoot raw so you have the headroom, and approach the edit with restraint.
White balance and colour
Set white balance first. The aim is to keep the warmth you saw without tipping into orange unreality. If you shot on auto and the camera neutralised the scene, warm it back up until the light looks like the evening you remember. A daylight setting around 5200 to 5800 Kelvin is usually close. Be careful with saturation: golden light is already saturated, so a heavy global saturation boost looks garish. Lift vibrance a little instead, which protects skin tones and already-saturated colours, or use targeted adjustments on specific colours rather than the whole image.
Exposure, highlights and shadows
The graded sky is the part most likely to clip, so check the highlight clipping and pull the highlights down to recover colour in the brightest areas near the sun. Open the shadows enough to show detail on the shaded side of the aircraft, but not so far that the image goes flat and the three-dimensional quality of the low light is lost. The whole point of side and back light is the interplay of bright and dark, so keep some of that contrast. A gentle tone curve usually beats heavy slider moves.
Noise and sharpening
Blue-hour and night frames at high ISO will have noise. Apply luminance noise reduction carefully, because too much turns rivets and panel lines to plastic, and modern raw converters with machine-learning denoise do a remarkable job of cleaning a high-ISO aviation frame while keeping edge detail. Sharpen for the subject, mask the sharpening so you are not amplifying noise in smooth sky, and add output sharpening to suit where the image will be seen. Our dedicated workflow on sharpening long-lens shots covers this in detail and the same method applies to low-light files.
Cropping and cleanup
Low sun shows every distraction, so spot out sensor dust, which is brutally obvious in a clear graded sky, and clone away any stray clutter at the edges. Crop for a strong composition, giving the aircraft room to fly into the frame. Resist the temptation to over-process into an HDR look; the strength of golden hour is its natural quality, and the best edits keep it believable.
Common mistakes in low-light aviation
Most golden-hour failures come from a handful of repeatable errors. Knowing them in advance saves a session.
Leaving too early
The single biggest mistake. The crowd leaves when the display ends, but the best light is often still twenty minutes away and then continues into blue hour. Stay. The car park can wait.
Auto white balance killing the colour
As covered above, auto white balance neutralises the very warmth you came for. Set daylight or shoot raw, and never judge golden-hour colour from an auto-balanced preview.
Chasing too high a shutter speed
In failing light, insisting on the same 1/2000 you used at midday forces ISO sky-high and can freeze a propeller into an ugly stopped blade. Set the lowest shutter speed the subject actually needs, no higher, and let it gather light.
Forgetting the exposure is moving
Light falls fast near sunset, faster after it. A meter reading from ten minutes ago is wrong now. Keep checking the histogram and let auto ISO or your own adjustments track the change, or you will come home with a run of progressively underexposed frames.
Clipping the sky
A blown white sky next to a low sun cannot be recovered and looks harsh. Watch the highlight warning, expose to keep colour in the brightest sky, and lift the aircraft later if needed.
Sloppy panning at slow speeds
Slow shutter speeds for prop and rotor blur punish poor technique. Brace, pan smoothly, follow through, and shoot plenty of frames to cover the lower keeper rate.
Ignoring your own shadow and lens flare
With the sun very low and behind you, your shadow can fall into a static shot. With the sun in front, flare and veiling haze can wash out contrast. Move position, use a hood, and shade the lens.
Five scenarios, step by step
Settings make more sense attached to a situation. Here are five common golden-hour and low-light situations with a concrete way to work each one.
1. A static warbird on the grass at sunset
You have a Spitfire or a Mustang parked on the display line and the sun is dropping. Walk around it first and find the angle where the low light rakes across the fuselage and lights the side towards you, ideally with a clean background. Drop ISO to base, because the aircraft is not moving and you can use any shutter speed. Stop down to f7.1 to f11 for sharpness from spinner to tail. If the light is going, put the camera on a tripod and use a longer exposure rather than raising ISO. Meter for the lit metal and keep highlight detail in the polished surfaces. Look for a three-quarter front angle that shows the shape and a profile that shows the lines, and shoot both. As blue hour arrives, keep going: the same aircraft against a deep blue sky with its navigation lights on is a different and often better picture.
2. A fast jet departing into the sunset
End-of-day departures down a runway with the sun behind you are gold. Set up early, work out from the runway heading and the sun bearing whether the lit side will face you on the climb-out, and choose your spot accordingly. Shutter at 1/1000 to 1/1600 to freeze the jet, aperture around f5.6 to f7.1, auto ISO with a ceiling you trust. Track the aircraft from rotation and fire through the climb. The cooling air means the haze that softened earlier departures has gone, so this is your sharpest chance of the day. If the jet lights the burner on departure, you have a bonus: meter to hold the shape and let the flame glow.
3. A piston airliner or turboprop taxiing at dusk
A propeller airliner or a vintage transport taxiing in the last light wants disc blur, so drop to 1/200 to 1/320, which conveniently also gathers light. Pan with the aircraft as it moves, keep the focus point on the cockpit, and watch the background for clutter as it tracks across. The slow shutter plus a moving subject means a lower keeper rate, so shoot bursts. The reward is a natural-looking propeller disc lit warm by the low sun.
4. A display silhouette after the sun has set
The sun has just gone and the sky is a glowing orange-to-blue wash. A solo display or the tail-end of a formation banking across that glow makes a superb silhouette. Drop ISO, expose for the bright sky with negative compensation, and wait for the side-on moment when the shape reads clearly. Compose with the aircraft small in a big colourful sky rather than filling the frame, because here the sky is half the picture. Keep the shutter high enough to freeze the shape, because a blurred silhouette just looks like a mistake.
5. A blue-hour apron scene
Twenty minutes after sunset, the apron lights come on and the sky goes deep blue. Put the camera on a tripod, frame a parked aircraft or a row of them with the coloured sky behind, pull ISO to base, stop down to f8, and use a long exposure of a second or several. The mix of warm apron light and cool sky gives rich colour, and a long exposure smooths any moving cloud into a clean gradient. This is the quiet, patient end of the day, and it produces some of the most atmospheric aviation images there are.
Frequently asked questions
What time is golden hour for aviation photography?
Golden hour is the period when the sun is low, roughly from the horizon to about six degrees above it, which means the hour or so after sunrise and before sunset. In the UK in summer it can last well over an hour because the sun sets at a shallow angle; in winter it is shorter. Use a sun-position app for the exact times and the sun’s bearing on the day and place you are shooting, then plan to be in position at least half an hour before sunset and to stay until it is dark.
What shutter speed should I use in golden hour?
The subject sets the shutter speed, not the light. A fast jet still needs roughly 1/1000 to 1/1600 to freeze, a piston warbird needs about 1/125 to 1/250 to keep the propeller blurred, and a static aircraft on a tripod can use anything. The difference in low light is that you choose the lowest shutter speed the subject allows and let ISO rise to cope, rather than reaching for the very high speeds you might use at midday.
Should I shoot raw or JPEG in low light?
Raw, without question. Golden-hour colour and exposure both benefit from the latitude raw gives you. You can set white balance precisely to keep the warmth, recover highlight detail in a bright sky, lift shadows on the dark side of the aircraft, and apply modern noise reduction to high-ISO blue-hour frames, all with far more quality than a JPEG allows.
How do I stop the camera neutralising the warm light?
Turn off auto white balance for golden hour, because it cancels the warmth you came for. Set a fixed daylight white balance, around 5500 Kelvin, or shoot raw and set the colour in editing. If you only judge exposure and colour from the rear screen, make sure it is showing a daylight balance and not an auto one, or the preview will mislead you.
Is golden hour good for propeller aircraft?
It is ideal. The slow shutter speed you need to blur a propeller into a natural disc also gathers more of the fading light, so the two requirements pull in the same direction. A warbird lit from the side at sunset with a full golden propeller disc is one of the signature shots of the genre. The catch is that slow shutter speeds demand good panning technique, so brace well, pan smoothly, and shoot plenty of frames.
Should I leave when the sun sets?
No. The best light is often in the last twenty minutes before sunset and the half hour after it, through blue hour. Static aircraft on a tripod, silhouettes against a glowing sky, and apron scenes under mixed lighting all come alive once the sun has gone and most photographers have left. Staying late is the simplest way to come home with a frame nobody else has.
How high should I let ISO go for golden hour aviation before noise becomes a problem?
Set an auto ISO ceiling you trust rather than a fixed value, because the light drops fast and you want the camera to keep pace. On most recent full-frame bodies ISO 6400 is perfectly usable for a clean aircraft against a graded sky, and 12800 is fair game for a burner pass where you simply need to freeze the shape. A sharp frame with a little luminance noise always beats a clean but blurred one, and modern raw denoise cleans it up well.
Do I need a tripod for golden hour and blue hour aviation, or can I hand hold?
For flying subjects you hand hold or use a monopod, because you still need shutter speeds fast enough to freeze or blur the aircraft and a tripod cannot follow a moving pass. A tripod comes into its own once the sun has gone and you turn to static aircraft, where you can drop to base ISO, stop down to f8 or f11 and use exposures of a second or more. Pack a remote release or use the self-timer to avoid shake on those long frames.
How do I stop lens flare when shooting aviation towards a low sun?
Keep the lens hood fitted and the front element spotlessly clean, because any smear or dust turns to veiling haze when the sun is near the frame. Shade the front of the lens with your hand or a hat when the sun sits just outside the picture, and shift your position slightly so a wing or the aircraft body masks the sun itself. Compose using the rear screen or electronic viewfinder rather than an optical finder, since a magnified low sun through a long lens can damage your eye.
Golden hour is the closest thing aviation photography has to a guaranteed upgrade. The aircraft do not change, the field does not change, but the light transforms both, and almost the only thing standing between you and far better pictures is the willingness to plan for the light and to stay out in it. You can see how this light shapes the images in the Piemags aviation galleries, and if you would like to use any of the work commercially, the licensing options set out how. Next time there is a clear evening and aircraft on the field, set the alarm for the last hour of the day and go and use the best light there is.
Golden hour has a second half: turning around and shooting into the light. Our guide to backlighting and silhouettes in aviation photography covers exposure, flare control and true silhouette technique.
Overcast and stormy days call for a different approach to light: our guide to wet weather aviation photography covers shooting in rain, spray and storm light.
The static park rewards good light too. Our guide to photographing static displays that do not look boring shows how to work angles, backgrounds and light on parked aircraft.
