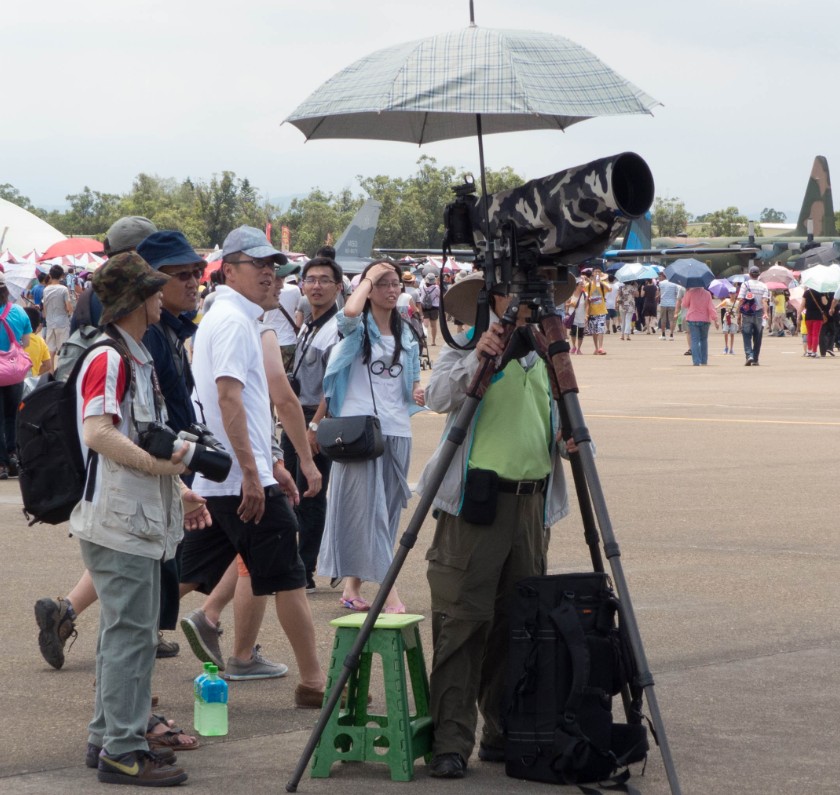
The difference between a good airshow and a frustrating one is often decided the night before, at the kitchen table, while you pack. The flying is the same for everyone on the crowd line. What separates the photographer who comes home with a full card of sharp frames from the one who runs flat at two in the afternoon is preparation. This guide is the packing list we actually use, with the reasoning behind every item, so you can build a kit that suits your cameras, your back and the kind of show you are going to.
It is written for a typical UK airshow day: an early start, a long walk in from a field car park, six or more hours on your feet in the open, and a flying programme that runs from light propeller aircraft to fast jets and a display team finale. Get the kit right and you barely think about it. Get it wrong and you spend the best displays fishing for a charged battery or squinting into glare you could have planned around. Everything below is sorted into what to carry it in, the camera kit itself, power and storage, support and protection, and the unglamorous but vital business of clothing, food and documents.
What this guide covers
- Why a packing list matters more than you think
- The bag: what carries everything
- Cameras and lenses: the core kit
- Power: batteries and charging
- Memory cards and storage
- Support: monopods, straps and harnesses
- Protection and cleaning for your kit
- Clothing and sun protection for a long day
- Food, water and comfort
- Documents, tickets and money
- The complete airshow photography gear checklist
- Packing the night before: a simple routine
- Common packing mistakes to avoid
- Tweaks for different kinds of show
- Frequently asked questions
Why a packing list matters more than you think
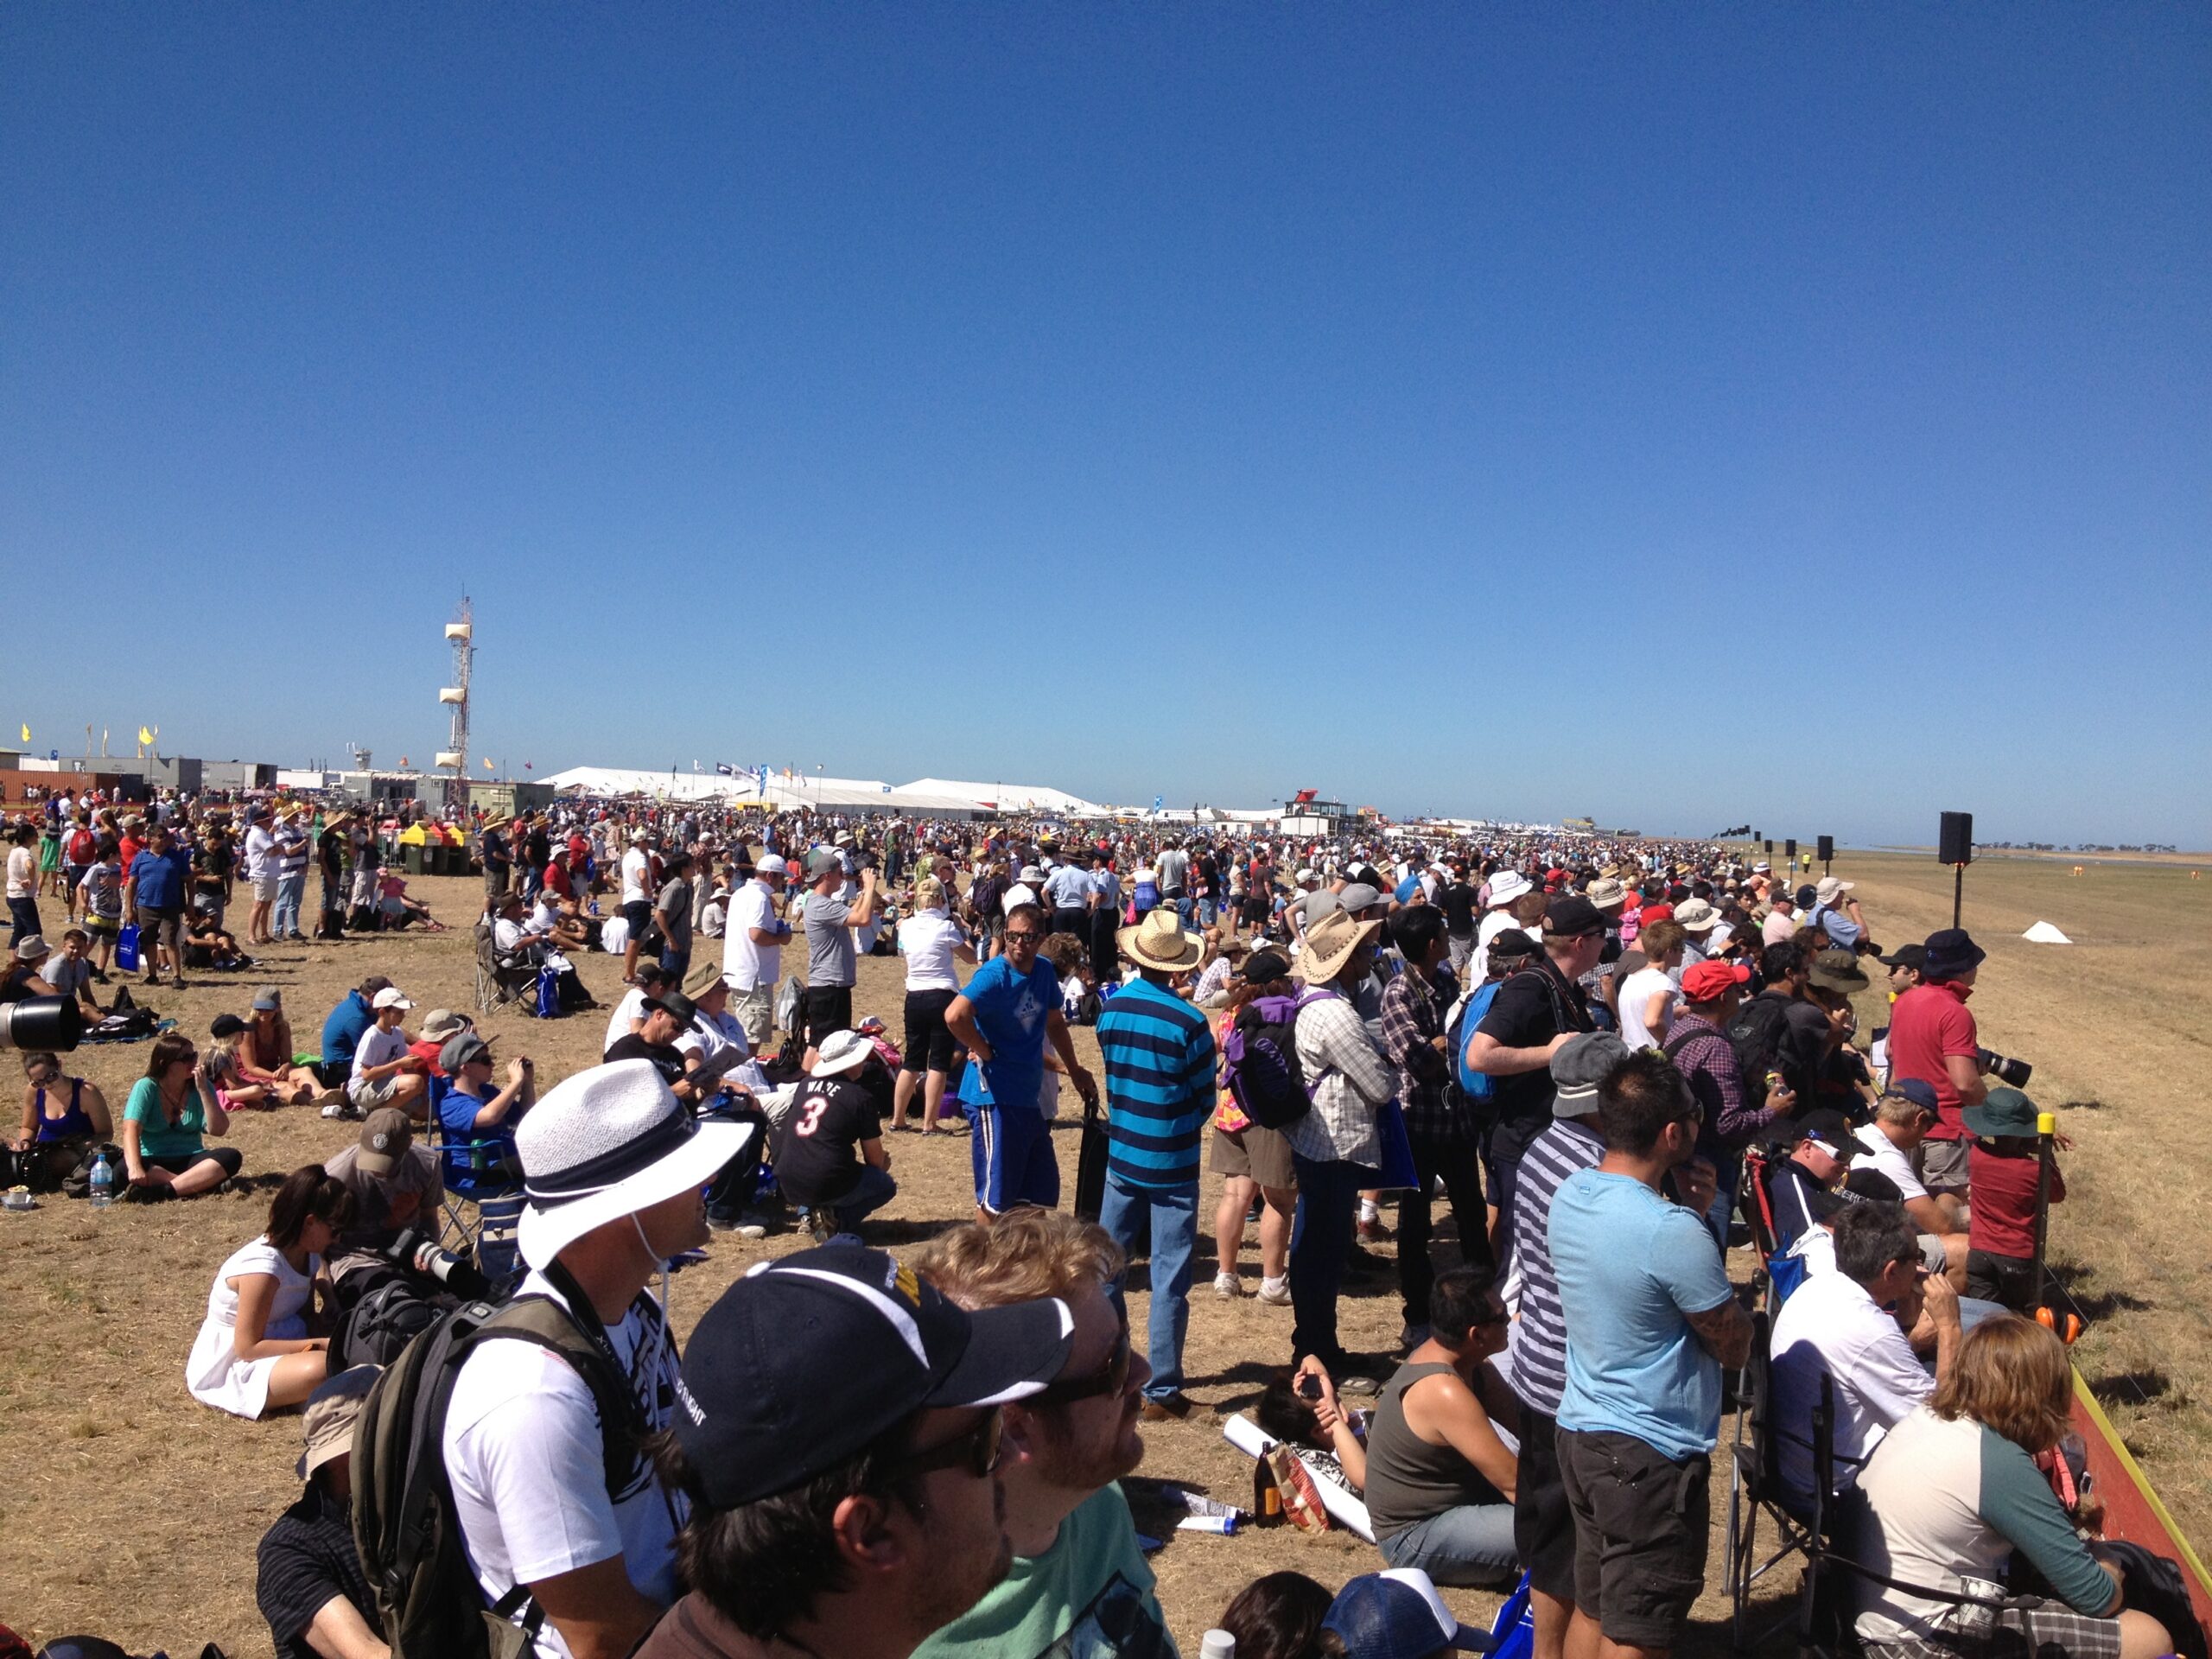
An airshow is a strange environment to work in. You often cannot get back to the car once the flying starts, because the walk is long and the crowd line fills up. There are no shops selling spare batteries, no shade, and no second chance at the display you missed. Whatever you have on your back at eleven in the morning is what you are working with until the last aircraft lands. That single fact is why a checklist beats memory. The day you forget your spare batteries is always the day a rare visitor turns up and flies three passes you will never see again.
There is a second reason, which is weight and comfort. It is tempting to pack everything you own, on the theory that you might need it. Carry too much and you will be tired, sore and slow by mid afternoon, which is exactly when the best light and the headline displays arrive. A good packing list is as much about what you leave at home as what you bring. The aim is a kit that covers the day without a single gap, and weighs as little as possible while doing it.
The third reason is calm. When your bag is packed the same way every time, you know without looking where the spare battery lives, which pocket holds the cards, and where the lens cloth is. That muscle memory matters when a jet is running in and you have eight seconds to change a card. Photographers who fumble at airshows are usually not short of skill. They are short of a system.
The bag: what carries everything
The bag is the foundation, because it sets the limit on everything else and it is the thing you carry all day. The right choice depends on how much kit you take and how far you have to walk, but a few principles hold for almost everyone.
Backpack, sling or roller
For most airshow photographers a proper camera backpack is the sensible default. It spreads the load across both shoulders, it usually has a waist strap to take weight off your back, and it leaves your hands free for the long walk in. A backpack also tends to meet the bag size limits that major shows impose, where a large roller case will not. The downside is access: you generally have to take a backpack off and put it on the ground to reach the bottom, which is awkward on wet grass.
A sling bag or a holster solves the access problem and is quick to swing round to the front, but it loads one shoulder and gets uncomfortable past a couple of hours with heavy kit. Slings suit a light setup, such as a single body and one zoom. Roller cases are wonderful for getting heavy kit from the car to an exhibition hall, but on a grass airfield the wheels are useless and the size often falls foul of gate rules. For a typical UK show on a field, a backpack wins.
Size, security and getting through the gate
Most large airshows publish a maximum bag size and search every bag at the entrance for security. A medium camera backpack that holds a body, two lenses and your accessories will usually pass without trouble. Before you travel, check the specific event website for the bag policy, because limits vary and some shows ban large rucksacks entirely. Pack so the bag opens flat and the contents are visible, which makes the gate search quick and keeps the queue behind you happy. Leave at home anything that could be questioned, such as multi tools with long blades or anything that looks like a drone, since both are commonly prohibited.
How to pack the bag itself
Think in layers of access. The things you swap often, spare batteries, cards and a lens cloth, go in the top or the waist pockets where you can reach them without taking the bag off. The second lens goes where you can get to it with the bag on your knee. The items you will not touch until you are home, the charger and the spare strap, go at the bottom. Padding matters too. A long lens deserves a dedicated padded compartment so it does not knock against the body mount as you walk. If your bag came with movable dividers, set them up for your exact kit the night before, not in the car park.
Cameras and lenses: the core kit
This is the part everyone thinks about first, and rightly so, but the decisions are simpler than the gear forums suggest. You are choosing a body or two, a long lens to reach the aircraft, and a shorter lens for everything close up. The art is in covering the range without carrying three of everything.
One body or two
A single camera body can photograph a whole airshow perfectly well, and plenty of people work that way. The case for a second body is twofold. First, it is your insurance. Cameras fail, and a backup means a hardware fault does not end your day. Second, and more usefully, two bodies let you keep a long lens on one and a wide or standard lens on the other, so you never miss a low taxi shot because you were mid lens change when the aircraft rolled past. If you only own one body, that is fine. If you own two, an airshow is the day to bring both.
If you do carry two, set them up consistently. Many people put the long telephoto on their main body and a 24-105mm or similar on the second, carried on a second strap or a dual harness. Match the key settings between them so switching does not mean rethinking your exposure each time.
The long lens: your most important glass
Reach is everything in aviation photography. Aircraft are far away, and they stay far away even on a close pass. For most people the workhorse is a telephoto zoom in the 100-400mm or 150-600mm class, which covers distant run ins and tighter crops as an aircraft comes through the display line. A long zoom is more flexible than a prime at a show, because the distance to the subject changes constantly and you rarely have time to move. If you shoot a crop sensor body, remember the effective reach is longer, so a 100-400mm behaves like roughly 150-600mm in full frame terms, which is plenty for most displays. Our full guide to the best lenses for aviation photography goes through the specific options by mount and budget if you are still choosing.
Whatever long lens you bring, fit a lens hood and keep it on. It cuts flare when you are shooting near the sun, which happens constantly at airshows, and it protects the front element if you knock the lens against the crowd barrier. A long lens is also the thing that makes a monopod worth carrying, which we come to below.
A second, shorter lens
Not everything at a show is a distant jet. There are static aircraft to walk around, people and atmosphere on the ground, and close passes where a long lens is simply too much. A standard zoom in the 24-105mm or 24-70mm range covers static displays, the crowd, and wide shots of a formation filling the sky. If you carry only one extra lens beyond your telephoto, make it a standard zoom. A wide angle is a luxury for the static park and the occasional dramatic close pass, useful but not essential.
Teleconverters: extra reach, with a catch
A 1.4x teleconverter turns a 400mm into roughly 560mm and a 600mm into 840mm, which can help with very distant subjects. The trade off is a loss of light, usually one stop with a 1.4x, and a small reduction in autofocus speed and sharpness. At an airshow, where you often need fast shutter speeds and quick focus, that trade off is not always worth it. If you own a teleconverter, pack it for the days when subjects are distant and the light is good, but do not rely on it as your main reach. Fit it before the flying starts rather than fumbling with it on the crowd line.
Power: batteries and charging
If there is one thing that ends airshow days early, it is power. Aviation photography is hard on batteries. You hold autofocus for long run ins, you shoot in bursts of ten or twenty frames, and on mirrorless bodies the viewfinder and sensor are drawing power the whole time the camera is awake. A battery that lasts a fortnight of casual shooting can empty in a single busy display day.
How many spare batteries
Carry at least two fully charged spares for each body, and three if your camera is a power hungry mirrorless model or the forecast is cold. Charge them the night before, every one of them, and check they are actually full rather than assuming. A useful habit is to start the day with a fresh battery in the camera and the half used one from last time in the bag clearly marked, so you are never guessing which is which. Keep the spares somewhere warm in cold weather, because battery capacity drops as temperature falls, and an inside pocket close to your body keeps them performing.
Power banks and in field charging
Many recent cameras charge over USB-C, which means a decent power bank can top up a battery in the camera during a lull, or charge spares as you walk. If your body supports it, a 20,000mAh USB-C power bank with a Power Delivery output is a sensible insurance policy, especially for a long day or a multi day event where you are camping. It is not a replacement for spare batteries, because you cannot charge fast enough to keep up with heavy shooting, but it turns the quiet hour at lunchtime into useful charging time. Pack the right cable, and check it actually fits your camera before you leave, since USB-C cables vary in what they support.
Do not forget the charger
The wall charger lives in the bag for multi day trips and stays home for a single day out, but the classic disaster is taking it out to charge overnight in a hotel and leaving it on the bedside table. If you are away overnight, make the charger the last thing you pack in the morning. A small four port USB charger is worth having for trips, so phone, power bank and camera all charge from one plug overnight.
Memory cards and storage
Memory is the other thing that runs out at the worst moment. A day of bursts at ten or more frames a second, shooting raw, produces an astonishing number of files. It is easy to fill a card you thought was huge by mid afternoon, and deleting frames in the field to make room is a miserable way to spend the best displays.
How much capacity
Plan to shoot the whole day without deleting anything. For most people that means somewhere between 128GB and 256GB of total capacity, depending on how much you fire and how large your camera’s raw files are. A modern high resolution body can produce raw files of 40 to 80MB each, so a single full day can run past 64GB without much effort. It is far better to have too much card than too little, since spare capacity costs little and weighs nothing.
Spread the risk across cards
Rather than one enormous card, carry two or three smaller ones. If a card fails, and they do occasionally fail, you lose only part of the day rather than all of it. If your camera has two card slots, consider setting it to write the same images to both, which gives you an instant backup of every frame. Cards are cheap compared with the cost of travelling to a show, so duplicate recording is one of the easiest insurance policies in photography.
Speed matters for bursts
A slow card cannot keep up with a fast burst, and the camera’s buffer fills, which leaves you unable to shoot for a few seconds while it writes. At an airshow those few seconds can be the pass you wanted. Use cards rated for fast continuous shooting in your camera, and keep them clean and undamaged. Carry the cards in a small hard case rather than loose in a pocket, where they collect dust and are easy to drop in the grass and lose for good.
Support: monopods, straps and harnesses
A long lens is heavy, and you will hold it up for hours. How you carry and steady it makes a real difference to how sharp your afternoon frames are and how much your arms ache by the finale.
Do you need a monopod
If your longest lens weighs more than about 1.5kg, a monopod earns its place. It takes the weight off your arms between passes, so you are fresh when the action starts, and it steadies the lens for the slower shutter speeds you use to blur propellers and rotor discs. A monopod is far more practical than a tripod at a crowded airshow, because it has a small footprint, it moves quickly to follow an aircraft across the sky, and it does not trip the people around you. Choose one tall enough to bring the viewfinder to your eye without stooping, and fit a simple head or a tilt head so you can track upward as an aircraft climbs.
For lighter kit, such as a single body with a 100-400mm, many people hand hold all day quite happily. A monopod is then optional, and some prefer the freedom of going without; our comparison of monopods against simply handholding a long lens works the trade-off through in detail. The honest test is your own arms: if you find yourself resting the lens on the barrier or your knee by mid afternoon, a monopod would help. Our piece on the best camera settings for airshows covers the slower shutter speeds where that extra steadiness really pays off.
Straps and harnesses
The strap that came with your camera is rarely the best tool for a long day with a heavy lens. A wide, padded strap spreads the load across your shoulder, and a sling style strap that clips to the base of the camera lets it hang lens down at your side, ready to swing up quickly. If you carry two bodies, a dual harness that holds one on each hip is far more comfortable than two straps crossing your chest, and it keeps both cameras instantly to hand. Whatever you use, attach it properly and check the fixing before you put weight on it. Dropping a long lens onto a concrete apron is an expensive lesson.
Tripods are usually the wrong tool
A tripod is rarely useful at a flying display. It is slow to aim, it takes up space on a packed crowd line, and you simply cannot track a moving aircraft smoothly on three legs. The exception is a night show with static aircraft and pyrotechnics, or long exposure work after dark, where a tripod becomes essential. For a normal daytime flying programme, leave the tripod in the car and bring a monopod instead.
Protection and cleaning for your kit
Airfields are dusty, occasionally wet, and full of opportunities to get grit on a sensor or rain on a front element. A few small items keep your kit working and your images clean.
Rain protection
UK weather does what it likes, and a clear morning can turn to a heavy shower by lunchtime. A simple rain cover for your camera and long lens, even a cheap disposable sleeve, lets you keep shooting through a passing shower rather than packing up at the crucial moment. A microfibre cloth and a few lens wipes deal with spray and the inevitable smear. Pack a couple of large freezer bags too, which cost nothing and can wrap a body or a lens at short notice if the heavens really open.
Dust, sensor and cleaning
Changing lenses in a breezy field invites dust onto the sensor. Minimise lens changes when it is windy, turn your back to the wind when you must swap, and point the camera down as you do it. Carry a rocket blower to clear loose dust from the lens and around the mount, a microfibre cloth for the front element, and a few wet and dry lens cleaning wipes for stubborn marks. A small pack of these weighs almost nothing and saves a day’s images from being dotted with smears. Avoid wiping a gritty lens dry, since that drags the grit across the glass. Blow first, then wipe.
Lens hoods and caps
Keep lens hoods fitted all day. They guard against flare when shooting toward the sun and act as a bumper for the front element. Keep rear caps and body caps in a pocket for the lens that is off the camera, so its rear element is protected in the bag. A small zip pouch to hold caps stops them rolling around loose and getting lost in the grass.
Clothing and sun protection for a long day
This is the part photographers skip and then regret. You will be outdoors for the best part of a day, usually with no shade, often facing the sun because that is where the aircraft are. Sunburn, dehydration and sore feet ruin far more airshow days than camera faults do. Treat your clothing as part of the kit.
Sun protection
On a clear day at a flying display you are exposed to hours of direct sun, and the back of your neck takes the worst of it because you spend the day looking up. A wide brimmed hat or a cap with a neck flap, high factor sun cream applied before you arrive and topped up at lunchtime, and sunglasses are the basics. Sunglasses do more than save your eyes from glare. They let you keep watching the sky for the next aircraft without squinting, which is really useful for spotting a run in early. Reapply sun cream even when it feels cool, because the wind on an open airfield hides how much sun you are getting.
Layers and waterproofs
British weather changes through the day, so dress in layers you can add or shed. A base layer, a light fleece or jumper, and a packable waterproof jacket cover most eventualities. Bring the waterproof even when the forecast is clear, because a shower on an exposed airfield with no shelter is thoroughly unpleasant, and a soaked photographer tends to pack up and miss the best of the afternoon. A light pair of waterproof trousers takes up little room and is welcome when you end up sitting on wet grass.
Footwear
You will walk a long way and stand for hours, often on uneven grass that turns to mud after rain. Comfortable, broken in footwear with a decent sole is essential. New boots bought for the occasion are a mistake, because blisters by midday make the rest of the day a chore. Waterproof footwear is a sensible default for a grass airfield. Bring a spare pair of socks in the bag, since dry feet in the afternoon are a small luxury that makes a real difference.
Food, water and comfort
Show catering is often slow, expensive and a long walk from the best photography positions, and you will not want to give up your spot when the flying is good. Carrying your own food and water keeps you on the crowd line and keeps your energy up through a long programme.
Water is the priority. A day in the sun on an airfield is dehydrating, and dehydration creeps up as tiredness and poor concentration long before you feel thirsty. Carry more water than you think you need, at least a litre or two per person, and refill if the show has water points. A few snacks that survive a warm bag, such as flapjacks, nuts or cereal bars, keep you going without needing to queue. A proper packed lunch beats anything you will buy on site, and you can eat it during a lull rather than missing flying to stand in a catering queue.
For comfort, a lightweight folding stool or a small foam mat lets you rest during the slower parts of the programme without sitting on wet grass, and saves your legs for the displays that matter. Wet wipes or hand gel are useful before eating, since you will have been handling gear and barriers all day. A small roll of toilet paper has saved many a day at a show with long queues for the facilities. None of this is glamorous, but comfort keeps you sharp, and a sharp photographer makes better pictures.
Documents, tickets and money
The least exciting items are the ones that stop you getting in or get you stranded. Keep them together in one place, ideally a waterproof pouch or a zipped pocket you do not use for anything else, so they cannot fall out when you reach for a battery.
Your ticket, printed or on your phone, is the obvious one, along with any car park pass or wristband the event requires. If your ticket is on your phone, take a screenshot so it loads even with no signal, because mobile networks are routinely overwhelmed at large shows. Bring some cash as well as cards, since on field traders and car park collections are not always set up for cards and signal problems can stop card machines working. A photo ID is worth having for any enclosure or flightline walk that requires it. Finally, note where you parked, ideally a photo of the row marker, because field car parks all look identical at the end of a long day.
The complete airshow photography gear checklist
Here is the full airshow photography gear checklist in one place. Treat it as a menu rather than a mandate: the camera, power and clothing rows are essential for almost everyone, while some of the support and comfort items depend on your kit and the kind of show. Print it, or photograph it on your phone, and run through it the night before.
| Category | Item | Why it matters |
|---|---|---|
| Camera | Main body | Your primary camera, set up and tested before the day |
| Camera | Second body (if owned) | Backup against failure, and lets you keep two lenses ready |
| Lens | Long telephoto zoom (100-400mm or 150-600mm) | Reach for distant aircraft and tight crops on passes |
| Lens | Standard zoom (24-105mm or similar) | Static aircraft, atmosphere, and close passes |
| Lens | Teleconverter (optional) | Extra reach for distant subjects in good light |
| Lens | Lens hoods fitted | Cut flare near the sun, protect front elements |
| Power | 2 to 3 charged spare batteries per body | Heavy autofocus and bursts drain batteries fast |
| Power | USB-C power bank and cable (if camera supports it) | Top up during lulls on a long day |
| Power | Wall charger (overnight trips) | Recharge everything between days |
| Storage | 128GB to 256GB of fast memory cards | Shoot the full day in raw without deleting |
| Storage | Hard card case | Keeps cards clean, dry and findable |
| Support | Monopod with simple head | Takes lens weight, steadies slow panning shots |
| Support | Padded or sling strap, or dual harness | Carry heavy kit comfortably all day |
| Protection | Rain cover and freezer bags | Keep shooting through a passing shower |
| Protection | Rocket blower, microfibre cloth, lens wipes | Clear dust and smears in the field |
| Bag | Medium padded backpack with waist strap | Carries everything, meets most gate size limits |
| Clothing | Sun hat, sunglasses, high factor sun cream | Hours of sun with no shade, neck takes the worst |
| Clothing | Packable waterproof and warm layer | UK weather changes fast on an exposed field |
| Clothing | Comfortable, broken in, waterproof footwear | Long walk and hours standing on grass |
| Clothing | Spare socks | Dry feet in the afternoon |
| Comfort | Water (1 to 2 litres) and packed food | Stay on the crowd line, avoid the catering queue |
| Comfort | Folding stool or foam mat | Rest in lulls without sitting on wet grass |
| Comfort | Hand gel or wet wipes | Clean hands before eating after handling gear |
| Documents | Ticket, car pass, ID, cash and cards | Get in, get parked, and pay where cards fail |
| Documents | Phone with screenshots of tickets | Works even when the mobile network is overwhelmed |
| Extras | Ear defenders or plugs | Fast jets and reheat are really loud up close |
| Extras | Notebook or phone notes | Log aircraft, serials and times for later keywording |
A quick word on the extras. Ear protection is easy to forget and very welcome when a fast jet runs in on reheat a few hundred metres away, especially if you have children with you. And a simple log of what flew and when, even a few notes on your phone, makes editing and captioning far quicker when you get home, particularly if you plan to license your images for stock later. It is the same discipline that sits behind the Piemags aviation archive, where captioned frames are licensed to publishers under the terms on its licences page.
Packing the night before: a simple routine
The best defence against forgetting something is a routine you follow every time, the evening before, when you are calm and have the kit in front of you. Rushing it in the morning is how spare batteries get left on the charger.
Charge and check
Start with power. Put every battery on charge, including the ones you think are full, and lay the cards out to format them in the camera so you begin with clean, empty storage. Formatting in the camera, rather than deleting on a computer, is the reliable way to avoid card errors. While they charge, give the front and rear elements of each lens a clean, blow any dust off the sensor area if needed, and check the camera is set to your usual airshow starting point so you are ready for the first aircraft.
Lay it all out, then pack it
Lay everything from the checklist on a table or the floor and look at it as a whole before anything goes in the bag. This is when you spot the gap, the missing cable, the strap you lent to a friend. Then pack the bag in its layers, reachable items at the top, and set the dividers for the exact lenses you are taking. Put the non camera items, the food, water, waterproof and documents, by the door so they are not forgotten in the morning. The aim is that the morning involves grabbing a packed bag and a packed lunch, nothing more.
Check the show and the weather
Finally, look up two things. Check the event website for the bag policy, gate opening time and anything prohibited, so there are no surprises at security. And check the weather and, crucially, the sun’s position relative to the crowd line, because that tells you whether the light will be behind you or in your face for the main displays. Knowing the forecast also settles the clothing question, although you should still pack the waterproof whatever it says. The rest of that preparation, tickets, timings, parking and choosing a spot on the crowd line, is covered in our guide to planning the day around the photography.
Common packing mistakes to avoid
Most airshow packing problems are the same few errors repeated. Knowing them in advance is half the battle.
Bringing too much
The commonest mistake is overpacking out of anxiety. Three lenses you will not use, a tripod you will not set up, and a bag so heavy it wears you out by lunchtime. Be honest about what you actually shoot. A long zoom, a standard zoom and a second body cover almost every airshow. Everything beyond that should earn its place or stay home.
Trusting one of everything
The opposite mistake is having no redundancy in the things that fail. One battery, one card, one strap fixing. These are the cheap items, and a spare of each costs little and weighs almost nothing. Single points of failure are exactly what insurance is for. Duplicate the small consumables and you remove most of the ways a day can go wrong.
Forgetting the non camera kit
Photographers obsess over glass and forget that a day in the sun without water, a hat or comfortable shoes will undo all of it. The body taking the pictures is you, and a tired, sunburnt, dehydrated photographer makes poor decisions and misses shots. Give the clothing and comfort items the same attention as the cameras.
Leaving the charger plugged in
On overnight trips, the charger left on the hotel bedside table is a classic. Make it the last thing into the bag, and check the wall socket before you leave any room. The same goes for a power bank left charging overnight and forgotten by the kettle.
Not checking the gate rules
Turning up with a bag that is too large, or with a prohibited item, means an argument at the gate or a trip back to the car you cannot easily make. Two minutes on the event website the night before avoids it entirely.
Tweaks for different kinds of show
The core checklist covers a standard daytime flying display, but a few situations call for small changes. Adjust the list rather than rebuilding it.
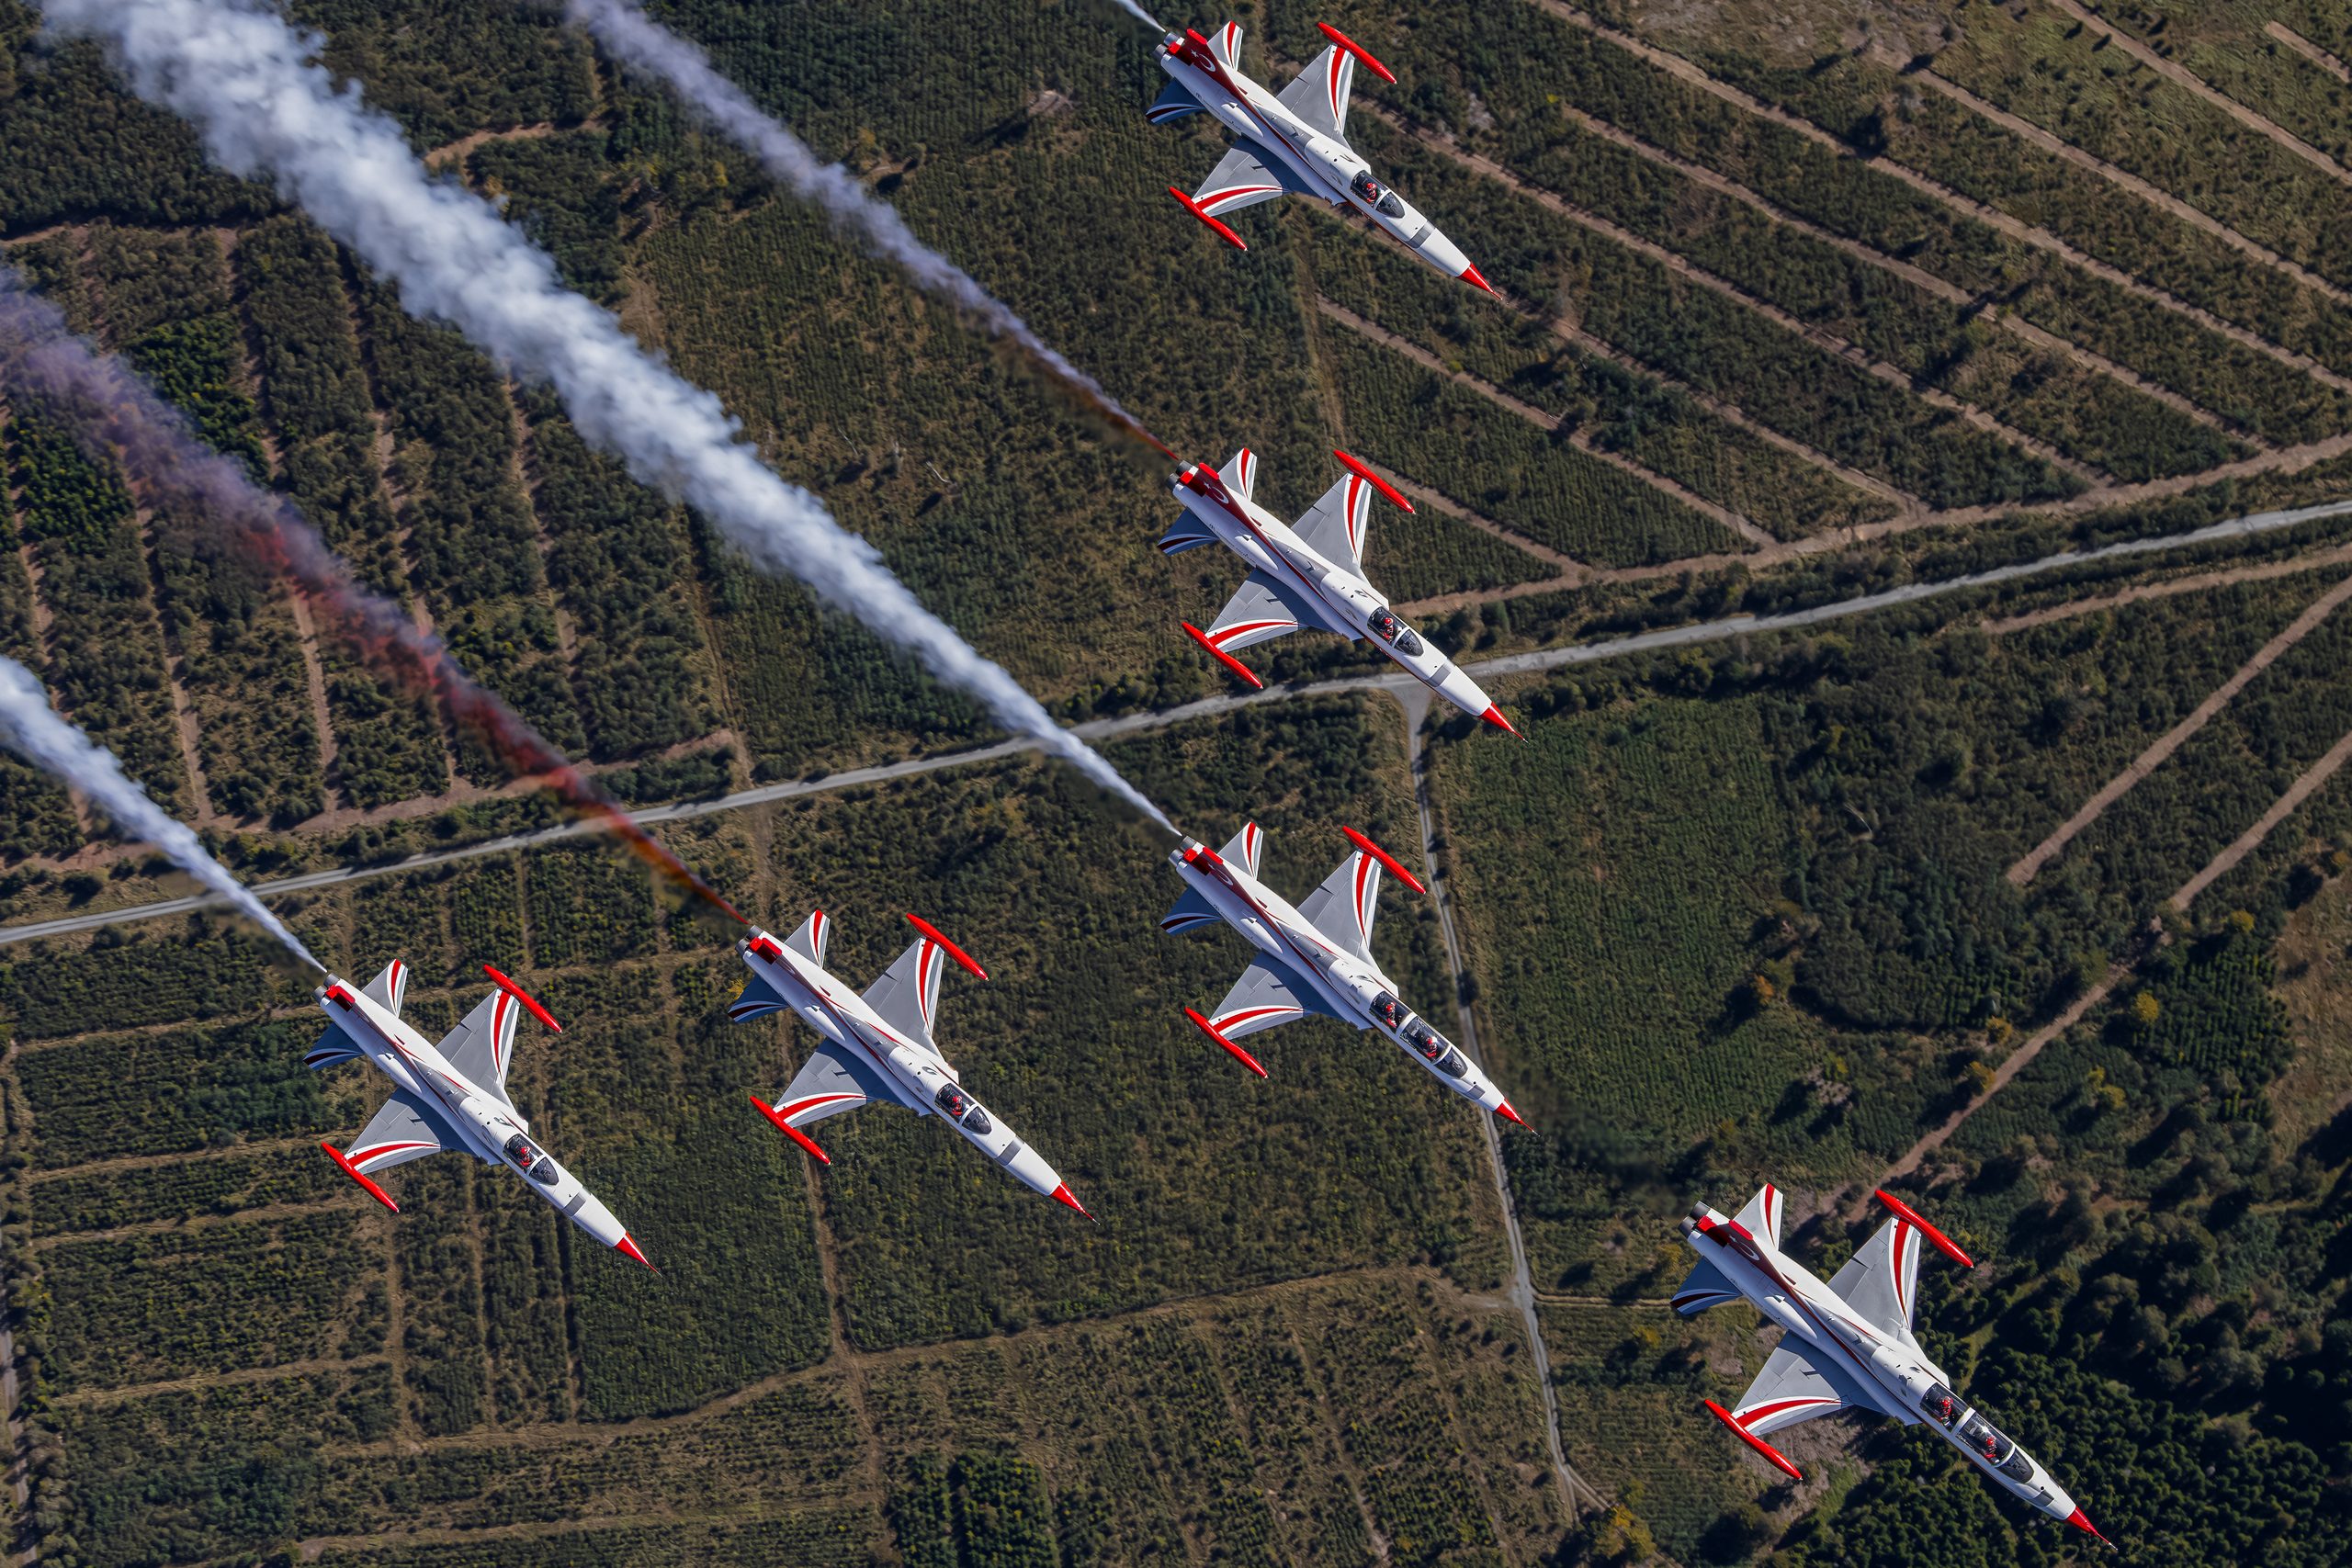
A large military tattoo
At a big multi day event there is more walking, larger crowds and a longer day, so lean towards comfort and power. Bring extra water, the folding stool, and an extra battery or the power bank, because you may be out from early morning to evening. The bag search is usually stricter at major events, so check the rules carefully and pack for an easy inspection. The static park at these shows is huge, which makes the standard zoom more useful than usual, so do not leave it in the bag all day.
A small fly in or local show
A smaller event is more relaxed, often with closer access and a shorter day. You can travel lighter, sometimes with a single body and one long zoom, and the gate rules are usually gentler. The aircraft may be propeller types and vintage machines flying gentle displays, which favours the slower shutter speeds that make a monopod worthwhile, so it is still worth carrying. Closer access also makes the standard zoom valuable for the static line up.
A coastal or seafront display
Seafront shows bring salt spray, sand and wind, all of which are hard on kit. Be more careful about lens changes, keep the rain cover and freezer bags handy even in dry weather, and clean your gear thoroughly when you get home, because salt air is corrosive over time. Wind also makes a monopod more useful for steadiness, and sun protection matters even more with the glare coming off the water.
A night show with pyrotechnics
A night display is the one time the tripod comes out of the car, for long exposures of static aircraft lit up and for fireworks finales. Add a head torch with a red light mode so you can see your controls without ruining your night vision, and a remote release or your camera’s self timer to avoid shake on long exposures. Our guide to airshow camera settings is a useful companion when the light drops and your usual fast shutter approach no longer works.
Frequently asked questions
- What is the most important thing to pack for an airshow?
- Spare batteries and enough memory. A long telephoto on continuous autofocus and high frame rates drains batteries quickly, and a full day of bursts fills cards fast. Carry at least two charged spare batteries and double the card capacity you think you need. Everything else can be worked around, but a flat battery or a full card during the one pass you wanted ends the day.
- Do I need a monopod for airshow photography?
- If your longest lens is heavier than about 1.5kg, a monopod helps a great deal. It takes the weight off your arms across a six hour day and steadies the lens for slower panning shots of propeller aircraft. For lighter kit you can hand hold all day, but most people with a 150-600mm zoom or a long prime find a monopod pays for itself by the afternoon.
- How many memory cards should I take to an airshow?
- Take enough capacity to shoot the whole day without deleting anything in the field. For most people that means 128GB to 256GB of fast cards in total. Shooting raw at ten frames a second, a busy display day can easily produce 64GB or more. Spread it across two or three cards rather than one large one, so a single card failure never costs you the whole day.
- What should I wear to photograph an airshow?
- Dress for a long day outdoors with no shade. Layers you can add or remove, comfortable broken in footwear, a hat, sunglasses and high factor sun cream are the core. Bring a light waterproof even on a clear forecast, because UK weather changes and you will be standing in the open for hours. Sunburn and aching feet ruin more airshow days than camera faults do.
- Can I take a camera bag into an airshow?
- Yes, but most major shows have a bag size limit and carry out searches at the gate. Check the event website before you travel. A medium backpack that holds a body, two lenses and accessories is usually fine. Avoid oversized roller cases, and pack so the bag opens easily for inspection. Leave anything that looks like it might be questioned, such as large tools, at home.
- Is one camera body enough, or do I need two?
- One body photographs an airshow perfectly well, and many people work that way. A second body adds insurance against failure and lets you keep a long lens on one and a standard zoom on the other, so you never miss a close pass mid lens change. If you own two, an airshow is a good day to bring both. If you own one, concentrate on spare batteries and cards instead.
- Do I need ear protection at an airshow, and what kind?
- Yes, fast jets and reheat passes a few hundred metres away are really loud enough to be uncomfortable and are worth protecting against over a long day. Simple foam plugs take up no room and cut the worst of it, while proper ear defenders are better if you have children with you, whose hearing is more vulnerable. They also cut fatigue, because hours of constant noise wear you down more than you expect.
- Should I bring a wide angle lens to an airshow as well as my telephoto?
- A wide or standard zoom earns its place mainly in the static park, where you walk around parked aircraft and a long lens simply cannot fit them in. It is also useful for crowd atmosphere, a dramatic close taxi pass, or a formation filling the sky overhead. It is not essential for the flying, so if you are travelling light a standard zoom covers far more ground than a dedicated ultra-wide.
- How do I keep my kit safe from dust when changing lenses on a grass airfield?
- Minimise lens changes altogether by carrying a second body or a versatile zoom, and when you must swap, turn your back to the wind and point the camera mount down so dust falls away rather than into it. Have the replacement lens uncapped and ready so the body is open for the shortest possible time. Pack a rocket blower to clear loose dust from the mount and front element, and blow before you ever wipe so you do not drag grit across the glass.
A final word before you pack
None of this is complicated, and that is the point. A good airshow kit is a short list of the right things, packed the same way every time, with a spare of everything that can fail and nothing you will not use. Get the power and the storage right so you never stop shooting, carry a long lens you can hold all day with help from a monopod, and look after the photographer with sun protection, water and decent shoes. Do that and the day is about the flying, not about fighting your gear.
When you are ready to go deeper, our guide to the best lenses for aviation photography helps with the most important purchase, the airshow photography tips guide covers what to do once you are on the crowd line, and the camera settings and autofocus guide gets your camera ready for the action. And when you want to see where a well packed bag and a good day can lead, browse the Piemags Aviation galleries.
Airshow Camera Settings Cheat Sheet
Join the Piemags Aviation newsletter and we will send you the one-page PDF: shutter speeds, autofocus and exposure at a glance for the flight line.
