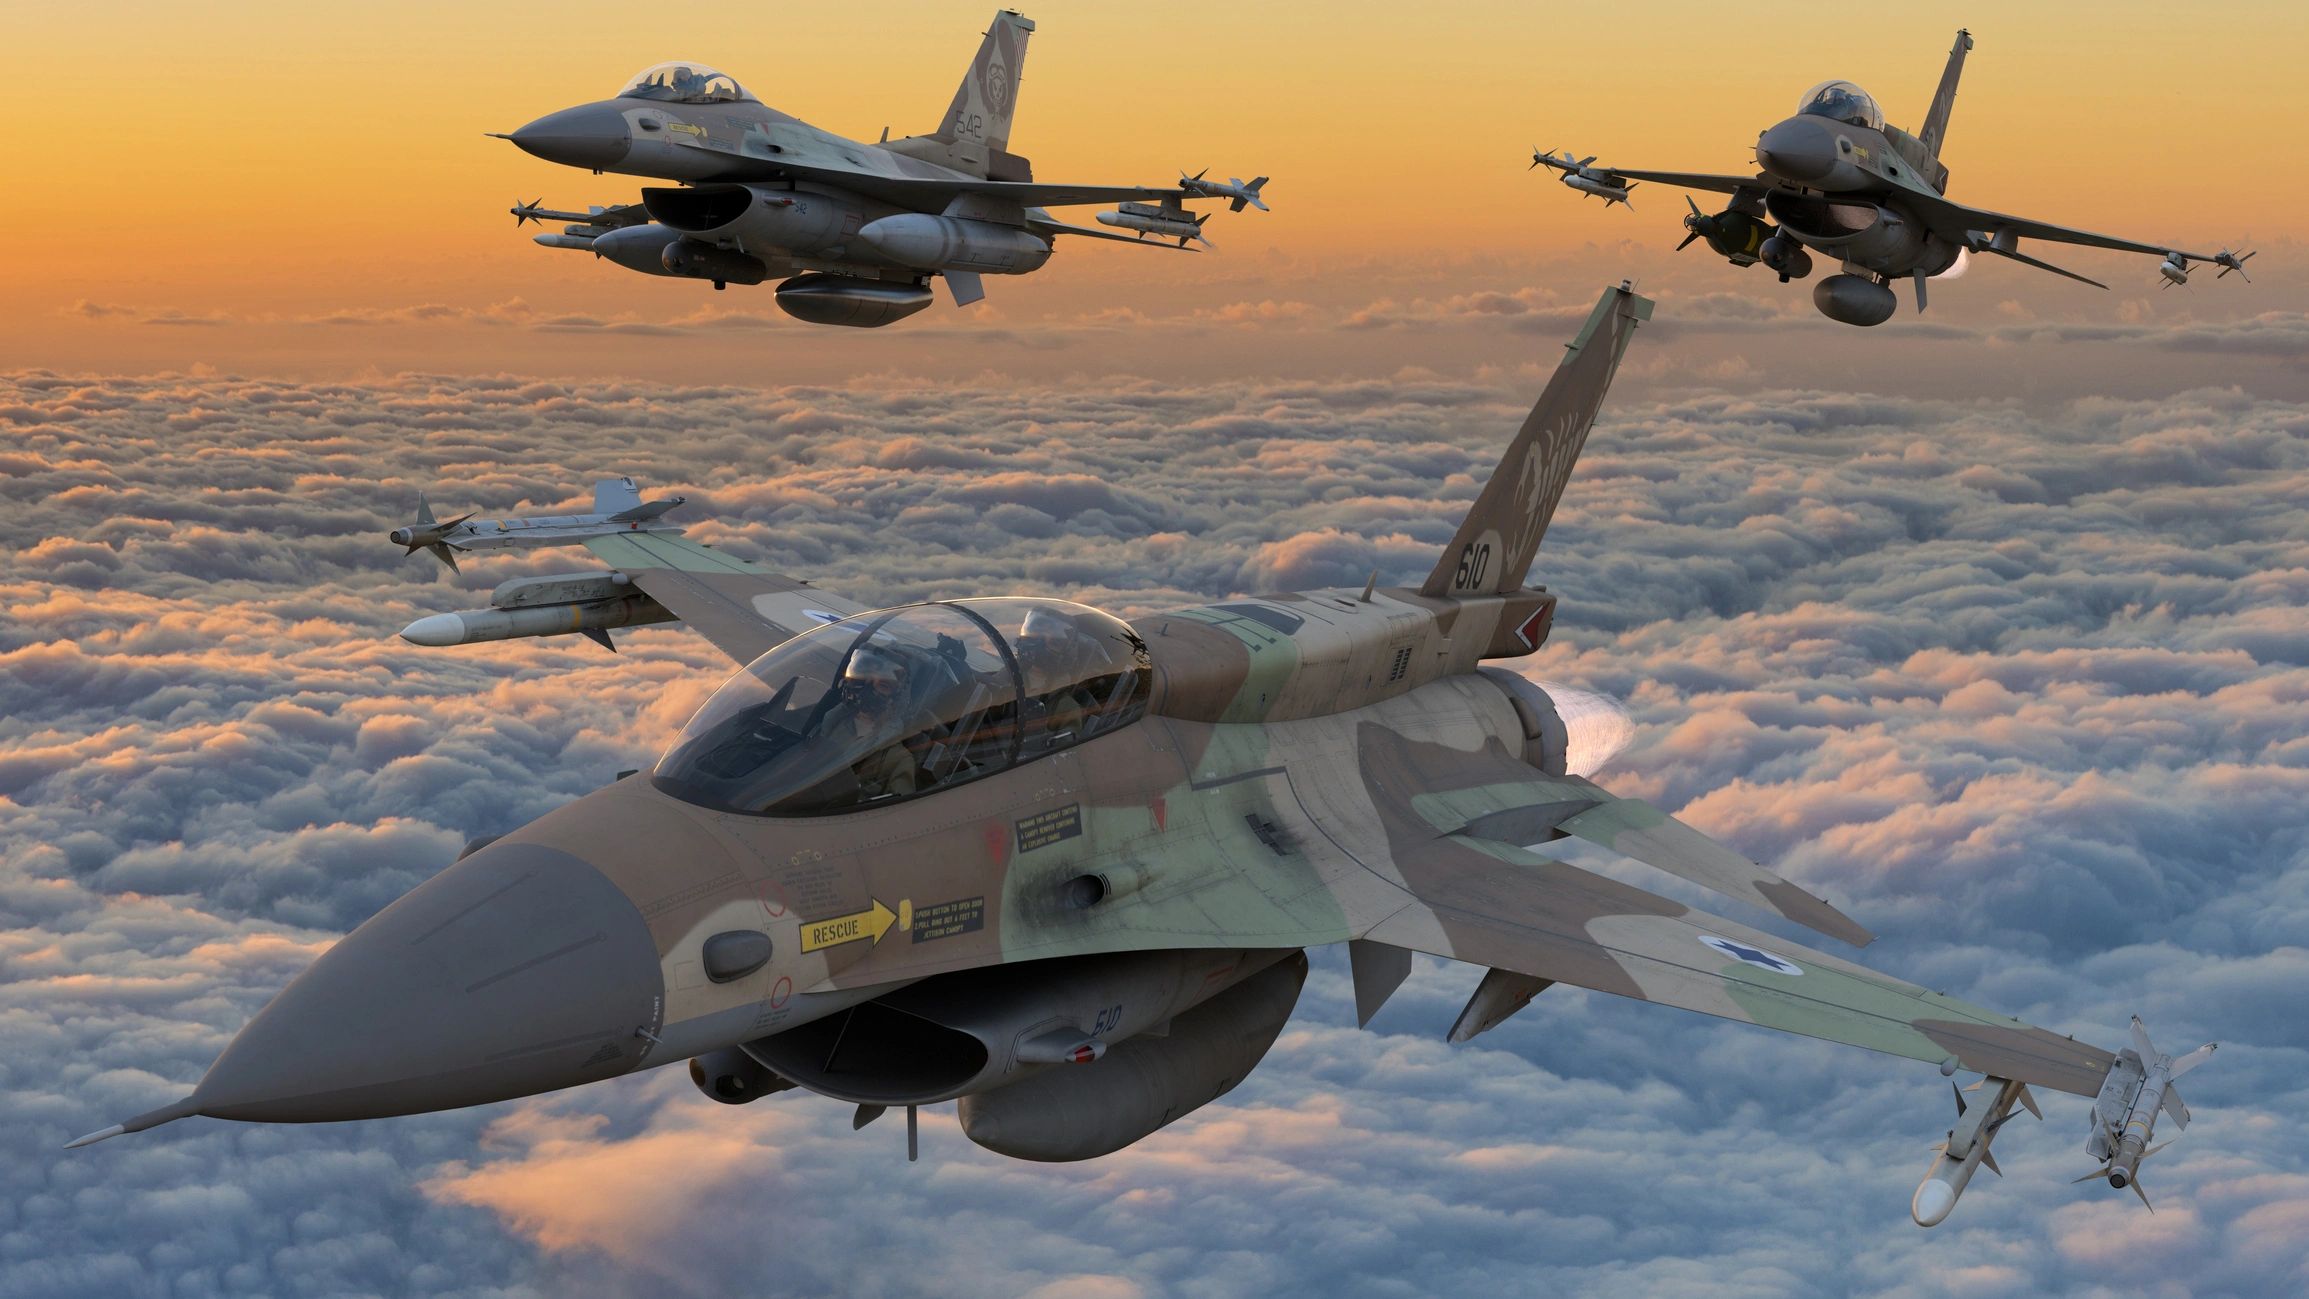
A display team is one of the most rewarding subjects in aviation photography and one of the most demanding. Instead of tracking a single aircraft you are trying to hold several in the frame at once, sharp, well placed, and caught at the split second the shape is at its best. Get it right and you have an image full of precision and energy. Get the timing wrong by half a second and the formation is ragged, the smoke has drifted, or one aircraft is clipped at the edge.
This guide is about photographing formation flying well: the settings that keep several aircraft sharp, where to stand, how to read a display so you know what is coming, and how to time the set-piece passes, synchro crosses and smoke that make the strongest frames. It applies whether you are watching a national jet team, a warbird formation, or a pair of aerobatic aircraft, and it assumes you want results rather than luck.
What this guide covers
- What makes formation photography hard
- Gear and setup for formation work
- Camera settings for display teams
- Reading the display and where to stand
- Timing the shape
- Synchro pairs and opposition passes
- Using smoke and trails
- Tight formations versus big set pieces
- Panning and keeping the formation sharp
- Common mistakes and how to avoid them
- Editing formation shots
- Understanding formation positions and shapes
- Weather, light and haze for formation work
- Frequently asked questions
What makes formation photography hard
Photographing a single aircraft is mostly a problem of tracking and timing. Photographing a formation adds a second layer: the relationship between the aircraft. You now have to catch the whole group at the instant the pattern looks its best, with every aircraft where it should be, and you have to keep all of them sharp and inside the frame while they move as one.
Several things conspire against you. The formation covers more of the sky than a single aircraft, so it is easy to clip an aircraft at the edge or to have the group too small in a frame you left too wide. Depth of field has to cover the spread of the aircraft, which are not all the same distance from you. And the moment matters more than with a solo display, because a formation only looks clean and deliberate for a fraction of its pass. A heartbeat early or late and the shape is loose.
The moment is everything
With a single jet you can fire through a pass and keep several good frames. With a formation, the difference between a keeper and a reject is often whether the aircraft were perfectly positioned at the instant you pressed the shutter. That puts a premium on anticipation. The photographers who consistently nail formations are not reacting faster than everyone else, they are predicting where the shape will peak and being ready for it.
Why it is worth the effort
A well caught formation carries something a solo shot cannot: the discipline and precision of several pilots flying as one. The tighter and cleaner the formation in your frame, the more that precision reads. It is one of the few aviation subjects where the skill of the pilots and the skill of the photographer are both visible in the same image.
Gear and setup for formation work
Formations do not demand exotic kit, but they reward a setup that lets you change framing fast, because a display can go from a big set-piece formation to a tight synchro pair in seconds.
Lenses
A versatile telephoto zoom is the ideal formation lens. A 100-400mm class zoom lets you pull wide for a nine-ship set piece and zoom in for a close pair without swapping glass, which you rarely have time to do during a display. A fixed long prime can leave you stuck too tight for the big shapes. If you shoot two bodies, a second with a standard zoom in the 24-105mm range is useful for very large formations that fill the sky at close range, and for catching the team taxiing out or breaking overhead. Our guide to the best lenses for aviation photography compares the realistic options if you are choosing.
Support
Because formations often sit higher in the sky and you swing across wide arcs, a monopod that carries the weight without pinning you down helps on a long day. Handholding gives you the most freedom to recompose quickly, which matters when the shape changes fast, so many photographers handhold for the flying and use the monopod to rest between passes.
Camera setup before the display
Set your camera up before the team arrives, not during the first pass. Choose continuous autofocus, a wide-area or zone focus mode that can hold a group rather than hunting for one point, and a burst rate high enough to catch the peak of a pass. Set a base shutter and aperture for the type of aircraft flying, and switch on any viewfinder grid to help you keep the formation level. Walking in ready means you shoot the opening pass instead of fumbling through it.
Camera settings for display teams
The right settings depend on what the team flies, because jets and propeller aircraft want opposite things from your shutter, exactly as they do for solo displays. The extra consideration for formations is depth of field, because you need enough to keep aircraft at slightly different distances all acceptably sharp.
Shutter speed
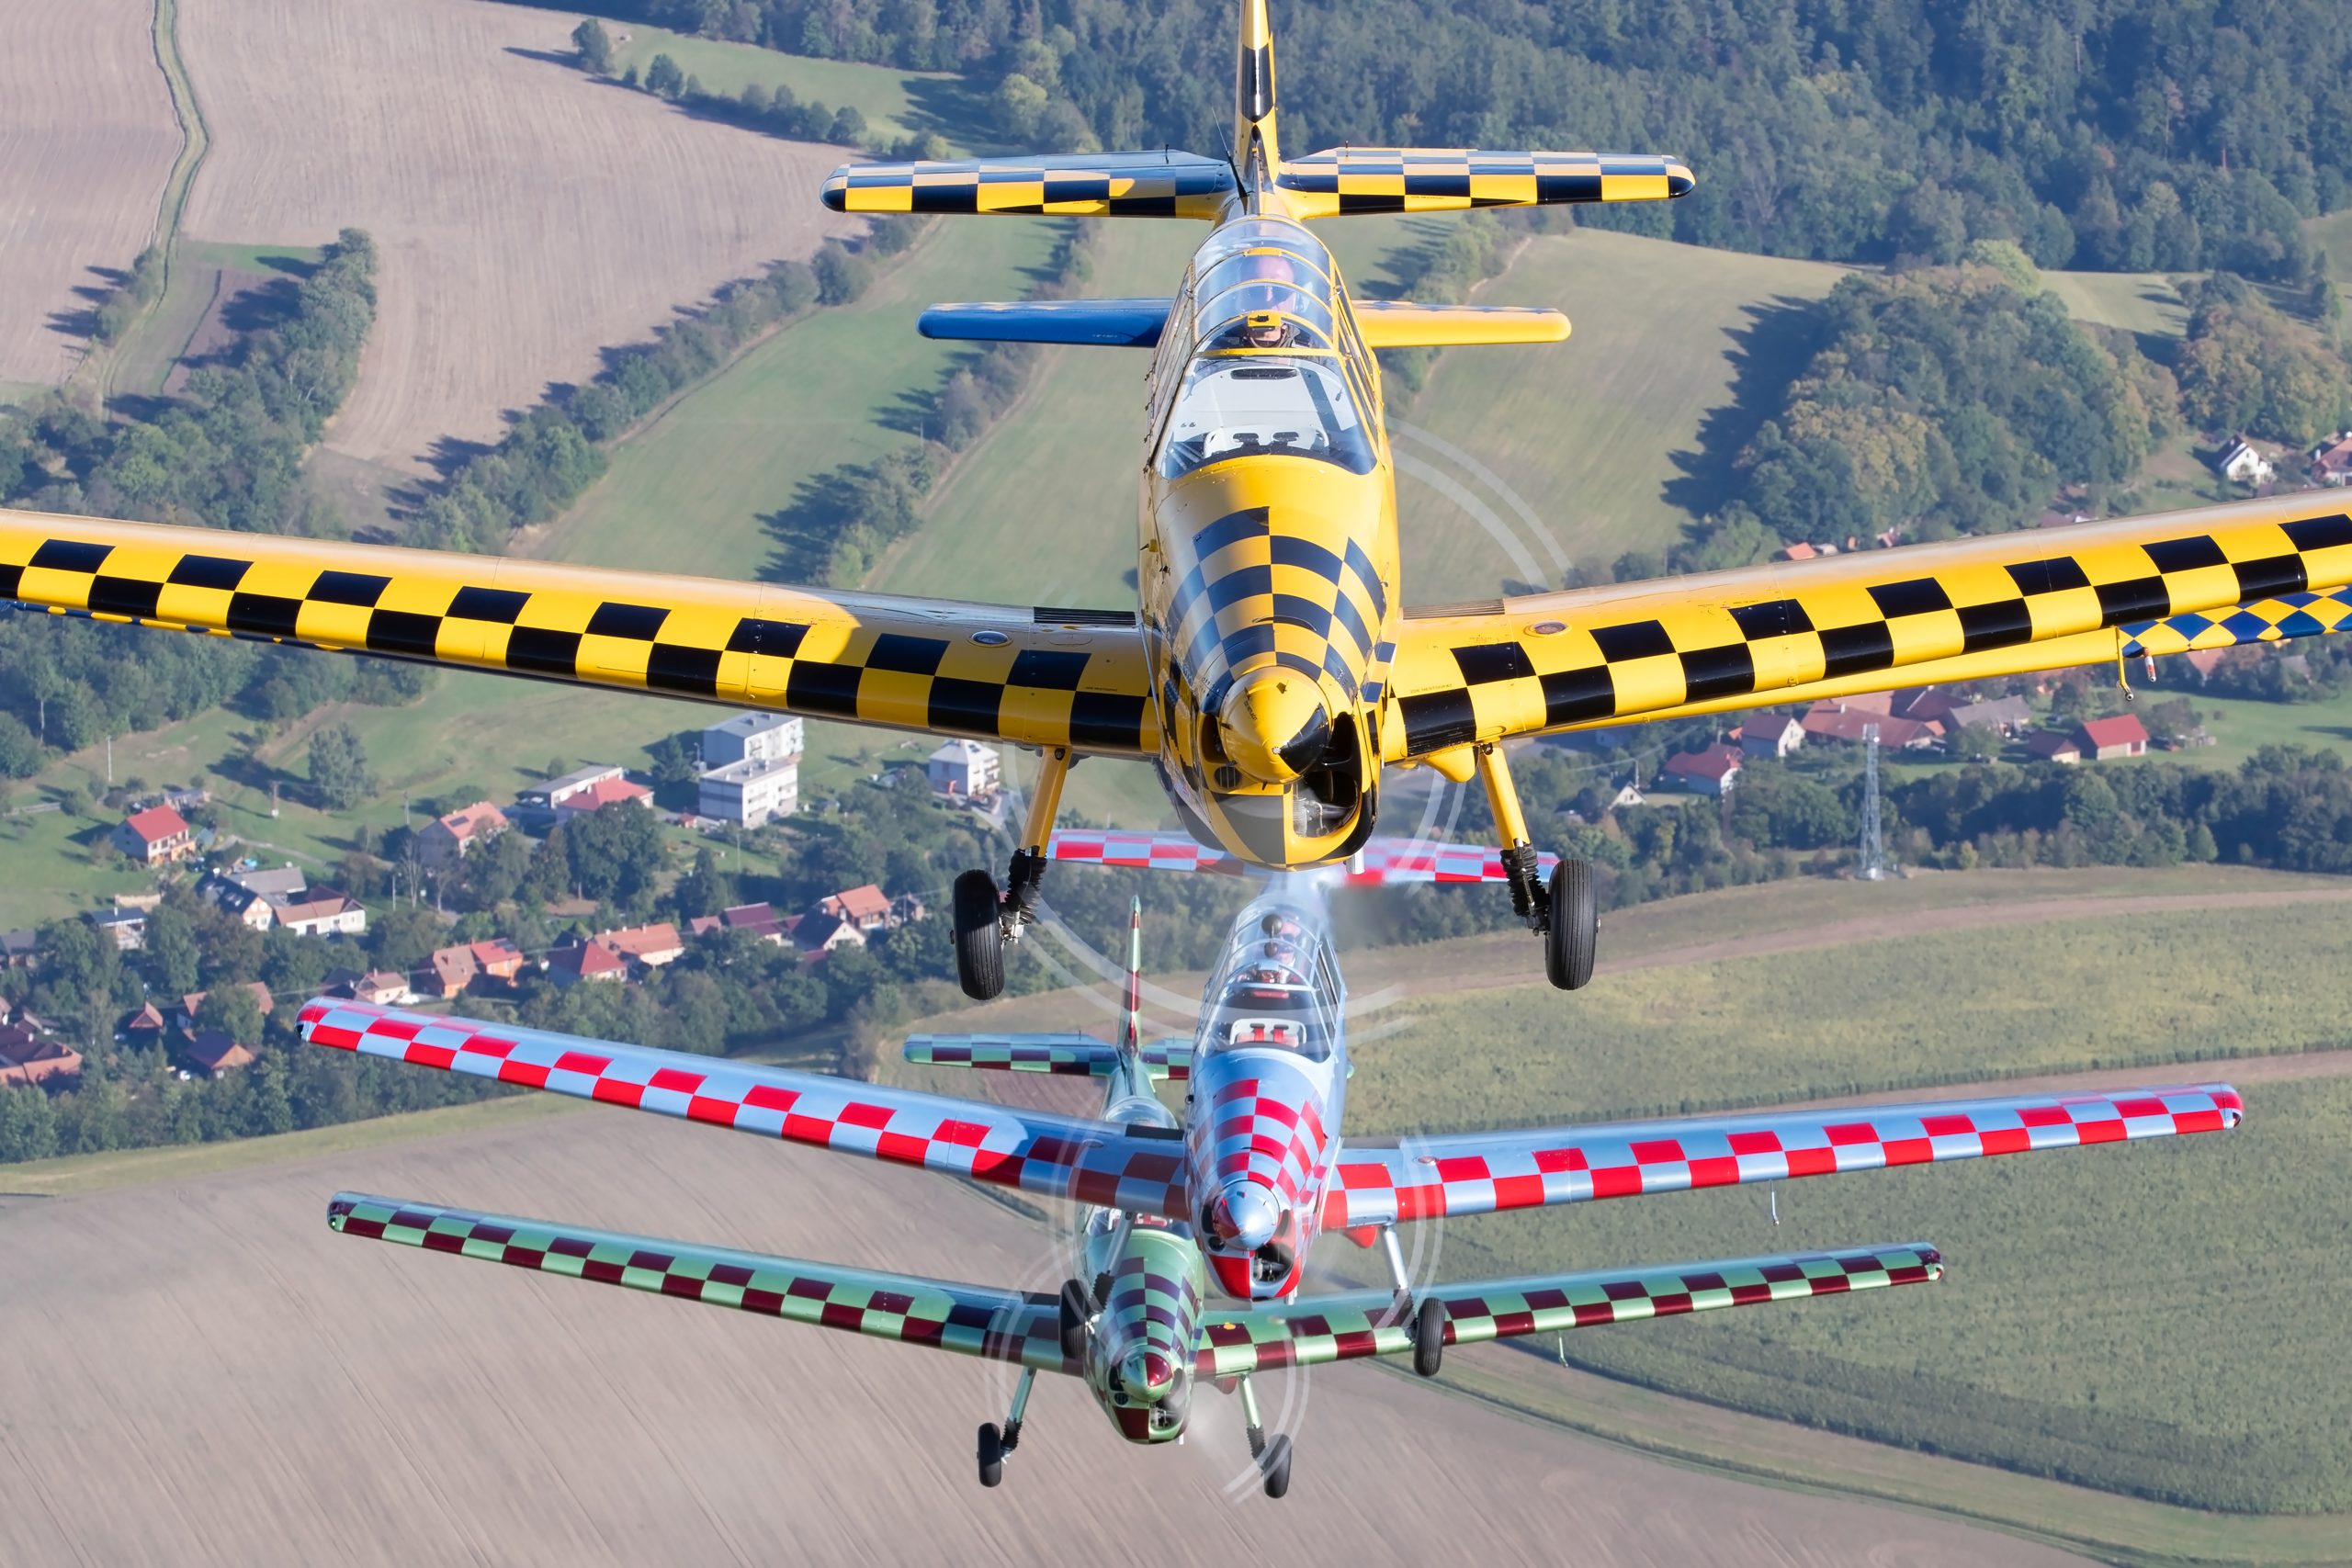
For a jet team, use 1/640 to 1/1000 second. That is fast enough to freeze the aircraft and to hide the small tracking errors that creep in when you are trying to hold several aircraft, while not so fast that you are forced to a high ISO. For a propeller display team or a warbird formation, drop to around 1/200 second so the propeller discs blur and the aircraft look alive rather than stopped, and commit to a very smooth pan, because at that speed poor tracking will smear the whole formation, not just the props.
Aperture and depth of field
The aircraft in a formation are not all the same distance from your lens, so you want a little depth of field margin. An aperture around f/6.3 to f/8 usually covers the spread of a formation at display distance while keeping the lens near its sharpest. For a big, deep formation you can close down a touch further to f/9 or f/11 if the light allows, at the cost of a higher ISO.
Focus and drive
Use continuous autofocus with a zone or wide area rather than a single point, so the system can hold the group instead of hunting between aircraft. Focus on the lead or the nearest aircraft and let depth of field carry the rest. Shoot short bursts at the peak of a pass rather than holding the button down, so you capture the moment the shape is best without drowning in frames.
| Team type | Shutter | Aperture | Focus | Notes |
|---|---|---|---|---|
| Jet display team | 1/640 to 1/1000s | f/6.3 to f/8 | Continuous, zone | Sharp jets, room for the shape |
| Big set-piece formation | 1/800 to 1/1000s | f/8 to f/11 | Continuous, wide area | More depth for a deep formation |
| Propeller or warbird formation | 1/160 to 1/250s | f/8 to f/11 | Continuous, zone, smooth pan | Blur the discs, track carefully |
| Tight synchro pair | 1/800 to 1/1250s | f/6.3 to f/8 | Continuous, single or small zone | Freeze the cross, fill the frame |
Reading the display and where to stand
Formation displays are choreographed, which is a gift to the photographer who pays attention. Unlike a chaotic scene, a display team flies a planned sequence, and once you understand the pattern you can predict where the best moments will happen and be ready for them.
Watch the first pass
If you can, watch the opening run without shooting everything, or study the display order if one is published. Note where the team places its big formation passes, where the synchro pair crosses, which way the aircraft break, and where the smoke is switched on. A display often repeats elements or follows a familiar structure, so what you learn early pays off for the rest of the show.
Position and the sun
Stand near the display centre for the head-on and formation passes that are aimed at the crowd, and keep the sun behind you or over your shoulder where the geometry allows, so the aircraft are front lit and their markings hold colour. The centre is where the team lines up its set pieces, so it is the natural place for formation work. Standing a little off centre can give you better angles on breaks and on the crossing points of opposition passes, so if you have shot the centre passes, consider moving for variety.
Backgrounds for formations
Because formations often fly higher than a solo display, clean sky is usually easier to find, which is one of the pleasures of shooting them. Still watch for the moments when a formation is low, against cluttered ground, and favour the passes where the shape sits against open sky. Our guide to photographing the Red Arrows goes into reading a specific team’s sequence and applies to display teams generally.
Timing the shape
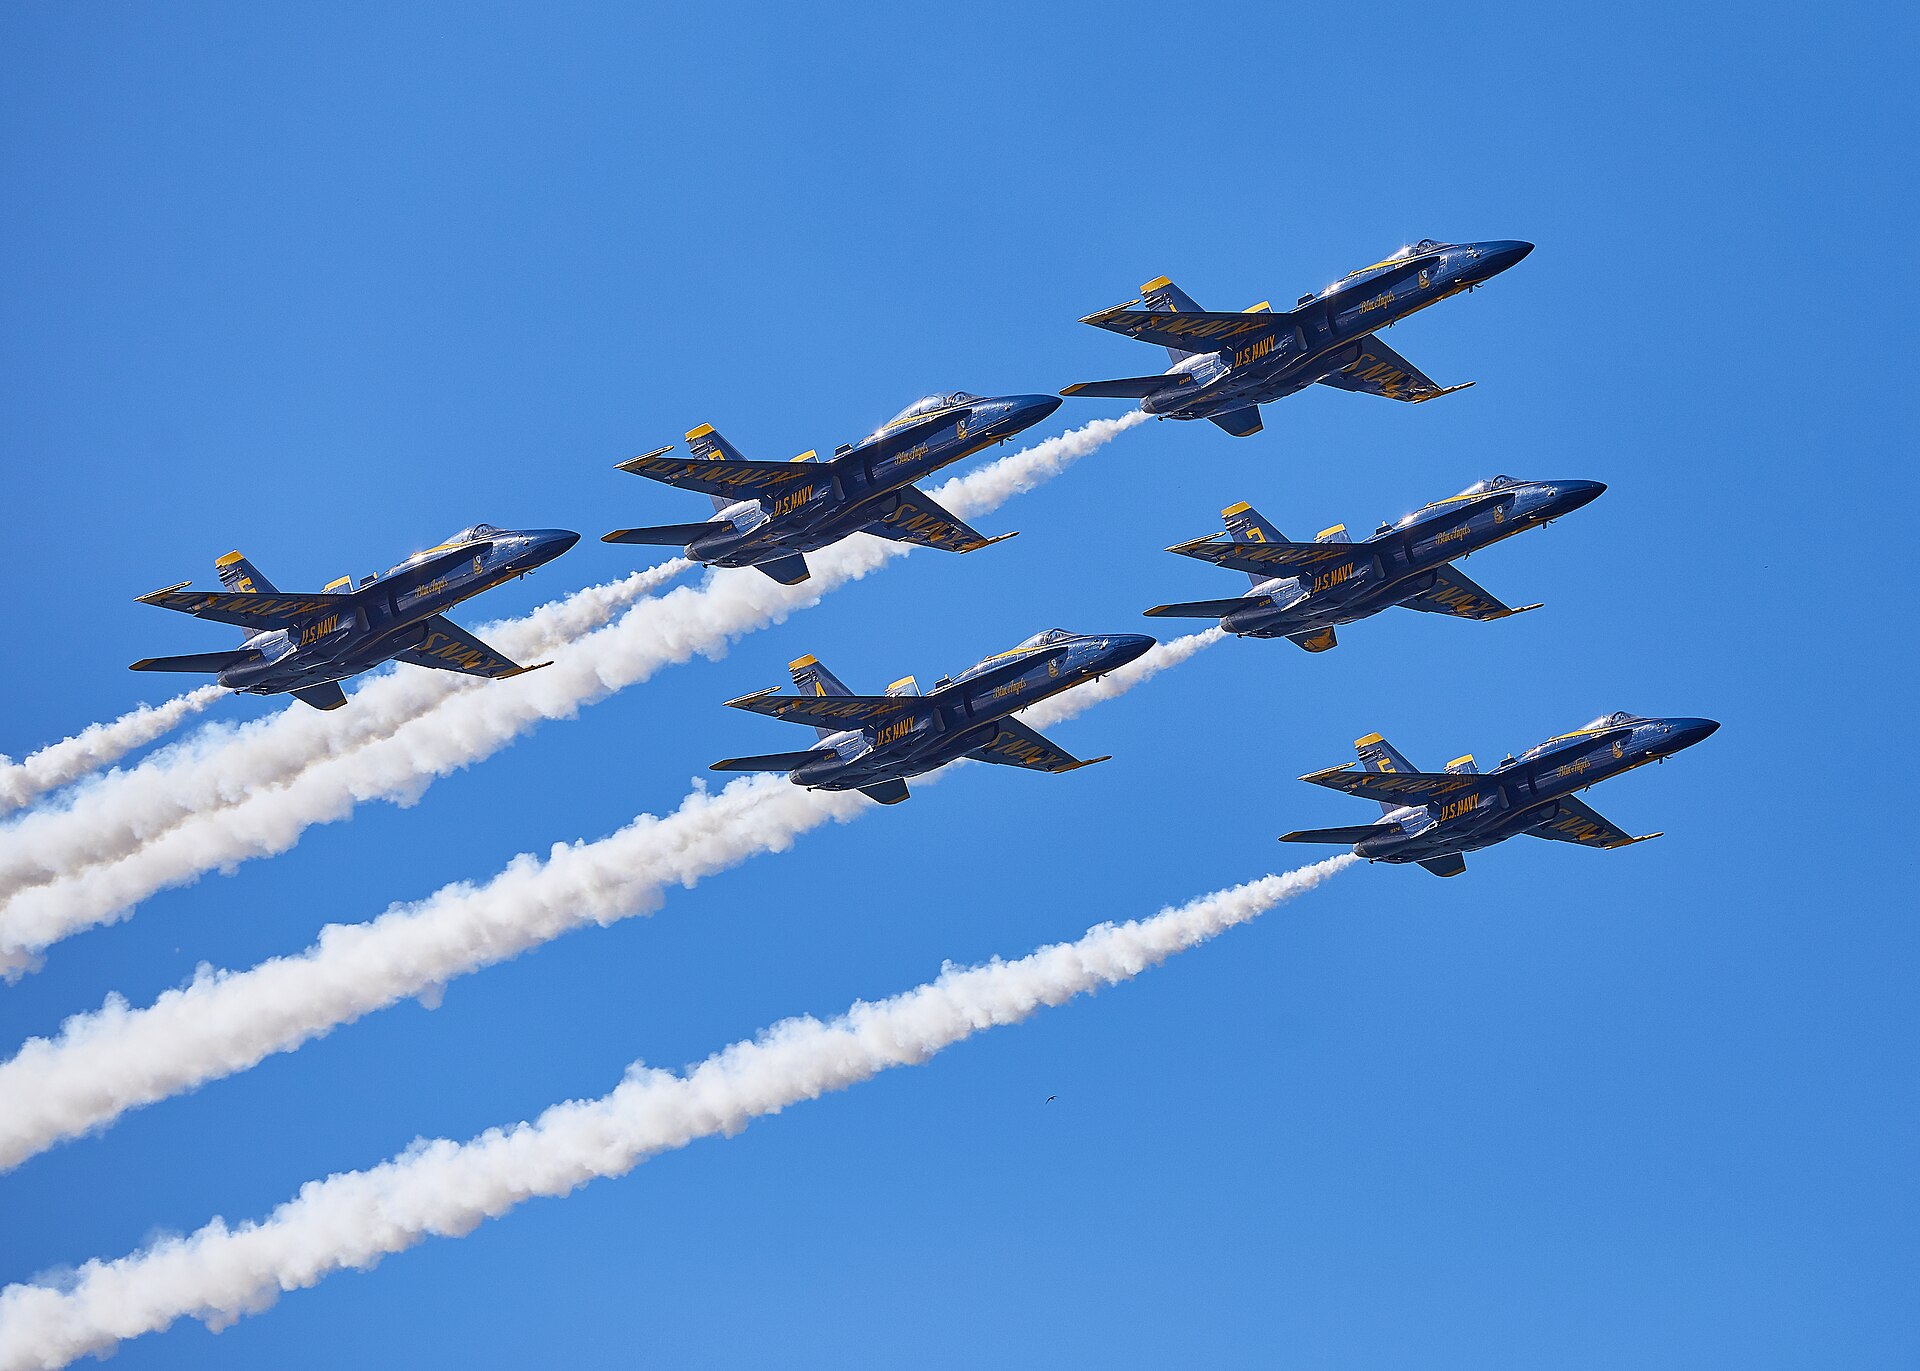
The single skill that separates strong formation photographs from average ones is timing the shape. A formation looks its best for only a brief window on each pass, when the aircraft are perfectly positioned, level, and the pattern is clean and symmetrical. Your job is to press the shutter in that window.
Find the peak
As a formation runs in, it firms up, reaches its cleanest and tightest arrangement, then begins to loosen or change as it passes and turns. That cleanest instant is the peak. It usually comes as the formation is closest to being side on or head on to you, level, with the aircraft evenly spaced. Learn to see that moment building and fire a short burst through it rather than a single frame, so you have a choice of the best.
Anticipate, do not react
Human reaction time is too slow to catch a peak by responding to it. By the time you see the perfect shape and press the shutter, it has passed. Instead, anticipate: begin your burst just before the shape peaks, so the camera is already firing as it arrives. This is why reading the display matters. If you know a clean formation pass is coming down the crowd line, you can be tracking and ready, firing as it reaches the sweet spot rather than chasing it.
Level and symmetry
Watch two things as the shape peaks: is the formation level, and is it symmetrical from your viewpoint. A formation that is banking or seen from an awkward angle rarely reads as cleanly as one that is level and square to you. Sometimes waiting a fraction for the aircraft to level, or for your angle to improve as they track past, gives a much stronger frame than firing at the first opportunity.
Synchro pairs and opposition passes
Many display teams split into a synchro pair for the second half of the show, flying opposition passes where two aircraft approach from opposite directions and cross, often close and fast. These crossing passes are among the most dramatic images a team offers and among the hardest to catch, because the moment is instant and cannot be repeated on demand.
Know where the cross happens
The crossing point is usually in front of the display centre, aimed to look most dramatic from the crowd. Watch an earlier opposition pass to confirm where the aircraft meet, then set up for it. Knowing the location in advance is far more useful than fast reactions, because you can pre-frame the spot and simply wait for the aircraft to arrive rather than trying to find them as they flash together.
Framing the cross
Pre-frame the crossing point with room on both sides so both aircraft are inside the frame as they meet. Too tight and you clip one; too wide and the drama shrinks. A slightly faster shutter, around 1/1000 or above, freezes the closing speed cleanly. Fire a short burst as the aircraft converge, so you catch the exact frame where they overlap or pass, which is the shot that makes the pass.
Head-on and break shots
Opposition sequences often include head-on runs and dramatic breaks where the formation splits apart. Head-on passes suit central framing and a fast shutter. Breaks, where aircraft peel away in different directions, reward a slightly wider frame that shows the aircraft fanning out, often with smoke, and a burst to catch the moment the shape blooms open.
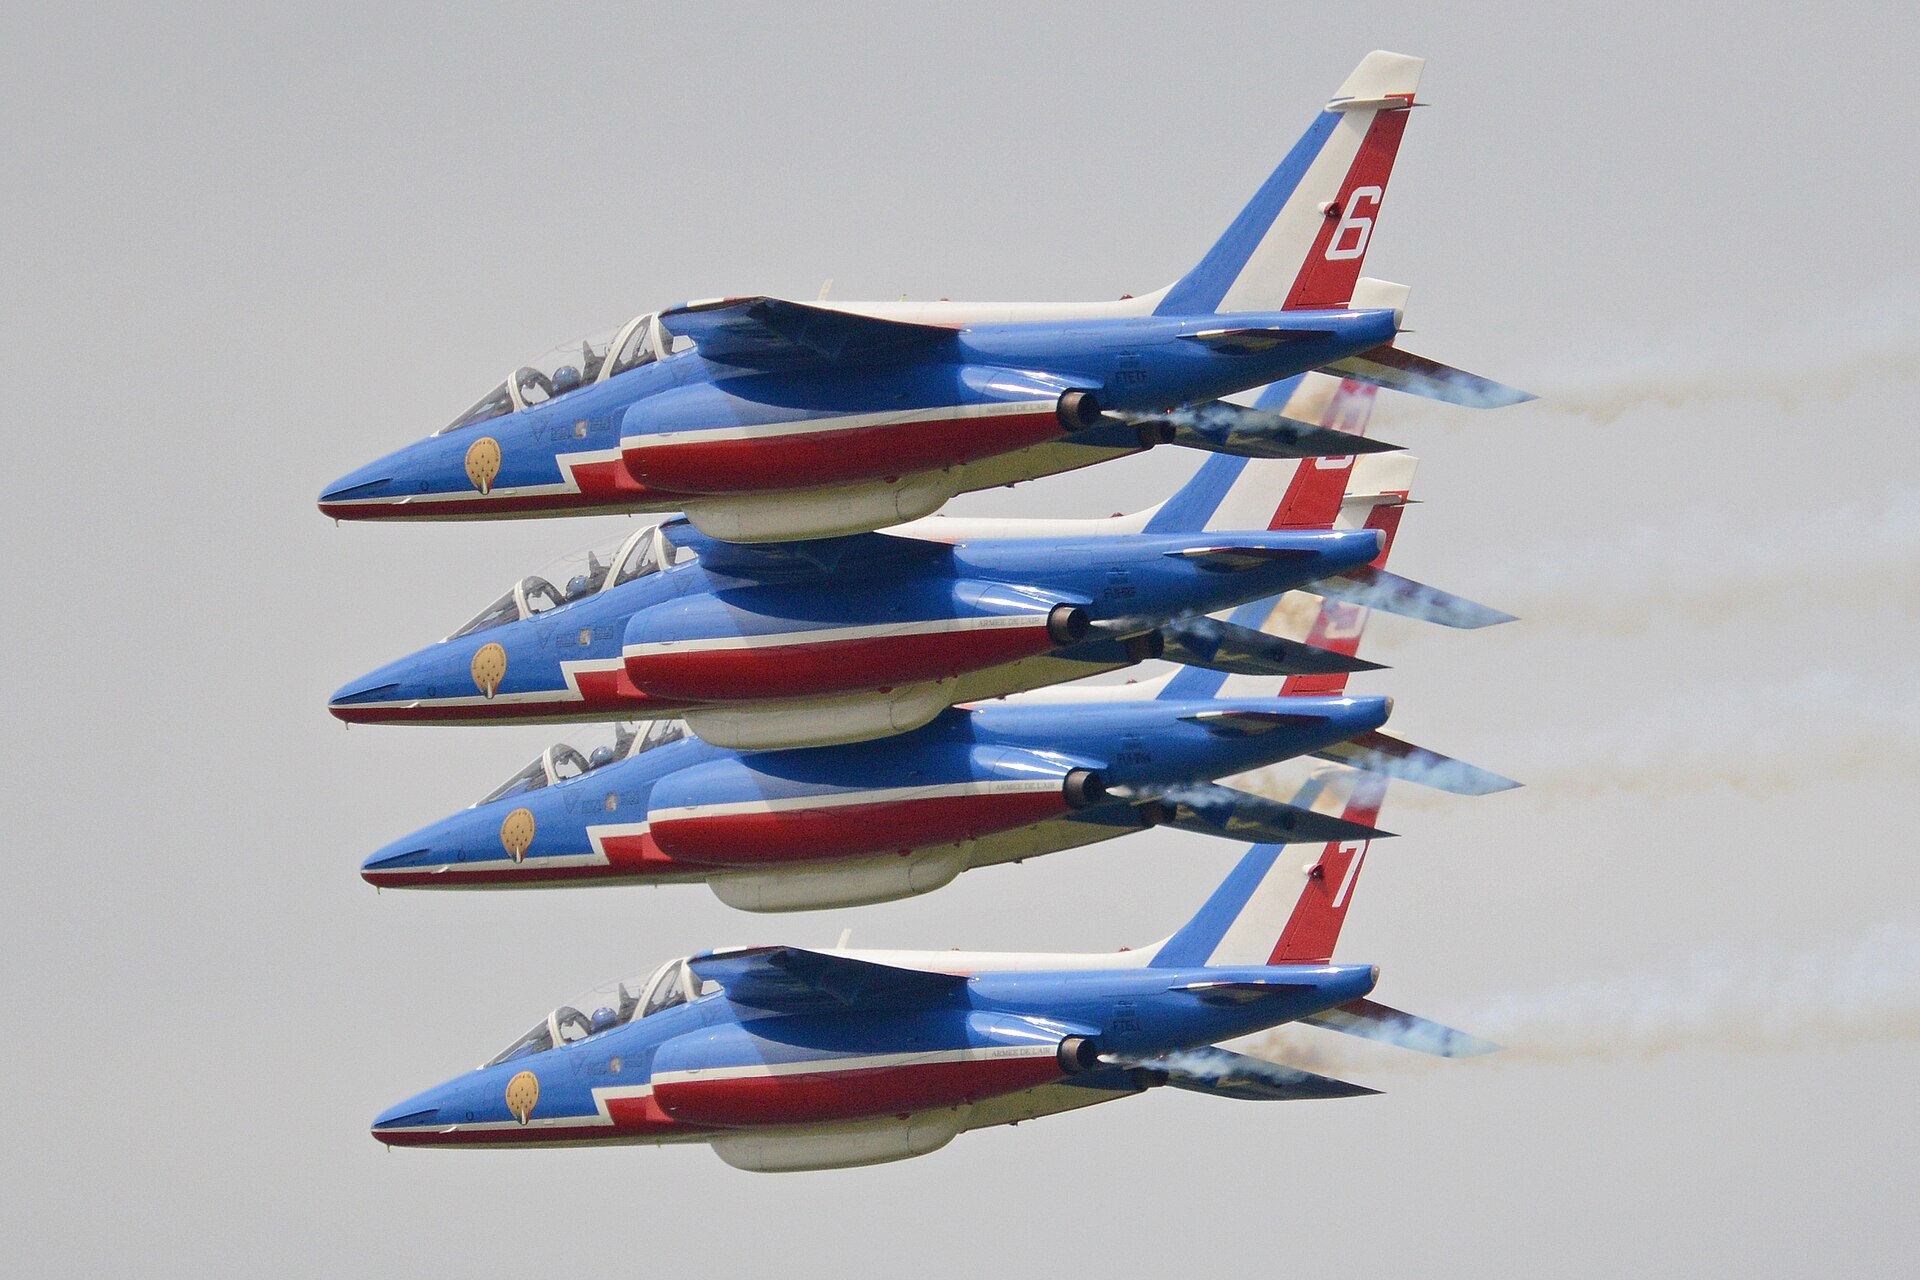
Using smoke and trails
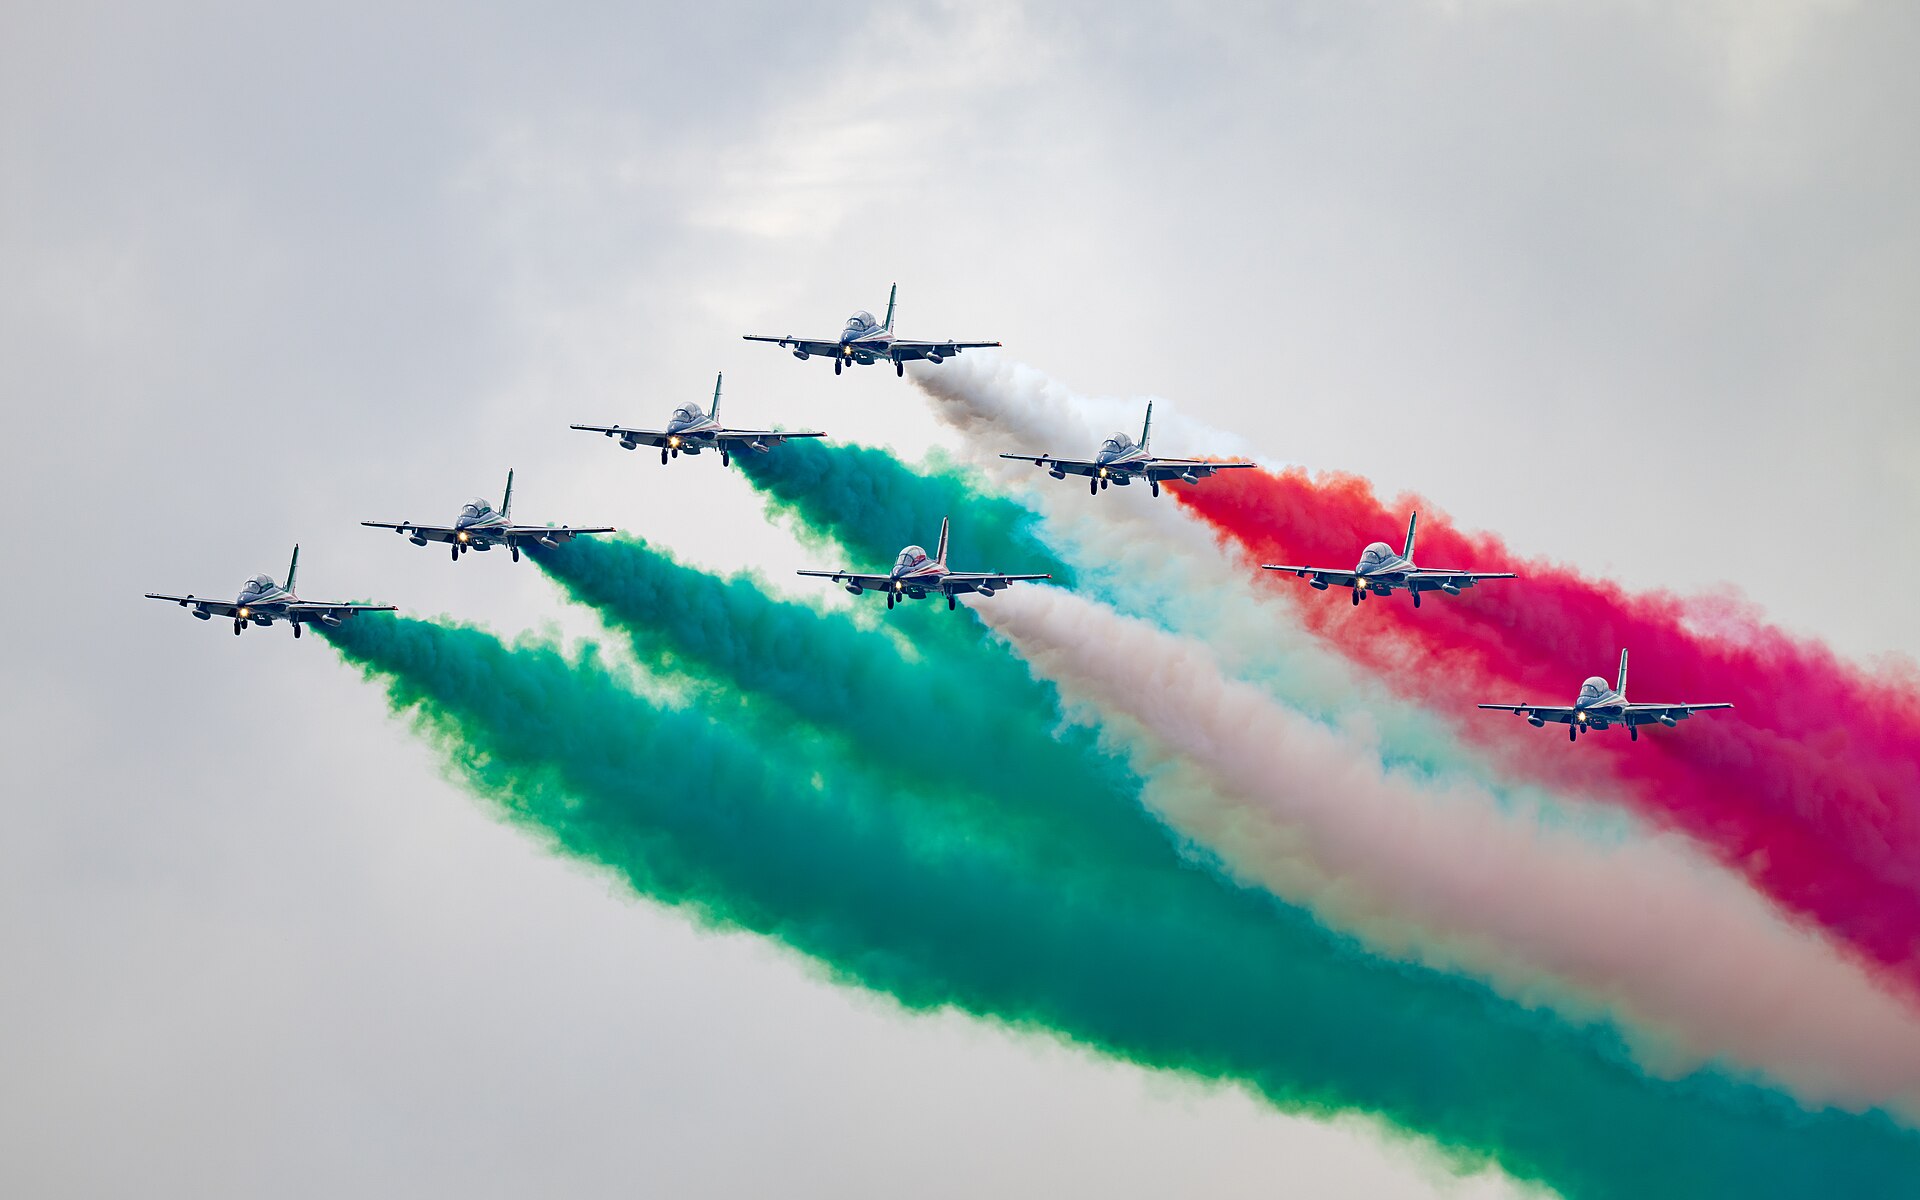
Coloured smoke is part of what makes display teams so photogenic, and used well in your composition it turns a good formation shot into a memorable one. Smoke shows the path the aircraft have flown, adds colour and movement, and gives the eye lines to follow through the frame. Used badly, it drifts across the aircraft or clutters the picture.
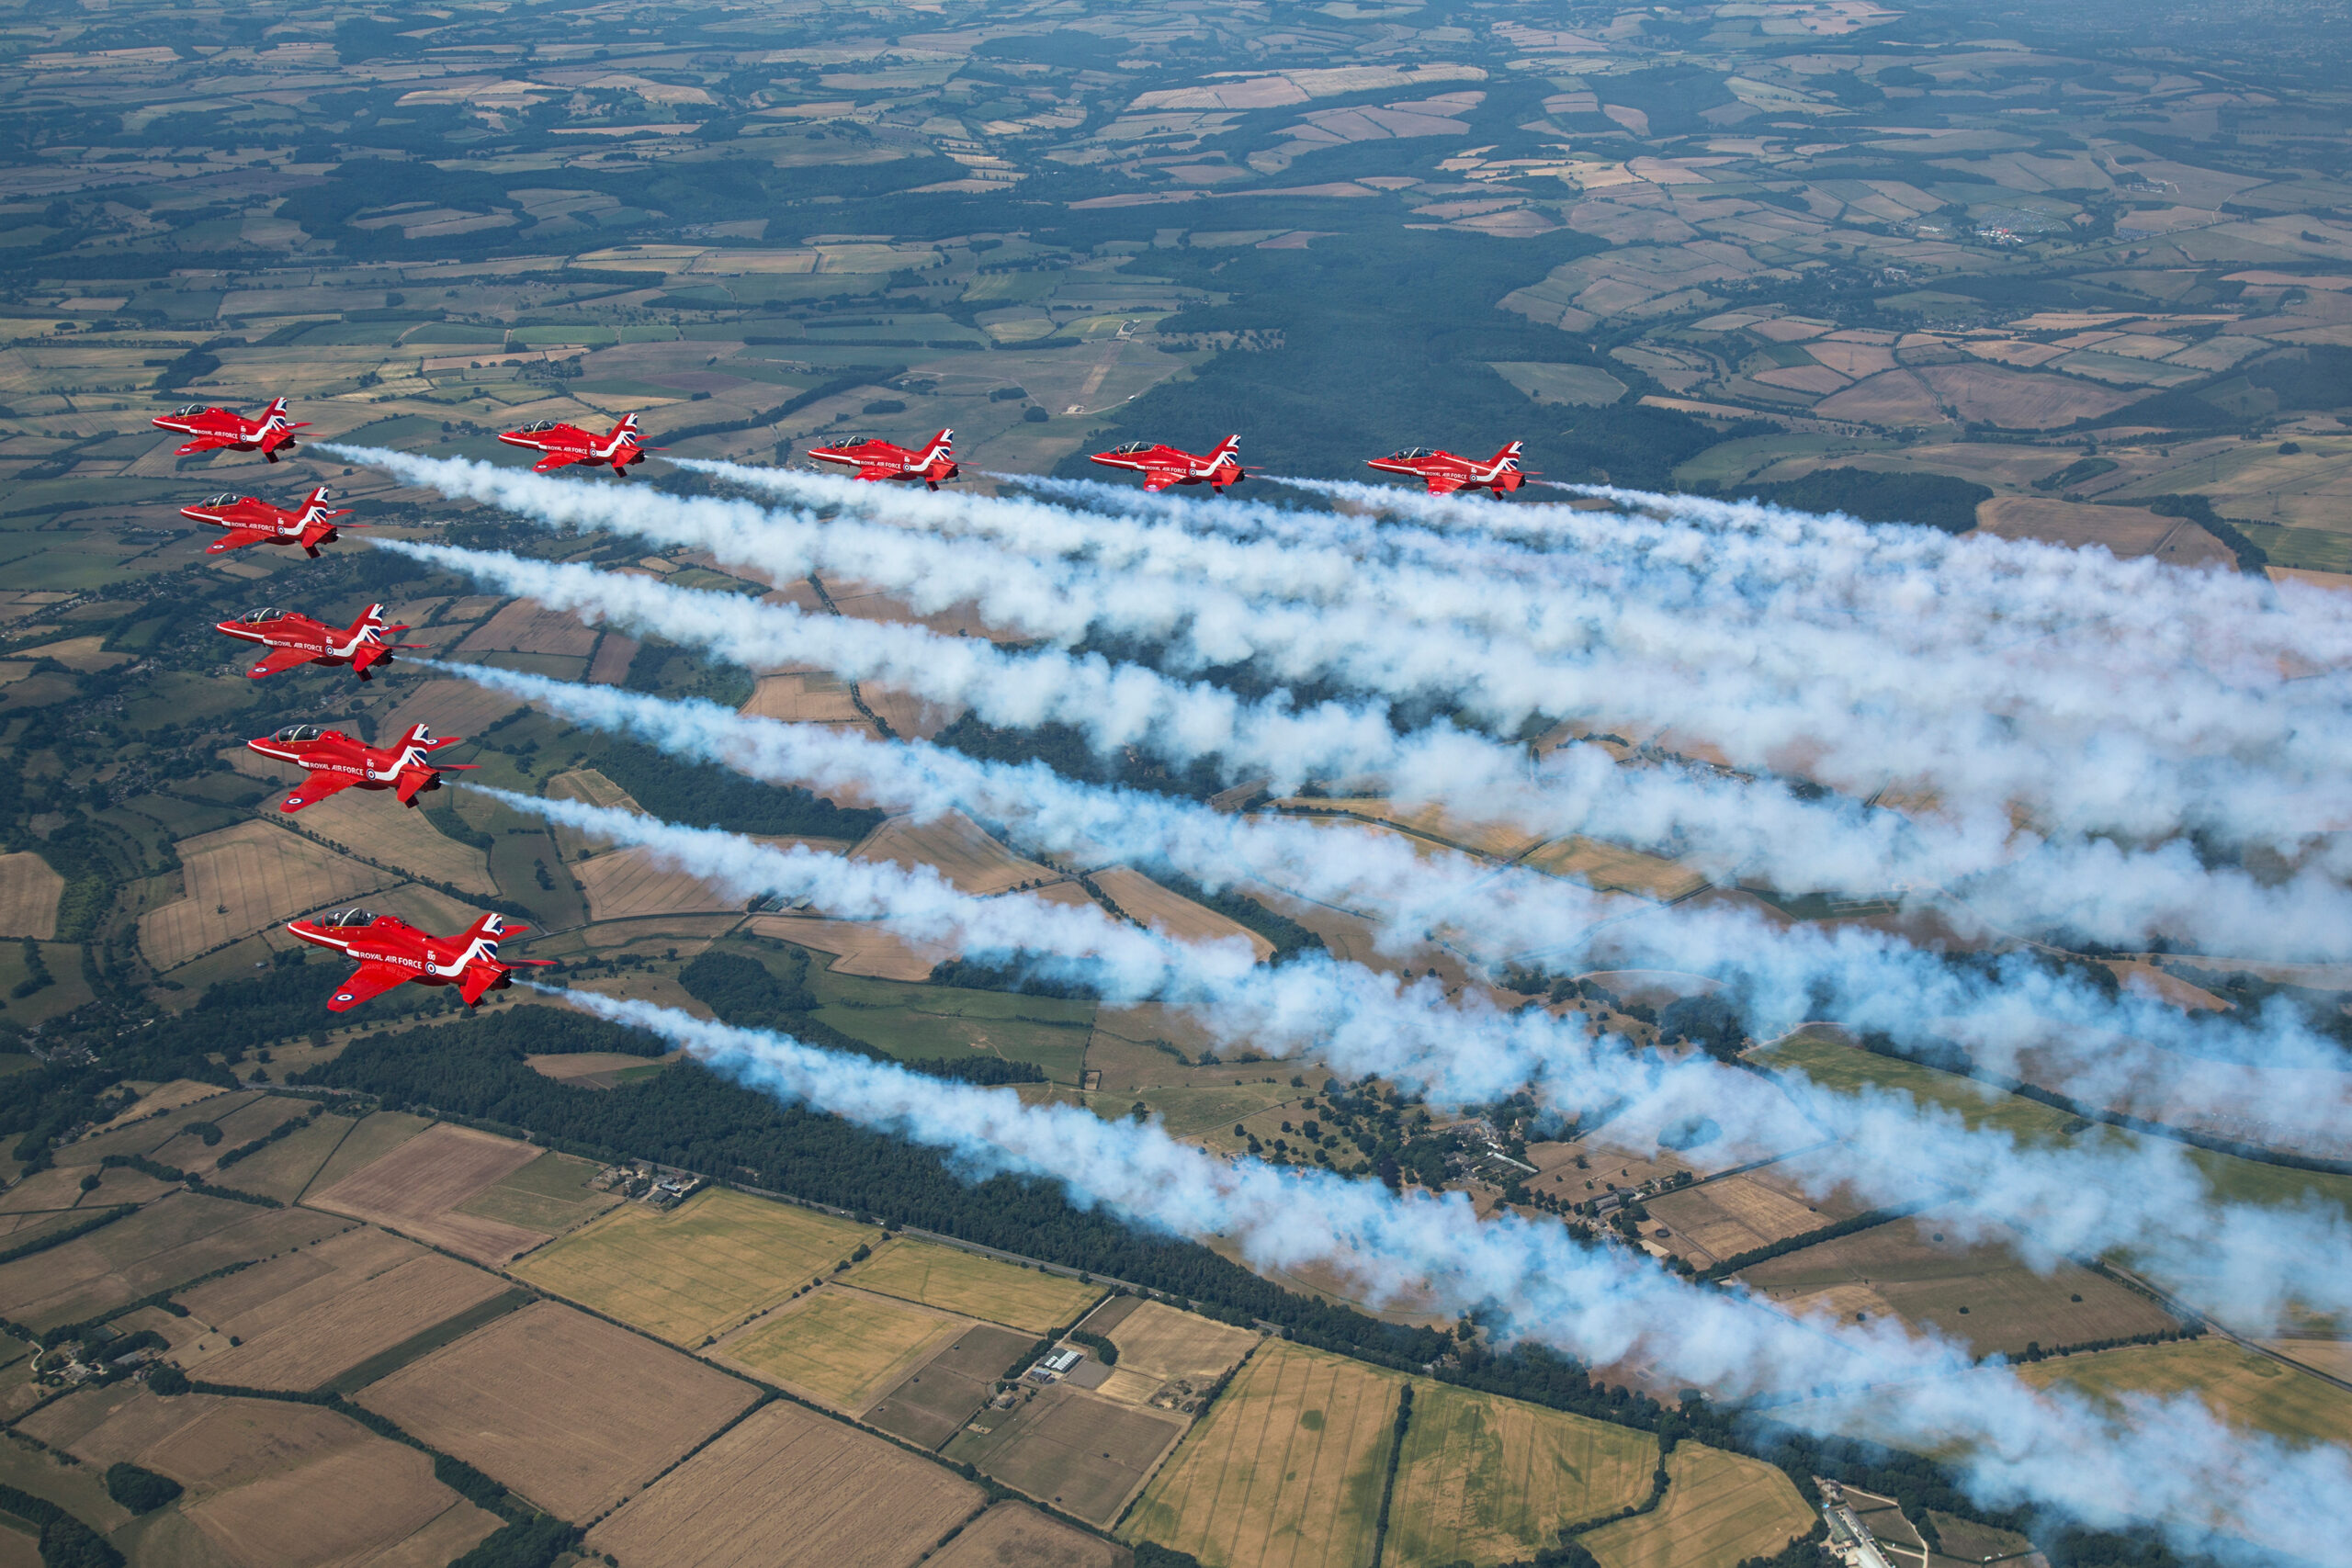
Smoke as leading lines
Trails are ready-made leading lines. A formation trailing smoke draws the eye along the trails to the aircraft, and a well placed trail can sweep in from a corner and carry the viewer into the shape. When you frame, think about where the smoke enters and leaves the picture, and try to keep the trails leading toward the aircraft rather than away from them or straight out of the frame.
Wind and drift
Smoke drifts on the wind, and on a breezy day it can blow across the formation and obscure the aircraft, or separate from them entirely. Watch the wind direction and favour the passes and angles where the smoke trails cleanly behind the aircraft rather than smearing across them. Sometimes waiting for a pass in a better orientation to the wind gives a far cleaner result.
Colour and contrast
Coloured smoke reads best against a contrasting background. Red, white and blue trails pop against clean blue sky or dark cloud and can be lost against a bright, hazy white sky. If the sky is washing out the smoke, expose a little more carefully to hold the sky tone, or wait for a pass against a better backdrop. The heart shape, big fan breaks and the loops that leave a coloured arc across the sky are set pieces worth anticipating specifically for their smoke.
Tight formations versus big set pieces
Display teams give you two quite different kinds of picture: the tight, small formation or pair that you can fill the frame with, and the big set-piece formation that needs room to show its full shape. Each wants a different framing decision, and switching between them quickly is part of the craft.
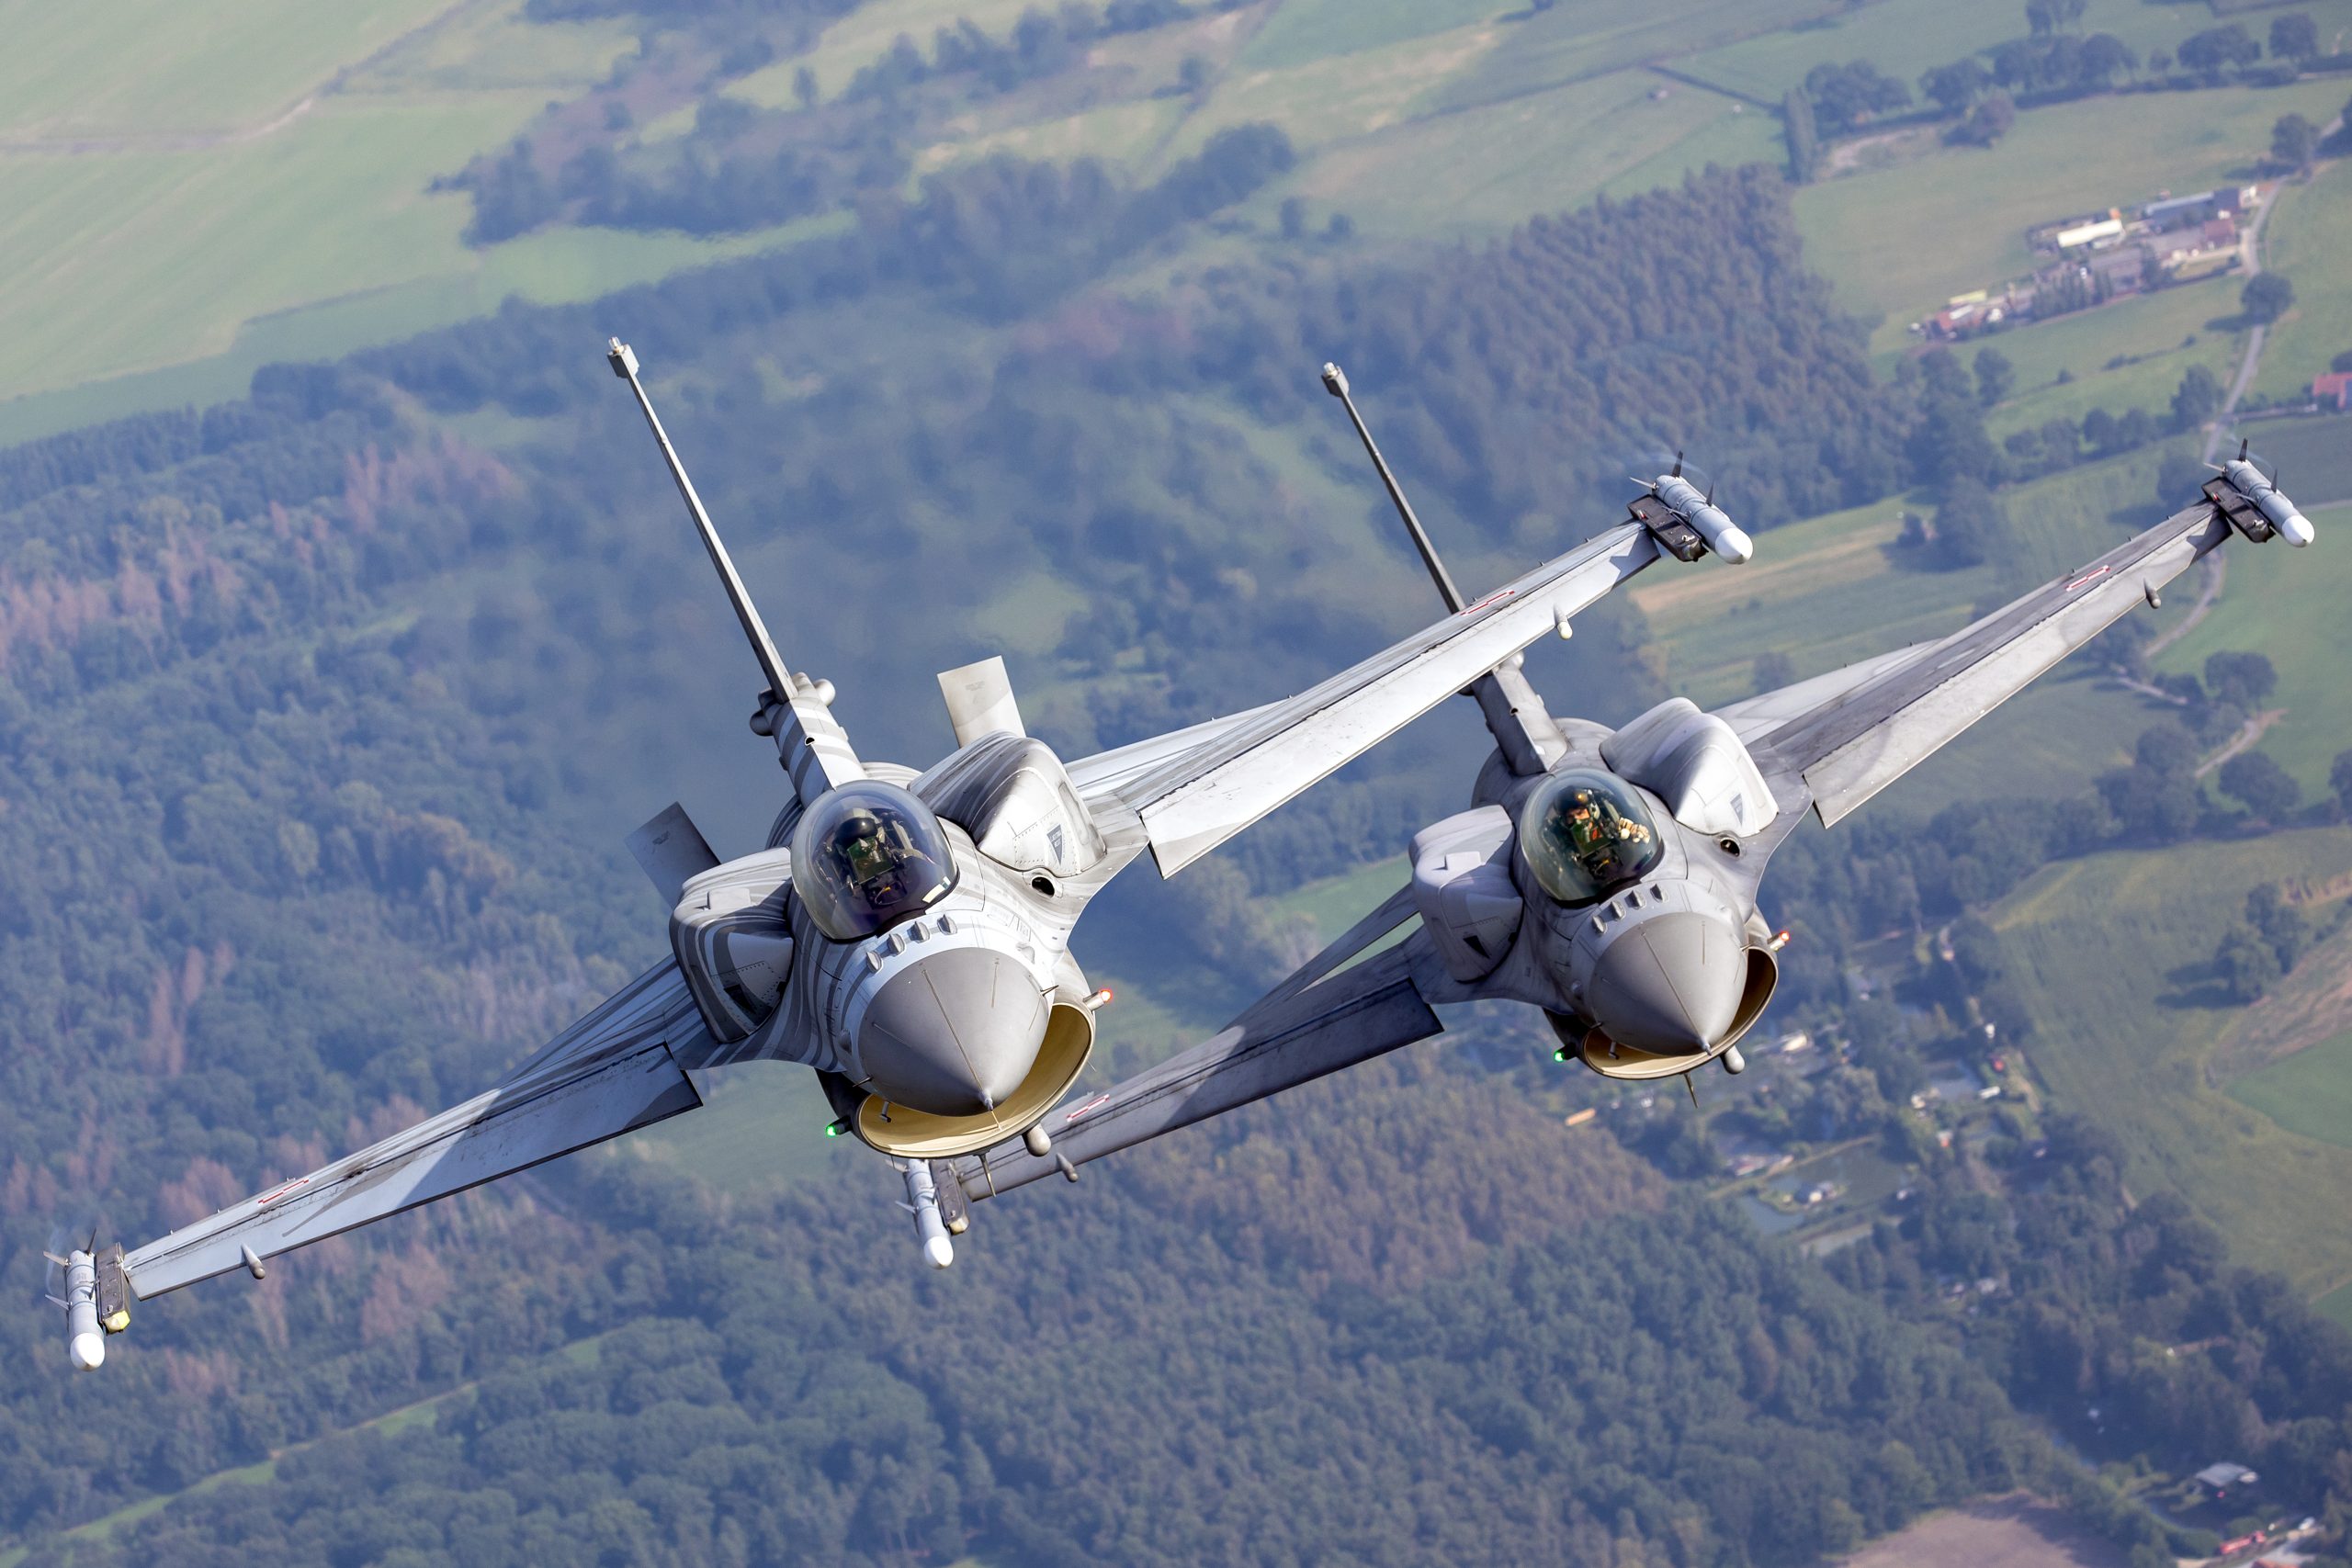
Big set pieces
A large formation, a full team in a signature shape, is about the pattern. Frame wide enough to fit the whole formation with a margin of clean sky around it, so the shape reads and nothing is clipped at the edges. Resist the urge to zoom in and lose an aircraft. Leave room for smoke if the team is trailing it. These are the shots where a little negative space around the formation actually strengthens the image, because it lets the shape breathe.
Tight pairs and small elements
A synchro pair or a small element of two or three aircraft can be framed tight to fill the frame and emphasise how close the aircraft are flying. Here the story is proximity and precision, so get in close with focal length and let the aircraft dominate. The tension of two aircraft almost touching is lost if they are small in the frame.
Switching fast
The difficulty is that a display moves between these in seconds, so you must reframe quickly. This is the argument for a zoom rather than a prime, and for keeping your hand on the zoom ring throughout. Anticipate the change: if you know a big formation pass is followed by a synchro sequence, be ready to pull wider then zoom in. Practising that reframing until it is instinctive is what lets you catch both kinds of shot in the same display.
Panning and keeping the formation sharp
Tracking a formation is like tracking a single aircraft, with less room for error. Because the group is larger and the aircraft move together, a smooth pan and reliable focus matter even more, and small mistakes are magnified across several airframes.
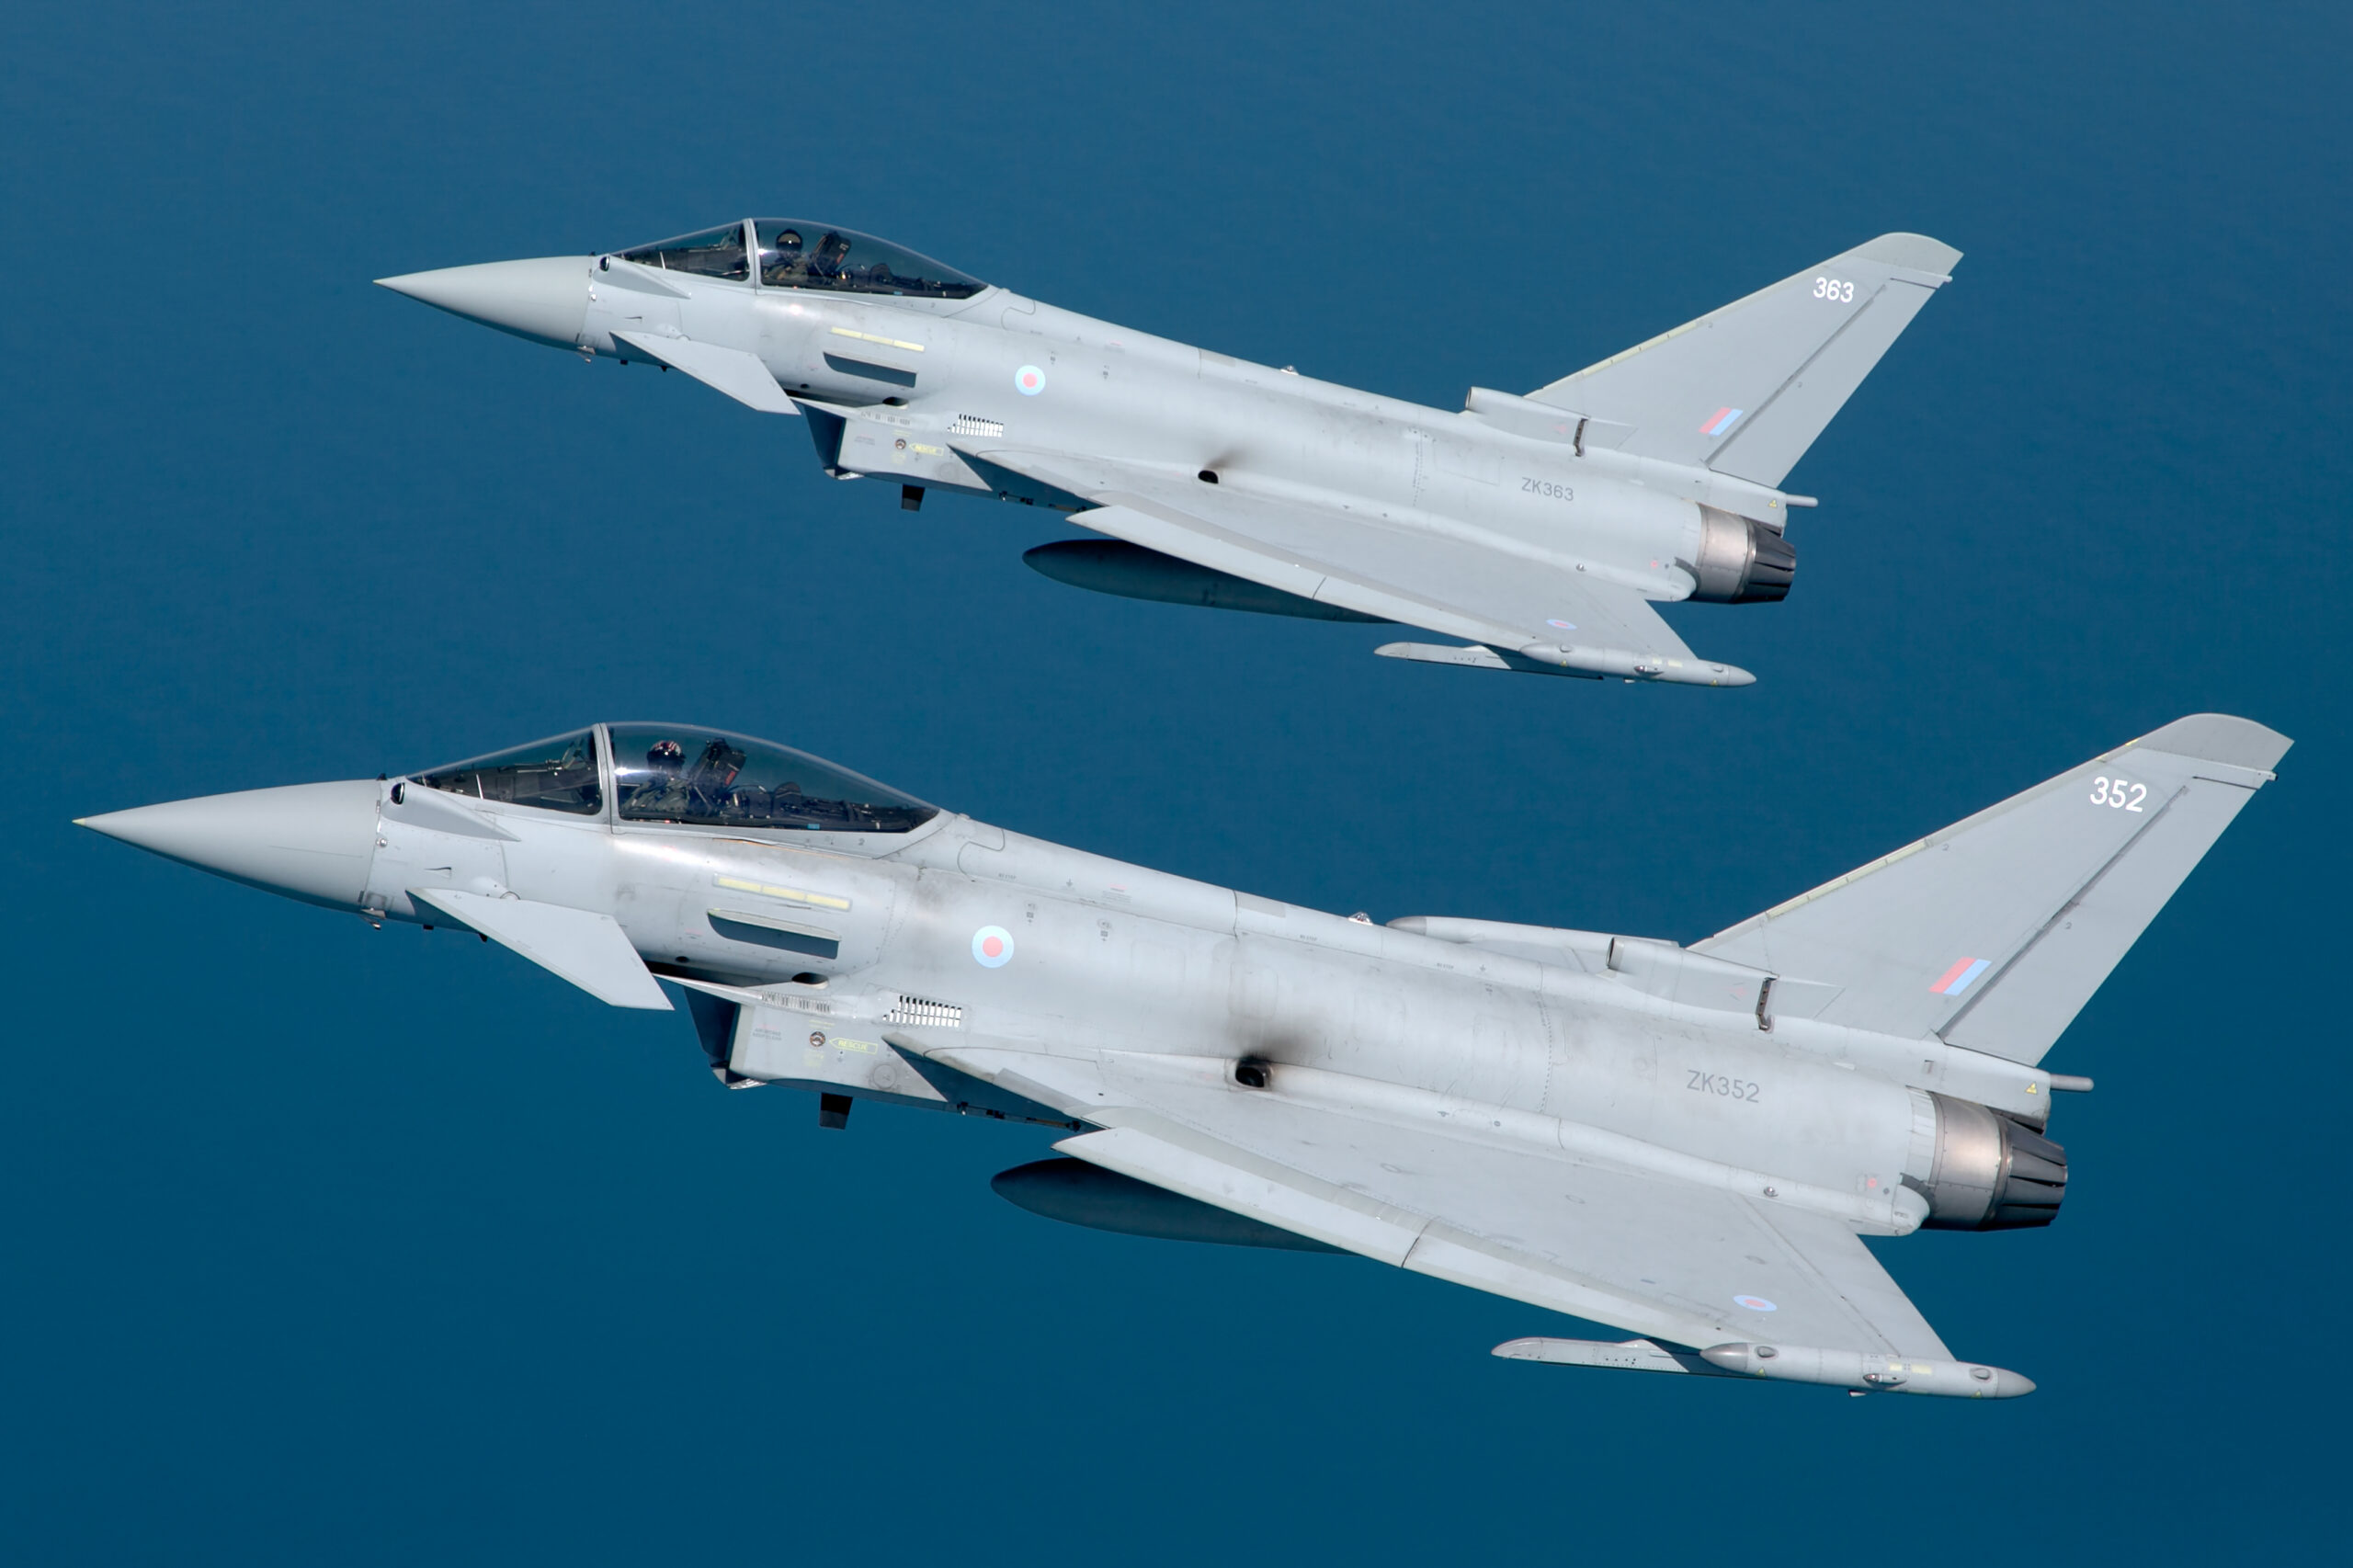
Smooth panning
Pick the formation up early and track it smoothly, moving from the hips and following through after the shutter, just as you would a solo aircraft. The difference is that you are keeping a whole group in a consistent part of the frame, so any jerk in your pan smears all of them. A slightly faster shutter than you might use for a single aircraft helps mask minor tracking errors, which is part of why 1/640 to 1/1000 is a sensible base for jet teams.
Focus that holds the group
Single-point autofocus can hunt between aircraft in a formation, jumping from one to another and missing the moment. A zone or wide-area continuous mode is usually more reliable because it treats the group as the subject. Focus on the lead or nearest aircraft and let depth of field carry the others. If your camera has subject-detection autofocus for aircraft, it can help, but keep the active area large enough to hold the formation rather than locking onto one member.
Keeping the formation level
A formation shot with a tilted horizon or a group that is unintentionally sloping looks careless, and it is easy to introduce while swinging across a wide arc. Use a viewfinder level if you have one, and be conscious of keeping your pan level as the formation tracks across. Remember the aircraft can be banking as a group; it is your horizon and framing that need to stay controlled.
Common mistakes and how to avoid them
Formation shots fail in a few predictable ways. Knowing them lets you correct on the spot.
Clipping an aircraft
The most common formation error is cutting off an aircraft at the edge of the frame, usually from zooming in too far or misjudging the shape’s size. Leave a margin of clean sky around the formation and err on the side of a little too wide, then crop later.
Firing too early or too late
Pressing the shutter before or after the shape peaks gives a loose, ragged formation. Anticipate the peak and fire a short burst through it rather than a single frame at the wrong instant.
One aircraft soft
If depth of field is too shallow, the nearest or furthest aircraft goes soft. Give yourself margin with an aperture around f/8, and focus on the aircraft that anchors the shape.
Smoke across the aircraft
Shooting regardless of wind leaves smoke smeared across the formation. Watch the drift and favour passes where the trails stay behind the aircraft.
Tilted or sloping framing
A sloping formation or horizon looks like a mistake. Keep your pan level and use a viewfinder level, then straighten in editing if needed.
Machine-gunning blindly
Holding the shutter down for entire passes fills cards with near-identical loose frames. Time short bursts to the set pieces, crosses and breaks that matter.
Editing formation shots
Formation images benefit from careful editing, both to refine the composition and to make the shape and smoke stand out. The work after the show is where you turn a good capture into a finished picture.
Straighten and crop for the shape
Start by levelling the horizon or the formation so it does not slope. Then crop for the shape: give the formation balanced breathing room, correct the lead room so it flies into the frame, and remove any distracting clutter at the edges. A formation shot lives or dies on how cleanly the pattern reads, and a considered crop is the main tool for that.
Make the aircraft and smoke pop
Set a clean exposure and white balance, then add contrast and a little clarity to separate the aircraft from the sky. Coloured smoke often benefits from a careful lift in saturation or vibrance so the trails hold their colour, but keep it believable rather than garish. If the sky is washed out behind the smoke, a gentle adjustment to recover the sky tone helps the colours read.
Sharpening and noise
Formation shots taken with a telephoto need sensible sharpening, and frames shot at higher ISO on a dull day may need noise reduction. Because you often have several aircraft at slightly different distances, check sharpness across the whole formation, not just the lead. Keyword your keepers with the team, the aircraft type, the location and the date so they are easy to find later, especially if you plan to license them. You can see how finished, well-edited aviation work looks in the Piemags aviation galleries.
Understanding formation positions and shapes
You will photograph formations better if you understand a little about how they are flown. You do not need to be a pilot, but knowing the basic shapes and positions helps you predict what is coming and recognise the moment a shape is complete.
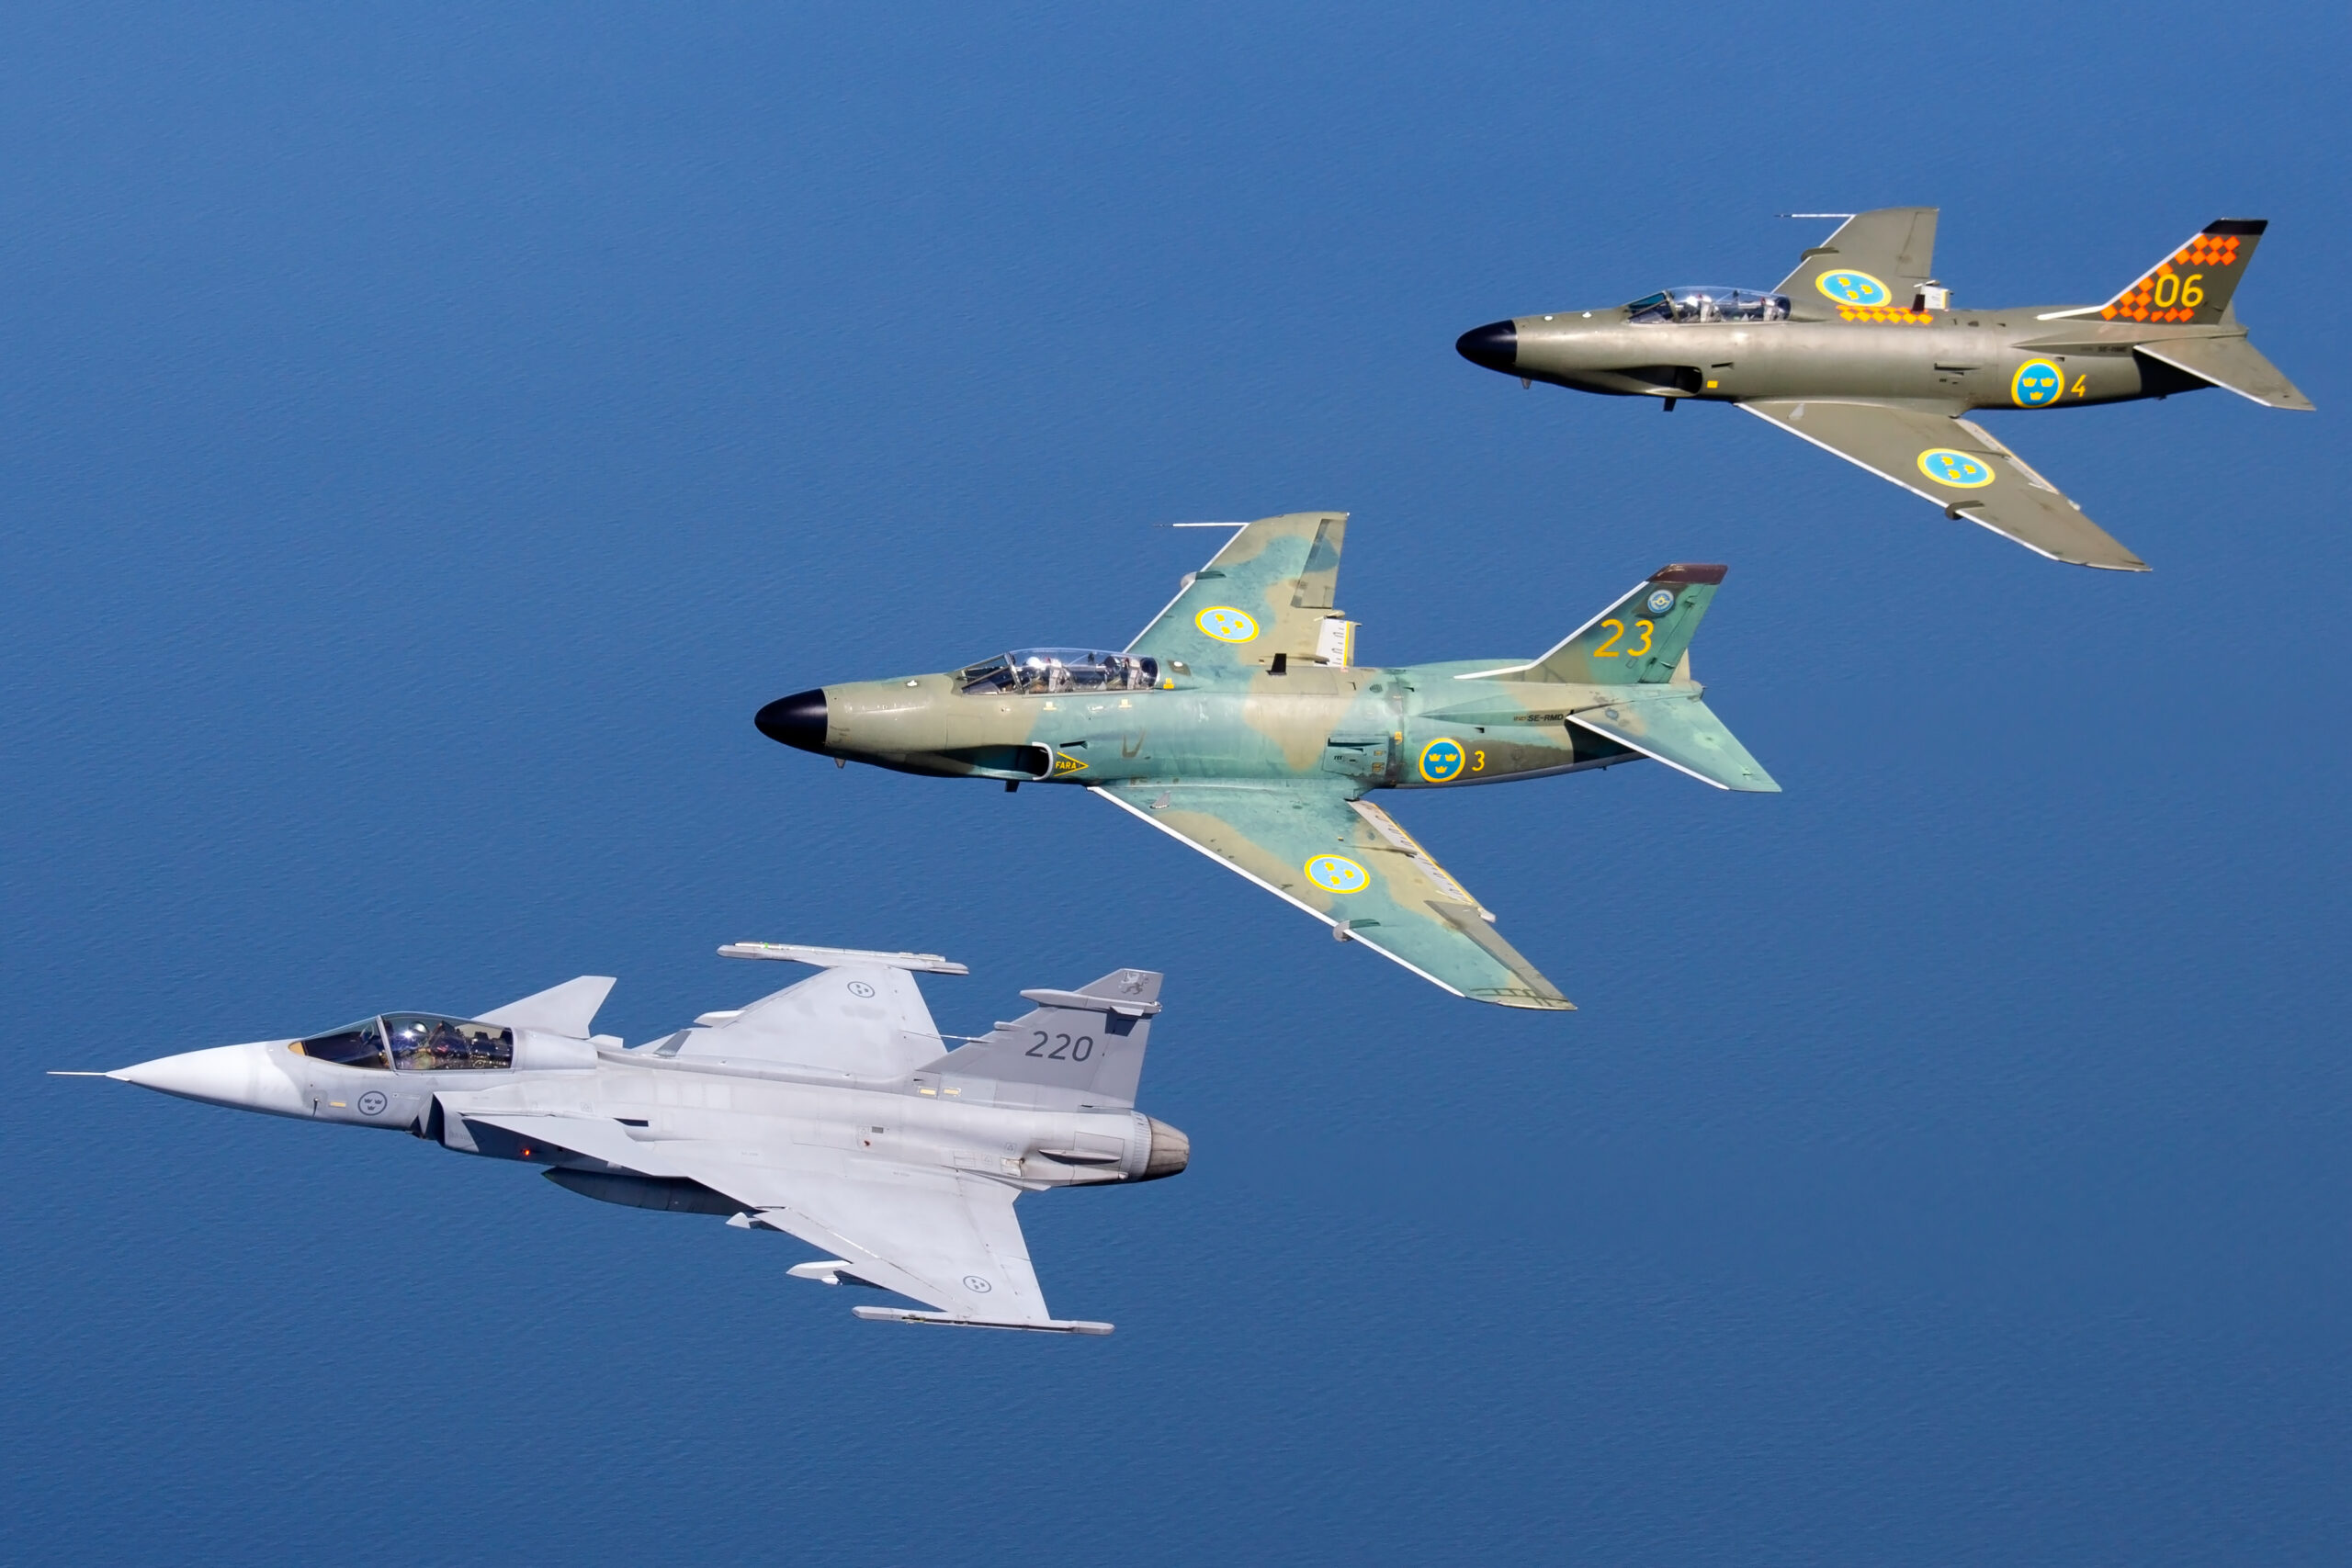
The building blocks
Most formations are built from a few basic elements. A vic or arrowhead has a leader with aircraft stepped back on each side. A line abreast places aircraft wingtip to wingtip across your view, which reads beautifully side on. A trail or box has aircraft stacked front to back, which needs more depth of field because the aircraft sit at noticeably different distances. Diamonds, big swept formations and signature shapes are combinations of these. Recognising which one is forming tells you how to frame: line abreast wants a level, side-on treatment, while a deep box wants more aperture and a head-on or three-quarter angle.
Reading the transitions
Teams flow from one shape to another during a pass, and the transition itself can be a strong image as the aircraft move between positions. But the cleanest, most deliberate frame is usually the settled shape, not the change. Learn to see when a shape has firmed up and hold your burst for that, while staying alert for the transitions and breaks that offer a different kind of energy.
Number and spacing
The more aircraft in a formation, the wider you frame and the more depth of field you want, because a large formation covers more sky and more distance. A close pair can be tight and shallow; a big multi-ship needs room and margin. Count the aircraft as a formation runs in and let that set your framing and aperture before it peaks.
Weather, light and haze for formation work
Formations fly in whatever the weather offers, and conditions change how you shoot them. Because a display team often flies higher and covers more sky than a solo act, the sky itself becomes a large and important part of every frame.
Clear blue days
Bright, clear days give clean backgrounds and let coloured smoke pop, which suits formation work. The trap is a high, harsh sun that flattens the aircraft and, on a hot day, heat haze that softens distant passes. Favour the passes when the formation is higher and against sky rather than low over hot tarmac, and remember that adding a little exposure keeps the aircraft from going dark against a bright sky. Our guide to metering for bright skies covers this in detail.
Cloud and grey skies
A broken cloud sky can be more interesting than flat blue, giving texture behind the formation and moments where the aircraft are lit while the cloud behind is dark. A completely grey sky is harder, because coloured smoke and pale aircraft can be lost against it, so shoot tighter to reduce the amount of blank sky and add exposure to keep the aircraft from silhouetting. Dramatic, moody cloud can make a formation image that a blue-sky day never would.
Wind
Wind matters most for smoke, as covered earlier, but it also affects how a team positions its passes, and gusty conditions can make formations look less settled. There is nothing you can do about the flying, but being aware of the wind helps you predict where smoke will drift and which passes will look cleanest from your position.
For the view no crowd line can give you, our guide to licensing Red Arrows photographs covers a nine aircraft formation photographed from another aeroplane.
Frequently asked questions
What shutter speed should I use for formation flying?
For a jet display team, 1/640 to 1/1000 second keeps the aircraft sharp while you frame the whole shape, and it helps hide the small tracking errors that appear when you are holding several aircraft. If the team flies propeller aircraft or warbirds, drop to around 1/160 to 1/250 second so the propeller discs blur and the aircraft look alive, and pan very smoothly, because at that speed poor tracking smears the whole formation rather than just the props.
How do I keep the whole formation sharp?
Use an aperture with a little margin, around f/6.3 to f/8, so depth of field covers the spread of aircraft that are at slightly different distances. Focus on the lead or nearest aircraft with a continuous zone or wide-area mode rather than a single point, and pan smoothly so the whole group stays in the same part of the frame. For a deep formation, closing to f/9 or f/11 adds margin if the light allows.
Where is the best place to stand to photograph a display team?
Stand near the display centre for the head-on and formation passes aimed at the crowd, with the sun behind you where the geometry allows so the aircraft are front lit. Watch the opening run or check the display order to learn where the team places its set pieces and where the synchro pair crosses, then position for those moments. Moving a little off centre can give better angles on breaks and opposition passes.
How do I photograph synchro and opposition passes?
Learn where the aircraft cross from an earlier pass, pre-frame that point with room on both sides so both aircraft stay in the frame, and fire a short burst as they converge. A shutter of 1/1000 or faster freezes the closing speed. These passes are instant and cannot be repeated, so knowing the crossing point in advance matters more than fast reactions.
Should I shoot formations wide or tight?
Frame for the shape. Big set-piece formations need a wider frame with clean sky around the whole pattern and room for any smoke, while a tight synchro pair or small element can fill the frame to show how close the aircraft are flying. Always leave a margin so you do not clip an aircraft at the edge, and use a zoom so you can switch between wide and tight as the display changes.
What lens is best for display team photography?
A versatile telephoto zoom such as a 100-400mm is ideal, because you can pull wider for big formations and zoom in for tight pairs and detail without changing lenses during the fast-moving display. A second body with a standard zoom helps for very large formations that fill the sky at close range and for catching the team on the ground or breaking overhead.
How many frames per second do I need to catch a formation at its peak?
A burst rate of around 8 to 10 frames per second is plenty for formation work, and chasing the fastest sports rates gives diminishing returns. What matters more is timing a short burst to start just before the shape peaks rather than holding the button down through the whole pass. Fire a two or three second burst as the formation firms up, then stop, so you have a handful of frames to choose the tightest from without drowning in near-identical loose ones.
Should I use aircraft-detection autofocus for formation flying?
It can help, but keep the active area large so the system treats the group as the subject rather than locking hard onto one aircraft and leaving the others to depth of field. On tight pairs, subject detection works well because there is little to confuse it. On big multi-ship formations it sometimes jumps between aircraft, so if you see the focus box flicking around, switch to a plain wide-area or zone continuous mode and focus on the lead instead.
How do I photograph a formation flypast that includes aircraft of very different sizes?
Mixed formations, such as a heavy tanker or bomber escorted by fighters, spread the aircraft over more depth and more of the frame, so give yourself extra margin on both aperture and framing. Close down to around f/8 to f/11 to keep the near and far aircraft acceptably sharp, and frame wider than you think you need so a trailing fighter is not clipped. Focus on the largest aircraft, which usually anchors the shape, and let the depth of field carry the smaller escorts.
Formation photography rewards preparation more than reflexes. Learn the team’s sequence, set your camera up before they arrive, match your shutter to the aircraft, and above all anticipate the peak of each shape rather than reacting to it. Frame big set pieces with room to breathe and tight pairs close to show the precision, use the smoke as leading lines, and keep your pan smooth and level. Do that and you will come away with images that show not just the aircraft but the discipline of flying them as one.
The classic British formation subject is the Red Arrows, and their mount has a long history: see our profile of the BAE Systems Hawk for the full background to the aircraft you are photographing.
The Battle of Britain Memorial Flight often flies its Dakota in formation. Our history of the Douglas DC-3 and C-47 Dakota tells the story of the type.
