Stand at the crowd line at any UK airshow and you will see two camps. One group has a long lens locked onto a monopod, swinging it like a gun turret as the Typhoon comes through. The other group is fully handheld, feet planted, elbows tucked, tracking the same jet by feel. Both come home with sharp frames. Both also come home with misses. The question is not which camp is right. It is which approach suits the aircraft, the light, the lens on your camera and your own body on the day.
This guide is about getting the most out of a monopod for aviation photography, and about being honest regarding when you are better off without one. A monopod is one of the cheapest pieces of kit that can really change your hit rate with a heavy telephoto, but only if you set it up properly and use the right head. Used badly, it slows you down, fights your panning and gives you nothing a steady pair of hands would not. We will cover the trade-off in plain terms, then work through choosing the pole, choosing the head, building a setup to suit your budget, and the technique that ties it together. There is a settings table, a long list of mistakes worth avoiding, scenario advice for the different acts you will see in a display, and a thorough FAQ at the end.
What this guide covers
- Why support matters with long lenses
- Monopod or handholding: the honest trade-off
- When a monopod wins
- When handholding wins
- How a monopod actually helps your photos
- Choosing a monopod: what actually matters
- Monopod heads: the part that makes or breaks it
- Recommended setups by budget and kit
- Monopod technique for airshows, step by step
- Panning aircraft with a monopod
- Settings, shutter speed and stabilisation
- Common mistakes and how to fix them
- Scenario by scenario at the airshow
- Care, travel and airshow rules
- Frequently asked questions
Why support matters with long lenses
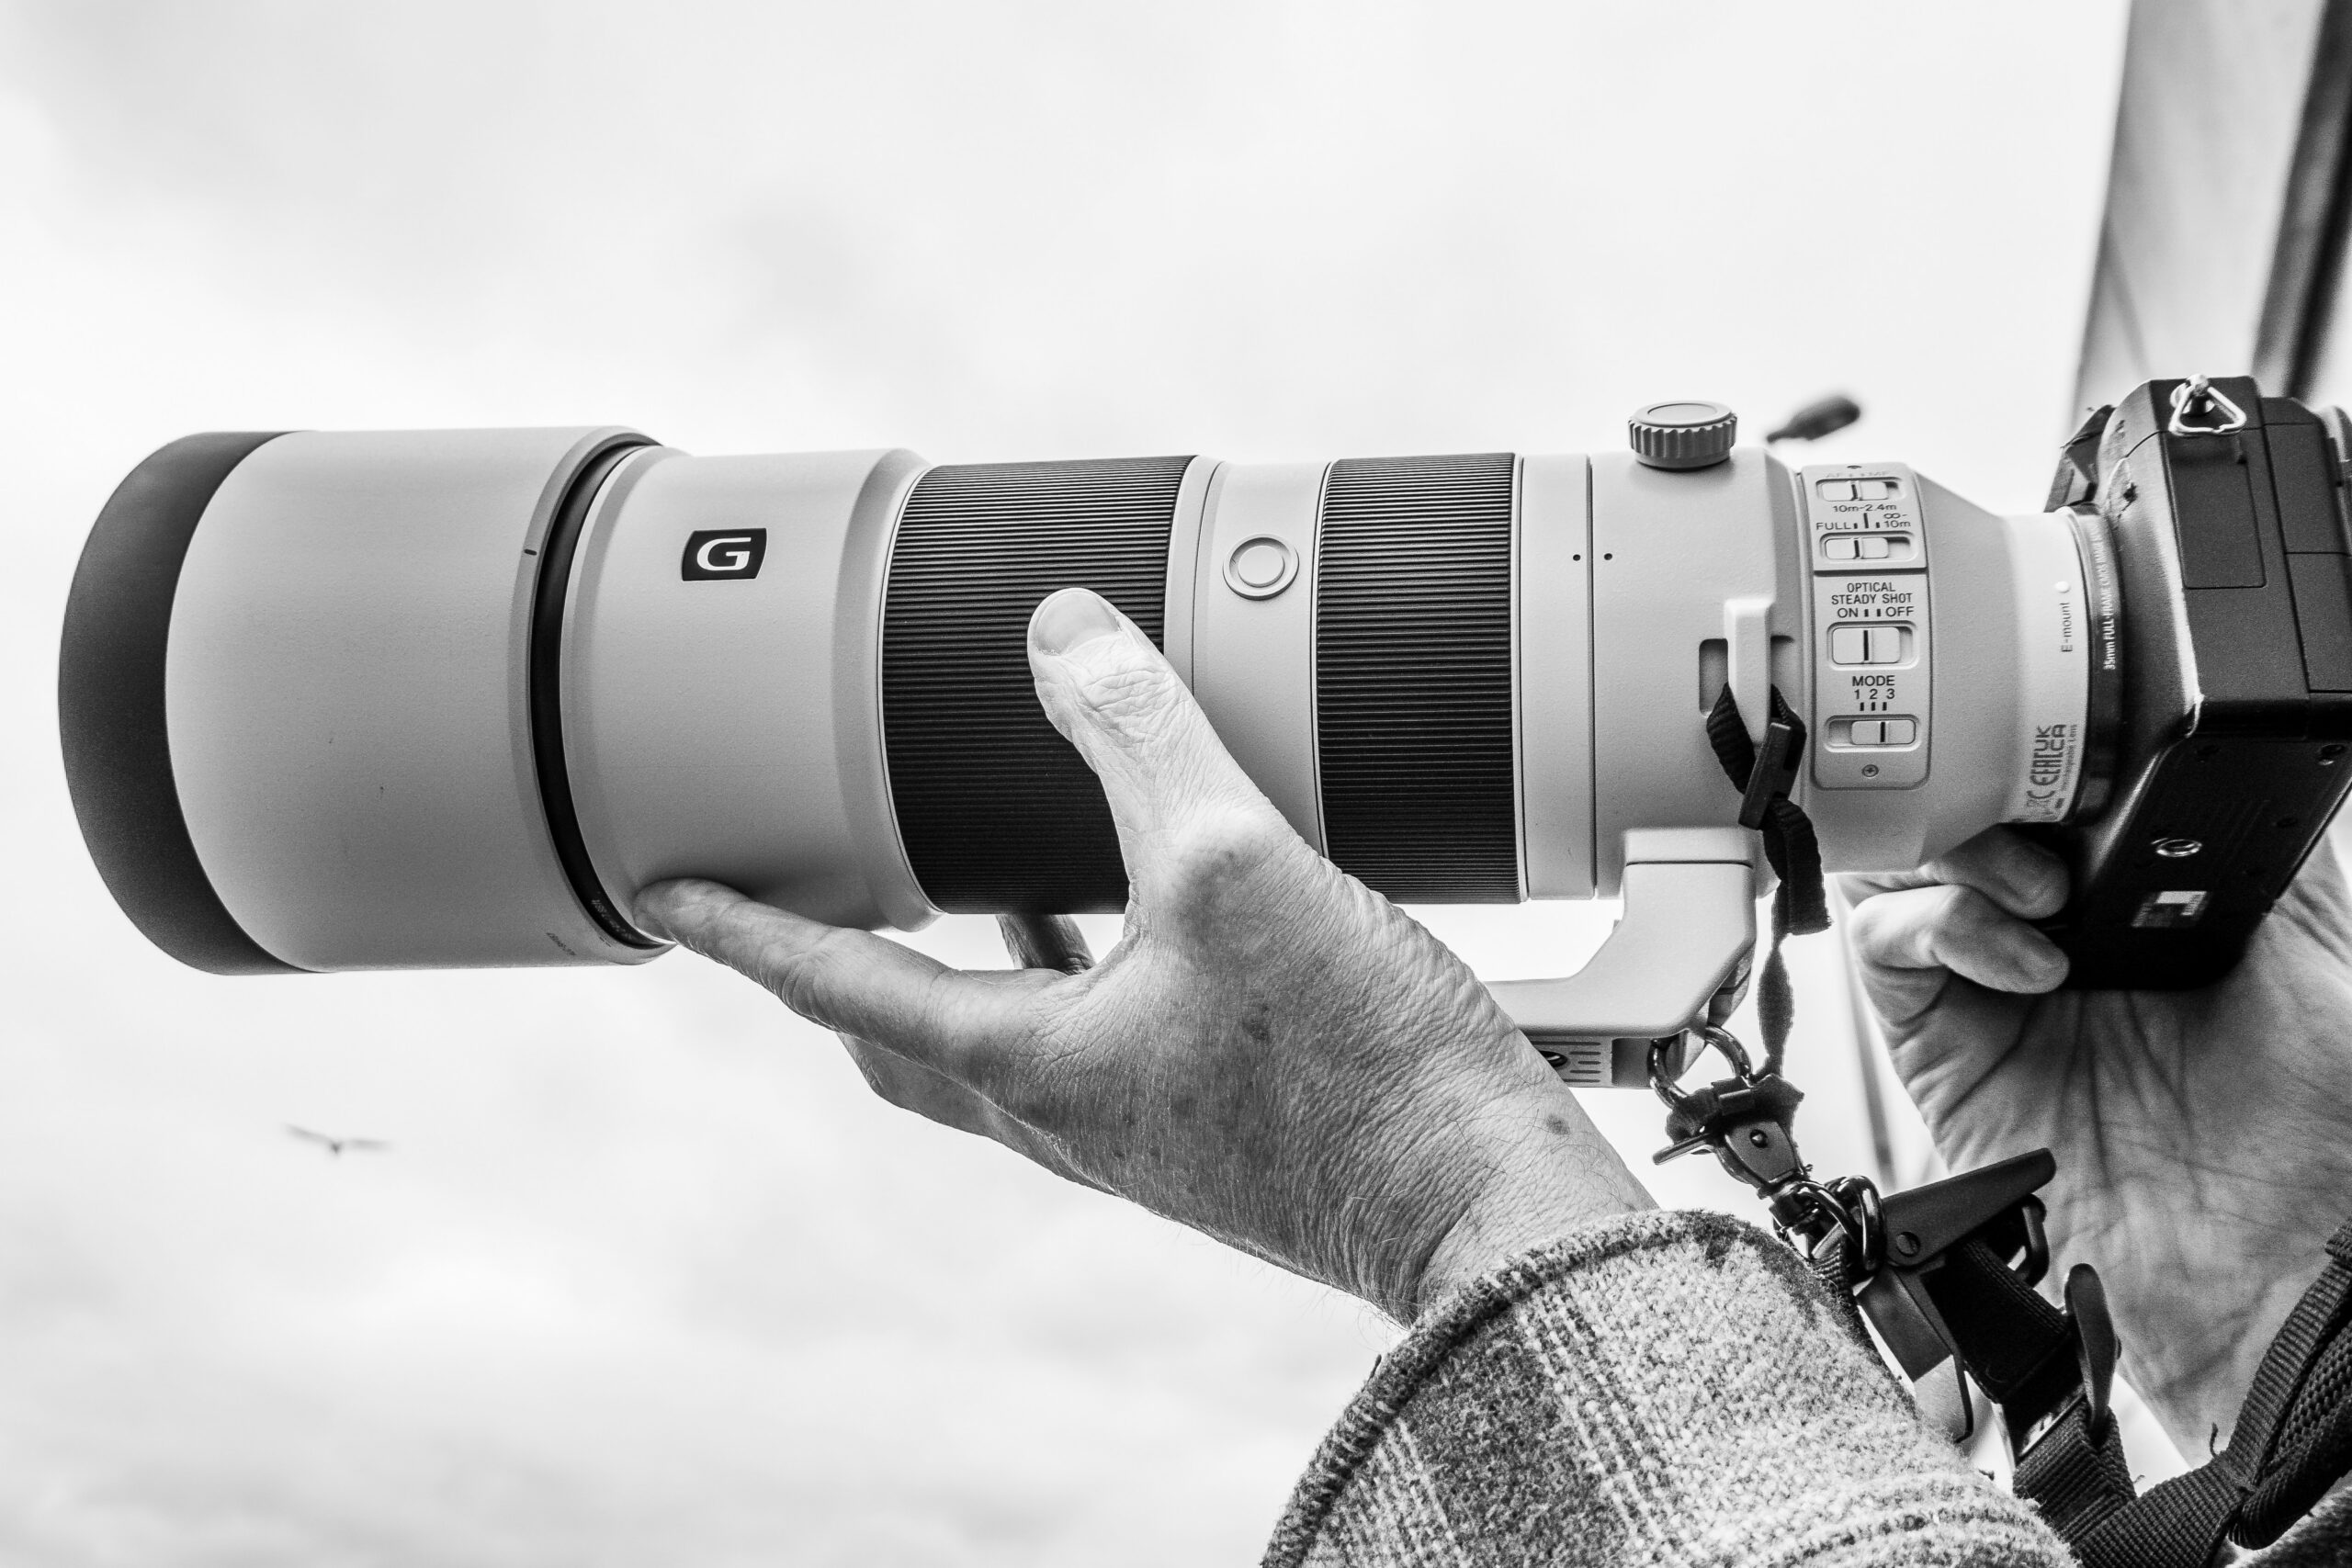
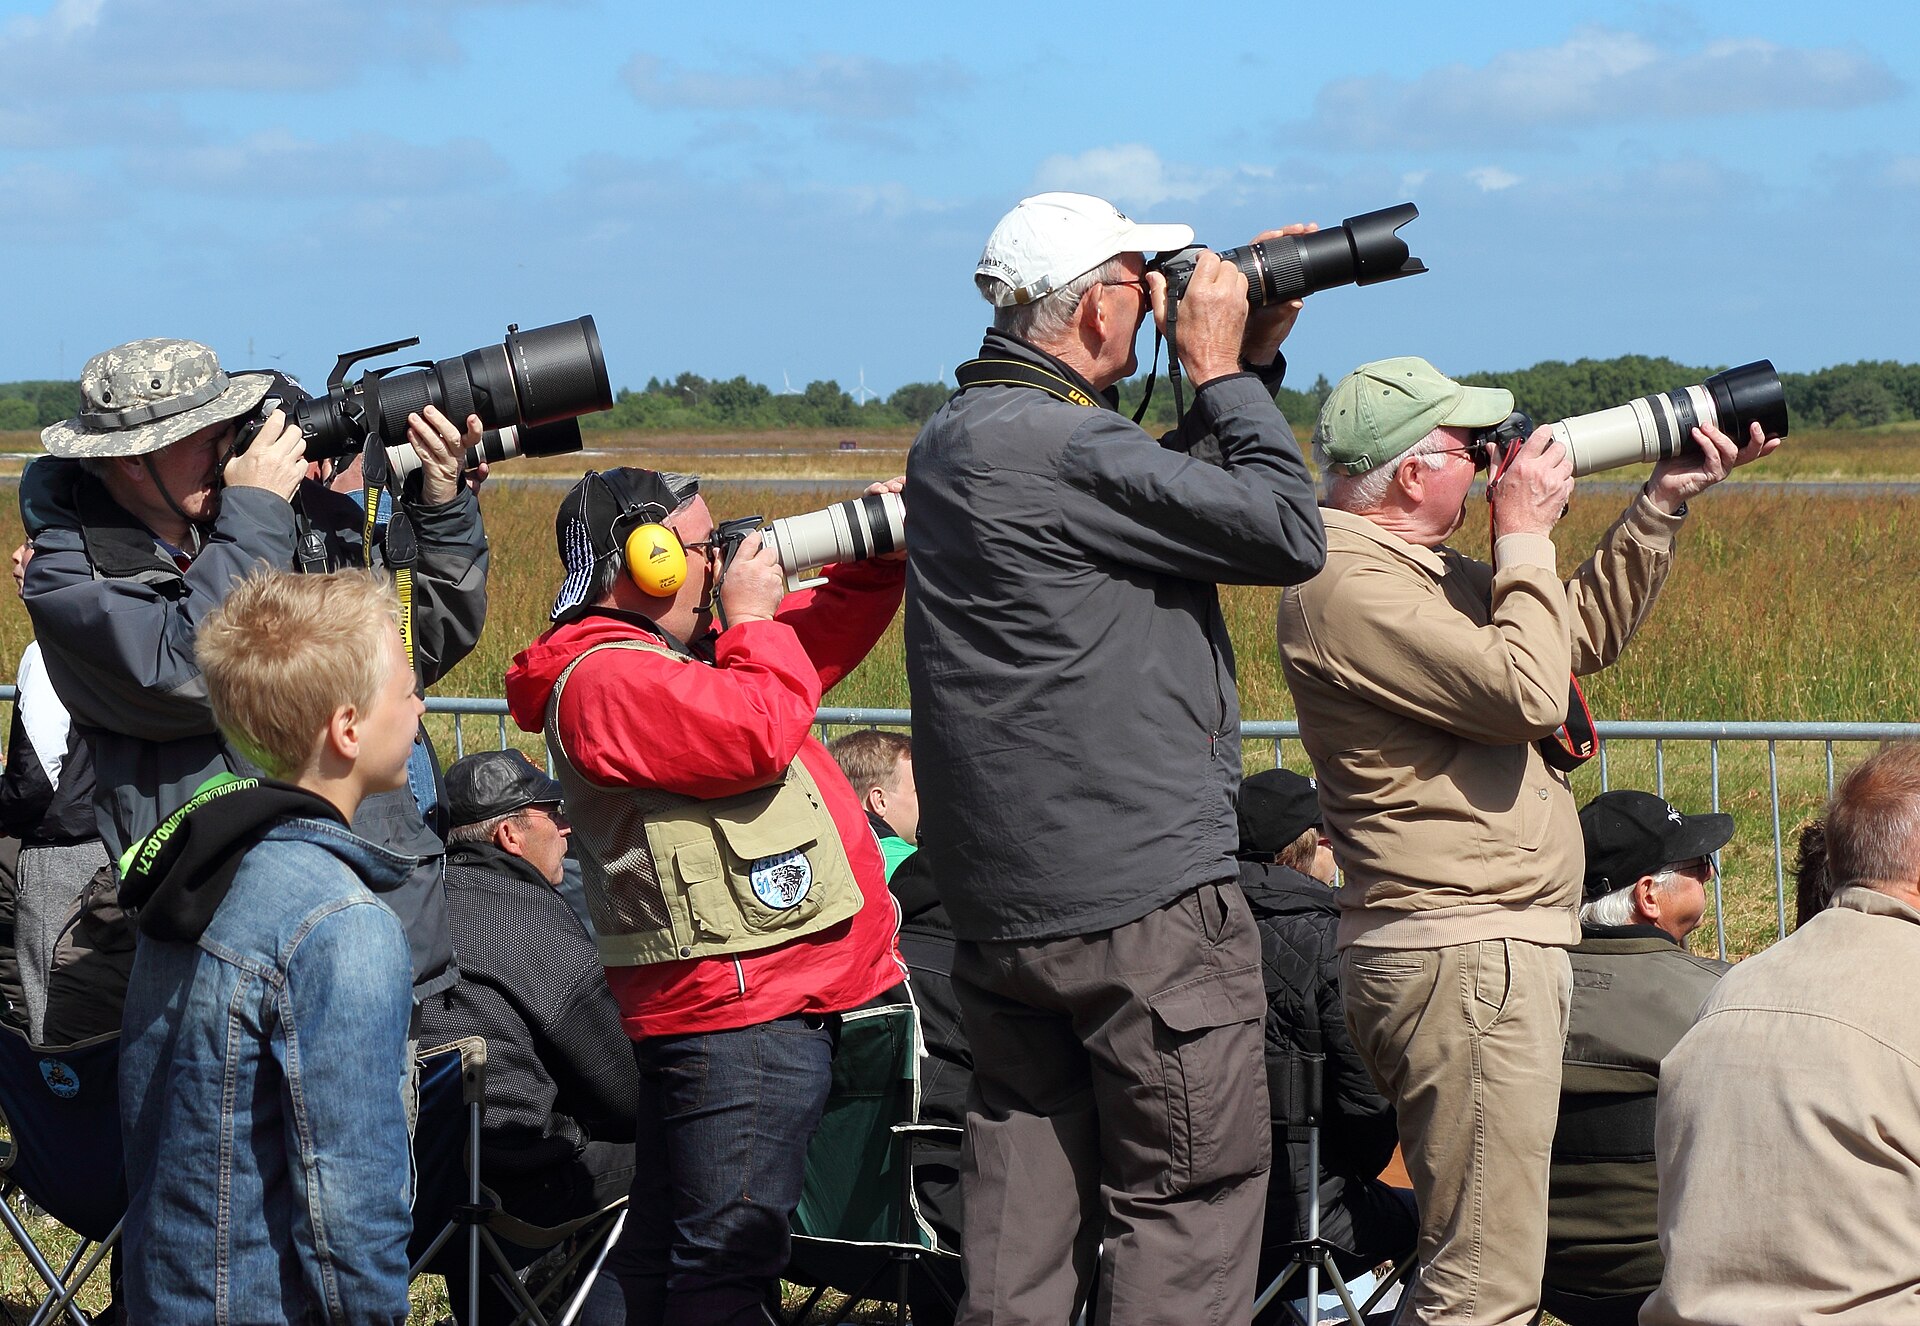
Aviation photography pushes two things to their limit at the same time: focal length and time on your feet. A typical airshow lens sits somewhere between 100-400mm and 600mm, and the better fast-aperture options weigh more than most people expect. A 150-600mm zoom is commonly around two kilograms before you add a body, a battery grip and a rain cover. Hold that out from your body for a six-hour display day and your arms will be shaking long before the Red Arrows close the show. Tired muscles produce micro-tremor, and micro-tremor at 500mm is the difference between a frame you keep and a frame you bin.
There is a simple bit of physics behind this. The longer the focal length, the more any small angular wobble at the camera is magnified at the subject. A tremor that would be invisible at 50mm becomes obvious at 600mm because the same tiny rotation now sweeps across a much narrower field of view. That is why the old reciprocal rule, the idea that you can handhold at roughly one over the focal length, gets harder to honour as the lens gets longer. At 600mm the rule asks for around 1/600s or faster just to beat your own shake, and that is before you factor in fatigue late in the day.
Support does two jobs. The obvious one is reducing shake so your frames are sharper. The less obvious but arguably more important one is reducing fatigue, so that you are still steady and still reacting quickly in the last hour of the show rather than the first. A monopod tackles both. It takes most of the static weight off your arms while leaving you free to swing and track, which is exactly the compromise aviation work needs. A tripod, by contrast, kills the static weight entirely but ruins your ability to follow a fast, climbing, rolling subject, which is why you rarely see tripods at the crowd line for flying displays.
Monopod or handholding: the honest trade-off
It helps to be clear about what a monopod actually is. It is a single leg with a head on top. It cannot stand up on its own, so it never removes your involvement the way a tripod does. You are always part of the support system: the pole takes the vertical load, and you provide the side-to-side and fore-aft stability through your stance. Think of it as a third leg that turns you and the camera into a tripod where your two feet are the other two legs.
That design gives you the central trade-off. A monopod buys you vertical steadiness and weight relief at the cost of a little freedom of movement. Handholding gives you total freedom of movement at the cost of bearing all the weight and all the shake yourself. Neither is universally better. The right choice depends on the lens, the act and how your body is holding up.
There is a second, subtler trade-off worth naming. A monopod rotates the camera about a fixed point at the top of the pole. Your body, when handholding, rotates the camera around your own spine. For smooth horizontal panning the fixed pivot of a monopod can be wonderfully consistent. But the moment an aircraft also climbs or dives steeply, you have to tilt the head as well as pan it, and a stiff or poorly chosen head makes that vertical movement clumsy. This is the single biggest reason people give up on monopods for airshows: they bought the pole, fitted a cheap ball head, locked it too tight, and then found they could not follow a fast vertical pass. The pole was never the problem. The head and the technique were.
When a monopod wins
A monopod earns its place in a few clear situations, and it is worth knowing them so you can reach for it deliberately rather than out of habit.
The first is heavy glass. If you are running a 500mm or 600mm prime, or a big 150-600mm or 200-600mm zoom, the weight alone justifies the pole. These lenses are tiring to hold level for the few seconds it takes a jet to cross the box, and that fatigue compounds across the day. A monopod carries the load so your hands are only steering, not lifting.
The second is slow-shutter panning. When you deliberately drop to a slow shutter speed to blur a propeller disc or to streak the background behind a fast pass, you are asking for a smooth, level sweep with no vertical bounce. A monopod is excellent here. It removes the vertical wobble that ruins slow pans and lets you concentrate on matching the aircraft’s speed. Many photographers who can just about handhold a prop blur at 1/125s find they can drop to 1/60s or slower on a monopod with a tilt or fluid head.
The third is long static sessions. Taxi shots, line-ups, helicopters hovering, display aircraft holding in the overhead, or a long wait for a particular jet to start up all involve pointing a heavy lens at roughly the same spot for minutes at a time. Holding that handheld is pointless punishment. Rest the pole down and your arms recover.
The fourth is simply endurance. If you know you have a long day, poor sleep, an old shoulder injury or you are simply not as strong as you used to be, a monopod keeps you shooting when handholding would have you lowering the camera to rest and missing passes.
When handholding wins
Handholding wins whenever agility matters more than weight relief. Fast jets that twist through multiple axes, helicopter display routines with sudden direction changes, and any pass where the aircraft suddenly pops up vertically all reward the freedom of being completely unattached. Your body can rotate, lean and recompose far quicker than you can re-aim a pole.
It also wins with lighter kit. If your longest lens is a 100-400mm or a 70-300mm, modern stabilisation and a sensible shutter speed will keep you sharp handheld all day without much fatigue. Bolting such a lens to a monopod often adds hassle for no real gain, and it slows your reactions in a discipline where reaction time is everything.
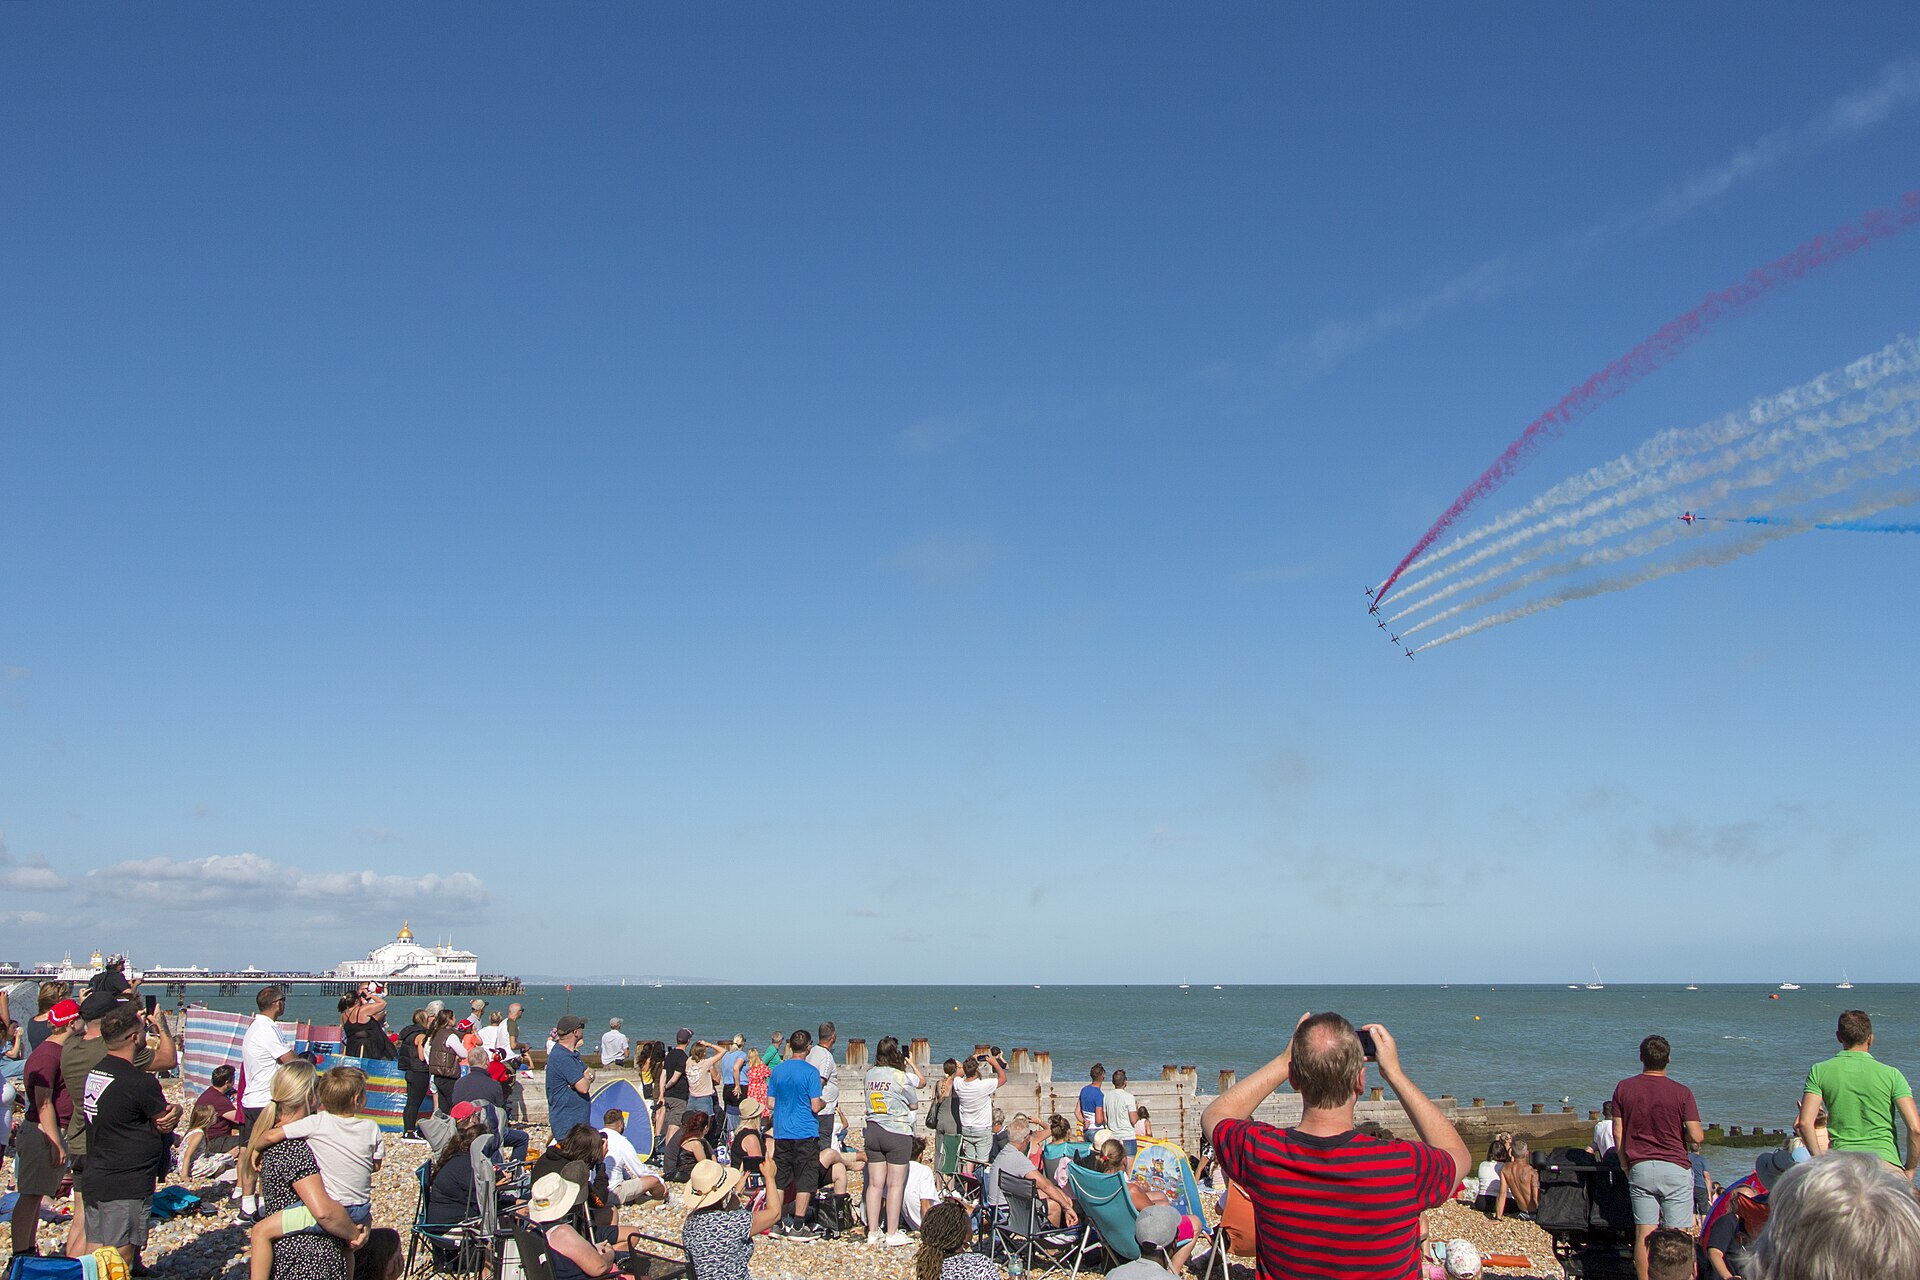
Crowded crowd lines are another argument for handholding. A monopod takes up floor space and can foul the people beside you when you swing it. At a packed showground you may simply not have the room to plant and rotate a pole without clouting a neighbour, and being the person who keeps knocking other photographers is not a good look. If you can read more about packing light and choosing glass that you can comfortably carry and hold, our best lenses for aviation photography guide and the companion budget telephoto lens roundup both weigh handling against reach.
How a monopod actually helps your photos
It is worth understanding the mechanism, because it explains how to use the pole well and why some people get no benefit from it at all.
It removes vertical shake, not all shake
The pole runs straight down to the ground, so it is very good at resisting vertical movement: the up-and-down bounce that creeps in when your arms tire. It does much less to control side-to-side sway or the small rotational twist around the pole’s own axis. That is fine, because for tracking aircraft you want some horizontal freedom anyway. The job is to kill the wobble you do not want, which is mostly vertical, while keeping the panning movement you do want, which is horizontal.
It lets you use lower shutter speeds with intent
Because the vertical axis is steadier, you can drop your shutter speed further than you safely could handheld and still keep the subject sharp along that axis. This matters most for propeller and rotor work, where a slow shutter is not a compromise but the whole point. A clean prop disc needs a deliberately slow speed, and the monopod is what makes that speed survivable at long focal lengths. Our piece on the best camera settings for airshows goes deeper on the actual numbers for different aircraft types.
It keeps you in the fight longer
This is the underrated benefit. Sharpness gains from a monopod are real but modest if you already have good handholding technique and stabilisation. The bigger, quieter benefit is that you do not get tired. Over a six-hour day, the photographer who is still steady and reacting fast in the final hour will out-shoot the one whose arms gave out, regardless of who has marginally better single-frame sharpness early on.
It gives you a stable base to wait from
Aviation photography involves a lot of waiting. A monopod lets you keep the lens pointed roughly where the action will appear, half-supported, ready to bring up to your eye the instant something happens. Handheld, you tend to lower the camera to rest, which costs you a second or two of reaction time when the jet finally rolls in.
Choosing a monopod: what actually matters
Monopods look almost identical in a shop. The differences that matter are not obvious until you have used a bad one in the field. Here is what to weigh up.
Load rating and stiffness
The headline number is the load rating, and you want plenty of headroom over the real weight of your heaviest lens, body, grip and a head. A monopod rated close to your kit’s weight will flex and feel vague. Aim for a rating comfortably above your setup. As an example, Manfrotto’s aluminium 290 monopod is rated to around 5kg (roughly 11lb), which is ample for a 150-600mm and a mirrorless body, while their heavier-duty video poles carry far more. Stiffness matters as much as the raw number: a stiff pole transmits less wobble and settles faster after you move it.
Material: aluminium or carbon fibre
Aluminium is cheaper, very strong and slightly more forgiving of knocks. Carbon fibre is lighter for the same stiffness, damps vibration a little better and does not get as cold to hold on a frosty spring morning, which matters more than you would think at an early-season UK show. Carbon costs more. For a monopod, where you are carrying it all day and swinging it constantly, the weight saving of carbon is really worth having if the budget stretches, but a good aluminium pole is far from a poor relation. Reviewers consistently note that carbon fibre poles such as the Benro Adventure and SupaDupa series are also more resistant to dents than aluminium.
Leg sections and locks
More sections fold down smaller for travel but add more joints, and every joint is a potential point of flex. Three or four sections is the sweet spot for aviation: compact enough to pack, stiff enough to trust. Locks come as twist locks or flip (lever) locks. Twist locks are sleek, weather-resistant and quiet, which is handy near wildlife but irrelevant at a noisy airshow. Flip locks are faster to operate with cold or gloved hands and let you see at a glance whether a section is locked. Either works; pick the one your hands prefer.
Height
Extended, the monopod should bring the viewfinder to your eye with the pole roughly vertical and your back straight, when the lens is pointed up at a normal display angle. Too short and you stoop; too tall is rarely a problem because you simply do not extend the last section. Most full-size poles reach around 1.5 to 1.9 metres, which suits the vast majority of adults. The Manfrotto XPRO+ video monopod, for instance, reaches about 79.9in (2.03m) extended and folds to about 30.7in.
The foot
The base where the pole meets the ground is more important than people realise. A simple rubber foot is fine on tarmac and hardstanding. On grass, a small spike or a wider rubber pad helps. The clever development in recent years is the fluid base, where the foot itself pivots on a damped cartridge so the whole pole can lean and rotate smoothly. Manfrotto’s FLUIDTECH base on the XPRO+ is the best-known example: it allows fluid pans and tilts from the foot that a rigid monopod cannot manage, which is a real advantage for tracking aircraft.
Monopod heads: the part that makes or breaks it
If you take one thing from this guide, take this: the head matters more than the pole. A brilliant carbon monopod with the wrong head will frustrate you, while a modest aluminium pole with the right head will feel transformative. The head decides how you tilt and pan, and tilting smoothly is exactly what aviation demands.
No head at all
You can screw the camera or lens foot straight onto the top of the pole. It is cheap, light and rigid. The catch is that you can pan by twisting the pole, but you cannot tilt independently, so following an aircraft that climbs means leaning the whole pole. It works for static taxi shots and gentle passes, and some photographers really prefer the simplicity, but most people want at least a tilt.
Tilt heads
A tilt head adds a single hinge so the lens can pivot up and down while the pole stays put. This is the classic, sensible aviation choice. You pan by rotating the pole and tilt with the hinge, which together let you follow most passes naturally. The Manfrotto 234 and the quick-release 234RC are the long-standing favourites here: light, simple and effective. One honest caveat is that the 234RC uses Manfrotto’s own proprietary quick-release plate rather than the now-common Arca-Swiss standard, so it will not accept an Arca lens foot without an adapter. If your lenses already wear Arca plates, factor that in.
Fluid heads
A fluid head uses a damped cartridge to make pan and tilt buttery smooth, with adjustable drag on each axis and the ability to lock them independently. This is borrowed from video work, and it suits aviation beautifully because smoothness is exactly what a tracking pan needs. A small fluid head such as the Manfrotto MVH500AH gives you that controlled, resisted movement that helps you match an aircraft’s speed without jerks. The trade-off is weight and bulk over a simple tilt head, and the drag can feel like a hindrance if you suddenly need to whip the lens to a fast vertical pop-up. For deliberate, smooth passes and slow-shutter panning, a fluid head is hard to beat.
Gimbal heads for monopods
A full tripod gimbal is usually too big and heavy to sit on a monopod, but purpose-built monopod gimbals exist and they are superb for big lenses. The Wimberley MH-100 MonoGimbal is the standout. It is a side-mount gimbal weighing only about 350g yet rated to support around 22kg (50lb), with an Arca-Swiss compatible clamp. You slide your lens foot fore and aft until the rig balances, and then the lens effectively floats: you can let go and it stays put, tilting and panning with almost no effort. For a 500mm or 600mm prime on a monopod, this is the most fluid tracking experience you can buy, and it makes following an erratic, climbing fast jet far easier than a stiff tilt head. The cost and the slight learning curve of balancing are the only real downsides.
Ball heads: usually the wrong answer
A ball head looks tempting because most people already own one. For aviation on a monopod it is the worst common choice. Lock it and you cannot move; loosen it and the camera flops in every direction at once, including the roll axis you do not want, so keeping a level horizon while tracking becomes a constant fight. If a ball head is all you have, you can make it work by leaving it slightly loose and steadying the roll with your hand, but a tilt or fluid head will serve you far better. Avoid building your aviation monopod setup around a ball head if you can help it.
Recommended setups by budget and kit
There is no single best monopod, only the best one for your lens, your budget and how you shoot. Here are sensible pairings rather than a single recommendation. Prices move around, so treat these as tiers, not quotes, and check current figures before you buy.
Light kit, light budget
If your longest lens is a 100-400mm or a 70-300mm, you arguably do not need a monopod at all, but if you want one for endurance, a basic aluminium four-section pole with a simple tilt head is plenty. Keep it light so it does not become a thing you leave in the car. This is the setup where a fluid base or a gimbal would be overkill.
Mid kit: the 150-600mm zoom
This is the most common serious aviation setup in the UK, and it is where a monopod starts to pay off properly. A stiff aluminium or entry carbon pole rated well above your kit weight, topped with a quality tilt head or a small fluid head, is the sweet spot. If you often shoot prop blur and slow pans, lean towards the fluid head for the smoothness. A pole with a fluid base, such as the Manfrotto XPRO+, combines a smooth foot with a video head and can simplify the whole stack.
Heavy primes: 500mm and 600mm
For a big prime, spend on stiffness and on the head. A heavy-duty carbon pole and a monopod gimbal like the Wimberley MH-100 is the setup professionals reach for, because it carries serious weight while letting the lens float for effortless tracking. This is the most expensive route, but with this class of lens it transforms a tiring day into a comfortable one.
Mixed shooter who also wants video
If you dabble in video as well as stills, a video monopod with a fluid base and a fluid head makes sense, because the same smoothness that helps a tracking pan also helps panning clips. The Manfrotto XPRO+ aluminium video monopod is a popular all-rounder here: it carries a stated load of around 8kg, extends to roughly 2.03m, folds to about 0.78m and weighs around 1.95kg, with a fluid base built in.
| Your lens | Pole | Head | Why |
|---|---|---|---|
| 70-300mm / 100-400mm | Light aluminium, 4-section | Simple tilt head | Endurance only; keep it light and quick |
| 150-600mm / 200-600mm zoom | Stiff aluminium or entry carbon, high load rating | Tilt head, or small fluid head for slow pans | Best balance of support and agility for the common setup |
| 500mm / 600mm prime | Heavy-duty carbon | Monopod gimbal (e.g. Wimberley MH-100) | Carries the weight and lets the lens float for tracking |
| Stills plus video | Video monopod with fluid base (e.g. Manfrotto XPRO+) | Integrated fluid head | Smoothness serves both tracking pans and clips |
Whatever you choose, make sure the quick-release standard matches across your lenses and head. Mixing Manfrotto’s proprietary plates with Arca-Swiss feet is a common and avoidable source of fumbling at the crowd line. Standardise on one and fit every lens foot the same way. While you are planning the bag, our airshow packing checklist covers everything else that should go in alongside the pole.
Monopod technique for airshows, step by step
A monopod rewards good technique and punishes laziness. Plant it badly and it gives you nothing. Here is how to set up and work with one at the crowd line.
Set the height first
Before the flying starts, extend the pole so that with the lens pointed up at a typical display angle, the viewfinder comes to your eye while you stand naturally with a straight back. Lock the lowest, thickest sections first and leave a thinner top section to fine-tune, because the thick sections are the stiffest. Once it is set you rarely need to change it.
Build a tripod with your body
The pole is one leg; your two feet are the others. Stand with your feet shoulder-width apart, one slightly ahead of the other, and angle the monopod slightly away from you so the three contact points form a stable triangle. Pull the lens gently back into your body so there is light tension in the system. A monopod held loose and vertical wobbles; a monopod under slight tension against a braced stance is remarkably steady.
Hold the lens, not just the camera
Your left hand should support the lens, ideally cupping it from underneath near the balance point, with the monopod foot resting on the ground. Your right hand works the camera, shutter and dials. The left hand is doing the steering and damping; the pole is doing the lifting. Keep your elbows in rather than winged out, which both steadies you and stops you catching neighbours.
Set the head drag, do not lock it
With a tilt or fluid head, the mistake is locking it down. You want the tilt axis free or lightly damped so you can follow vertical movement, with just enough drag to stop the lens flopping. On a fluid head, dial in moderate drag: enough to smooth your movement, not so much that you cannot react to a sudden pop-up. The pan, in most setups, comes from twisting the whole pole rather than from a pan axis on the head, so leave panning to your hands and the foot.
Lead with your hips
For a long horizontal pass, do not just twist your arms. Rotate from the hips and let your whole upper body follow the aircraft, with the pole pivoting on its foot. This keeps the movement smooth and repeatable, and it stops you running out of arm rotation halfway through a pass. Pre-aim to where the aircraft will be, start the pan before it arrives, and keep following through after you press the shutter.
Panning aircraft with a monopod
Panning is where a monopod either shines or fights you, so it deserves its own section. The aim of a pan is to move the camera at exactly the speed of the aircraft, so the aircraft stays sharp while the background blurs into motion. Done well it conveys speed and lifts a flat shot. The monopod helps by removing vertical bounce, which is the most common reason slow pans fail.
The mechanics
To pan with a monopod, twist the pole on its foot at a speed that matches the subject, keeping the aircraft locked in the same spot in your frame, and fire while you keep moving. The key word is keep: the pan continues after the shutter fires, the same follow-through a golfer or a cricketer uses. Stop the moment you press and you will jerk the camera and smear the subject.
Match the rotation to the pass
A monopod pans most naturally around the vertical axis, so it loves passes that are mostly horizontal: a fast jet running level along the crowd line, an airliner on approach, a warbird on a curving topside pass. For these, the fixed pivot of the pole gives you a consistency that is hard to match handheld. Where it struggles is the steep vertical, where you must tilt sharply as well as pan. For those, loosen the tilt right off, or accept that handholding may serve that particular act better.
How slow can you go
This is the fun part. Handheld at 600mm you might not dare drop below 1/500s for a crisp jet. On a monopod, with the vertical axis steadied, panning shots become possible at much slower speeds. Photographers report comfortable panning at 1/180s with long lenses on a monopod, and with a smooth head and good technique you can push slower still for deliberate motion blur on props and rotors. Start conservative, check your results on the back of the camera, and ease the speed down until your keeper rate tells you that you have found your limit. For the specific speeds different aircraft need, see our guide to photographing fast jets.
Settings, shutter speed and stabilisation
A monopod changes what shutter speeds you can get away with, and it interacts with your lens or camera stabilisation in ways worth understanding.
Shutter speed as a starting point
The numbers below are starting points for a long lens on a monopod, assuming reasonable technique and stabilisation switched on. Treat them as a place to begin, then adjust to taste and to the light. Jets want speed for crispness; props and rotors want slowness for blur. Getting the propeller disc right is its own craft, covered in detail in our piece on propeller blur.
| Subject | Goal | Starting shutter speed | Notes |
|---|---|---|---|
| Fast jet, level pass | Tack-sharp | 1/1000s and faster | Monopod mainly relieves weight here; sharpness comes from speed |
| Fast jet, panned for background blur | Speed and motion | 1/250s to 1/400s | Monopod steadies the vertical so the pan stays clean |
| Propeller warbird or trainer | Full, smooth prop disc | 1/125s to 1/200s | Slower for more blur; monopod makes this reliable at long focal lengths |
| Helicopter | Rotor blur | 1/100s to 1/160s | Slow enough to blur the rotor without losing the fuselage |
| Taxi and ground | Sharp, low effort | 1/500s | Static support is the main benefit; rest the pole between shots |
| Slow deliberate pan, any prop type | Strong motion blur | 1/60s or slower | Only really achievable with support; expect a lower keeper rate |
Image stabilisation: leave it on, mostly
Modern in-lens and in-body stabilisation works well alongside a monopod. Because the monopod still allows a little movement, unlike a locked-off tripod, stabilisation has something to do and generally helps rather than hinders. The combination of a steady pole and active stabilisation is what lets you reach those slower panning speeds. Leave it switched on for almost all monopod aviation work.
Use the panning mode if your lens has one
Many telephotos offer a stabilisation mode that only corrects on one axis, designed for panning. This mode lets you sweep horizontally while still damping vertical jitter, which is exactly what you want when tracking an aircraft across the sky. If your lens has it, use it for panning passes. The single-axis mode prevents the stabiliser from fighting your deliberate horizontal movement.
Autofocus and drive settings
None of this changes your autofocus approach, which should be continuous tracking with a sensible area mode and a high frame rate so you can pick the best moment from a burst. The monopod simply gives the lens a steadier platform from which the autofocus can do its job, and a steadier platform does tend to help tracking lock stay on the aircraft rather than slipping to the sky behind it.
Common mistakes and how to fix them
Almost everyone who gives up on a monopod did so because of one of these errors, not because the monopod was a bad idea.
Locking the head solid
The classic mistake. People tighten the tilt or ball head fully, then find they cannot follow a climbing aircraft. Fix: leave the tilt axis free or lightly damped and let your hands do the steering. The head should resist flop, not movement.
Holding the pole bolt upright
A perfectly vertical, untensioned pole wobbles like a pendulum. Fix: angle it slightly toward you and pull the lens gently back so the system is under light tension, with your feet braced. Tension equals stability.
Choosing a ball head
A ball head lets the camera roll, so your horizon tilts while you track and you fight it constantly. Fix: switch to a tilt, fluid or monopod gimbal head. If you are stuck with a ball head, keep it slightly loose and control roll with your hand.
Buying a pole that is too flexible
A monopod rated barely above your kit weight flexes and feels vague, and a flexing pole defeats the point. Fix: buy with plenty of load headroom and prioritise stiffness over a low price.
Gripping the camera instead of the lens
If your left hand is on the camera body, the long lens out front is unsupported and pivots. Fix: support the lens near its balance point with your left hand and let the right hand work the controls.
Stopping the pan at the shutter
Jerking to a halt the instant you fire smears the subject. Fix: follow through, keep the pole turning smoothly past the moment of exposure, the same as any panning sport.
Forgetting it on a crowded line
Swinging a pole on a packed crowd line clouts your neighbours and earns dirty looks. Fix: read the space. If it is shoulder to shoulder, fold the pole and go handheld, or position yourself at the end of a row where you have room to rotate.
Mismatched quick-release plates
Arriving with an Arca lens foot and a Manfrotto-only head, or vice versa, means you cannot mount up. Fix: standardise your quick-release system across every lens and head before the show, not at the crowd line.
Scenario by scenario at the airshow
Different acts call for different choices. Here is how to think about the pole through a typical display day.
Fast jet solo display
The hardest case for a monopod, because the jet twists through every axis. For the level, high-speed passes the pole is excellent and gives clean tracking. For the vertical climbs, rolls and topside passes, you may want to loosen the tilt right off or even lift the pole and go briefly handheld. Many photographers keep the monopod attached but treat it as weight relief, lifting it clear when a violent vertical manoeuvre comes.
Display teams and formation
Formations such as the Red Arrows fly relatively predictable, smooth lines, which suits a monopod well. The steady vertical axis helps you keep a clean horizon as the team sweeps across, and the weight relief matters because you will be tracking for long, continuous passes. Pre-aim to the run-in line and pan smoothly through.
Warbirds and prop displays
This is monopod heaven. Props demand slower shutter speeds for a full disc, and the pole is what makes those speeds reliable at long focal length. Set a tilt or fluid head, drop your shutter speed, and pan the curving passes smoothly. Our airshow settings reference has the prop-blur numbers to start from.
Helicopters
Rotor blur needs a slow shutter, and hovering or slow-moving helicopters mean you are holding the lens on target for a long time. Both favour a monopod. Use it for the static hover work and the slow rotor-blur passes especially.
Taxi, line-up and static
Pure weight relief. Rest the pole down between shots, keep the lens roughly aimed, and bring it up when an aircraft starts to move. No need to touch the head settings.
Golden hour and the end of the day
Late light is when fatigue and slow shutter speeds collide, and it is precisely when a monopod earns its keep. You are tired, the light is dropping so your shutter speed is falling, and the best photographs of the day are often right here. The pole keeps you steady when your arms would otherwise be done.
Care, travel and airshow rules
A few practical points that catch people out.
Check the showground rules
Some events restrict or ban monopods and tripods in certain enclosures, or in the front rows where they could block others. Most UK airshows are fine with a monopod at the general crowd line, but premium or grandstand areas sometimes have restrictions. Check the event’s photography or admission terms before you travel, and be ready to fold it away if asked. A monopod is far less likely to cause objection than a tripod, but it pays to know.
Travel and airlines
A folded monopod is small and usually fits inside or strapped to a camera bag. For air travel, most fit in carry-on, but rules vary and some carriers treat a monopod like a walking pole or a potential weapon and want it in the hold. Check your airline’s policy rather than risk it at security. A spike foot in particular can attract attention.
Maintenance
Grass, mud and salt air are hard on leg locks. After a wet or coastal show, extend all the sections, wipe them down, let them dry fully and check the locks still bite. Twist locks occasionally need the collars cleaning so grit does not work into the threads. A few minutes of care keeps a pole solid for years.
The strap and the carry
Fit a wrist strap or a sling so you are not gripping the pole constantly between acts, and so you cannot drop it on someone’s head when you reach for a lens cloth. Carrying it slung over a shoulder with the camera still attached, lens forward, lets you go from walking to shooting in a second.
Frequently asked questions
- Do I really need a monopod for aviation photography?
- Not always. If your longest lens is a 100-400mm or lighter, modern stabilisation and good handholding technique will keep you sharp all day without one. A monopod becomes really worthwhile once you are running a heavy 150-600mm zoom or a big prime, or when you want to use slow shutter speeds for prop and rotor blur, or simply to stay fresh across a long show. It is a tool for specific jobs, not a must-have for everyone.
- What is the best monopod head for panning aircraft?
- A tilt head is the sensible default, letting you pivot up and down while the pole stays planted. A small fluid head is the upgrade for smooth, slow-shutter panning, and a purpose-built monopod gimbal such as the Wimberley MH-100 is the best choice for the heaviest 500mm and 600mm primes because it lets the lens float and balance. Avoid a ball head, which allows the camera to roll and makes keeping a level horizon a constant fight while you track.
- How slow can I set my shutter speed on a monopod?
- Slower than you safely could handheld, because the pole steadies the vertical axis. With a long lens, comfortable panning is reported at around 1/180s, and with a smooth head and good follow-through you can push to 1/60s or slower for deliberate motion blur on propellers and rotors. Start conservative, review your keeper rate on the back of the camera, and ease the speed down until your results tell you that you have found your limit.
- Monopod or tripod for airshows?
- A monopod, almost always, for flying displays. A tripod removes all the weight but also removes your ability to follow a fast, climbing, rolling aircraft, so it is impractical at the crowd line for moving subjects. A tripod has its place for static night shots or careful golden-hour compositions of parked aircraft, but for the display itself the monopod’s blend of support and freedom is what you want.
- Carbon fibre or aluminium monopod?
- Both work well. Carbon fibre is lighter for the same stiffness, damps vibration slightly better and is far kinder to hold on a cold early-season morning, but it costs more. Aluminium is cheaper, very strong and a little more tolerant of knocks. For a monopod you carry and swing all day, the weight saving of carbon is worth having if your budget allows, but a stiff aluminium pole with the right head will not hold you back.
- Should I leave image stabilisation on when using a monopod?
- Yes, in almost all cases. Unlike a locked-off tripod, a monopod still allows a little movement, so stabilisation has work to do and generally helps. If your lens has a dedicated panning mode that corrects only one axis, switch to it for tracking passes so the stabiliser does not fight your deliberate horizontal sweep.
- Can I use a monopod as a walking stick or support between shooting spots?
- Yes, a folded or partly extended monopod doubles as a useful walking pole across the uneven ground and long distances you cover at a big showground, which is one of its quiet advantages over a tripod. Fit a wrist strap so you are not gripping it constantly and cannot drop it, and carry it slung over a shoulder with the camera still attached so you can go from walking to shooting in a second. Just be mindful of people around you when you swing a pole with a long lens on the end.
- Where do I position the lens foot on the monopod for the best balance?
- Mount the tripod foot of the lens, not the camera body, to the head, so the weight sits over the pole rather than hanging off the back. With a monopod gimbal you slide the foot fore and aft until the rig balances and the lens stays put when you let go, which makes tracking almost effortless. With a simple tilt head, get the balance point roughly over the pole so the lens does not tip nose-down, then support and steer with your left hand under the lens.
- Will a monopod help with camera shake at very long focal lengths like 600mm?
- Yes, and this is exactly where it earns its keep, because at 600mm any small wobble is magnified across a narrow field of view and tired arms make it worse. The pole kills the vertical bounce and takes the static weight, so your hands only steer, which noticeably lifts your keeper rate late in a long day. Leave stabilisation switched on alongside it, using the panning mode for tracking passes, and the combination lets you hold sharpness at shutter speeds you could not manage handheld.
A practical way to decide
Do not think of it as monopod versus handholding for the whole day. Think of it act by act. Bring the pole, set it up properly with a tilt or fluid head, and use it for the heavy work: prop blur, slow pans, long static waits, formation passes and the tiring last hour in golden light. Lift it clear and go handheld when a fast jet starts throwing itself around in the vertical and you need pure agility. The photographers who get the most from a monopod are the ones who treat it as a tool they pick up and put down, not a permanent fixture they feel obliged to use for everything.
If you would like to see what this kind of support and technique produces across a full season of UK displays, browse the aviation galleries, and if you want to use any of those images, the licensing page explains how. Get the support sorted, get the head right, and you will spend less of the day fighting your kit and more of it watching the sky.
If you regularly shoot without support, our guide to handholding a long lens at 500mm and beyond covers the stance, breathing and stabiliser technique that make the monopod optional.
