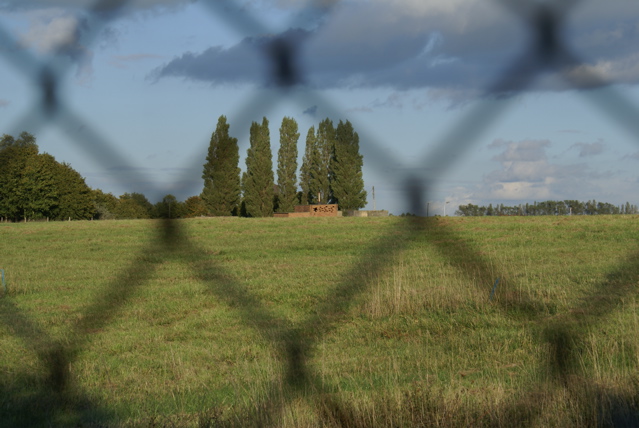
Almost every airfield worth photographing has a fence around it. Learn to shoot through one properly and the wire vanishes from your pictures as if it were never there.
Perimeter fences are the single biggest frustration for anyone photographing aircraft from public ground. You turn up at a viewing spot, find a clear line on a taxiing jet, raise the camera, and the whole frame is criss-crossed with chain-link. The good news is that making a fence disappear is not luck and it is not an expensive trick. It comes down to a handful of optical principles that you can set up deliberately every time. Once you understand why a fence blurs out, you can read any fence in a few seconds and know exactly where to stand and what settings to dial in.
This guide covers the physics in plain terms, the camera settings that work, how to focus past the wire when your autofocus wants to grab it, the gear that really helps, how to handle different fence types from diamond mesh to razor wire, and the etiquette and safety side of shooting at the perimeter. There is a quick-reference settings table, a field checklist, and a thorough FAQ at the end.
What this guide covers
- Why airfield fences ruin photographs
- The principle that makes a fence disappear
- Fence types and how each one behaves
- Finding and using the gaps
- Camera settings for shooting through fences
- Focusing past the wire
- Gear that really helps
- Colour casts, haze and flare from the wire
- When the fence will not go: use it
- Etiquette, safety and the law
- Cleaning up residual fence haze in editing
- A field workflow checklist
- Common mistakes
- Frequently asked questions
Why airfield fences ruin photographs
A perimeter fence sits between you and the aircraft, usually no more than an arm’s length in front of the lens. Because it is so close, it falls well inside the camera’s minimum focusing distance for a long lens, so it can never be sharp at the same time as a distant aeroplane. That part is obvious. What catches people out is that an out-of-focus fence does not automatically vanish. If you shoot it the wrong way, the wire turns into a grey or green haze that drains contrast from the whole frame, throws soft diagonal bands across the aircraft, and confuses the autofocus into hunting back and forth.
The aim is not to make the fence slightly blurry. The aim is to throw it so far out of focus, and render it across so few pixels, that it disappears completely. Done well, you can shoot a fast jet on the taxiway through heavy chain-link and nobody looking at the photograph will ever know there was a fence there. Done badly, every shot has a soft veil over it that no amount of editing fully removes.
Three things decide which of those you get: how close the lens is to the wire, how far the aircraft is beyond it, and the aperture and focal length you are using. Get those working together and the fence is gone. The rest of this guide is really just about controlling those variables in the real conditions you find at an airfield.
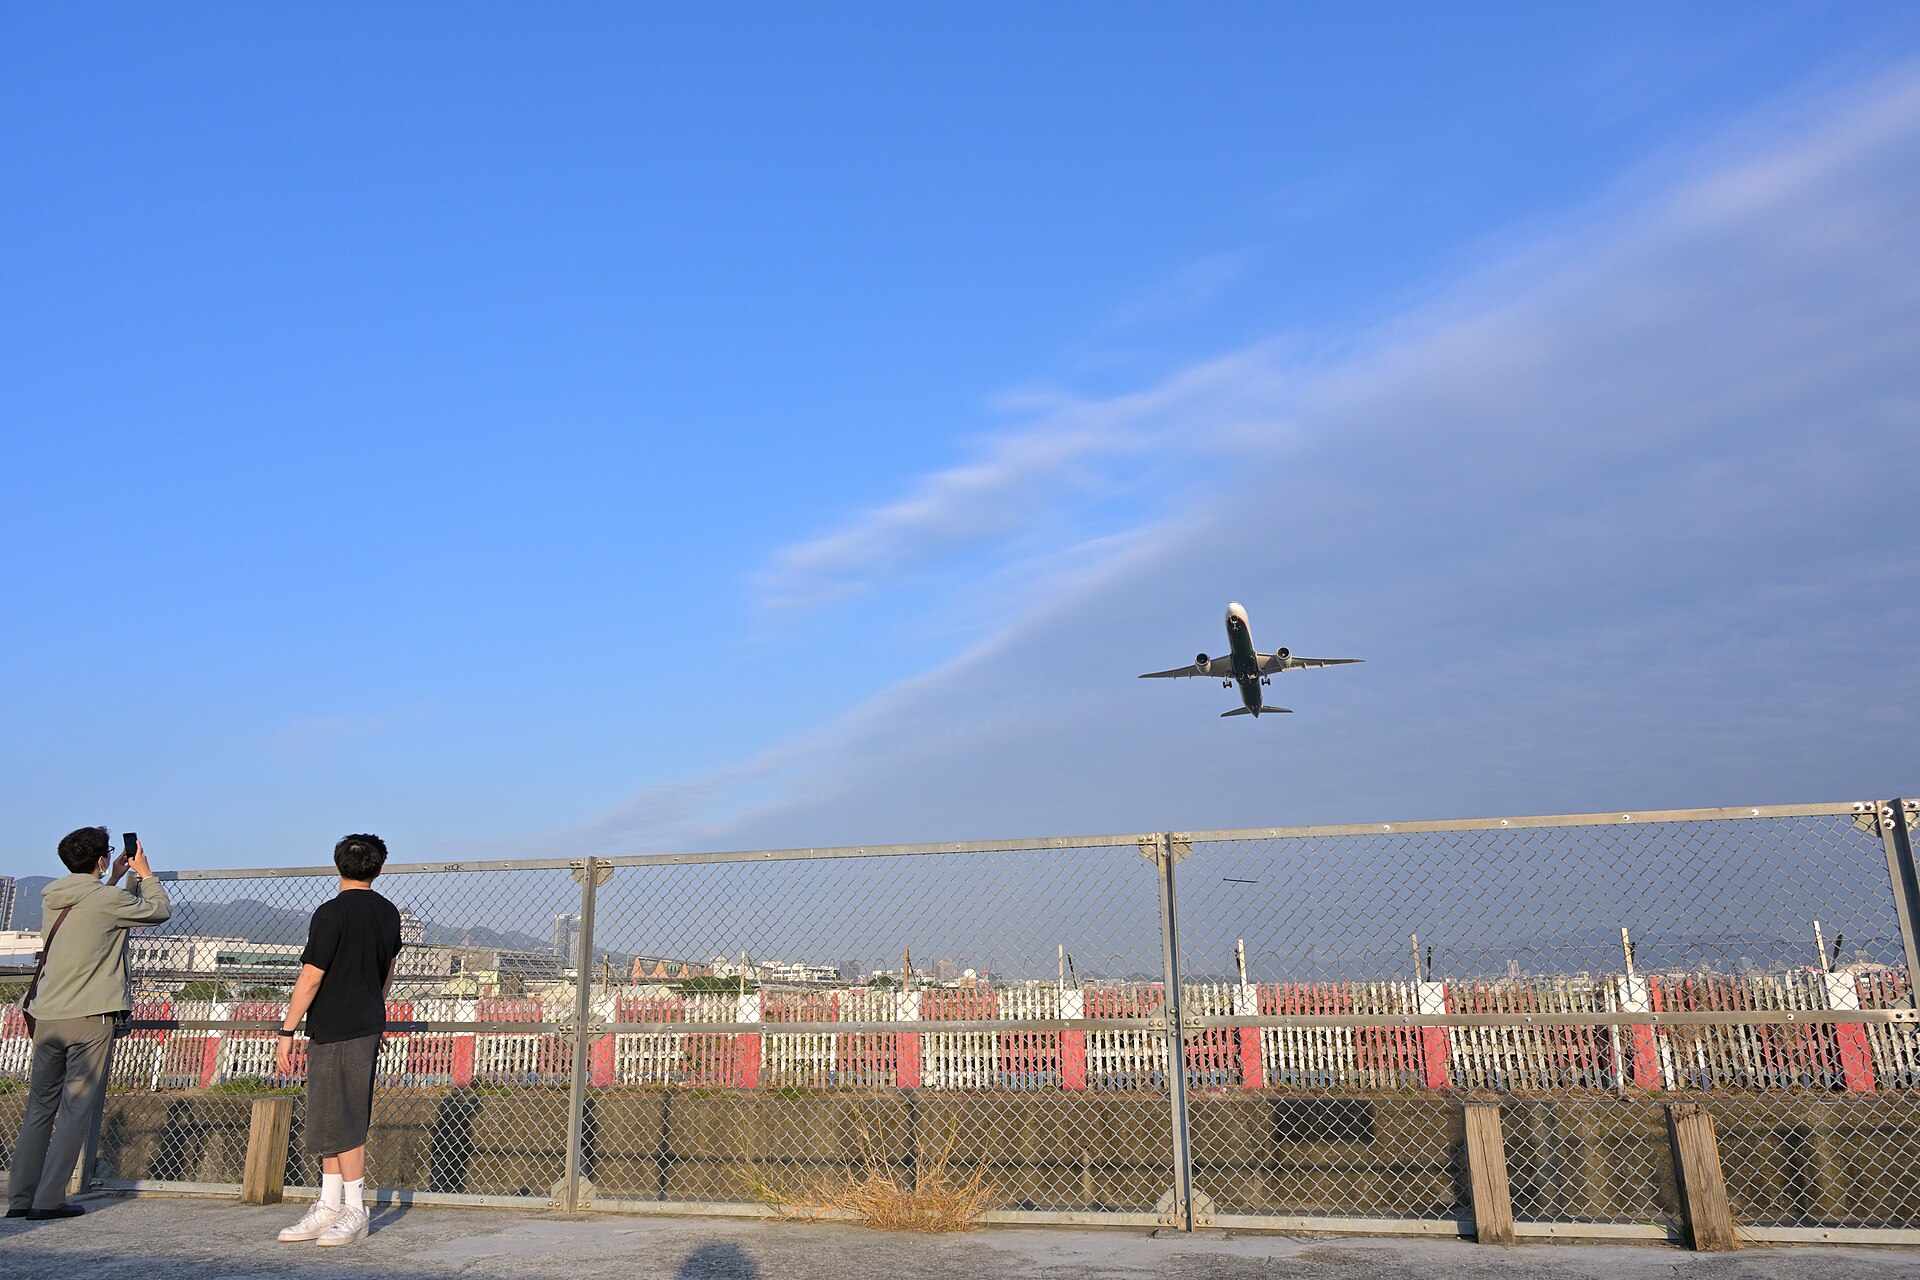
The principle that makes a fence disappear
Anything very close to the lens and far outside the plane of focus is rendered large, soft and low in contrast. Push that far enough and the object stops being a recognisable shape and becomes a faint, even wash that the eye reads straight through. To make a fence disappear you want to maximise that effect. Four levers control it.
1. Get the lens as close to the wire as you safely can
This is the most important single factor and the one most people get wrong. The closer the front element is to the fence, the more out of focus and the more magnified the wire becomes, until individual strands smear into nothing. A lens held back even 30cm from the fence will record obvious diagonal bars. The same lens with its hood touching the wire will often record nothing at all. Move in until the lens is almost against the mesh. If you can rest the hood gently on the wire without pushing or stressing the fence, you are in the ideal position.
Practically, that means choosing a spot where you can stand right at the fence line rather than a few paces back, and lining the lens up with an opening in the weave so the front element looks straight through rather than across a strand. More on finding those openings below.
2. Open the aperture
A wide aperture gives a shallow depth of field, which throws the near fence further out of focus and blurs it more aggressively. Shooting at f/2.8 or f/4 will dissolve a fence that is still faintly visible at f/8. For most aircraft work you also want a fast shutter speed and a clean low ISO, and a wide aperture helps with both, so opening up is rarely a compromise here. The usual concern with wide apertures, that depth of field on the subject becomes too thin, is not a problem when the subject is tens or hundreds of metres away. At that distance even f/2.8 holds an entire aircraft sharp.
3. Use a longer focal length
A longer lens magnifies the background and compresses the scene, and it also magnifies and softens the near fence more than a wide lens does. A 400mm or 500mm lens will smear a fence into invisibility far more readily than a 70mm. Long glass is what you want for distant aircraft anyway, so again the photographic goal and the fence-beating goal pull in the same direction. If you have a zoom, racking towards the long end helps the fence vanish as well as filling the frame.
4. Put distance between the fence and the aircraft
The further the aircraft is beyond the fence, the more separation there is between the plane of focus and the wire, and the cleaner the result. You cannot move the runway, but you can choose which subjects to shoot through the fence and which to wait for. An aircraft holding 200m away on the taxiway will come out cleaner than one parked 15m inside the fence. When you have a choice of position along a fence line, favour the spot that puts the most air between the wire and where the action happens.
Hold all four of these in mind as one move: lens on the wire, aperture wide, focal length long, subject far. That combination is what makes the fence disappear. When you cannot get all four, the others have to work harder to make up for the one you are missing.
Fence types and how each one behaves
Not all fences are equal. Knowing what you are dealing with as you walk up to it saves time and tells you straight away whether a clean shot is realistic.
Chain-link, or diamond mesh
The most common airfield fence and, fortunately, one of the easiest to beat. The diamond gaps are large enough to push a lens hood into, and the wire is thin. Line the front element up so it looks through the centre of a diamond rather than at a junction where four strands cross, get the hood on or through the wire, open up and the mesh disappears. Galvanised chain-link is bright and can throw a slight cool haze in strong sun, so watch your contrast. Green plastic-coated chain-link is darker and usually blurs away to nothing, though it can add a faint green cast to the bottom of the frame.
Weldmesh and rigid panel fencing
Modern security fences are often rigid welded panels with small rectangular holes, sometimes only a couple of centimetres across. These are harder. The bars are thicker and the openings smaller, so you may not be able to fit the lens through. Look for a panel where the horizontal and vertical wires create a gap big enough to shoot through, often near the top of the panel where some designs have wider spacing. If the holes are really too small for the front element, you are shooting across bars rather than through a gap, and you will need the lens pressed right against the mesh and a wide aperture to stand any chance.
Palisade fencing
The tall steel fencing with W-shaped or D-shaped vertical pales and gaps between them. The vertical gaps can be wide enough to shoot through cleanly if you can position the lens dead centre in a gap, but the pales are solid and unforgiving either side, so your shooting angle is restricted to roughly straight ahead. Palisade is common around military sites. Treat each gap as a fixed shooting slot and compose within the angle it allows.
Barbed wire and razor wire
Often strung along the top of a fence rather than across your sightline, in which case you simply shoot below it. Where it does cross the frame, the same rules apply: get close, open up, go long. Razor wire (the coiled type with flat blades) is bulkier and harder to blur than a single barbed strand, so give it more distance to the subject and the widest aperture you have. Never, ever lean a lens or your hands into razor wire to get a better angle. It is designed to injure.
Solid barriers, banks and crash barriers
Sometimes the obstruction is not mesh at all but a solid bank, Armco crash barrier or concrete block. You cannot shoot through these, so the answer is height. A step stool or small ladder that lifts your eyeline above the barrier turns an impossible spot into a clear one. This is why experienced spotters carry something to stand on. Check local rules first, because some sites prohibit ladders at the fence on safety grounds. It is not a British problem either: two of the four positions in our guide to plane spotting at Palm Springs cannot be used without something to stand on.
Reading a fence in five seconds
As you walk up, ask: can I get the lens into or against the wire? Are the gaps big enough to look through? How far beyond is the action? Is there wire across my sightline or only above it? Do I need height? Those answers tell you immediately whether to set up here or move along the fence to a better spot.
Finding and using the gaps
The single skill that separates clean fence shots from hazy ones is positioning the lens relative to the weave. You are not just getting close, you are aiming the optical axis through an opening.
Shoot through a gap, not across a strand
Look at where the centre of your lens points. If it points straight at a wire or a junction, that strand sits dead in the optical path and will register. If it points through the open centre of a mesh hole, the lens sees clean through and the surrounding wire blurs away at the edges. Move the camera up, down or sideways by a centimetre or two until the middle of the front element looks through a hole. With chain-link you can usually find a diamond that the whole front element fits inside.
Put the lens on the wire
Once you have found the gap, close the distance. Rest the lens hood gently against the mesh so the front element is as far forward as the fence allows. A rubber lens hood is ideal here because it can press against the wire without scratching the metal hood or stressing the fence. The hood also stops side light from skimming across the wire and lifting its visibility. Do not push hard. The aim is contact, not force, and you must never deform or climb a fence to do it.
Use deliberate spotting holes where they exist
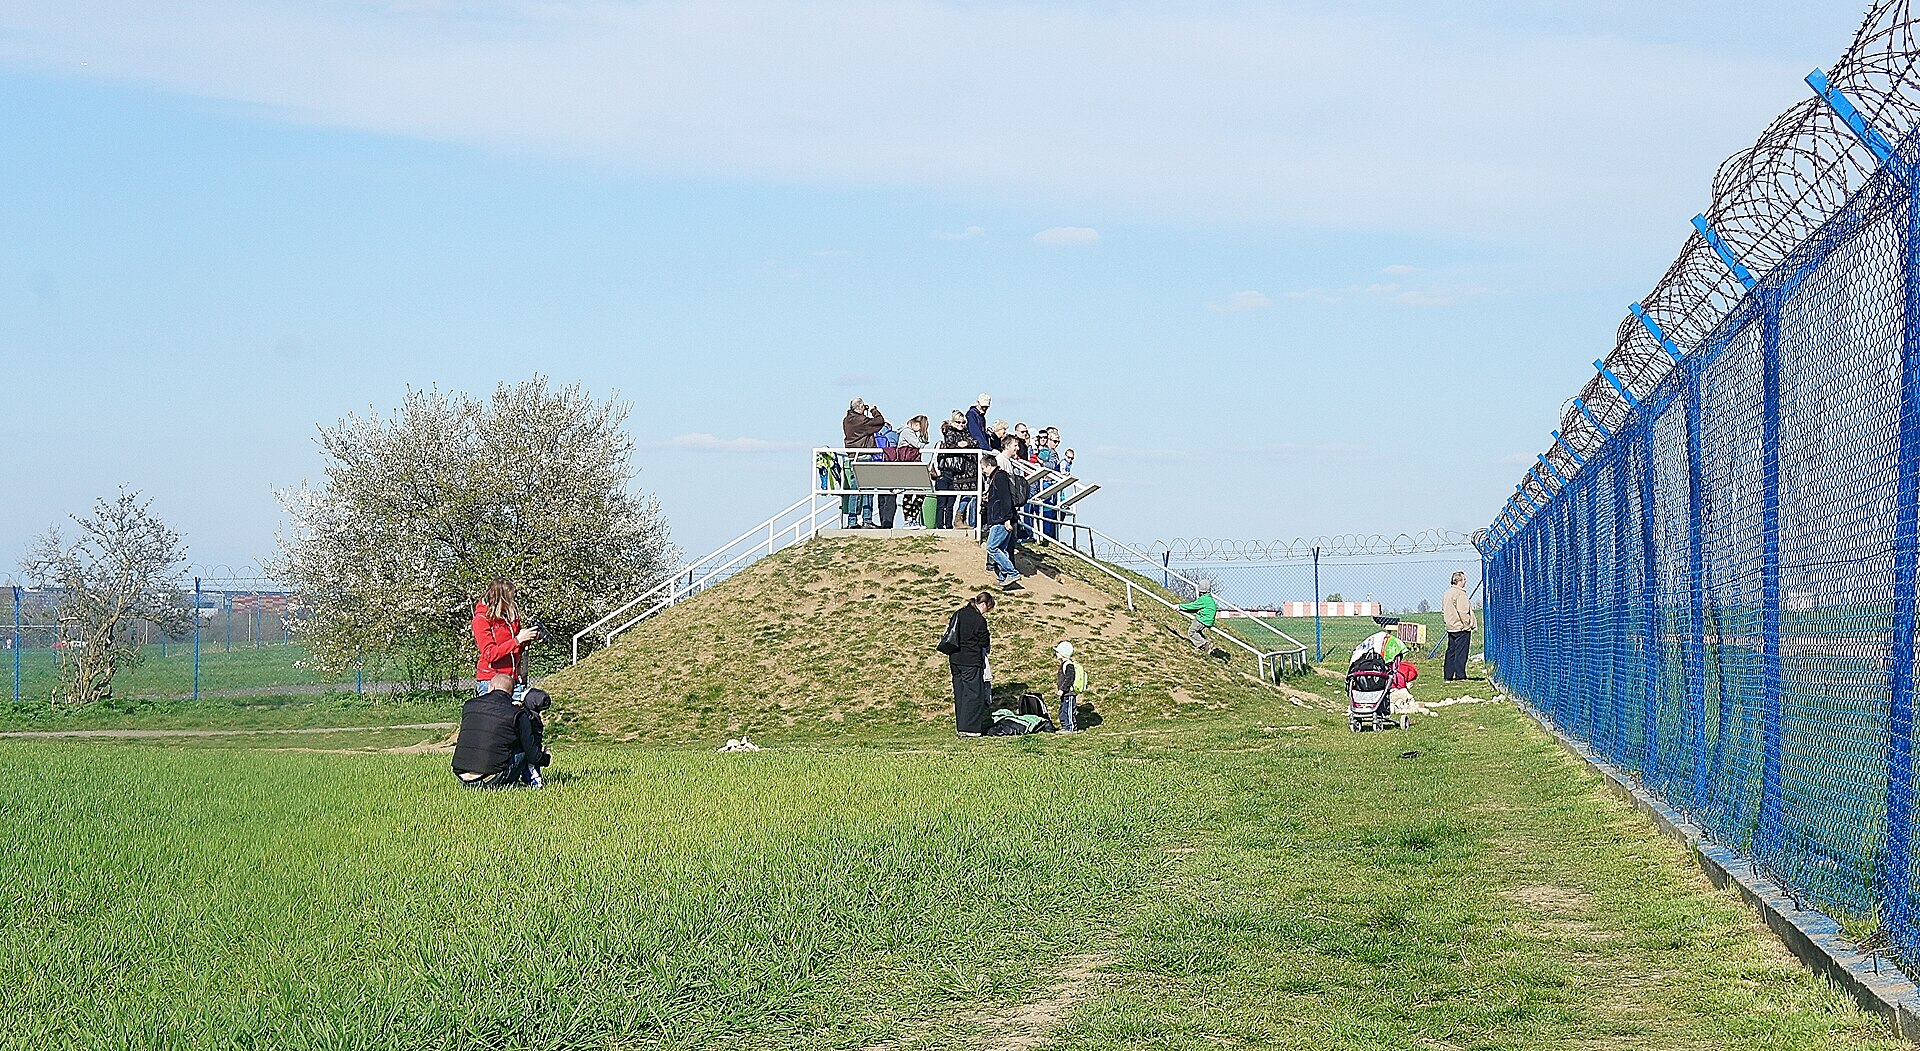
Many established viewing locations have purpose-cut holes in the fence, or lower sections, or a gate with a wider weave, put there by airfield operators or worn in by years of spotters. At some airports the operator provides viewing mounds or fences with built-in camera ports. Ask locally or check spotting guides for the field. Using an official viewing area is always better than improvising at a random stretch of perimeter.
Work the angle
Even through one gap you have some freedom to angle the lens. A slight diagonal through the opening can clear a strand that a straight-on shot catches. Pan the aircraft and watch the viewfinder: if a soft bar drifts into frame, shifting your stance a few centimetres usually clears it. With practice you do this without thinking, the same way you would adjust for a branch in front of a bird.
Camera settings for shooting through fences
There is no single fence setting, because your shutter speed still has to suit the aircraft (a fast jet, a propeller aircraft and a static display all need different things). What the fence changes is your aperture and focus approach. The table below is a starting point. Treat aperture as wide as the situation allows, then set shutter speed for the subject and let ISO float.

| Situation | Aperture | Shutter speed | Focus mode | Notes |
|---|---|---|---|---|
| Fast jet, taxi or flypast | f/2.8 to f/4 | 1/1000s or faster | Continuous AF, single point | Wide aperture both freezes detail and dissolves the fence |
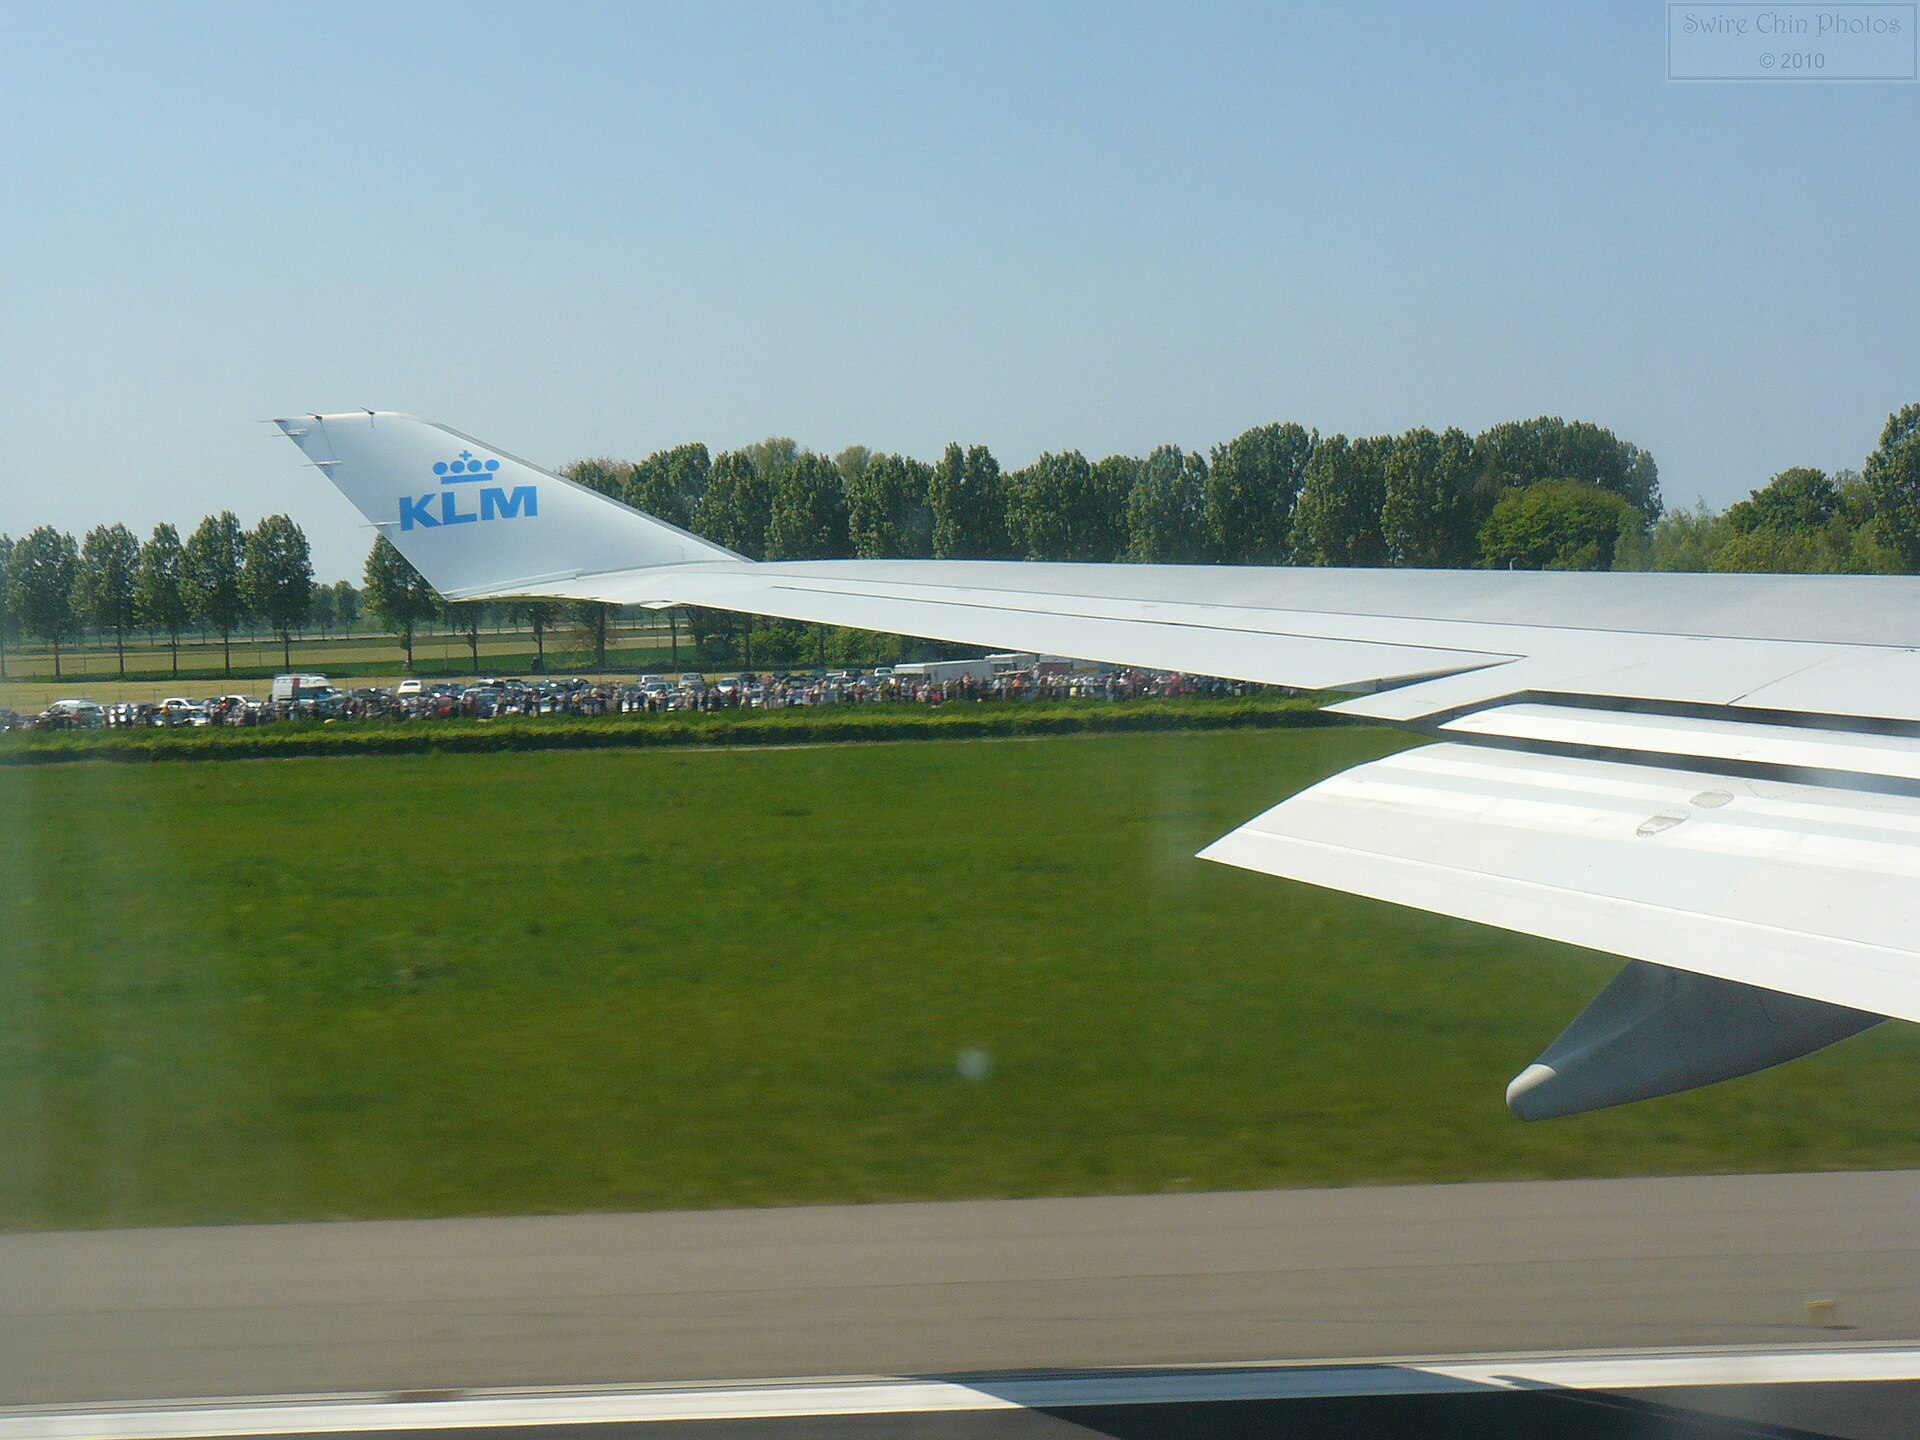
| Propeller aircraft, taxi | f/5.6 to f/8 | 1/160s to 1/250s for prop blur | Continuous AF, single point | Smaller aperture needed for prop blur, so get the lens hard against the wire to compensate |
| Helicopter | f/5.6 to f/8 | 1/125s to 1/200s for rotor blur | Continuous AF, single point | As props: lean on positioning since you cannot open up fully |
| Static aircraft beyond the fence | f/4 to f/5.6 | 1/500s (handheld safety) | Single AF or manual | Plenty of time to find the cleanest gap and check focus |
| Distant movements in poor light | f/2.8 (widest you have) | As needed, raise ISO | Continuous AF, single point | Wide aperture does double duty: light and fence removal |
Two settings matter beyond the exposure triangle. First, turn off any in-camera distortion or clarity boosts that raise micro-contrast, because they can make a faint fence haze more visible. Second, if your camera lets you, drop the autofocus to a single, small point rather than a wide zone, for the reasons in the next section.
Focusing past the wire
The fence’s last line of defence is your autofocus. A nearby fence is exactly the kind of high-contrast, close object that AF systems love to lock onto, and once it grabs the wire your aircraft turns to mush. Beating this is mostly about taking control of where the camera focuses.

Use a single, small AF point
Wide-area and zone AF scan the whole frame and will often choose the nearest thing with contrast, which is the fence. Switch to a single point, make it small, and place it directly on the aircraft. Because the fence is so far outside focus it gives the sensor almost nothing to lock onto once you are close to the wire, so a single point on the subject usually drives straight past it.
Back-button focus helps
Separating focus from the shutter (back-button focus) lets you acquire the aircraft, then stop the camera refocusing if a strand drifts through the point. Acquire focus on the aeroplane, lift your thumb, and the focus holds while you fire, so a passing bar cannot pull focus back to the wire. This is one of the most useful habits for fence work and for aviation generally. The autofocus article linked below goes into the setup in detail.
Fall back to manual focus when needed
If the fence is heavy, the gaps small, or the aircraft static, manual focus removes all doubt. Focus on the aircraft, and as long as you do not move the focus ring the fence cannot steal it. For static subjects use live view and magnify to nail it. Manual focus is also the answer when the AF simply will not commit and hunts between the wire and the subject.
Watch for subject detection grabbing the fence
Modern mirrorless cameras with aircraft or animal detection are excellent, but a busy fence can occasionally confuse the detection into boxing the wire pattern. If you see the detection box flicking to the foreground, switch to plain single-point AF or manual for that sequence. Do not assume clever AF removes the need to think about the fence; it just changes the failure mode.
Gear that really helps
You do not need special equipment to beat a fence, but a few things make it easier and a few choices matter more than others.
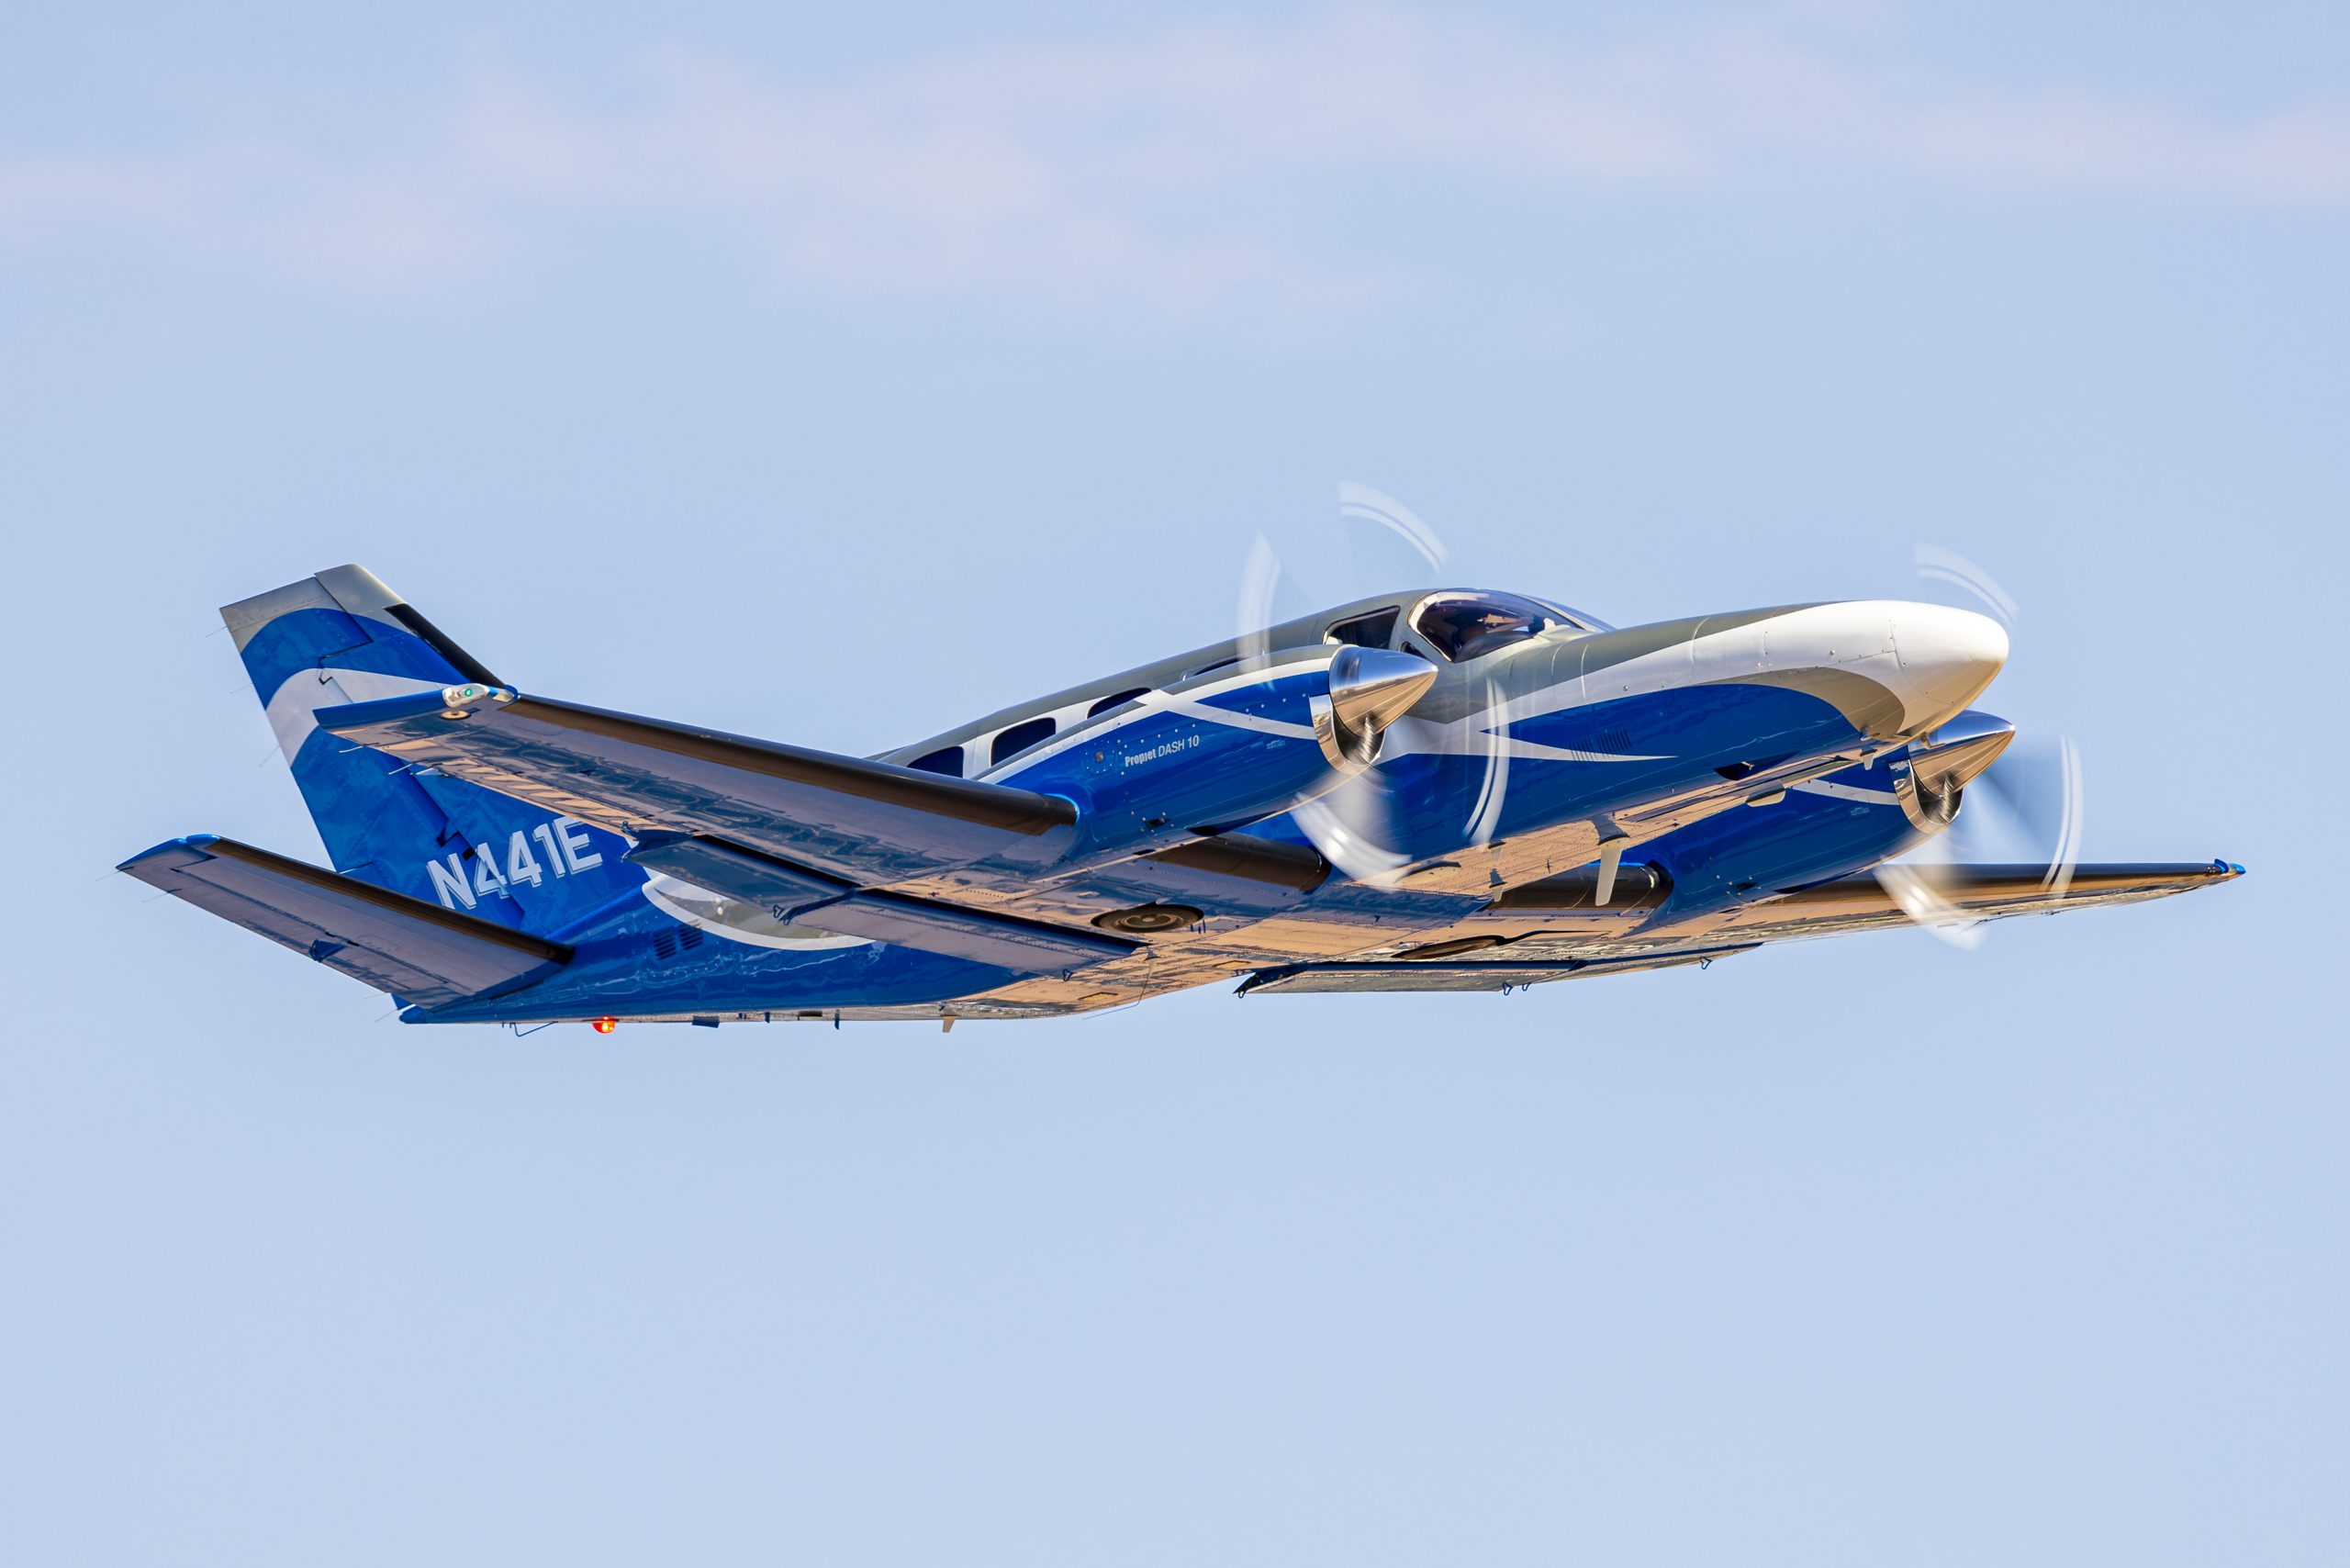
A fast telephoto over a slow zoom
A lens with a wide maximum aperture, a 300mm f/2.8 or a 400mm f/4 for example, beats a fence far more easily than a slow superzoom that only opens to f/6.3 at the long end. The wide aperture is doing real work here, not just gathering light. That said, a slow zoom still works if you press it hard against the wire and pick your gaps; you simply have less margin. For more on choosing glass for this kind of work, see the guide to the best lenses for aviation photography.
A rubber lens hood
A collapsible rubber hood is the single most useful fence accessory. It lets you rest the lens against metal without scratching either the hood or the fence, it cushions the contact so you are not stressing the wire, and it blocks side light that would otherwise skim the strands and raise their visibility. If you shoot a lot of fences, keep one in the bag.
Something to stand on
A lightweight step stool or folding ladder lifts you above solid barriers and lets you shoot over the top of a fence rather than through it, which removes the problem entirely. Check the site’s rules first, since some airfields ban ladders at the perimeter. Where they are allowed, height is the easiest win there is.
A lens cloth
Pressing a lens against a dusty or wet fence transfers grime to the front element. Keep a cloth handy and check the glass after leaning on the wire. A smear on the front element does far more damage to an image than a well-blurred fence ever will.
A monopod, used thoughtfully
A monopod steadies a long lens through a fence, but it also fixes your height and angle, which can stop you finding the cleanest gap. For static subjects it is fine. For tracking movements where you need to shift a few centimetres to clear a strand, handholding is often more flexible. The trade-offs are covered in the gear and packing guides.
Colour casts, haze and flare from the wire
Even when a fence is blurred to invisibility as a shape, it can still affect the image in two subtler ways. The first is a colour cast: a green plastic-coated fence can tint the lower frame green, and bright galvanised wire in sun can throw a cool grey wash. The cure is mostly positional, getting the lens through the gap so the wire is not in the optical path, plus a small white-balance or local correction in editing if a faint cast remains.
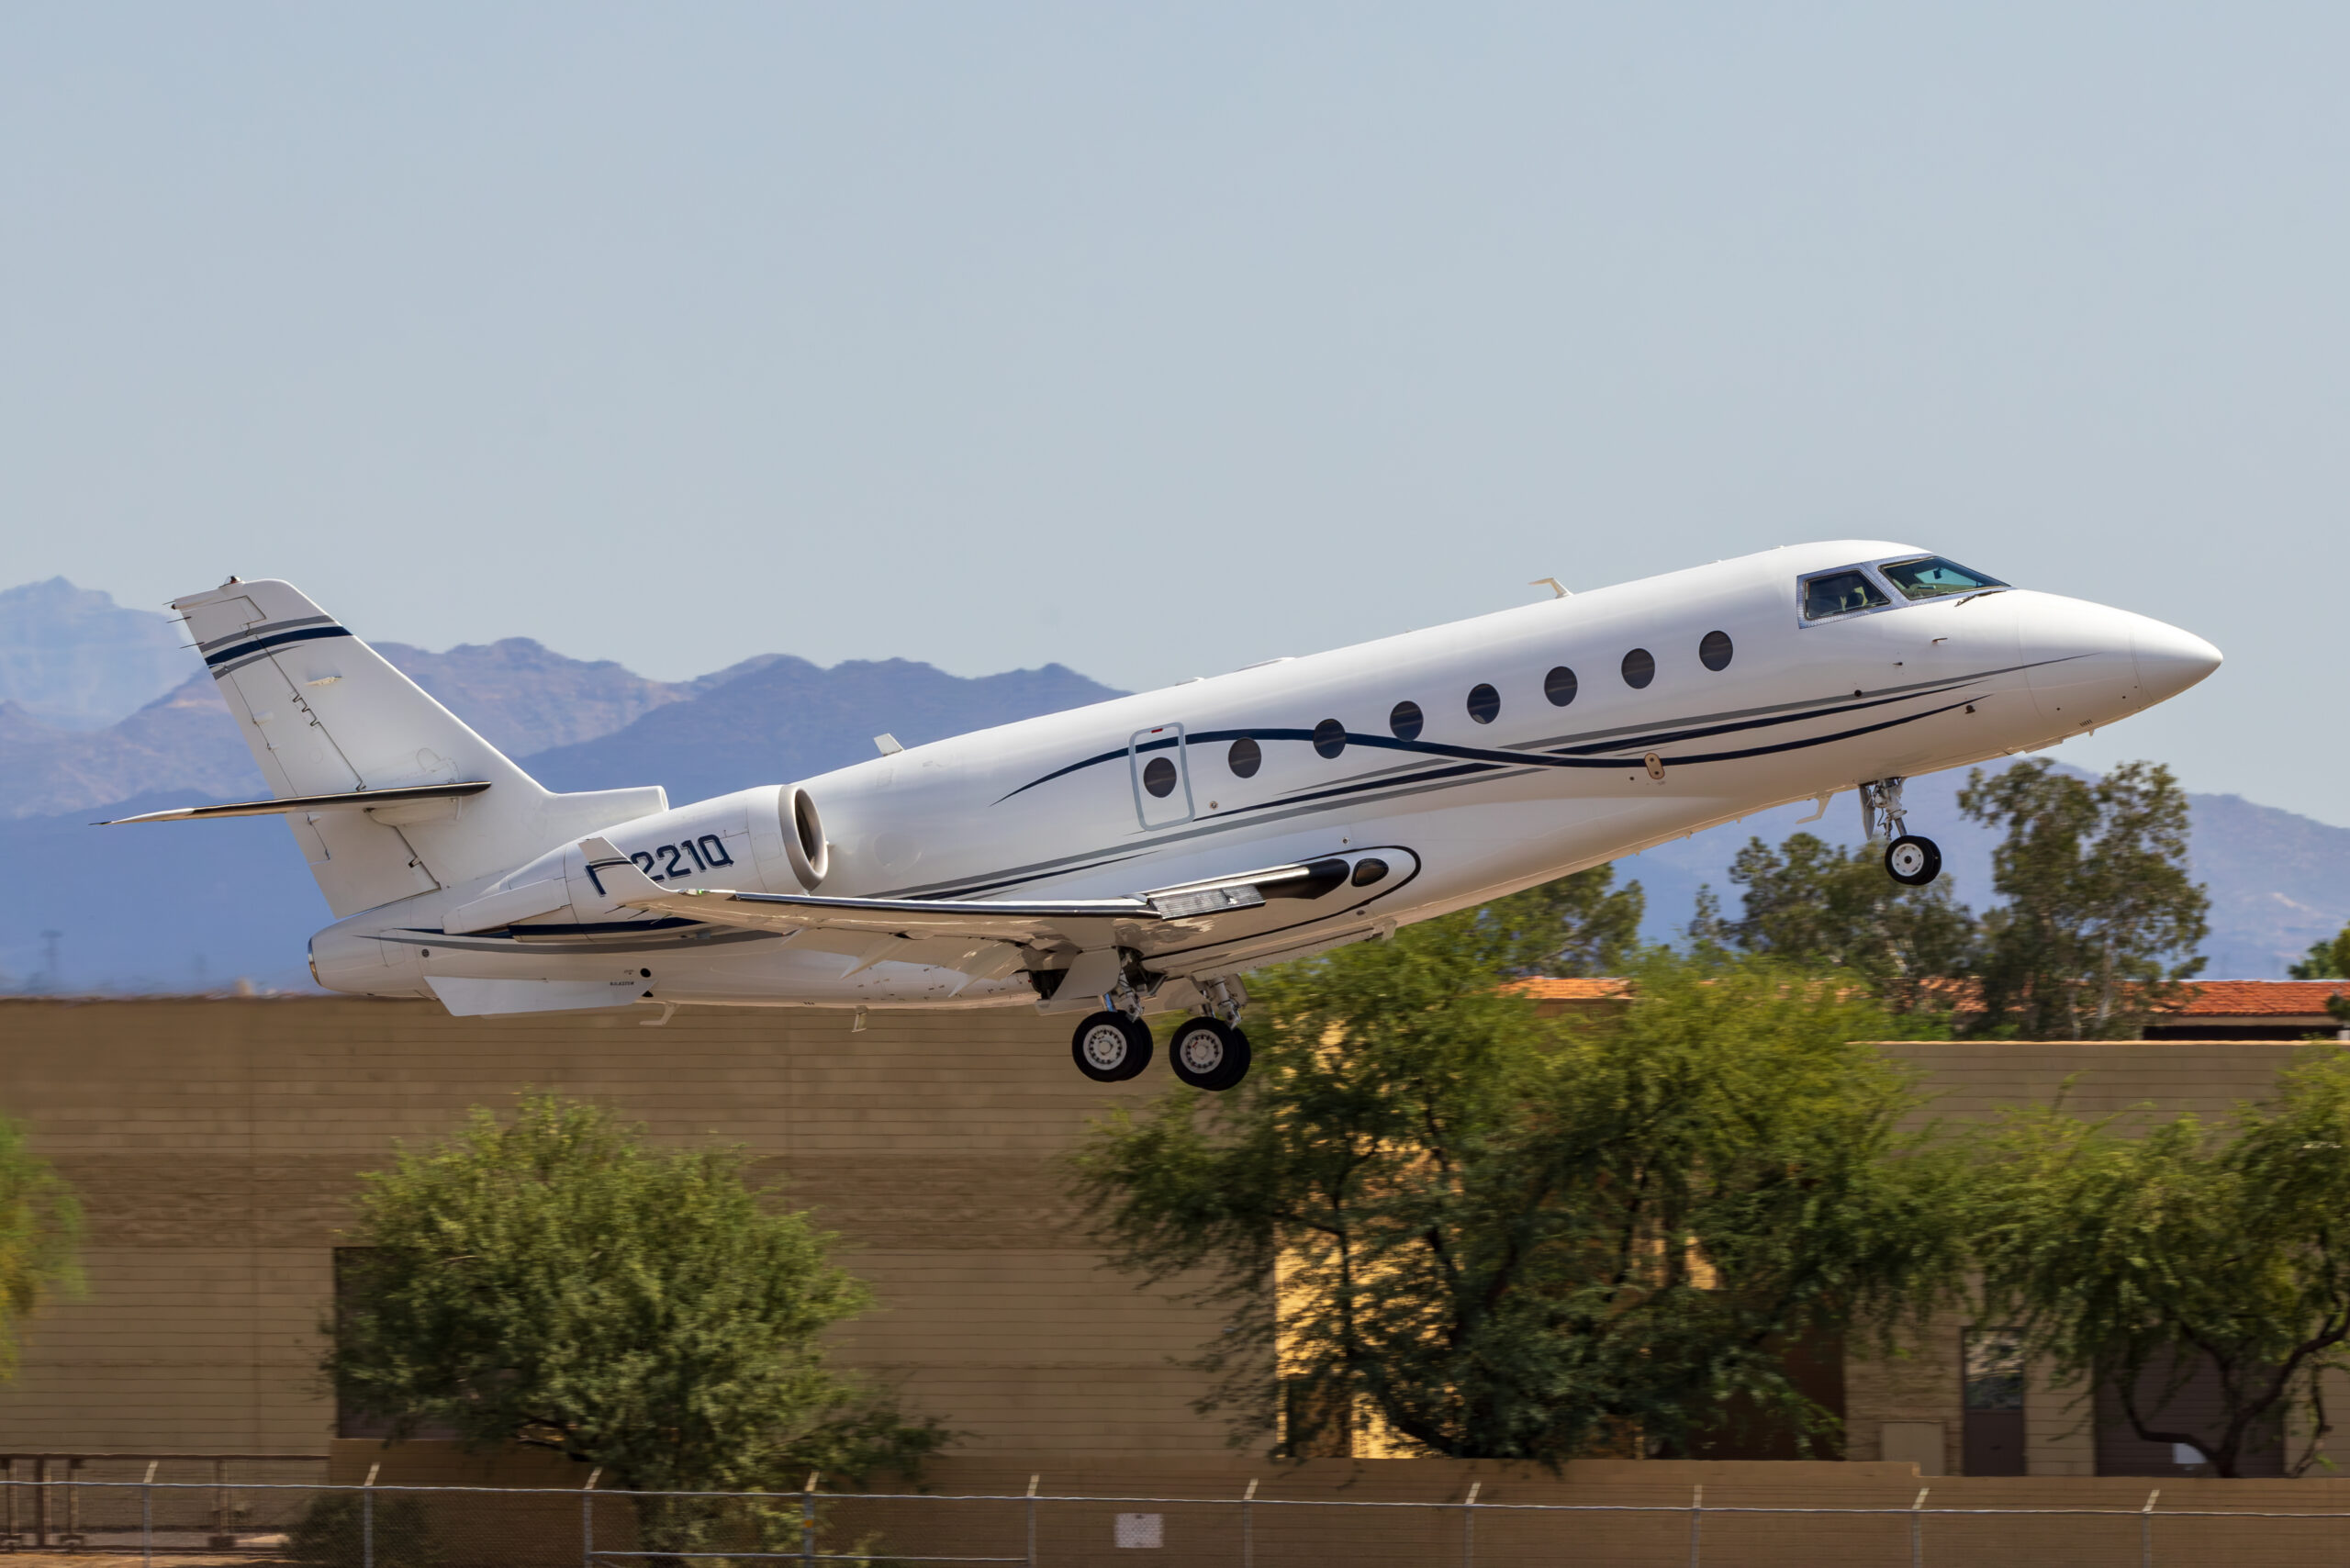
The second is contrast loss and flare. Sunlight hitting the strands just in front of the lens scatters into the optical path and veils the image, exactly like shooting into a dirty window. This is where the rubber hood earns its place, and where your shooting direction matters. Try to keep direct sun off the section of fence right in front of the lens. If the sun is low and raking along the wire, move to a spot where the fence in front of you is shaded, or wait for the light to change. A veiled, low-contrast frame is the classic sign of a fence catching light you did not control.
When the fence will not go: make it part of the shot
Sometimes the gaps are too small, the subject too close to the wire, or the light impossible, and no amount of technique fully clears the fence. Rather than fight a losing battle, you can choose to include it deliberately. A sharp foreground of chain-link with a “no entry” or “danger” sign, an aircraft framed through a gate, or a row of jets seen behind a security fence can all make honest, atmospheric images about the reality of spotting from the perimeter. Shot on purpose, with the fence sharp and clearly part of the composition, this reads as a creative choice rather than a mistake. The failure to avoid is the in-between: a fence that is neither gone nor clearly intended, just a soft veil. Commit one way or the other.
Light, position and timing still matter
Beating the fence is only the first job. A clean shot of an aircraft in flat, ugly light is still a flat, ugly shot. Once you can reliably make the wire disappear, put the same care into the things that make any aviation photograph work. Shoot with the sun behind you or slightly to one side so the aircraft is lit, not in silhouette. Favour the start and end of the day when the light is warm and low and the sky has some depth, the way the golden hour guide describes. Watch the background through your gap: a clean sky or distant treeline behind the aircraft beats a clutter of hangars and vehicles.
Position along the fence decides your background, your light angle and how much air sits between the wire and the action, so walk the line before you commit. The best gap optically is not always the best gap photographically. Find the spot that gives you a clean sightline, good light and a tidy background all at once, then settle in.
Match your shutter speed to the subject
The fence does not change the golden rules of aircraft shutter speed. Jets need a fast shutter to stay crisp, the kind of speeds covered in the guide to photographing fast jets. Propeller aircraft and helicopters need a slower shutter for natural blur in the disc, which forces a smaller aperture, which makes the fence harder to lose, which is exactly why your positioning has to be tighter for props than for jets. If you are new to balancing all of this at a live event, the overview of camera settings for airshows ties the pieces together.
Etiquette, safety and the law
Photographing aircraft from public ground is legal in the UK and in most countries, and plane spotting is a long-established, accepted hobby. That freedom comes with responsibilities, and behaving well at the fence keeps these spots open for everyone.
Do not damage, climb or cut the fence
This should not need saying, but it does. Never cut, bend, climb or force a perimeter fence. Resting a rubber hood gently against the wire is fine; deforming the mesh to get a better angle is not, and at a secured site it can be a criminal matter. If a gap is too small, move on or shoot over the top from a legal vantage point.
Respect security and stay off operational land
Airfields are sensitive sites. Stay on public ground or in designated viewing areas, do not stray onto operational or private land, and do not interfere with airfield equipment. Around military bases, be aware that photography may be restricted in specific spots even where standing is allowed; obey posted signs.
Expect to be approached, and be courteous
Police or airfield security may occasionally ask what you are doing. The honest answer, that you are photographing aircraft as a hobby or for stock, is almost always the end of it. Carry on politely, do not be evasive, and you will rarely have trouble. A long lens pointed over a fence draws attention, so being relaxed and open about it helps everyone.
Mind your own safety
Keep off roads, watch for traffic at roadside spots near airport perimeters, never lean into razor wire, and take care on ladders and uneven ground. Jet blast and prop wash can reach surprisingly far; keep behind barriers for a reason.
Cleaning up residual fence haze in editing
If you have done the work at the fence, most shots will need nothing. Occasionally a faint veil or colour cast survives, and a little editing finishes the job. Do not rely on this as a substitute for getting it right in camera, because editing cannot recover detail that a heavy fence has smeared away, but it tidies the last few percent.
Lift contrast and clarity locally
A fence veil shows as flat, low-contrast areas, usually across the lower frame. A gentle local contrast or dehaze adjustment on the affected region restores punch without overcooking the whole image. Keep it subtle; pushing dehaze hard introduces halos and crushes shadows.
Correct a colour cast
For a green or grey cast from coated wire, a local white-balance brush or a hue/saturation tweak on the offending colour brings it back to neutral. Target the cast, not the whole frame, so you do not shift the aircraft’s colours.
Spot out stray strands
If one soft bar survived in an otherwise clean frame, the healing or clone tool removes it in seconds, especially against plain sky. This is routine retouching, not faking, and it is far quicker than reshooting. The same careful, light-touch approach used for general aircraft editing applies; the warbird and gear guides touch on a sensible post-processing mindset.
Sharpen with restraint
Aggressive global sharpening can pull a faint fence haze back into visibility. Sharpen the subject, mask it off the soft areas, and you keep the aircraft crisp without reviving the wire.
A field workflow checklist
Run through this each time you set up at a new stretch of fence and it becomes second nature.
- Walk the line. Find the spot with the best light, background and distance to the action, not just the biggest gap.
- Read the fence. Mesh type, gap size, wire across the sightline or only above it, height needed.
- Find your gap. Line the centre of the lens through an opening, not across a strand.
- Close the distance. Rubber hood gently on the wire, front element as far forward as the fence allows.
- Open the aperture. As wide as the subject’s shutter speed lets you, f/2.8 to f/4 for jets.
- Go long. Zoom towards the long end; the extra reach helps the fence vanish as well as filling the frame.
- Set focus. Single small AF point on the aircraft, back-button focus, or manual for static or stubborn cases.
- Shade the glass. Keep direct sun off the fence right in front of the lens to avoid veiling flare.
- Check a test frame at 100 percent. Any soft bars or haze? Shift a couple of centimetres and reshoot.
- Then concentrate on the photograph: timing, panning, composition.
Common mistakes
Standing too far back from the fence
The number one error. A lens held even half a metre back records obvious bars. Get the hood on the wire.
Stopping down out of habit
Shooting at f/8 because it feels safe leaves the fence half-visible. Open up; a distant aircraft stays sharp at f/2.8.
Letting wide-area AF choose the fence
Zone AF grabs the nearest contrast, which is the wire. Single point on the subject, or manual.
Aiming across a junction
Pointing the lens at a crossing of strands puts solid metal dead centre. Aim through the open middle of a gap.
Ignoring the light on the wire
Sun raking across the strands in front of the lens veils the whole frame. Shade the glass or move.
Trying to fix a heavy fence in editing
Software cannot rebuild detail a thick fence has smeared. Fix it at the wire; edit only the last faint trace.
The perimeter at a working military station is a fence problem and a legal one at the same time. Our guide to RAF Lakenheath and RAF Mildenhall covers both, including what the byelaws and the National Security Act 2023 actually say.
Frequently asked questions
What aperture should I use to make a fence disappear?
As wide as the subject allows. For jets and flypasts, f/2.8 to f/4 dissolves a fence cleanly while still holding a distant aircraft sharp. For propeller aircraft you need a smaller aperture (around f/5.6 to f/8) to get natural prop blur, so you cannot open up as far; make up for it by pressing the lens right against the wire and choosing a subject further beyond the fence.
Why does the fence still show even when it is blurred?
Usually because the lens is too far from the wire, the aperture is too small, or the lens is pointing across a strand rather than through a gap. Move the front element right up to the mesh, open the aperture, and line the centre of the lens through an opening. The closer and wider you go, the more completely the wire vanishes.
How do I stop my autofocus locking onto the fence?
Switch from wide or zone AF to a single small point placed on the aircraft. Use back-button focus so a passing strand cannot pull focus back to the wire, and fall back to manual focus for static subjects or when the camera keeps hunting. Once the lens is close to the fence, the wire is so far out of focus that a single point on the subject usually drives straight past it.
Can I photograph aircraft through an airport fence legally?
In the UK and most countries, yes. Photographing aircraft from public ground is legal and plane spotting is an accepted hobby. Stay on public land or in designated viewing areas, obey posted signs (especially around military sites), and never climb, cut or damage a fence. Expect occasional polite questions from security; an honest answer is almost always the end of it.
What lens is best for shooting through fences?
A long telephoto with a wide maximum aperture is ideal, because both length and a wide aperture help the fence disappear. A 300mm f/2.8 or 400mm f/4 is excellent. A slower superzoom still works if you press it against the wire and pick your gaps, you just have less margin. A collapsible rubber lens hood is the most useful accessory for the job.
Should I include the fence on purpose sometimes?
Yes. When the gaps are too small or the subject too close to the wire, a sharp, deliberate foreground of chain-link, a warning sign or a gate can make an honest, atmospheric image about spotting from the perimeter. The result to avoid is the half-blurred veil that looks like a mistake. Commit either to removing the fence entirely or to making it a clear part of the shot.
Does the colour of the fence affect how easily it disappears in the photo?
Yes, it makes a real difference. Dark green plastic-coated chain-link is easier to lose because it is low in contrast and blurs away to almost nothing, though it can leave a faint green cast along the bottom of the frame. Bright galvanised or silver wire is harder, since it catches light and can throw a cool grey haze that veils the image. With bright wire, lean harder on getting the lens right against the mesh and shading the glass from direct sun.
Can I shoot through an airfield fence with a phone or a bridge camera?
It is much harder than with a long lens on a wide aperture, because a phone’s tiny lens and deep depth of field keep the near fence far too sharp to vanish. The best you can do is push the lens as close to the wire as possible and line it up dead centre through a single gap, so it looks straight through rather than across a strand. A bridge camera at its longest zoom fares better than a phone, but for reliably clean fence shots a proper telephoto is the tool that works.
How do I photograph a propeller aircraft through a fence when I need a slow shutter?
This is the awkward case, because prop blur forces you down to around f/5.6 to f/8, and a smaller aperture leaves the fence harder to dissolve. Make up for the lost aperture with position, pressing the lens hood right against the wire so the mesh is as magnified and soft as possible, and choose a subject sitting further beyond the fence. Aiming dead centre through a gap rather than across a strand matters even more here, so take a test frame at 100 percent and shift a couple of centimetres if any soft bar survives.
Take it further
Beating the fence gets you a clean line on the aircraft; the rest of the craft turns that into a strong photograph. Build on this with the guides to photographing fast jets, the best camera settings for airshows, shooting in golden hour light, and choosing lenses for aviation. To see what clean perimeter and airshow work looks like, browse the Piemags aviation galleries, and if you would like to use any of the images, the licensing options are here.
