Most airshow photos are lost in the camera bag the night before, not on the flight line. You turn up, the first jet screams overhead, and you are still scrolling through menus while the best pass of the day disappears behind you. This guide fixes that. It is a quick reference you can read once, set up from, and come back to, covering the best camera settings for airshows for every kind of aircraft you are likely to see.
The plan is simple. There is a thirty second version with a table you can screenshot and keep on your phone. After that, each setting gets its own section with the reasoning, the numbers, and the small adjustments that separate a sharp keeper from a soft grey blob. Whether you are shooting your first display or your fiftieth, the aim is the same: spend less time in menus and more time tracking aeroplanes.
What this quick reference covers
- The thirty second version: settings at a glance
- Start here: the exposure mode that makes airshows easy
- Shutter speed is the whole game
- Aperture: how wide is wide enough
- ISO and auto ISO without chasing dials
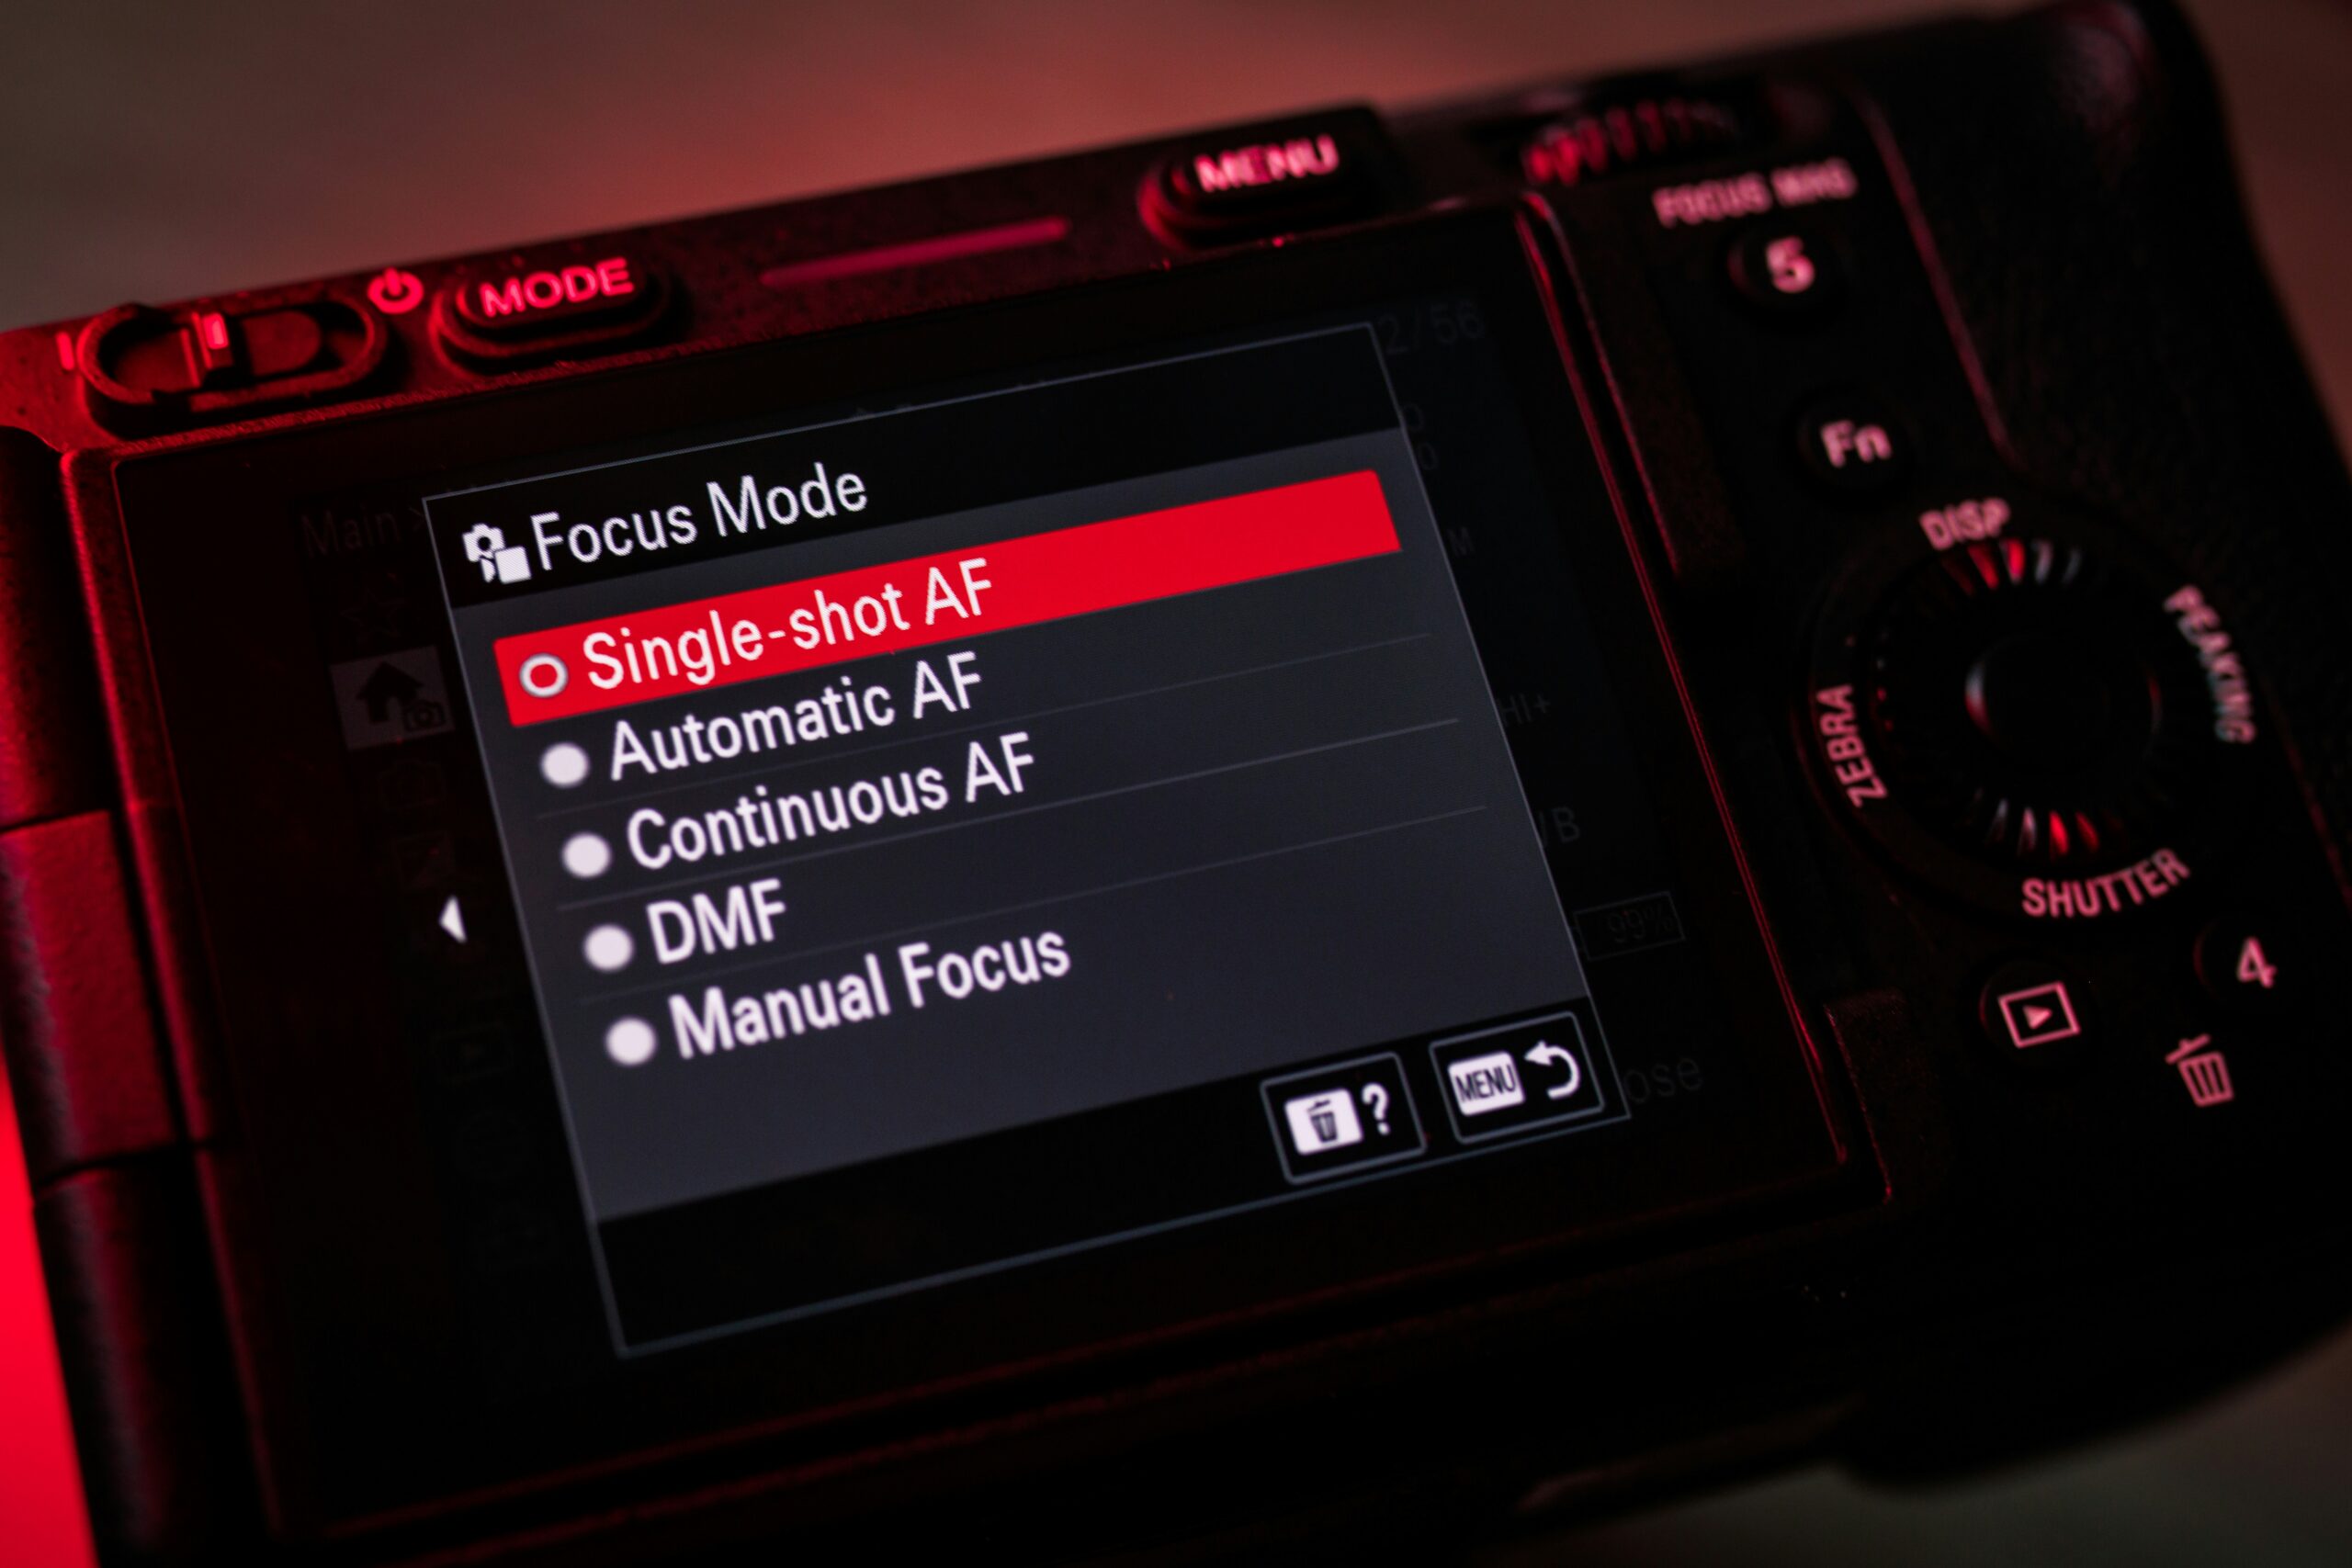
- Autofocus settings that actually track aircraft
- Metering and exposure against a bright sky
- Drive mode, buffer and card settings
- White balance and colour settings
- Lens choice and focal length
- Settings recipes for every kind of pass
- Scenario by scenario
- The five settings mistakes that ruin airshow shots
- Set your camera up the night before
- A quick word on processing
- Frequently asked questions
The thirty second version: settings at a glance
If you read nothing else, read this. The single most important decision at an airshow is shutter speed, and it changes with the type of aircraft. Everything else supports that one choice. Set your camera to shutter priority with auto ISO, pick the shutter speed for the aircraft in front of you, and keep your autofocus locked in continuous tracking. That is ninety per cent of the job.
| Setting | Jets | Propeller aircraft | Helicopters |
|---|---|---|---|
| Shutter speed | 1/1000s or faster | 1/200s to 1/320s | 1/100s to 1/200s |
| Exposure mode | Shutter priority or aperture priority | Shutter priority | Shutter priority |
| Aperture | f/5.6 to f/8 | f/6.3 to f/9 | f/6.3 to f/9 |
| ISO | Auto, capped around 3200 | Auto, capped around 3200 | Auto, capped around 3200 |
| Autofocus | Continuous, tracking area | Continuous, tracking area | Continuous, tracking area |
| Drive mode | Continuous high | Continuous high | Continuous high |
| Metering | Evaluative or matrix | Evaluative or matrix | Evaluative or matrix |
The rest of this guide explains why those numbers work, when to break the rules, and how to set the camera up so you are never fishing through menus while an aircraft crosses the display line. If you want the deeper version of the autofocus and tracking side of this, our companion piece on airshow camera settings and autofocus goes further into how the focus system behaves with different subjects.
Start here: the exposure mode that makes airshows easy
Exposure mode is the foundation. Get this right and the show feels calm. Get it wrong and you spend the day fighting the camera. There are three sensible choices, and one of them is right for almost everyone.
Shutter priority with auto ISO: the default for most people
Shutter priority, marked S on Nikon, Sony and Fujifilm and Tv on Canon, lets you set the shutter speed while the camera works out the aperture. Add auto ISO and the camera also raises sensitivity when the light drops. This is the mode I recommend to almost everyone, because at an airshow the shutter speed is the setting that has to be right. A jet needs a fast speed to freeze it. A propeller needs a slower speed to blur the blades. Shutter priority puts that decision under your thumb and takes care of everything else.
The practical workflow is lovely and simple. A Typhoon comes round and you dial up to 1/1250 second. The display ends, a Spitfire taxis out, and you dial down to 1/250 second. You never touch another control. The camera adjusts aperture and ISO to keep the exposure right, and you keep both eyes on the aircraft.
Aperture priority: a fine choice for jets
Aperture priority, marked A or Av, lets you set the aperture while the camera picks the shutter speed. It works well for fast jets on a bright day because if you set a wide aperture, say f/5.6, the camera is forced to use a fast shutter speed, which is exactly what you want. The risk is that on a duller day the camera may drop the shutter speed lower than you would like and you get motion blur on a jet. For that reason I prefer shutter priority, where the speed is guaranteed and never sneaks down without you noticing.
Manual with auto ISO: the most control once you are ready
Manual mode with auto ISO is the choice many experienced aviation photographers settle on. You set both shutter speed and aperture yourself, and the camera varies ISO to hold the exposure. This gives you complete control of motion and depth of field while still adapting to changing light as a display moves between sun and cloud. It is not harder to use than shutter priority once you are comfortable, but it does ask you to think about two settings instead of one, so it is worth growing into rather than starting with.
Shutter speed is the whole game
Shutter speed does two jobs at an airshow. It controls how sharp the aircraft is, and it controls whether spinning parts look natural. A frozen jet looks fast and clean. A frozen propeller looks broken, as if the aircraft has stalled in mid air. Understanding the difference is the single biggest step up most photographers make.
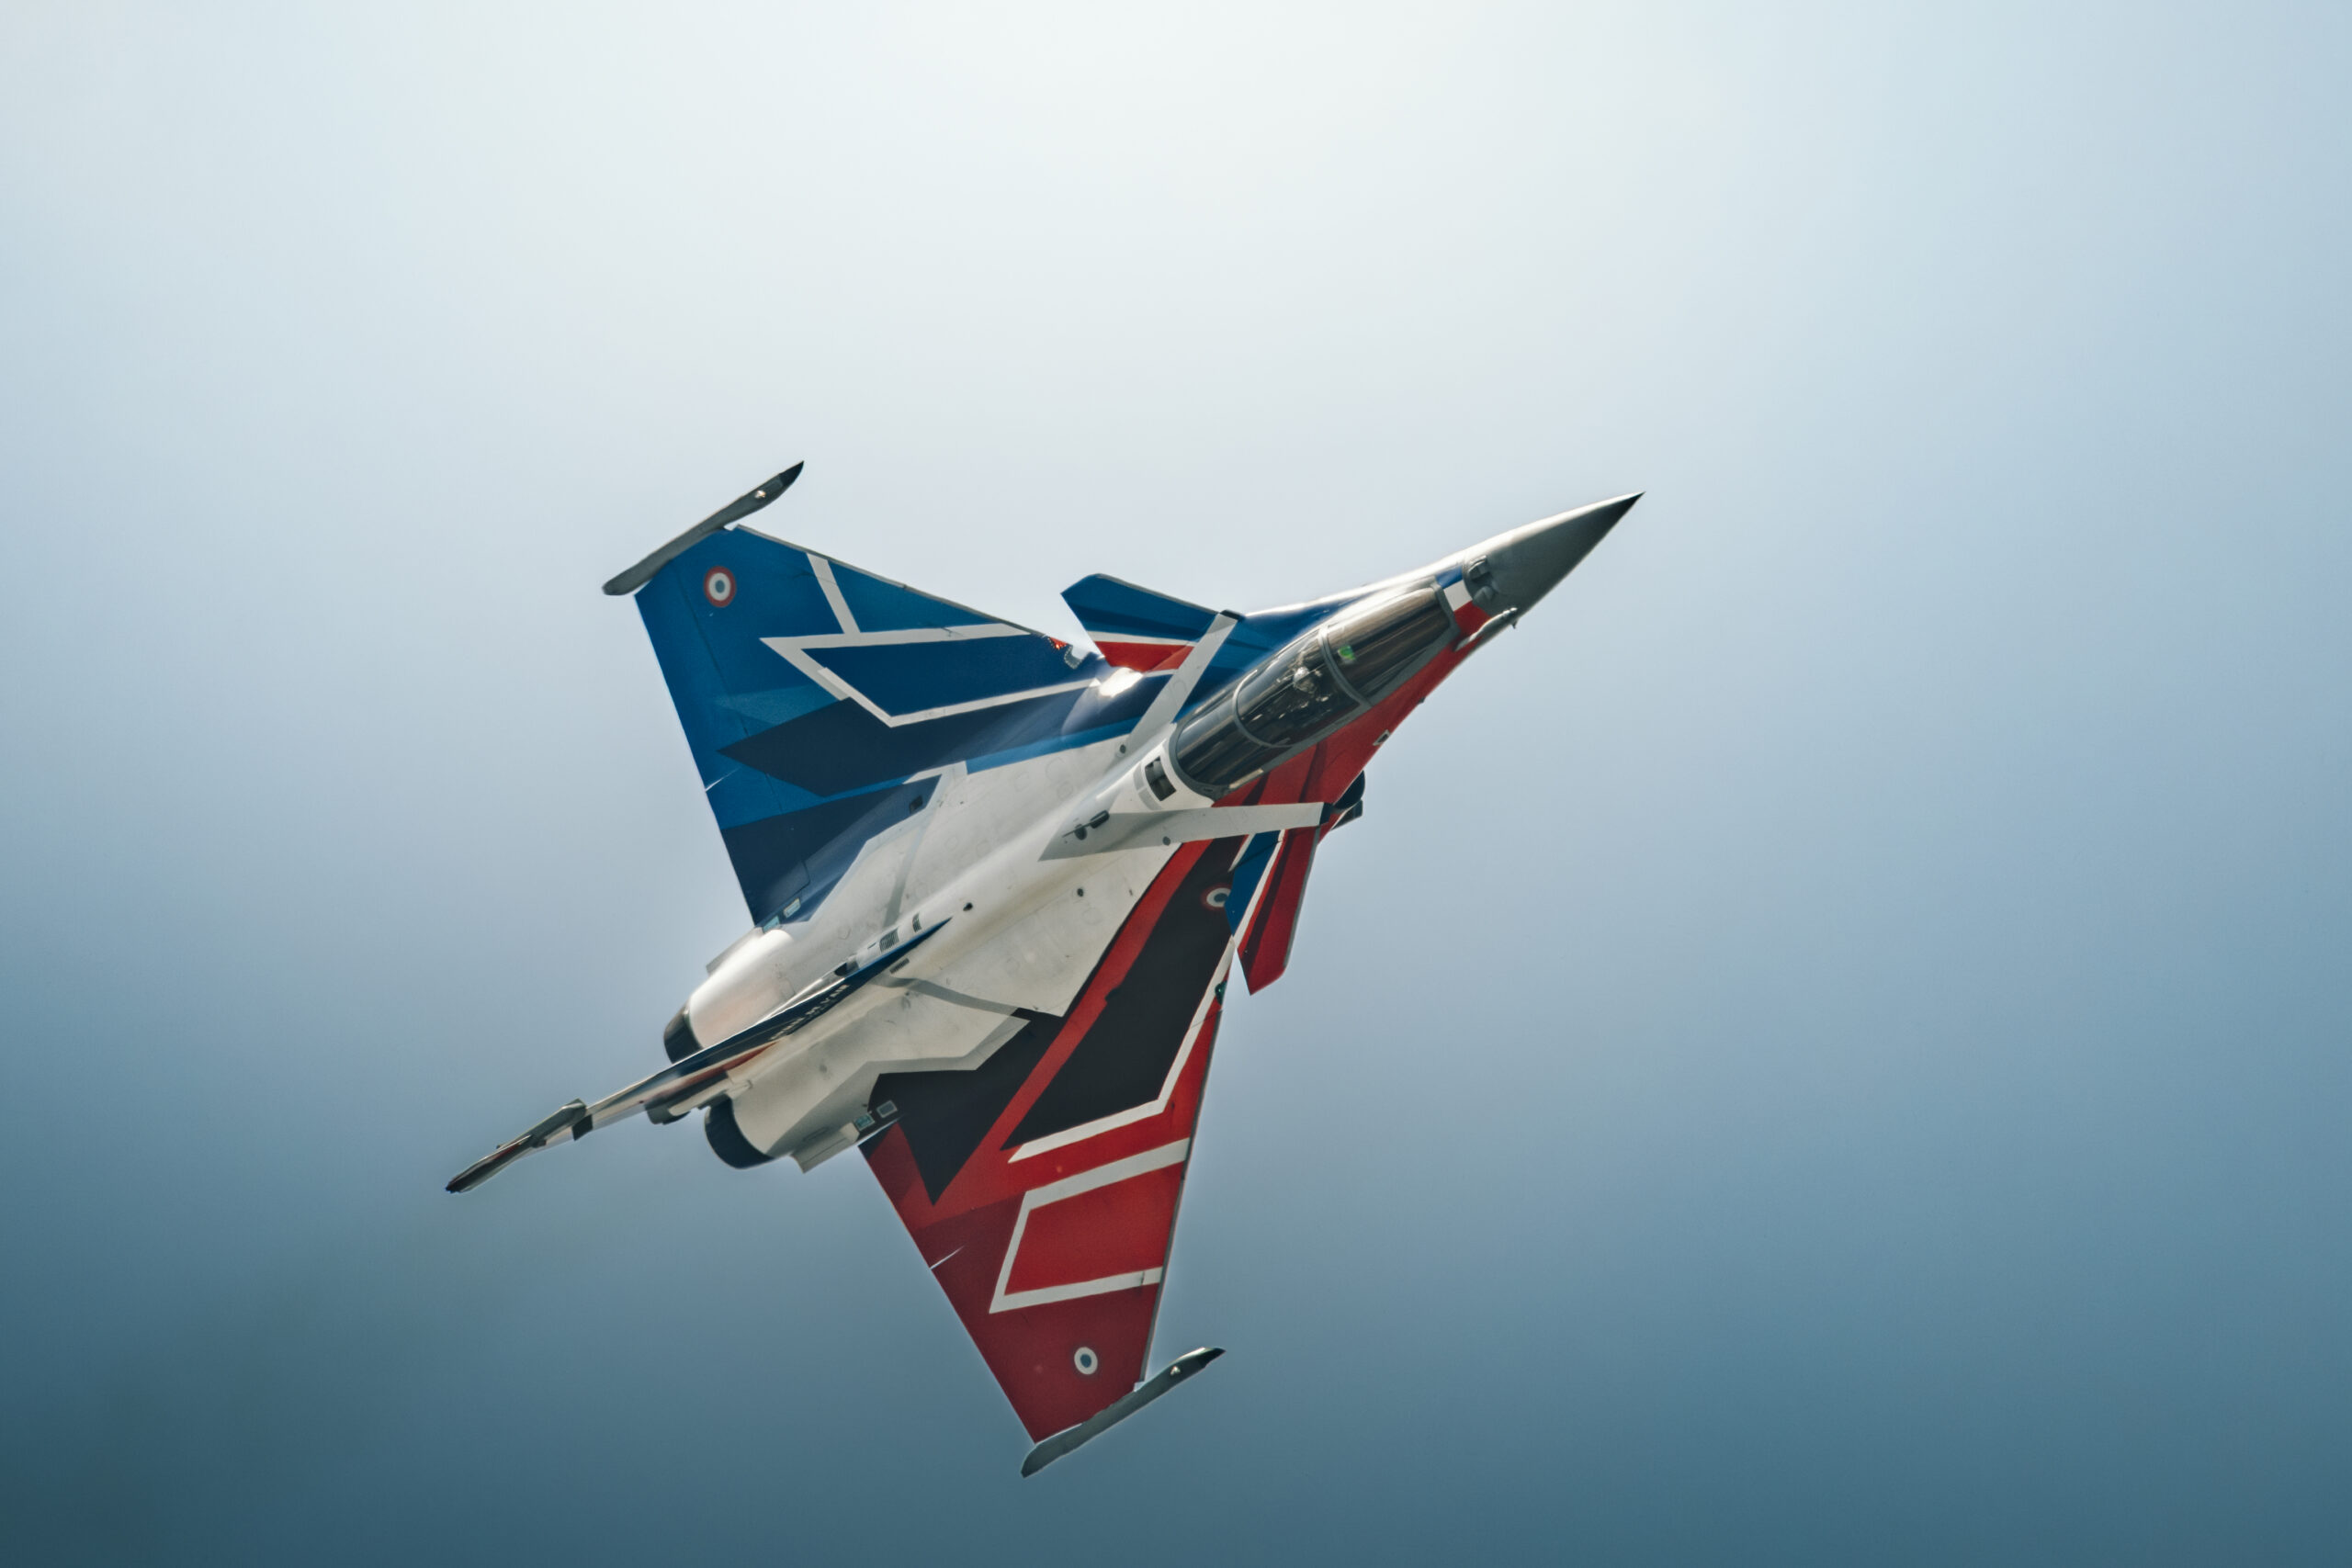
Jets: freeze the action
Jets have no moving parts you need to blur, so your only goal is sharpness. Use 1/1000 second or faster. Many photographers start at 1/1250 or 1/1600 second and adjust from there. Faster speeds make life easier because they forgive small panning errors, and a jet crossing the display line at several hundred miles an hour leaves very little room for error. The only cost is that a faster shutter speed needs more light or a higher ISO, but modern sensors handle that well within the range you will use at a daytime show.
There is one exception worth knowing. If you want to show speed by blurring the background behind a fast jet, you can drop to 1/250 second or slower and pan hard, letting the aircraft stay sharp while the sky and ground streak. This is an advanced technique with a low keeper rate, and it is not your everyday setting, but it can produce a striking image once you have the basics nailed. There is more on this in our full guide to how to photograph fast jets.
Propeller aircraft: blur the disc
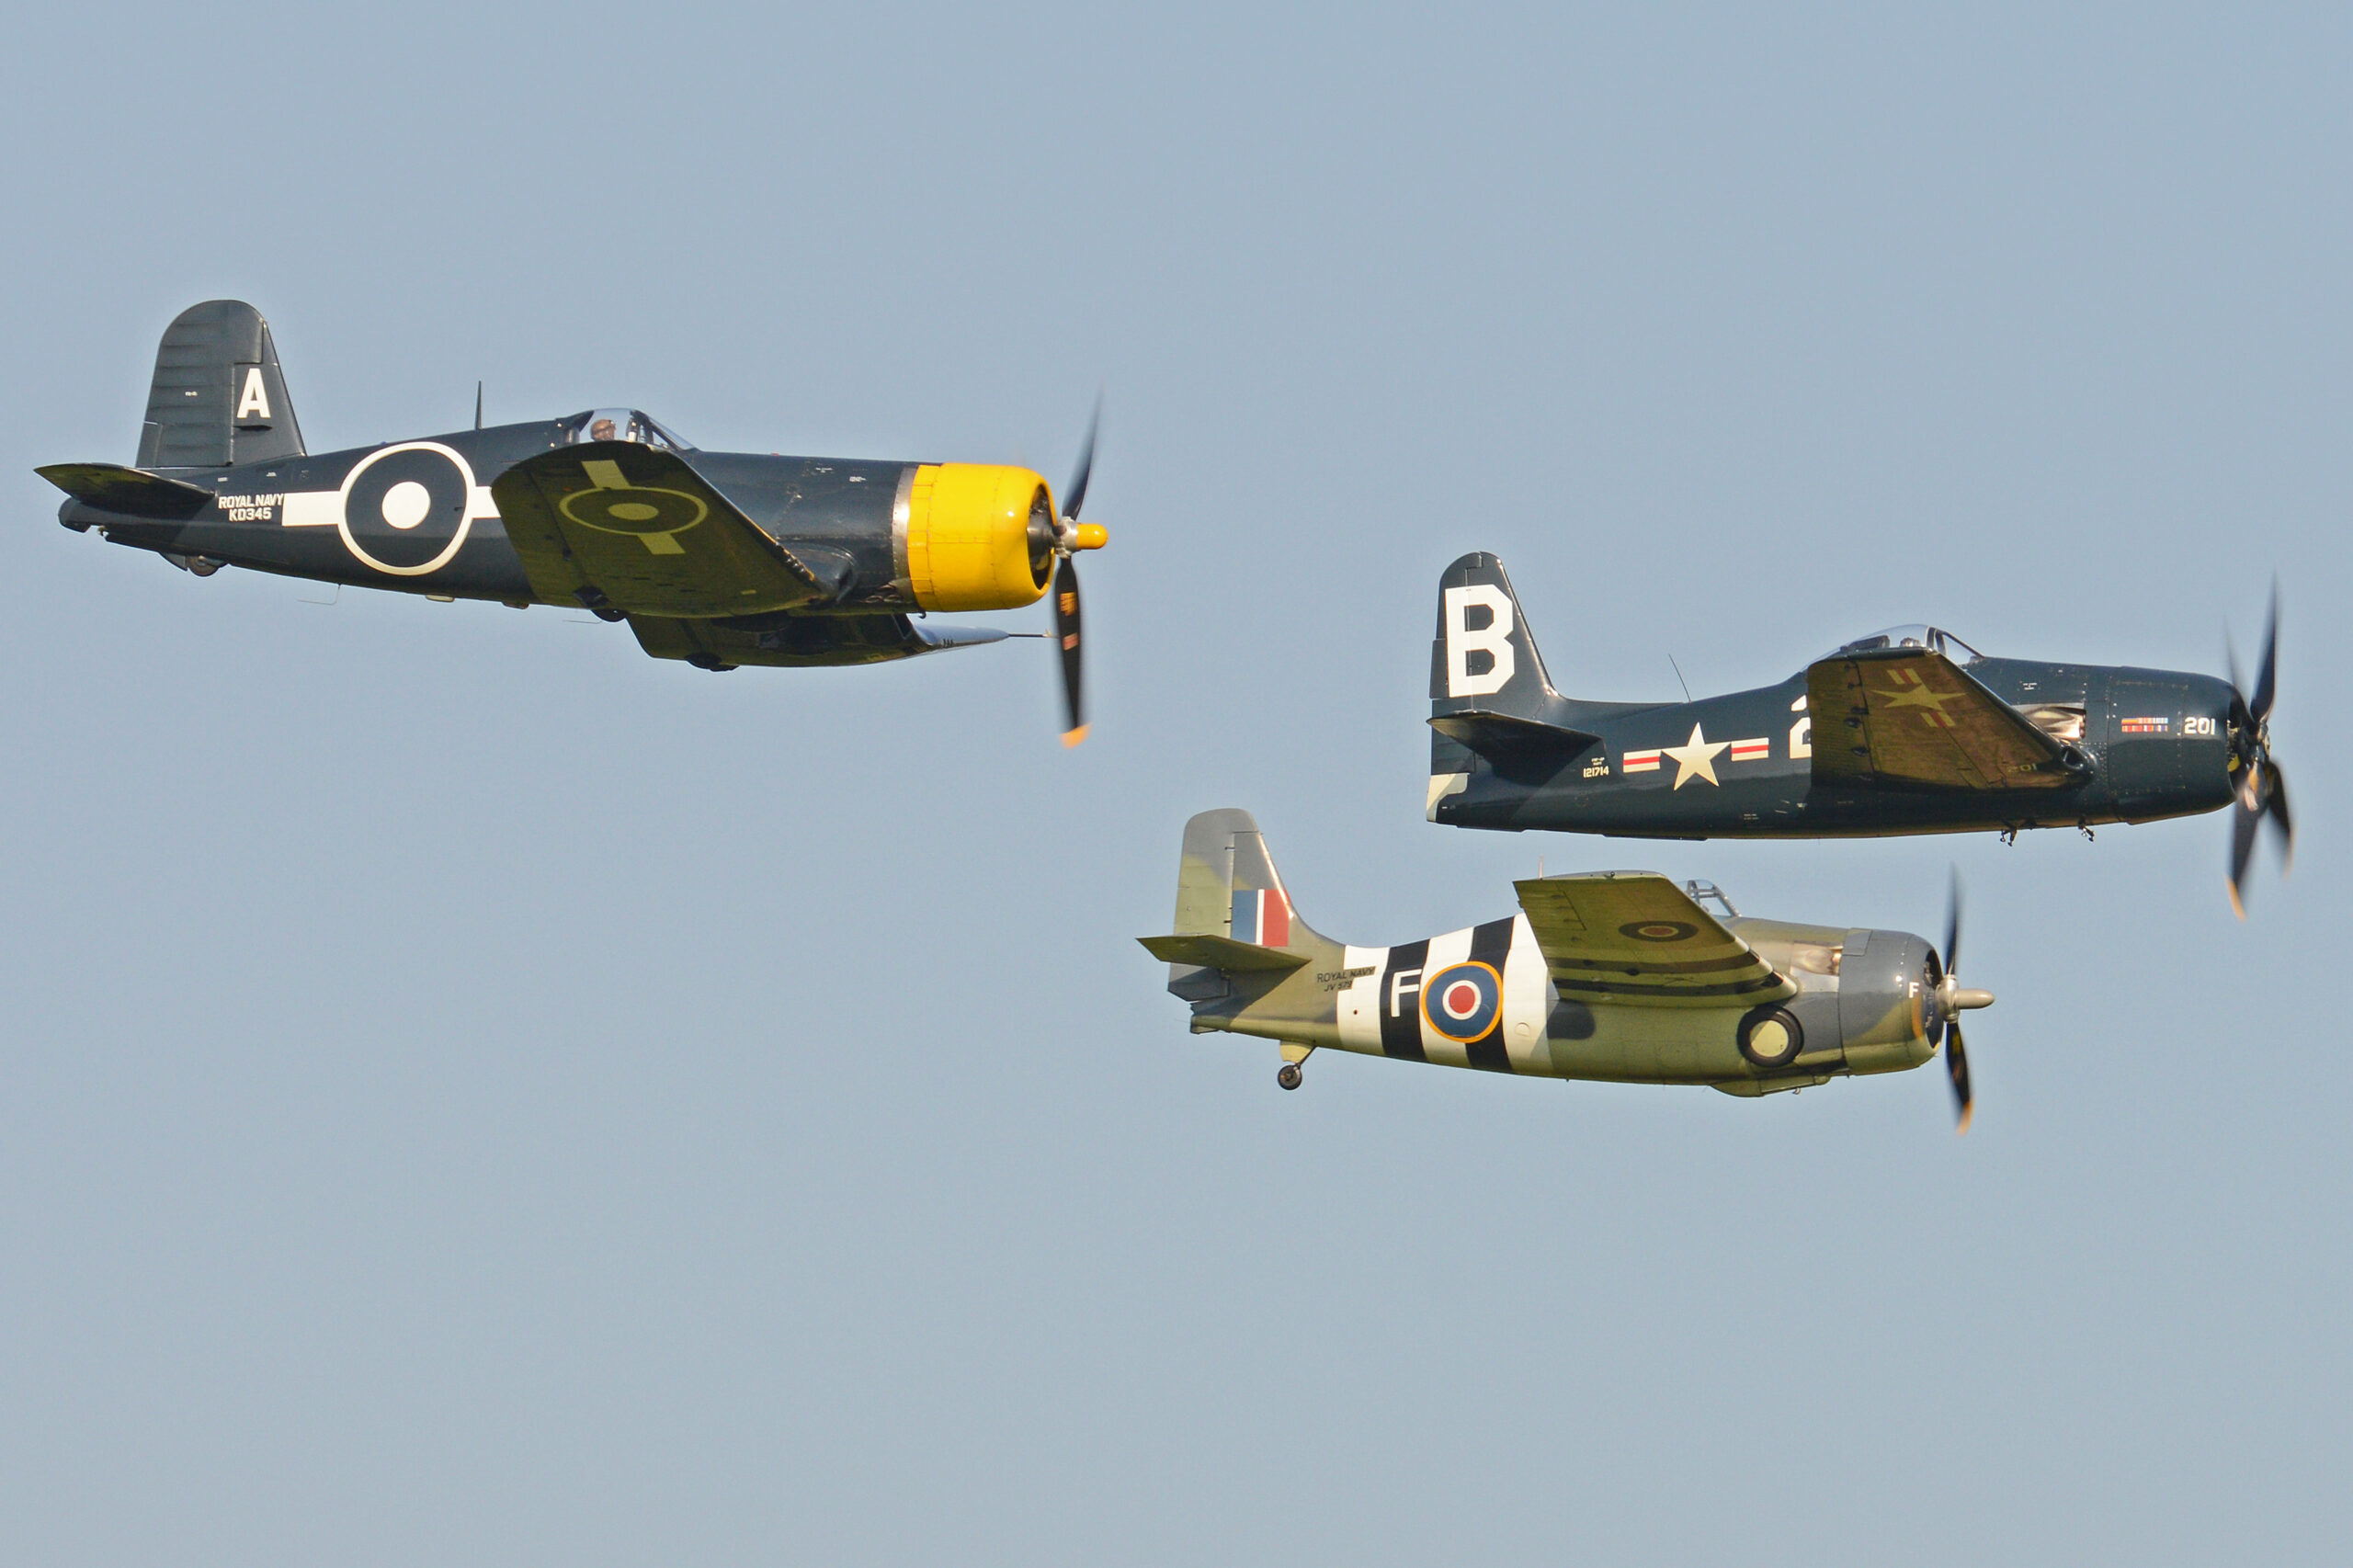
This is where most people go wrong. A propeller is meant to be spinning, so it should show as a blurred arc, not a frozen stick. If your shutter speed is too high, say 1/2000 second, you freeze the blades and the aircraft looks like a model hanging from a wire. The fix is to slow down. For most propeller aircraft, 1/200 to 1/320 second gives a pleasing arc of blur while keeping the fuselage sharp, provided your panning is smooth.
If you want the dramatic full disc effect, where the propeller becomes a complete blurred circle, you need to go slower still, often around 1/60 second and sometimes slower. This is genuinely hard. At those speeds even a tiny wobble in your pan smears the whole aircraft, so your keeper rate falls and you need many attempts. Start at 1/250 second to build confidence, then work down as your panning improves. Our deep dive on propeller blur and the right shutter speed walks through this step by step with examples.
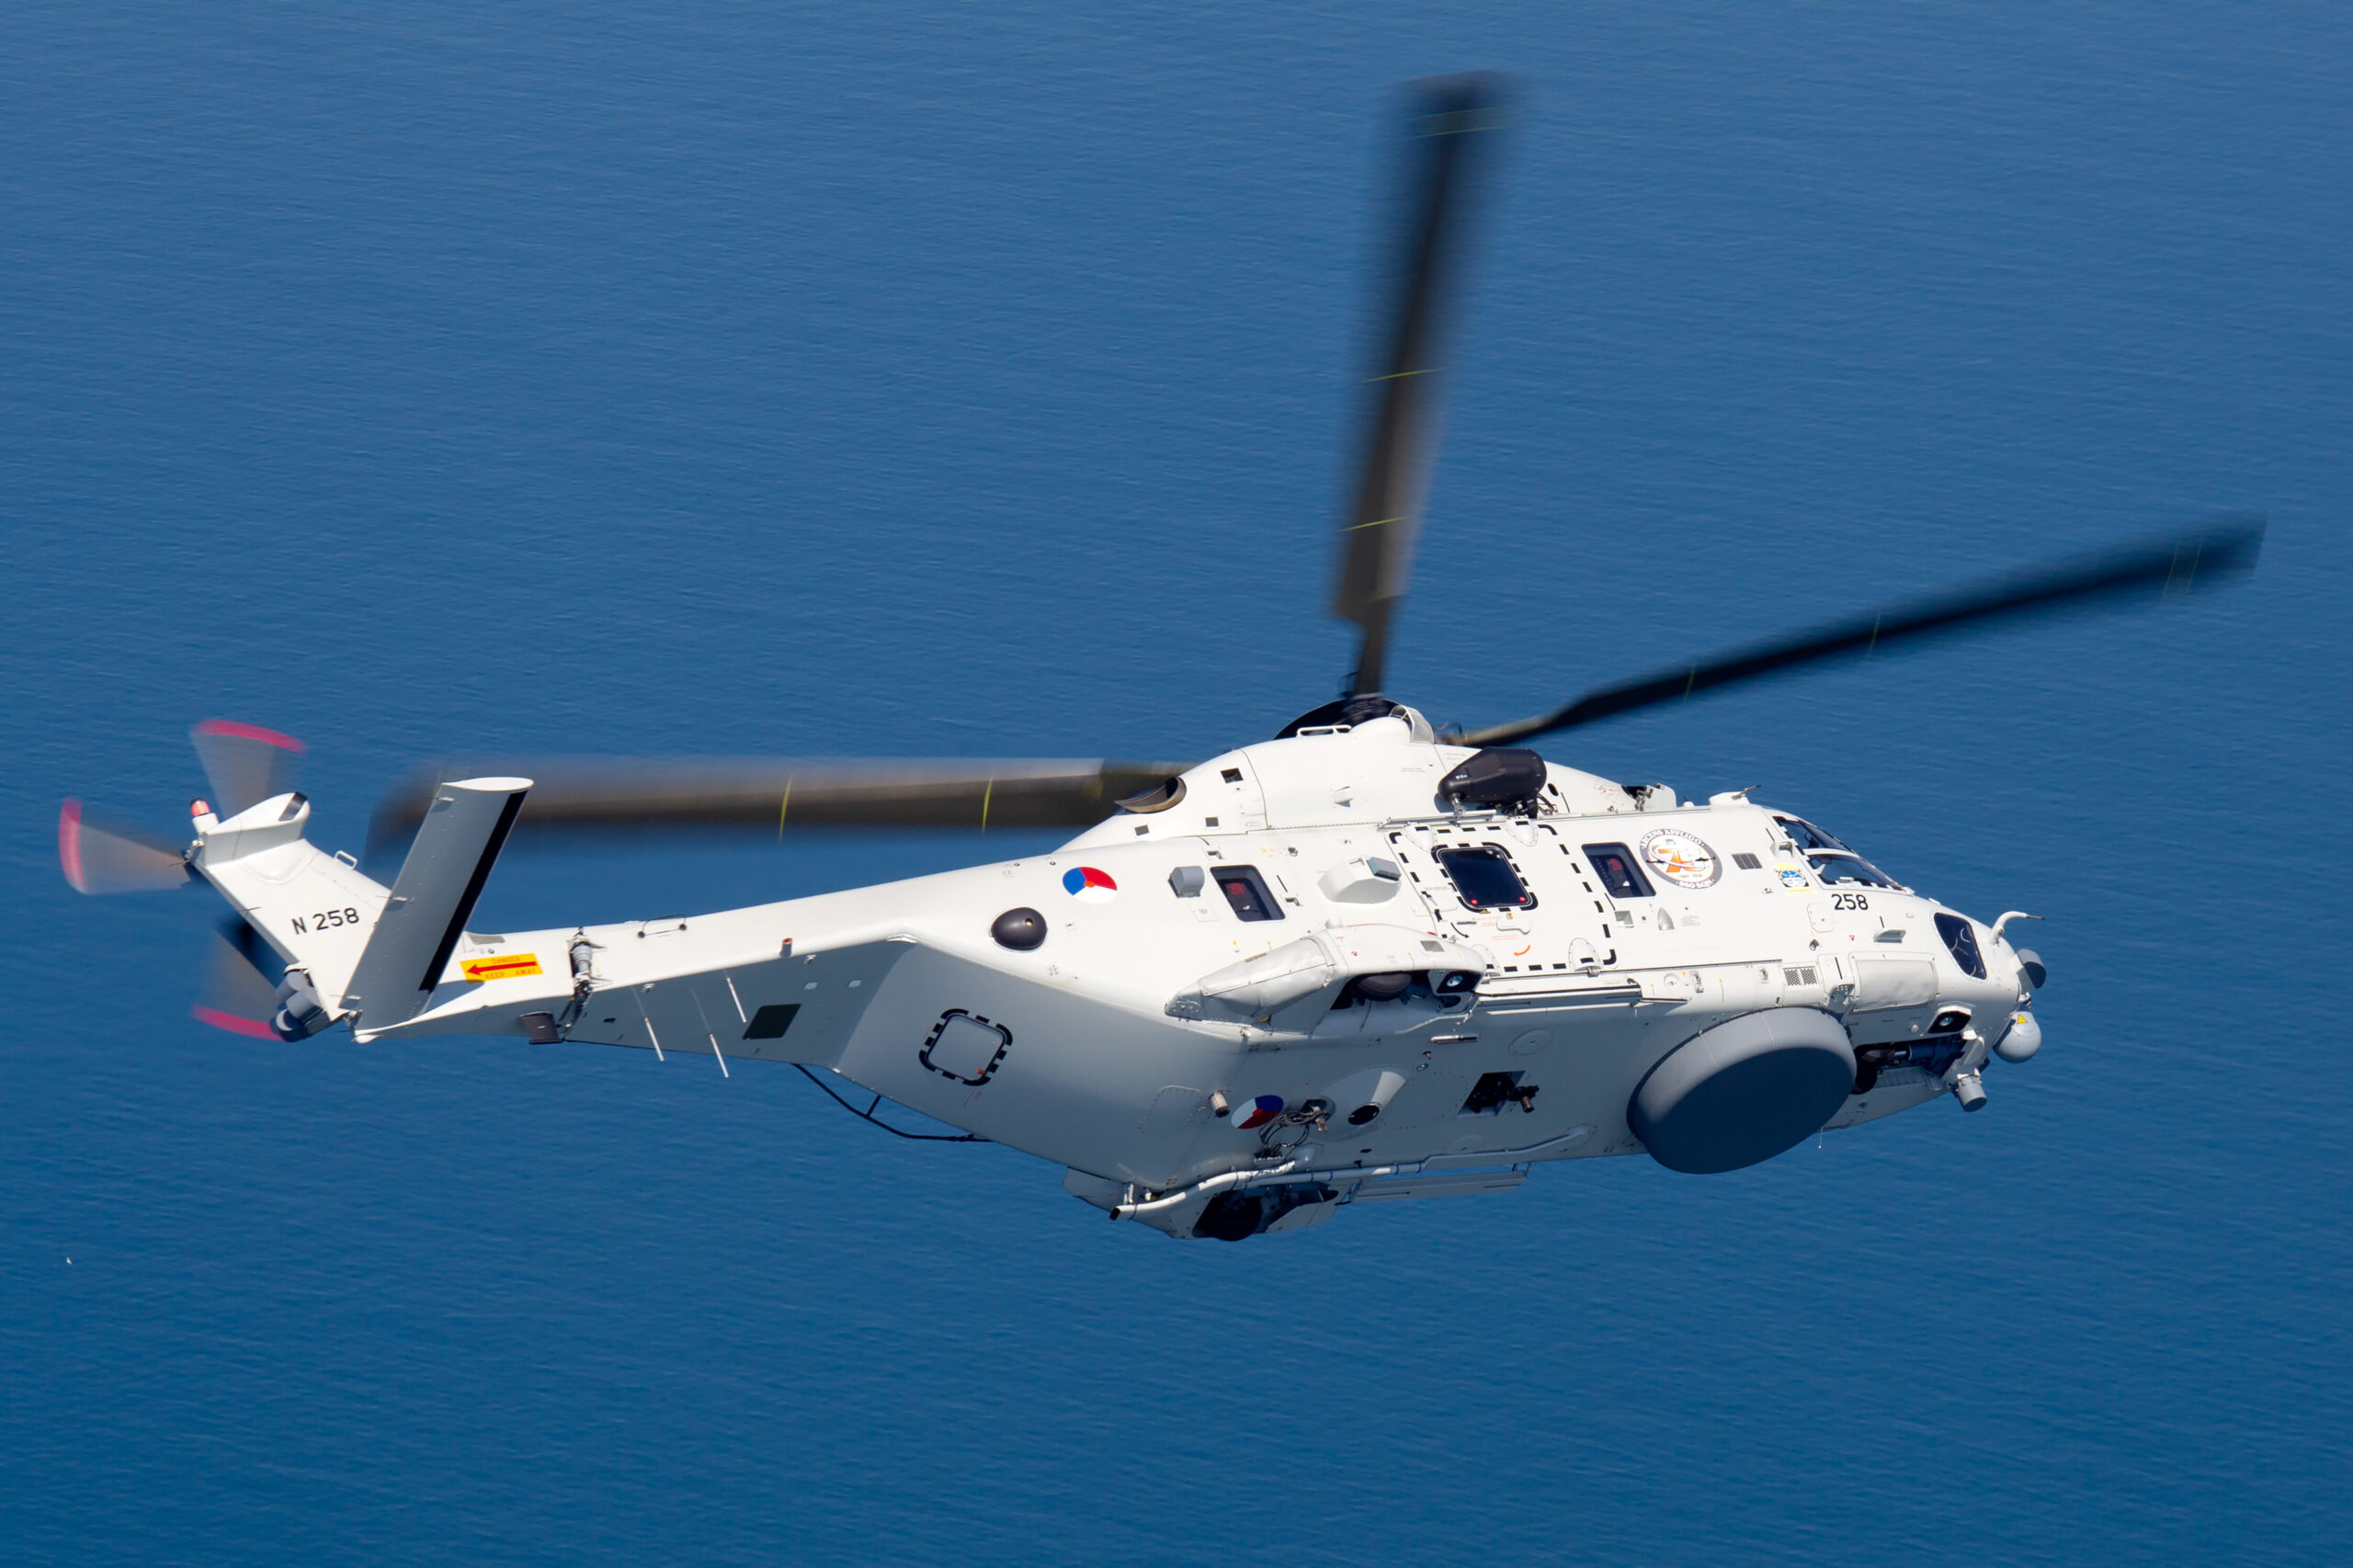
Helicopters: blur the rotor
Helicopters follow the same logic as propeller aircraft. A frozen rotor looks wrong, so you want some blur in the disc. Aim for 1/100 to 1/200 second as a starting point. Helicopter rotors turn more slowly than a propeller, so they need a slower shutter speed to blur convincingly. Tail rotors spin faster and blur more easily. As with props, the slower you go the more dramatic the disc but the lower your hit rate, so build up gradually.
Turboprops and the awkward middle ground
Turboprop aircraft like the A400M or a Hercules sit between the two worlds. They have large, relatively slow propellers, so they need a slower shutter speed than you might expect to get a good disc, often 1/160 to 1/250 second. The aircraft itself is big and moves across the sky more slowly than a jet, which actually helps your panning, so this is a forgiving subject to practise prop blur on.
| Subject | Everyday shutter speed | For more blur or drama | Notes |
|---|---|---|---|
| Fast jet, freeze | 1/1000s to 1/1600s | 1/2000s in poor light forgiveness | Sharpness is the only goal |
| Fast jet, motion pan | 1/250s | 1/125s or slower | Advanced, low keeper rate |
| Single piston prop | 1/250s to 1/320s | 1/100s to 1/160s | Smooth panning essential |
| Full propeller disc | 1/80s to 1/125s | 1/60s or slower | Expect many misses |
| Turboprop | 1/200s to 1/250s | 1/125s | Big slow blades |
| Helicopter | 1/125s to 1/200s | 1/80s to 1/100s | Main rotor blurs slowly |
Aperture: how wide is wide enough
Aperture controls depth of field and, to a degree, sharpness. The good news is that aviation makes aperture easy, because the aircraft is far away. When your subject is a hundred metres or more from the lens, depth of field is deep even at a wide aperture, so you do not need to stop down to keep the whole aircraft sharp.
For most situations, f/5.6 to f/8 is the sweet spot. Wide open on a telephoto zoom, often f/6.3, is perfectly usable and lets the camera keep ISO low. Stopping down a touch to f/8 can sharpen up a budget lens that is soft at its widest, and gives a little margin if your focus is slightly off. There is rarely any reason to go past f/9 or f/11 at an airshow, because doing so forces a higher ISO or a slower shutter speed for no real gain in sharpness on a distant subject.
One practical note for zoom owners. Many telephoto zooms have a variable maximum aperture, so they might be f/5.6 at the short end and f/6.3 at full zoom. If you shoot in aperture priority at f/5.6 and then zoom in, the camera will jump you to f/6.3 automatically because the lens cannot open wider. This is normal and nothing to worry about. If it bothers you, set f/6.3 from the start so the aperture stays constant across the zoom range. For a fuller look at glass, see our guide to the best lenses for aviation photography.
ISO and auto ISO without chasing dials
ISO is the setting that pays for your shutter speed and aperture choices. The brighter the day, the lower the ISO you can use. The principle is simple: use the lowest ISO that still gives you the shutter speed you need. Everything beyond that is just managing the trade-off between a fast enough shutter and clean enough files.
Let auto ISO do the work
Auto ISO is your friend at an airshow because the light changes constantly as displays move between bright cloud and clear sky. Set it to auto, then set a maximum so the camera does not run away into very high, noisy values. A cap of ISO 3200 is sensible for most modern cameras, and many newer bodies are clean enough that you could allow 6400 if the light is poor. On a bright day in shutter priority, the camera will sit happily at ISO 100 to 400 and only climb when a cloud rolls over or the sun drops in the afternoon.
Do not be afraid of higher ISO
A sharp, well exposed image at ISO 3200 beats a blurry, noise-free one at ISO 100 every time. Noise can be reduced in software, but motion blur from too slow a shutter speed cannot be fixed. If the light is poor and you are forced to choose, protect your shutter speed and let the ISO rise. A little grain on a tack sharp Typhoon is a problem nobody will ever notice in the final image.
Autofocus settings that actually track aircraft
A correct exposure is worthless if the focus misses. Autofocus is where a lot of otherwise good airshow photography falls down, and the settings that work are not always the camera’s defaults. Here is how to set it up.
Use continuous autofocus
Switch your camera to continuous autofocus. This is AF-C on Nikon, Sony and Fujifilm, and AI Servo on Canon DSLRs. In this mode the camera keeps adjusting focus for as long as you hold the button, which is exactly what you need for an aircraft flying towards or across you. Single autofocus, which locks once and stops, is useless for moving subjects and will leave most of your frames soft.
Choose the right autofocus area
A single tiny focus point is hard to keep on a fast aircraft. Instead, use a group, zone or tracking area mode that gives the camera a cluster of points to work with. On modern mirrorless cameras, a wide tracking mode combined with subject detection is superb. On a DSLR, a group area or a dynamic area with a sensible number of points works well. The idea is to give the autofocus enough room to hold the aircraft even when your pan is not perfectly centred, without giving it so much of the frame that it grabs a cloud or the horizon instead.
Turn on subject detection if you have it
Many recent mirrorless cameras have subject detection that can recognise aircraft, or at least vehicles and birds, which often locks onto aeroplanes well. If your camera has an aircraft or animal detection mode, switch it on and test it. When it works, it is remarkable, holding focus on the cockpit or the nose of a jet through a whole pass. When it struggles, usually against a busy background, fall back to a zone mode you control.
Consider back button focus
Back button focus separates autofocus from the shutter button by moving focus activation to a button on the back of the camera with your thumb. The benefit at an airshow is that you can start tracking an aircraft early, hold focus continuously with your thumb, and fire the shutter whenever the composition is right, without the camera trying to refocus on every press. It takes a day or two to get used to, but most aviation photographers who switch never go back.
| Autofocus setting | Recommended choice | Why |
|---|---|---|
| Focus mode | Continuous (AF-C / AI Servo) | Keeps adjusting for moving aircraft |
| Area mode | Zone, group or wide tracking | Forgives imperfect panning |
| Subject detection | Aircraft or animal, if available | Locks to the aircraft automatically |
| Focus priority | Focus or balanced, not release | Avoids firing when not sharp |
| Shutter activation | Back button focus (optional) | Hold tracking, fire freely |
Metering and exposure against a bright sky
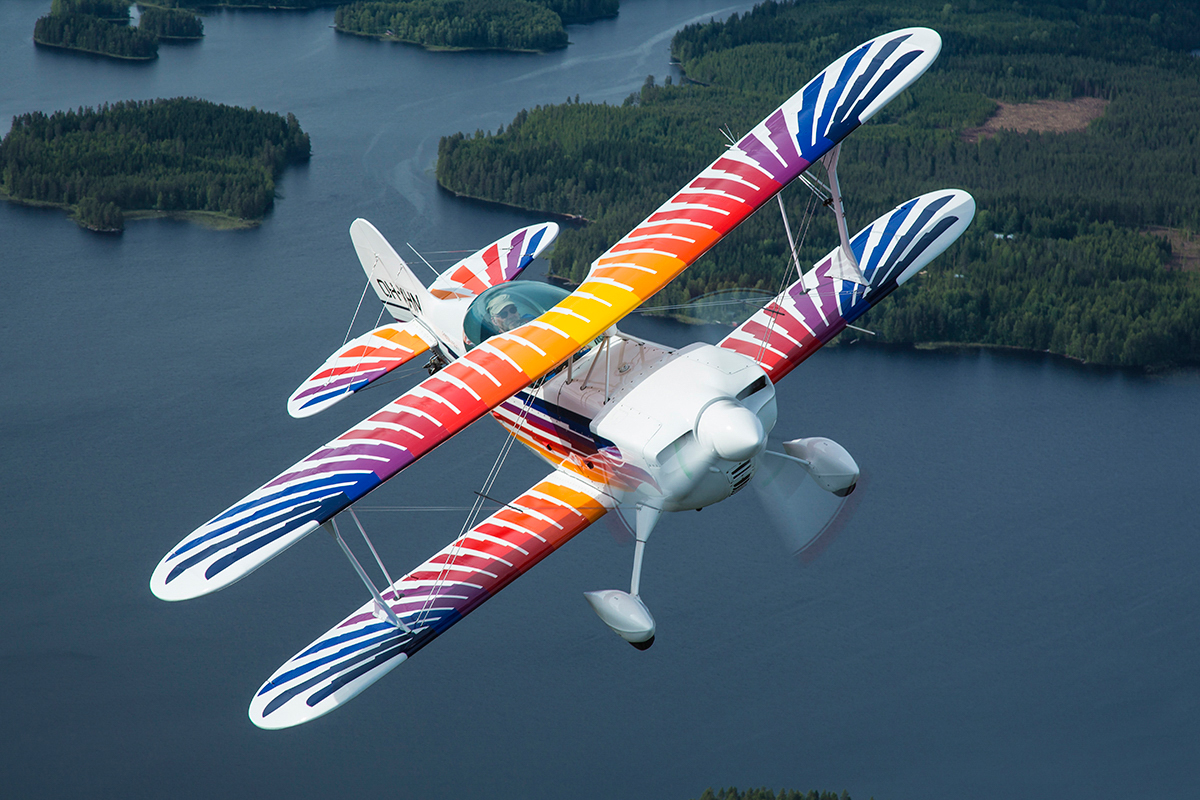
The bright sky is the great enemy of airshow exposure. Point a camera at a dark aircraft against a brilliant sky and the meter, trying to average everything to a mid tone, will often expose for the sky and leave the aircraft as a dark silhouette. Knowing how to handle this is the difference between a properly lit aeroplane and a black shape.
Start with evaluative or matrix metering
Evaluative metering on Canon, or matrix metering on Nikon, reads the whole frame and usually does a decent job on a mixed scene. It is the sensible default for general flying shots. The problems start when the aircraft is small in a very bright frame, because then the sky dominates the reading and the aircraft goes dark.
Use exposure compensation
The quickest fix is exposure compensation. When you are shooting a dark aircraft against a bright sky, dial in positive exposure compensation, often plus two thirds to plus one and a third of a stop, to brighten the aircraft. When you are shooting a light aircraft against a dark cloud, you may need a little negative compensation instead. Get into the habit of glancing at your histogram between passes and nudging the compensation until the aircraft is well exposed and the highlights are not clipped to pure white.
Watch the histogram, not the rear screen
The image on the back of the camera looks brighter than reality in the shade and darker in bright sun, so do not trust it for exposure. The histogram is honest. For a typical aircraft against the sky, you want the data pushed reasonably to the right without the sky clipping hard against the right edge. A small amount of sky clipping is acceptable, but if the aircraft itself is bunched against the left of the histogram, it is underexposed and you should add light. For a more detailed treatment of exposure against the sky, the metering section of our fast jets guide goes deeper.
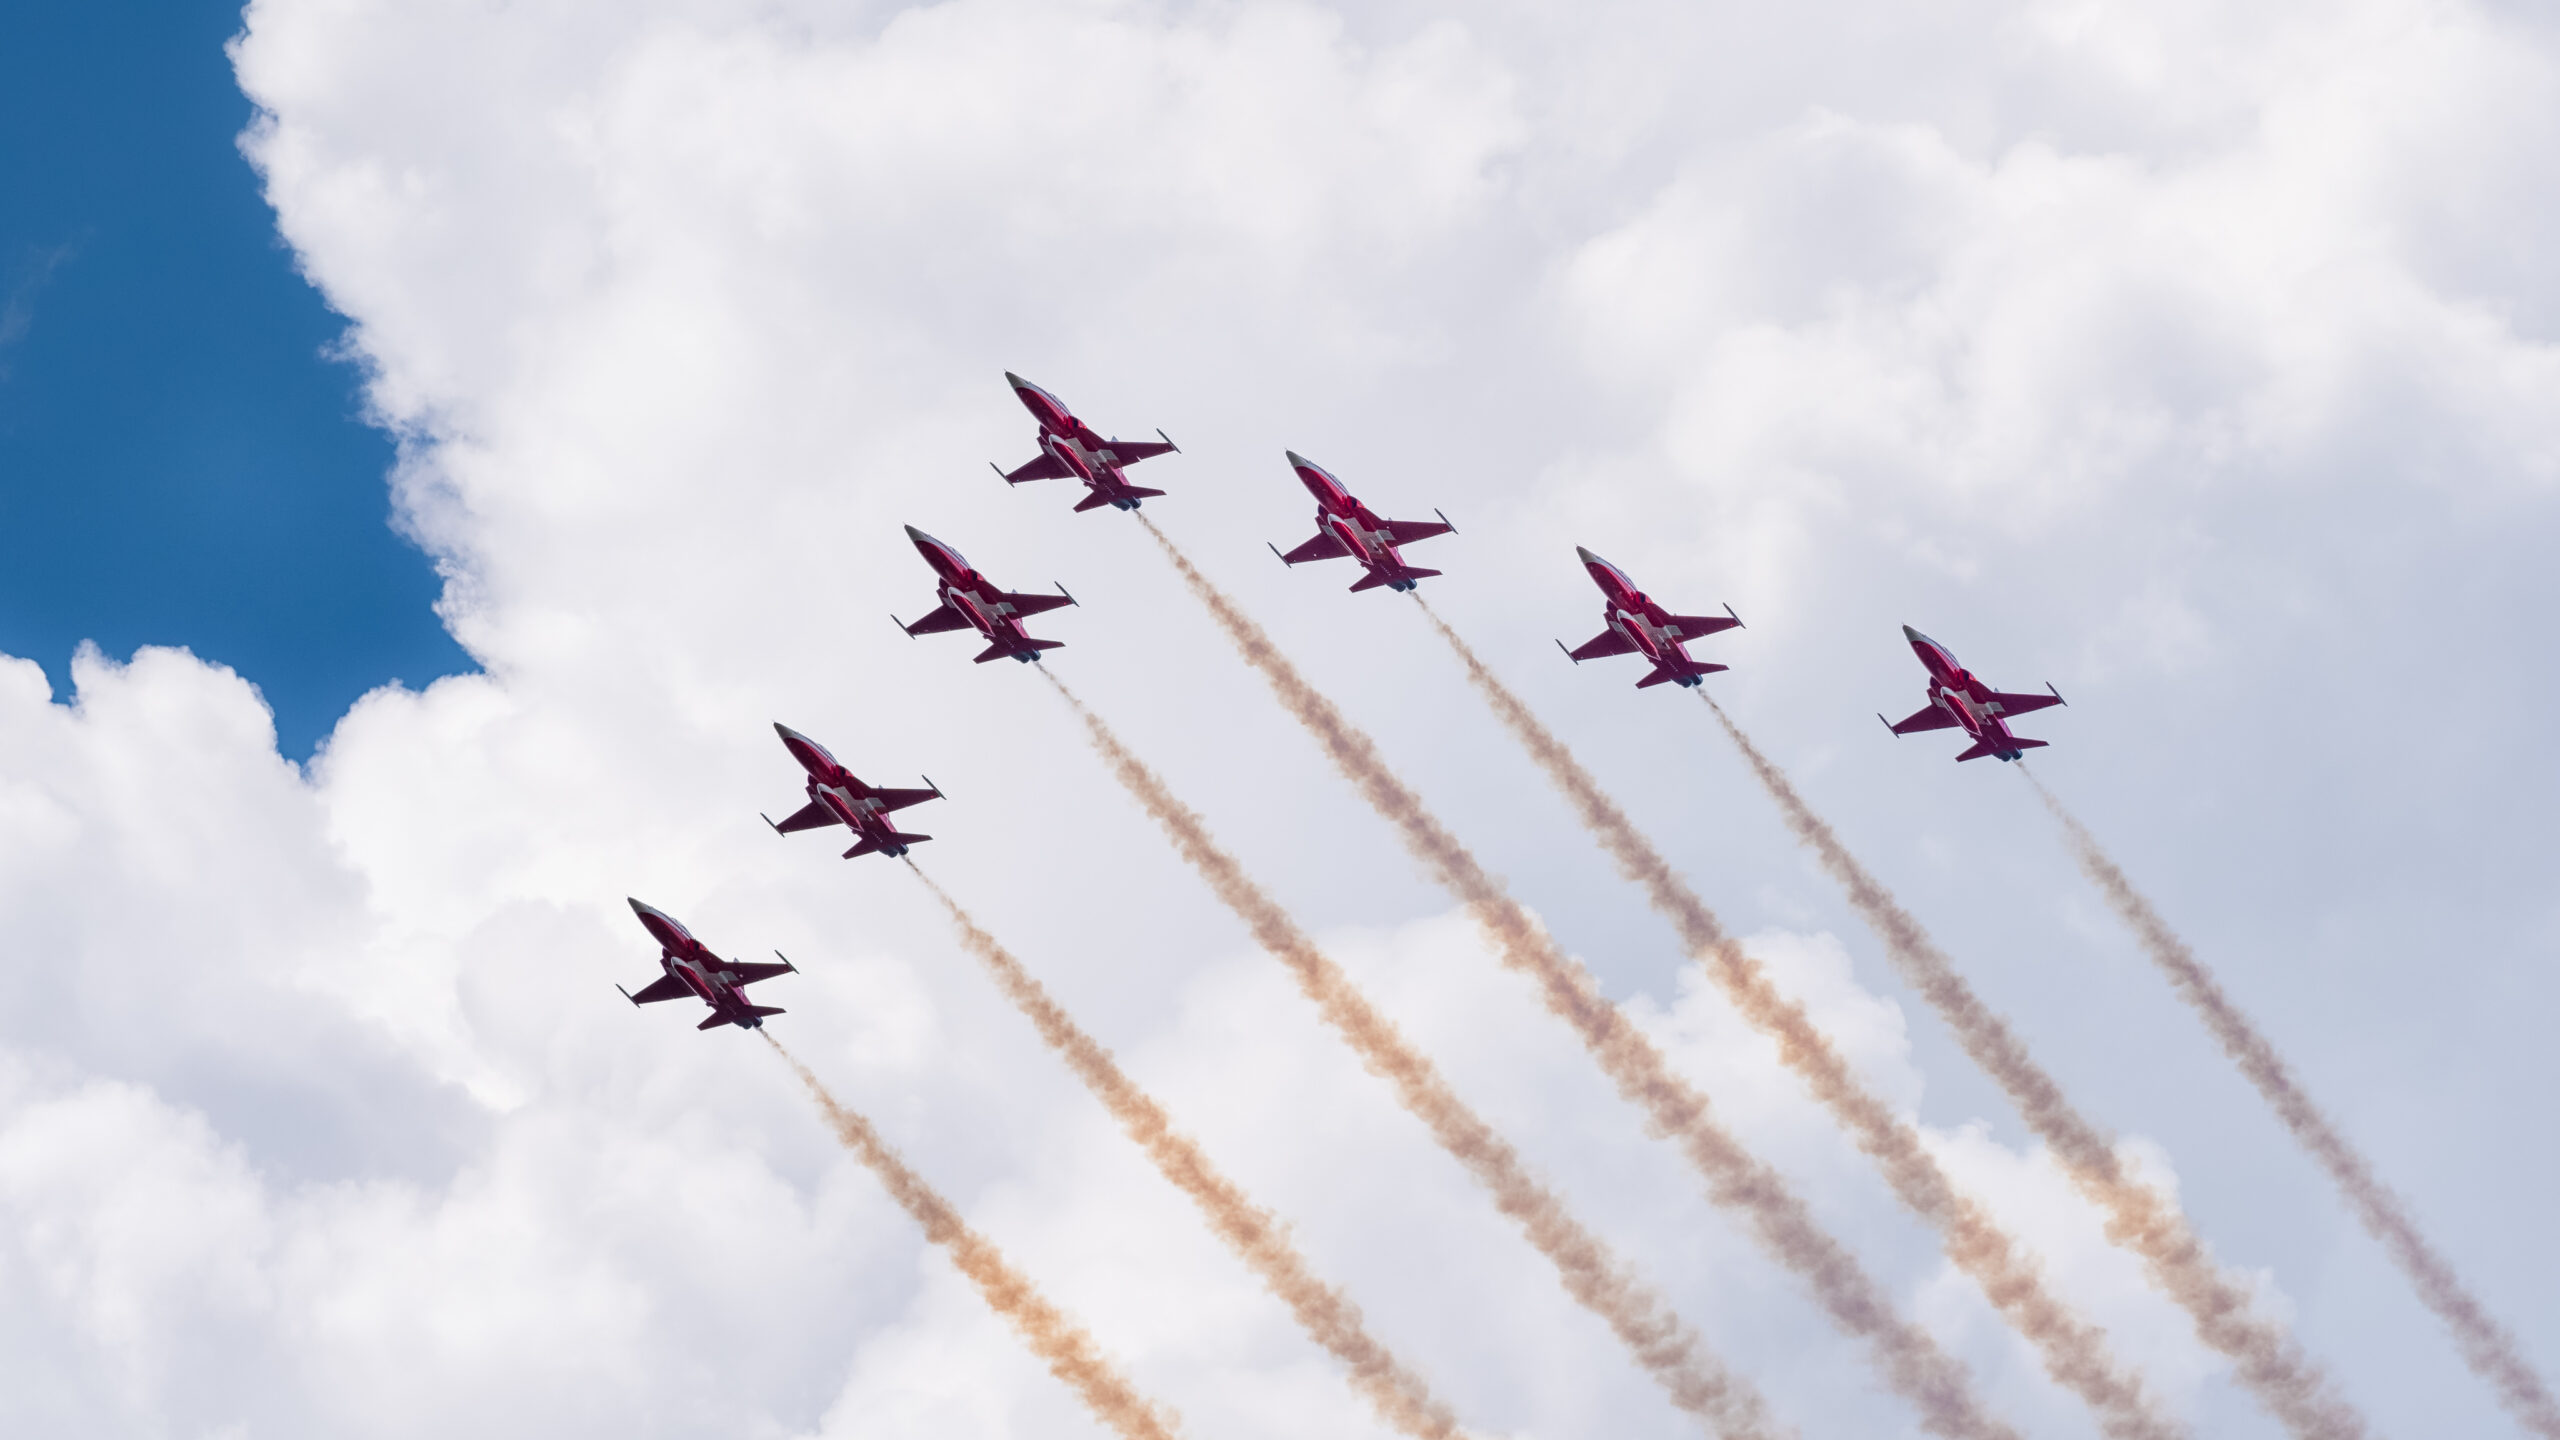
Drive mode, buffer and card settings
Airshow moments are fleeting. A topside pass with the aircraft banked towards you might last half a second. Continuous shooting gives you the best chance of catching the exact frame where the wings are level, the attitude is right, and the background is clean.
Use continuous high drive
Set your camera to continuous high or burst mode so a single press fires a rapid sequence. You are not trying to spray and pray, but a short burst across a pass gives you choices of wing position and framing that a single frame never will. Fire in controlled bursts of a few frames at the key moments rather than holding the button down for the whole display, which just fills the card and the buffer.
Mind your buffer and card speed
If you shoot raw and your buffer fills, the camera stops and you miss the next pass while it writes to the card. Two things help. First, use a fast memory card rated for sustained writing, because a slow card is a common and avoidable cause of missed shots. Second, fire in bursts rather than continuously so the buffer has time to clear between passes. If your camera struggles, consider shooting raw plus a smaller JPEG, or raw alone rather than raw plus full JPEG, to keep file sizes manageable.
Shoot raw
Raw files hold far more highlight and shadow detail than JPEGs, which matters enormously when you are fighting a bright sky. A raw file lets you recover a slightly blown sky or lift a dark aircraft in editing with no loss of quality. The only cost is file size and a processing step afterwards, both of which are well worth it for images you care about.
White balance and colour settings
White balance is low on the worry list if you shoot raw, because you can set it perfectly in editing afterwards with no penalty. For most of the day, auto white balance does a fine job under open sky. The main thing to watch is the warm light of late afternoon, which auto white balance sometimes tries to neutralise. If you like the golden look of evening light, set a daylight or cloudy white balance to preserve the warmth rather than letting the camera cool it down.
If you shoot JPEG, white balance matters more because it is baked in. In that case, daylight white balance gives consistent, predictable colour across a sunny day and is easier to correct in batches later than a string of slightly different auto readings. Picture styles or profiles that boost contrast and saturation can look punchy on the rear screen but clip detail, so a neutral or standard profile gives you more to work with.
Lens choice and focal length
Settings live on a lens, so a word on glass. Aviation is a long lens game. Aircraft are far away and you want to fill the frame, so reach matters. For airshows, a telephoto zoom reaching at least 400mm is the practical minimum for most people, and 500mm or 600mm is better still for high passes and distant subjects. A zoom is more useful than a prime here because aircraft come at every distance, from a taxiing warbird filling the frame at 200mm to a speck at altitude that needs every millimetre you have.
Popular and sensible choices include 100 to 400mm and 150 to 600mm class zooms, which cover the vast majority of airshow situations and are light enough to handhold for a day. A wider zoom such as a 24 to 105mm is worth carrying for static aircraft on the ground and for the atmosphere of the crowd line, but the long lens is what does the work in the air. For a full breakdown of options across systems, our best lenses for aviation photography guide compares the leading choices. You can also see what reach and timing produce in the field across the Piemags Aviation galleries.
Image stabilisation
Turn image stabilisation on, but use the panning mode if your lens has one. Standard stabilisation can fight against a deliberate horizontal pan and introduce a slight jump. Many telephoto lenses have a dedicated panning stabilisation setting that only corrects vertical shake and leaves your horizontal movement alone, which is ideal for tracking aircraft across the sky. If in doubt, the panning mode is the safer choice for flying shots.
Settings recipes for every kind of pass
Here are complete, copyable starting points for the situations you will meet most often. Treat these as a known good baseline, then adjust to taste and to the light on the day.
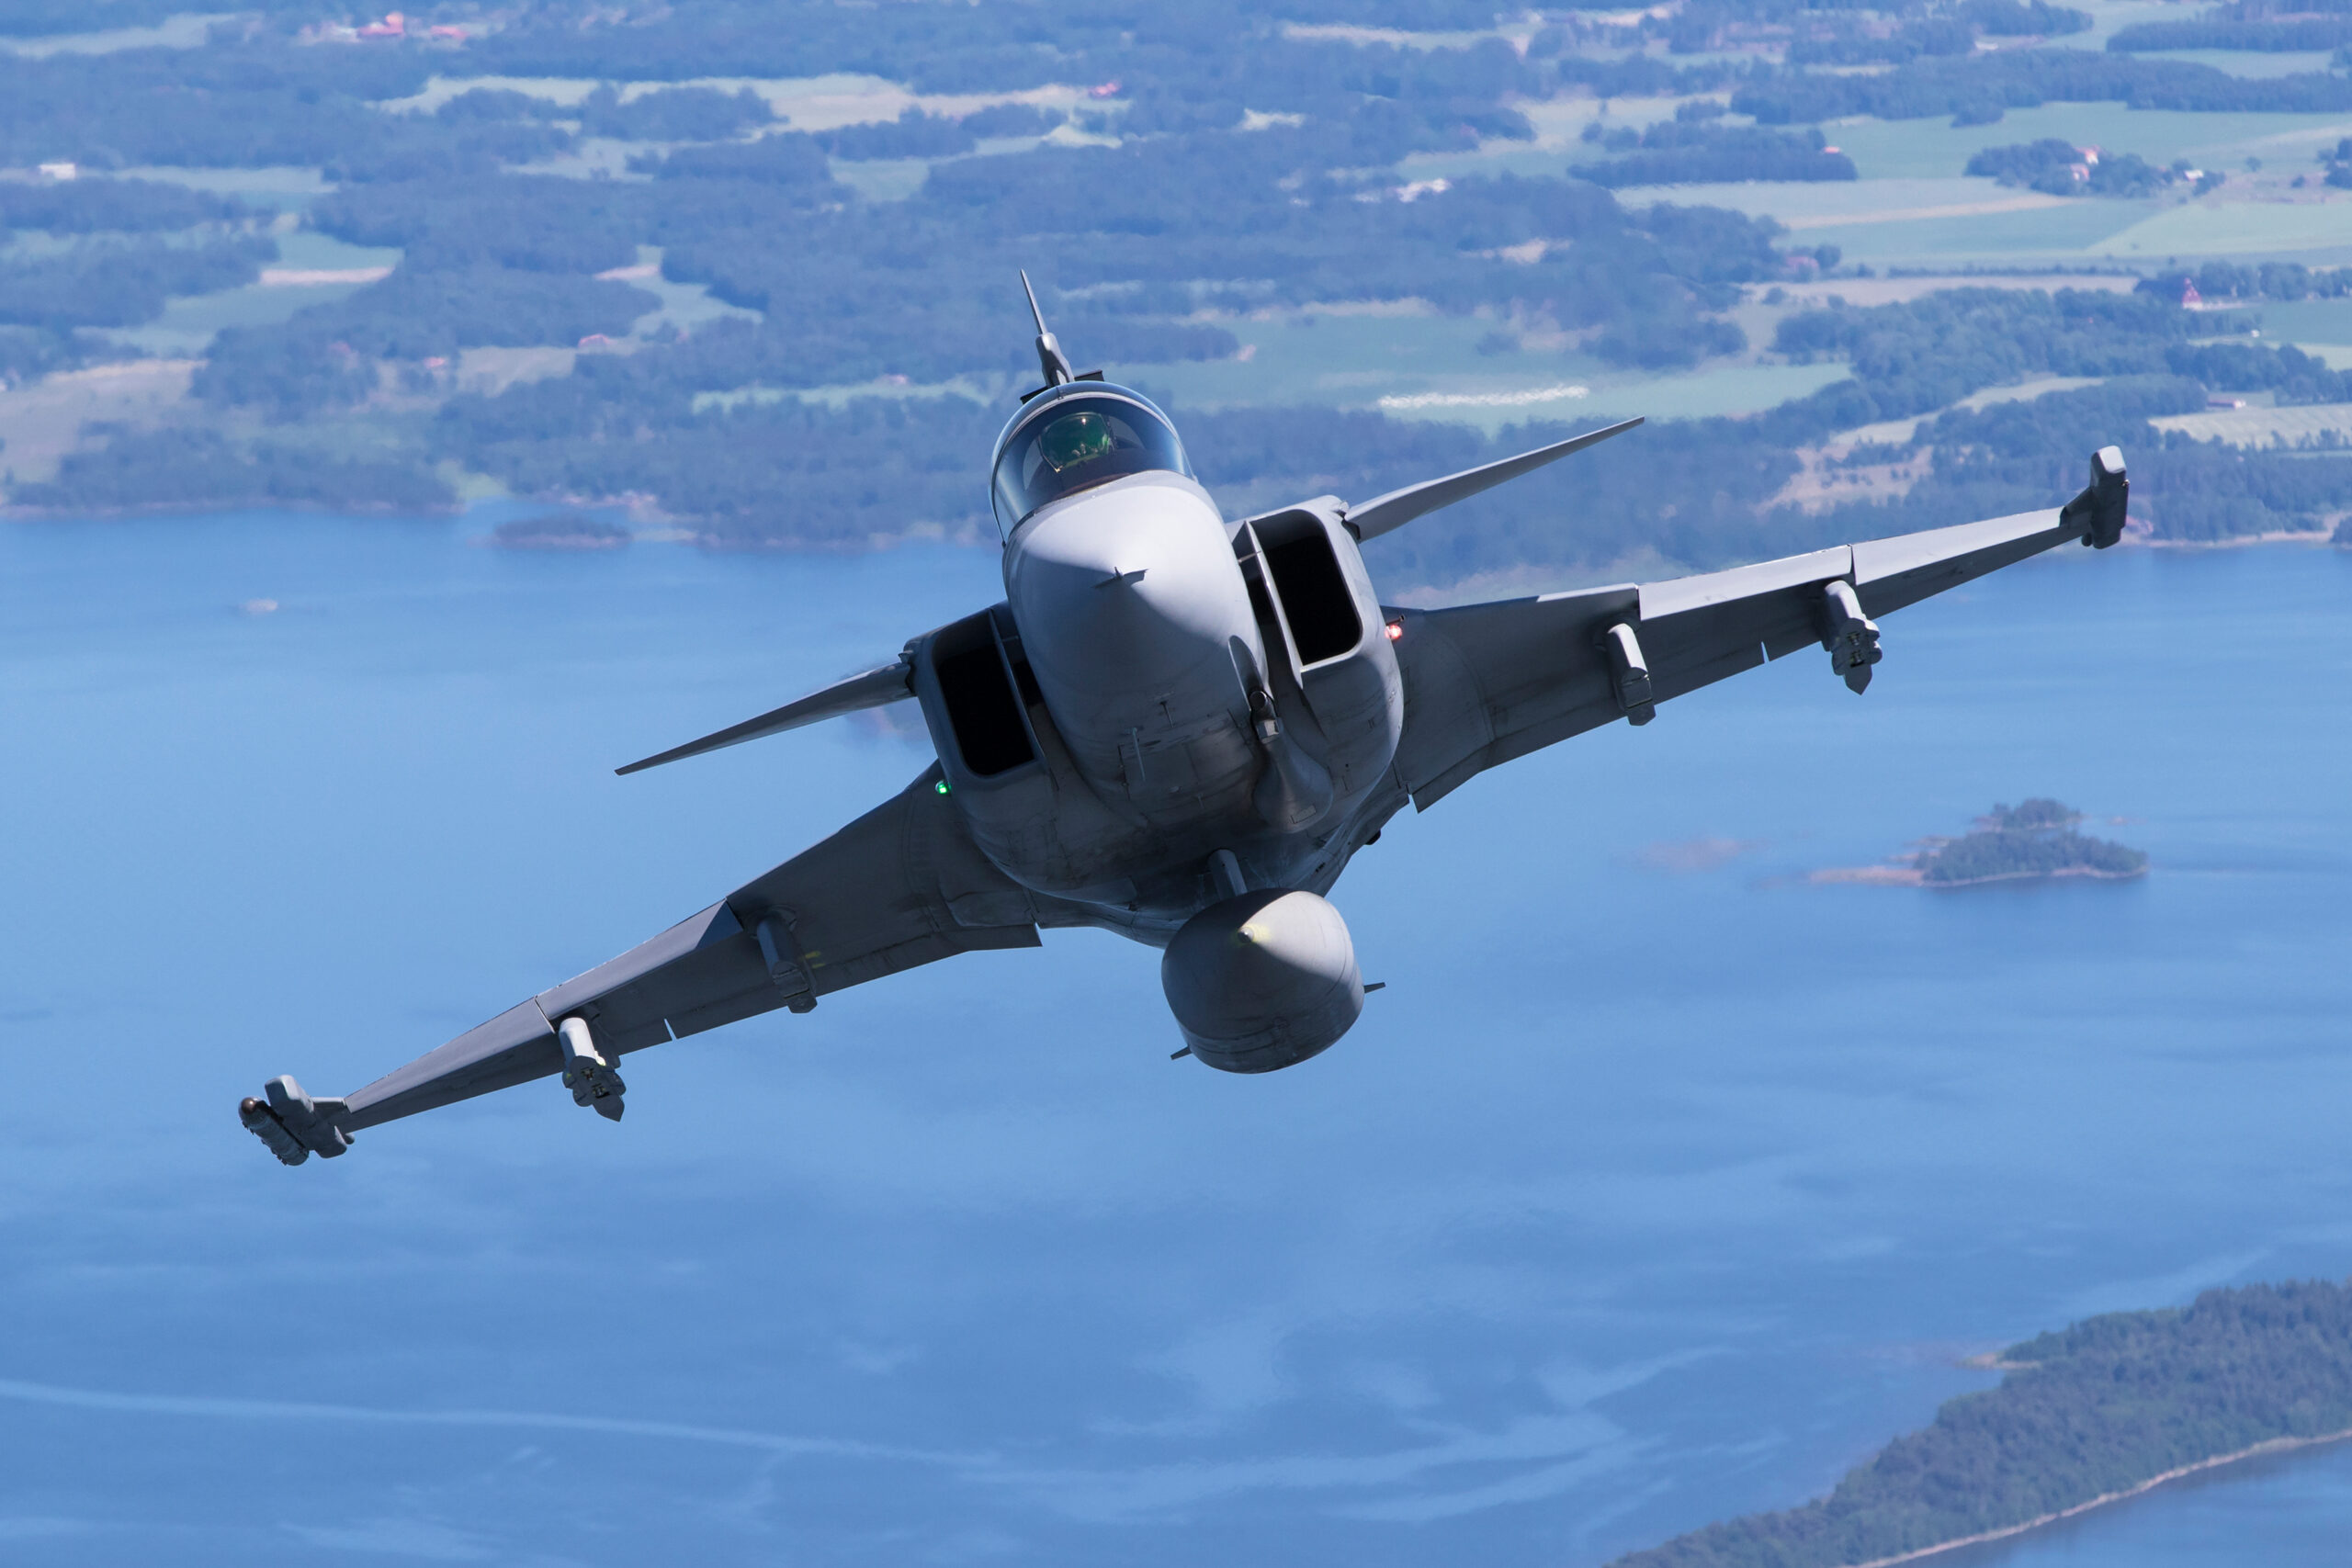
Bright day, fast jet display
Shutter priority, 1/1250 second, auto ISO capped at 3200, continuous autofocus with a tracking area, evaluative metering with plus two thirds exposure compensation, continuous high drive. The camera will likely settle around f/8 and ISO 100. Pan smoothly, lead the aircraft slightly, and fire short bursts as it crosses in front of you.
Bright day, warbird or piston display
Shutter priority, 1/250 second, auto ISO, continuous autofocus, plus two thirds exposure compensation, continuous drive. The slower speed gives you a lovely arc of propeller blur. Concentrate hard on smooth panning, because at 1/250 second any jerk in your movement will soften the whole aircraft, not just the prop.
Overcast day, mixed display
Shutter priority, but accept a higher ISO. For jets keep 1/1000 second and let ISO climb to 800 or 1600. For props keep 1/250 second. Metering is easier under flat cloud because the sky is less brutally bright, so you may need little or no exposure compensation. Watch your shutter speed does not get robbed by the camera trying to keep ISO down, which is exactly why shutter priority beats aperture priority here.
Helicopter display
Shutter priority, 1/160 second, auto ISO, continuous autofocus, continuous drive. The slower speed blurs the main rotor for a natural look. If the disc still looks too frozen, drop to 1/100 second and accept a lower keeper rate.
Static aircraft on the ground
This is the one time you can relax. Aperture priority, f/8 to f/11 for depth of field, base ISO, single autofocus is fine because nothing is moving. Look for clean angles, avoid clutter and crowds in the background, and use the wider end of your zoom or a separate standard lens. Early morning before the crowds arrive is the best time for static shots.
| Scenario | Mode | Shutter | Aperture | ISO | Exp comp |
|---|---|---|---|---|---|
| Bright jet display | Shutter priority | 1/1250s | Auto (~f/8) | Auto, max 3200 | +2/3 |
| Warbird / piston | Shutter priority | 1/250s | Auto | Auto, max 3200 | +2/3 |
| Overcast jets | Shutter priority | 1/1000s | Auto | Auto, max 3200 | 0 |
| Helicopter | Shutter priority | 1/160s | Auto | Auto, max 3200 | +1/3 |
| Static on ground | Aperture priority | Auto | f/8 to f/11 | Base (100) | 0 |
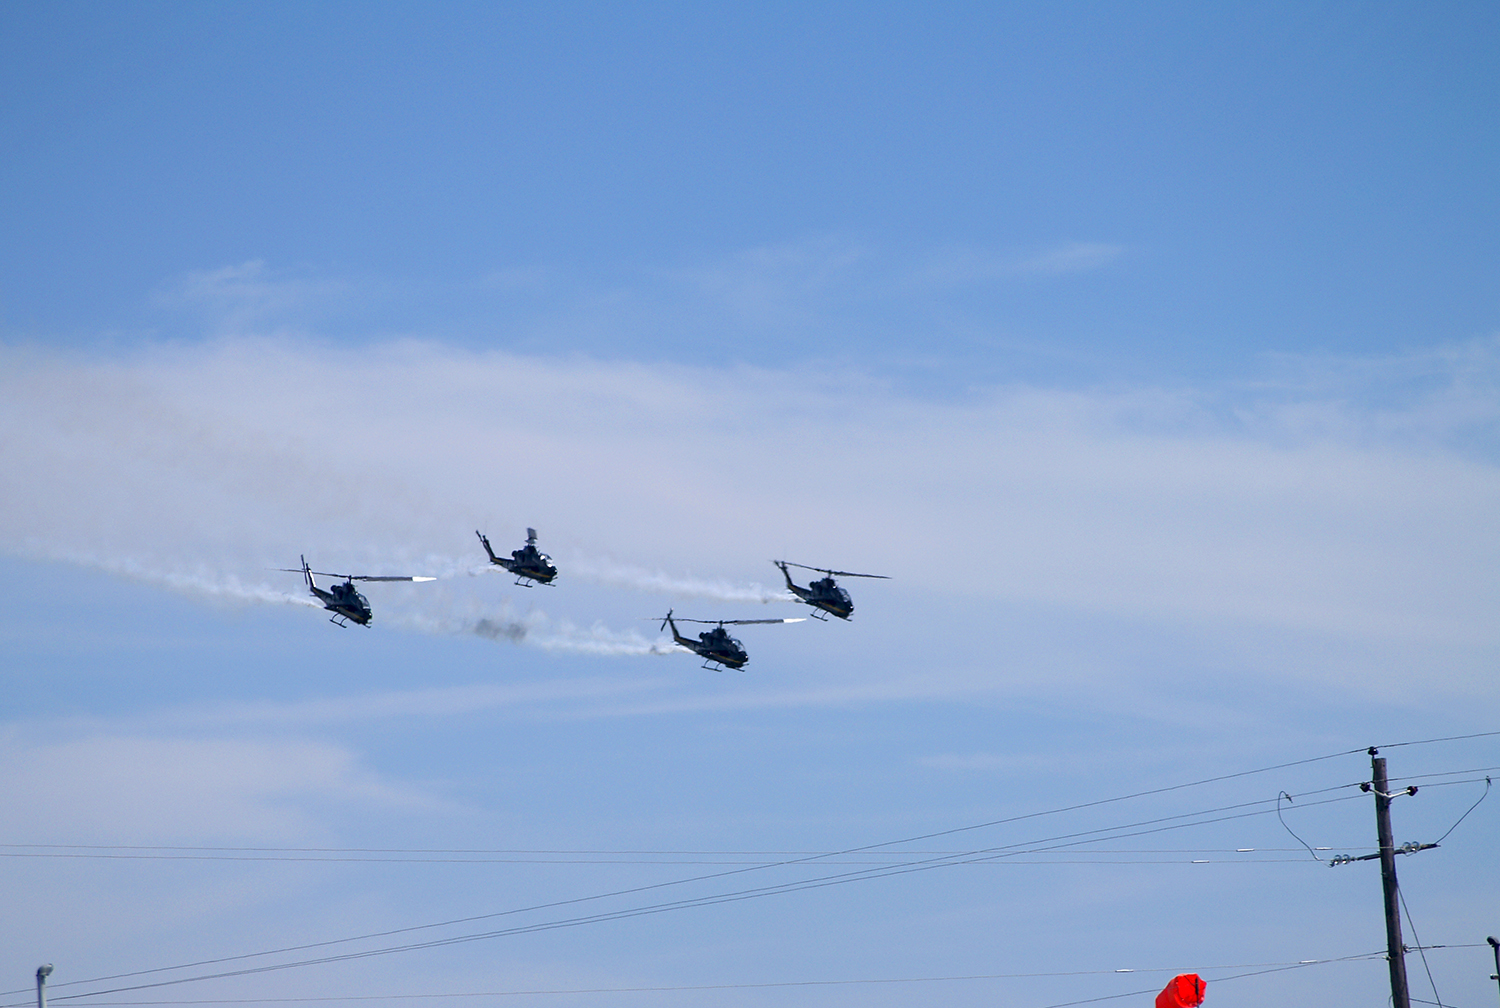
Scenario by scenario
Light and position change everything. The same aircraft can need a different approach depending on where the sun is and what is behind it. Here is how to think about the common situations.
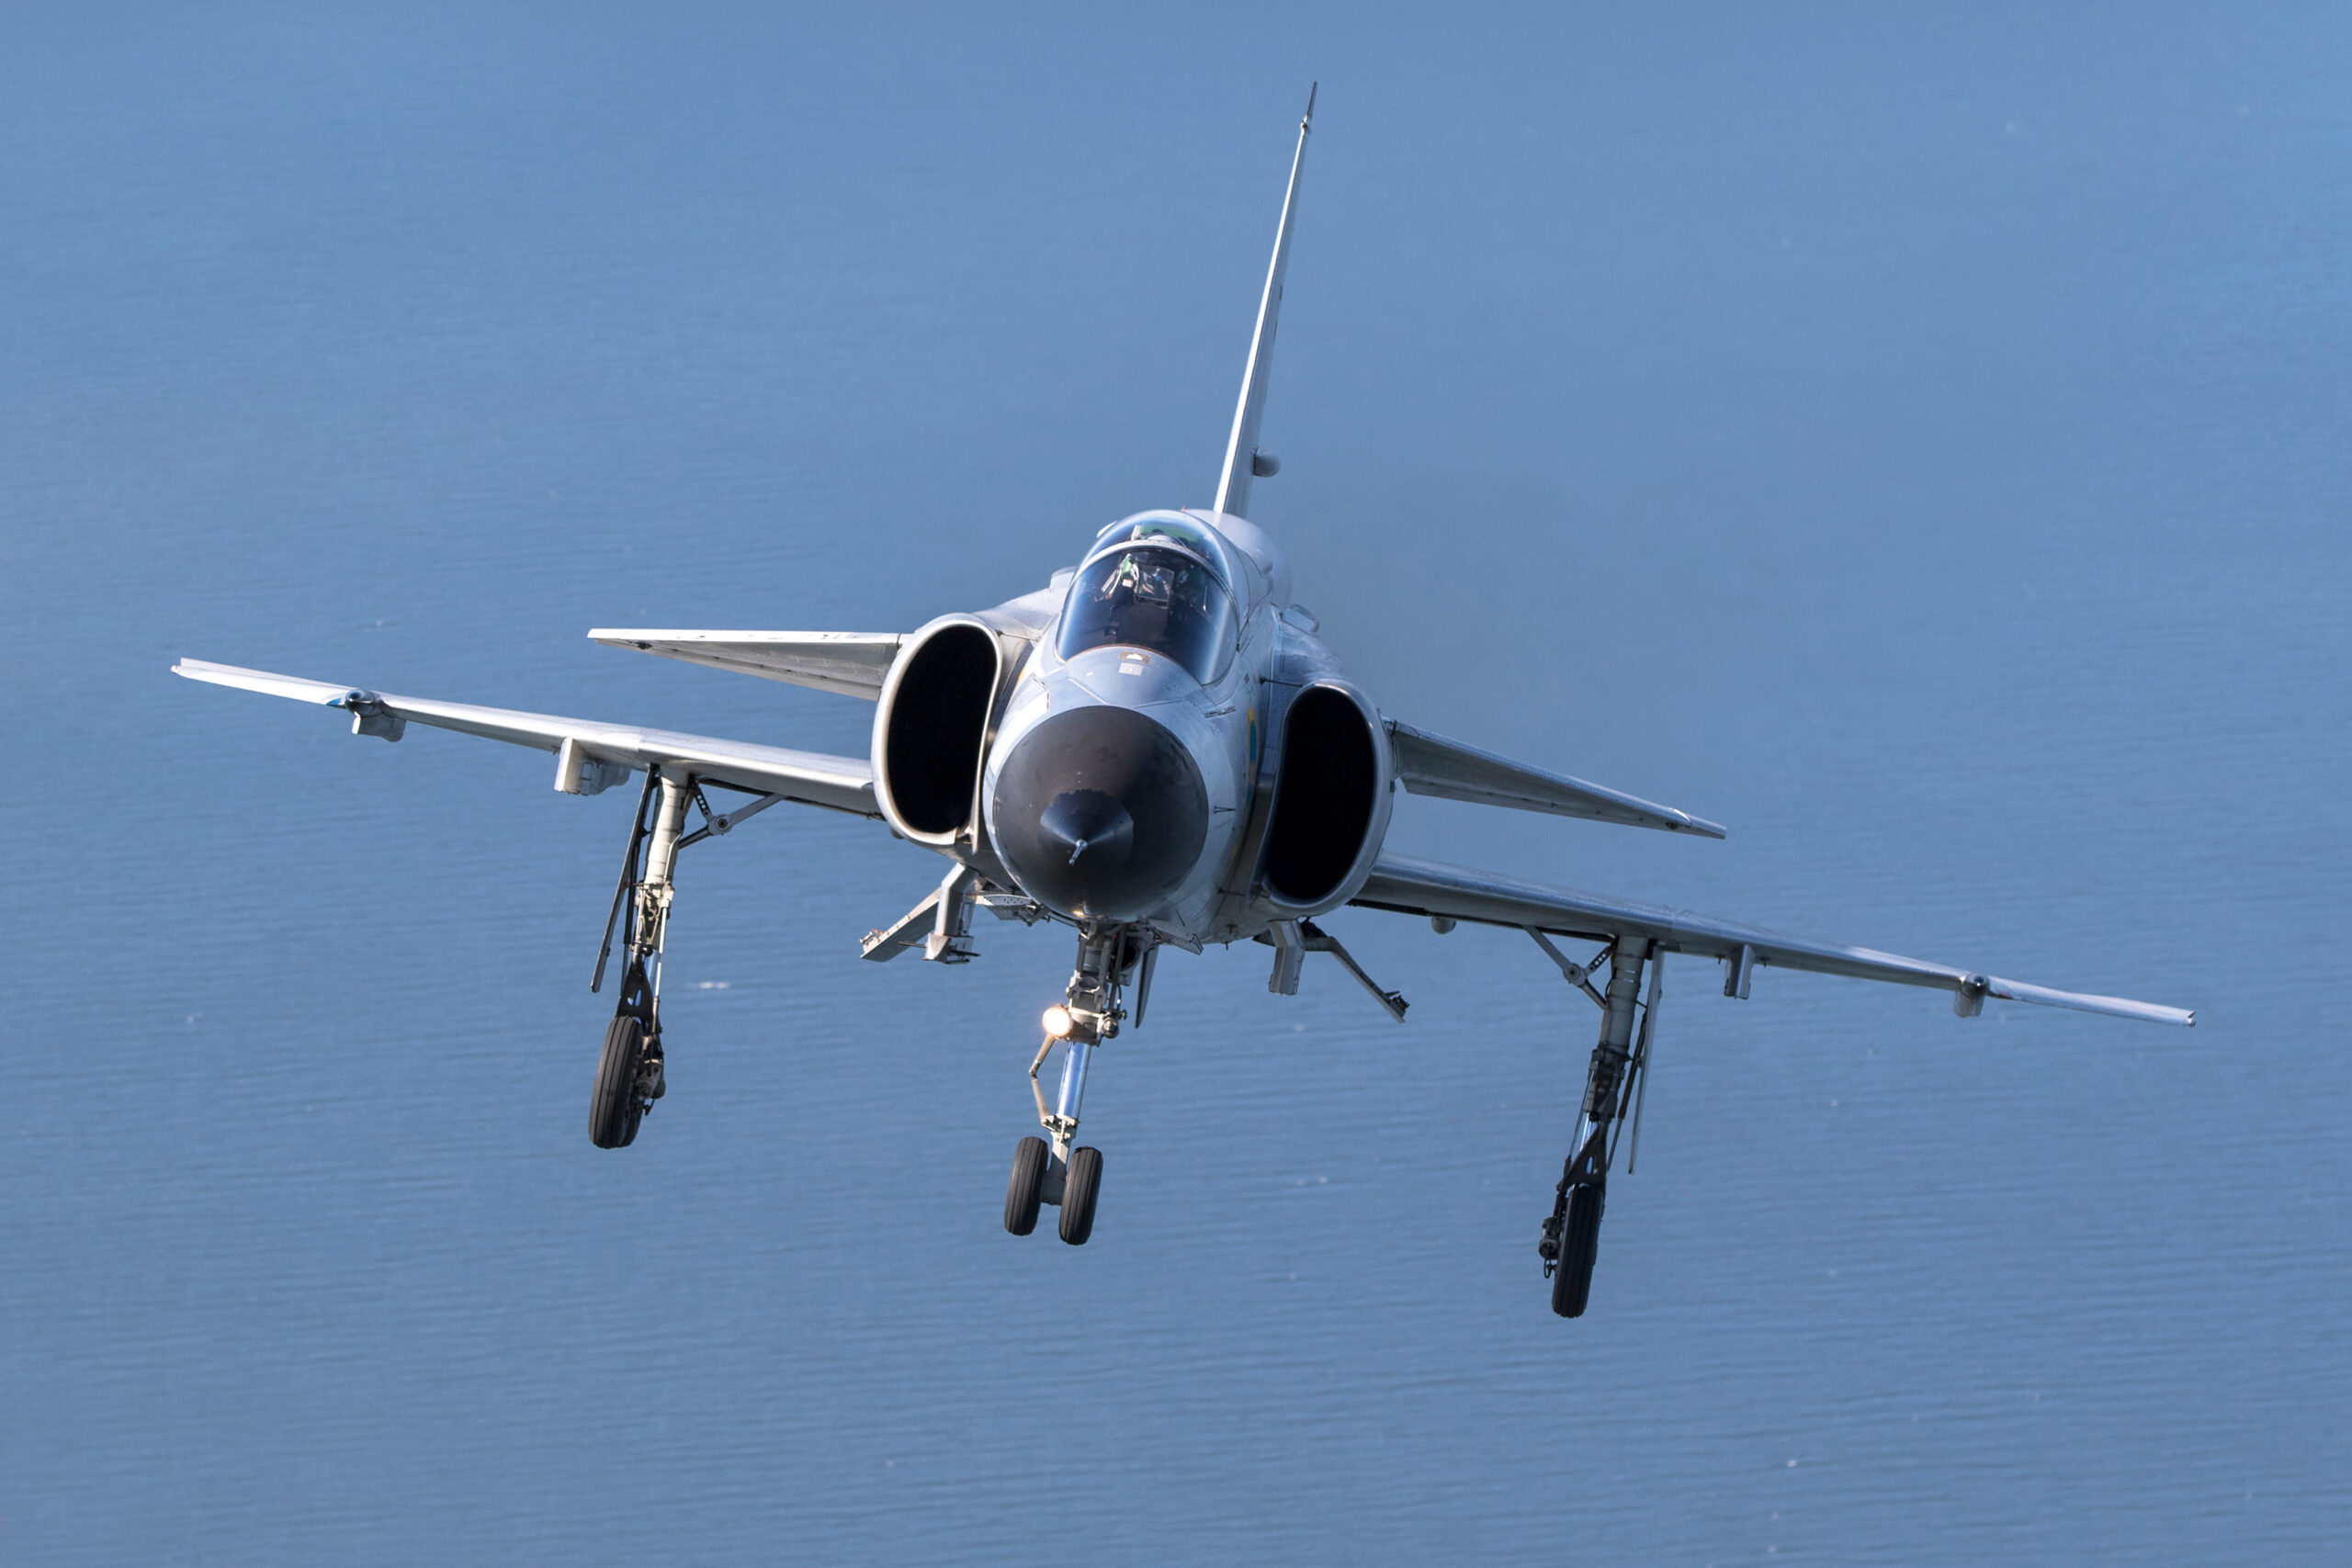
Sun behind you
This is the ideal. The aircraft is front lit, colours are saturated, and exposure is easy. Most airshows are arranged so the crowd has the sun behind them for the afternoon display, which is one reason the main flying often runs into the later part of the day. Get into position early and enjoy the easiest light you will get.
Backlit and into the sun
Sometimes a pass comes from the wrong direction and the aircraft is between you and the sun. The aircraft will be dark and the sky blown out. You have two choices: expose for the aircraft and accept a white sky, which can work for a dramatic shape, or lean into it and shoot a deliberate silhouette against a low sun. Add positive exposure compensation if you want detail in the aircraft, and watch for lens flare, using a hood or your hand to shade the front element.
Bright overcast
A white sky is the trickiest light because it is bright but flat, so aircraft can look dull and the sky offers nothing. The exposure trick is to avoid clipping the sky to featureless white while keeping the aircraft bright enough. Keep your shutter speed up, let ISO rise, and consider tighter compositions that include less of the empty sky. Topside passes, where you see the upper surface of a banking aircraft, work especially well against cloud.
Golden hour and twilight
Late displays in warm low light can be the photos of the day. Colours go rich, and the low angle of the sun models the aircraft beautifully. Hold your white balance warm, watch that the falling light does not push your ISO too high for your prop blur speeds, and be ready for the light to change fast. As the sun drops you may need to lift jets to a slightly higher ISO to keep them frozen.
Crowd line and clutter
Watch what is behind and below the aircraft. A clean sky or distant treeline is far better than the tops of marquees, crowd heads or the show commentary tower. A small change in where you stand, or waiting for the aircraft to climb a little higher, can lift a busy background out of the frame. Composition is a setting too, even if it is not on a dial.
The five settings mistakes that ruin airshow shots
Most disappointing airshow photos come from a small handful of repeatable errors. Knowing them in advance is the fastest way to improve.
1. Freezing the propeller
The most common mistake by far. Shooting a piston aircraft at 1/2000 second freezes the blades and makes the aircraft look dead in the air. The fix is to drop to 1/200 to 1/320 second and commit to smooth panning. Nothing marks out a beginner faster than a frozen prop, and nothing is easier to fix.
2. Shutter speed too slow for a jet
The opposite error. Leaving the camera at a prop speed when a jet appears gives you a soft, motion blurred mess. Get into the habit of checking your shutter speed every time the aircraft type changes. The first thing you do when a new display starts is glance at the shutter speed and set it for that aircraft.
3. Trusting the meter against the sky
Letting the camera expose for a bright sky leaves your aircraft as a silhouette. Use positive exposure compensation and check the histogram. This single habit rescues more airshow shots than any other.
4. Single point or single autofocus on a moving target
A tiny single autofocus point is almost impossible to keep on a fast aircraft, and single rather than continuous focus locks once and never updates. Use continuous focus with a zone or tracking area, and the keeper rate jumps immediately.
5. Wrong stabilisation mode while panning
Standard image stabilisation can fight a deliberate pan and introduce a small jump in the frame. Use the panning stabilisation mode if your lens has one, or switch stabilisation off for fast panned shots at high shutter speeds where it is not needed anyway.
Set your camera up the night before
The single best thing you can do for your airshow photography is to arrive with the camera already configured. Fumbling through menus on the flight line costs you passes you will never get back. Here is a sensible setup routine to run the evening before.
Charge every battery and clear or format a fast, empty memory card so you are not deleting files mid show. Set the camera to shutter priority and auto ISO with a maximum around 3200. Set continuous autofocus and a tracking or zone area mode, and turn on aircraft subject detection if your camera has it. Switch the drive mode to continuous high. Set image quality to raw, or raw plus a small JPEG if you like an immediate preview file. Choose auto or daylight white balance. If you use back button focus, confirm it is assigned. Finally, mount your long lens, set stabilisation to its panning mode, and dial in a sensible starting shutter speed such as 1/1000 second so the camera is ready to shoot the moment you arrive.
If your camera has custom modes or memory banks, save two of them: one for jets at around 1/1250 second and one for props at around 1/250 second. Then switching between a fast jet and a warbird is a single turn of the mode dial rather than a menu dive. This one trick makes a mixed display far less stressful to shoot.
A quick pre flight checklist
| Check | Set to |
|---|---|
| Batteries | Charged, spare packed |
| Memory card | Fast, empty, formatted |
| Mode | Shutter priority |
| ISO | Auto, max 3200 |
| Autofocus | Continuous, tracking area |
| Subject detection | Aircraft, if available |
| Drive | Continuous high |
| File type | Raw |
| Stabilisation | Panning mode |
| Starting shutter | 1/1000s |
A quick word on processing
Good settings get you most of the way, and a light edit finishes the job. Because you shot raw, you can recover a bright sky, lift a dark aircraft, and correct white balance with no loss of quality. Keep edits restrained. Set the exposure so the aircraft is clearly lit, pull the highlights down if the sky is close to clipping, add a little contrast and clarity to cut through haze, and sharpen for the detail in the airframe. Heat haze on a hot day will soften distant aircraft no matter how good your technique, so do not chase sharpness that the air simply did not allow. A small crop to improve composition is fine, but resist the urge to crop a distant speck up to full frame, because there is only so much detail to work with.
If you intend to share or sell your images, keywording and a consistent edit help enormously. You can see the standard the Piemags archive holds its images to across the galleries, and read how images are made available for use on the licensing page.
Updated July 2026. The core settings in this guide have not changed, because the physics of freezing a jet or blurring a propeller is the same as ever. What has changed is autofocus: the current generation of cameras, including the Canon EOS R5 Mark II and R1, the Sony a1 II and a9 III and the Nikon Z9 and Z8, now offer reliable aircraft or subject-detection autofocus that finds and holds a moving aeroplane far better than older systems. Turn it on, keep a tracking-area mode as a fallback for a busy sky, and treat it as an aid to the fundamentals rather than a replacement for them. For the detail, see our airshow autofocus guide.
Frequently asked questions
What are the best camera settings for airshows?
Start in shutter priority with auto ISO. Use about 1/1000 second or faster to freeze jets, and 1/200 to 1/320 second to blur the propellers on piston aircraft. Set continuous autofocus with a tracking area mode, meter so the sky is not blown out, and shoot in continuous drive. Adjust the shutter speed first for each type of aircraft and let everything else follow.
What shutter speed should I use at an airshow?
Use 1/1000 second or faster for jets, 1/200 to 1/320 second for most propeller aircraft to keep a natural prop blur, and around 1/100 to 1/200 second for helicopters so the rotor disc blurs. Go as slow as 1/60 second if you want a full propeller disc, but expect a lower keeper rate at those speeds.
Should I use aperture priority or shutter priority for airshows?
Shutter priority with auto ISO is the easiest choice because shutter speed is the setting that has to be right for each aircraft type. Aperture priority works well for jets if you set a wide aperture and let the camera pick a fast enough shutter speed. Manual with auto ISO gives the most control once you are comfortable.
What ISO should I use at an airshow?
Use the lowest ISO that still gives you the shutter speed you need. On a bright day that is often ISO 100 to 400. Under cloud or in the late afternoon you may need ISO 800 to 3200. Auto ISO with a sensible maximum lets the camera raise it only when the light drops.
Which autofocus mode is best for moving aircraft?
Use continuous autofocus, called AF-C on most cameras and AI Servo on Canon DSLRs, paired with a tracking or zone area mode rather than a single point. If your camera has subject detection for aircraft, switch it on. Back button focus helps you hold tracking through a pass without the shutter resetting it.
Why are my airshow photos of propeller planes blurry or frozen wrong?
A frozen propeller looks unnatural because it makes a flying aircraft look parked in the sky. That happens when the shutter speed is too high, often above 1/1000 second. Drop to 1/200 to 1/320 second to bring back a natural arc of blur on the blades while keeping the fuselage sharp through good panning.
Do I need a monopod, or can I handhold at an airshow?
Most airshow photographers handhold. Modern lenses have good stabilisation, and handholding lets you follow fast, unpredictable passes freely. A monopod helps with heavy lenses over a long day and takes the strain, but it is not essential; if you use one, keep the head loose enough to pan smoothly.
What memory card speed do I need for airshow photography?
For long bursts of fast jets you want a card with a high sustained write speed, such as a good UHS-II SD card or a CFexpress card in bodies that take them. A fast card stops the buffer filling and locking you out just as the action peaks.
Why do my airshow photos look soft even at a fast shutter speed?
The usual culprit is heat haze. On hot days the shimmering air between you and a distant aircraft softens fine detail no matter how good your technique. Shooting subjects when they are closer and higher against clear sky, rather than low over hot tarmac, gives noticeably sharper results.
Should I shoot in RAW or JPEG at an airshow?
Shoot raw whenever you can. Airshow light is contrasty and a raw file gives you room to recover a bright sky or lift a shadowed underside without the image breaking up, and it lets you correct white balance and fine-tune exposure afterwards. Shoot raw and JPEG together if you want quick images to share, but keep the raw for the proper edit.
What metering mode stops the sky blowing out at an airshow?
Use evaluative or matrix metering and watch the histogram rather than trusting the rear screen. Against a bright sky the meter often underexposes the aircraft, so a little positive exposure compensation usually helps, but not so much that the brightest part of the sky clips. It is worth reading our guide to exposure for aircraft against the sky for the full method.
Should I use the electronic or mechanical shutter for airshows?
For most airshow work the mechanical or electronic first-curtain shutter is the safer choice, because a fully electronic shutter on many cameras reads the sensor slowly and can skew a fast jet, band under artificial light or distort a spinning propeller. The newest stacked-sensor bodies, and the global-shutter Sony a9 III, read fast enough to avoid this, but if you see skew or banding, switch back to the mechanical shutter.
Settings are only ever a starting point. The photographers who come home with the best frames are the ones who set the camera up properly before they arrive, then spend the day watching the sky rather than the menus. Get the shutter speed right for each aircraft, protect your exposure against the bright sky, keep the autofocus tracking, and the rest is timing and practice. For the deeper technique behind these numbers, read our guides to airshow camera settings and autofocus, photographing fast jets and propeller blur shutter speeds, and when you want to see where it all leads, browse the Piemags Aviation galleries.
Airshow Camera Settings Cheat Sheet
Join the Piemags Aviation newsletter and we will send you the one-page PDF: shutter speeds, autofocus and exposure at a glance for the flight line.
Prefer all of this on a single printable page? Every number in this guide and its siblings is condensed into our aviation photography cheat sheet.
